

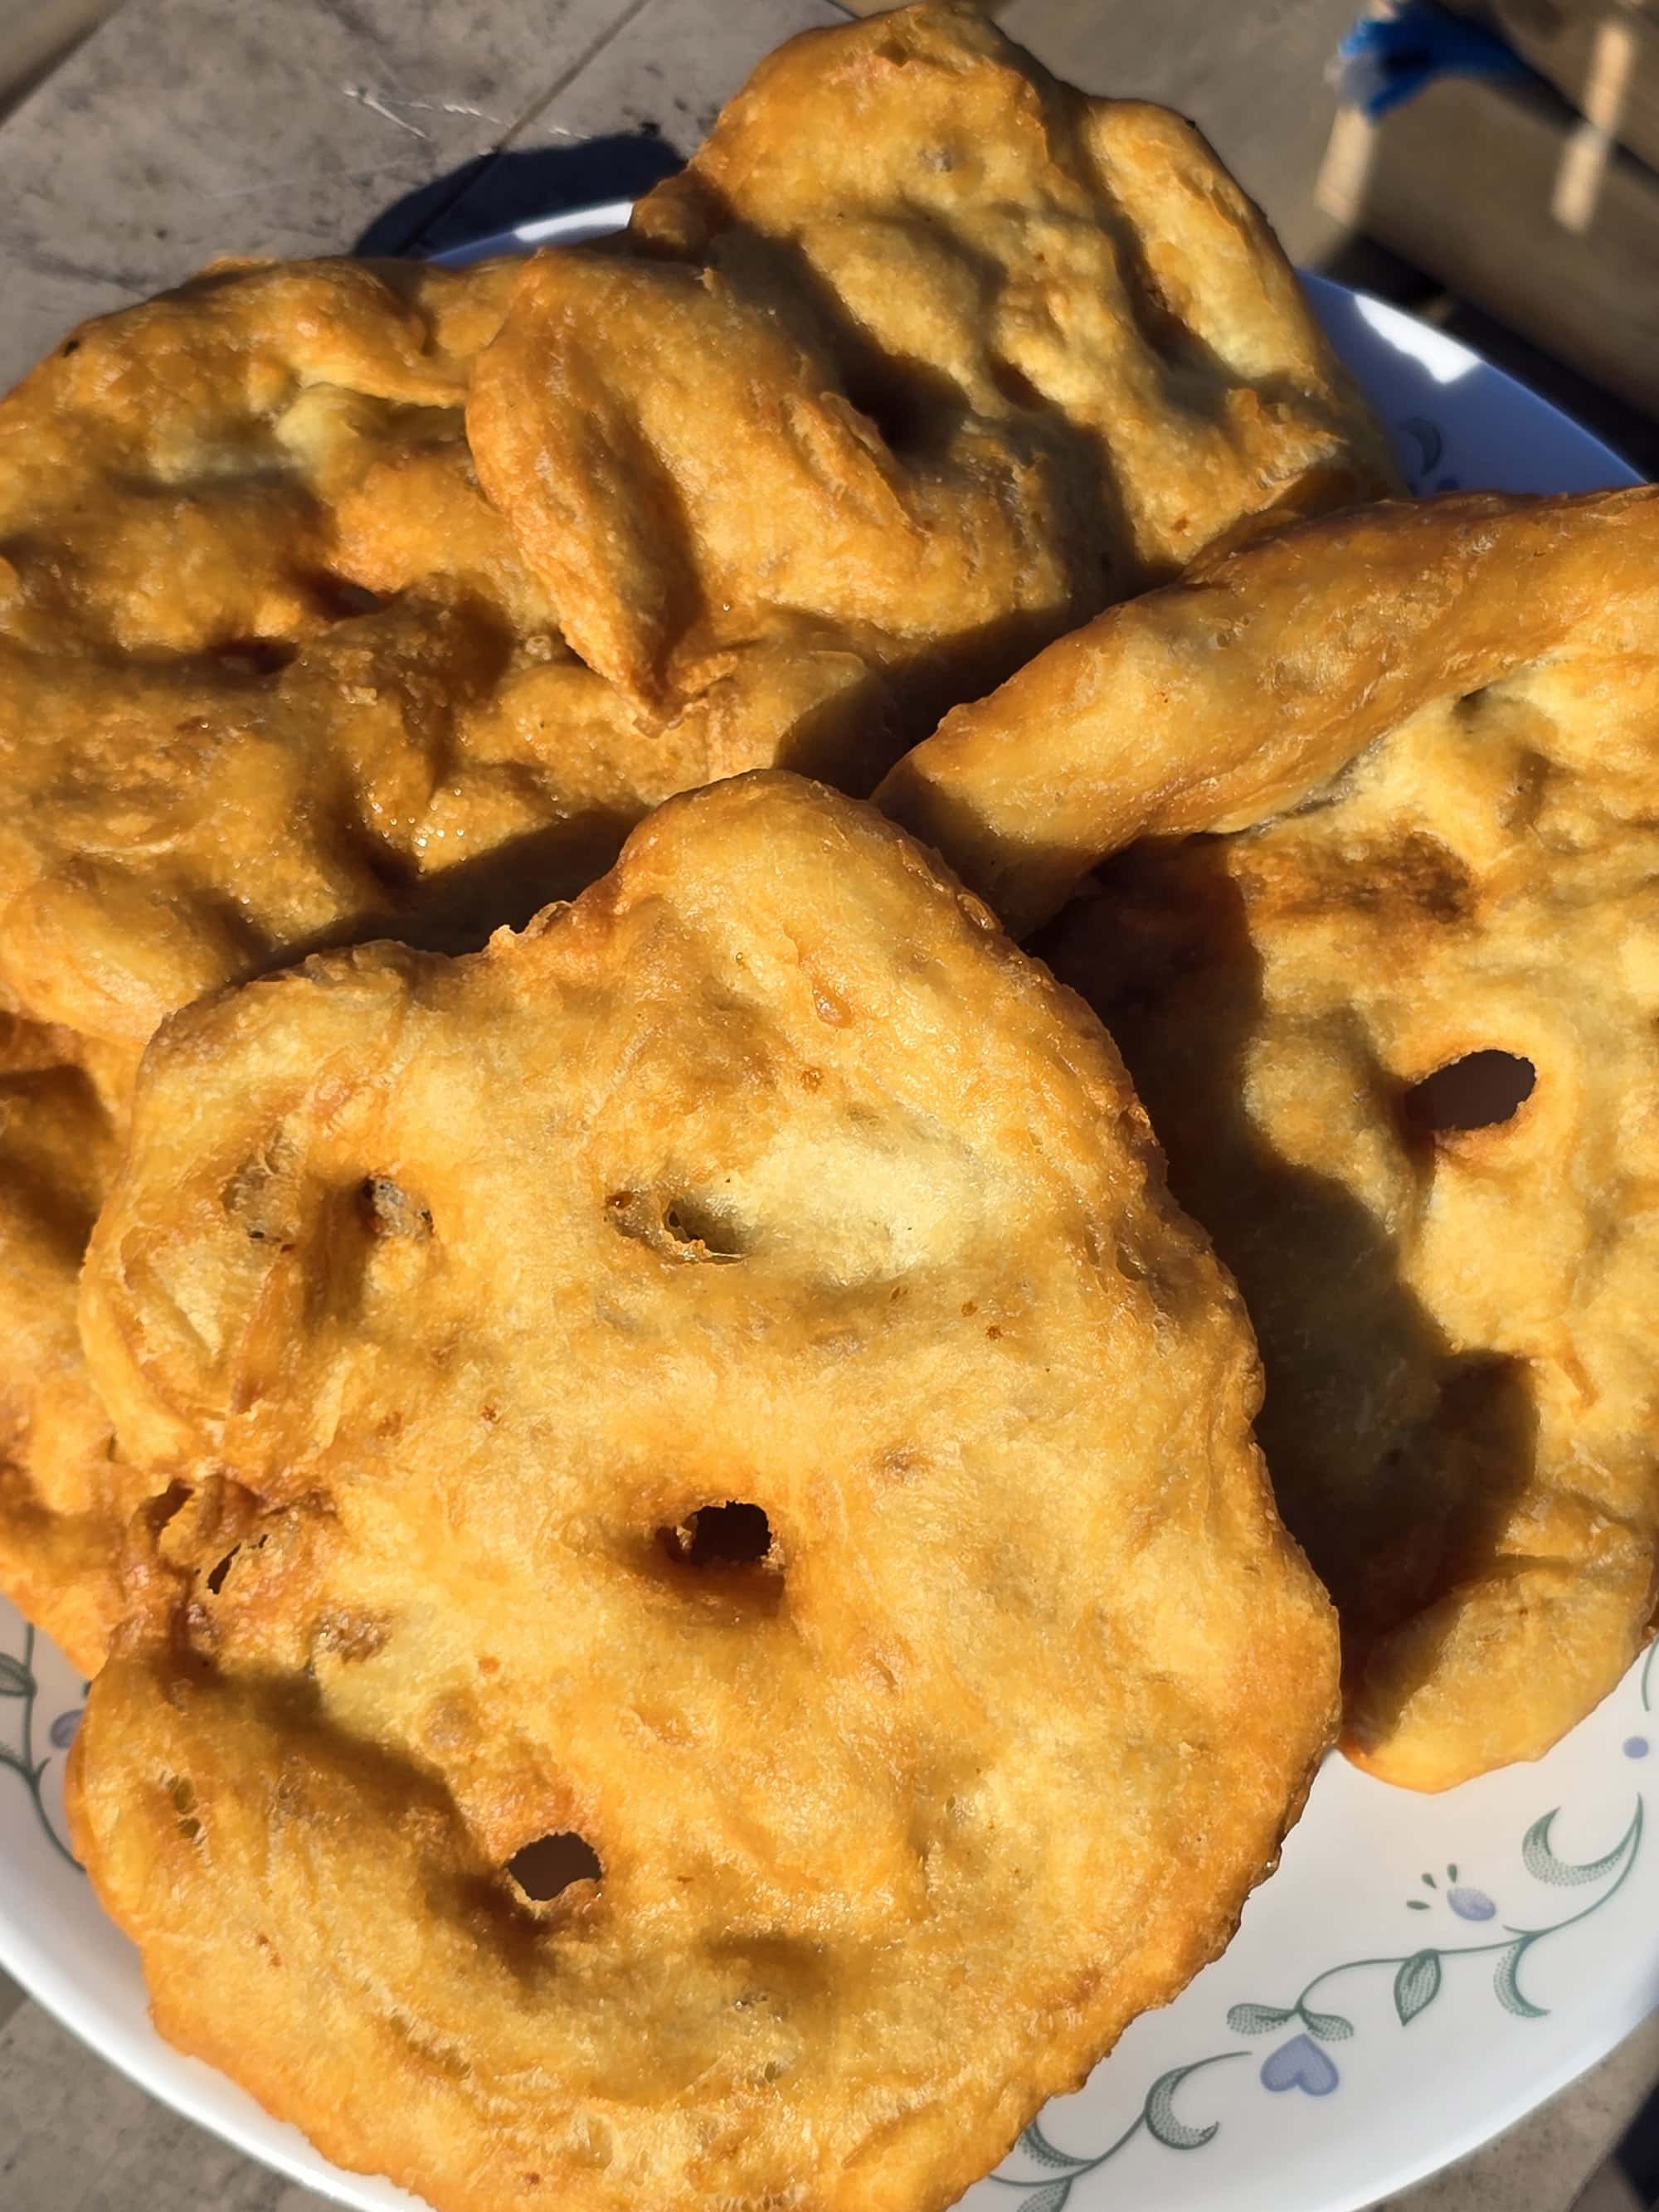
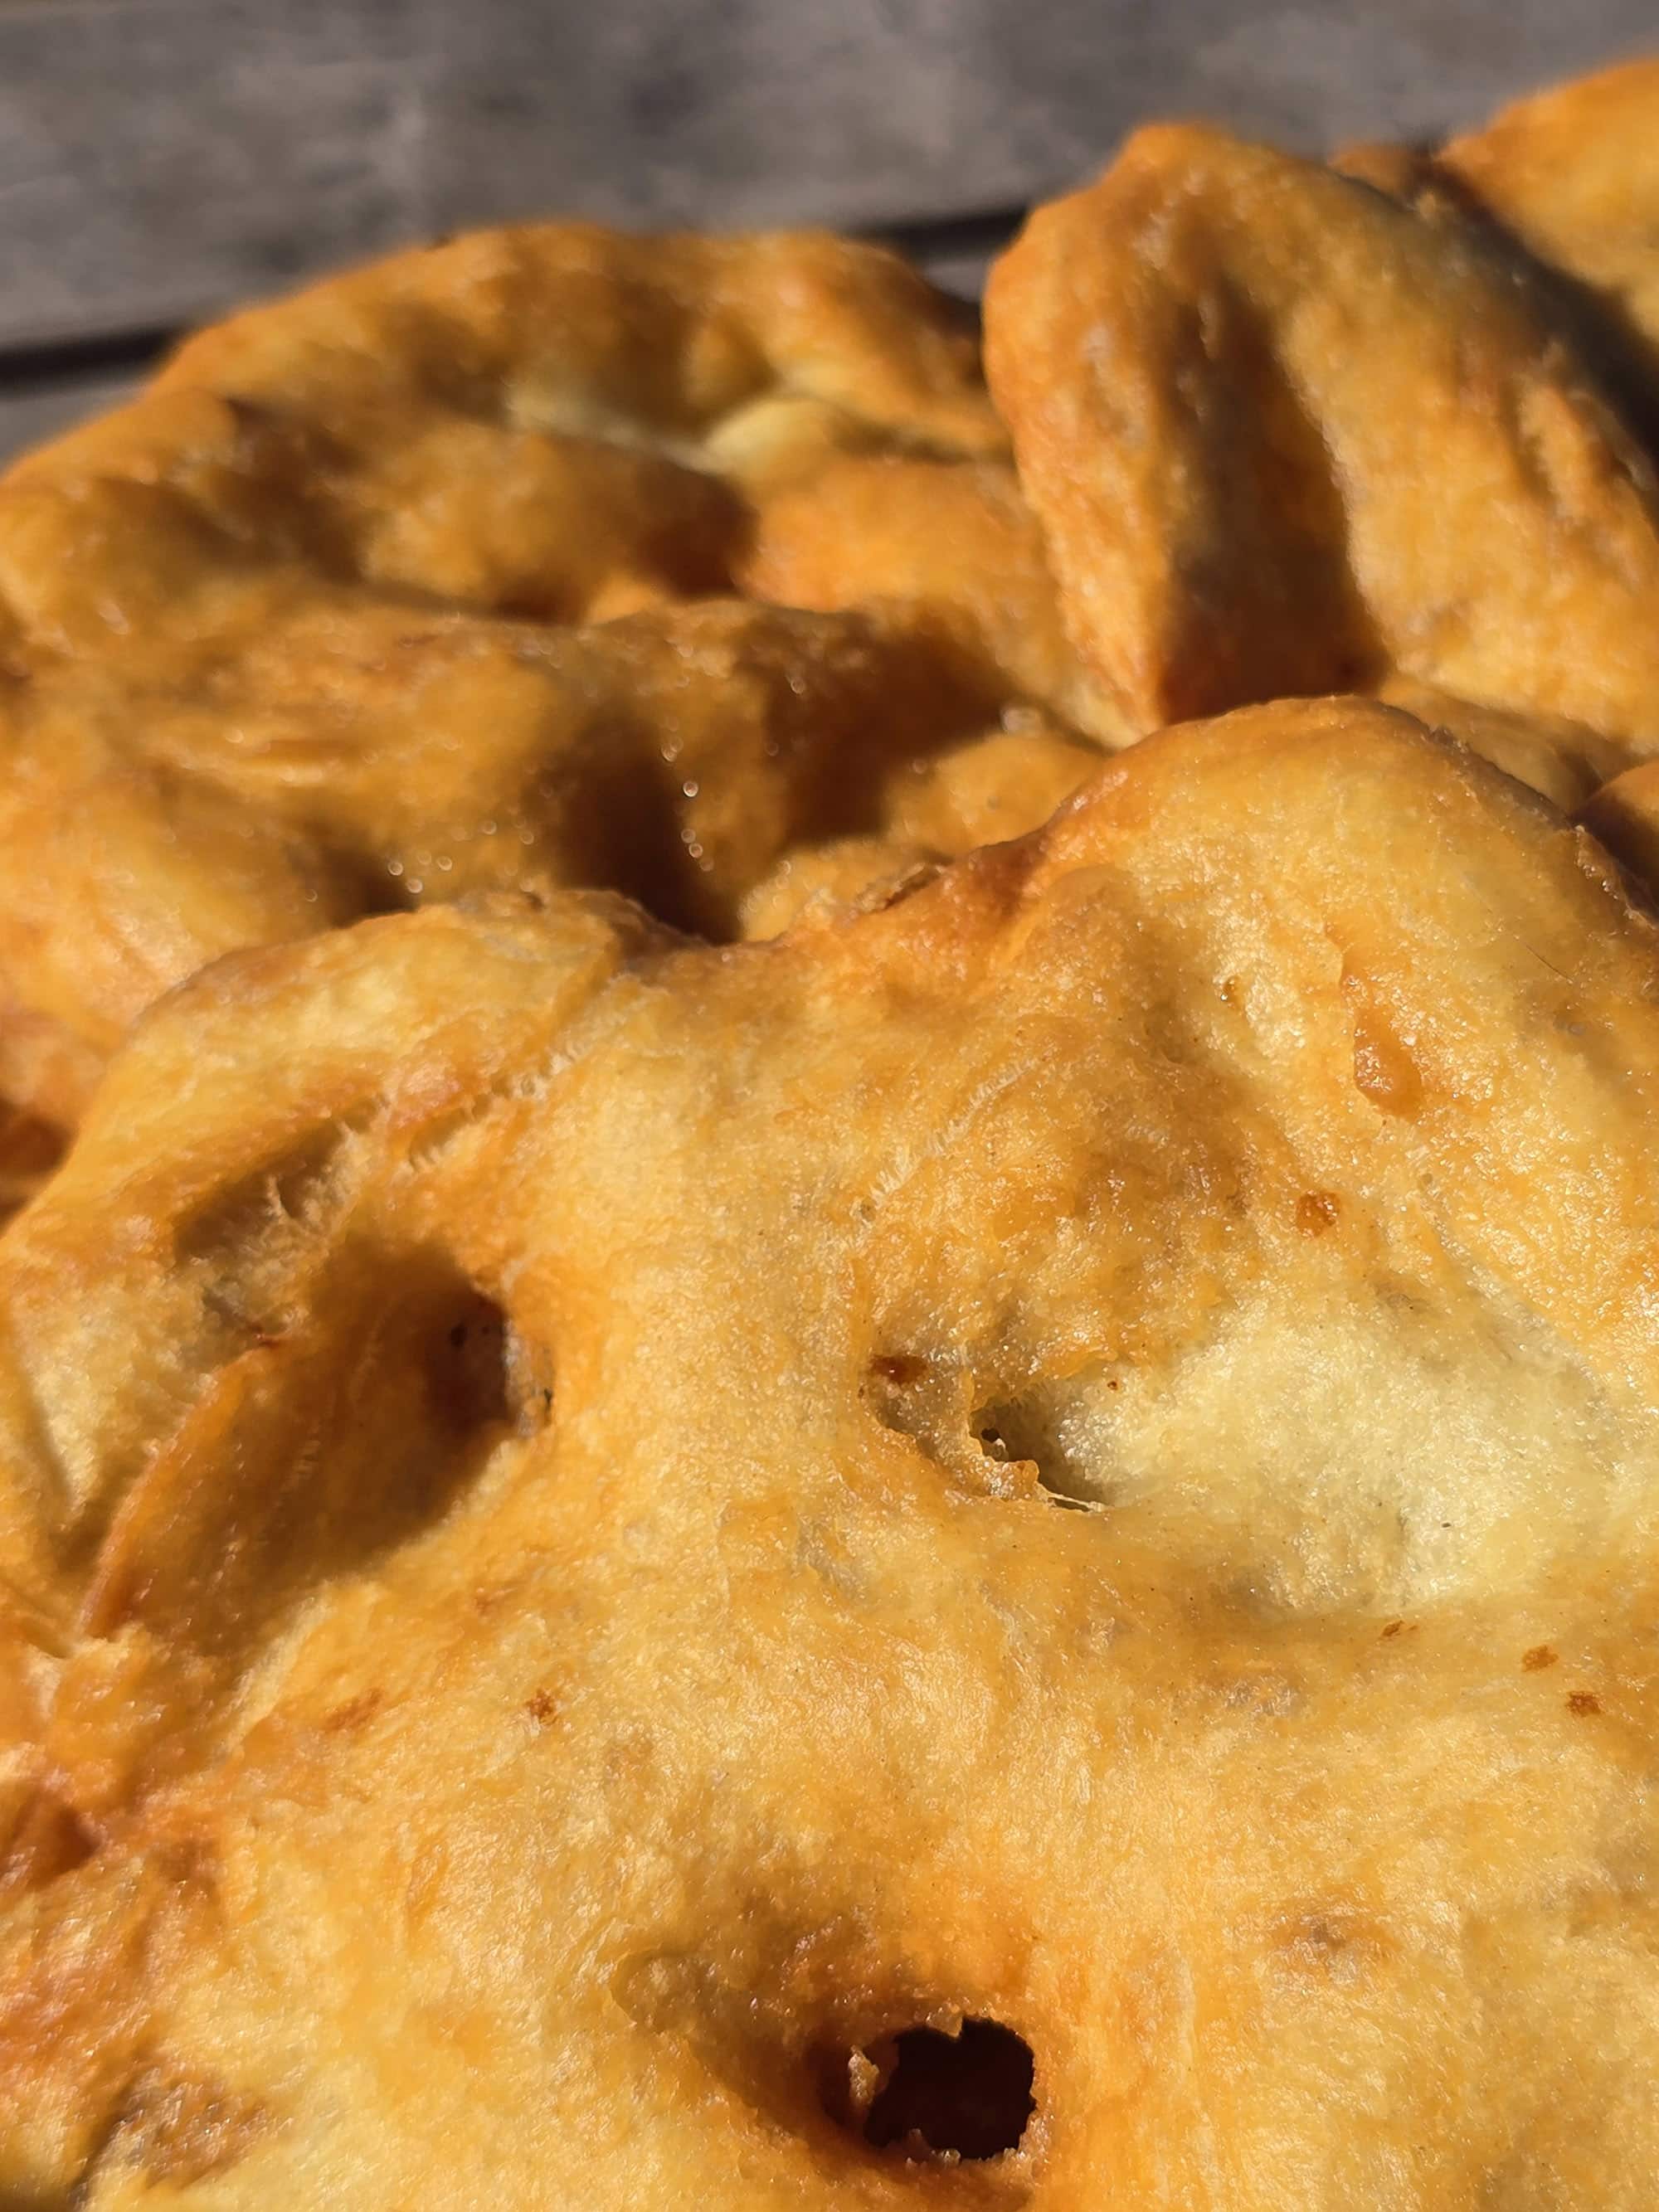
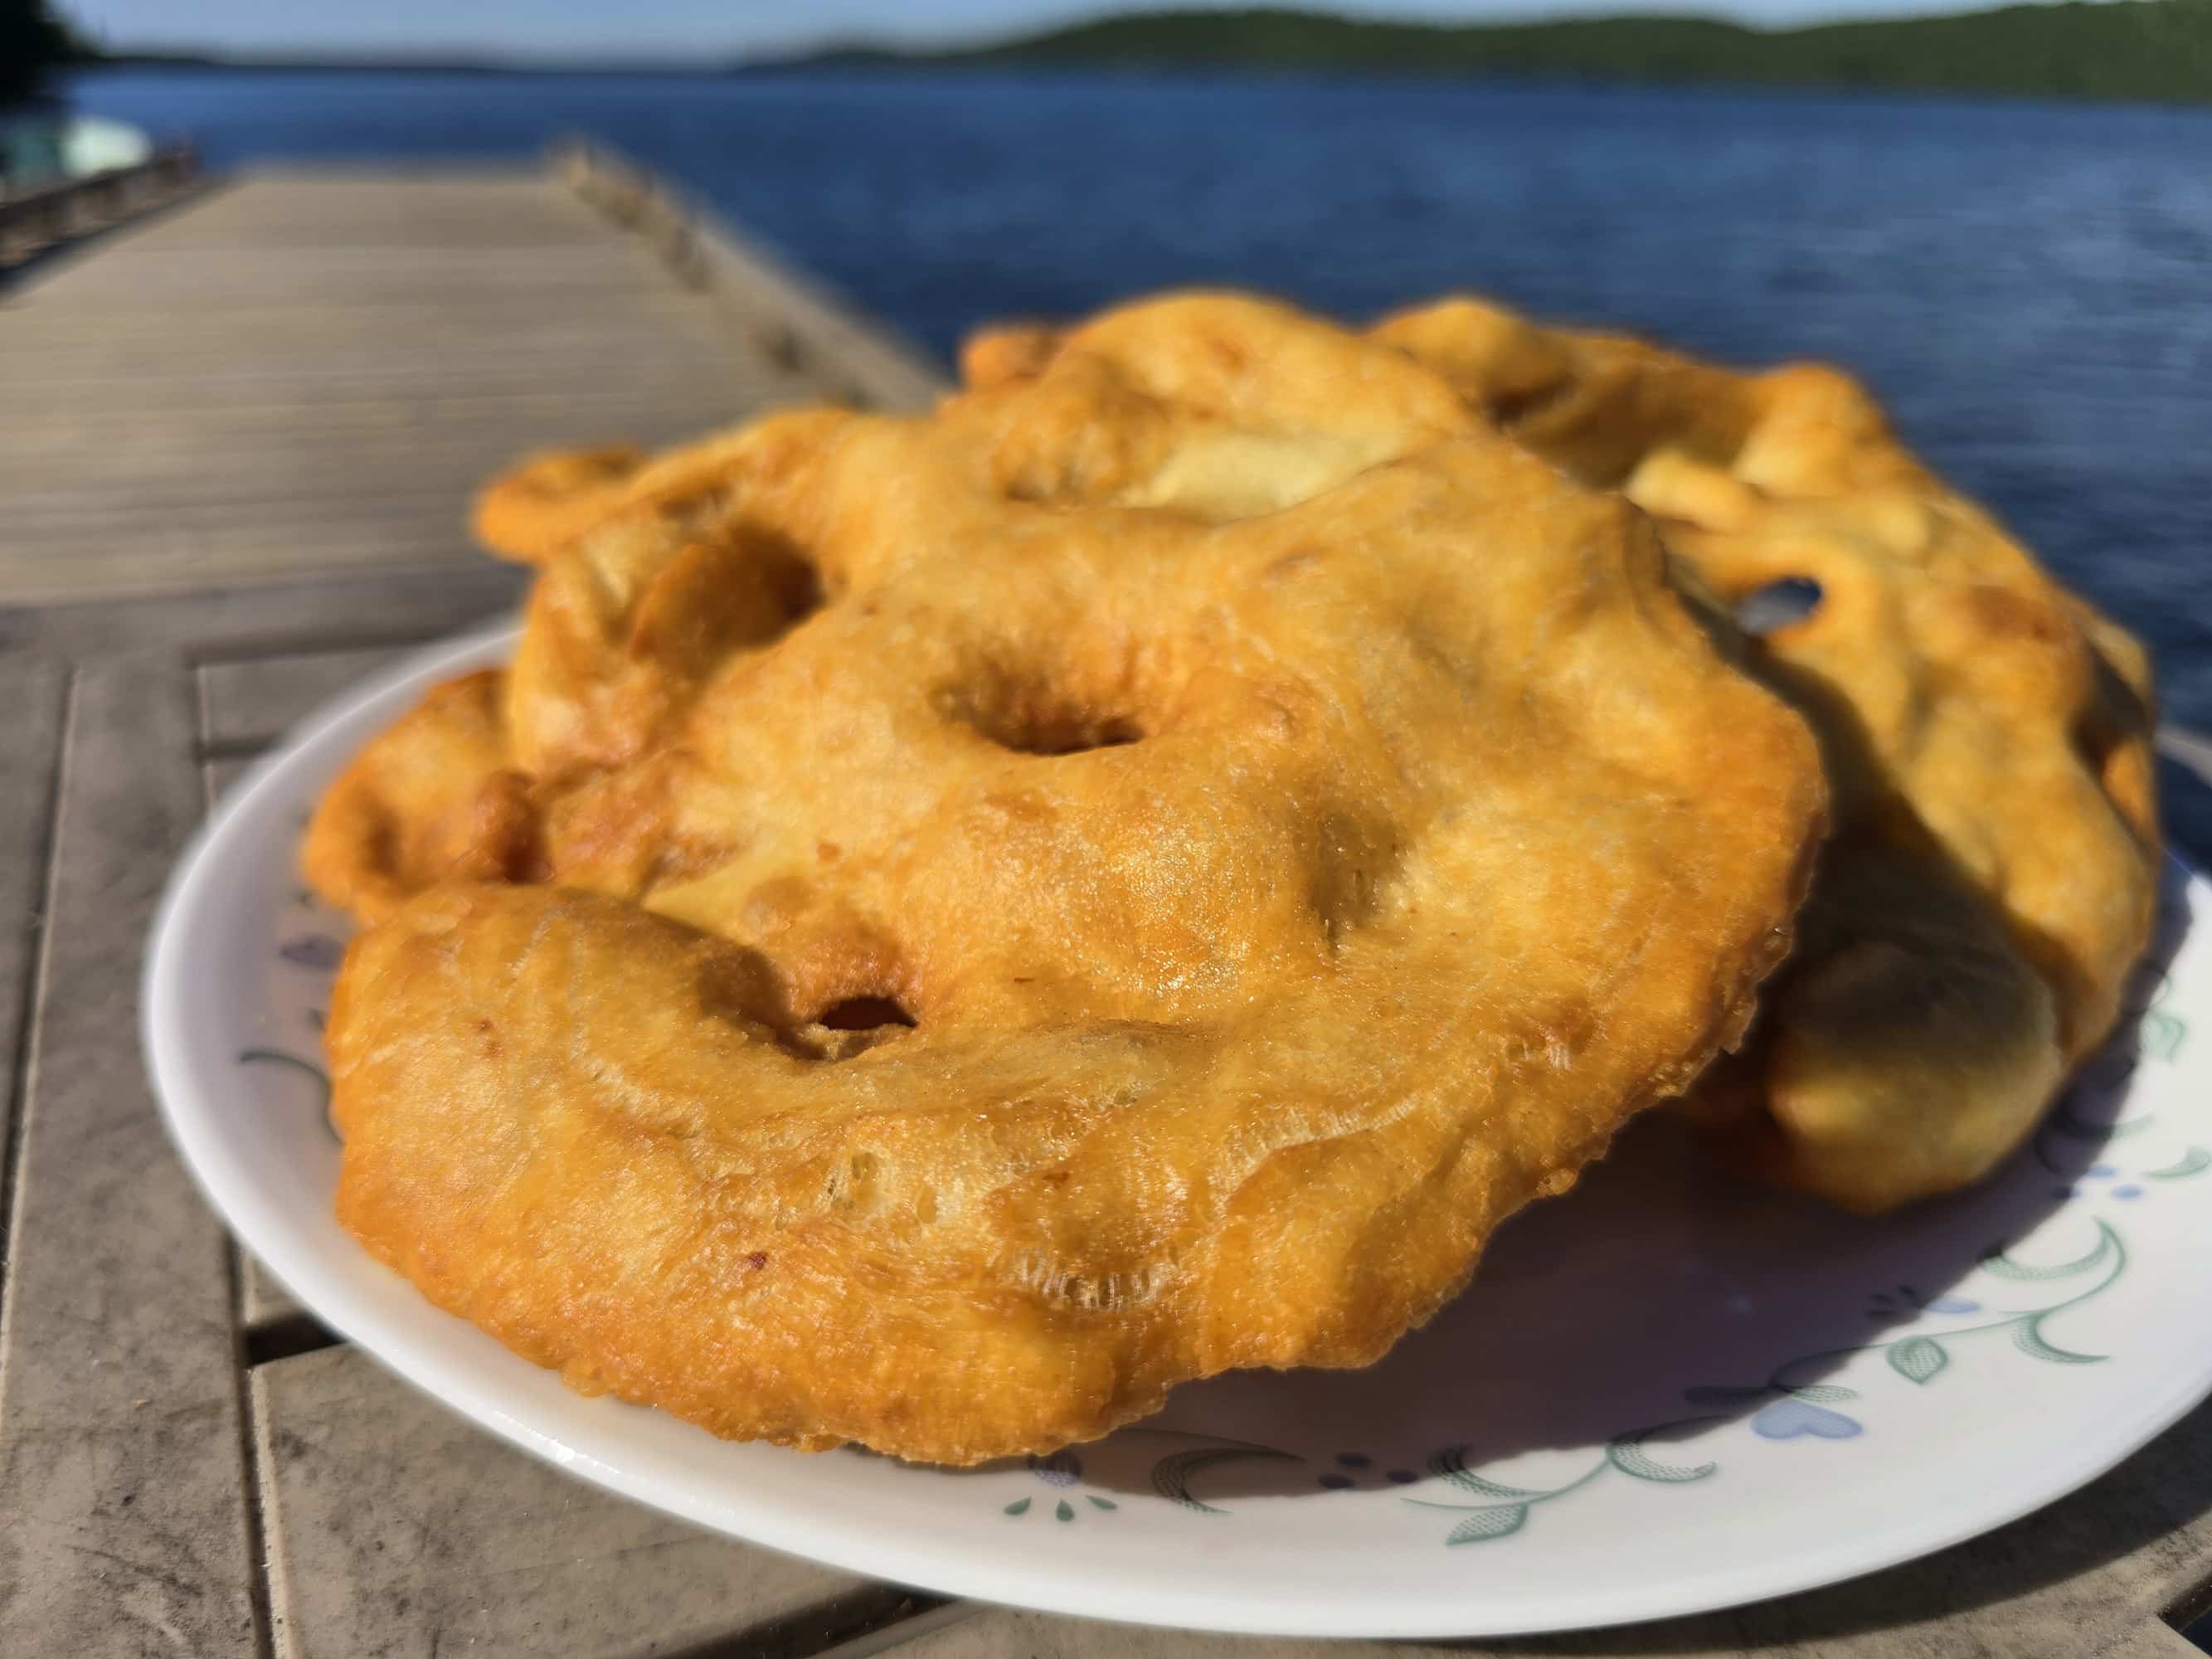
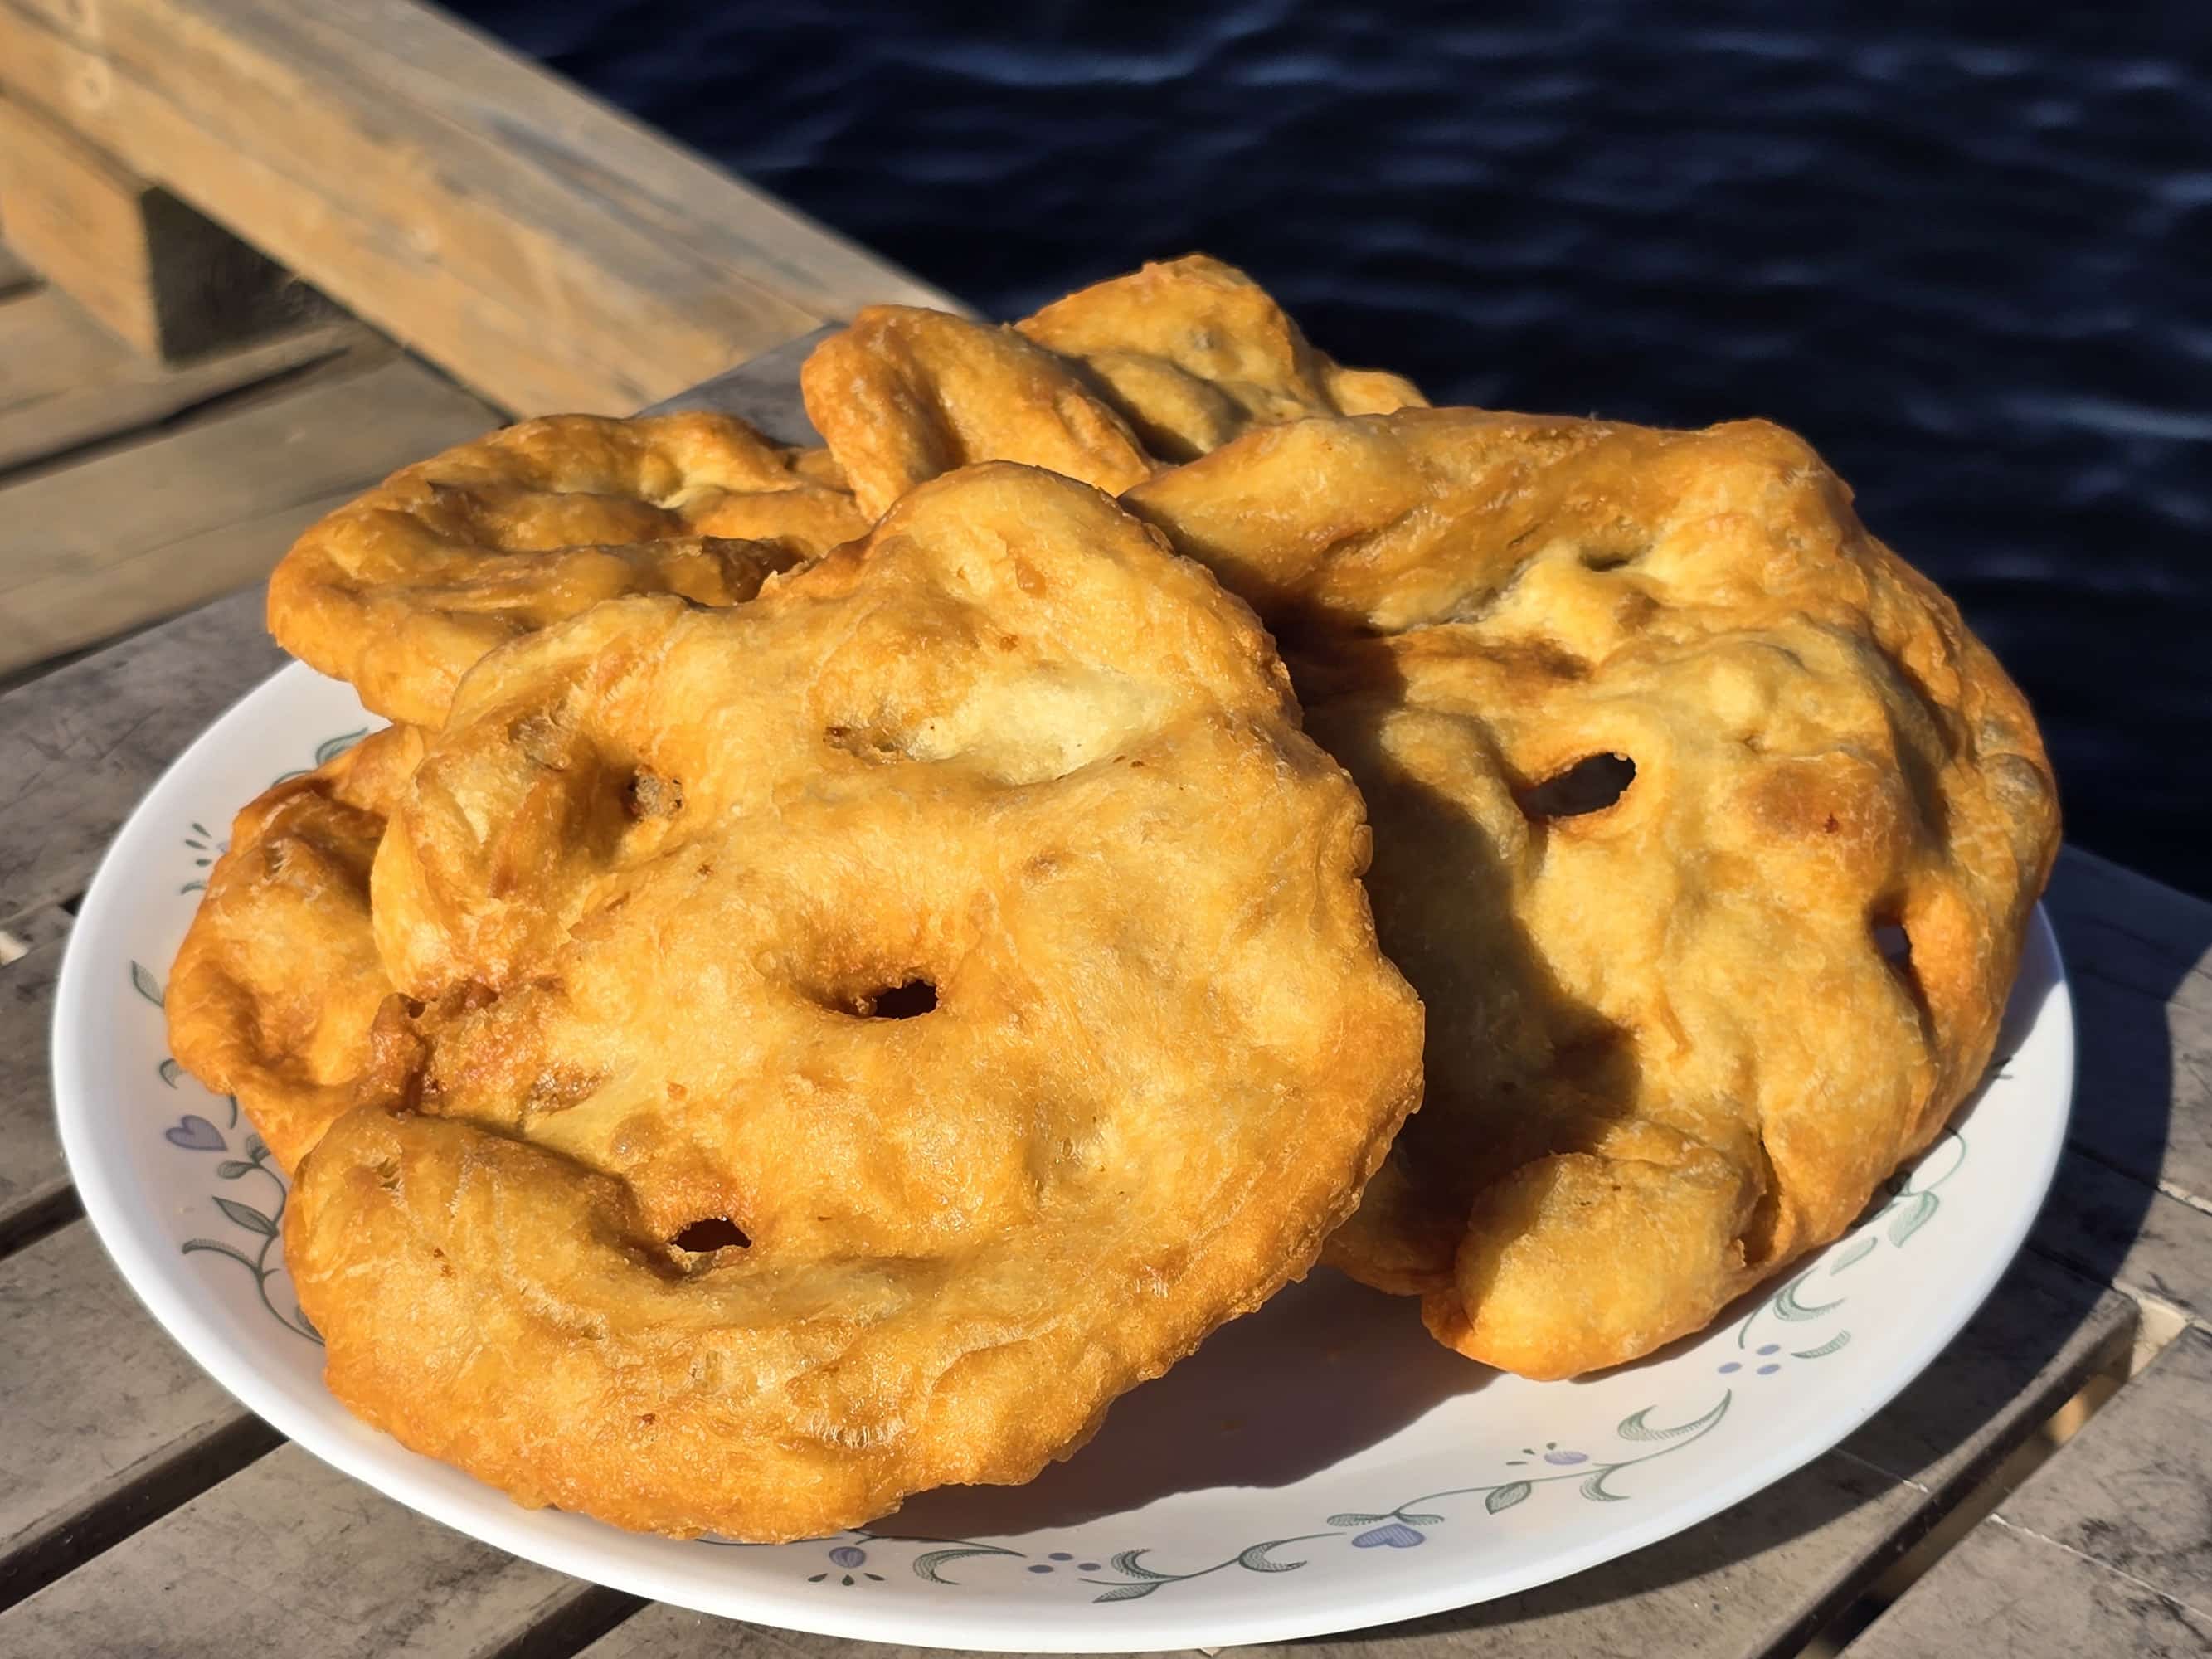
Bannock is a camping staple, and this homemade frybread recipe is a fun, versatile variation on it! Here's what you need to know about making homemade fry bread - and how you can serve it!

So far, we’ve posted 3 of our bannock recipes - Traditional Bannock, Jalapeno Cheddar Bannock, and Bannock Burgers.
While I see a distinct difference between Native American Fry Bread and Bannock - both in preparation, and a (slight!) difference in the ingredients - I definitely see it as “bannock adjacent”.
As Porter says:
“So, I love bannock in general, and this is an even more “fun” version - like a treat version of it. Sure, it’s not the healthiest version, but you really can’t beat deep fried dough, you know?
It actually reminded me a bit of when I’d make churros as a kid. I feel like I could eat two of them at a time, just on their own!”
This makes it a super versatile option, when it comes to having some form of homemade bread that you can make while camping!
Frybread Uses
One of the most popular ways to serve frybread is as Indian Tacos (Or “Navajo Tacos”), by piling seasoned ground beef, cheddar cheese, lettuce, sour cream, etc on top of your frybreads. The fry bread takes the place of corn tortillas.
You can use frybread in place of pizza dough, treating the frybread as any other flat dough bread - spread it with some sauce, sprinkle with cheese and your favourite savory toppings.
If you’re more in the mood for a sweet treat, you can serve fry bread with honey butter, or toss it with cinnamon sugar or powdered sugar, for something like a large doughnut or funnel cake.
Anyway, we’ll eventually post some more recipes using frybread, but for now... let’s look at the basics of making it!
Ingredients
This recipe uses SUPER basic ingredients. If you don’t already have them in your pantry, you definitely won’t have any trouble finding them in any grocery store.
As always, I have a few notes for you:
All Purpose Flour
I use all-purpose flour, as that’s how I learned it. That’s also how it’s been any time I’ve had it when someone ELSE has made it.
That said, you could probably substitute part of the white flour with whole wheat flour if you really wanted.
I wouldn’t swap out more than about ⅓ of it, or it could affect the texture.
Also note: Contrary to what some food bloggers will tell you, you generally can NOT swap in gluten-free flour into any kind of a bread recipe and expect good results.
Eventually I’ll come up with a good gluten-free bannock - and fry bread - recipe, but I haven’t had the time!
Vegetable Oil
I use vegetable oil, as it’s cheap, readily available, and works well for deep fat frying.
In general, you want to use a neutral tasting oil with a high smoke point - vegetable oil, sunflower oil, or canola oil are all great options.
When cooking it, you want the oil hot enough, but not TOO hot - too hot will burn the outside before the inside is cooked.
If you have a deep frying thermometer, that will help you know when the oil is ready, but it’s not necessary - we don’t use one when camping.
How to tell when the oil is the right temperature:
1. Drop a small ball of dough in to the oil. If it sinks slightly, before floating, sizzling, and browning gradually, it’s hot enough. If it just sinks to the bottom, it’s not hot enough. If the dough browns really fast, it’s too hot.
2. Put a wooden spoon in the oil. If the oil sizzles and bubbles around the spoon right away, it’s hot enough. If it violently bubbles, though, it’s too hot.
3. If you drop a popcorn kernel into the oil and it pops, the oil is hot enough.
I prefer the first method, personally.
Everything Else
Rounding out this recipe, you need baking powder and salt - that’s it!
... and I really don’t have anything to add, for those last two ingredients.
That said, you’ll probably want to have some favourite toppings on hand. As previously mentioned, this can be anything from either plain or honey butter, to taco fixings, pizza toppings, or even powdered sugar.
It’s your frybread, have at it!
Share the Love!If you’ve made one of our recipes, be sure to take some pics of your handiwork! If you post it to Bluesky, be sure to tag us - @2NerdsInATruck, or you can tag us on TikTok, if you’re posting video. We're also on Pinterest, so you can save all your favourite recipes and park reviews to your own boards! Also, be sure to subscribe to our free email newsletter, so you never miss out on any of our nonsense. Well, the published nonsense, anyway! |
How to Make Frybread
The full recipe is in the printable recipe card at the end of this post, here is the visual walk through:
Optional Make-Ahead Step
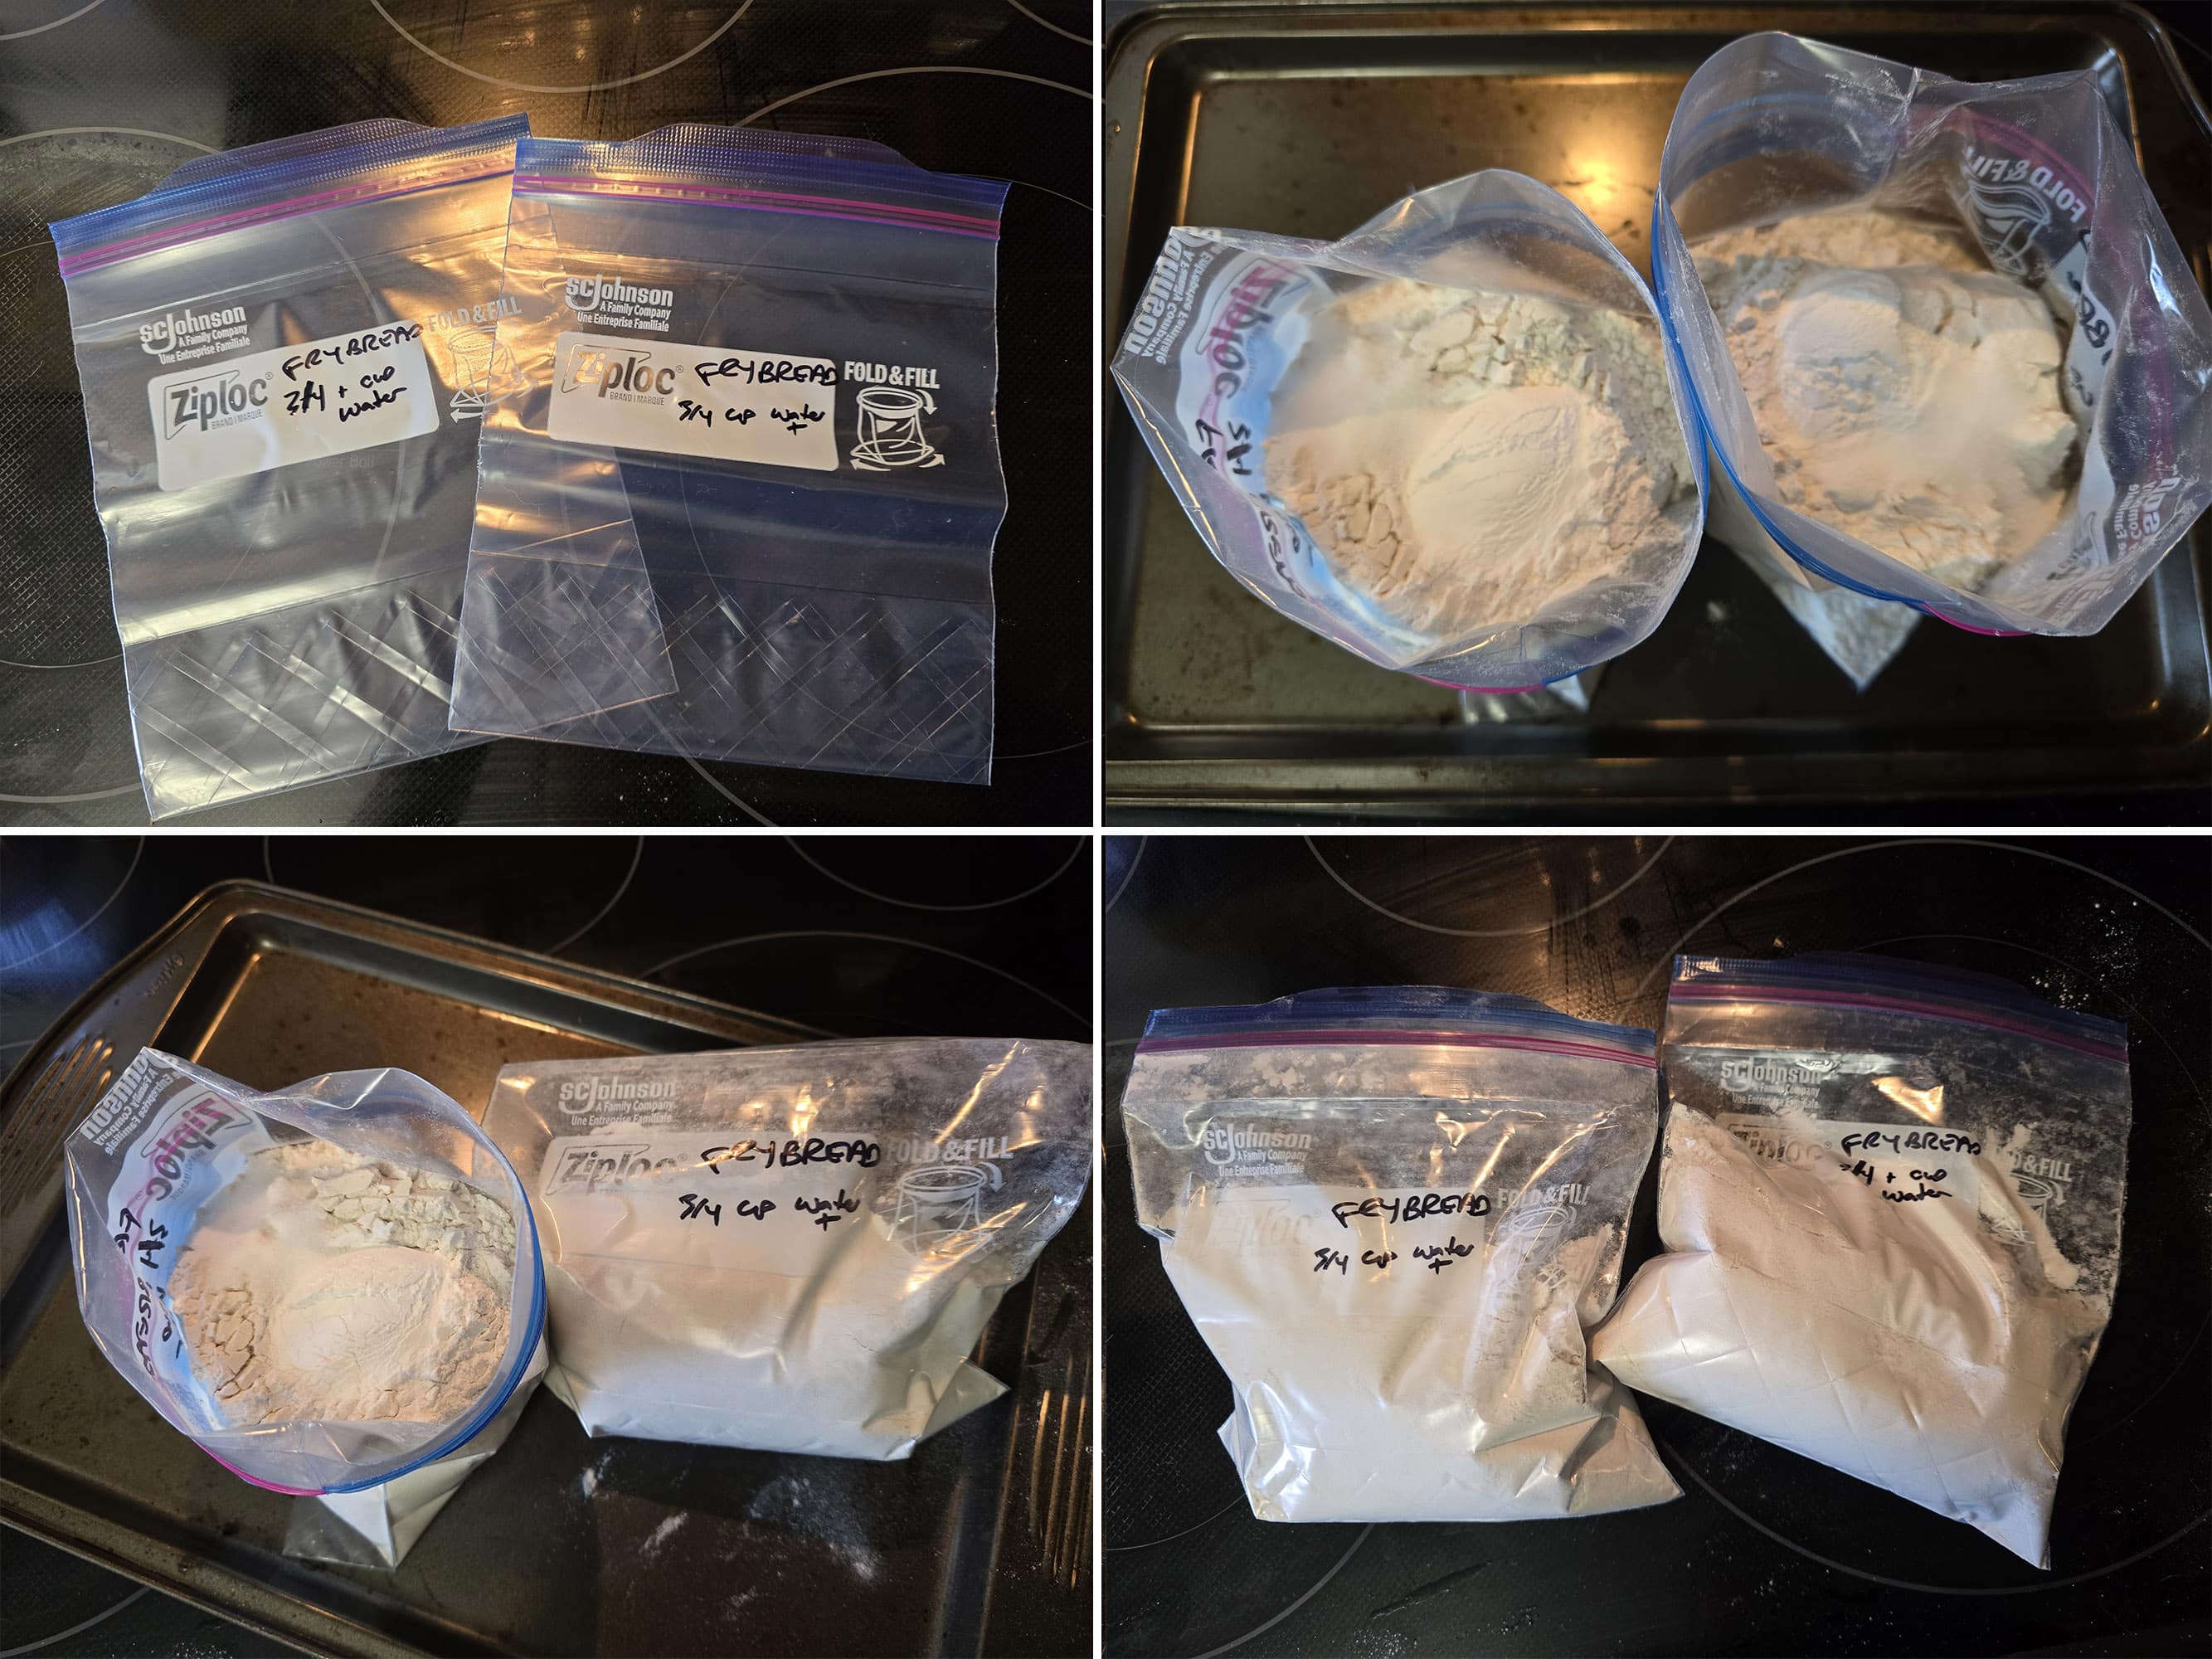
Before each camping trip, I make several batches of bannock mix, which I use for both bannock and fry bread.
Note: The only difference is that I add fat to the bannock dough - I don’t bother with fry bread, as it gets plenty of fat from frying!
I just measure the flour, baking powder, and salt into medium Ziplock freezer bags, assembly line style. Then I label each bag and store them in an airtight container, until we’re ready to use them for something.
Make the Dough
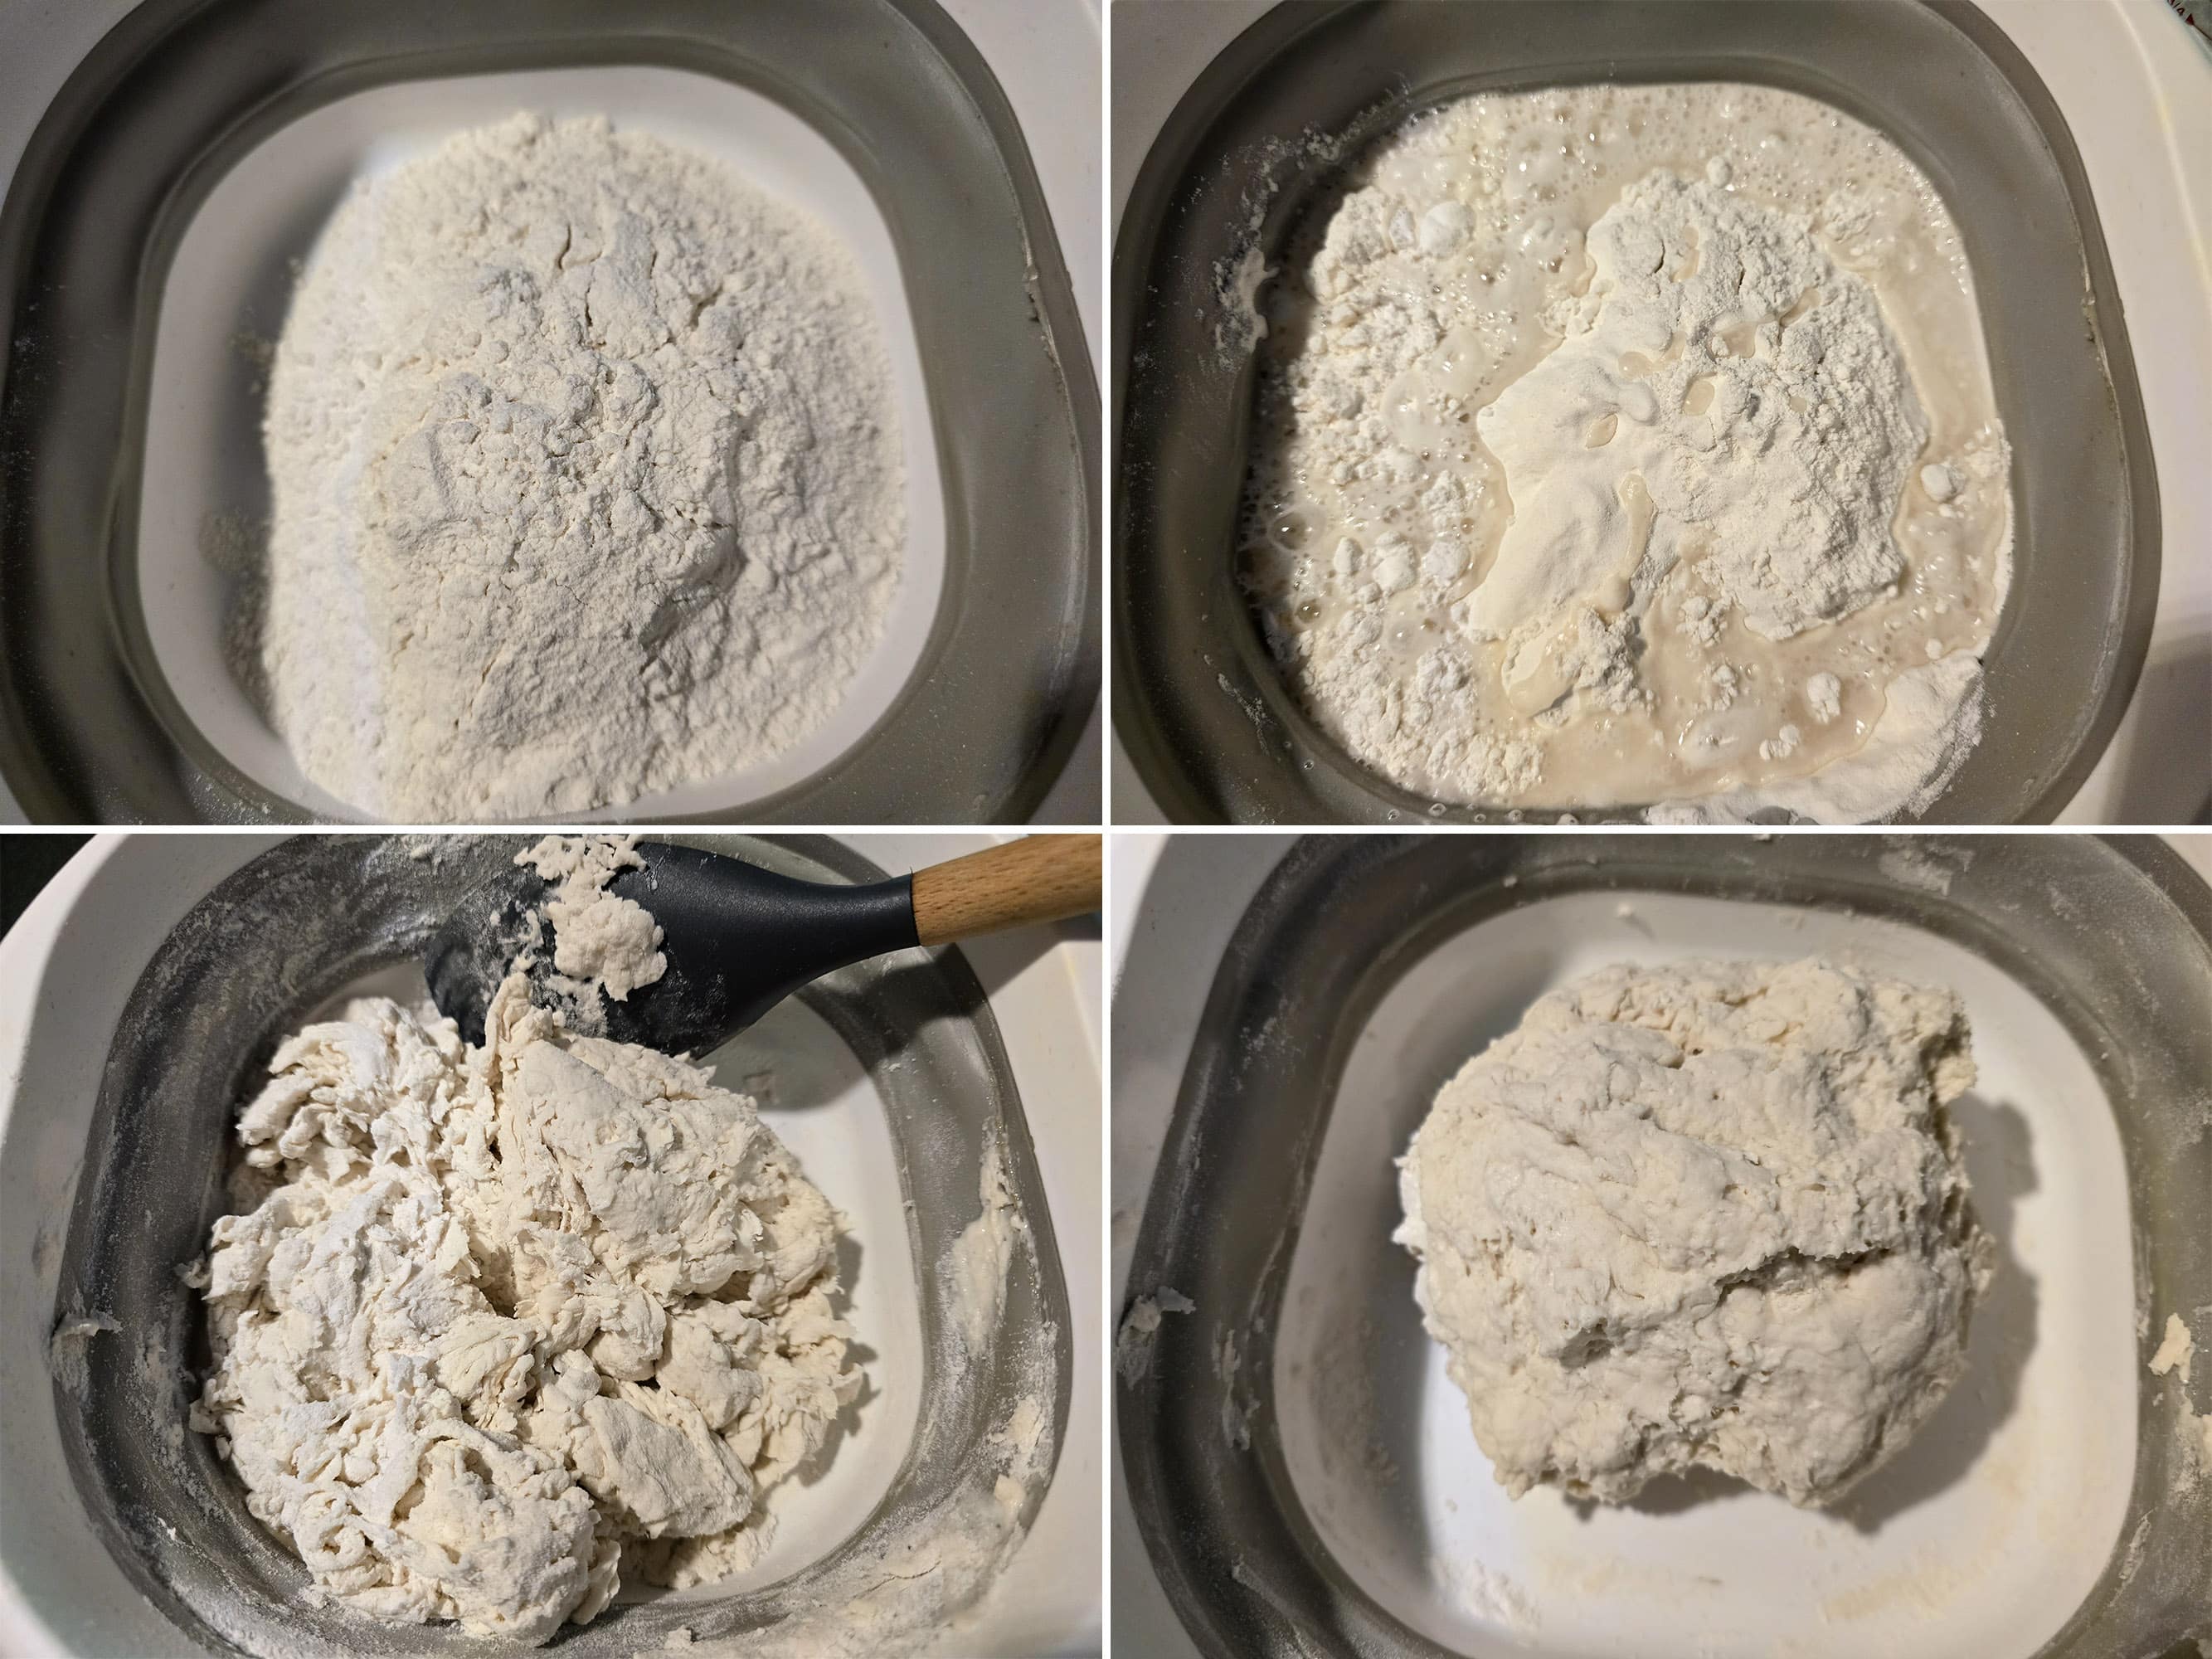
In a large mixing bowl, combine the dry ingredients - or dump out one bag of mix.
Add water to the mix, just enough to bring it together into a sticky dough.
Knead lightly for a minute or two to smooth it out a little - don’t overwork it, or it will turn out dense. If it’s too sticky to work with, add a little flour - just not too much!
Put the dough back in the mixing bowl and cover with plastic wrap, or a damp cloth. Let it rest - at room temperature - for 20 minutes.
Resting the dough relaxes the gluten, and makes it easier to stretch the finished dough out without it snapping back into place.
Form the Dough
After about 20 minutes, get a medium fire going. Place your dutch oven (or a large cast-iron skillet) over the fire, add at least an inch of vegetable oil to it, and let it start heating.
If you have a deep frying thermometer, you’ll want the oil to come to 350 degrees F.
If don’t have a thermometer, see the post for tips on how to tell when your oil is hot enough.
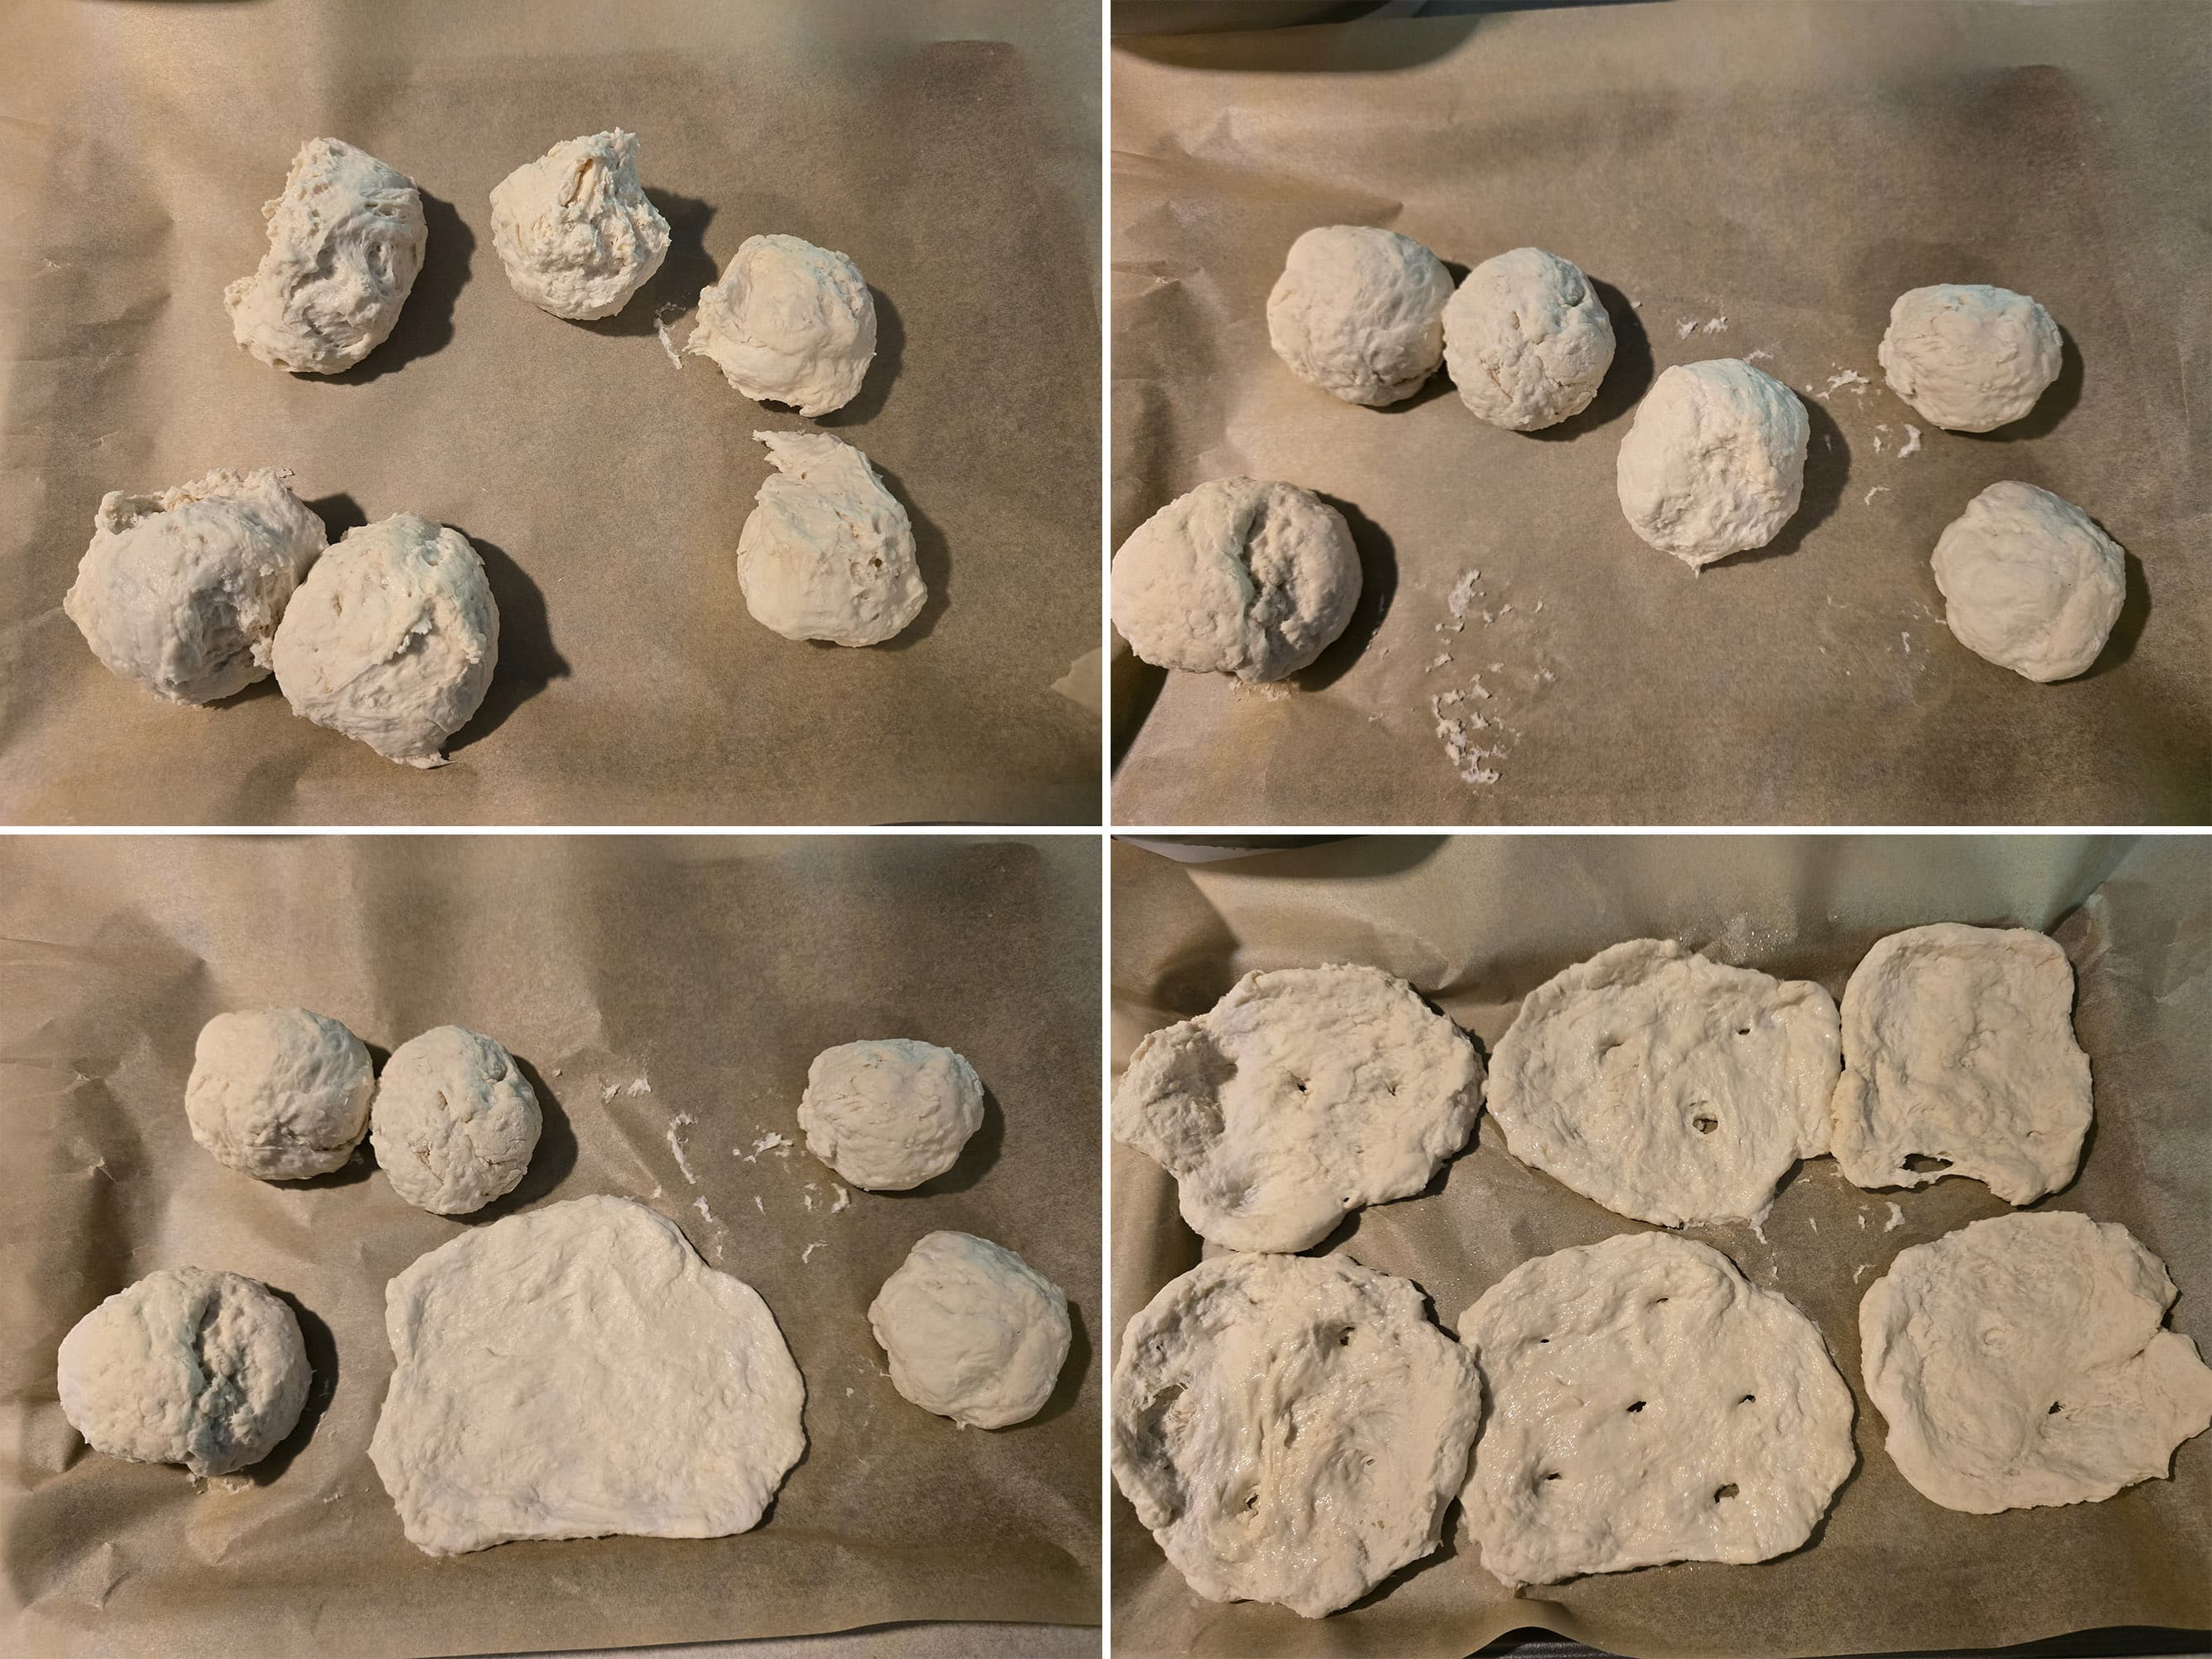
Divide the dough into 6-8 smaller pieces (or 4 if you want larger pieces for Indian Tacos - you’ll want plate-sized rounds for those!).
Note: Whether rolling them with a pin or flattening by hand, it’s best to stretch the dough, rather than to squishing each piece flat. If you’re having a hard time getting your dough to stay stretched out, let the dough rest some more.
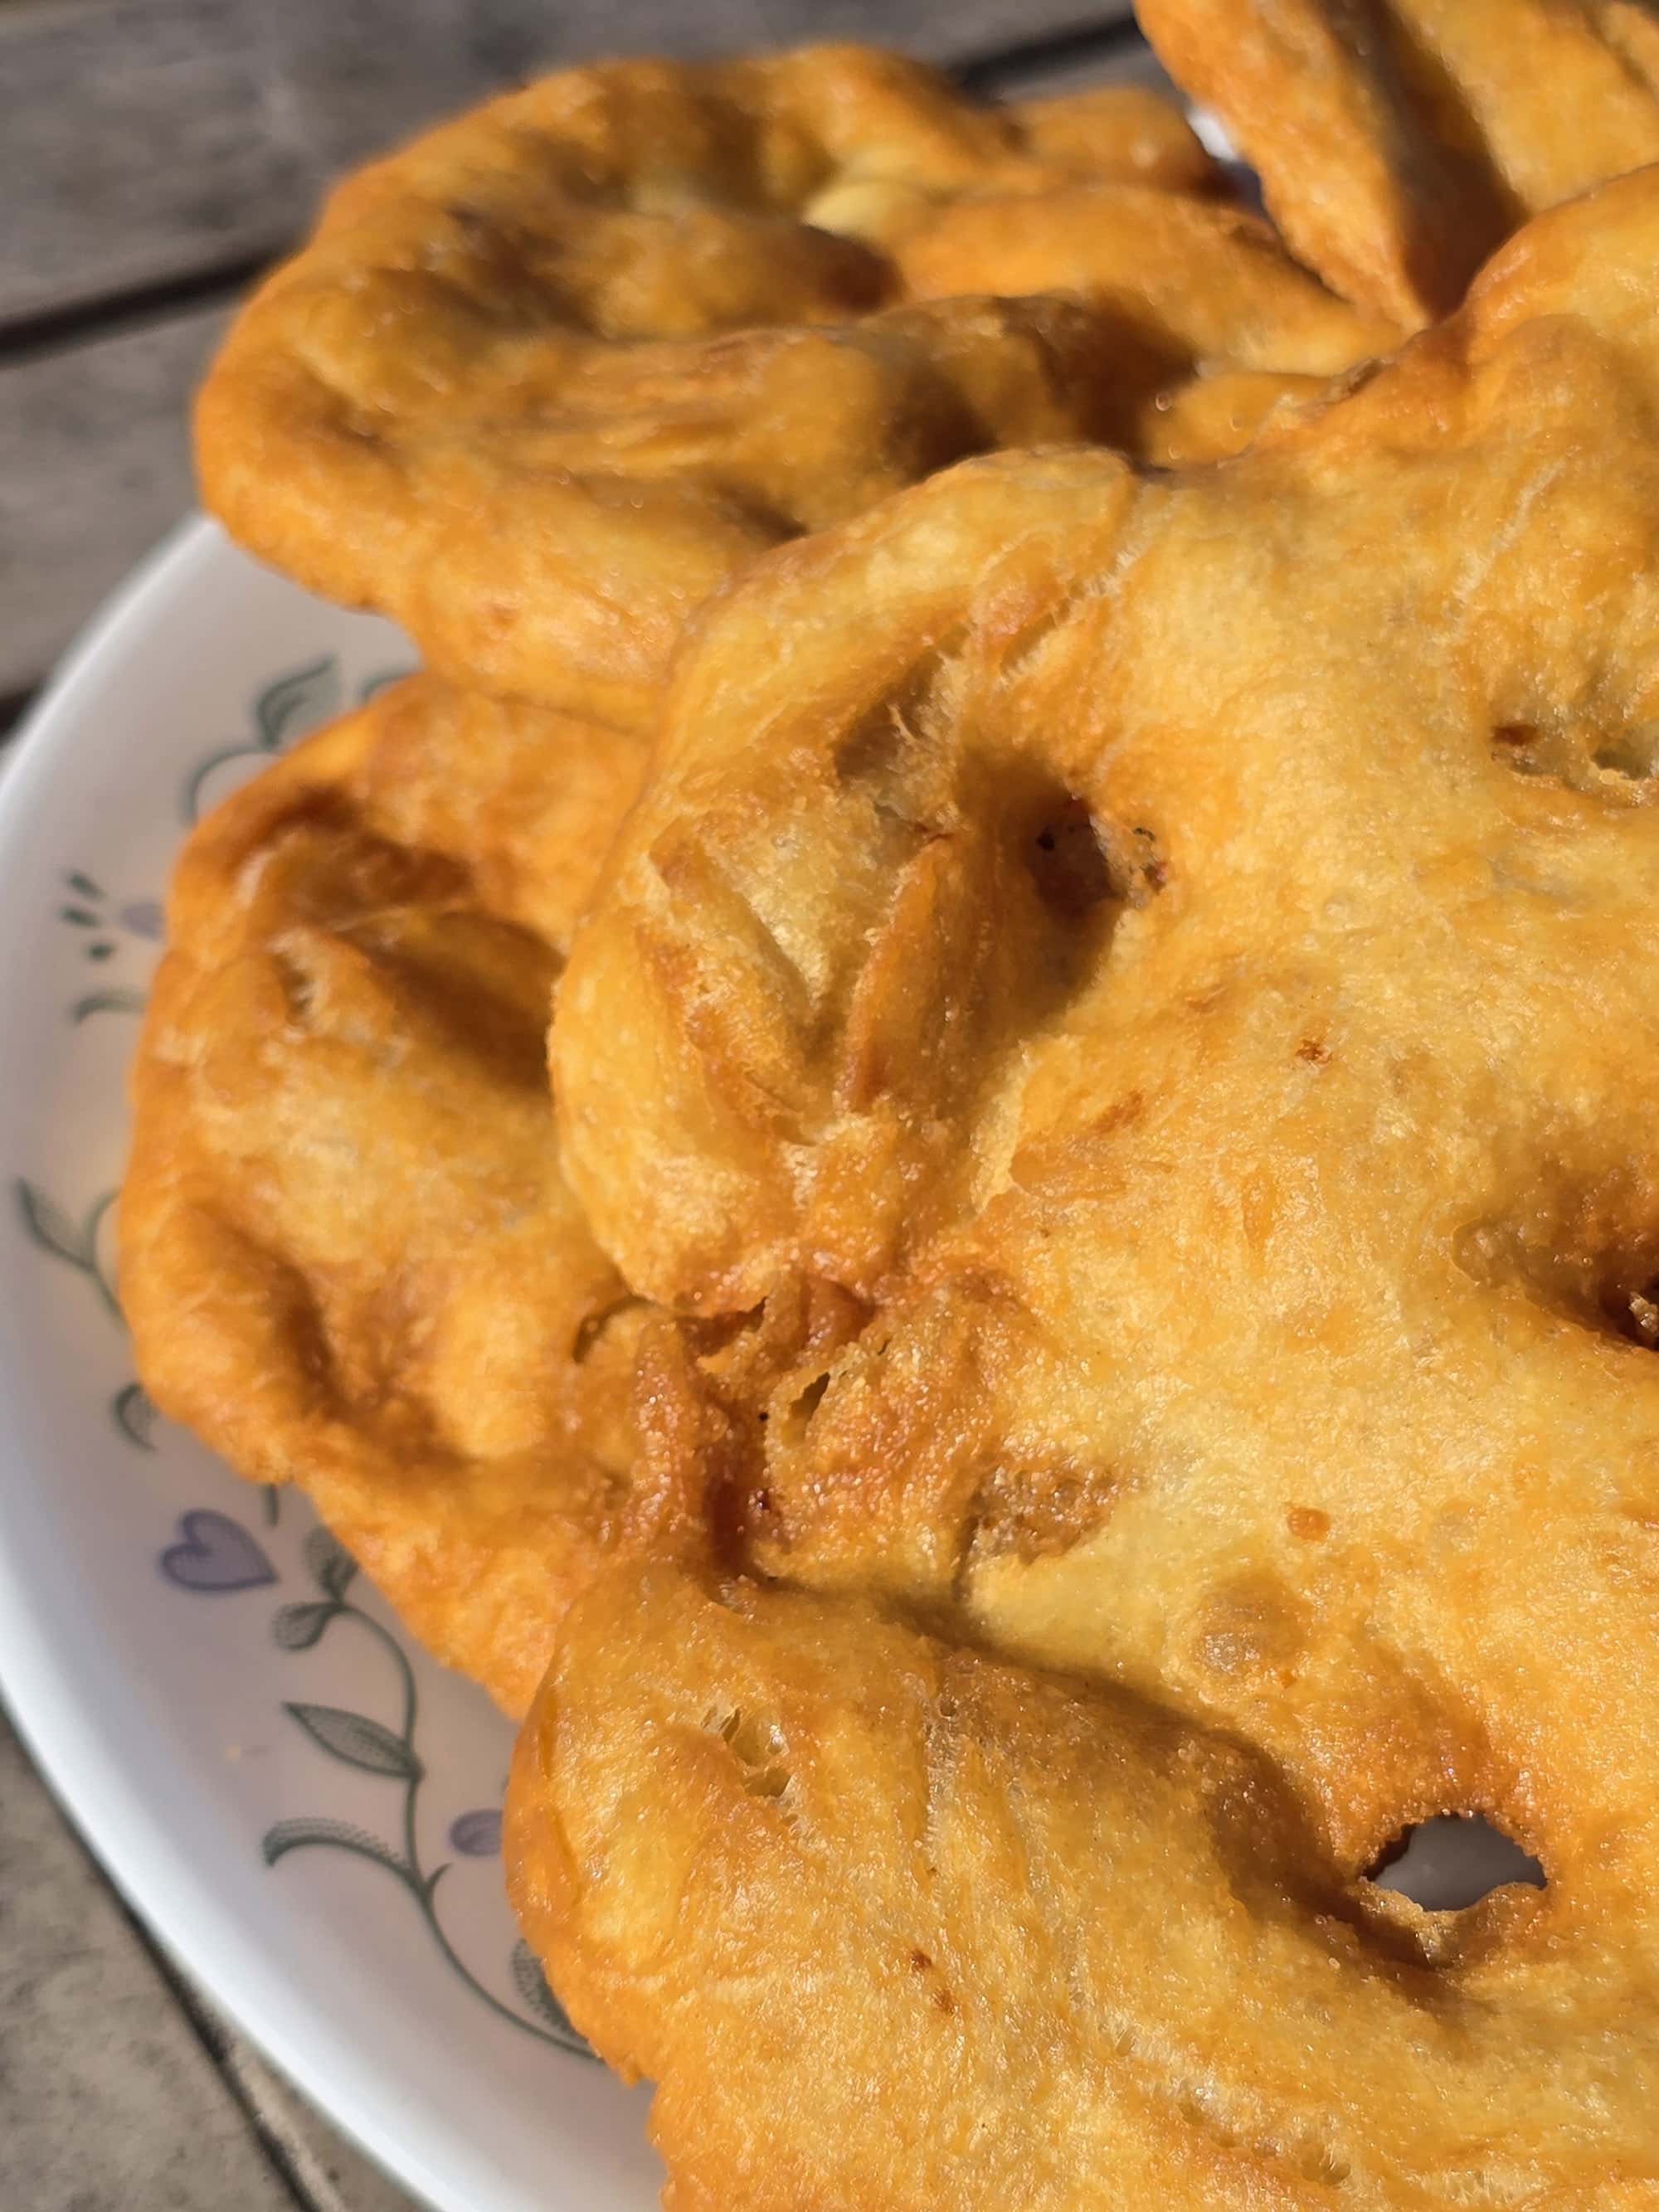
Some people like to poke a hole in the middle of their frybread. Usually though, I like to poke a few holes in each of mine. Alternately, you can prick each dough round all over with a fork.
Fry the Dough
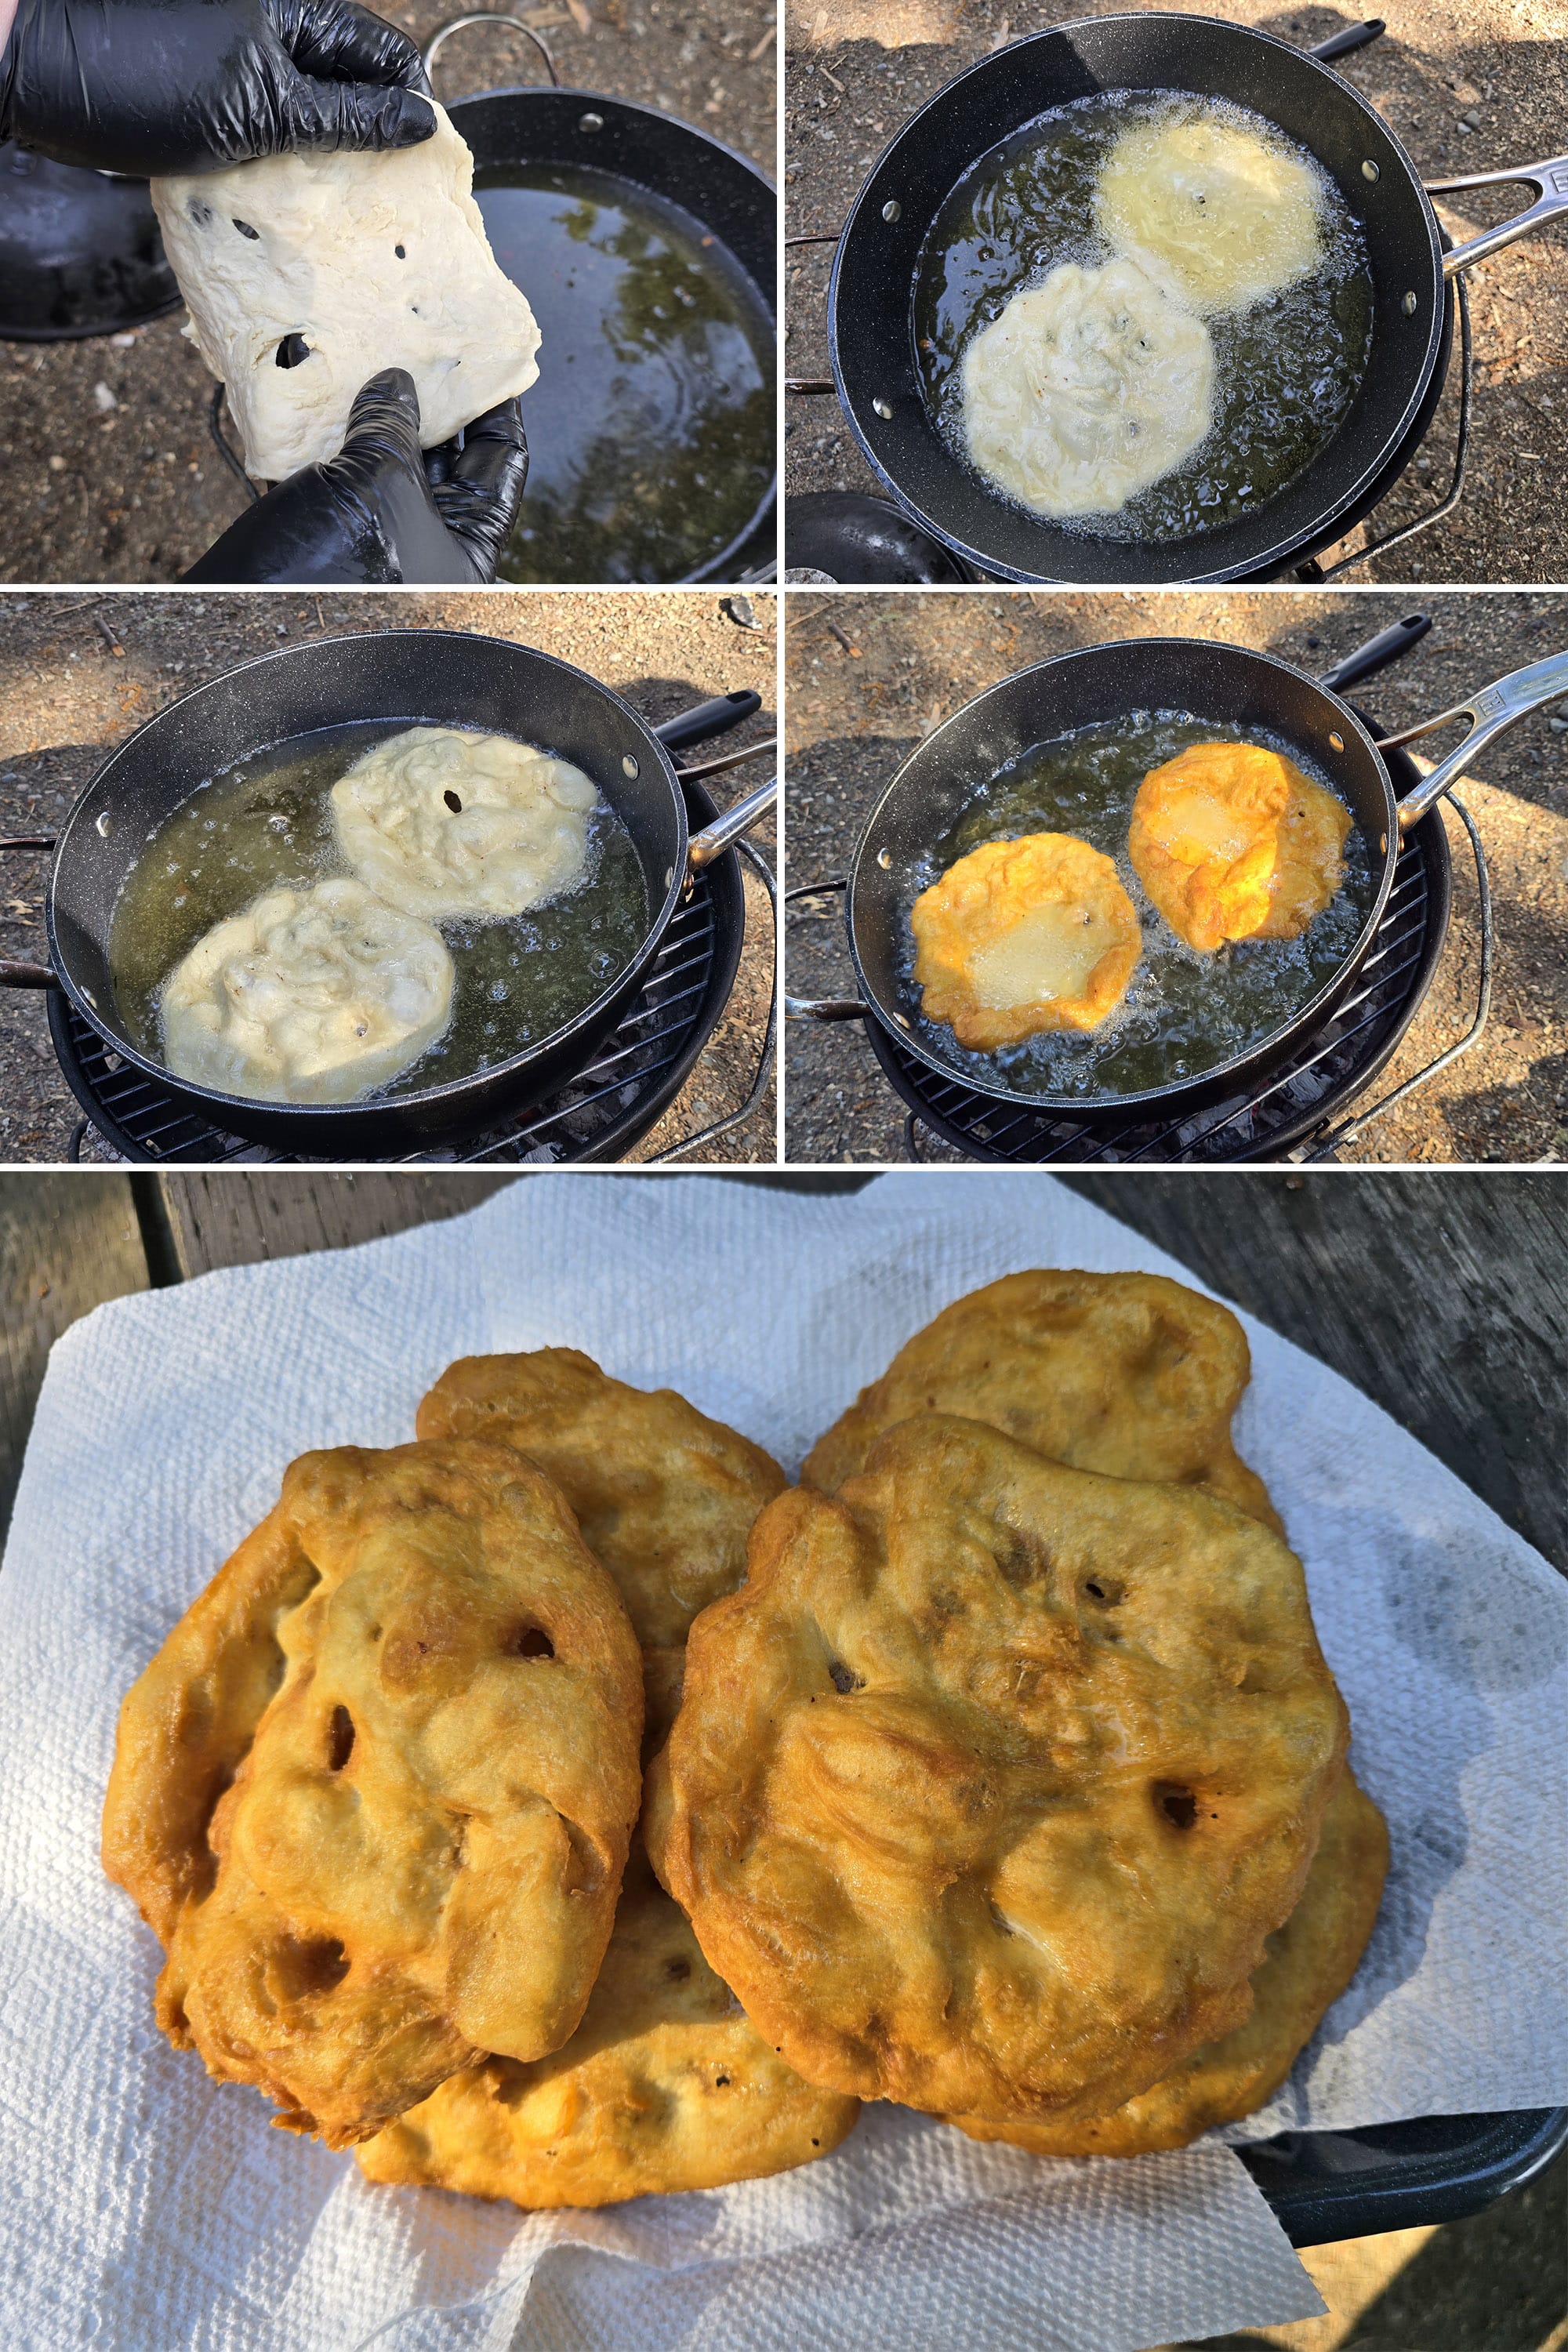
Working with one or two pieces at a time, carefully transfer the dough rounds to the hot oil.
Allow to fry for 1-2 minutes , or until golden on the underside. Use a long-handled cooking fork or tongs to gently flip the dough over and repeat, cooking until evenly golden brown.
Note: Cooking times are approximate, and will depend on the temperature of your oil, and how thick your frybread pieces are.
Transfer fried bread to a baking sheet lined with paper towels, blot to remove excess oil.
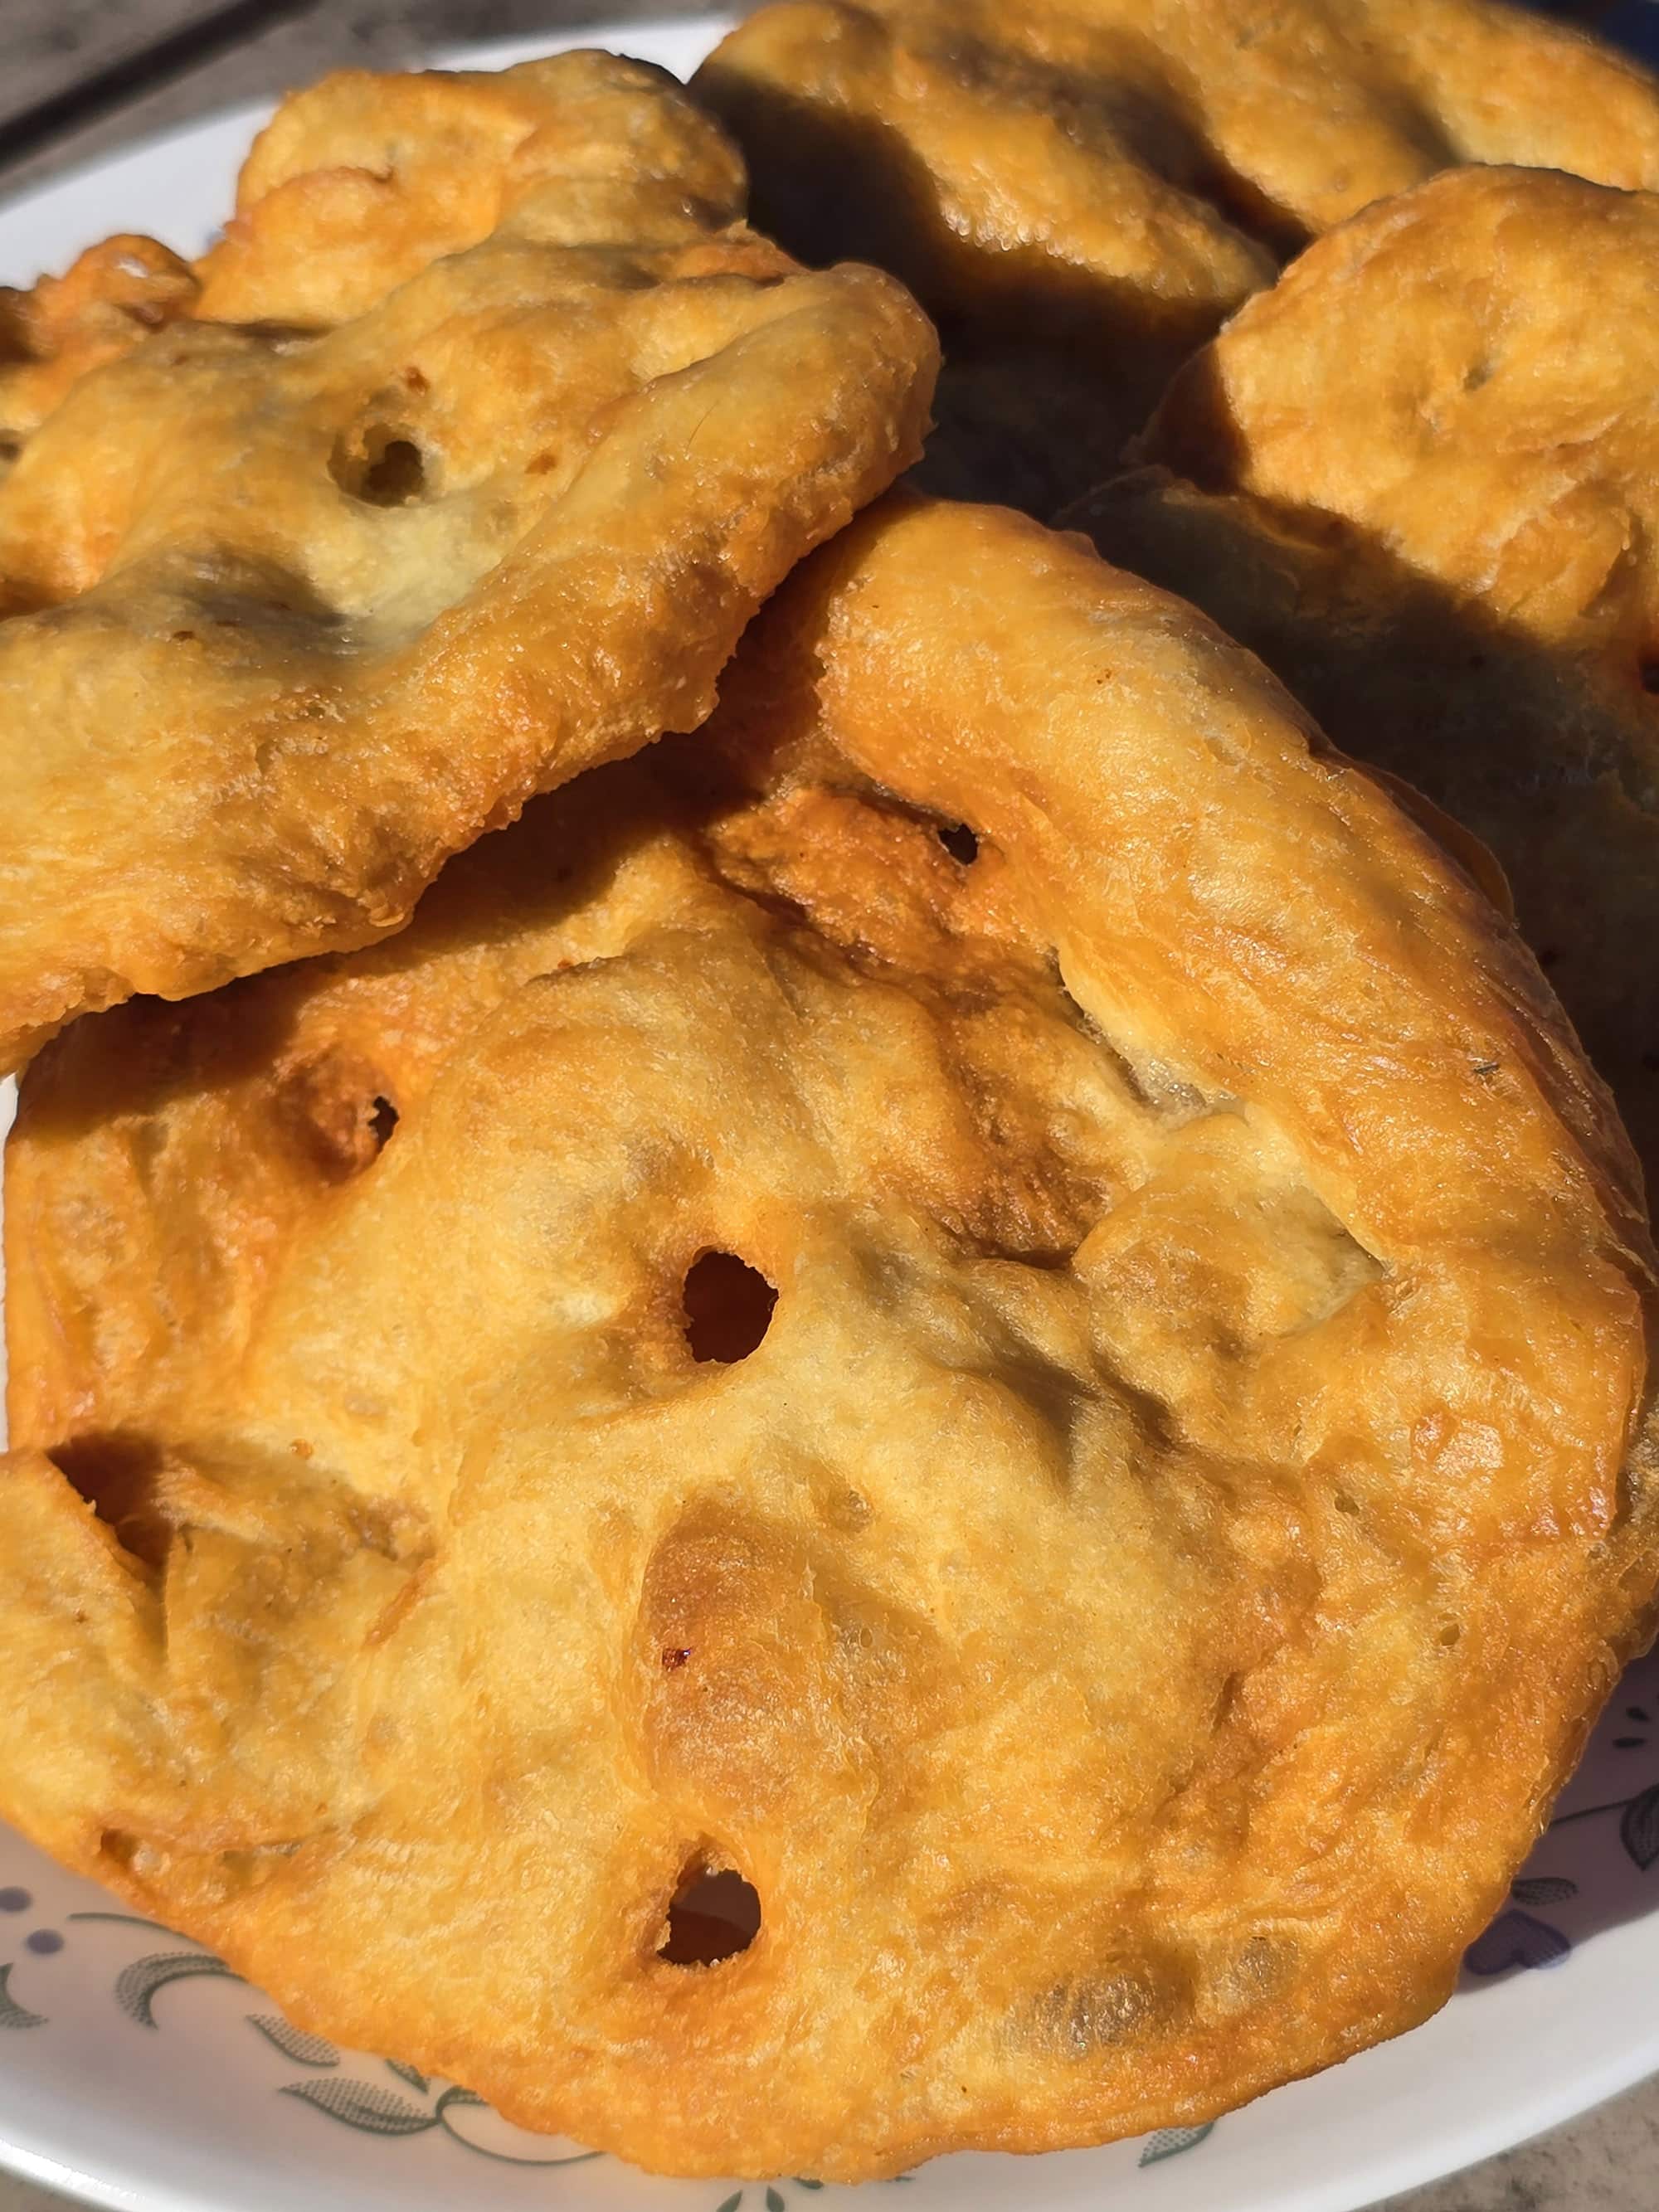
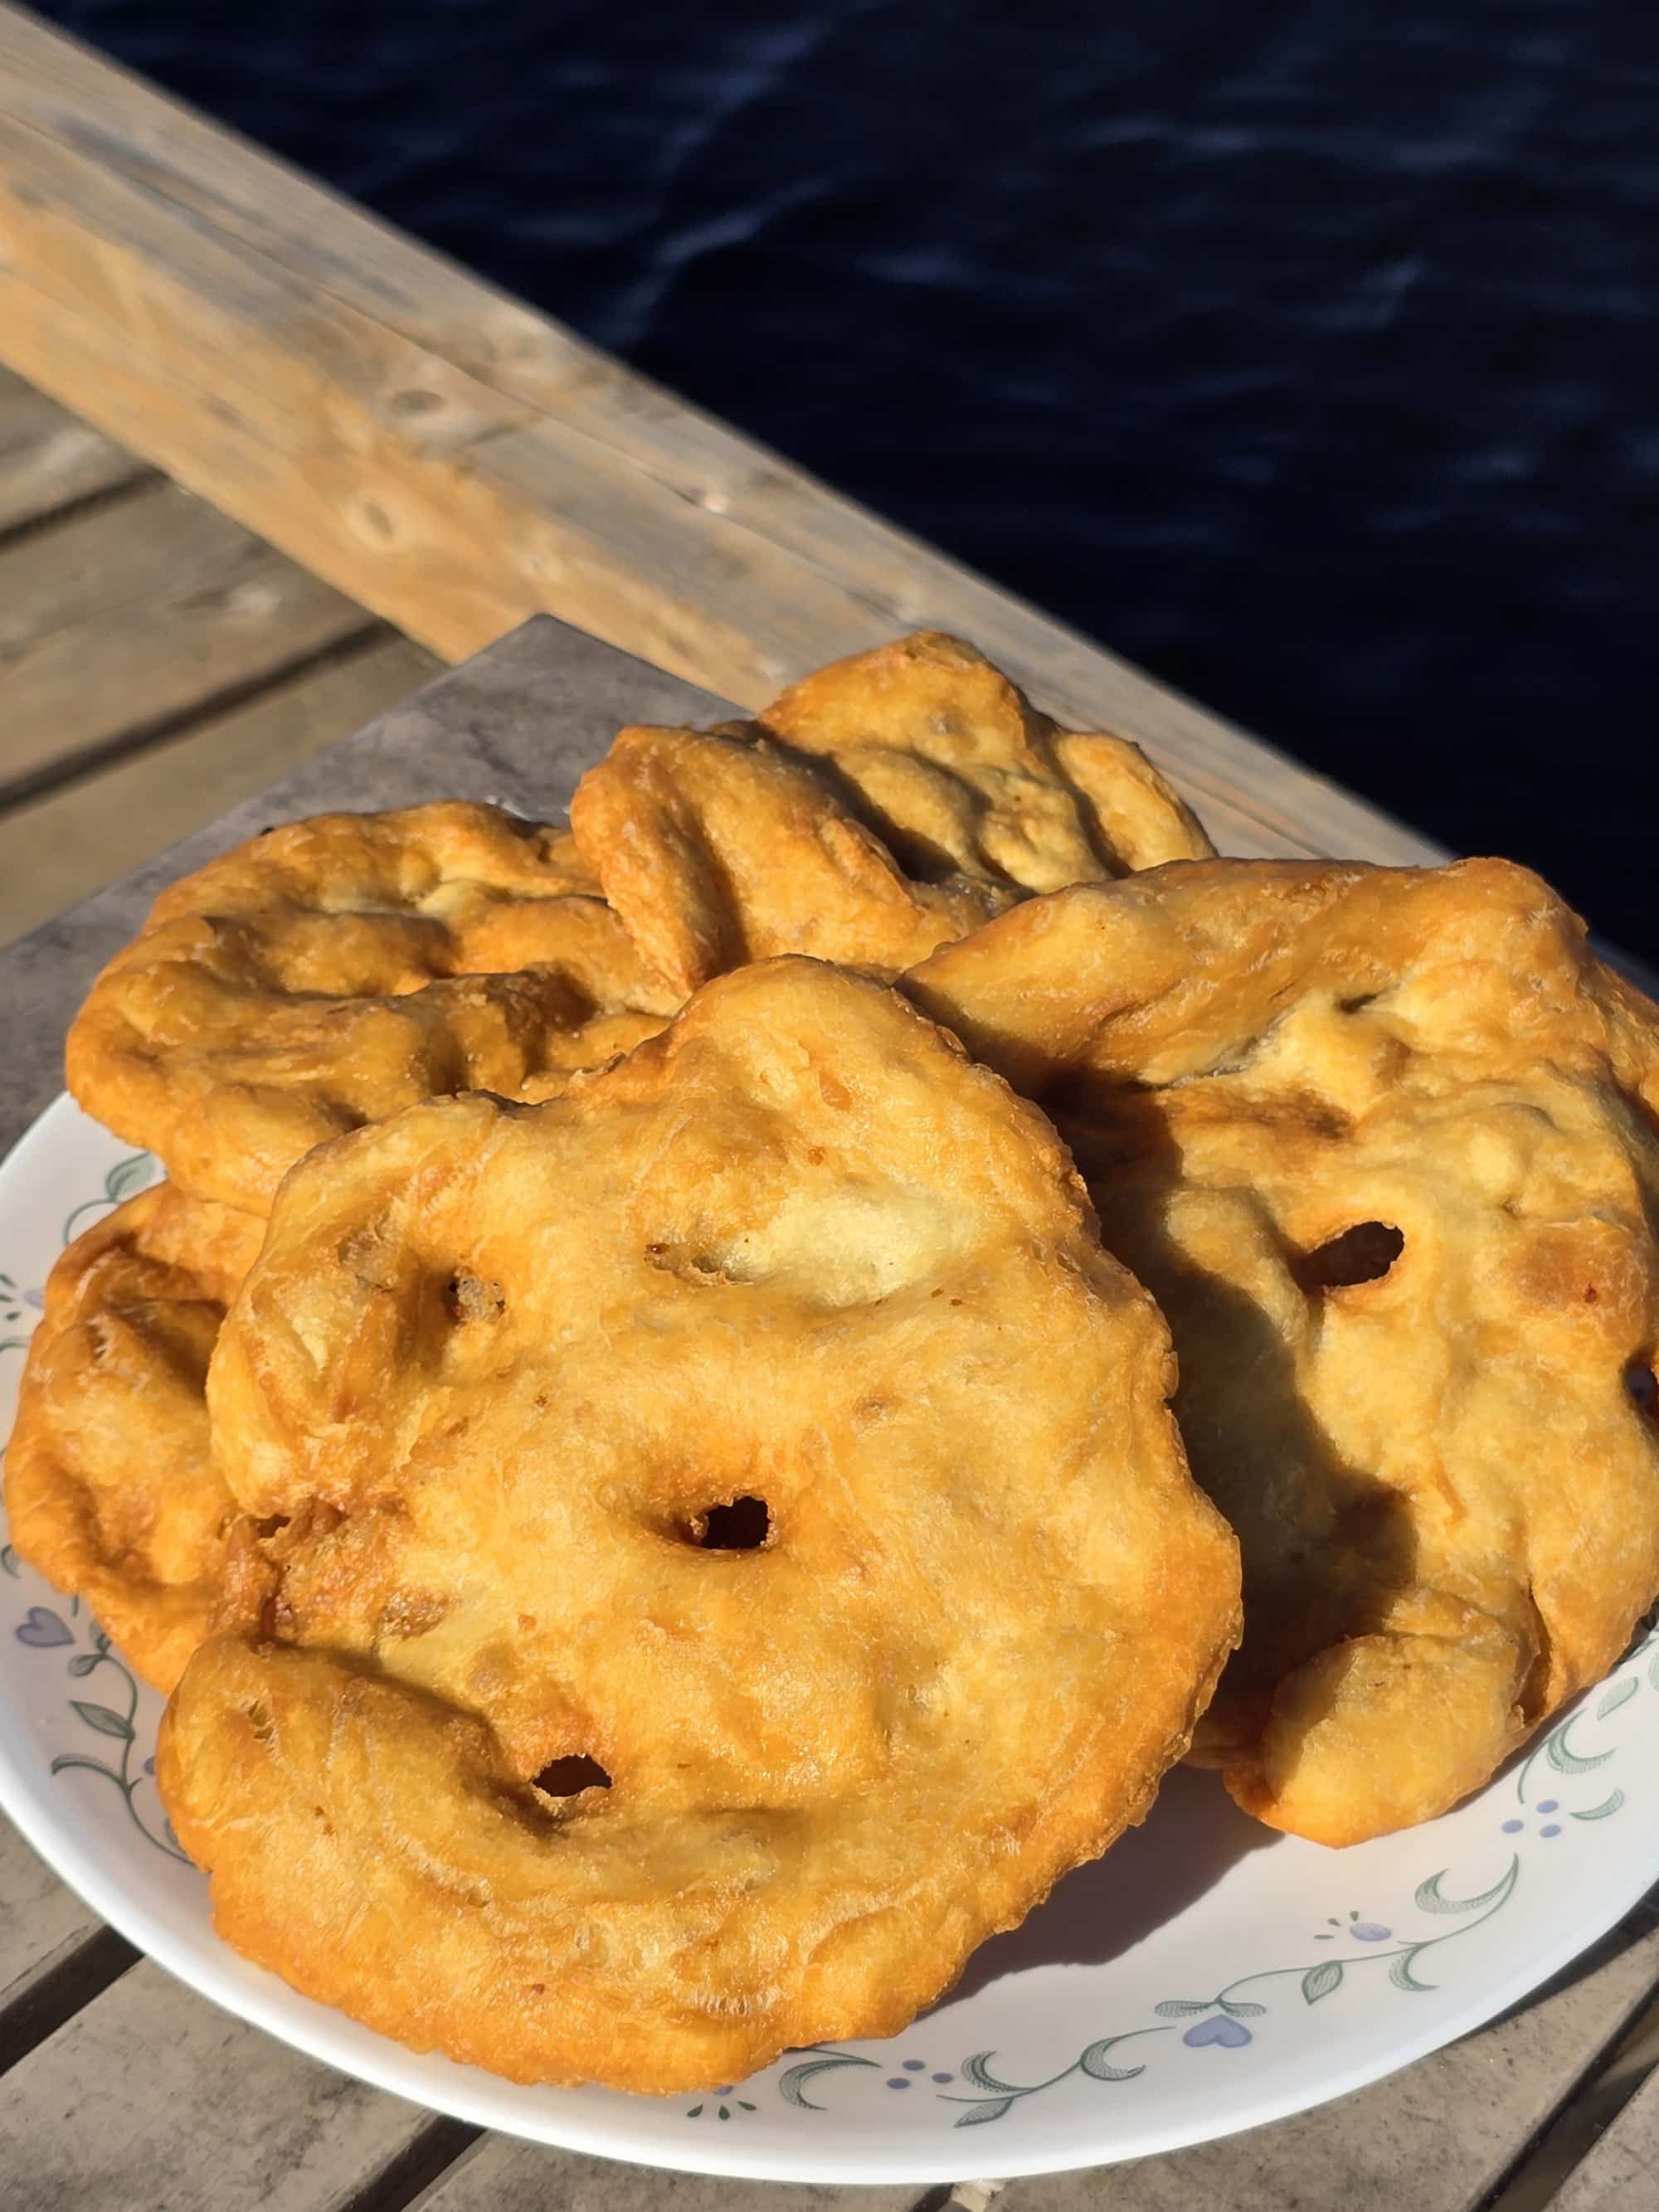
Serve warm, as-is ... or use to make Indian Tacos.
Leftovers
Leftovers can be cooled to room temperature and stored for a few days in a plastic baggie on the counter, or for around a week in an airtight container in the fridge.
See the post for more details on cooking method, working with stickier dough, how to tell if your oil is the right temperature without a thermometer, etc.
More Camping Side Dish Recipes
Looking for sides and breads to cook on a campfire, or in an RV? Here's a few simple recipes to start with!
Cheddar Jalapeno Cornbread
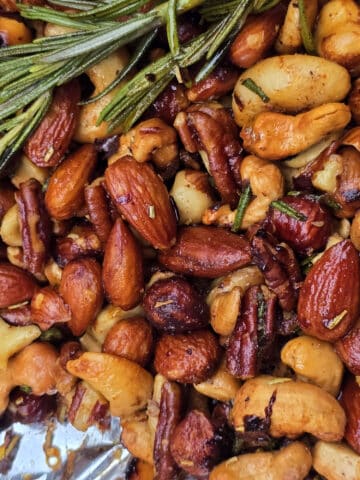
Fire Roasted Spiced Nuts
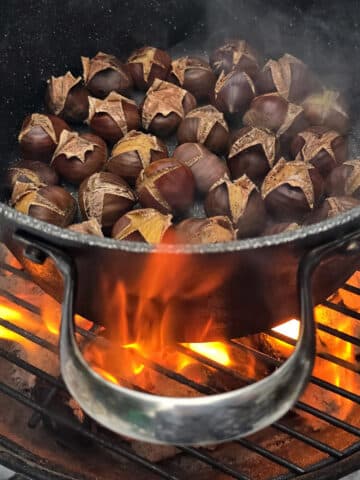
How to Roast Chestnuts on an Open Fire
Jalapeno Cheddar Bannock
Rosemary Maple Sweet Potatoes
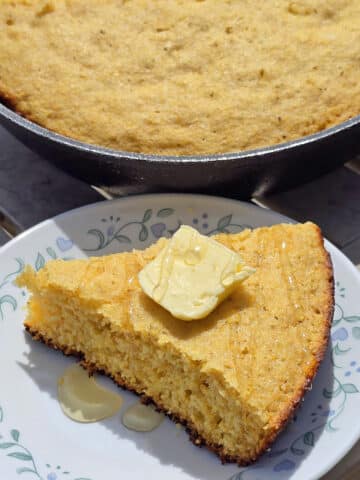
Skillet Cornbread
Traditional Bannock
... But wait, there's more! Be sure to check out our other Camping Recipes, including Camping Desserts, Camping Snacks, Make-Ahead Camping Mix Recipes, and a ton of delicious Camping Main Dish Recipes.
Also, we had SO much fun designing gourmet jerky recipes for our camping trips, we started a whole new blog for them! Check out Dried & Tasty for all kinds of fun recipes to make in your food dehydrator!
Homemade Frybread
Equipment
- 1 Dutch Oven or a large, deep cast iron skillet.
Ingredients
- 2 cups All Purpose Flour
- 1 tablespoon Baking Powder
- ½ teaspoon Salt
- 1 cup Warm Water
- Vegetable Oil for Frying
Instructions
Make the Dough:
- In a large bowl, mix together dry ingredients. Add water to the mix, just enough to bring it together into a sticky dough.
- Knead lightly for a minute or two to smooth it out a little - don’t overwork it, or it will turn out dense. If it’s too sticky to work with, add a little flour - just not too much!
- Put the dough back in the mixing bowl and cover with plastic wrap, or a damp . Let it rest - at room temperature - for 20 minutes.Resting the dough relaxes the gluten, and makes it easier to stretch it out without it snapping back into place.
Fry the Dough:
- After about 20 minutes, get a medium fire going. Place your dutch oven over the fire, and add at least 1" of oil to it, and let it start heating.If you have a deep frying thermometer, you’ll want the oil to come to 350 degrees F.If don’t have a thermometer, see the post for tips on how to tell when your oil is hot enough.
- Divide the dough into 6-8 smaller pieces (or 4 if you want larger pieces for Indian Tacos).
- You can use a rolling pin to roll each of them out (on a clean, lightly floured surface), or just flatten them by hand (that’s what we do - clean, dry hands). Either way, aim for each to be around ¼" thick - not too thick, or they won’t cook right.
- Note: Whether rolling them with a pin or flattening by hand, it’s best to stretch the dough, rather than to squishing each piece flat. If you’re having a hard time getting your dough to stay stretched out, let the dough rest some more.Some people like to poke a hole in the middle of their frybread. Usually though, I like to poke a few holes in each of mine. Alternately, you can prick each dough round all over with a fork.
- Working with one or two pieces at a time, carefully transfer the dough rounds to the preheated oil. Allow to fry for 1-2 minutes , or until golden on the underside. Gently flip and repeat, cooking until evenly golden.
- Transfer fried bread to a baking sheet lined with paper towels, blot to remove excess oil.
- Serve warm, as-is ... or use to make Indian Tacos.
Notes
Nutrition
Thanks for Reading!If you loved this post - or have any questions about it - please leave a comment below! We'd also love it if you would consider sharing the link on social media! |

Marie & Michael Porter
A staple recipe that we use often when camping. Hope you love it as much as we do!