
Campfire Cone - or Waffle Cone S'Mores - are a quick, fun, and customizable dessert, perfect for your camping trip. Here's how to make them!

Basically, swap the graham crackers out for a waffle style ice cream cone. Everyone stuffs their own s’mores cone with their favourite flavor combinations of spreads, chocolate, etc.
Then, the whole thing is wrapped in foil and grilled to perfection. The result are toasty campfire treats filled with melted chocolate, gooey marshmallows, and whatever other deliciousness you added!
There are a couple of different ways we’ll cook these, depending on our fire setup.
I’ve also included baking directions, so you can toast them up in a home oven - a great way to get a bit of that camping flavour at home, during the off season!
Anyway, let’s take a look at your options, and what you’ll need to know to throw on a batch of campfire cones, yourself!

Ingredients
This delicious dessert recipe uses super simple ingredients - you shouldn’t have any trouble finding what you need in any larger grocery store.
As always, I have a few ingredient notes for you:
Waffle Cones
Waffle cones have gotten easier to find over the years, and are perfect for this recipe - they hold a lot more stuff than other kinds of ice cream cones.
In a pinch, I’d imagine that a sugar cone would be a better substitute than a regular ice cream cone, though. I could see the melted marshmallows and such breaking down a regular cone much more quickly.
Some Kind of Chocolate
Being - essentially - s’mores cones, you’ll want to include some form of chocolate when assembling your cones.
There are SO many options - Milk Chocolate Chips, Peanut Butter Chips, Chopped Reese’s Peanut Butter Cups (or Mini Peanut Butter Cups), White Chocolate Chips, Dark Chocolate Chips, Butterscotch Chips, Peanut Butter M&Ms, etc.
We’ve used Rolo, Smarties, Reese’s Pieces, Caramilk squares... really, go with whatever you like!
Goodies of Choice
In addition to the marshmallows and chocolate, you’ll want *stuff*.
Some of our favorite ingredients are:
1. Graham Crackers, Golden Grahams, or smashed graham cracker pieces
2. Sunflower seeds, chopped pecans, chopped peanuts, chopped walnuts, etc.
3. Fresh Fruit - berries and banana slices are great!

Mini Marshmallows
Miniature Marshmallows are super convenient for making these s’mores cones.
While I wouldn’t recommend using larger marshmallows as-is, you could definitely quarter them if that’s all you have.
Spread of Choice (Optional)
Smearing a spread inside the cone is optional, but a great way to add some extra flavour.
You’ve got some great options on this front, too: Peanut Butter, Nutella, Jam, Fruit Preserves, Cookie Butter, etc.
Aluminum Foil
While it’s more of a supply than an actual ingredient, I do want to address foil here.
I HIGHLY recommend using a heavy duty, name brand aluminum foil when making your campfire cones. I haven’t had great luck with flimsier stuff!

Share the Love!If you’ve made one of our recipes, be sure to take some pics of your handiwork! If you post it to Bluesky, be sure to tag us - @2NerdsInATruck, or you can tag us on TikTok, if you’re posting video. We're also on Pinterest, so you can save all your favourite recipes and park reviews to your own boards! Also, be sure to subscribe to our free email newsletter, so you never miss out on any of our new recipes or camping nonsense. Well, the published nonsense, anyway! |
How to Make Campfire Cones
The full recipe is in the printable recipe card at the end of this post, for easy reference. Here is the pictorial walk through, with step by step photos:
For Each Campfire Cone
Add a few - 3 or 4 should do it - mini marshmallows to a waffle cone before doing anything else. This is a good idea for preventing a mess - the melted marshmallow acts as a bit of a plug, preventing molten peanut butter and chocolate from pouring of the bottom of the cone!
If using a spread, gently smear the inside of the waffle cone with a bit of your spread of choice, using either a butter knife or back of a spoon.

Pack it well - as the marshmallows and chocolate melt, the mixture will condense!

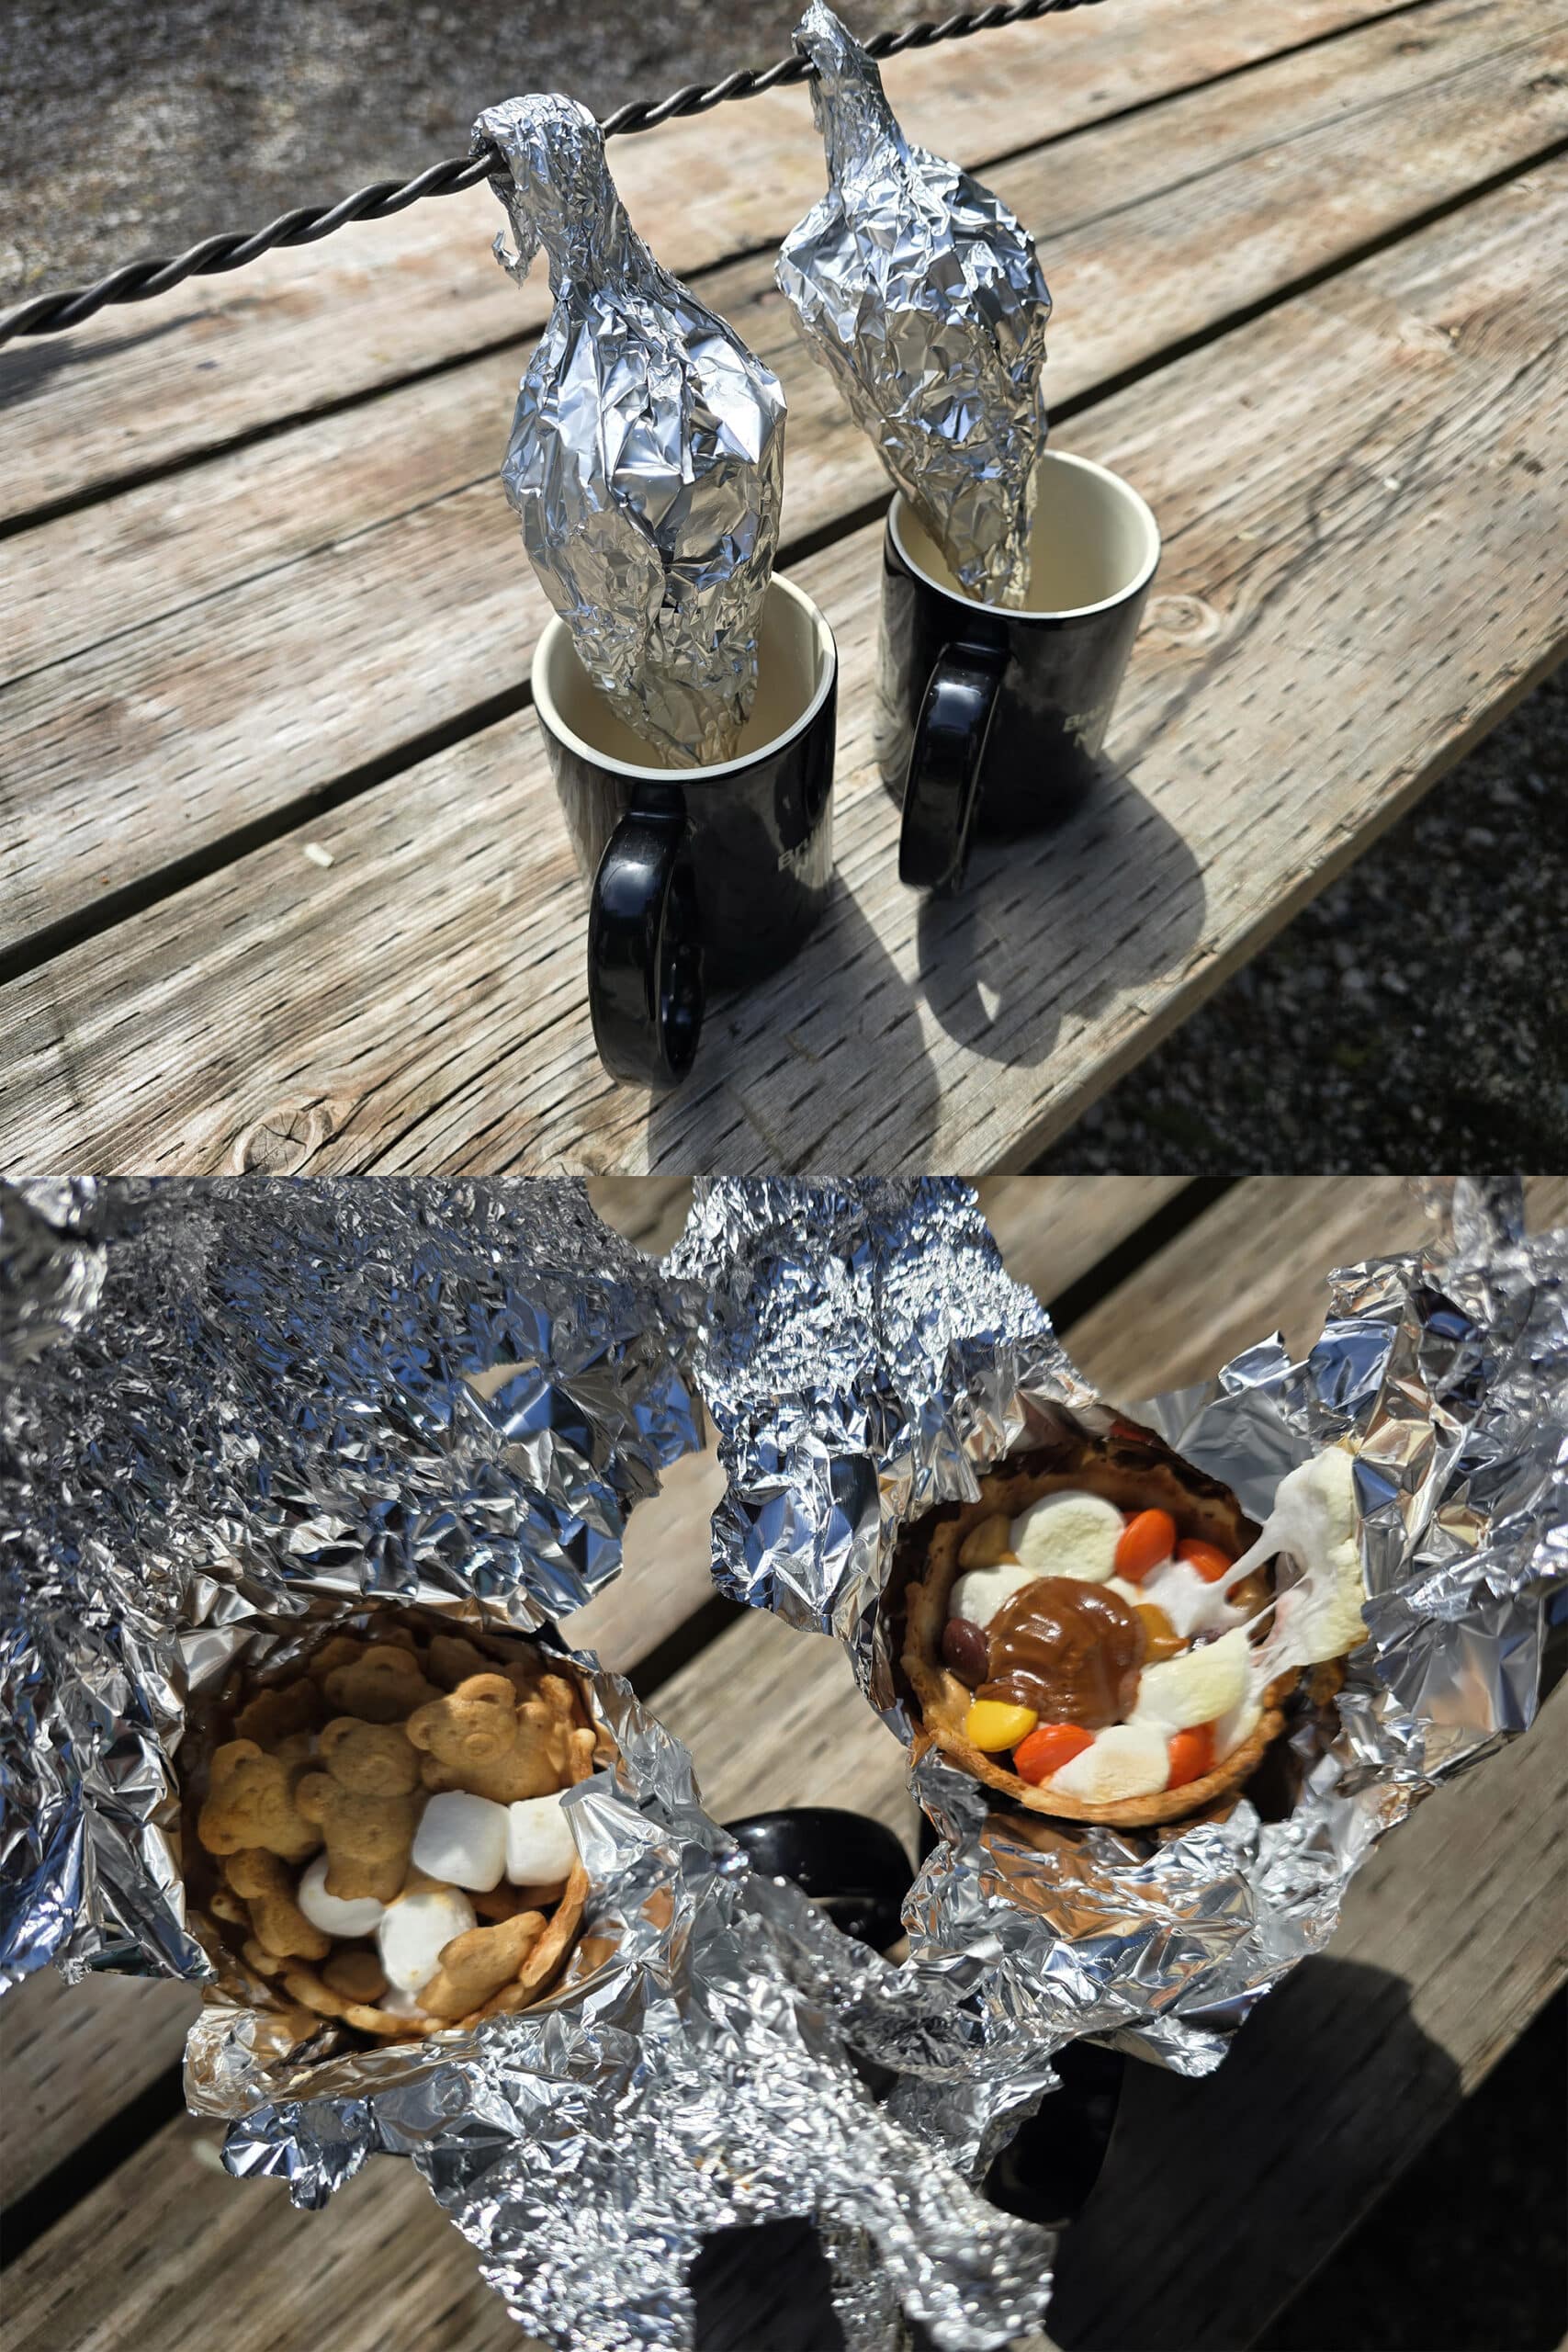
Once you’re happy with your campfire cone, fully wrap it in aluminum foil.

This is the easiest way - IMHO - to help keep the cone fully upright. You just really have to be careful to avoid burning them!

Think of it like a pillow, raising the “head” - open end - of each packet.

If suspending, you'll want them to be kind of adjacent to the fire, not in the flames directly. If they're immediately over the fire, the bottoms of the cones will scorch before the toppings can melt all the way through!

Remove from the heat, carefully use oven mitts or forks to unwrap your cone, and enjoy!
Oven Baked Waffle Cone S’Mores
If you’d like to make campfire cones at home, you can cook them in a 350F oven for 5-10 minutes.
Use the “Lean them on a log of foil” method, on a baking sheet.

More Camping Dessert Recipes
Looking for some sweet treats to cook over a campfire or grill? Here's a few of my favourites!
Apple Fritter Bread Pudding
Apple Fritter French Toast
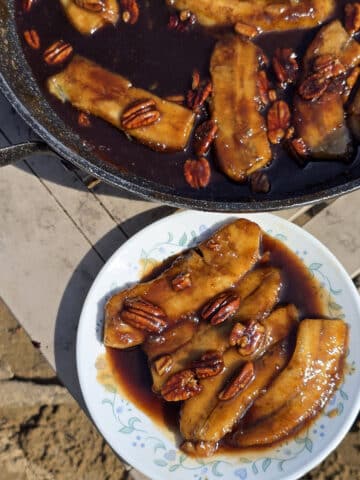
Banana Boats
Campfire Haystack Cookies
How to Make Maple Taffy
No Bake Cornflake Cookies
No-Bake S'Mores Bars
Peanut Butter No-Bake Cookies
Skillet Berry Crumble
S'mores Board
... But wait, there's more! Be sure to check out our other Camping Recipes, including Camping Desserts, Camping Snacks, Make-Ahead Camping Mix Recipes, and a ton of delicious Camping Main Dish Recipes.
Also, we had SO much fun designing gourmet jerky recipes for our camping trips, we started a whole new blog for them! Check out Dried & Tasty for all kinds of fun recipes to make in your food dehydrator!


Easy Campfire Cones - Waffle Cone S'Mores!
Equipment
- Heavy Duty Aluminum Foil
Ingredients
- Waffle Cones
- ¼ CUP Mini Marshmallows
- Spread of Choice Optional - Peanut Butter, Nutella, Jam
- Some Kind of Chocolate Milk Chocolate Chips, Peanut Butter Chips, Chopped Reese’s Peanut Butter Cups (or Mini Peanut Butter Cups), White Chocolate Chips, Dark Chocolate Chips, Butterscotch Chips, Peanut Butter M&Ms, etc
- Fresh Fruit t! Berries and Banana Slices are great!
- Goodies of Choice Graham Cracker Pieces, Golden Grahams, Reese’s Pieces, Seeds Packets or Nuts,, Smarties, Rolo or Caramilk, etc.
Instructions
For Each Campfire Cone:
- Add a few - 3 or 4 should do it - mini marshmallows to a waffle cone before doing anything else. This is a good idea for preventing a mess - the melted marshmallow acts as a bit of a plug, preventing molten peanut butter and chocolate from pouring of the bottom of the cone!
- If using a spread, gently smear the inside of the waffle cone with a bit of your spread of choice, using either a butter knife or back of a spoon.
- Then, fill your cone as desired, with more mini marshmallows and your choice of chocolate, fruit, and goodies. Pack it well - as the marshmallows and chocolate melt, the mixture will condense!
- Once you’re happy with your campfire cone, fully wrap it in aluminum foil. I like to wrap it such that there is a fair amount of excess foil at the top, which I can twist around a skewer. This is the easiest way - IMHO - to help keep the cone upright. (See post for photos on how I do it!)Alternatively, you can use some foil to form a “log” to place right on your grill grates, leaning each wrapped cone against it. Think of it like a pillow, raising the “head” - open end - of each packet.
- Place wrapped cones on a heated grill, on a grate over the coals of a fire, or suspended next to a campfire.If suspending, you'll want them to be kind of adjacent to the fire, not in the flames directly. If they're immediately over the fire, the bottoms of the cones will scorch before the toppings can melt all the way through!
- Allow to roast for about 3-5 minutes, until the contents are nicely melted.
- Remove from the heat, carefully use oven mitts or forks to unwrap your cone, and enjoy!
Notes
Nutrition

Thanks for Reading!If you loved this post - or have any questions about it - please leave a comment below! We'd also love it if you would consider sharing the link on social media! |


Marie & Michael Porter
Super fun campfire dessert - hope you and your family love it!