
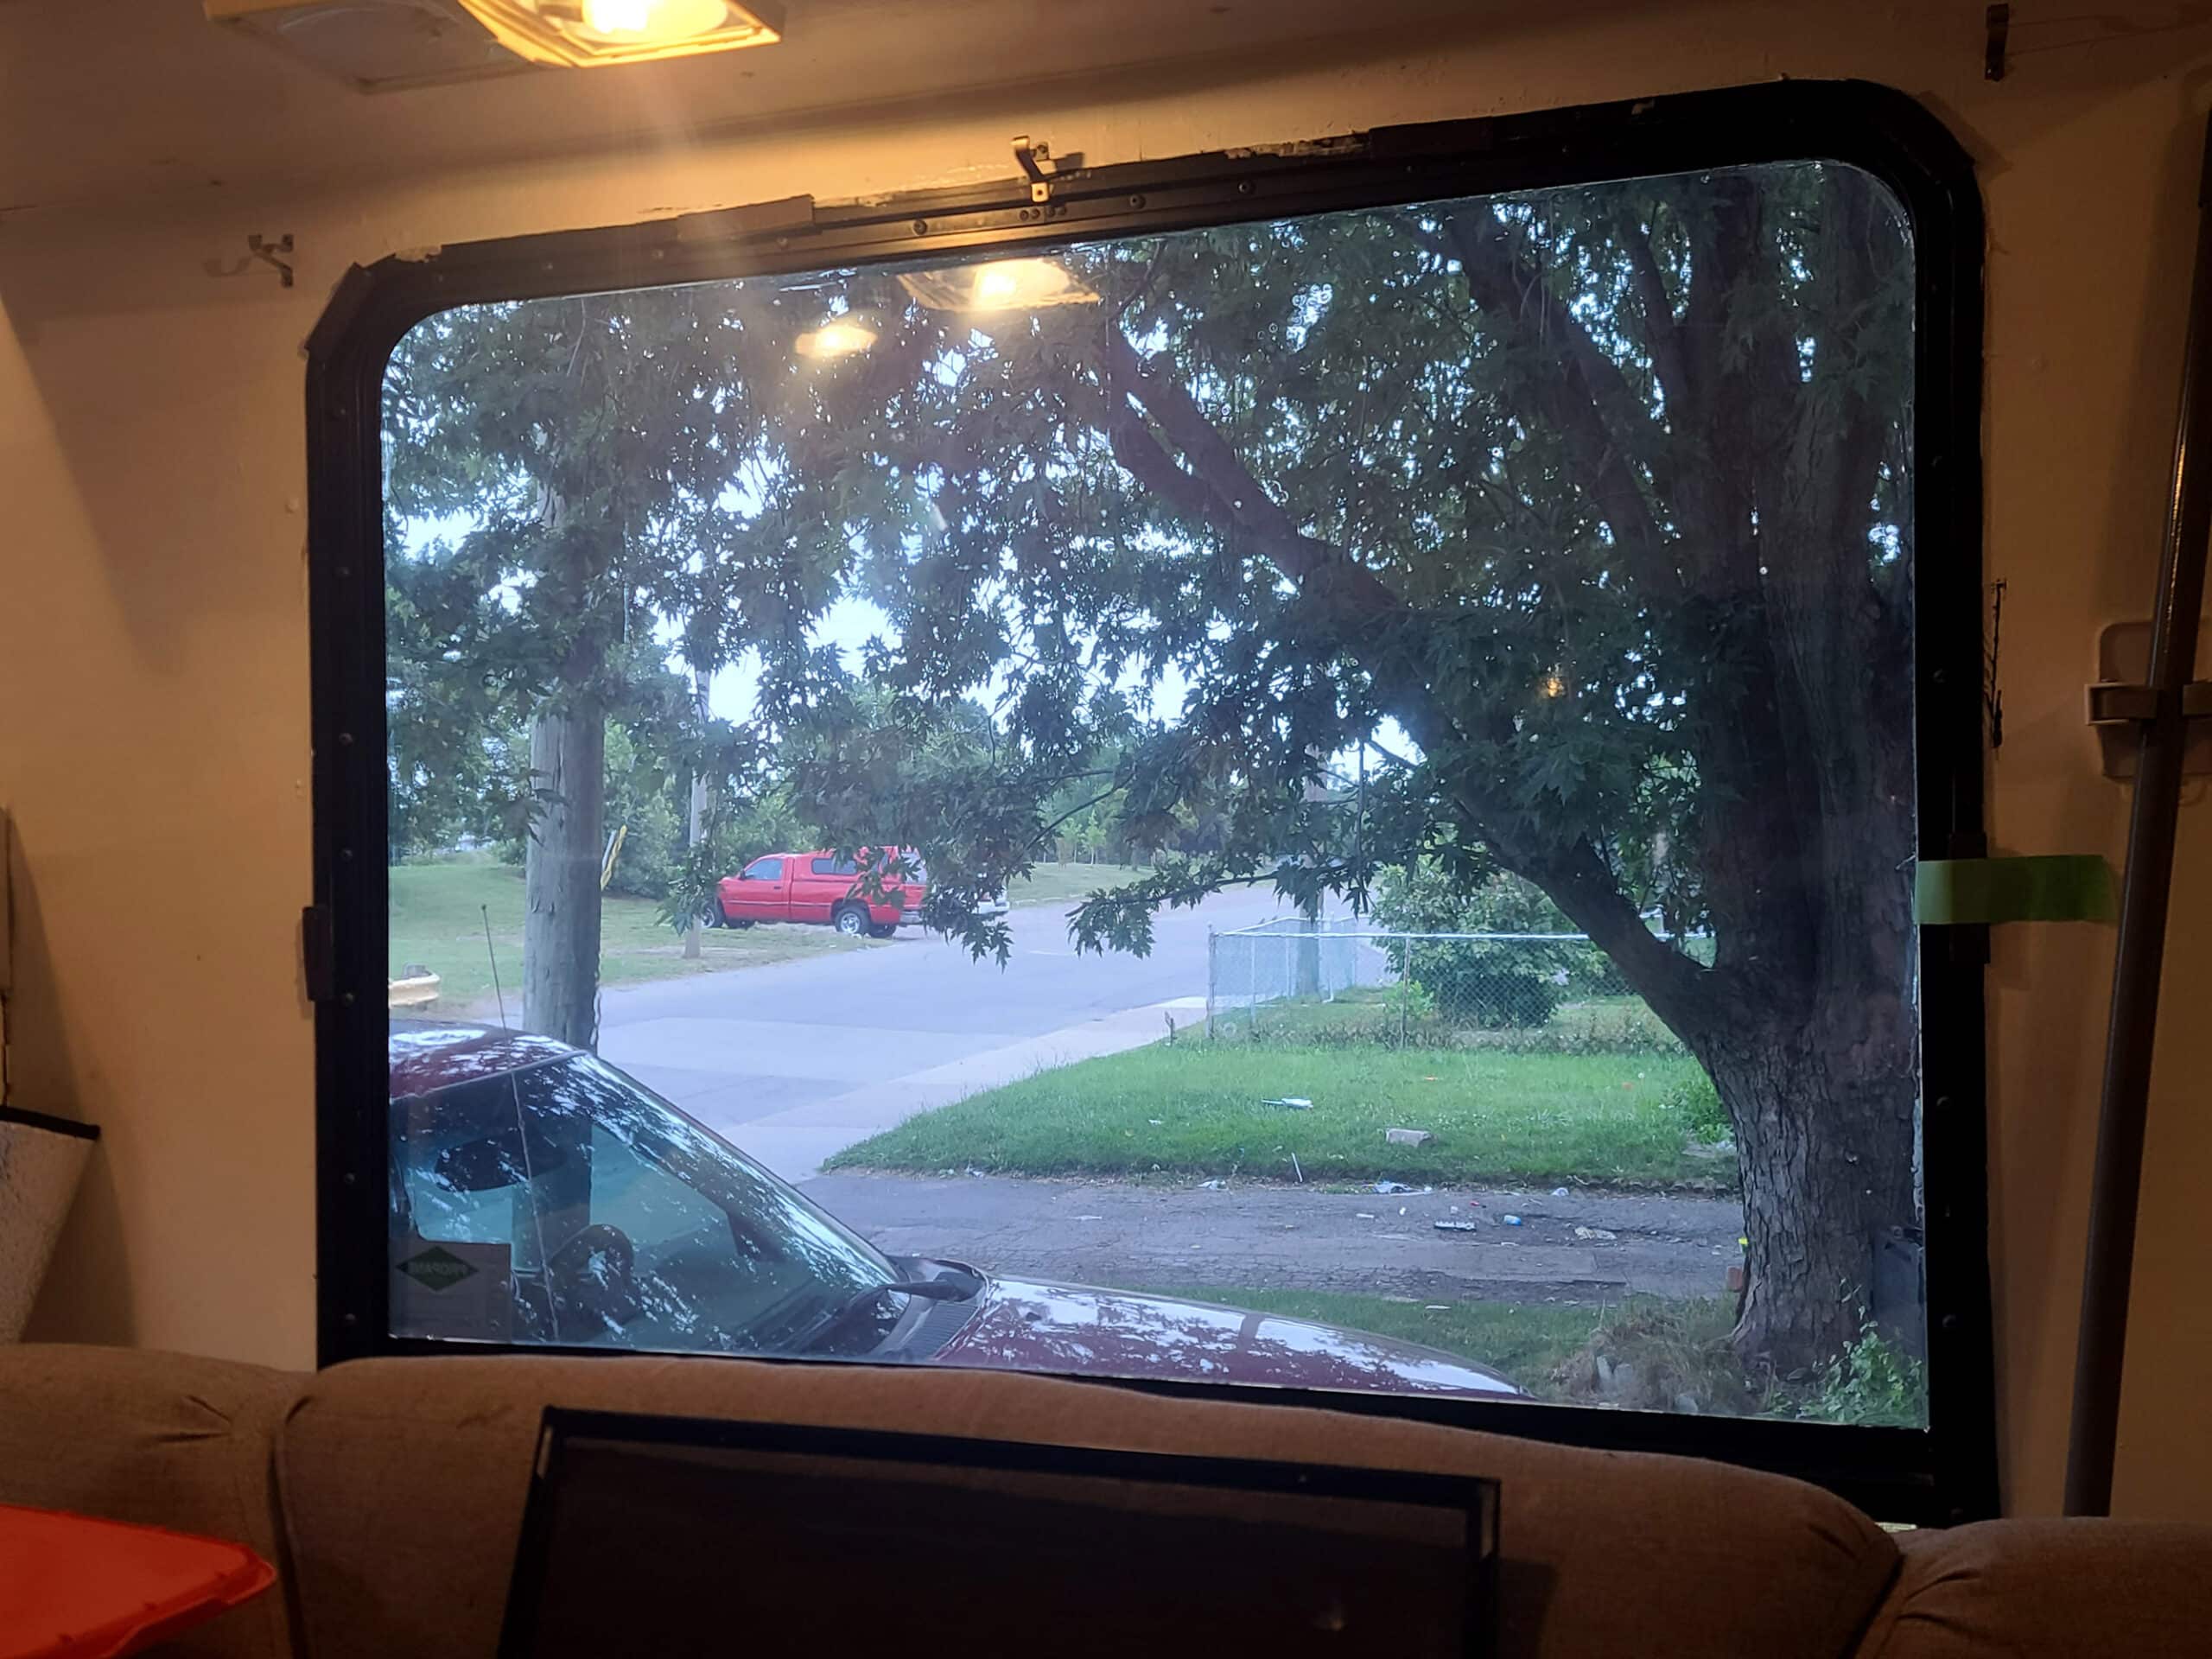
RV Window Tinting is an economical way to add some privacy to your RV living, while also reducing the heat coming in. Here's how to DIY it!

The factory tint was inadequate for our needs, we didn’t want to pay for RV window tinting services, so we did it ourselves.
Window tint film is a great way to block UV light - something I’ve sensitive to - from entering our house, so we’ve been using it there for a while now.
... and it works just as great on motorhome windows!
The good news: It doesn’t take years of experience or hiring a professional service to help you with your window tinting needs!
Anyone can install their own RV window tinting - and there are a ton of cool options to choose from.
With camping season just a couple of weeks away, it seems like a good time to share this tutorial... so let’s get to it!
Update: See near the bottom of this post for a video walk through!
Benefits of Window Tinting
Here are a few of the key benefits of installing RV window tinting:
Temper the Light
Bright sunlight can be great when you’re outside, but the glare of the sun coming in from your windows can be annoying.
At certain times of day it can be harsh on the eyes, make it hard to see the screens on your electronic devices, etc.
No one wants to wear sunglasses inside!
Having RV window tinting is a great way to get some more natural light in your camper, while also tempering it to be a smoother, more diffused, easier-on-the-eyes amount of light.
Keep Your RV Cooler
While we have another solution for heat LOSS (coming soon!), window tinting can be a great way to help with a bit of heat reduction in your motorhome, taking some of the strain off your air conditioners.
Less direct sunlight = less heat in your RV, much like sitting under a beach umbrella can feel much cooler than sitting out in the open.
Same thing applies with window tint.
Prevent Sun Damage
We all know that harmful UV rays can lead to skin cancer, but did you know that direct sunlight can also affect the resale value of your RV?
Yep- the sun’s harmful rays can bleach and discolor the interior of your RV!
Sun damage can result in faded upholstery at the very least - annoying to replace.
In some cases - when you’re parked in the same place, long term - it can bleach sections of RV interiors, making parts of your wall, upholstery, etc look different from the rest of it.
Protect yourself from UV radiation, and protect your stuff from premature aging!
Lower Your Risk of Theft
Did you know that there are security window films that you can use to enhance the security of your RV?
These are films that not only block UV light, but can hold broken glass in place, as a barrier to entry.
Without even going to that length, having a darker tint - or a mirror finish - helps discourage theft, by preventing would-be thieves from seeing what you have to steal - and seeing if there’s anyone in th RV to fight back.
Supplies and Equipment
There are a few things you’ll need in order to install window tinting in your camper or travel trailer:
Window Tinting Film
There are a lot of different kinds of window tint film out there, so you’ll definitely want to take some time determining the type of tint that will best suit your needs.
First of all, you may see references to VLT, VL, or a VLT number. This references visible light transmission - the percentage of light that is allowed through that particular tint.
The lower the VLT number, the darker the tint will be.
Important to note: This has nothing to do with how much UV light is being blocked. You can have a light tint - a high VLT number - that still blocks 100% of the UV.
With that in mind, here are some of the options to consider for Privacy Window Film:
Types of Window Film to Consider
You’ll see things like ceramic window film and carbon window film mentioned, but we focused on privacy and UV restriction above anything else.
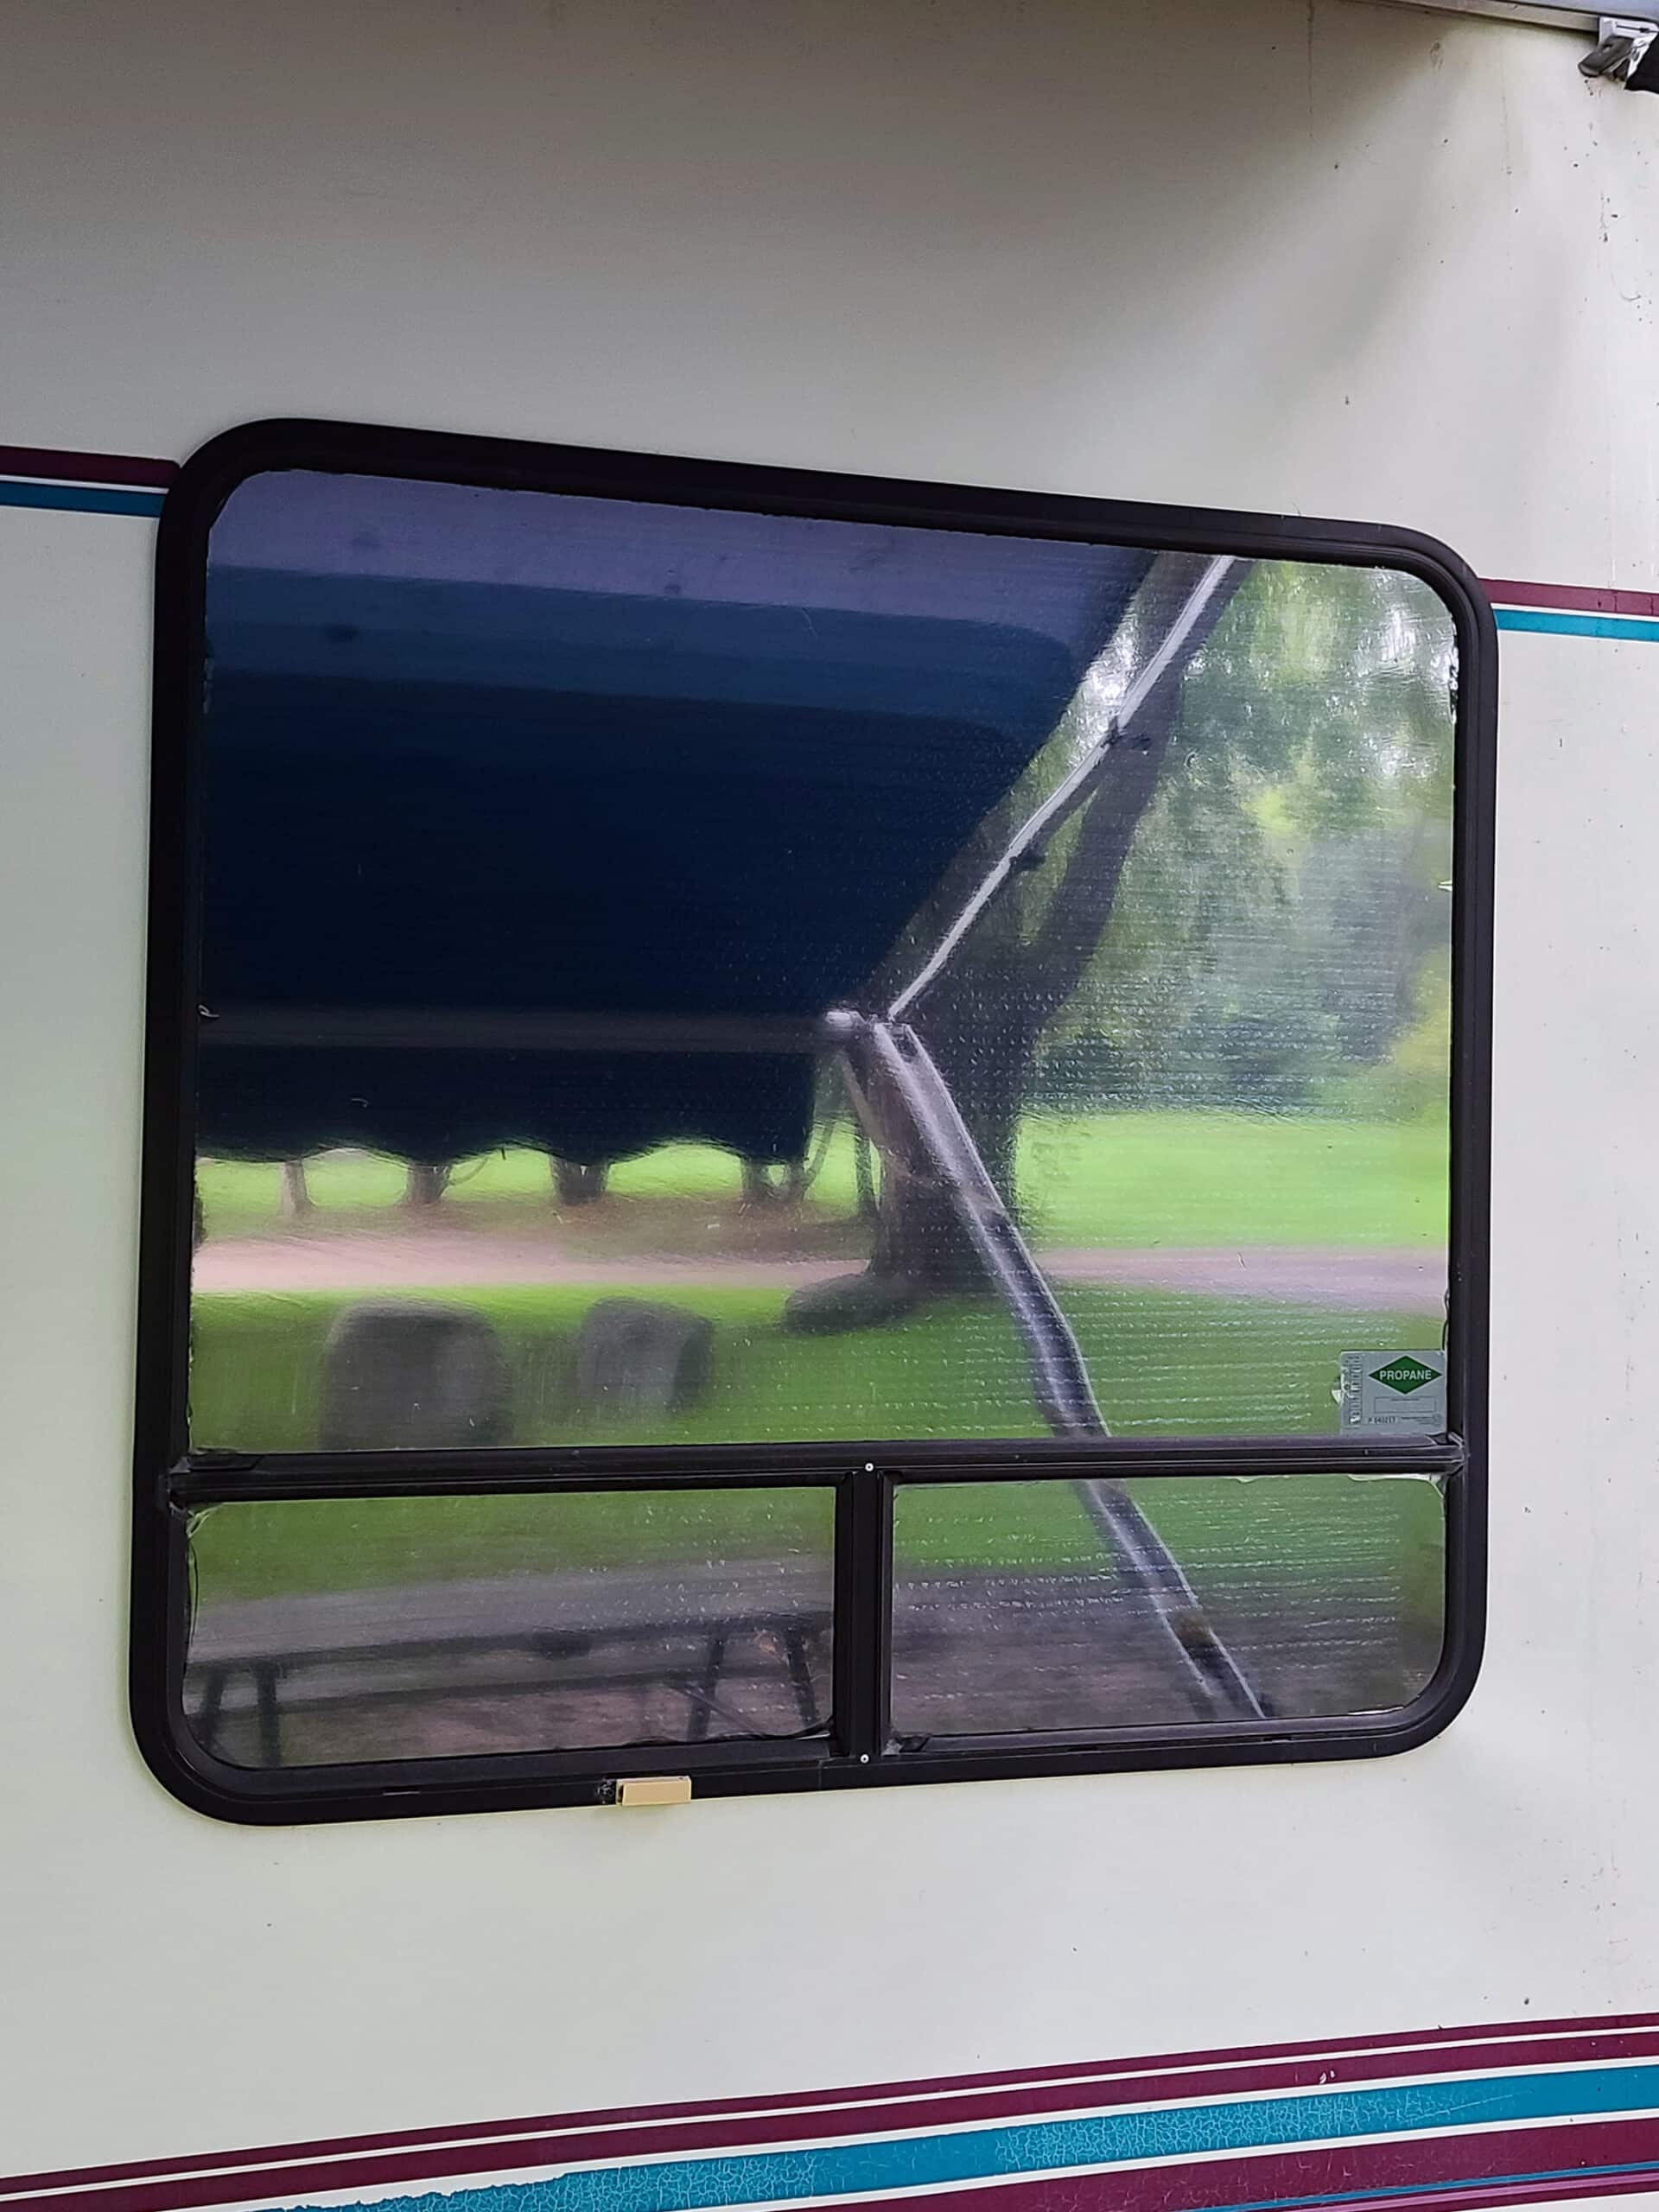
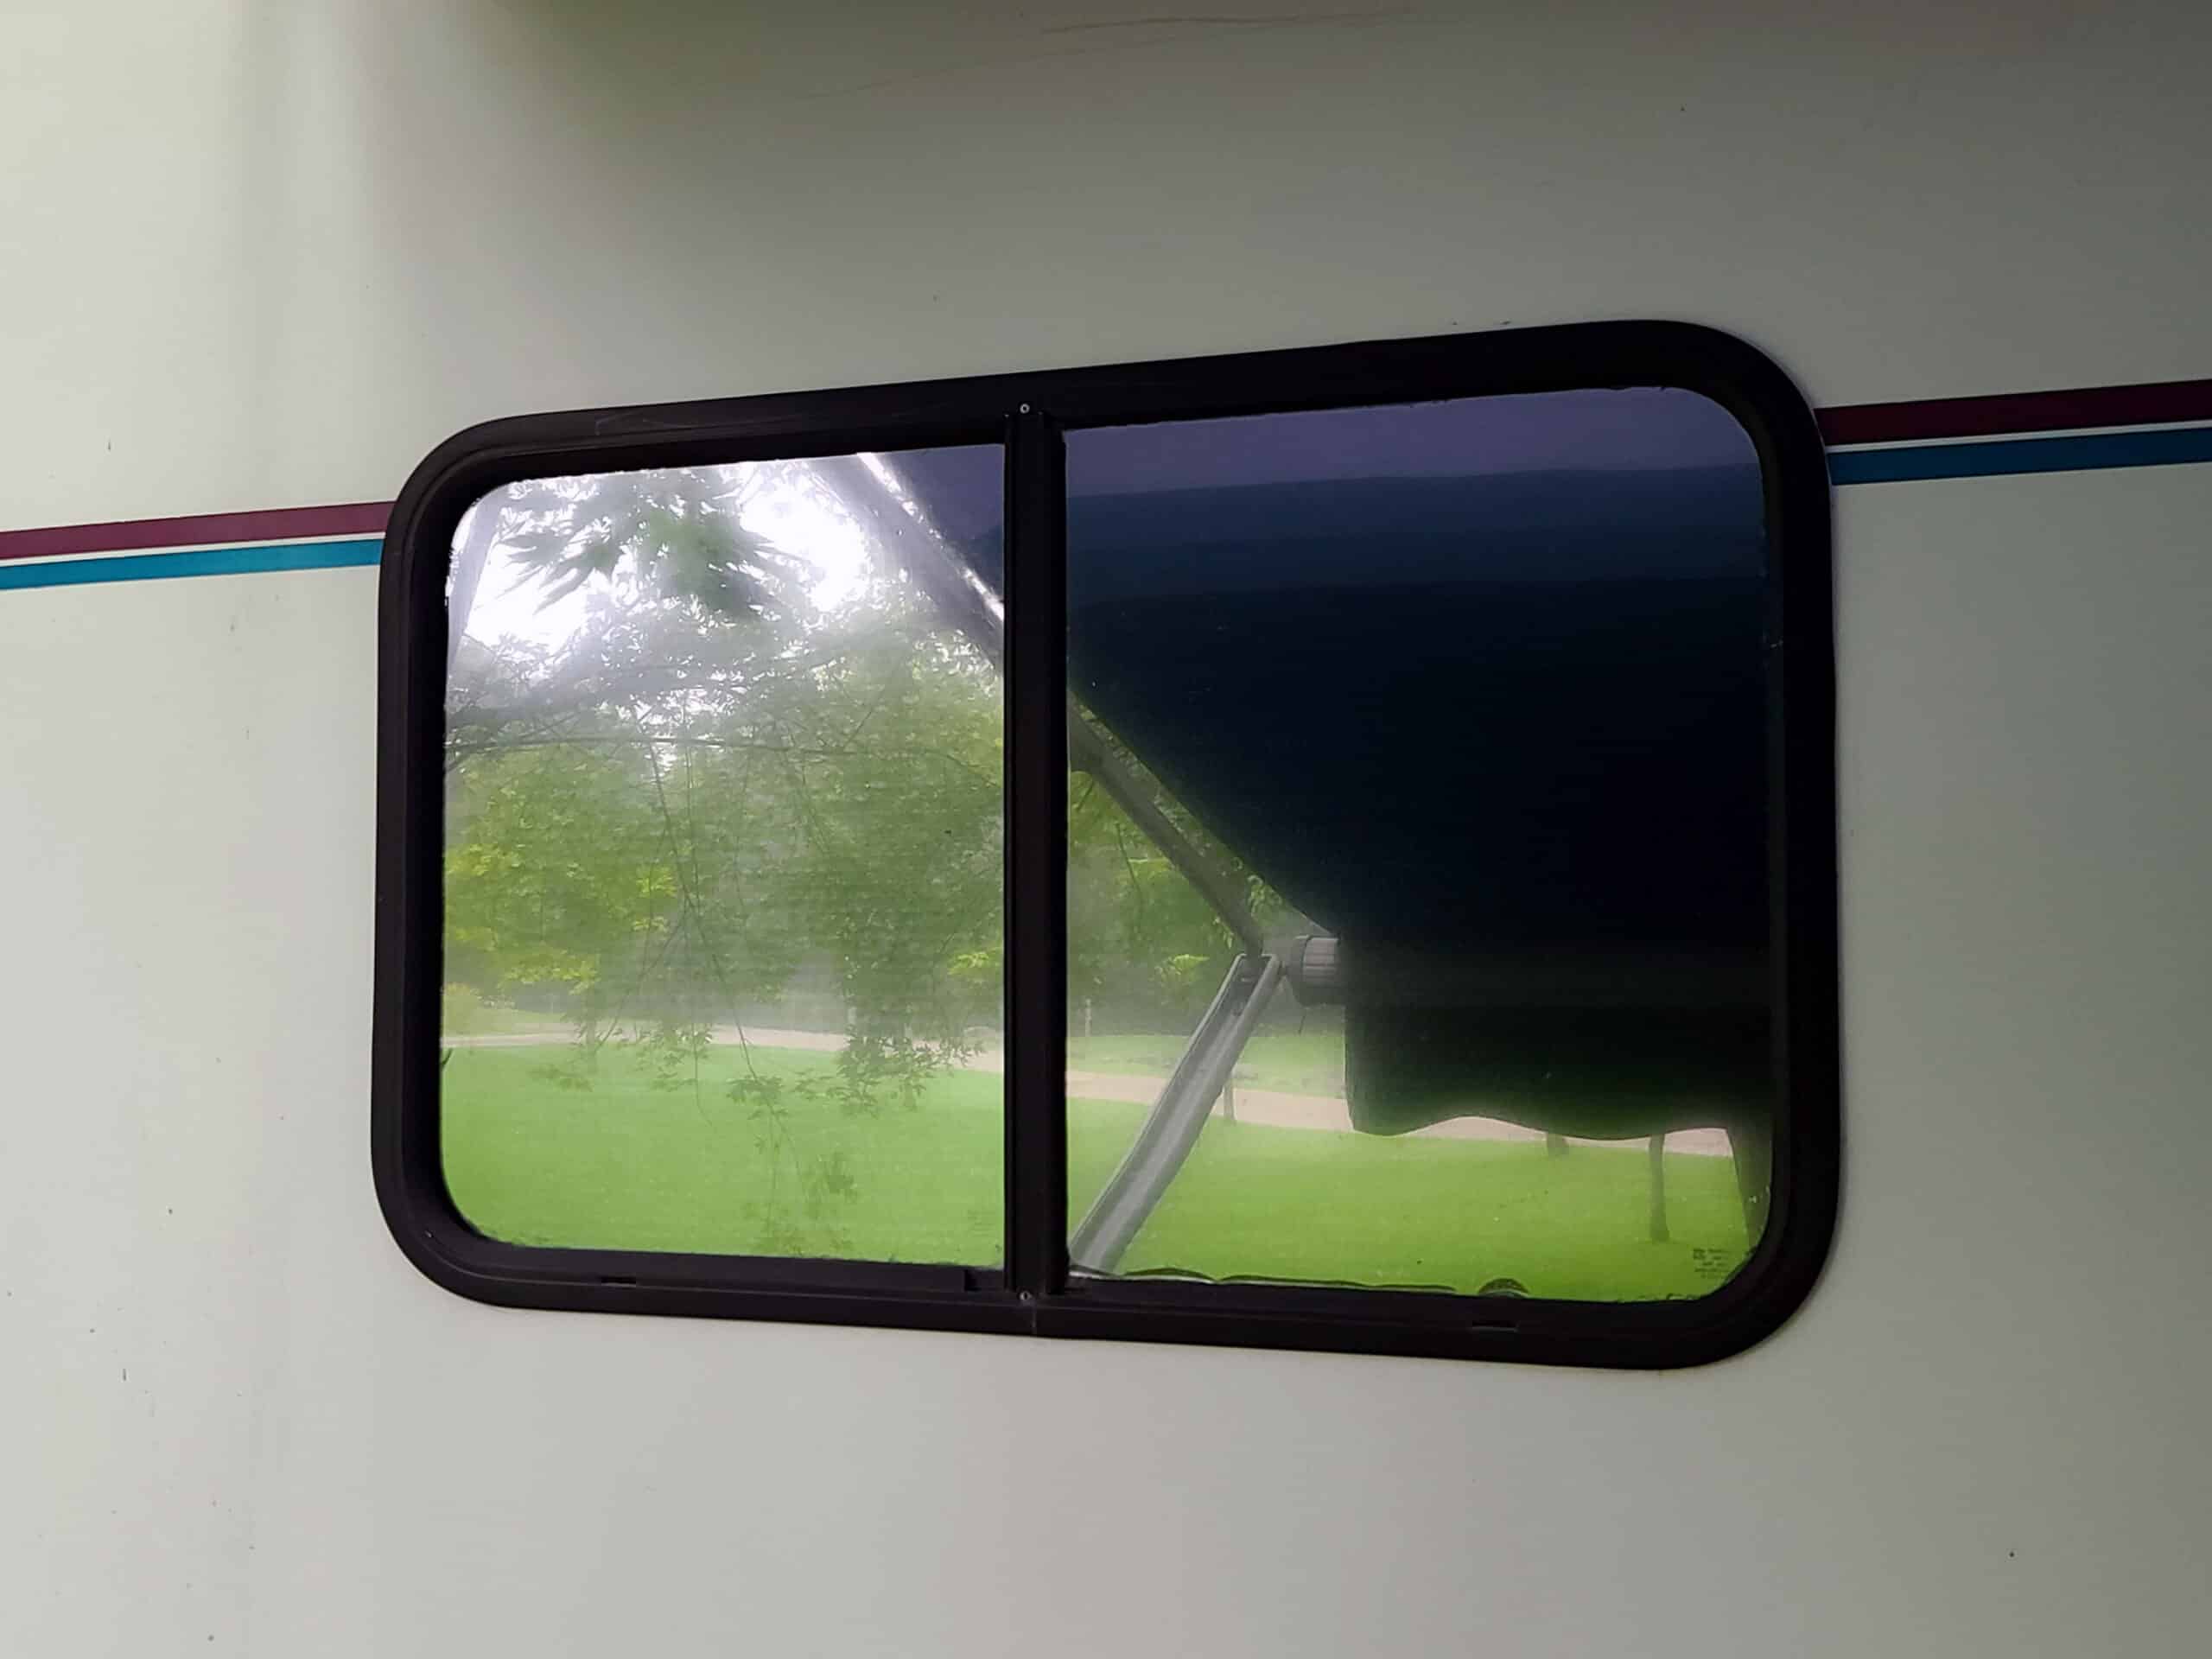
We went with a 1 Way Privacy Window Tinting - This has a mirror finish on the outside. “You can see out, they can’t see in”.
Think like... limo tint.
Big thing to keep in mind with this one: The mirror effect goes away when it’s dark outside, so everything inside - if the light’s on - will be in FULL view outside!
Here are a few of my favourites to consider:
Frosted Glass Privacy Window Film - Just what it sounds like. It has a frosted effect for privacy and diffusing the light, and comes in different decorative patterns.
Rainbow Privacy Film - these are films that can be clear, frosted, or a mixture of both, with an element of iridescence to them.
Look for things like Stained Glass Privacy Window Film, Floral Glass Privacy Window Film, or Cut Glass Privacy Window Film.
There’s also one called "Total Blackout" Darkening Window Film - the coolest one, IMHO. It’s black, faceted, AND iridescent!
Window Film Tool Kit
The easiest way to get what you’ll need it to just buy a Window Film Tools Kit.
Here is the window film tool kit we used - no complaints!
If you don’t want to buy a kit, you’ll want to have:
Box Cutter, X-Acto Knife, or razor blade
Slicer tool (optional, you can use scissors)
Squeegee
You’d also want something to use as edging tools, but there’s not really anything that’s a GOOD analog for that, that most people have.
Honestly, the kits are so cheap, you’re best off just buying one.
Window Film Spray
You can buy premade window film application spray - some kits will come with it - or you can just make your own, at home.
Just measure 2-3 cups of distilled water into a spray bottle, and add a drop or two of dish soap.
Shake it to combine, and spray as usual.
Everything Else
Whether you have a window film tool kit or are piecing together one individually, there are a few other supplies you’ll need:
Paper towels or lint free cloth
Glass Cleaner
Measuring Tape
Scissors
I’m assuming you have most or all of those on hand, already!
Share the Love!If you’ve made one of our recipes, be sure to take some pics of your handiwork! If you post it to Bluesky, be sure to tag us - @2NerdsInATruck, or you can tag us on TikTok, if you’re posting video. We're also on Pinterest, so you can save all your favourite recipes and park reviews to your own boards! Also, be sure to subscribe to our free email newsletter, so you never miss out on any of our nonsense. Well, the published nonsense, anyway! |
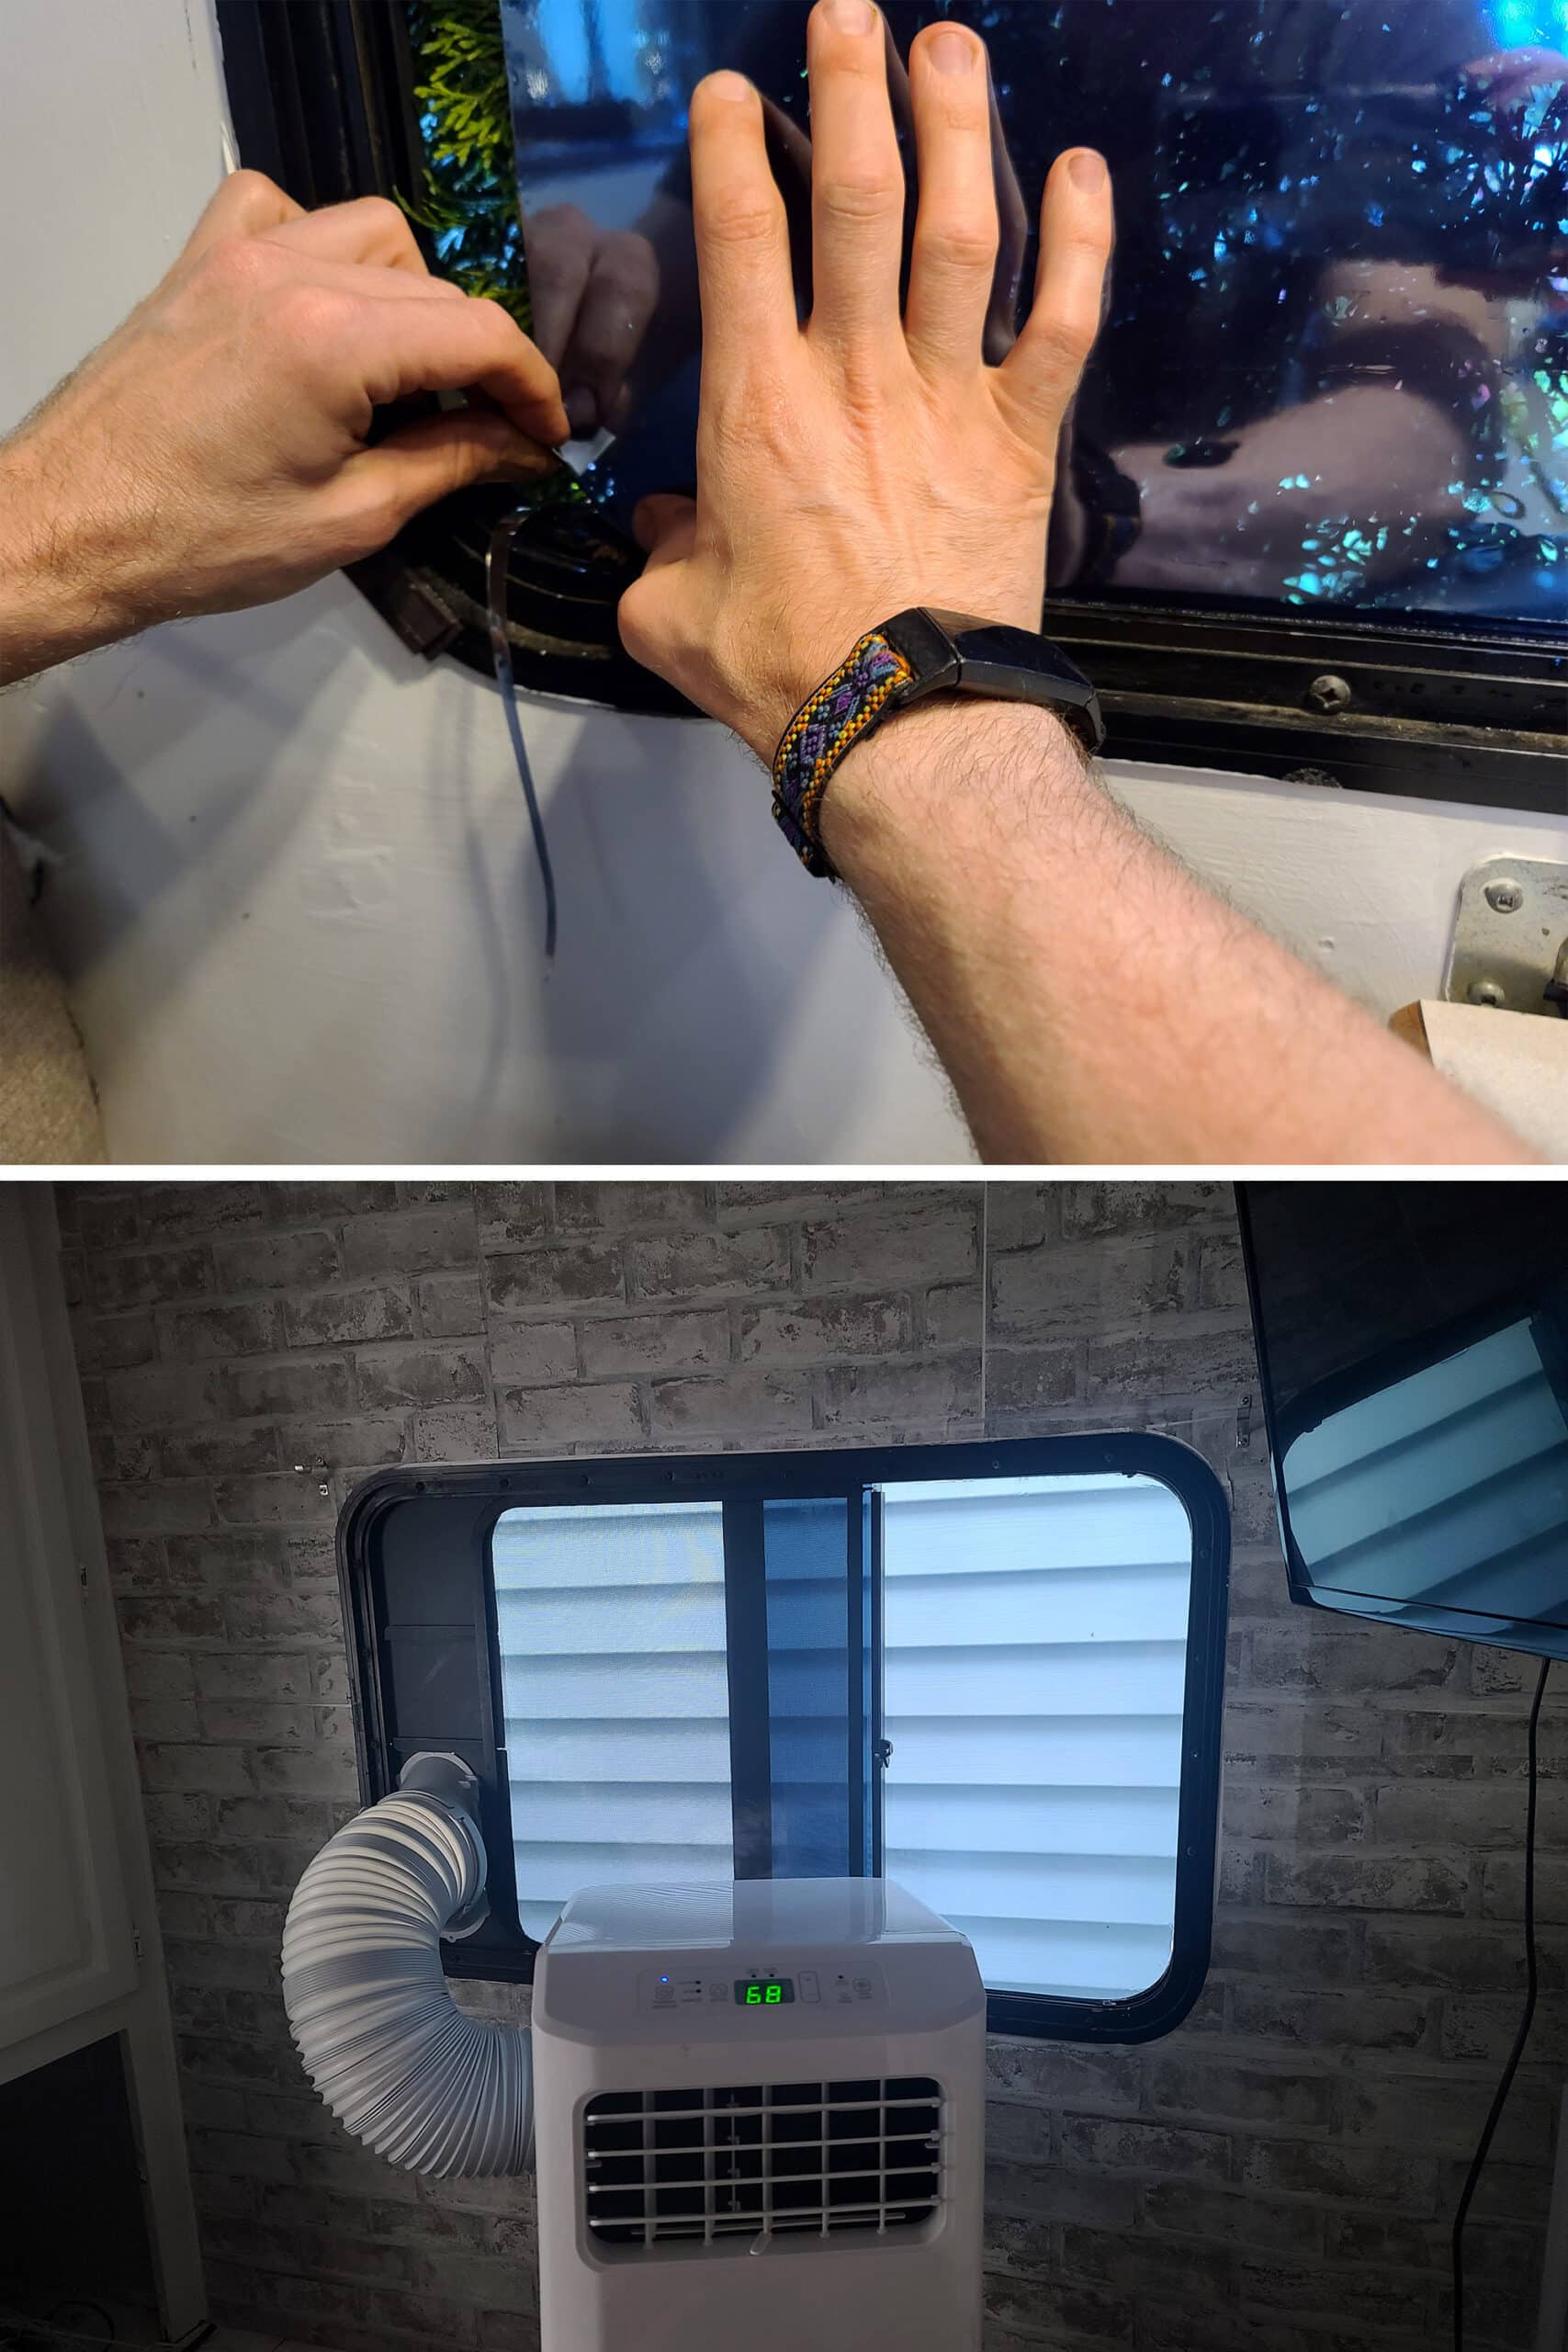
How to Install Privacy Window Tinting in your RV
Prep your Windows and Work Space!
Before getting started with the window itself, prepare your area.
Clear away anything that’s near the window, vacuum and dust around the area.
If you have pets, keep them out of the room and give some time for their hair to settle, before getting started.
Also, prepare your work space.
You’ll want a clean, clear, flat surface that’s (ideally) at least the size of the biggest window you’ll be putting film on - but in an RV, that can be difficult!
We like to do a double wash when applying film, especially in the RV.
The first round is the “scrub” round - get off any visible dirt, etc. We’ll usually use this time to also give the window frame / etc a deep clean.
The second round is the “polishing” round. Go over with a final round of glass cleaner, making sure there are no bits of leftover dirt, pet hair, etc.
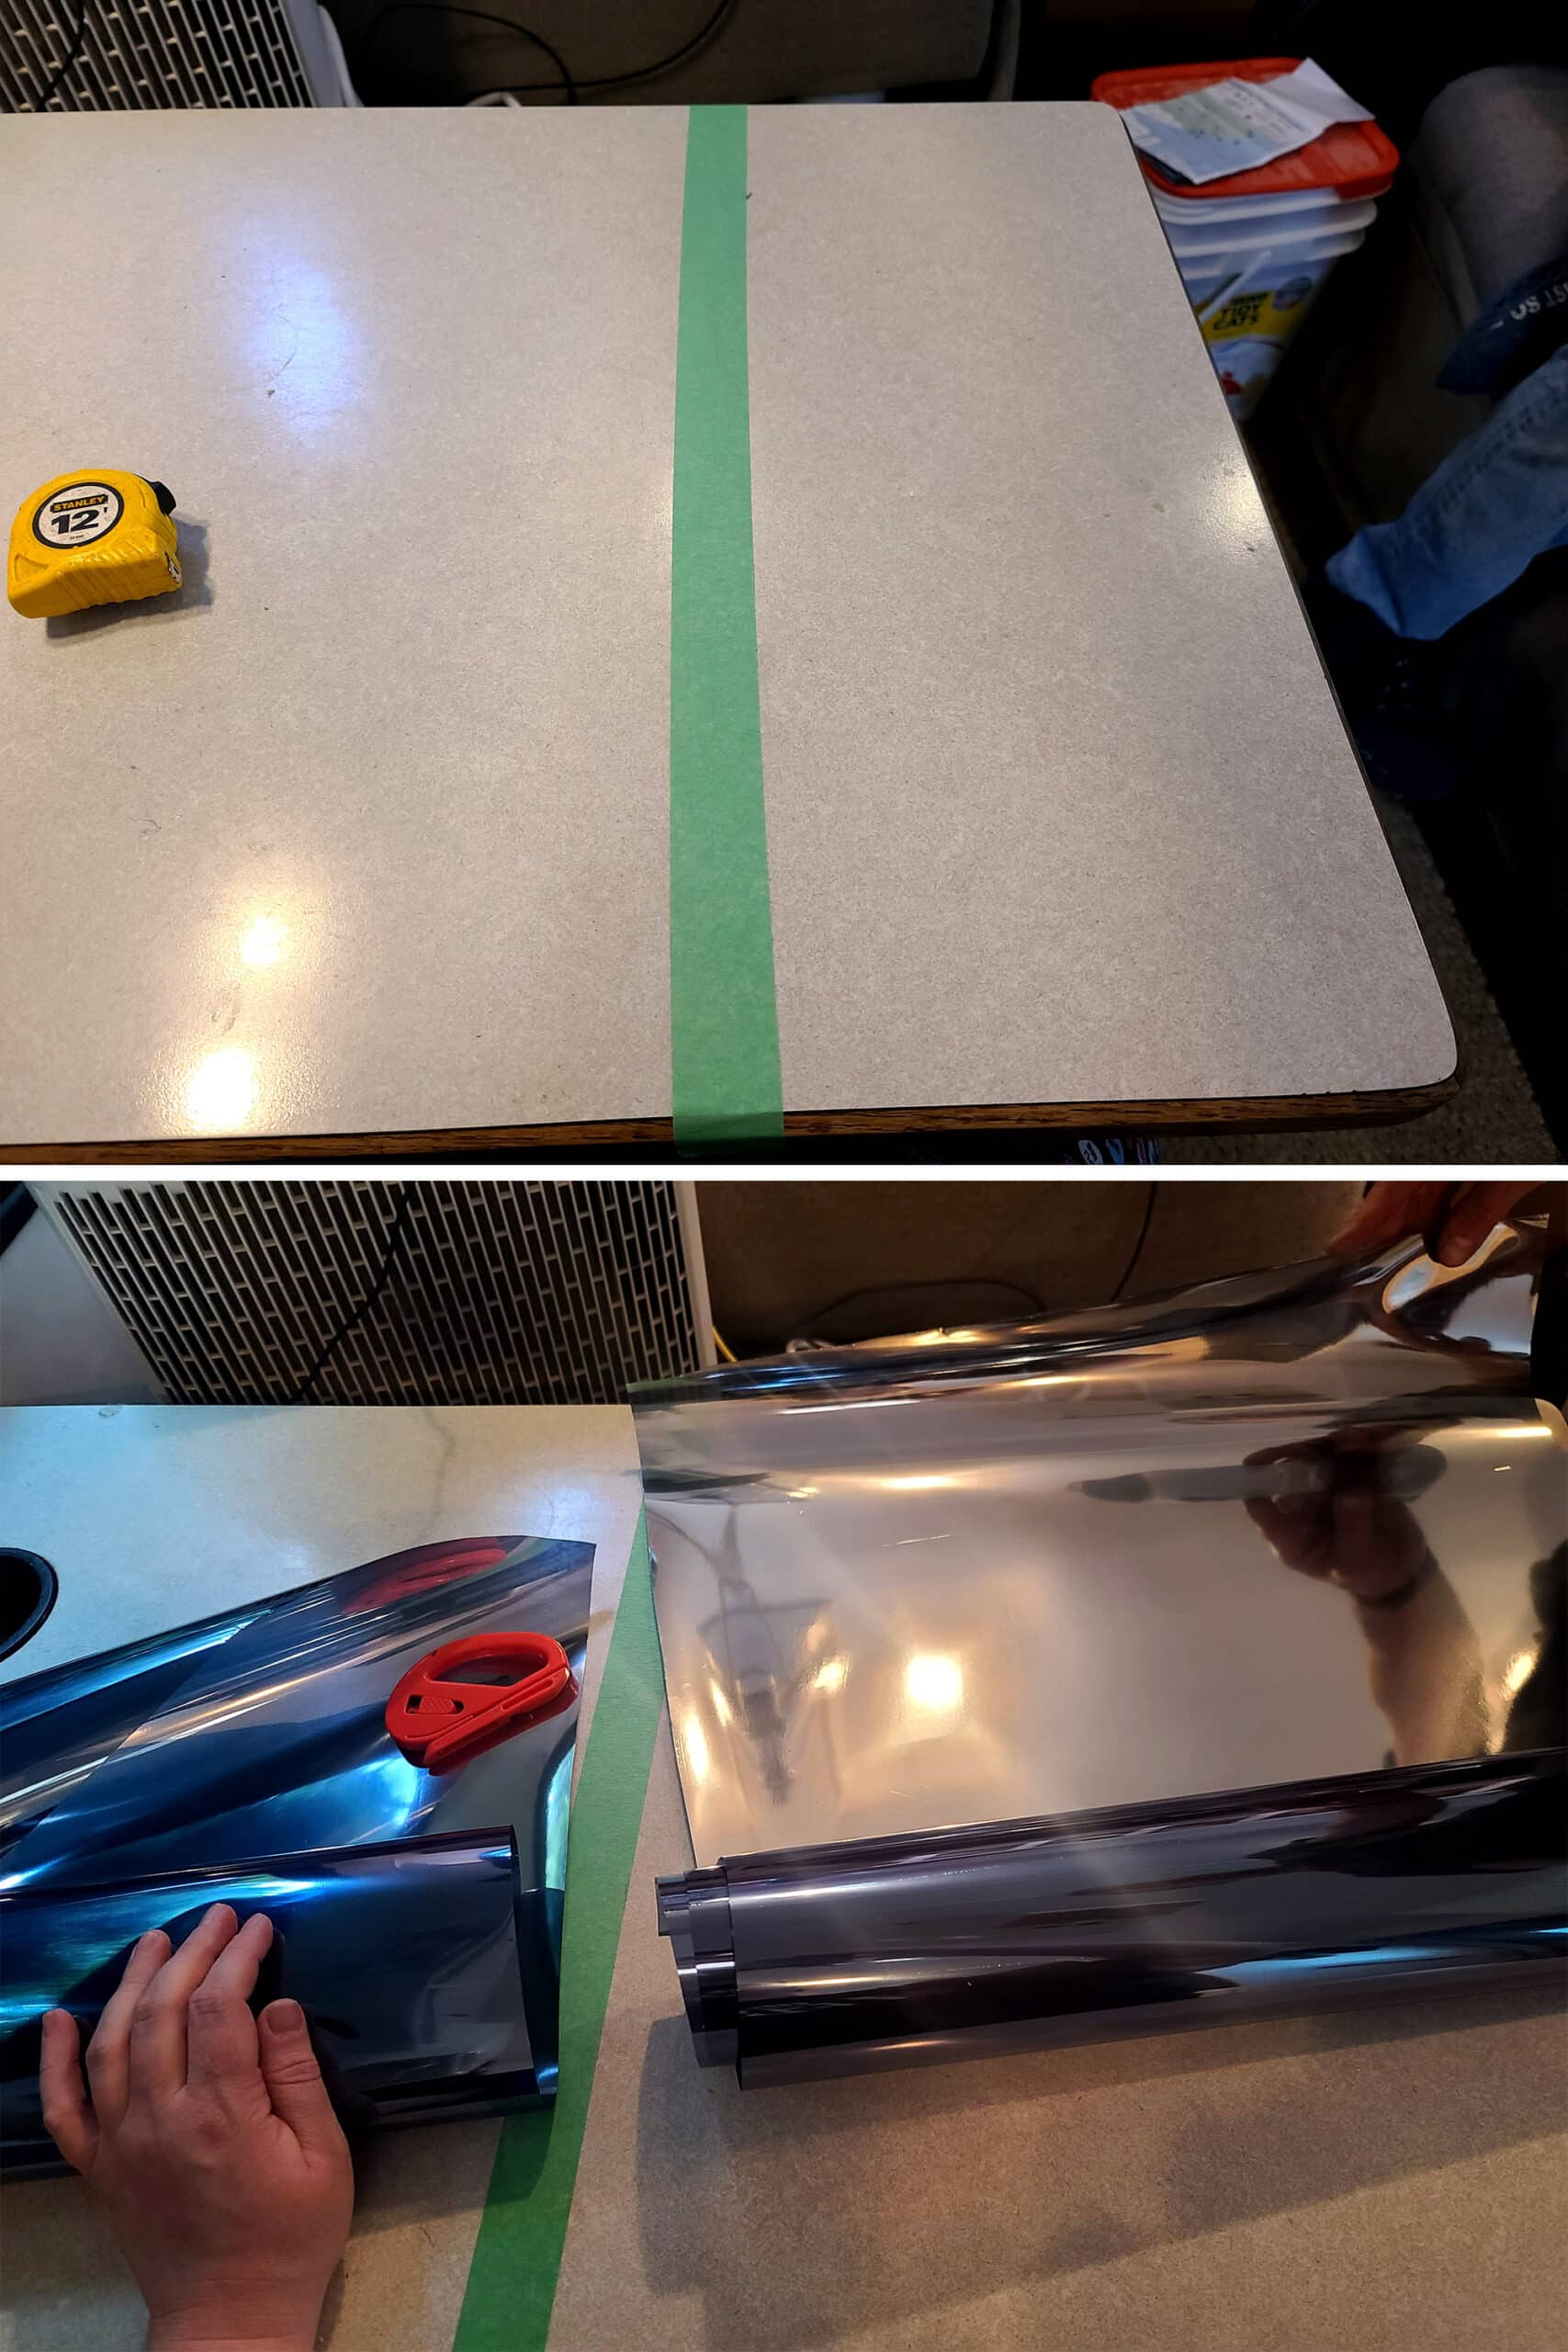
Measure and Cut your Film
Measure the window you’re applying film to.
Add 1" to each measurement, length and width. (Note: for a very large window, we like to add more like 2", to give room for fussing with placement).
Unroll your window tint film, cut a piece that is (Width + 1") x (Length + 1").
For example, if the measurements of your window are 20" x 30", you’ll cut a piece that is 21" x 31" (or 22" x 32" if you’re leaving extra, as it’s a large window - totally optional!)
If there’s any chance that pet hair has settled on your window while cutting the film, give the window a final wipe down with glass cleaner.
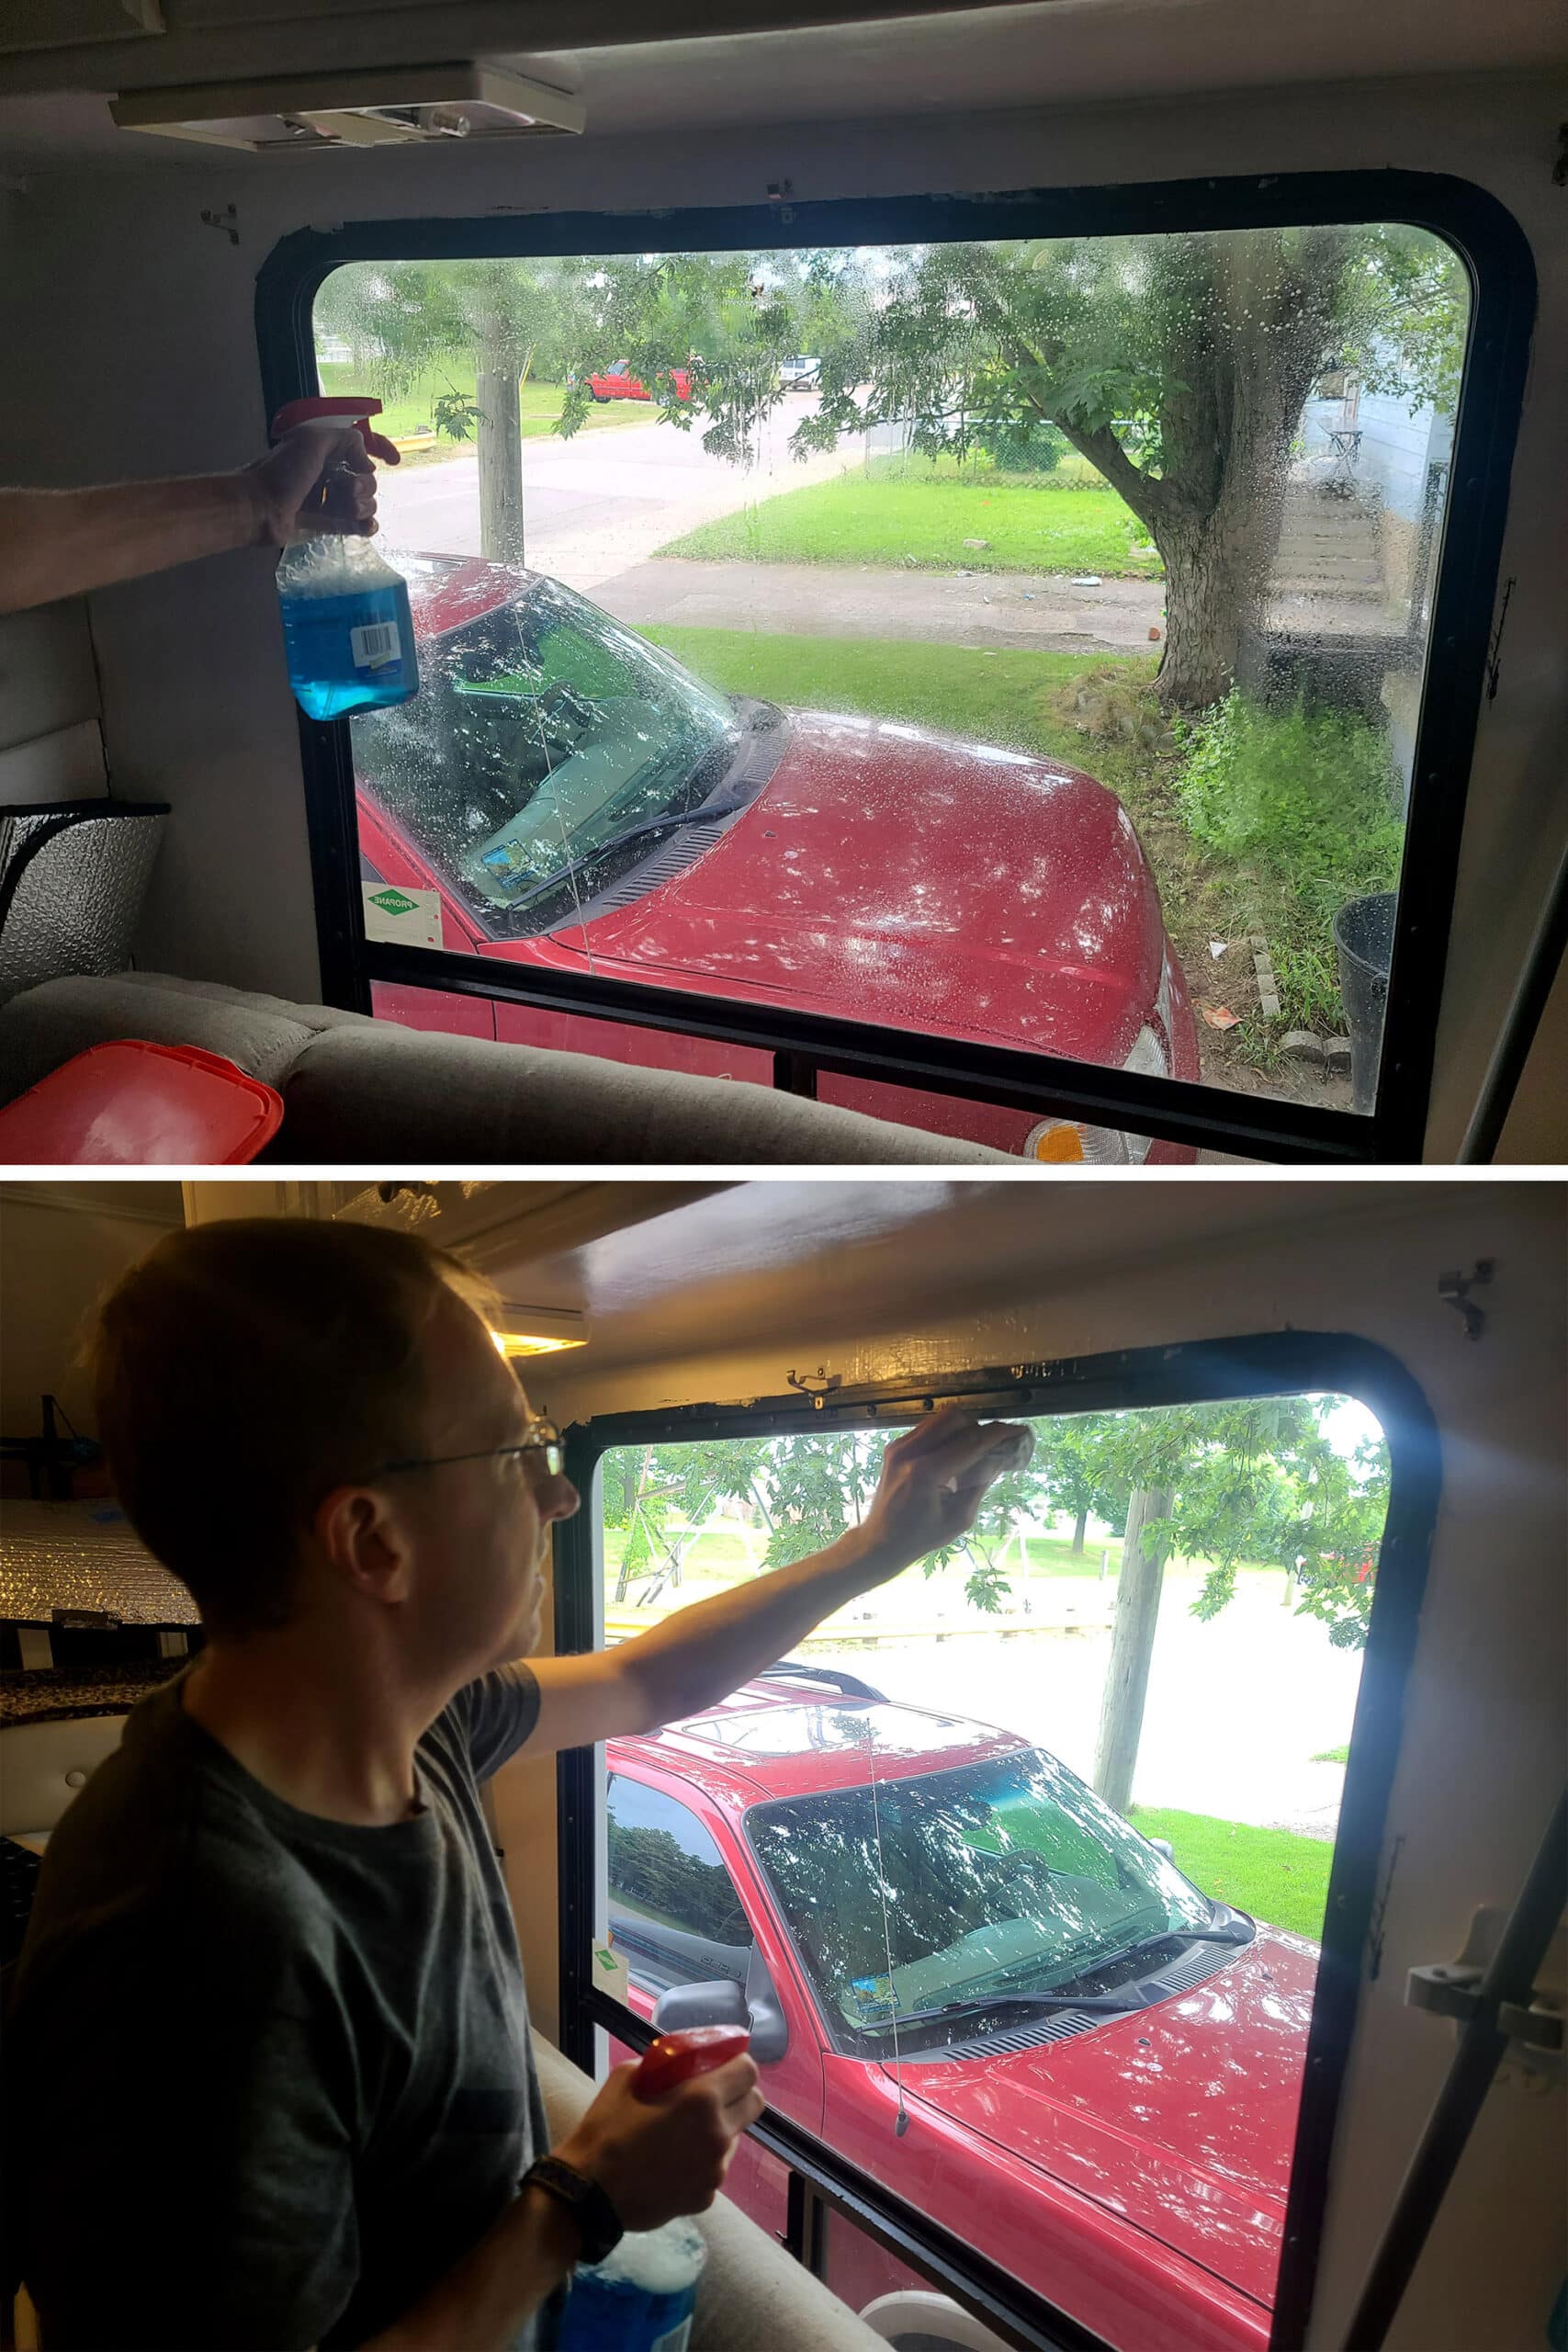
Using the spray included in your installation kit - or clean water mixed with a small amount of dish soap - generously spray the window that you’ll be applying the film to.
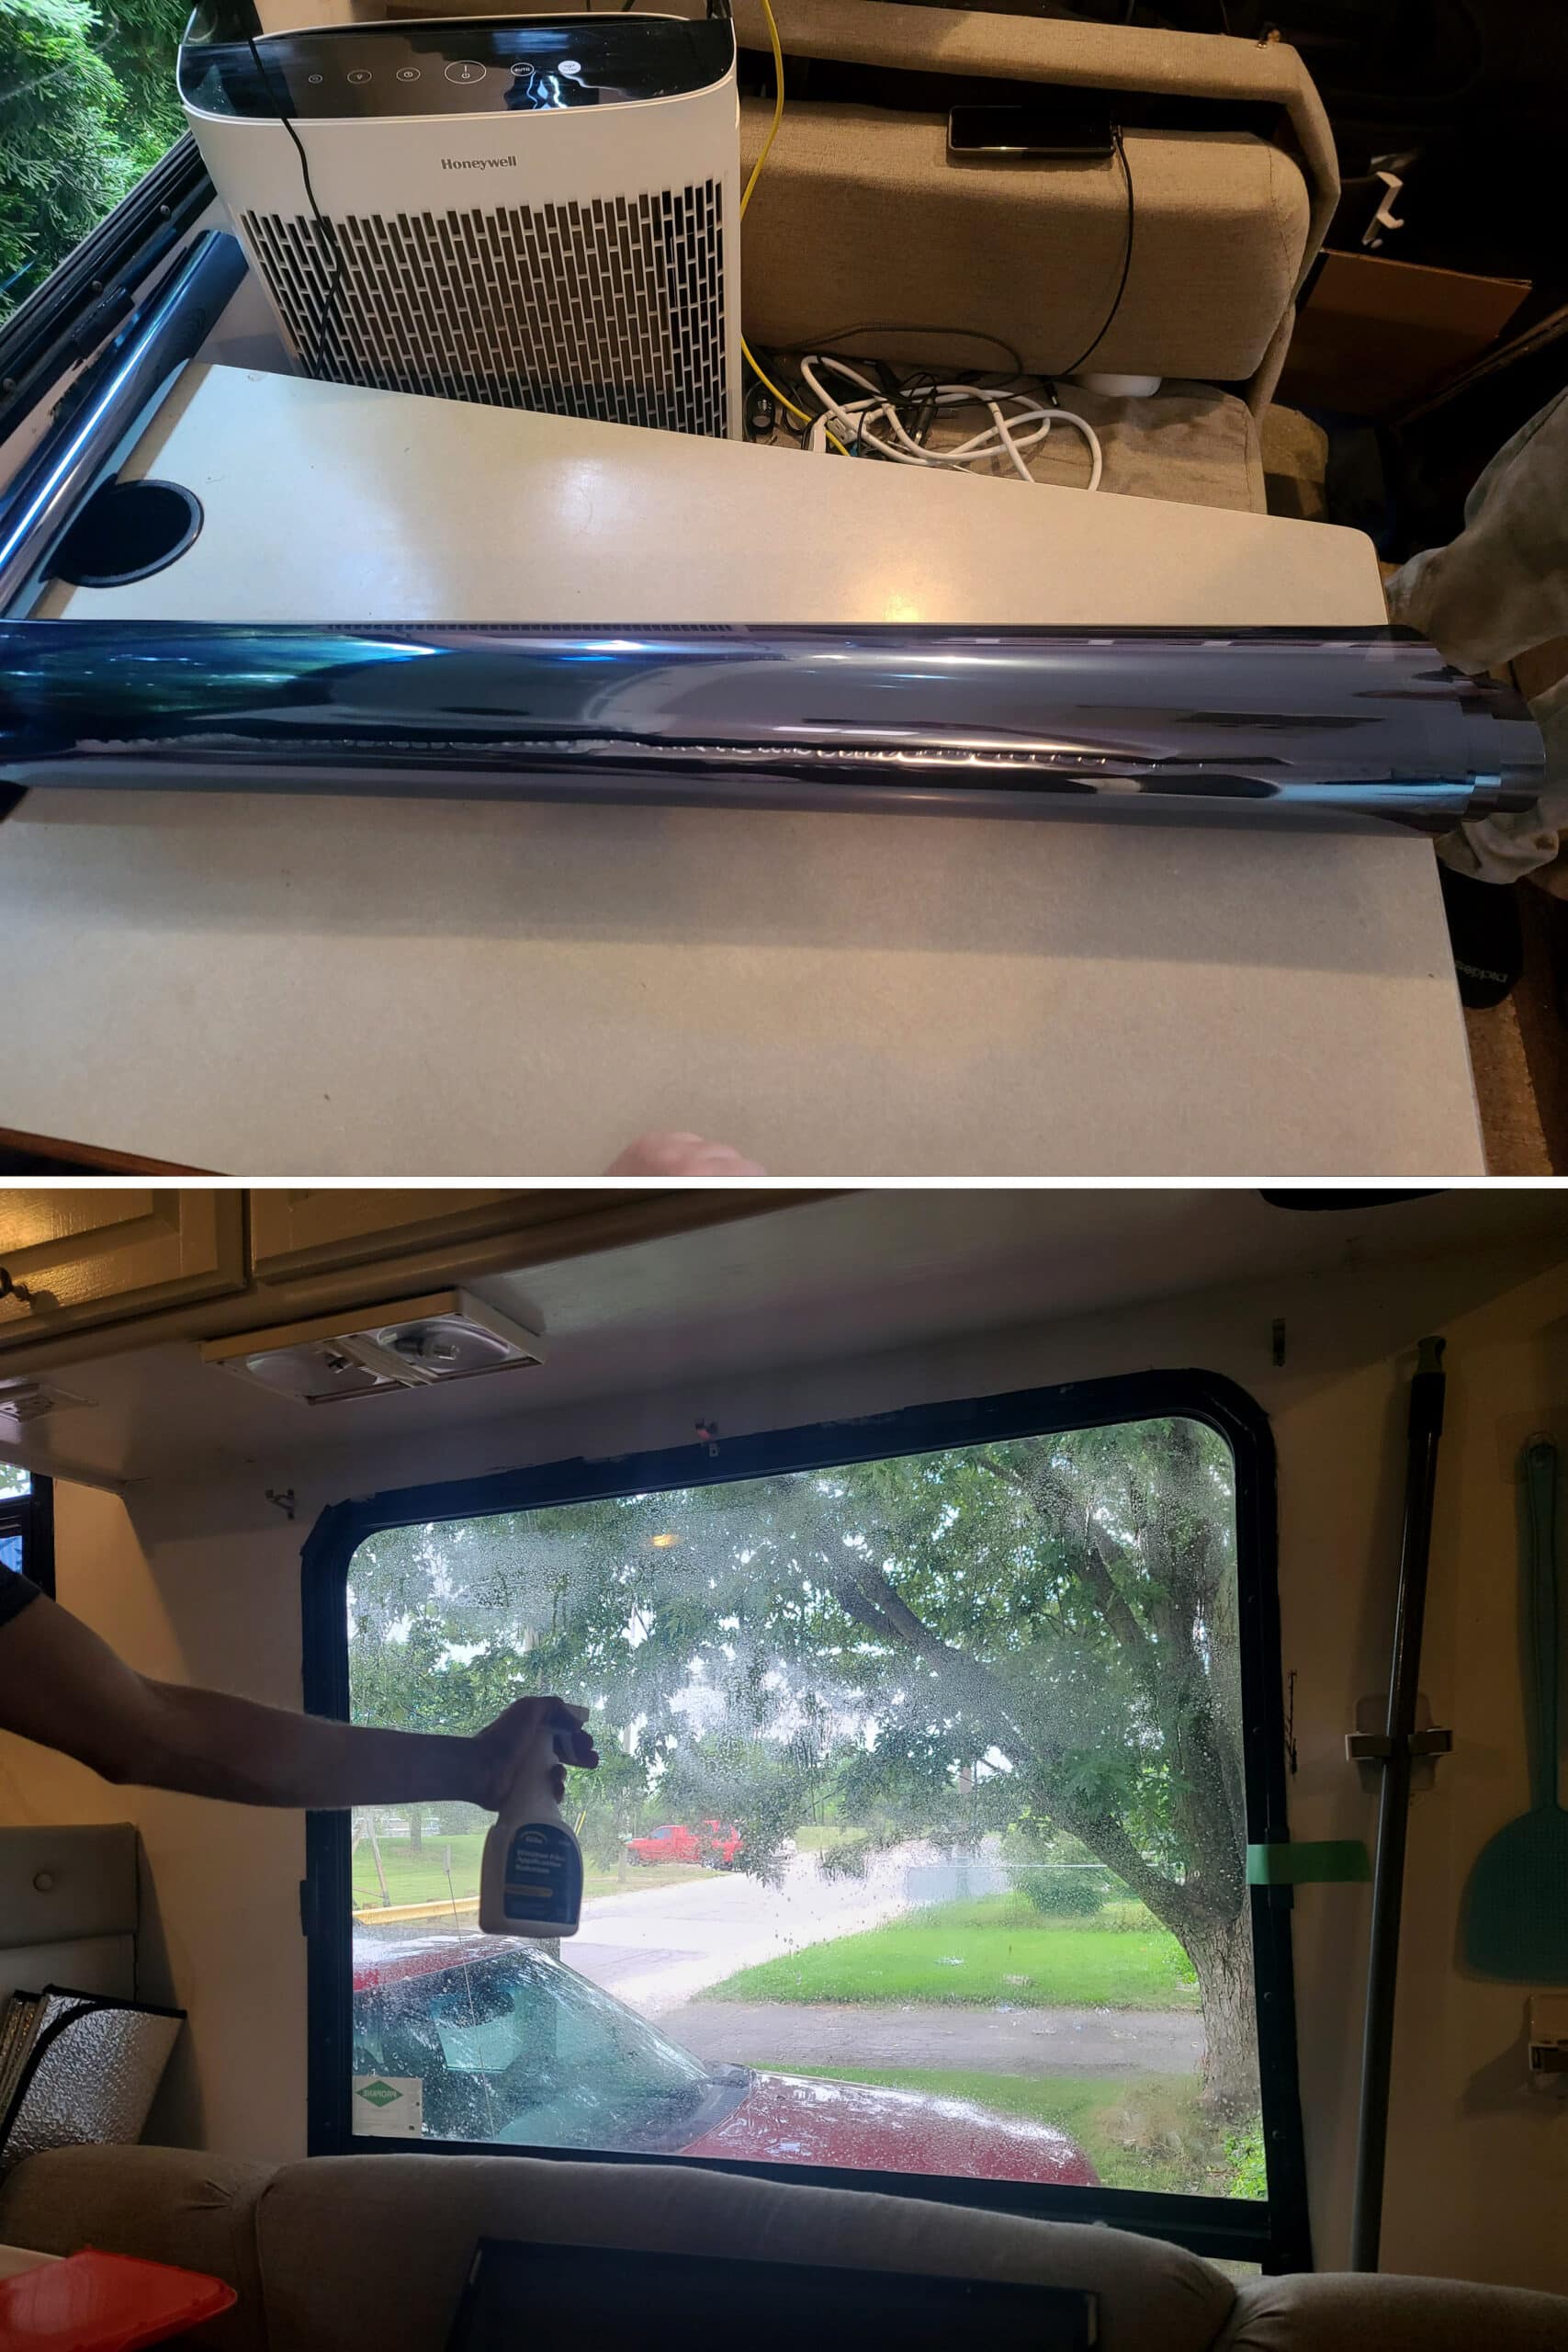
Peel and Place your Film
Carefully peel the clear plastic backing off the cut piece of window film.
As you peel it, spray the newly exposed surface of the window film with more of the application spray.
We tend to peel and spray as we go - the faster you get the spray on the newly exposed film, the better!
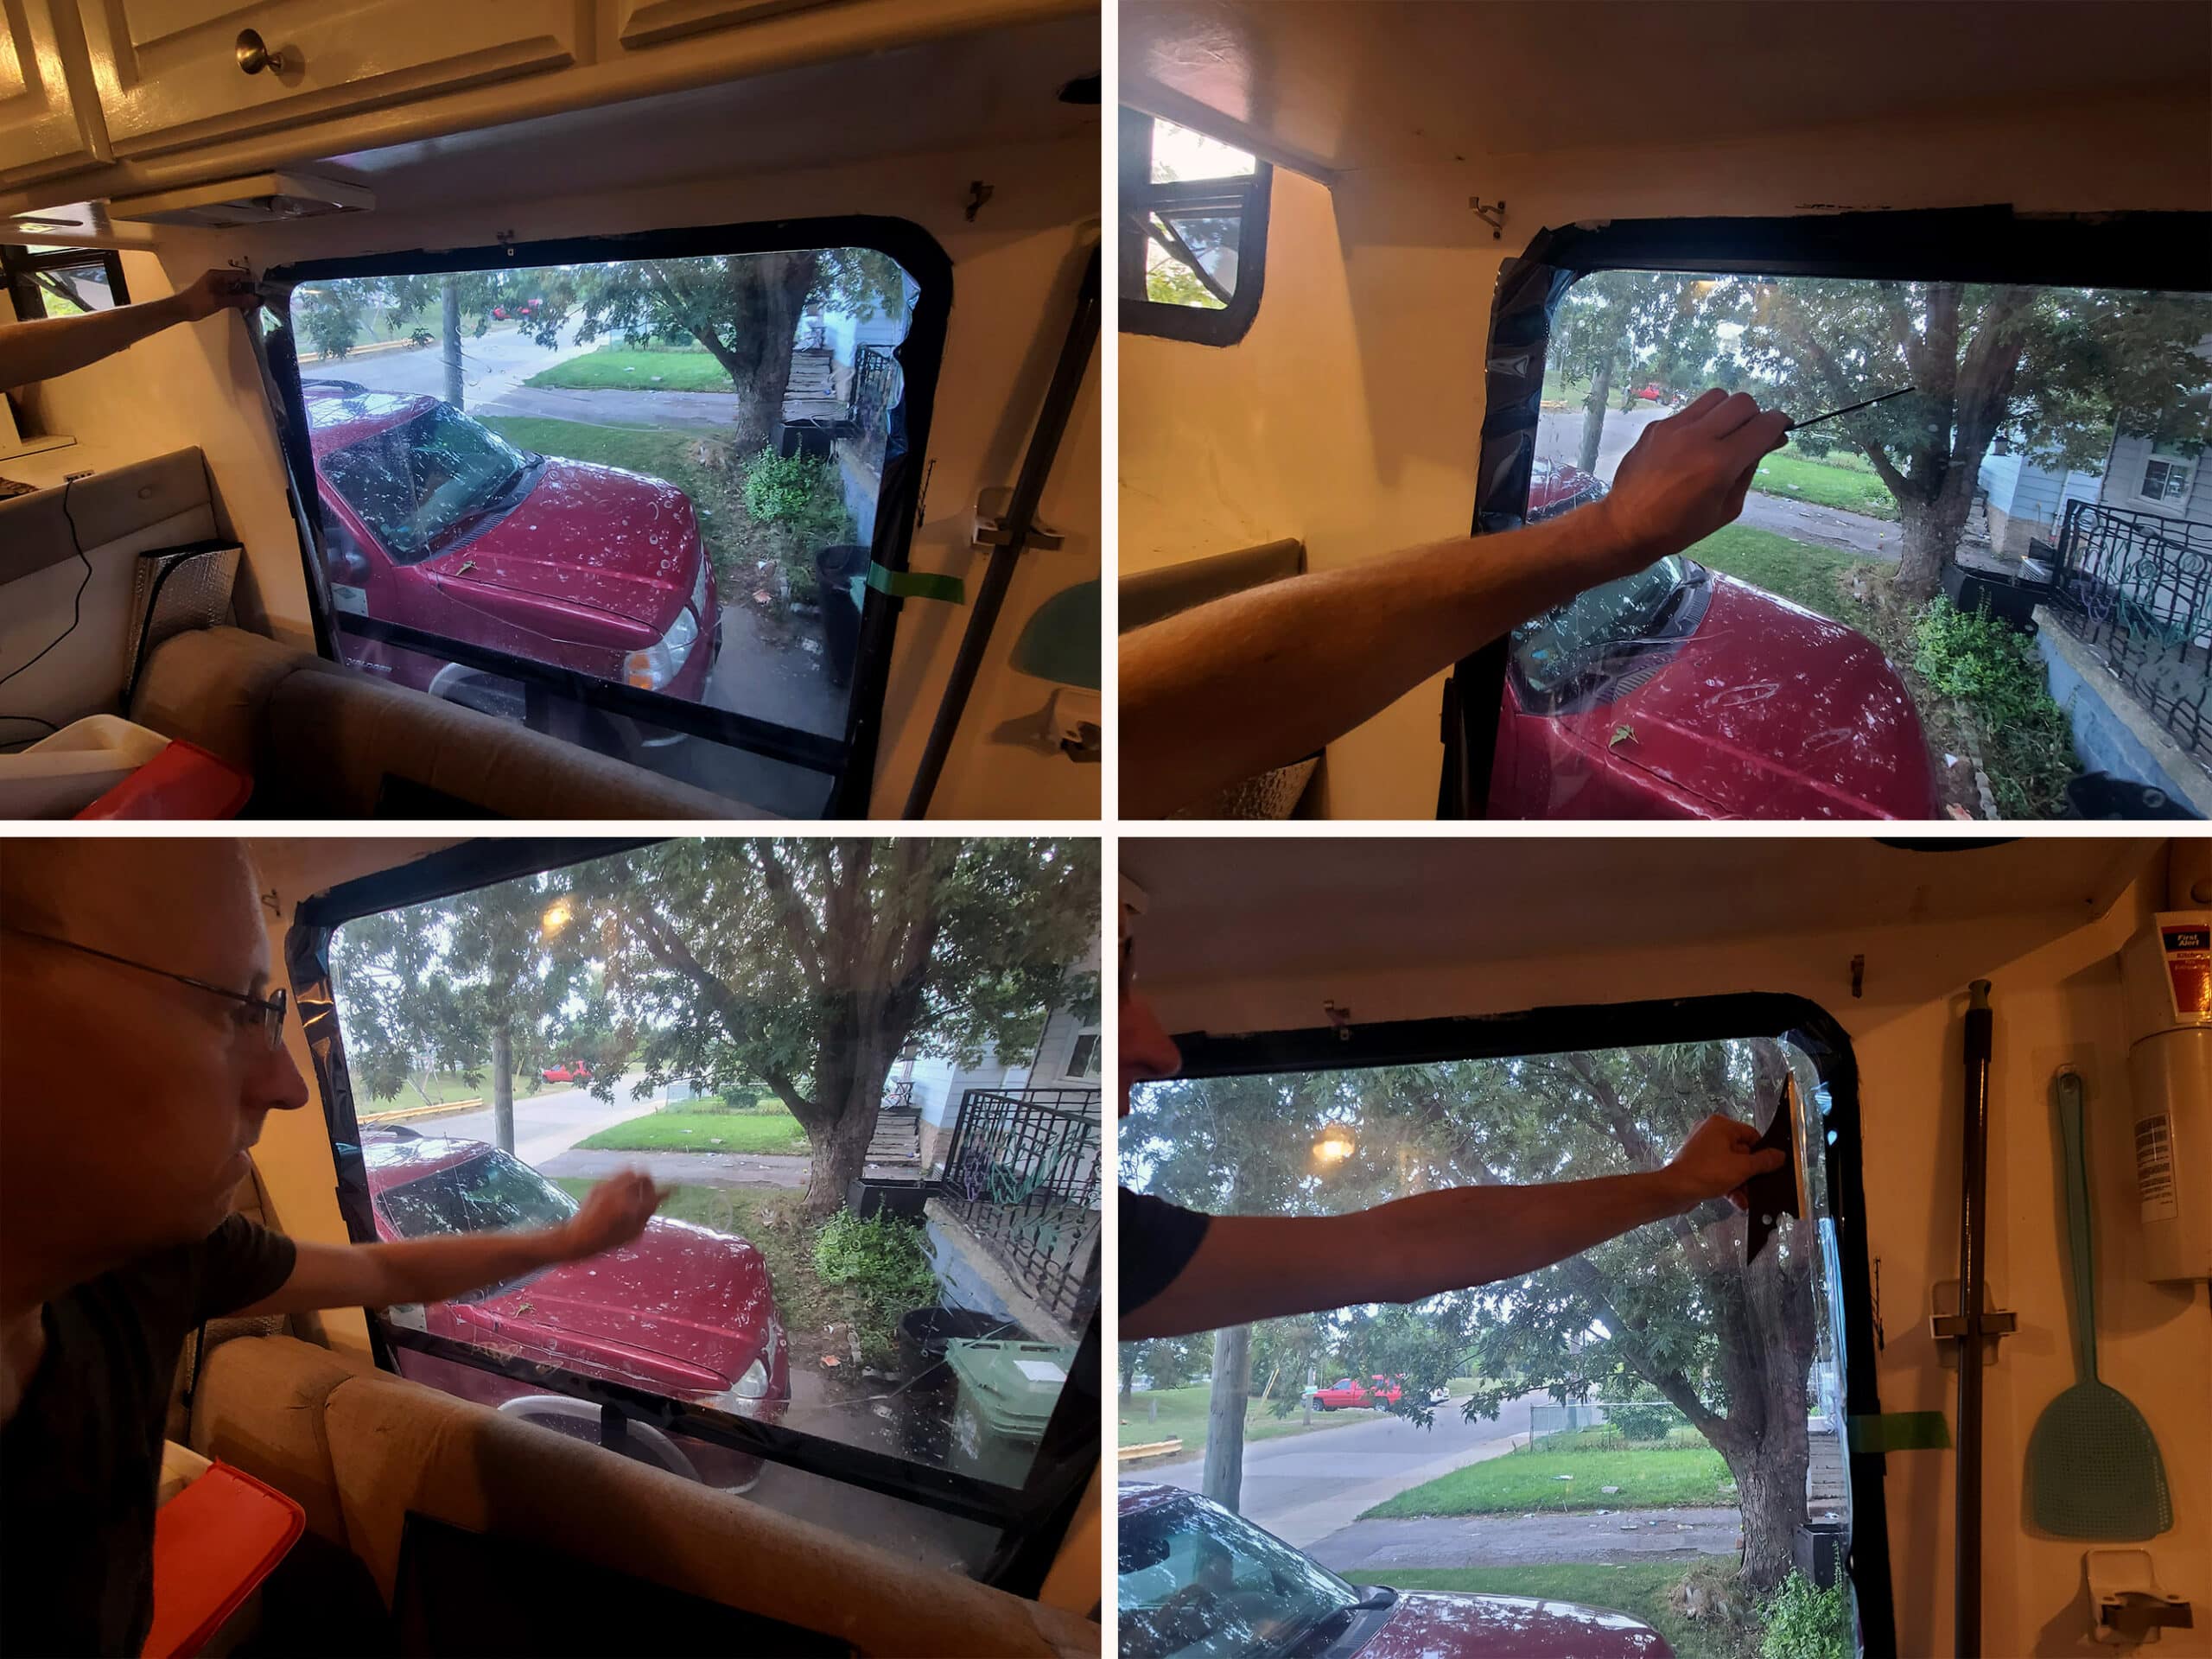
Carefully position the film over the window to be tinted, sprayed side facing the window. If the spray on the window has dried, feel free to spray some more before applying the film.
Once you’re happy with the position of the film, press it against the window.
We like to align the two upper corners, then press in the middle of the window, to center / adhere it.

Don’t worry too much about bubbles at this point, but take care not to stretch or wrinkle the film.
As you get to the outer edges, make sure the film extends past the window in all directions. If the film doesn’t quite meet the edge, you can slide it around over the water to adjust.
Again, slide it - be sure you’re not *stretching* the film.
Spray the window down with more of the application spray. This will lubricate and protect it as you squeegee out the excess air and liquid.
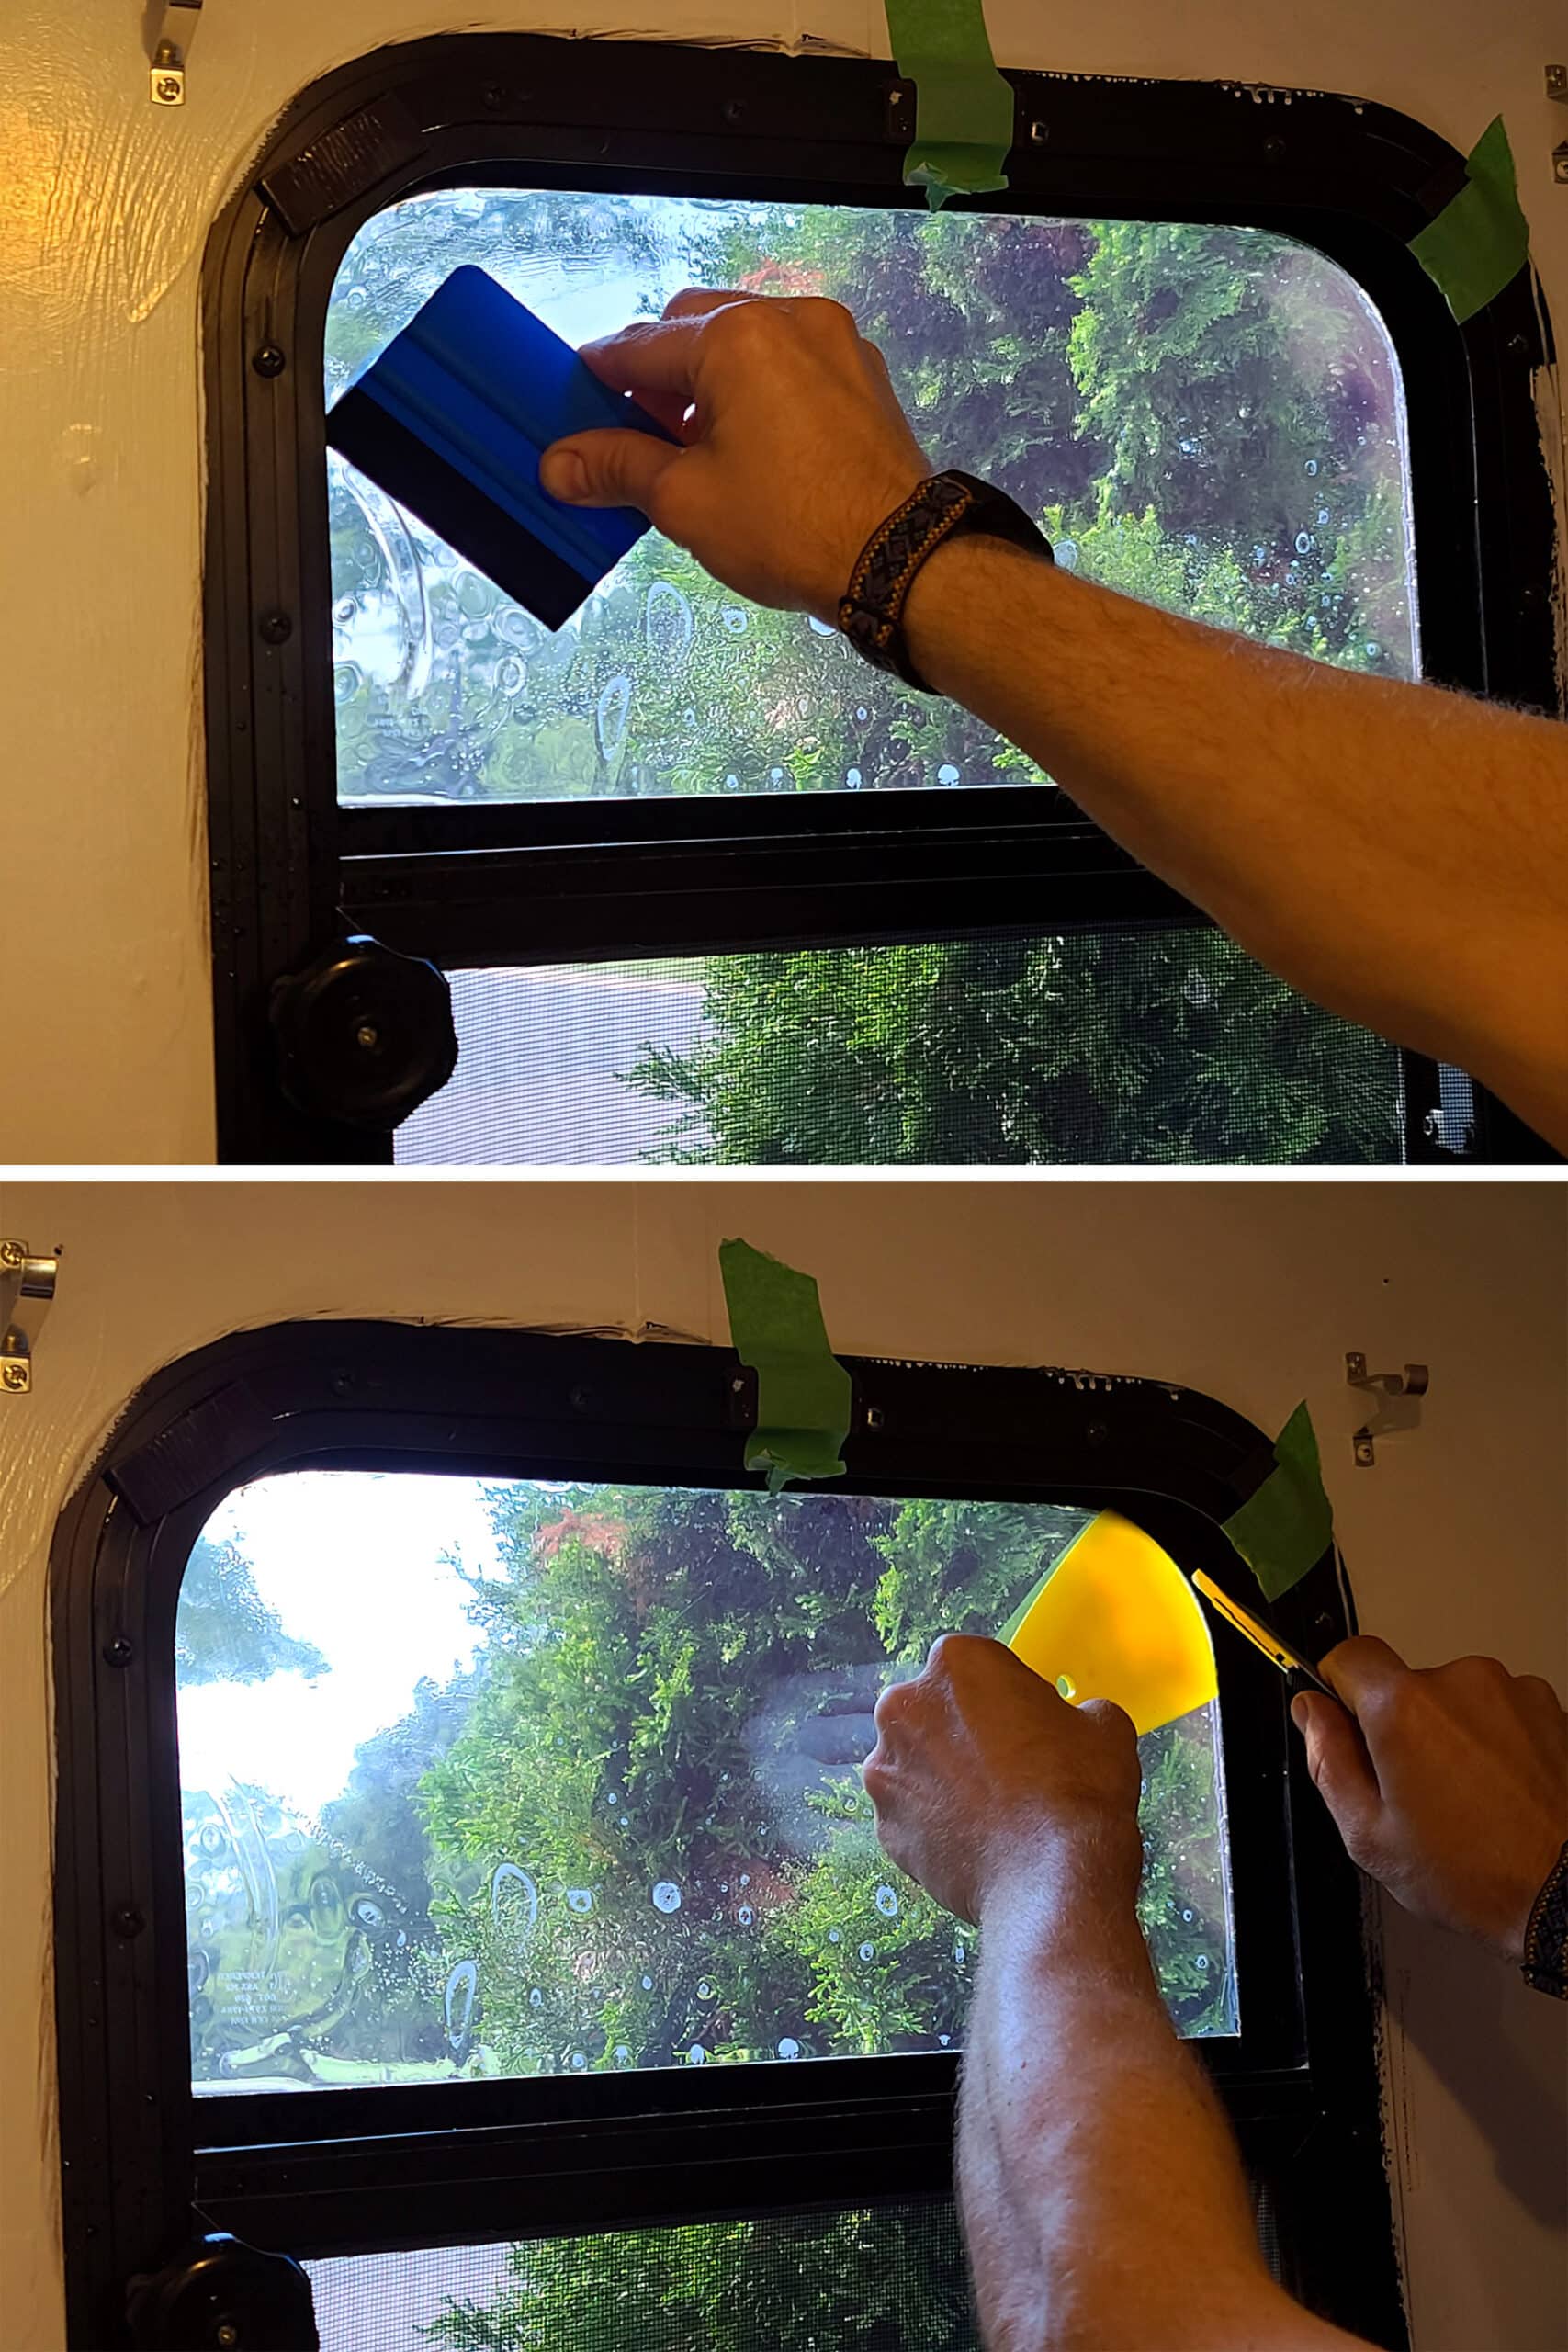
Squeegee Excess Water Out
Using the squeegee tool provided - working out from the center - lightly and gently squeegee out some of the excess air and liquid.
This is mostly to secure the film in place - it’s easy to move around when there’s a lot of liquid in play, between the window and the film!
Once you’re happy that the film is fairly secure in place and meets all the edges around the window, use the squeegee tool - held at about a 45 degree angle to the window surface - to squeegee out as much of the excess water and air as you can.
Spray water on the outer surface as often as you need, and just be careful to not stretch or warp the film as you go.
Note: You likely won’t get ALL of the water out, and that’s fine. Little amounts will evaporate over the next few days, and the film will vacuum against the window in the process.
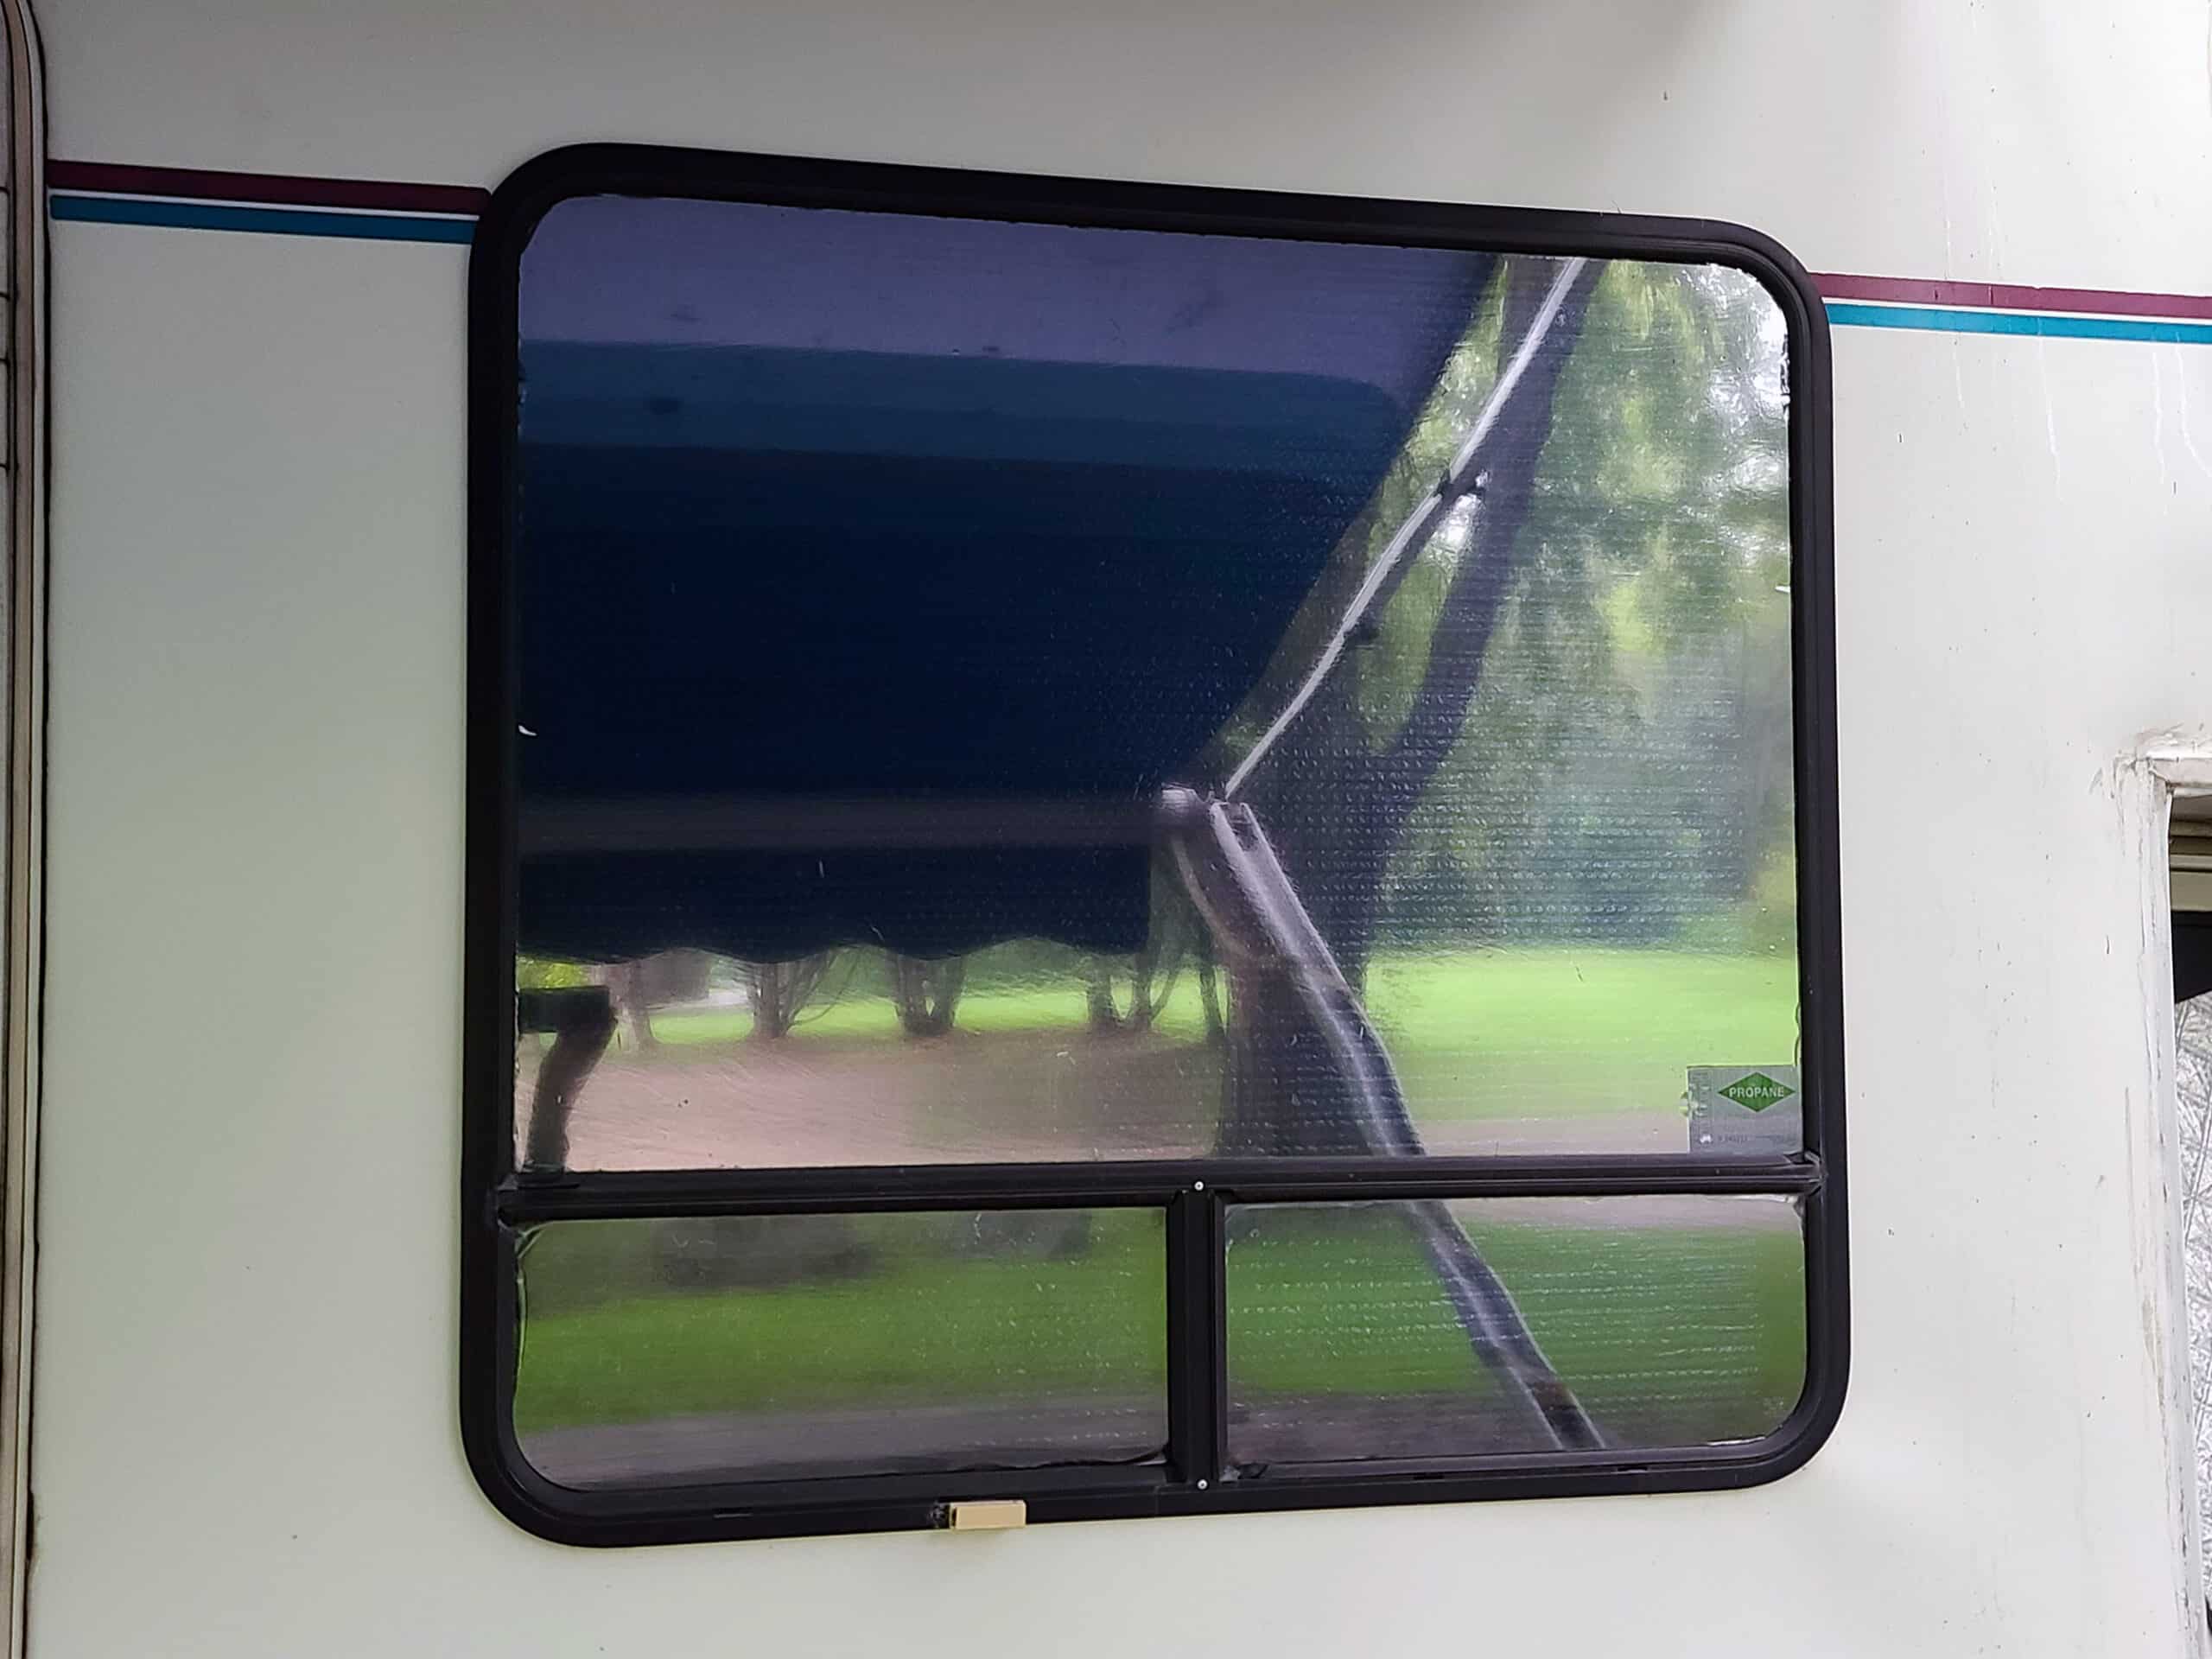
Trim Excess Privacy Film
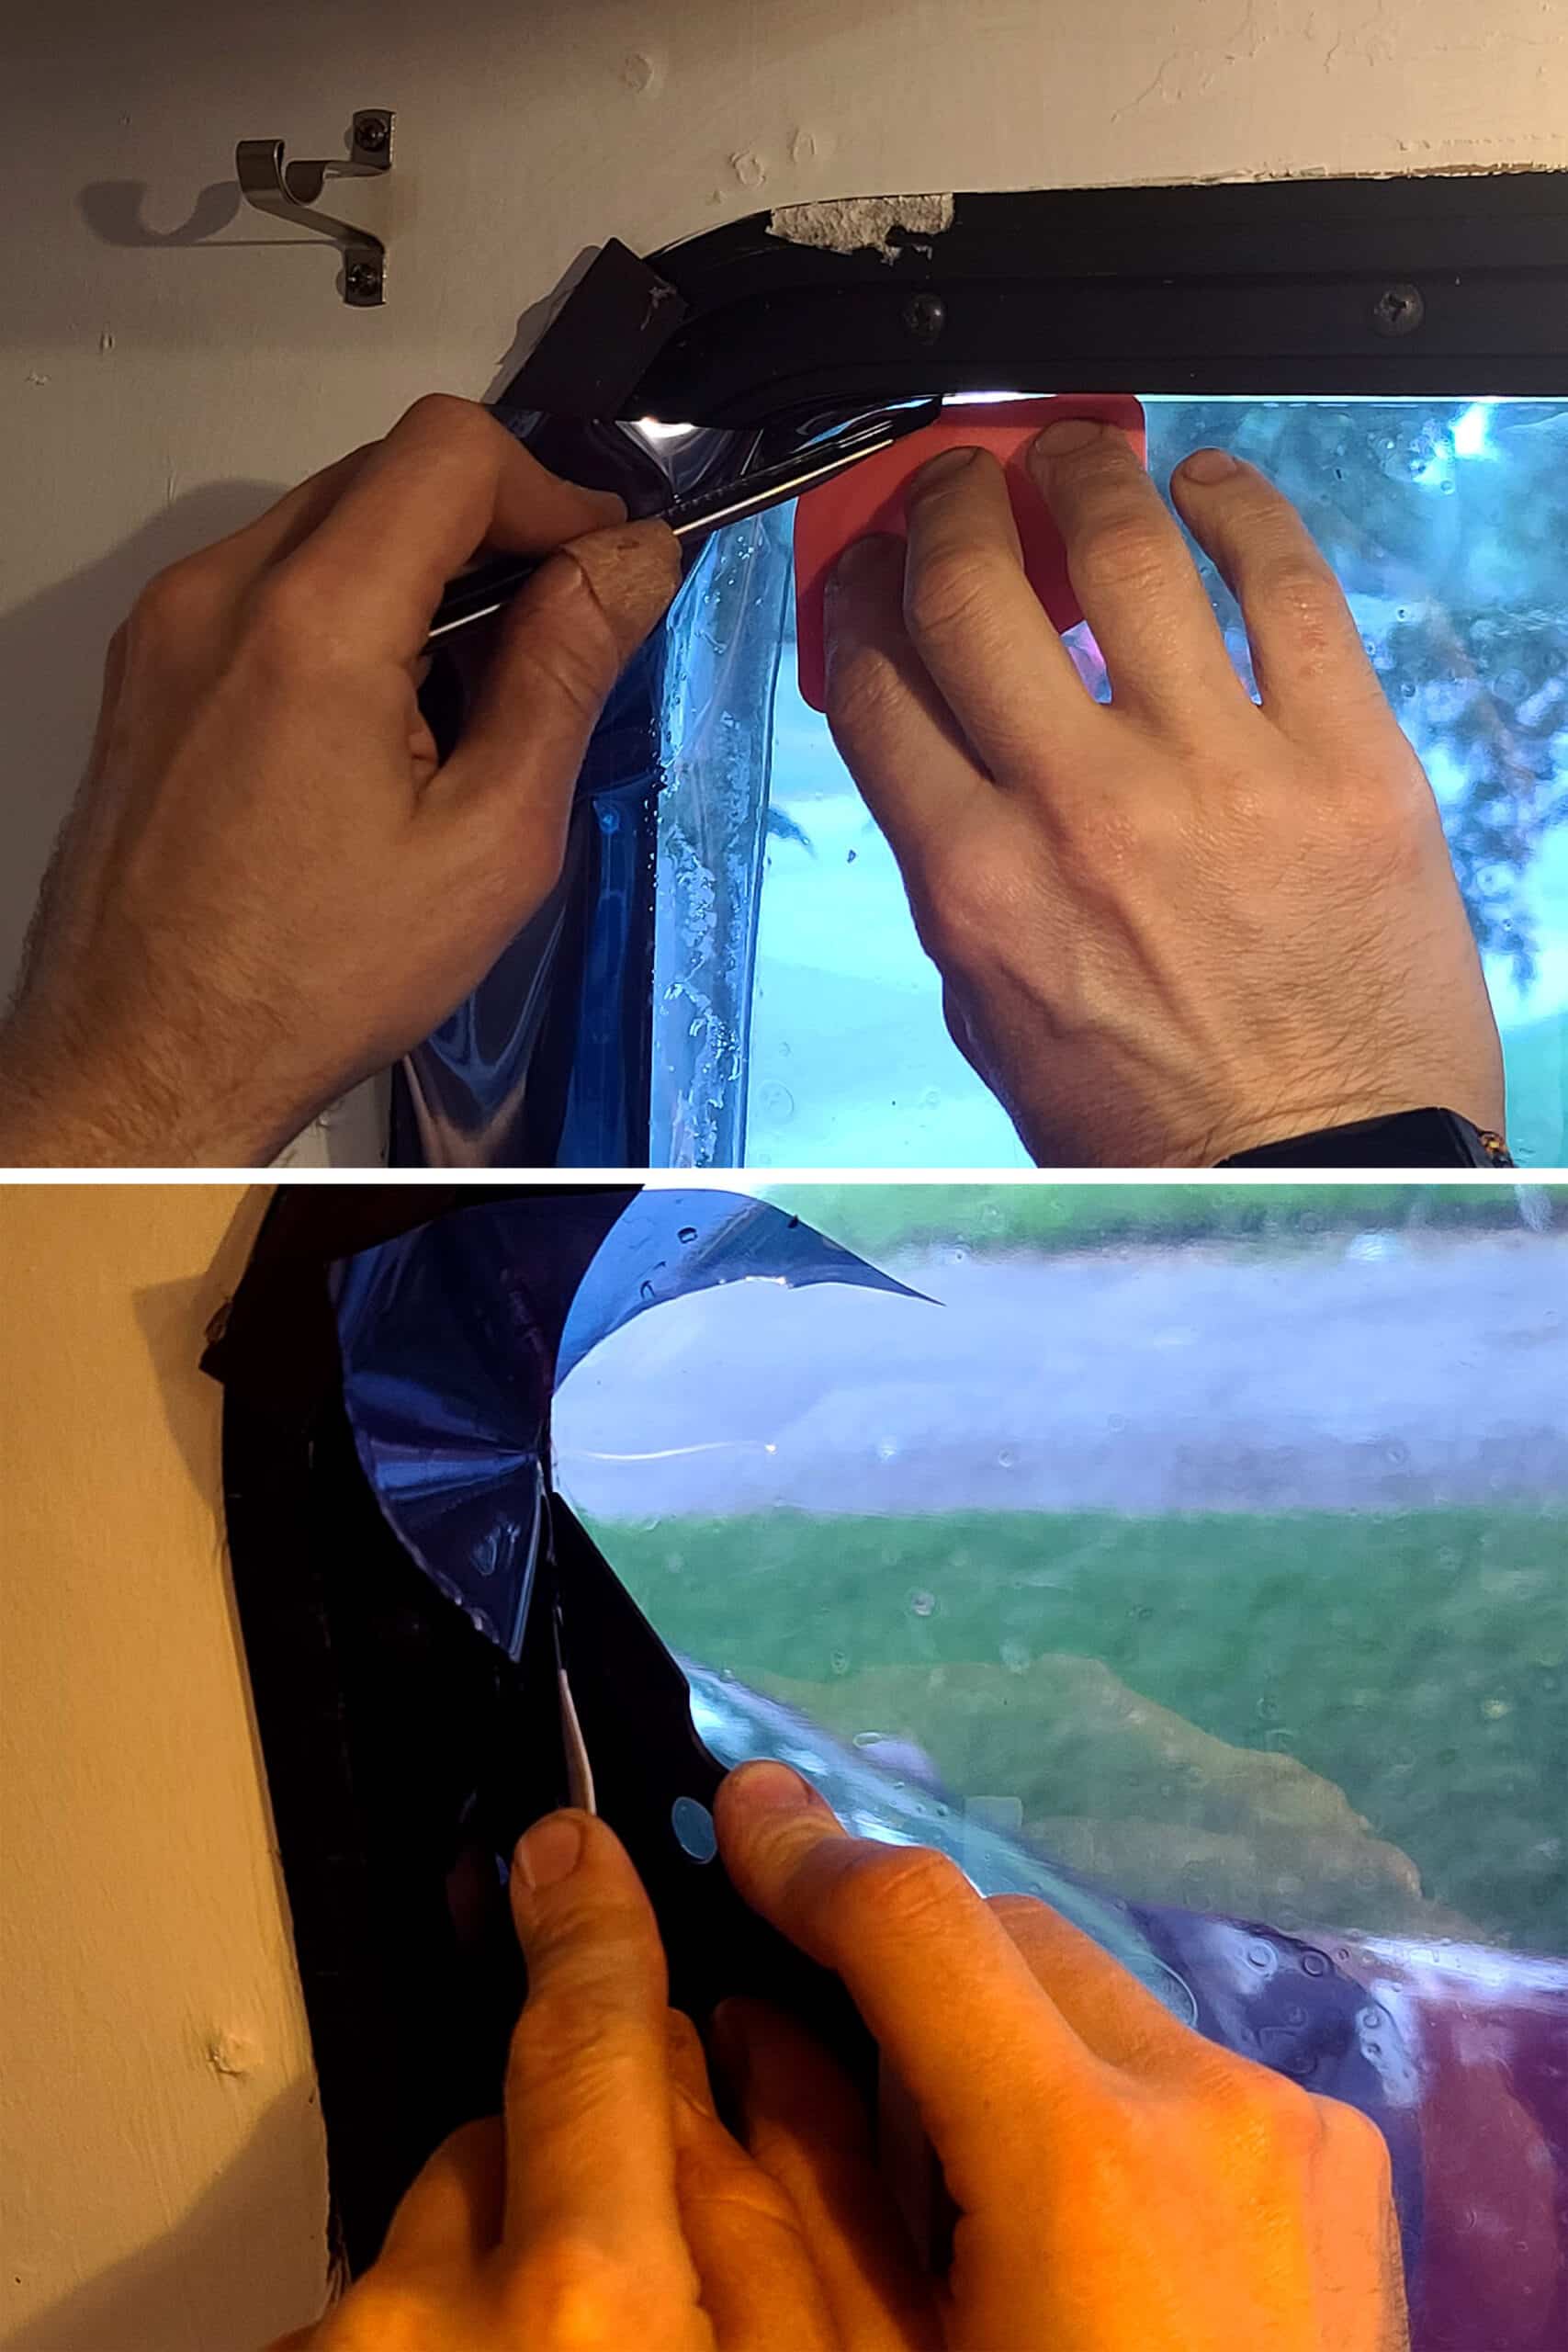
Use the flat edge tool in your installation kit to smooth the edge of the film against the glass, holding it right at the edge between the window glass and the window frame.
Holding the flat edge tool securely against the edge of the window, position your cutting tool between the flat edge and the outer edge of the window.
You’re using the flat edge tool as both a guide, and as a barrier to prevent cutting the film over the glass.
Working in a smooth motion - and holding the tool securely against the window edge as you go - slide both the tool and your cutting edge along a straight edge of the window, trimming excess film as you go.
Repeat on all of the other straight edges.
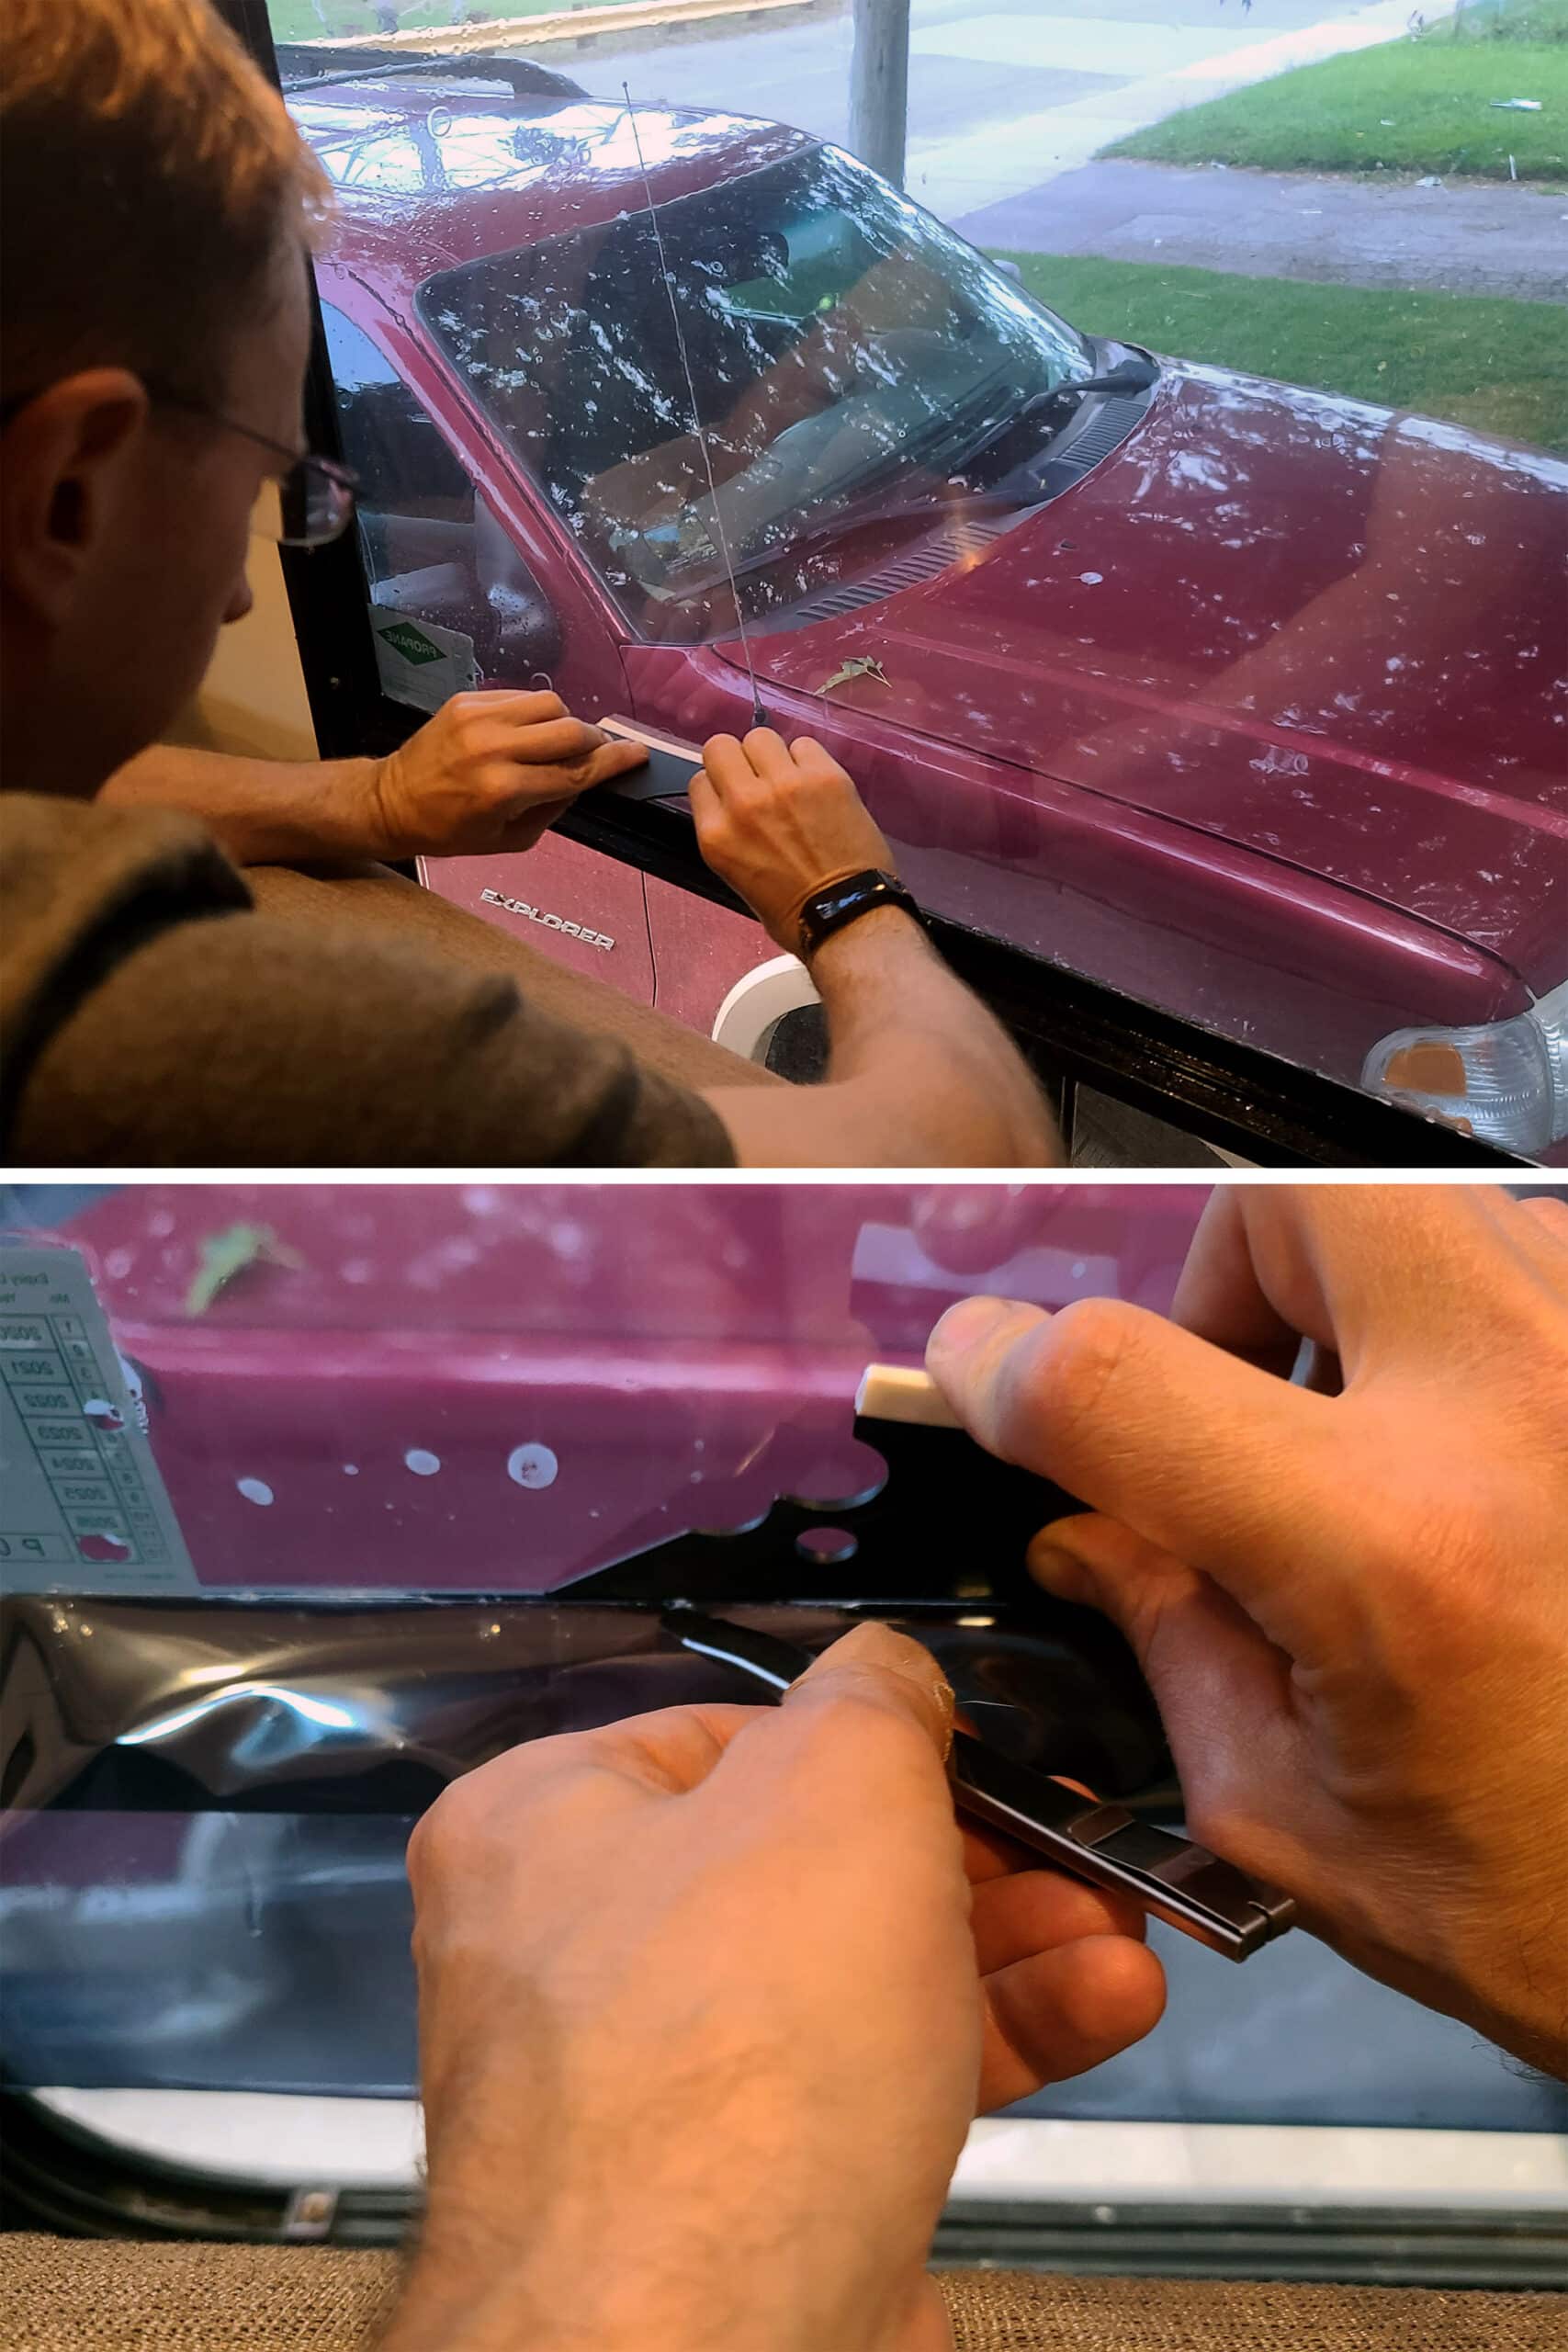
Hold the curve - or corner - tool in place, trimming around the outer edge. Repeat on remaining corners.
Well, done with this one, anyway.
Now you get to do the rest of the windows of your RV!
Good luck and have fun with it!
Trimming Film on a Sliding Window
Whether or not your window slides open is an important consideration when it comes to trimming your windows.
When you have a sliding window, you’ll use a slightly different technique.
First, follow all of the steps for the regular window film installation, above - up to the point of trimming.
Open the window that you’re trimming.
Holding your cutting tool at a 45 degree angle to the surface, trim excess film from the areas that are exposed when the window opens.
You don’t want to cut them the same way as you do for stationary windows, as that will create a “tab” effect around the edge - and the film will peel off when you close the window.
Tips For Applying Window Film
Planning for your Window Tint
Check the laws in your area before buying and applying tint.
Local or federal laws may affect how dark your tint can be, which windows you can apply tint to, etc.
You’ll likely need to skip your windshield, and may need to leave the dark tint off the front side windows (in the cab), and the rear windows.
We find the most benefit from having darker windows in the main body of the TV, personally - especially the large windows by the couch and dining table.
We usually have the back windows - in the bedroom - open during cool days, and we’re rarely back there before dark anyway.
Don’t JUST figure out the square footage you need for the number of windows you’re covering.
You need to be sure that the shapes and sizes of those windows will lay out on your roll(s) of film - expect a fair amount of scrap.
I like to plot the biggest windows first, and work my way down, fitting some of the smaller windows in cutoffs from some of the larger pieces of window film.
Also: Buy more film than you need. Mistakes HAPPEN - it’s good to have some backup!
Prepping for RV Window Tinting
Wear clean clothes, have all your hair tied back, etc. You absolutely want to avoid introducing any hair or pet fur anywhere near your work area.
If you need to vacuum and/or dust in the area, do it the day before, so everything has some time to settle somewhere OTHER than in between the window and your film!
The last thing you want is an airborne cat hair forever immortalized right in the middle of your biggest window!
Installing your Window Tint
Peeling the film off creates a ton of static electricity.
Spraying the newly exposed film with the window tint solution cuts that static electricity, and helps prevent it from attracting any floating hair, dust, etc as you peel the backing off.
The manufacturer of the film we used suggests to adhere the plastic back onto the film after applying it to the window, to protect the film as you squeegee it.
We found this to be far more fussy than necessary - if you’re careful, use plenty of water, and use the right tools, you won’t scratch the tint as you apply it.
We’ll trim it to the rough size on the first pass, and then clean up the edge on the second pass.
Stretching, warping, or just placing the film anything other than flat against the window can result in “snakes” - these are long channels that form, snaking in from the edges of the window.
If this happens - and squeegeeing doesn’t help - peel back the film to the area the snake has formed, spray the exposed window, and carefully replace the film, taking care not to stretch or warp it in the process.
If you find that - despite all efforts to prevent it - you’ve got a hair in between the window and the film, you can peel back the nearest corner or edge, remove the hair, spray the exposed window, and reapply that section.
Work outwards from the area of still-secured film towards the edges.
General Tips
I like to use the dining table as a big cutting and measuring guide.
I’ll run a straight line of painter’s tape across the table, keeping it perpendicular to the long edges.
I use that not only as a set point to measure lengths of window tint off of, but as a straight edge guide for cutting those lengths of film.
Don’t be too much of a perfectionist. While anyone can install window film, it does take practice to get perfect at it - IF perfection is even achievable.
Spoilers: in many cases, it isn’t.
Any small imperfections are mostly going to be noticeable to you only, because 1. You’re right up close, and 2. You were the one who did it.
From any kind of a distance, most imperfections won’t be noticeable at all.
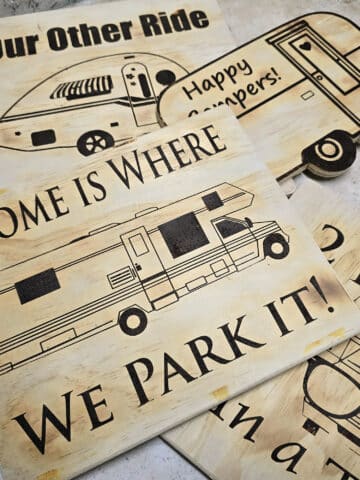
More DIY RV Tutorials
Want to check out more of our tutorials for ways to improve your camping experience?
Well, we don’t have many posted yet, but here’s a start!
DIY Fabric Covered RV Reflector Shades
Homemade Fire Starters
Installing RV Window Shades with Magnets
Make a Custom RV Camper Step
RV Window Screen Replacement
Also, be sure to check out our RV Lifestyle section for other tutorials to make RV life great - including photography tutorials. We also have a great Camping Recipes sections... that counts as DIY, right? 🙂
Thanks for Reading!If you loved this post - or have any questions about it - please leave a comment below! We'd also love it if you would consider sharing the link on social media! |
Leave a Reply