RV battery charging problems can cause major issues, here's our comprehensive troubleshooting guide to help you get back on the road!

This is written to allow an average person to follow. The path I'm going to take you down isn't the only way to go about this. We're going to start with the most common reasons for failure, and the easiest things to check.
It's very helpful if you have a voltage meter / multimeter, but you can follow this guide even if you don't have one handy.
You started with a full charge but things aren't working, or perhaps you can see the voltage reading is low. Do you have a bad battery requiring replacement, a dead battery requiring recharge, or something else entirely?
If your batteries are charging, but too slowly for your needs, check out our article on the Fastest Way to Charge RV Batteries.
Together we'll diagnose your RV battery charging issue. First let's get on the same page about how the electrical system uses those RV batteries.
What does the RV battery system do?
The RV battery provides the DC voltage for your appliances. It's the same concept whether you're looking at a motorhome or trailer batteries, and battery failure will impact the same things.
Things like the water pump tend to operate solely on battery voltage, whereas things like the water heater and refrigerator may use DC power for the controls but use another power source, such as propane, for the primary energy needs.
Your air conditioner consumes a lot of power and likely isn't using a battery system directly, except when RV inverters are involved. There are sure to be exceptions to these examples. This gives you an idea of what you're most likely to encounter in your RV.
Which battery isn't working?
The first thing we want to do is understand how the battery systems work.
In a motorhome you'll have the starting battery to run the engine, this is your normal car battery. This should be electrically isolated from the house battery. It may be physically separated as well since the two battery systems don't interact.
Maintaining two separate battery systems makes sense because the engine needs a very high amount of power for a short time. The coach battery for the house typically supplies low to moderate power for a longer duration.
Batteries are optimized for their usage. A deep cycle battery allows you to use most or all of the battery's power for many cycles.
A typical car starting battery can only be fully discharged a few times before its capacity is severely compromised.
Also, separating the two systems allows you to be confident that you'll be able to start your motorhome with the chassis battery even if you use all of the power from the onboard batteries in the house section.
We're going to focus on the house batteries, which is a more complicated system. Much of the troubleshooting advice here will also apply to the chassis battery.
Find the RV Battery Location
The next step is to physically find this battery bank, which could be one or more batteries linked together.

They could be lead acid batteries (the dominant type for many decades). They could be lithium batteries, a newer technology that has some great advantages but at a higher initial cost.
A lithium battery operates using the same general principals and usually even look like their lead acid counterparts. AGM batteries are a certain type of lead acid battery and also operate the same way.
What is supposed to be supplying the power to the RV battery?
The first step in diagnosing your charging system is understanding what can and should be charging it. Your system will have at least one way to charge your battery with some type of outside power source. It likely has multiple ways that it can be charged.
No onboard RV battery charging system
The most simple system is one that uses an external battery charger to charge up the batteries, and the power is used while away.
It's not likely your system uses this unless it's a home-brew system. This is more likely the kind of thing you'd see on a small boat with an electric trolling motor.
Vehicle power charging
When driving a motorhome, your engine produces low voltage power via the alternator. This charges both the chassis battery and house battery. It also makes sure they remain electrically isolated by using battery isolator electronics.
If your house batteries are low when you leave a campsite, it should charge up while on the road. For a travel trailer, your truck can supply power to the trailer for battery charging as well.
In all cases this is generally a limited amount of power. It would take a long trip to fully charge depleted batteries.
Tapped into the grid – shore AC power
Plugging in to the RV park’s shore power is a very common situation. It is accomplished using a shore power cord to connect your RV to the power grid. In this situation your RV converter charger turns the high voltage AC power to low voltage DC power. It supplies enough power for your appliances and charging your batteries.
Think of the RV’s power converter as a really big version of the power supply for your laptop, gaming console, et cetera.
There are a variety of shore power types, generally 15 amp, 20 amp, 30 amp, or 50 amp service. These simply limit the overall power that can be used. The service type likely won't impact your battery charging issue because those ampacity ratings are at high voltage.
Even the lowest tier 15 amp service could supply well over a hundred amps at 12v. This amount of power would require a very large RV converter.
Power from a generator
Running your RV from generator power is going to have the same impact as shore power. You could be limited to lower ampacity if you have a small generator.
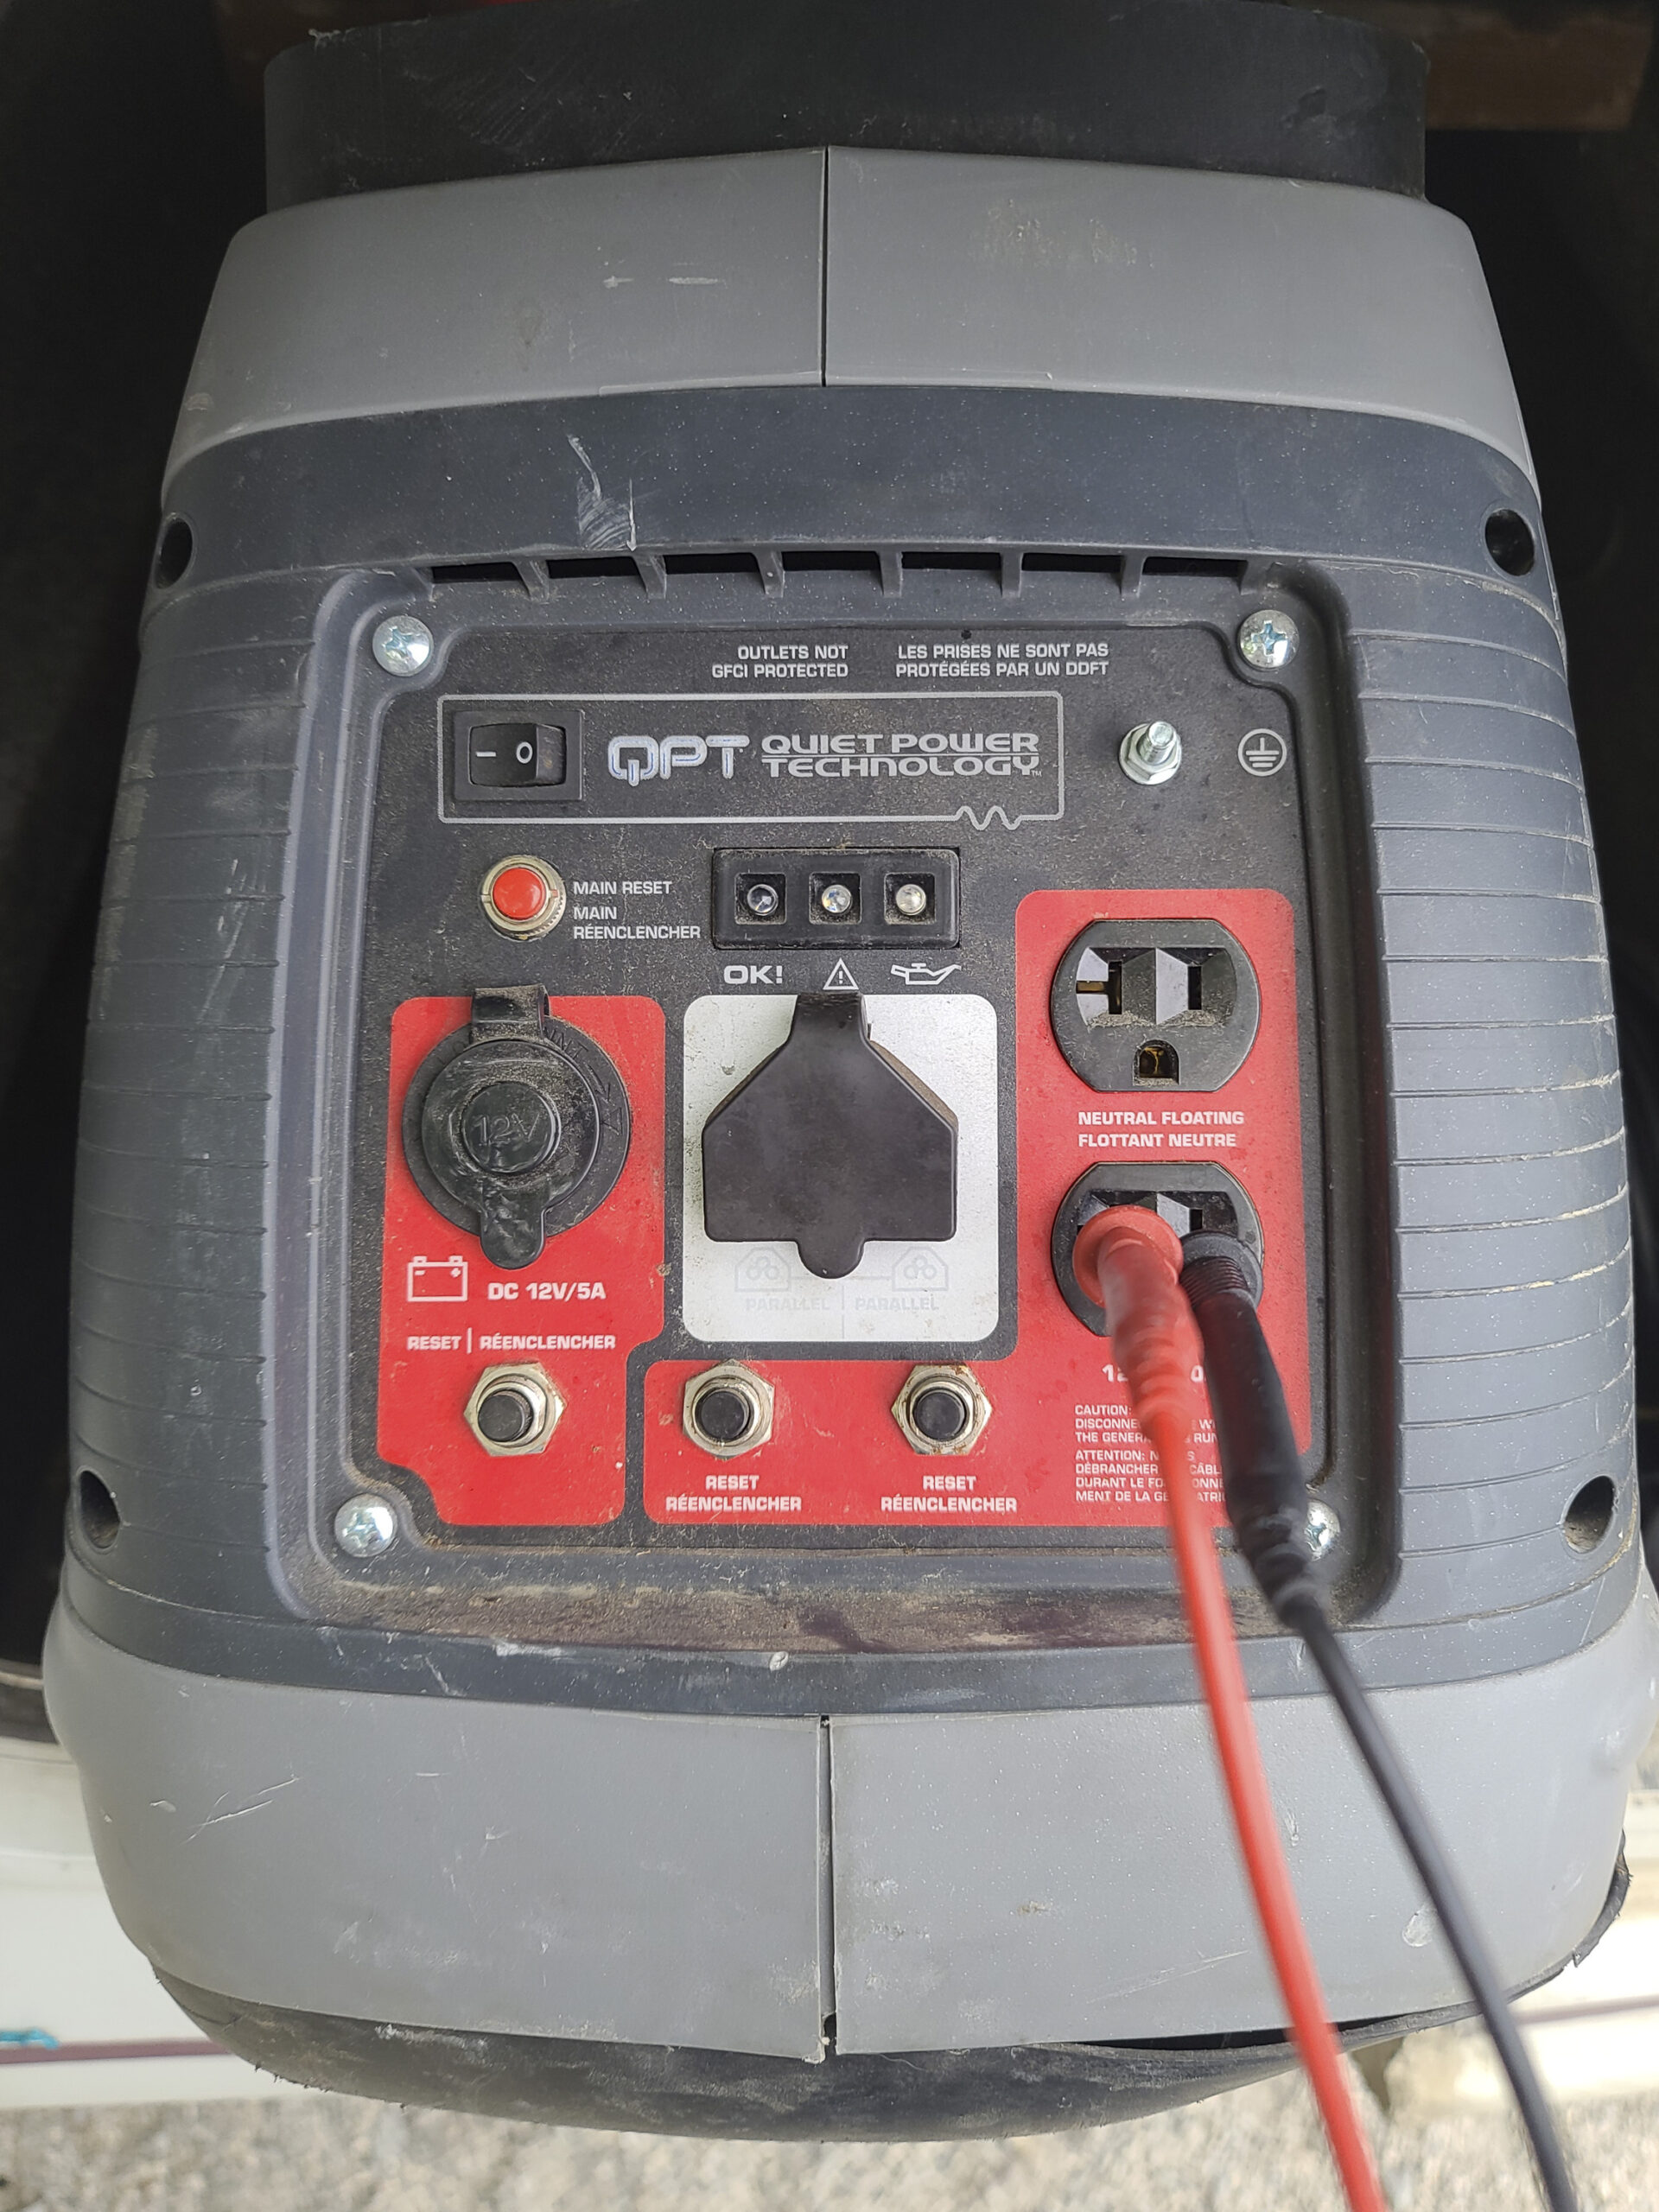
Even a very small generator rated at 900w should be able to supply your battery with over 60 amps of power (some power is lost when converting). This means plenty of RV battery power for your standard appliances.
Green power!
There are a variety of sustainable green power options for RV. Popular choices are mini water turbines, wind power generators, and most commonly, solar panels.
All of these options will include a charge controller. A charge controller is a circuit board designed to make the most of the available green power and turn into clean DC power for your batteries.
Start with the basics, the easy stuff
Now that it's clear where the power should be coming from, you have to determine what should be charging your batteries.
House power switch
The very first thing I want you to do is check that the house power switch is on. Our motorhome has a little pull-out switch located near the steering wheel.

This is a battery disconnect system. While off, no appliances will work while off-grid, even if the battery is fully charged.
Also noteworthy in our system is the battery won't receive a charge if the switch is off. When plugged into shore power we can use all the appliances as you'd expect. With the switch off the battery remains isolated and won't charge.
This means that if you roll into a camp site with a depleted battery, hook up to the grid for a few days with this switch off, you'll be leaving that camp site with a depleted battery!
RV Battery Solenoid Relay
This switch typically operates a solenoid relay. This means that you can have a little switch that turns on a big switch. The impact is you don't have giant wires and lots of power running through your dash.

When we first bought our motorhome the switch didn't turn on the house power. It turned out there is a fuse between the switch and relay, which had very corroded connections.
A quick spray with electrical contact cleaner and it operated as expected.

In our case the fuse is located under the hood, and is easy to locate. You may need to follow the wires back to locate your fuse and relay.
This is an add-on system that is not found on a standard truck. It will look a bit out of place, making it easier to find.
If the switch is on but you're unsure if it's operating correctly, perhaps you can't locate the fuse, then try the rest of this article and you can always come back to this. I'm trying to start with quick-and-easy, no need to spend a lot of time here yet.
Change input power
If it's an option, change where the power is coming from to see if that restores power.
When parked, the easiest way to do this is to start your truck and see if your system gets power. Conversely if you are having RV battery charging issues after a drive, try plugging into shore power or a generator to see if that clears up the issue.
This exercise is a good idea to quickly hone in on one part of the system. There’s no need to completely investigate every possible issue if you can avoid it.
If only one power option isn't working, you can assume the batteries are connected properly. Jump to diagnosing that individual charging system. If multiple power options aren't charging your system you can assume the incoming power is good and look closer at your battery connections and components.
Inspect the RV batteries
If your batteries are showing up as completely depleted, it could be the battery connections. This is an unfortunately common issue so let’s check that now.
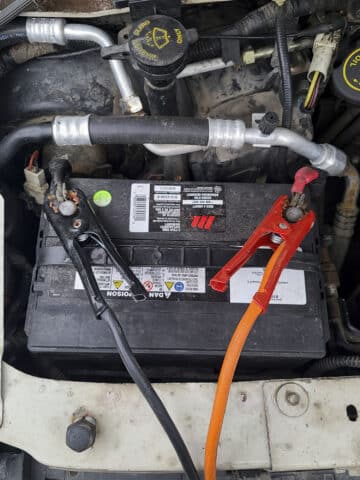
Take a look at the battery posts and visually inspect for issues. You'll see a red wire attached to the positive terminal. There will be a black wire attached to the your negative terminals.
The black wire is called the ground wire, and it will have a connection to the frame of your RV. If you have multiple batteries linked together, you'll have more connections to check.
RV Battery Terminal Corrosion
White corrosion can build up on the terminals, which is a clue that proper maintenance isn't happening. It's a good idea to wear gloves while doing this: the corrosion should be removed (an old toothbrush can work in a pinch) and some dielectric grease can be applied to the outsides of the connections to reduce the buildup.
Our used motorhome shows sign of wear and neglect at the terminals. It’s on my list to clean up the connections and apply grease to prevent issues in the future.

Corrosion alone won't cause a battery charging problem. When I see this I suspect there might not be a proper connection. The next thing to do is try to twist the battery cables at the battery terminals.
It's supposed to be a tight mechanical connection, you should not be able to twist it (don't use excessive force here, think of opening a bottle of water). If you can twist it, you might immediately notice that power is restored. This is because you've scraped off a bit of corrosion (the cause of the bad connection) on the inside of the connection, allowing power to flow.
You shouldn't stop there. Your problem will return because loose connections will likely do the same thing in the future. The battery connection should be carefully tightened to ensure a good mechanical and electrical connection to the power post.
RV Battery Voltage Checks
If you have a voltage meter, measure the voltage on the battery. Place the probes on the battery terminals, not the wiring and connection.
If you find over 14 volts, then your battery is actively charging, and your issue is downstream. Downstream issues include fuses, wiring, connections, or even a broken device.

We should find and check those downstream components. Follow the wires away from the battery and inspect the components you find.
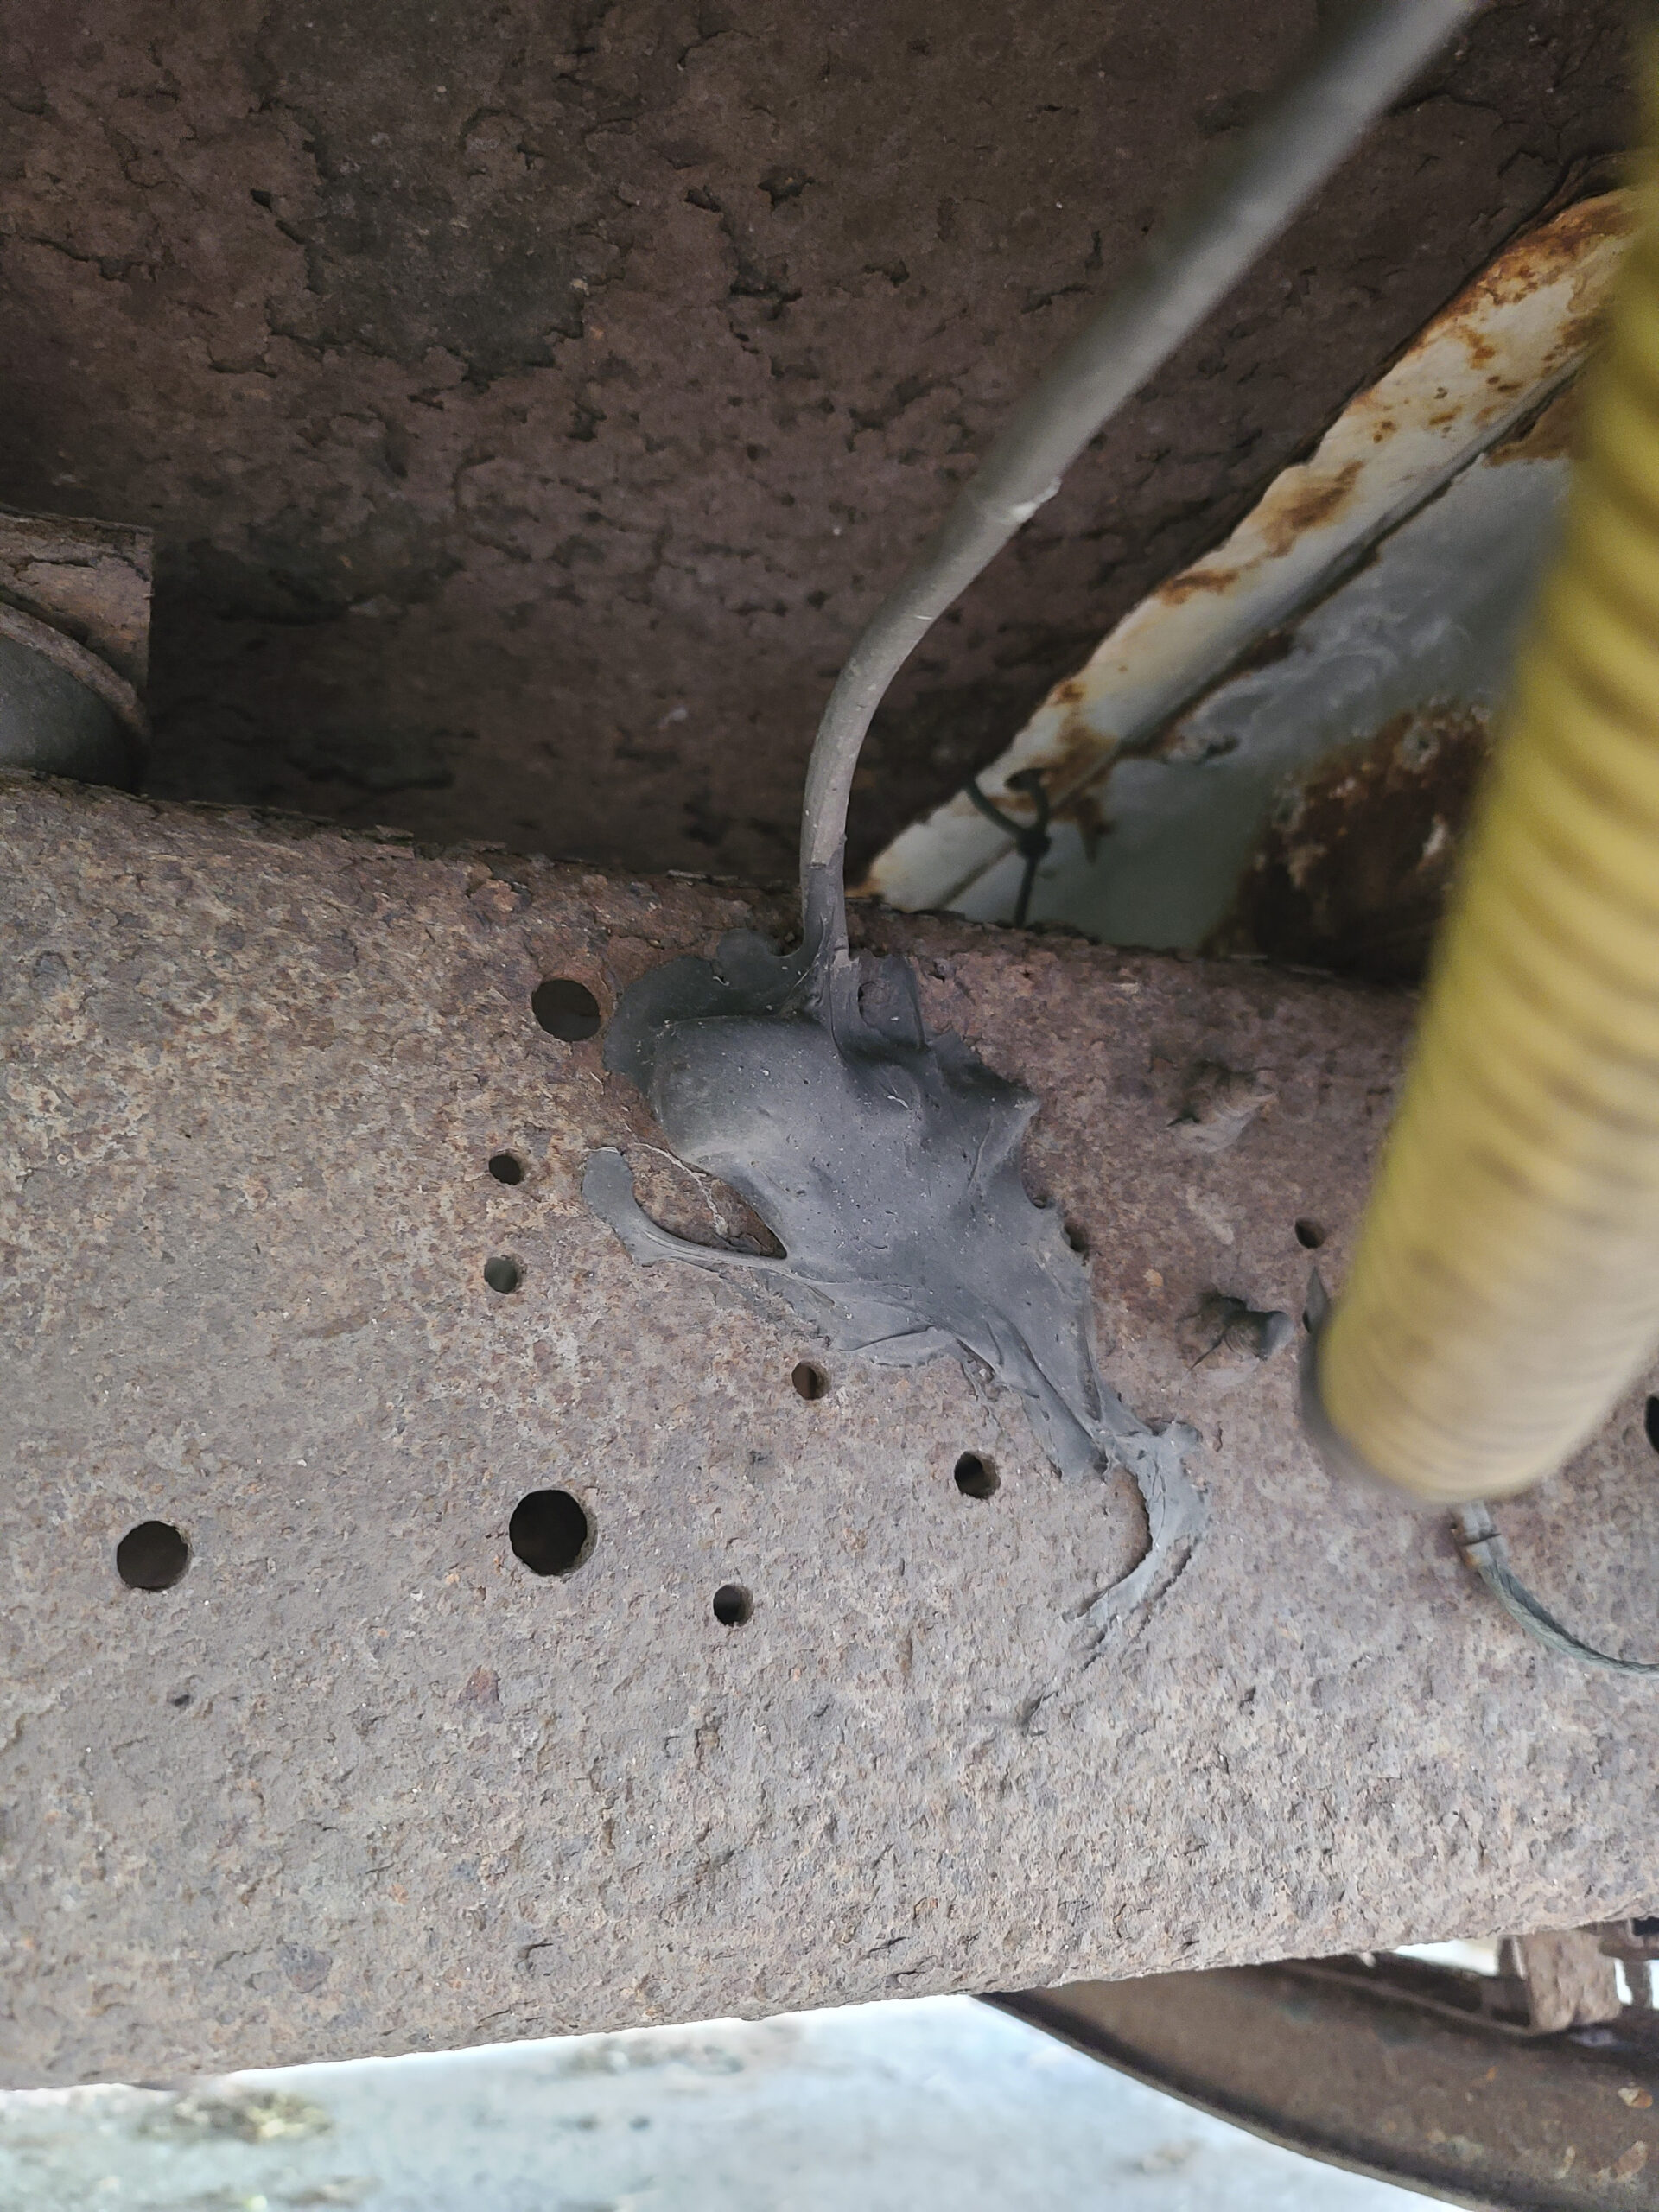
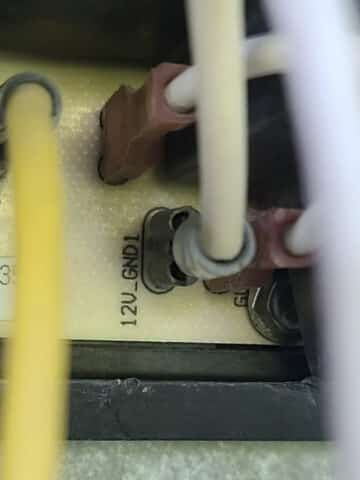
For the ground wire, inspect for severe corrosion at the point where it attached to the frame. Rust is not a good conductor of electricity, you want a good clean metal to clean metal connection. In some cases rust can develop between the wire terminal and the frame.
In our case, the manufacturer applied a rubber compound over the ground connection, to prevent moisture from creating rust. It’s working well, but if my system failed I’d remove the rubber and check the connection.
Other Component Checks Near the RV Battery
You may come across a battery disconnect switch. Inspect those connections on this as well. With a meter you can verify that the resistance is near zero when the battery switch is on.
There's a chance of finding an inline fuse here. It will be high amp fuse since it's for the entire battery power, not just a fuse for a particular device. In most cases you can visually inspect for a blown fuse. The little metal wire should be continuous, not broken.
With a meter you can check for electrical continuity of a fuse. There should be near zero resistance from one side to the other.
If your meter shows a few ohms difference, it's likely to be the resistance of your leads or slight miscalibration. A blown fuse will not show any resistance. This is because the resistance is infinite so the meter doesn't even think it has anything to measure.
Inspect the panel
Now let's inspect the electrical panel. This is where you'll find fuses and/or circuit breakers. A circuit breaker is just a thermal sensor that cuts power when it gets too hot, meaning it has drawn too much power.
RV battery charging problems can cause major problems, here's our comprehensive troubleshooting guide to help you get back on the road!
We've already walked through checking a fuse, visual inspection is typically the fastest way to do it. Sometimes corrosion can render the fuse disconnected. If you wiggle the fuses you scrape a little corrosion and can allow a connection again.
Circuit breakers are also simple to inspect visually. There will be a little button that pops out, or a switch is moved to a different position.
If you find that a fuse has blown or circuit breaker has triggered, make sure to keep a close eye on the system. Try to determine the cause. These devices are designed to cut power if something goes wrong. They shouldn't cut power for normal usage.
Perhaps you plugged in a large RV inverter and blew the fuse, then you know the reason and can prevent it from happening again.
Always replace fuses with the same type and amp rating. Using a larger fuse than intended is a fire risk!
RV Battery connection final thoughts
If you know your battery is charged and working well but have no power, the above most likely isolated the issue. If it hasn't, you'll need to dig deeper into the same systems you quickly checked above.
For example, check the voltage at the battery, and check the voltage at your device. You should expect only a tiny voltage drop, say 12.6V at the battery and 12.4V at the device. A voltage drop of 1V or more means something isn't connected well between the battery and this device.
Inspect the wires. Cracked or peeling insulation is bad because bare wires can short out the power. Connections that look good visually will need to be checked with a meter.
Next up, isolate the incoming power issue
Once you know the battery connections are good, or have determined that the batteries are definitely depleted and need charging, we move on to diagnosing the incoming power devices. This is a bit of an if-then situation because where you search is going to depend upon which power source you're expecting to work.
You wouldn't bother to investigate your shore power connection if you're boondocking with a solar setup, for example. Feel free to jump to the relevant section below.
Shore power or generator connection diagnostics
Since RV park shore power is so common, let's start with that. The same diagnostics will apply if you're running off a generator. At the shore power electrical panel (or generator panel), first check the circuit breakers.
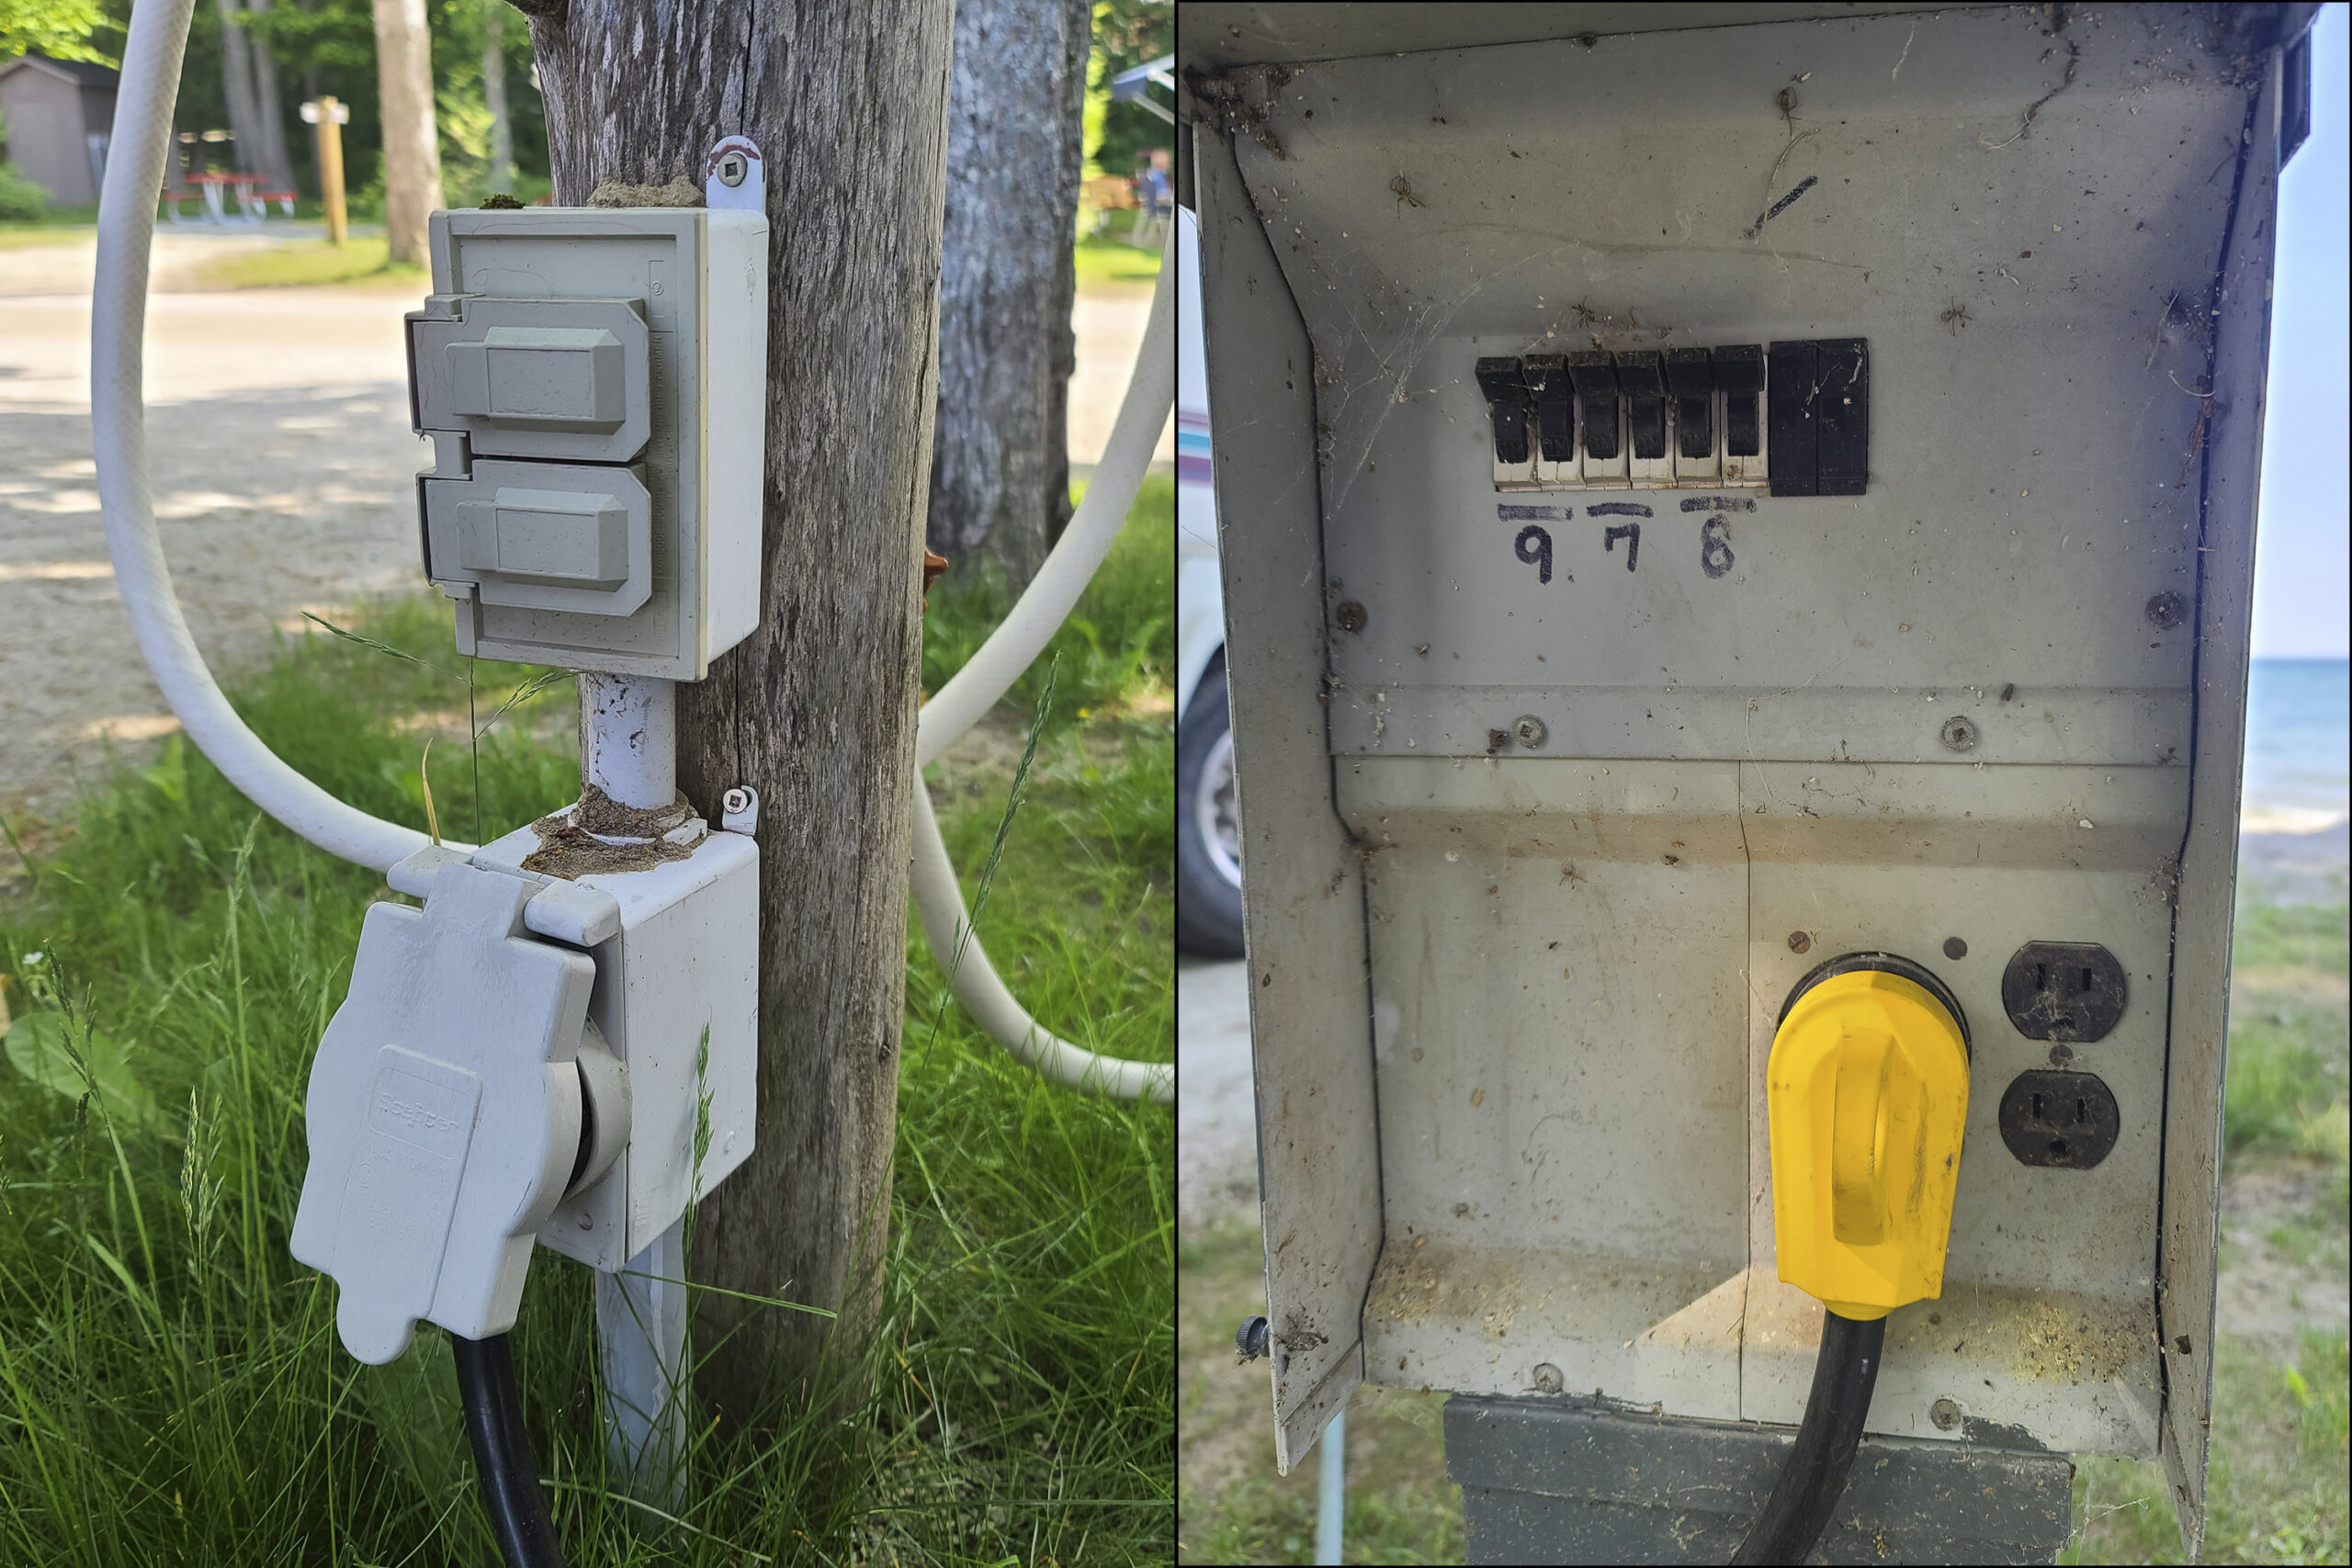
Just because you don't think you were using much power doesn't mean the breaker isn't tripped. One site we visited blew the 30a breaker when we were using approximately 20 amps. We mentioned this to our campground neighbor who also noted they had the same issue.
If you have a voltage meter, set it to measure the AC voltage. It should read approximately 110 volts in North America. Use caution, as you're on a high voltage line now. High voltage lines are far more dangerous than the low voltage DC lines.
One site we visited had only 96 volts at the outlet, which can be bad for electronics. In our case it caused our air conditioner circuit breaker to trip repeatedly.
In the case of RV charging issues, it could cause your converter not to output the correct voltage, or any voltage at all. Contact the RV park administration if voltage is low. The only solution you can implement yourself is a boost transformer This is costly and beyond the scope of this article.
Shore Power Plug Inspection
Next check your shore power plug, they can get corroded very easily. If you have electrical contact cleaner (it's great stuff, I highly recommend it), spray it on the terminals. Wipe with a cloth, allow to dry, then reinsert.
That will help clear some of the corrosion for a better connection. If you don't have the spray then fine sandpaper or even a butter knife can be used to gently scrape the prongs.
RV power converter diagnostics
Once you're satisfied you have AC power coming in at the correct voltage, look at the RV’s power converter. As you get close you might be able to hear a hum. This is completely normal and can be coming from the transformer or converter fan.
You'll want to see the connections. In our motorhome this means removing the seat at the kitchen table for rear access. The connections in the back aren't exposed for measuring. I need to remove the front cover to access the connections.
The fan might not be running, but that doesn't mean there's a burned-out component. Typically the internal components include a temperature sensor inside. This only turns on the fan during high power consumption.
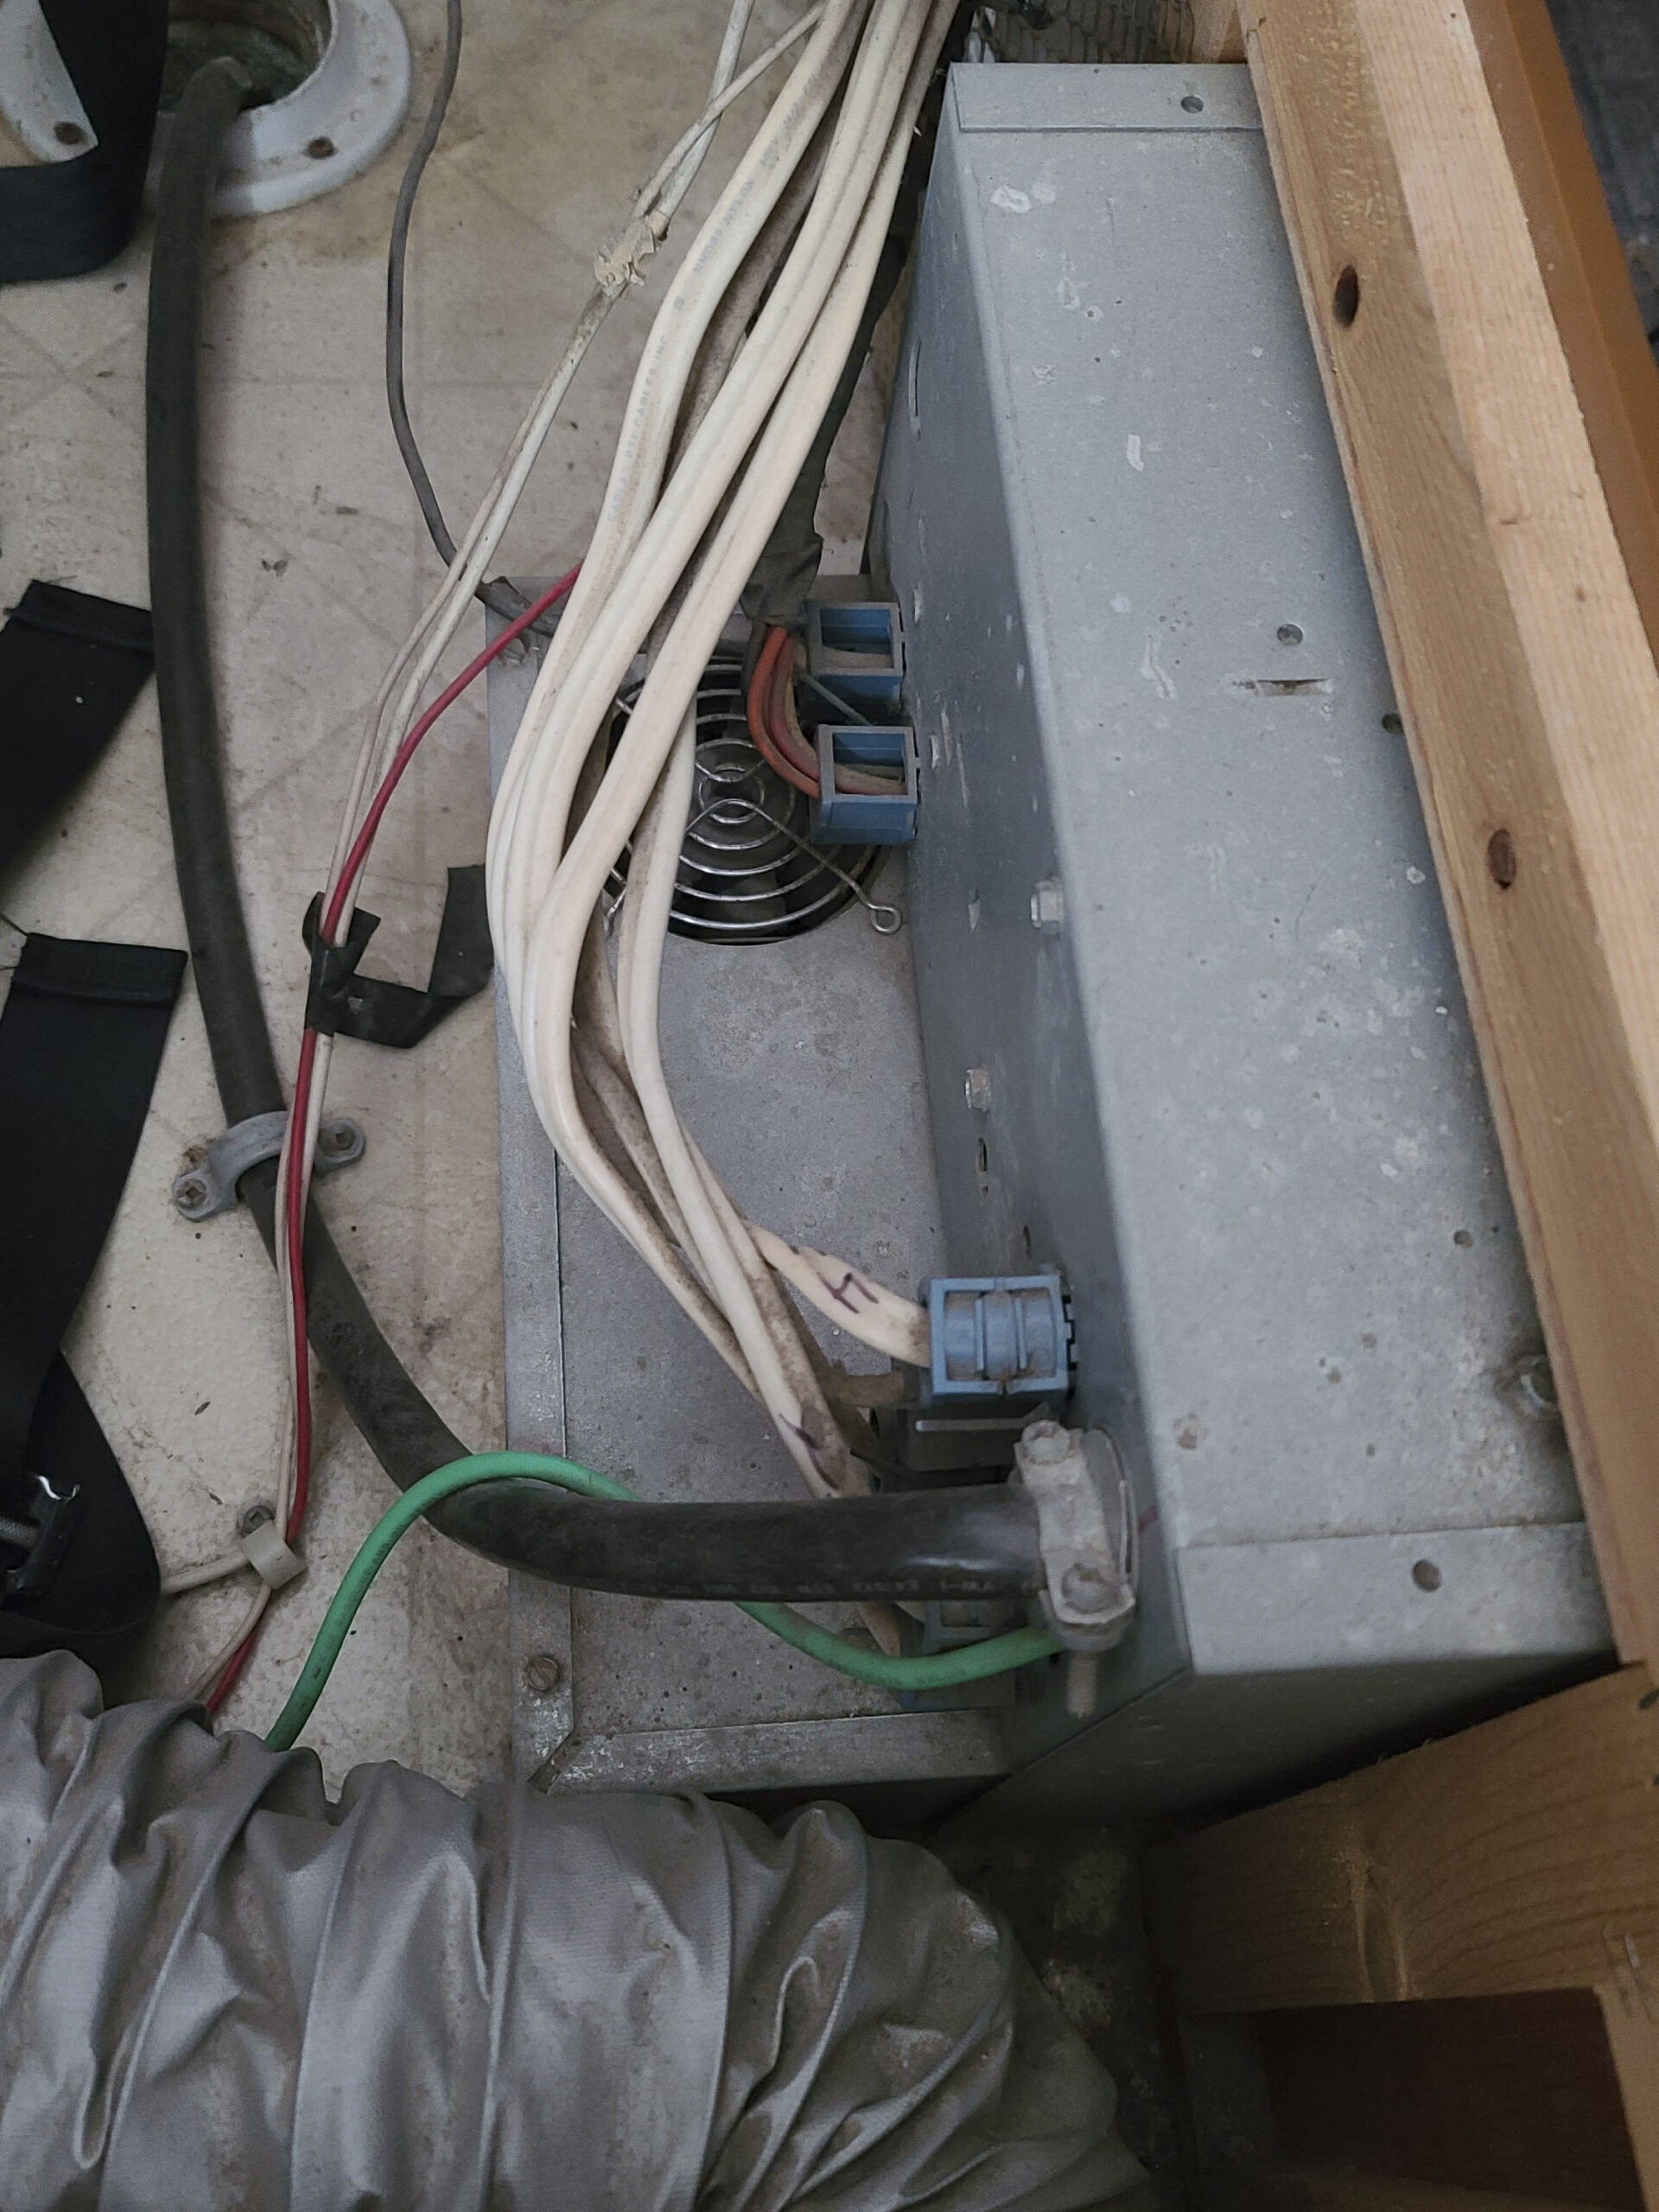
First check the incoming AC voltage if possible, it should be approximately the same voltage as you found at the plug. Next check the output, it should be outputting around 13.5 – 15 volts DC.
If there's power coming in but not coming out, you might need a new RV power converter. Diagnosing the converter further is beyond the scope of this article.
I'm a big fan of trying to fix anything and everything, so if you take that make sure to safely disconnect AC power, remember that electronics can store a small charge even when disconnected, and good luck!
Green power charging diagnostics
It's a little tricky to guide diagnostics for this section because the specific components can vary quite a bit from system to system. In general, there's something that is providing raw power. This could be water, wind, or sun most likely. The raw power source feeds some kind of charge controller.
Check Input Voltage
We're going to start at the charge controller, which is similar to the RV power converter. Begin by inspecting the connections and any fuses or circuit breakers you can see. If you have a voltage meter, check the incoming power.
For solar applications this will be DC voltage, which is likely somewhere between 12v and 150v. I know that's a huge range, but it really depends on your specific system. If you have any value between 10v and 200v, you can be pretty confident that you have incoming power.
Water and wind turbines could be AC power, or it could be rectified into DC power. Check both AC and DC for the same voltage range given above.
Check Output Voltage
Now check the power output. We hope to find something like 13.5-15V, and if it has that, we know it's working (at least to some extent).
If you don't see this voltage, we can't say for sure that it's broken because this is likely to be a smart charger, which automatically adapts for certain conditions based on the types of batteries being used, and the configuration.
For example, if you haven't used your system for an extended period of time the battery voltage could have dropped enough to confuse this smart charger. In this case, using another power source to somewhat charge your batteries is enough for the charge controller to kick in correctly after restarting the system.
If you didn't have power coming in to the charge controller, follow the lines back toward the power supply. It's quite possible there are inline fuses meant to protect the system, which may have blown.
The same goes for the output side. As discussed above, if fuses are breaking you should try to determine the cause. There could be other things that need to be fixed.
Truck alternator charging diagnostics
The only thing left to discuss is the truck charging system. This is when the engine turns the alternator to feed power to the batteries.
First start the truck and look under the hood while it's running to make sure it's in good working order. The belt(s) should be spinning several components, one will be the alternator.
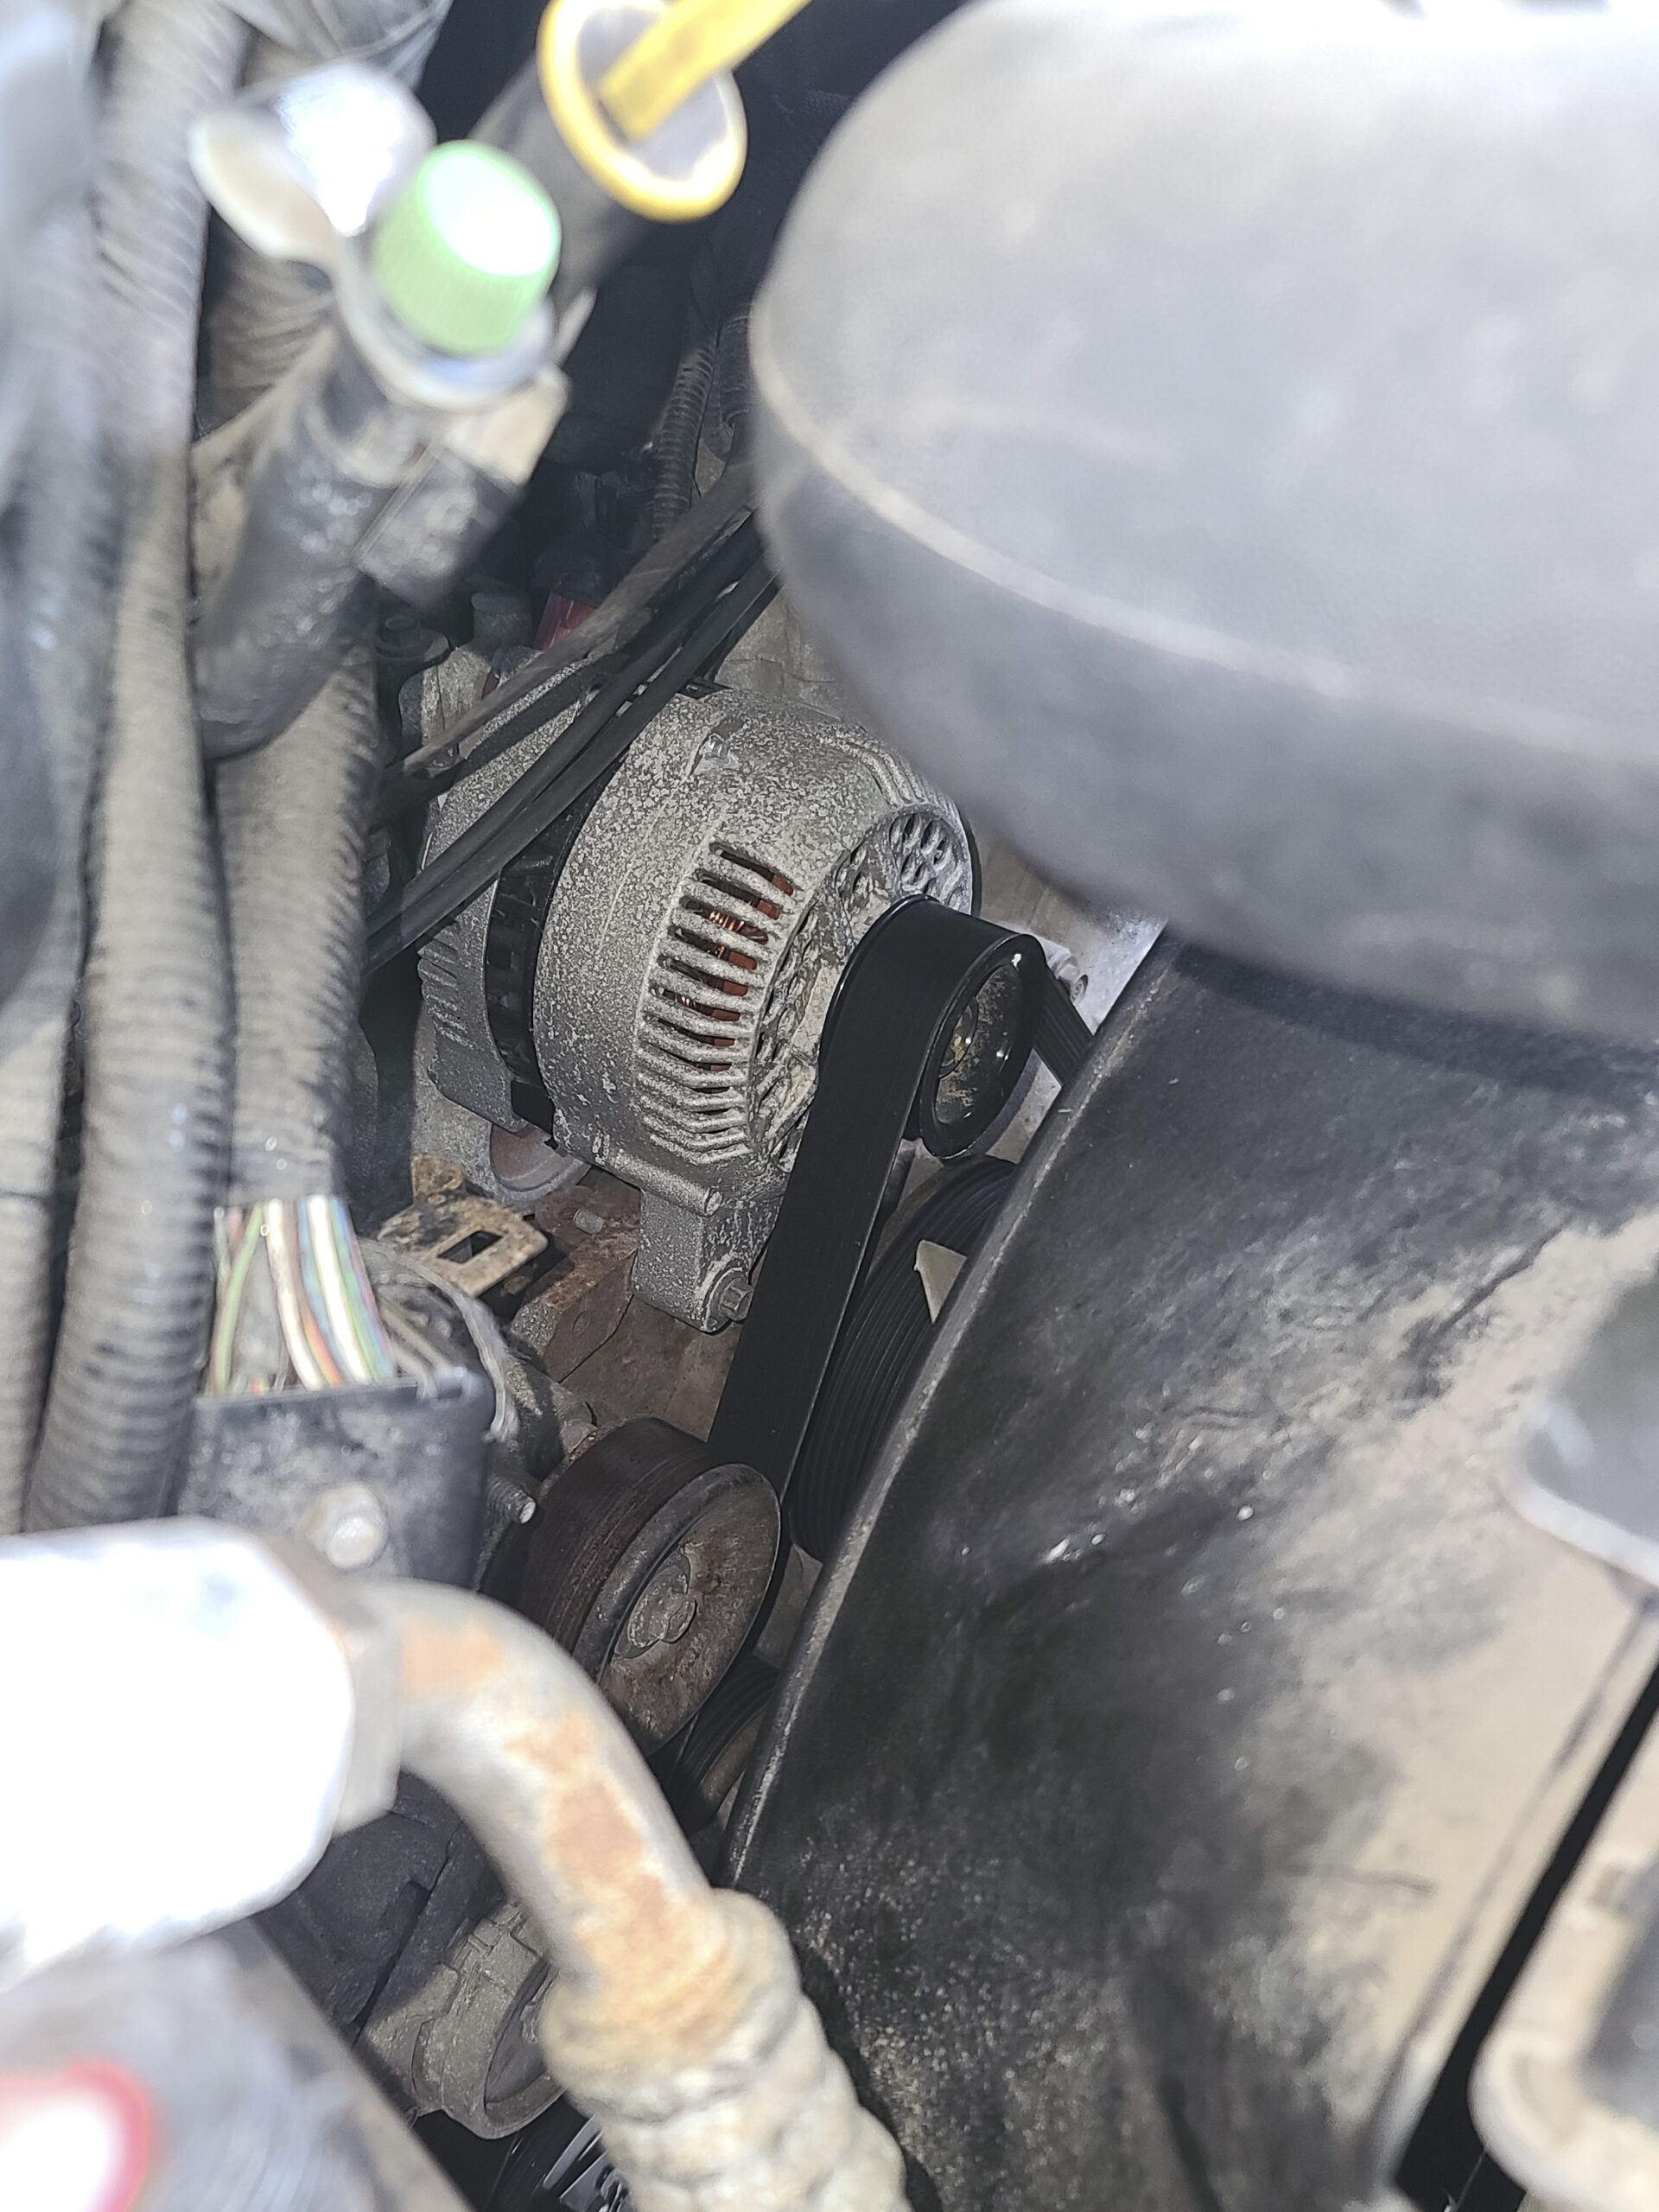
If the alternator is seized up, you'll know. Either the truck won't start or there will be awful sounds and smell coming out. It could be that the alternator is spinning but not outputting power though, so let's check that.
If you have a volt meter, check the voltage of the chassis battery. It should read somewhere in the range of 13.5 – 15v if it's charging correctly. If it's reading under 13.5v, it's not charging the battery and you're operating off the battery only.
Your alternator may or may not be fused. I have a small car that has a 60a fuse to protect the alternator from burning itself out. Most vehicles will have a direct connection to the battery with no fuse. In that case it relies on the alternator electronics to limit the output power.
Battery Isolator or DC-DC Converter Inspection
Once you're sure the alternator is producing power you'll want to find the battery isolator or DC-DC converter. They're just two types of devices that do the same general thing. Both keep your chassis and house battery charged but allow them to be isolated.
Following the hefty wires from the alternator to your batteries should be fairly easy. There may be objects in the way, a gentle tug or wiggle on the wire helps to follow it. In our motorhome I easily followed the wire to the solenoid. I need to remove the air filter to follow the wires back further.
Once you locate the isolation device do the standard visual inspection of the connections and any fuses you can find. It should have pretty large terminals since they typically control a pretty good amount of power.
As with the diagnostics described earlier, use a volt meter to ensure there's power at the input, then check the output.
What else?
If this guide hasn’t helped you pinpoint the issue, use the concepts to go further. Divide things up, figure out what definitely is working and don’t dig further in that area.
You’ll continue digging into the broken branch until you find the issue. What was your issue? Let us know so we can include it to help others!
Share the Love!If you’ve made one of our recipes, be sure to take some pics of your handiwork! If you post it to Bluesky, be sure to tag us - @2NerdsInATruck, or you can tag us on TikTok, if you’re posting video. We're also on Pinterest, so you can save all your favourite recipes and park reviews to your own boards! Also, be sure to subscribe to our free email newsletter, so you never miss out on any of our nonsense. Well, the published nonsense, anyway! |



Leave a Reply