
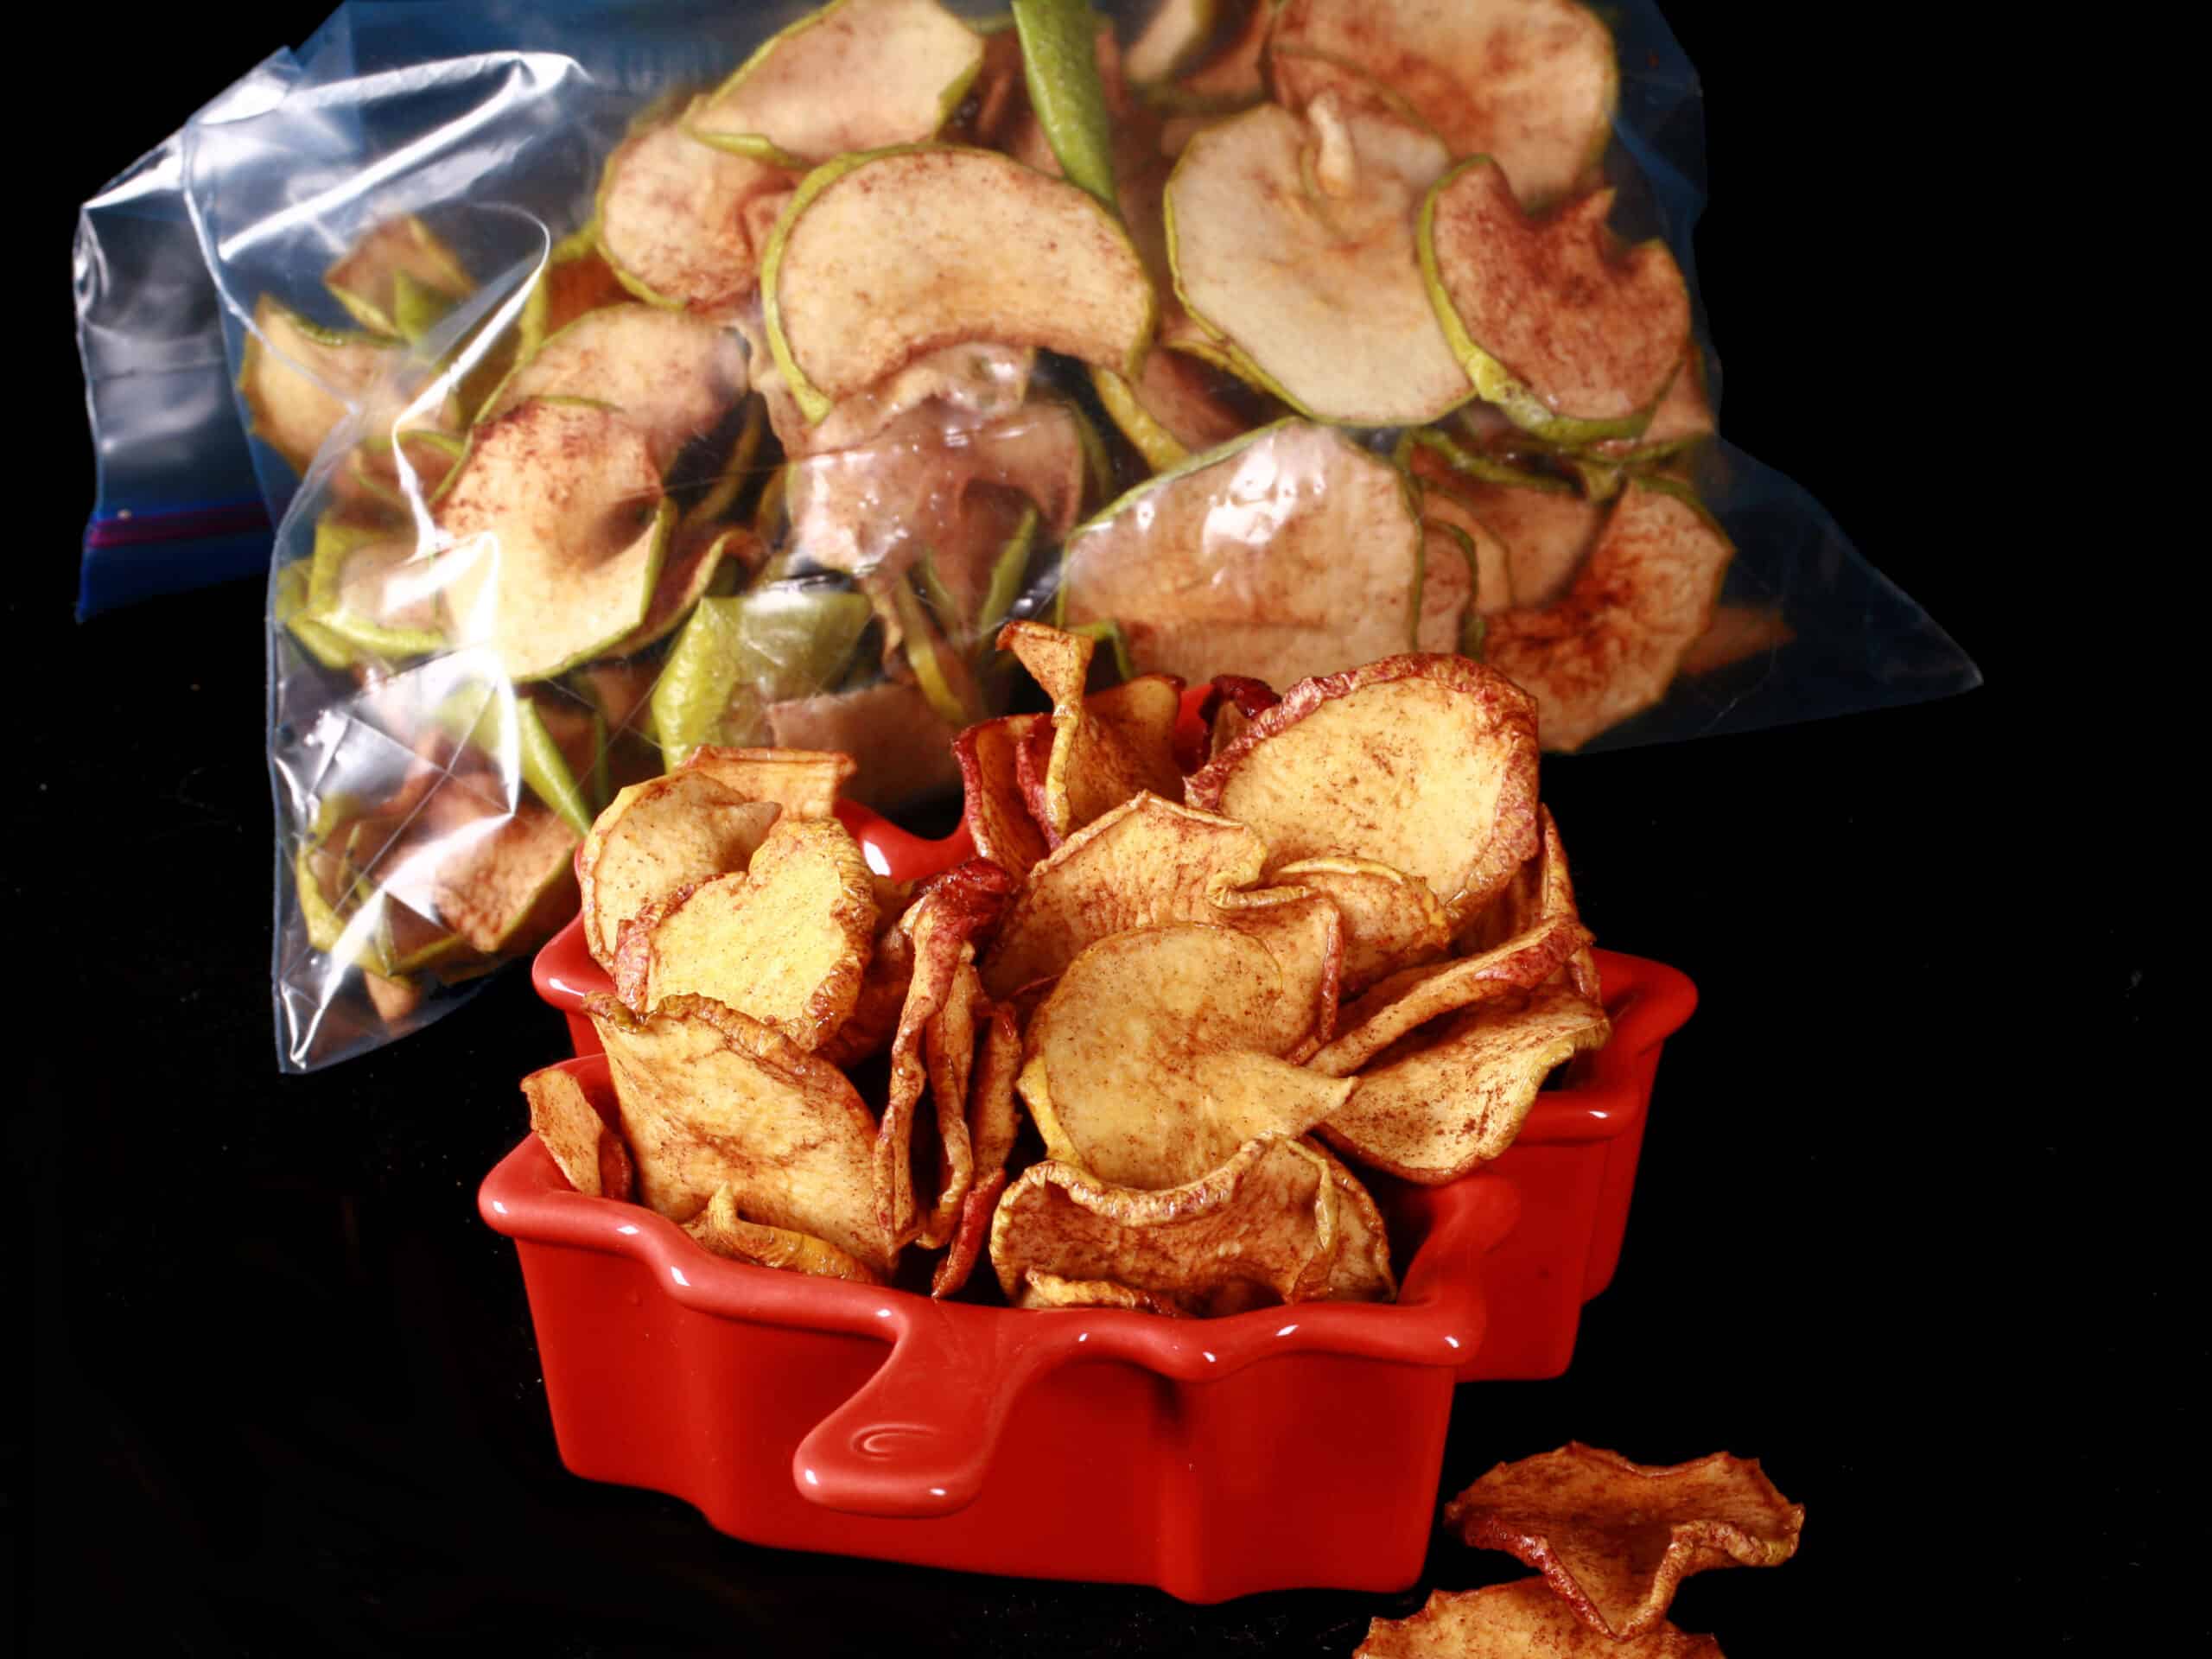
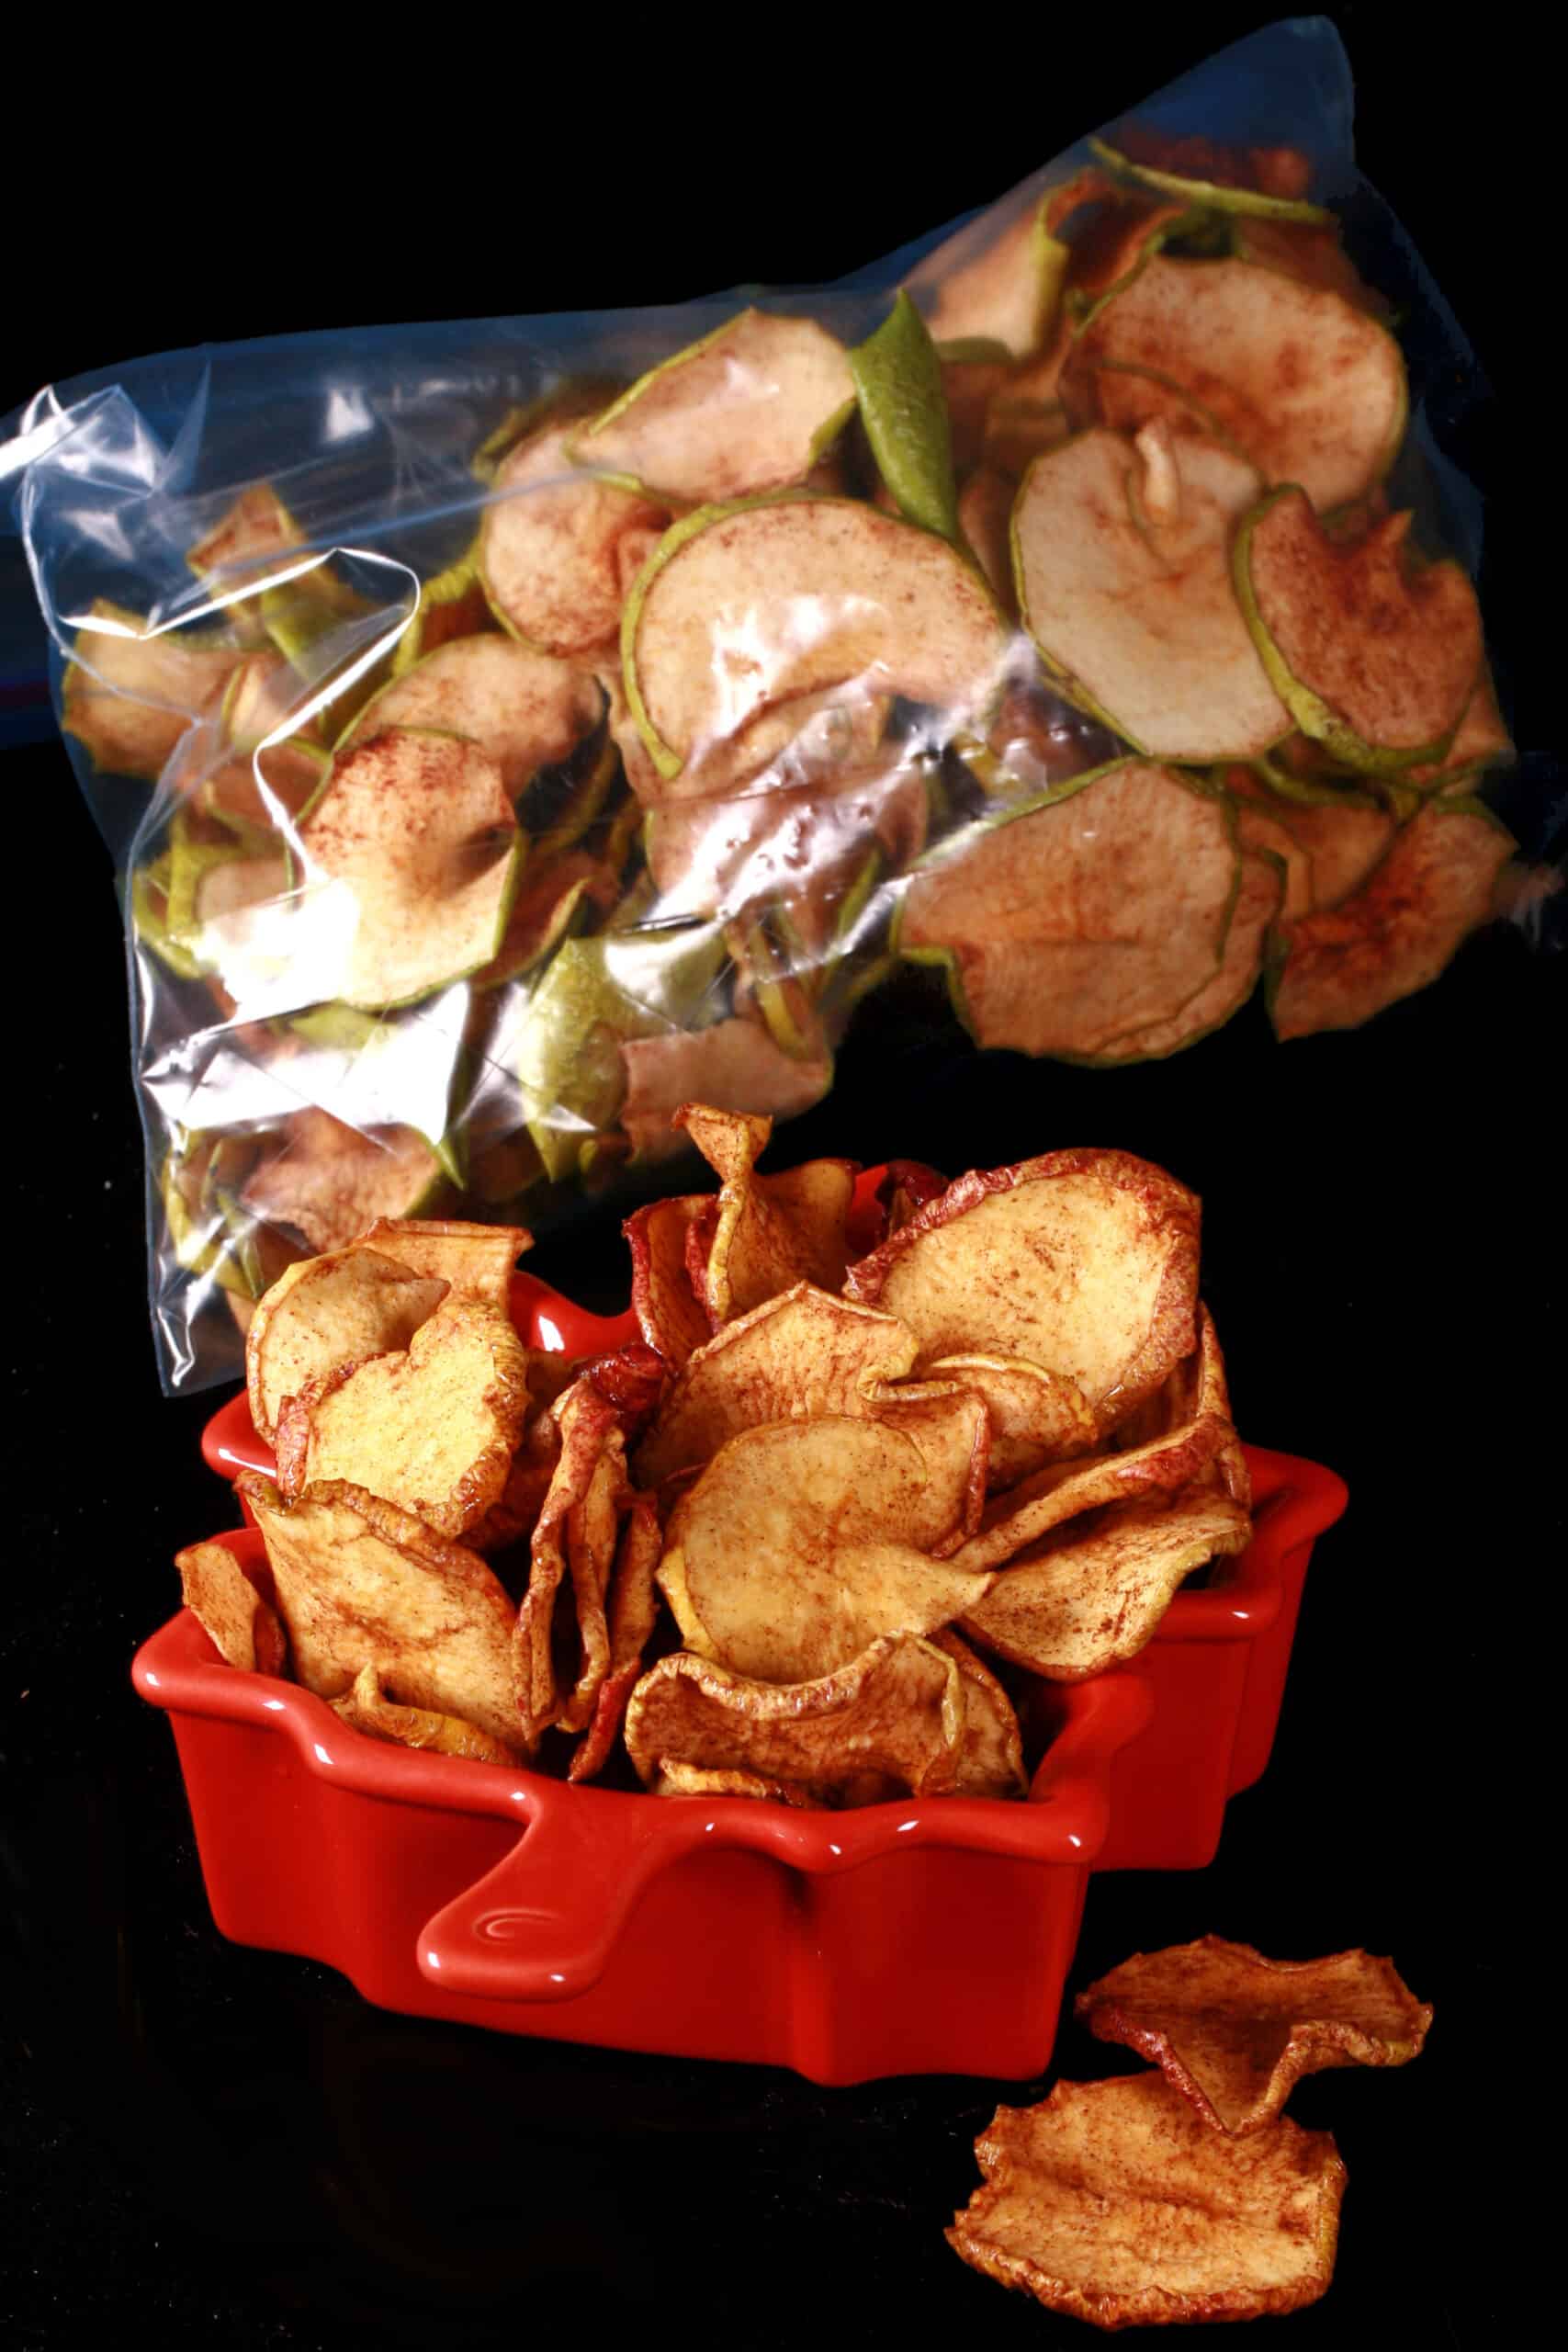
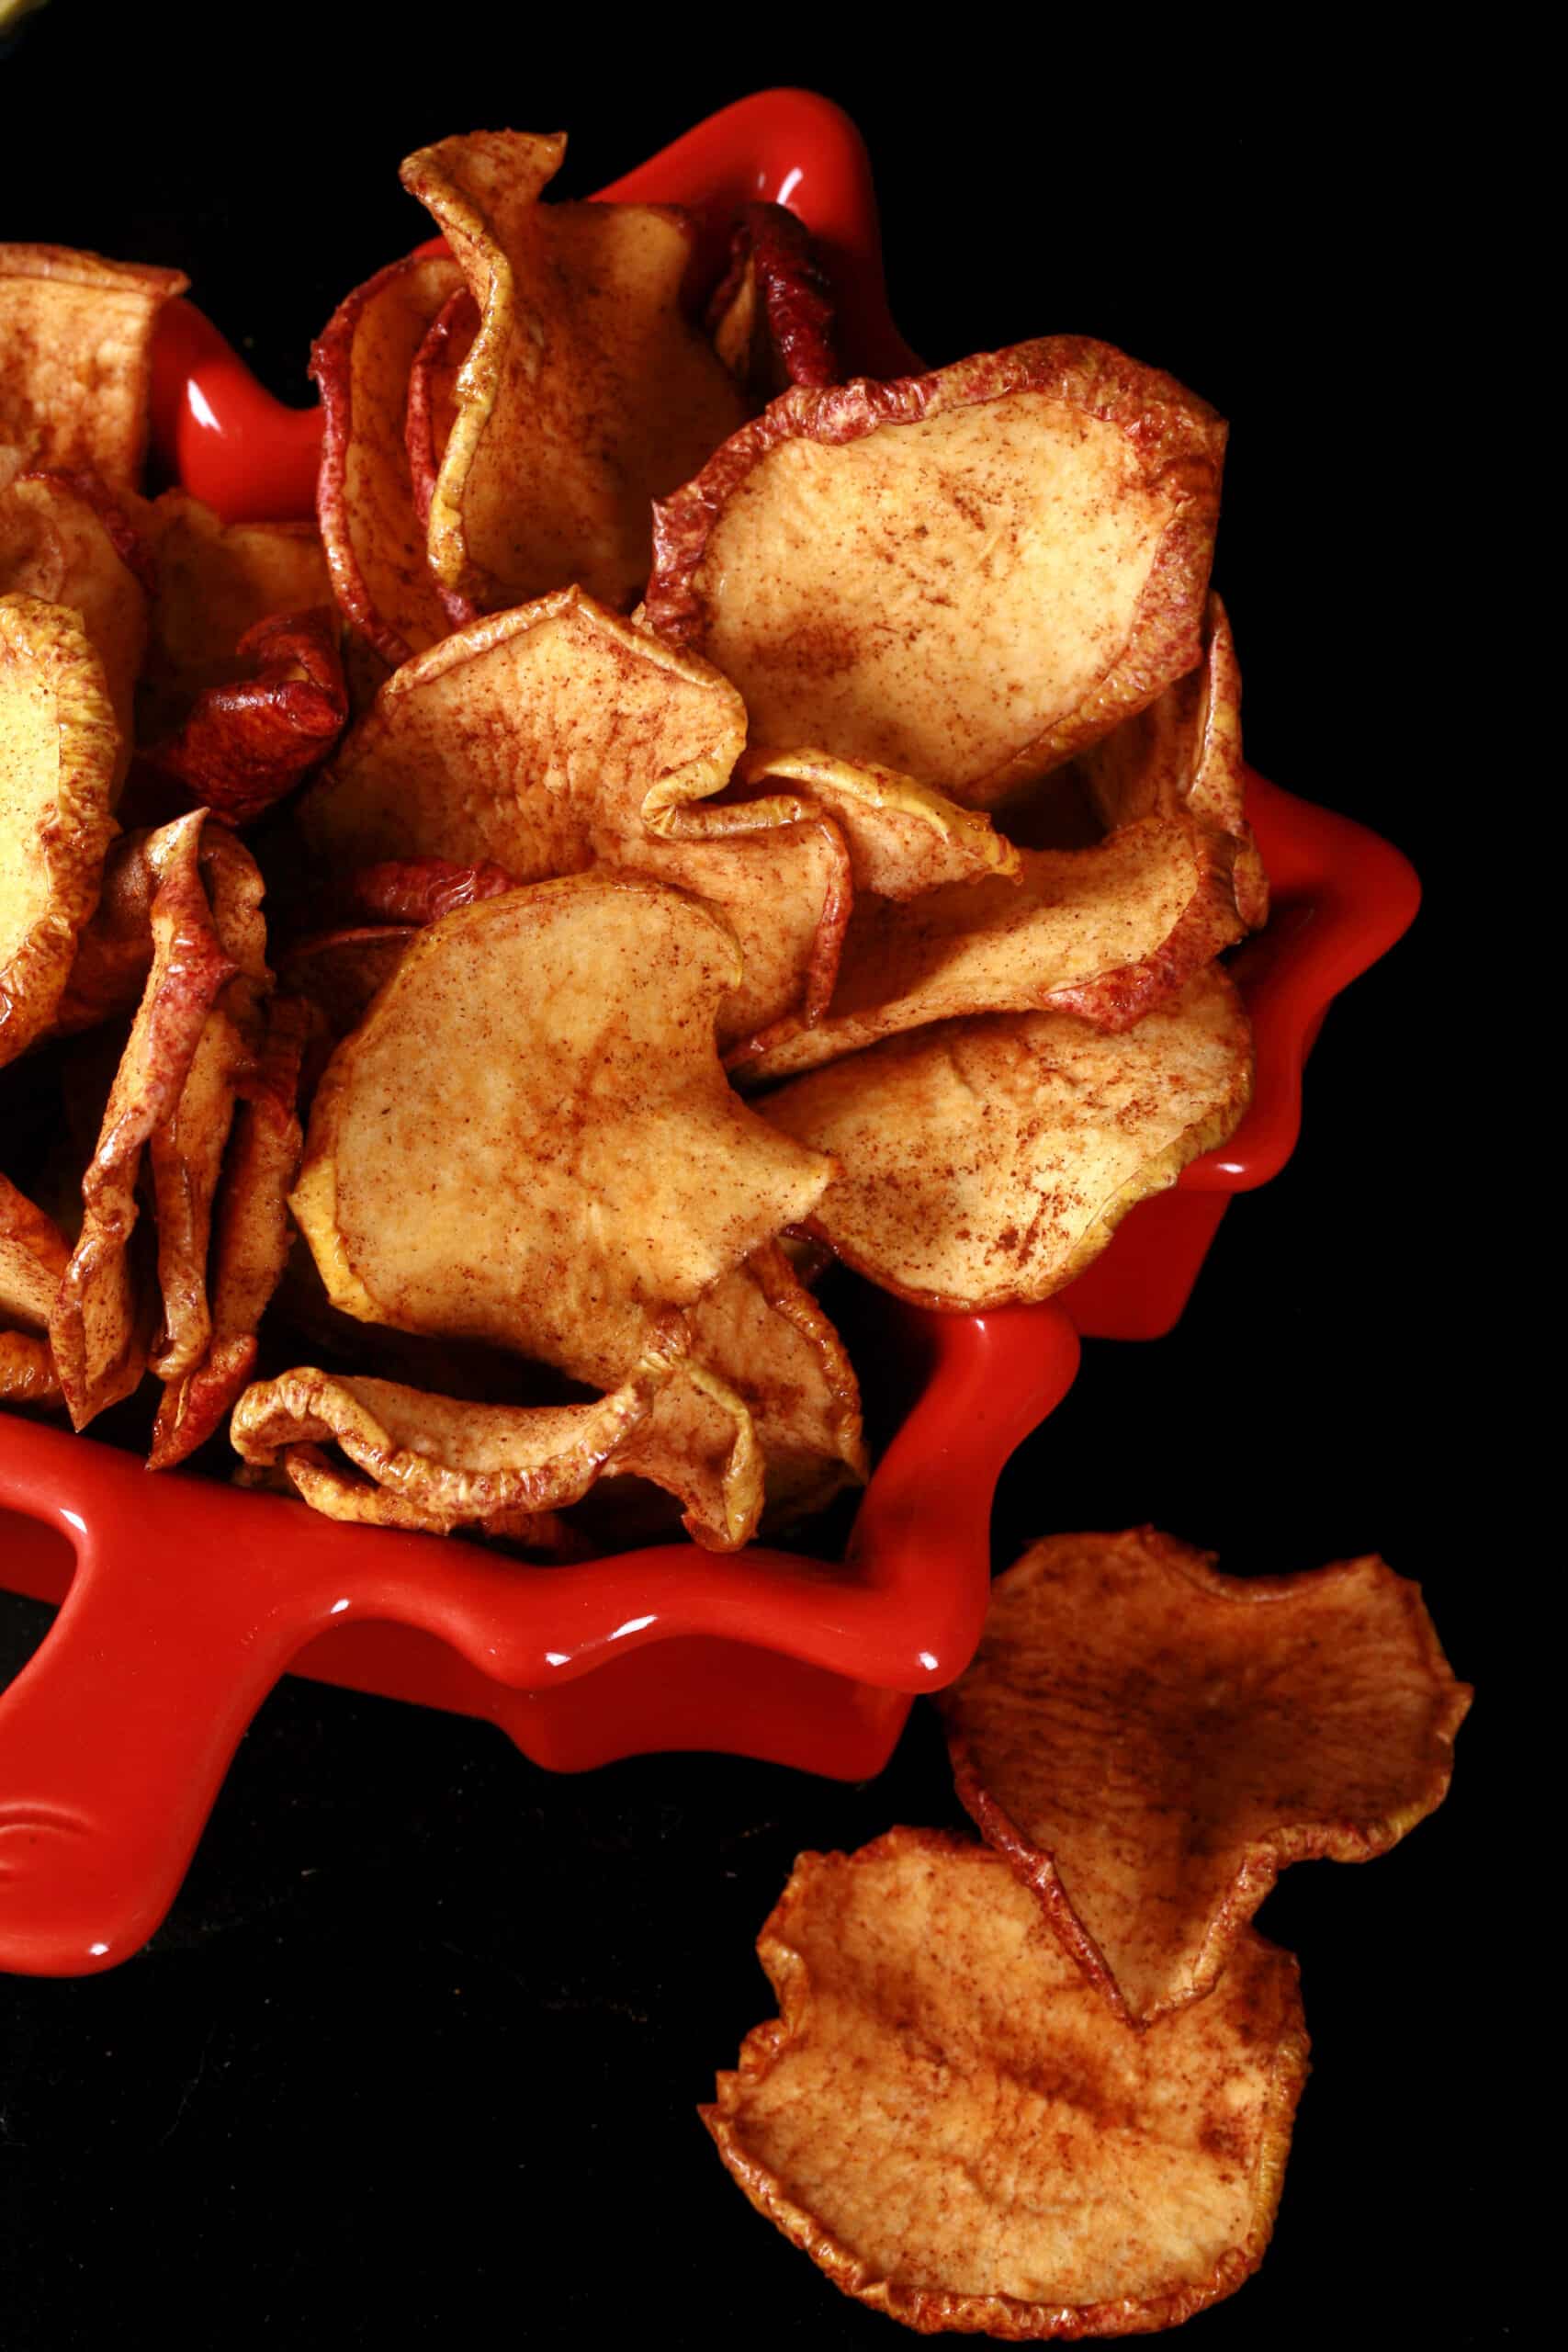
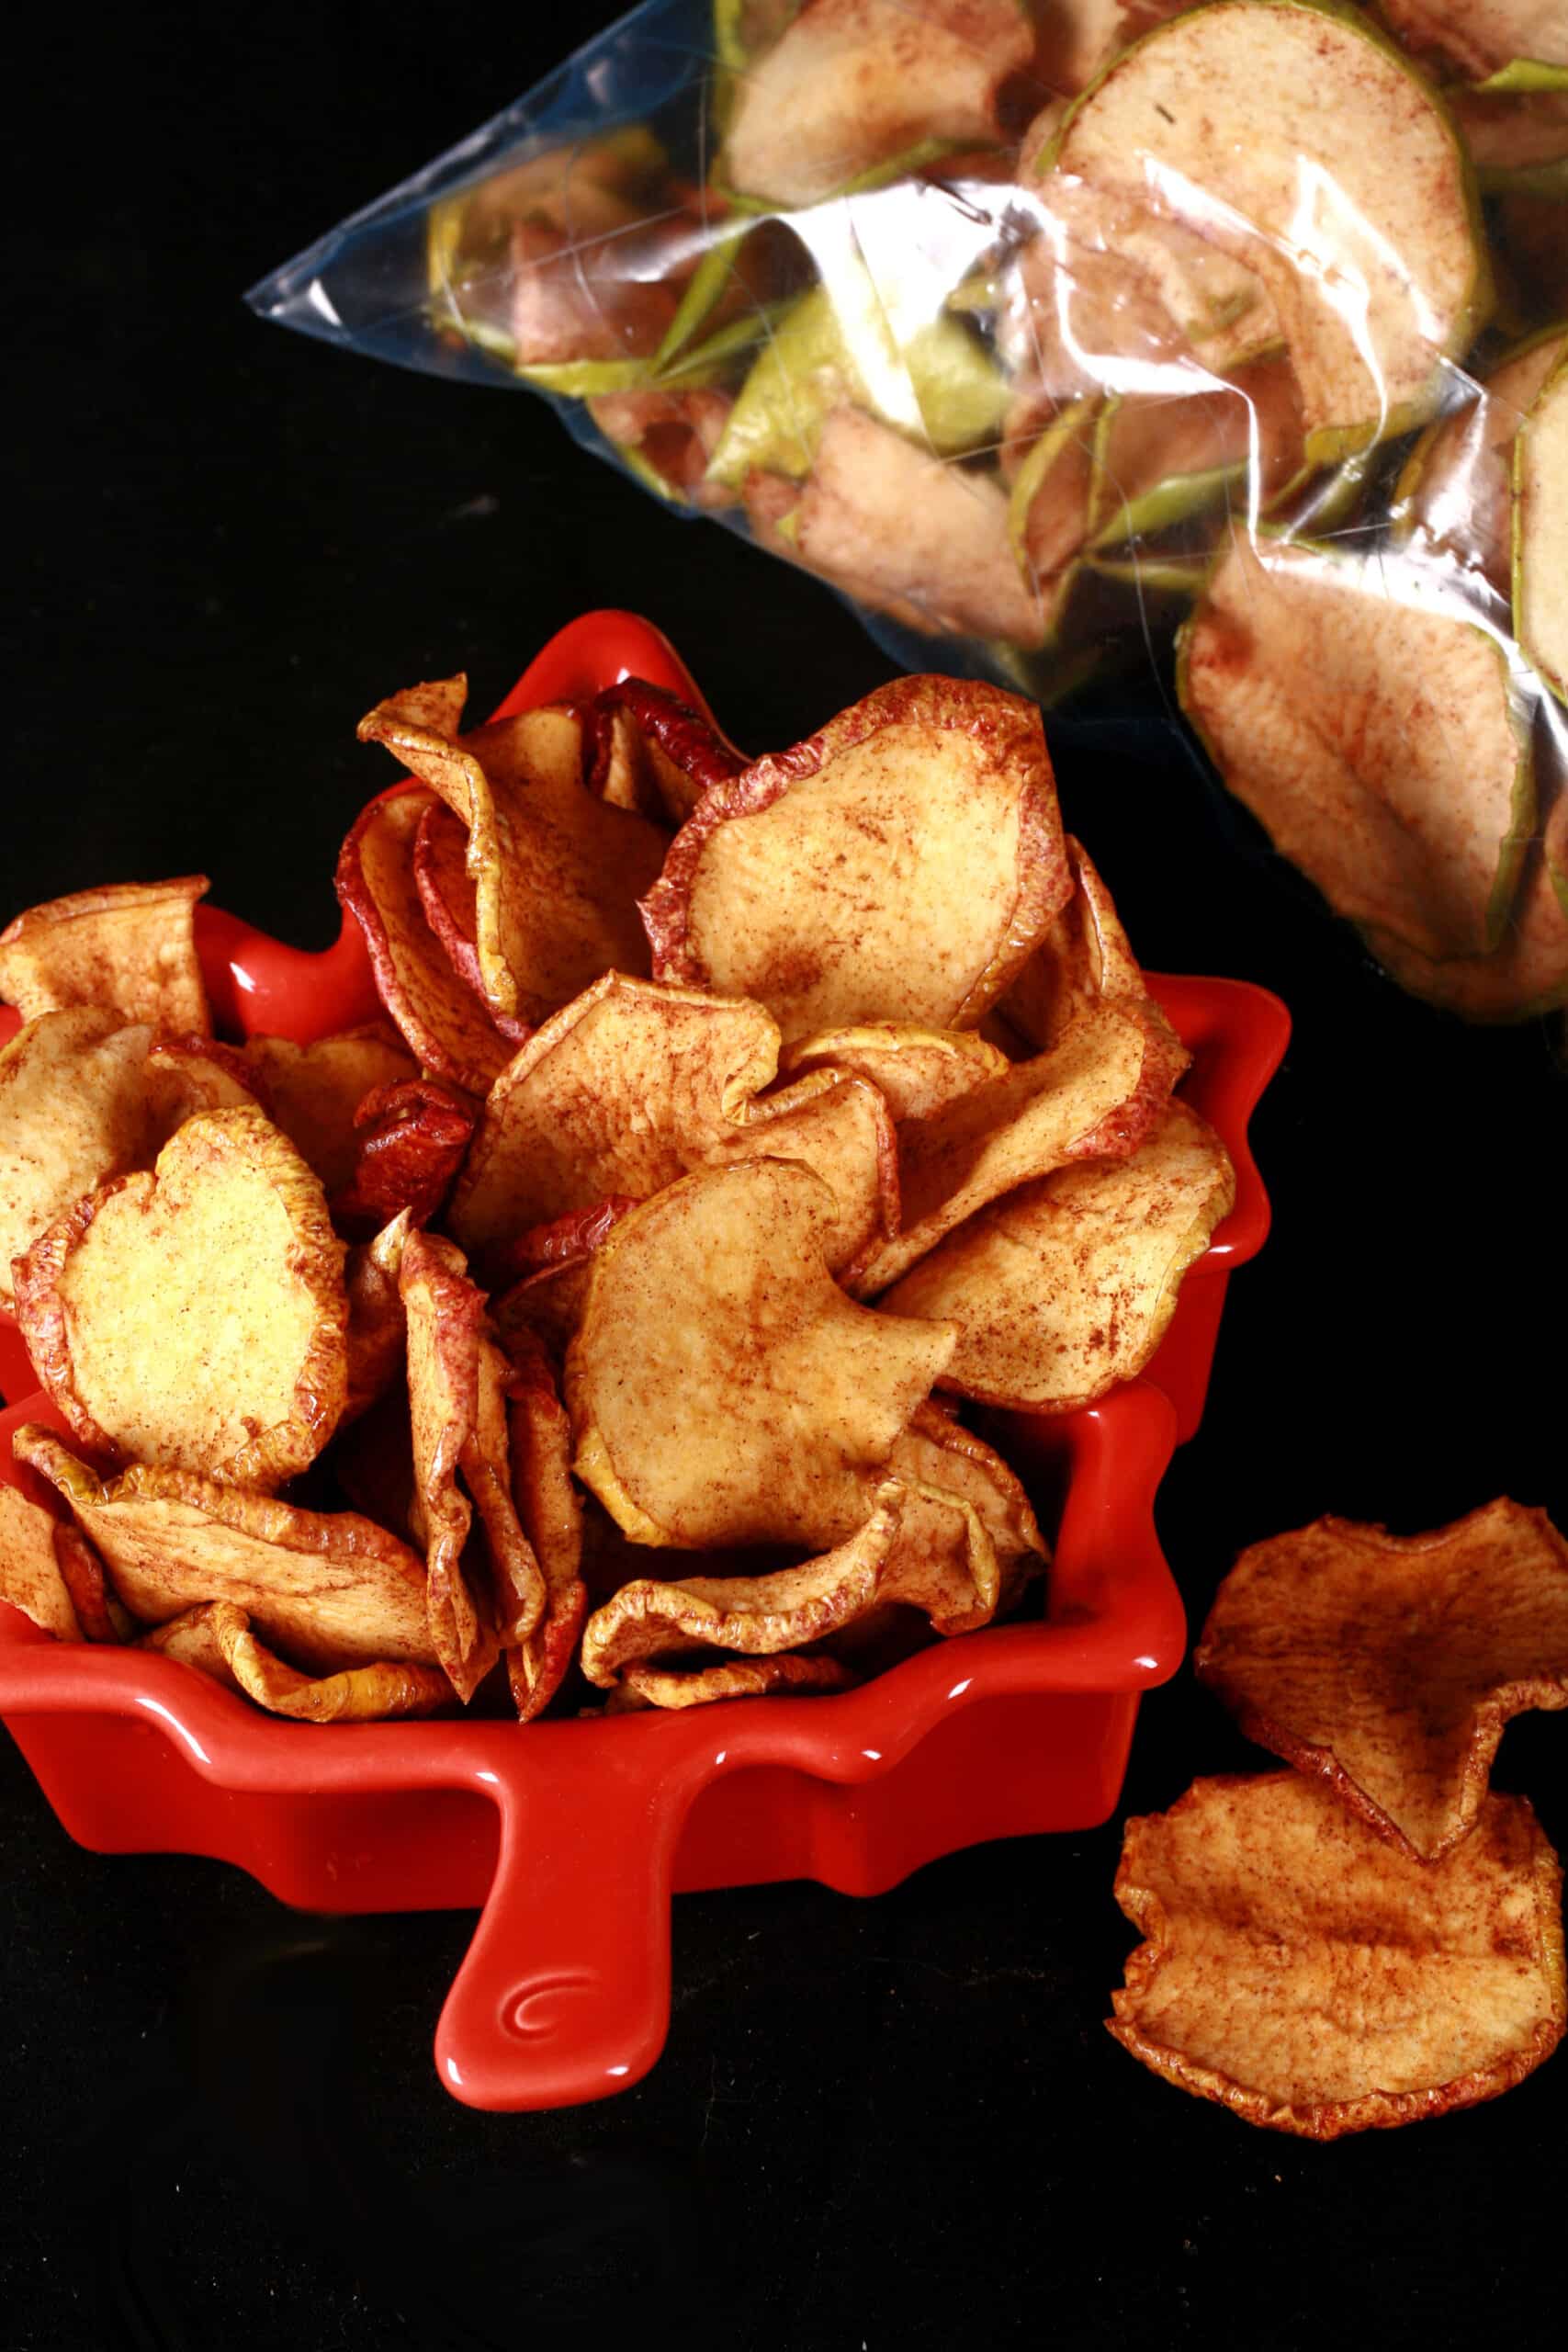
Maple Cinnamon Apple Chips are one of my favourite homemade road trip snacks. Perfect for the hiking trail, and they're easy to make, too!

After all, apple picking season is right around the corner... along with fall camping.
Turning those fresh fall apples into sweet, warmly spicy apple chips is a great way to use up any extra apples you may have, and it’s a fantastic sweet snack to bring on the road for the whole family.
I have a wicked sweet tooth, and this is a great recipe for my situation. It’s super tasty, scratches the candy itch, lasts a long time (in theory, anyway!), and cheap to make.
A few minutes of prep - and a little patience while they dry - and BOOM - you’ve got a bag of one of the best snacks for road tripping, hiking, camping, or just enjoying in general.
Just make sure to have enough apples on hand. I usually make at LEAST twice what I think I’ll need for a trip, because neither of us can stay out of the stash *before* the trip.
One batch tends to experience significant shrinkage, even as the next batch is still in the dehydrator.
Anyway, my apple chips addiction issues aside, this is a great recipe.
If you’ve got a food dehydrator, be sure to give it a try - it may just end up YOUR new favorite snack to take on your adventures!
A Note on Nutrition
Being on a medically restrictive diet - currently on an autoimmune diet - doesn’t have to suck. Depending on your specific restrictions, these maple syrup apple chips are a perfect healthy snack!
Some people laugh about such things being touted as a healthier alternative to potato chips, but really... I prefer these.
The big thing to keep in mind is that you can’t really take the data at the bottom of the recipe card as being really accurate nutritional information.
Your choice of apples will make a difference.
Also, I never actually measure the maple syrup, and - even if I did - not ALL of it stays on the apples. Also, I have no idea what an actual serving size is. Left to my own devices, I could make a meal out of a batch of these.
Would I live to regret that choice? Possibly in part. I’d enjoy every minute, though!
Anyway, my point is... consider the nutritional information a guideline only.
Ingredients
One of the really nice things about this easy recipe is that you can get everything you need in pretty much any grocery store. Super simple ingredients!
A few ingredient notes for you:
Fresh Apples
You can use pretty much any variety of apples for making this delicious snack - and I’ve made it with several different varieties of apples - just know that the
type of apple you choose can affect the final flavour a little.
Also, some are just more pleasant to prepare. Personally, I prefer cutting crispier apples in terms of cutting.
When you’re cutting a LOT of them - as I do - I just find that certain varieties cut nicer. These usually end up being the same apple types I prefer for flavour - somewhat tart apples, like Granny Smith, Golden Delicious, and Mutsu.
(Mutsus are my favorite apples in general, so I’ve made a TON of these apple chips using them!)
I’ve never made them with Honey Crisp, for example, because I’m just not that bougie. No sense paying the extra cost, when the flavour/sweetness won’t really make much of a difference over, say, pink lady, ambrosia apples, and/or gala apples.
IMHO the best apples are the ones you like to eat, that are convenient to acquire and - ideally - are on sale.
I go through so, SO many apples during camping season... that “on sale” thing really ends up mattering!
Maple Syrup
When I first started making apple chips, I’d use lemon juice or calamansi juice. This was partly as a flavour thing, and partly to prevent browning.
The nice thing about using maple syrup is that not only does it prevent browning, it also adds flavour AND sweetness. Apples + Maple syrup + cinnamon is a super classic, super addictive combo, after all.
As far as what kind of maple syrup to use goes... again, I go affordable with this, as I’m working in bulk. I’m not going to use the really good stuff, when I’m plowing through it like I do when I’m making these apple chips.
Honestly, the Frank brand Maple Syrup at Canadian Tire is my go-to!
Not as into maple syrup? You can coat the apples with brown sugar instead.
You won’t get the same coverage, though, so I’d recommend tossing the slices with a bit of lemon juice beforehand.
Seasoning
I use regular ground cinnamon for this, but feel free to use your favourite apple pie spice or pumpkin pie spice instead. Whatever you like on a baked apple, will go well on these chips.
I also use a little salt, just to kick up and brighten the flavours up a bit.
Equipment
There are a few pieces of equipment that can come in handy for making these cinnamon apple chips:
Apple Peeler and Apple Corer
These are optional - Personally, I don’t bother with either. I leave the skins on, and just cut the slices right off the apple, around the core.
Mandoline Slicer
Also optional, but can be helpful when it comes to getting your slices to an even thickness.
I have a Mueller Multi Blade Adjustable Mandoline Slicer.
I don’t use it for this recipe - I just freehand it - but I ABSOLUTELY love it for everything else.
Food Dehydrator
When I first started making dehydrated apples, I didn’t have a fancy dehydrator.
I don’t remember the brand name, but it was one of those stacked tray ones with no temperature or time controls. It worked fine for this recipe, I’d just check it after 6 hours, then after every hour or so til they were ready.
I’ve since upgraded to a Cosori 6 Tray Food Dehydrator, and LOVE it.
While it probably doesn’t matter as much for this recipe, it’s been especially amazing for all of the jerkies I’ve been making this year, as well as fruit roll ups. (Mango Fruit Leather is one of my favs!).
Porter was hesitant to buy a new dehydrator, as the last one didn’t get a ton of use, outside of apple season... but he’s ALL for it now, seeing the constant use it’s gotten.
10/10, no notes.
Share the Love!If you’ve made one of our recipes, be sure to take some pics of your handiwork! If you post it to Bluesky, be sure to tag us - @2NerdsInATruck, or you can tag us on TikTok, if you’re posting video. We're also on Pinterest, so you can save all your favourite recipes and park reviews to your own boards! Also, be sure to subscribe to our free email newsletter, so you never miss out on any of our nonsense. Well, the published nonsense, anyway! |
How to Make Maple Cinnamon Apple Chips
The full recipe is in the printable recipe card at the end of this post, here is the pictorial walk through:
Prepare the Apples
Wash your apples, and peel if you like - we don’t bother.
There are two main ways I recommend slicing your apples - with a mandoline slicer, or with a very sharp knife.
If you’re using a mandoline, I recommend using apple corer to core your apples, before slicing them.
Personally, I find hand slicing to be the easiest way. I’ll slice apples from one side, JUST until I reach the core...
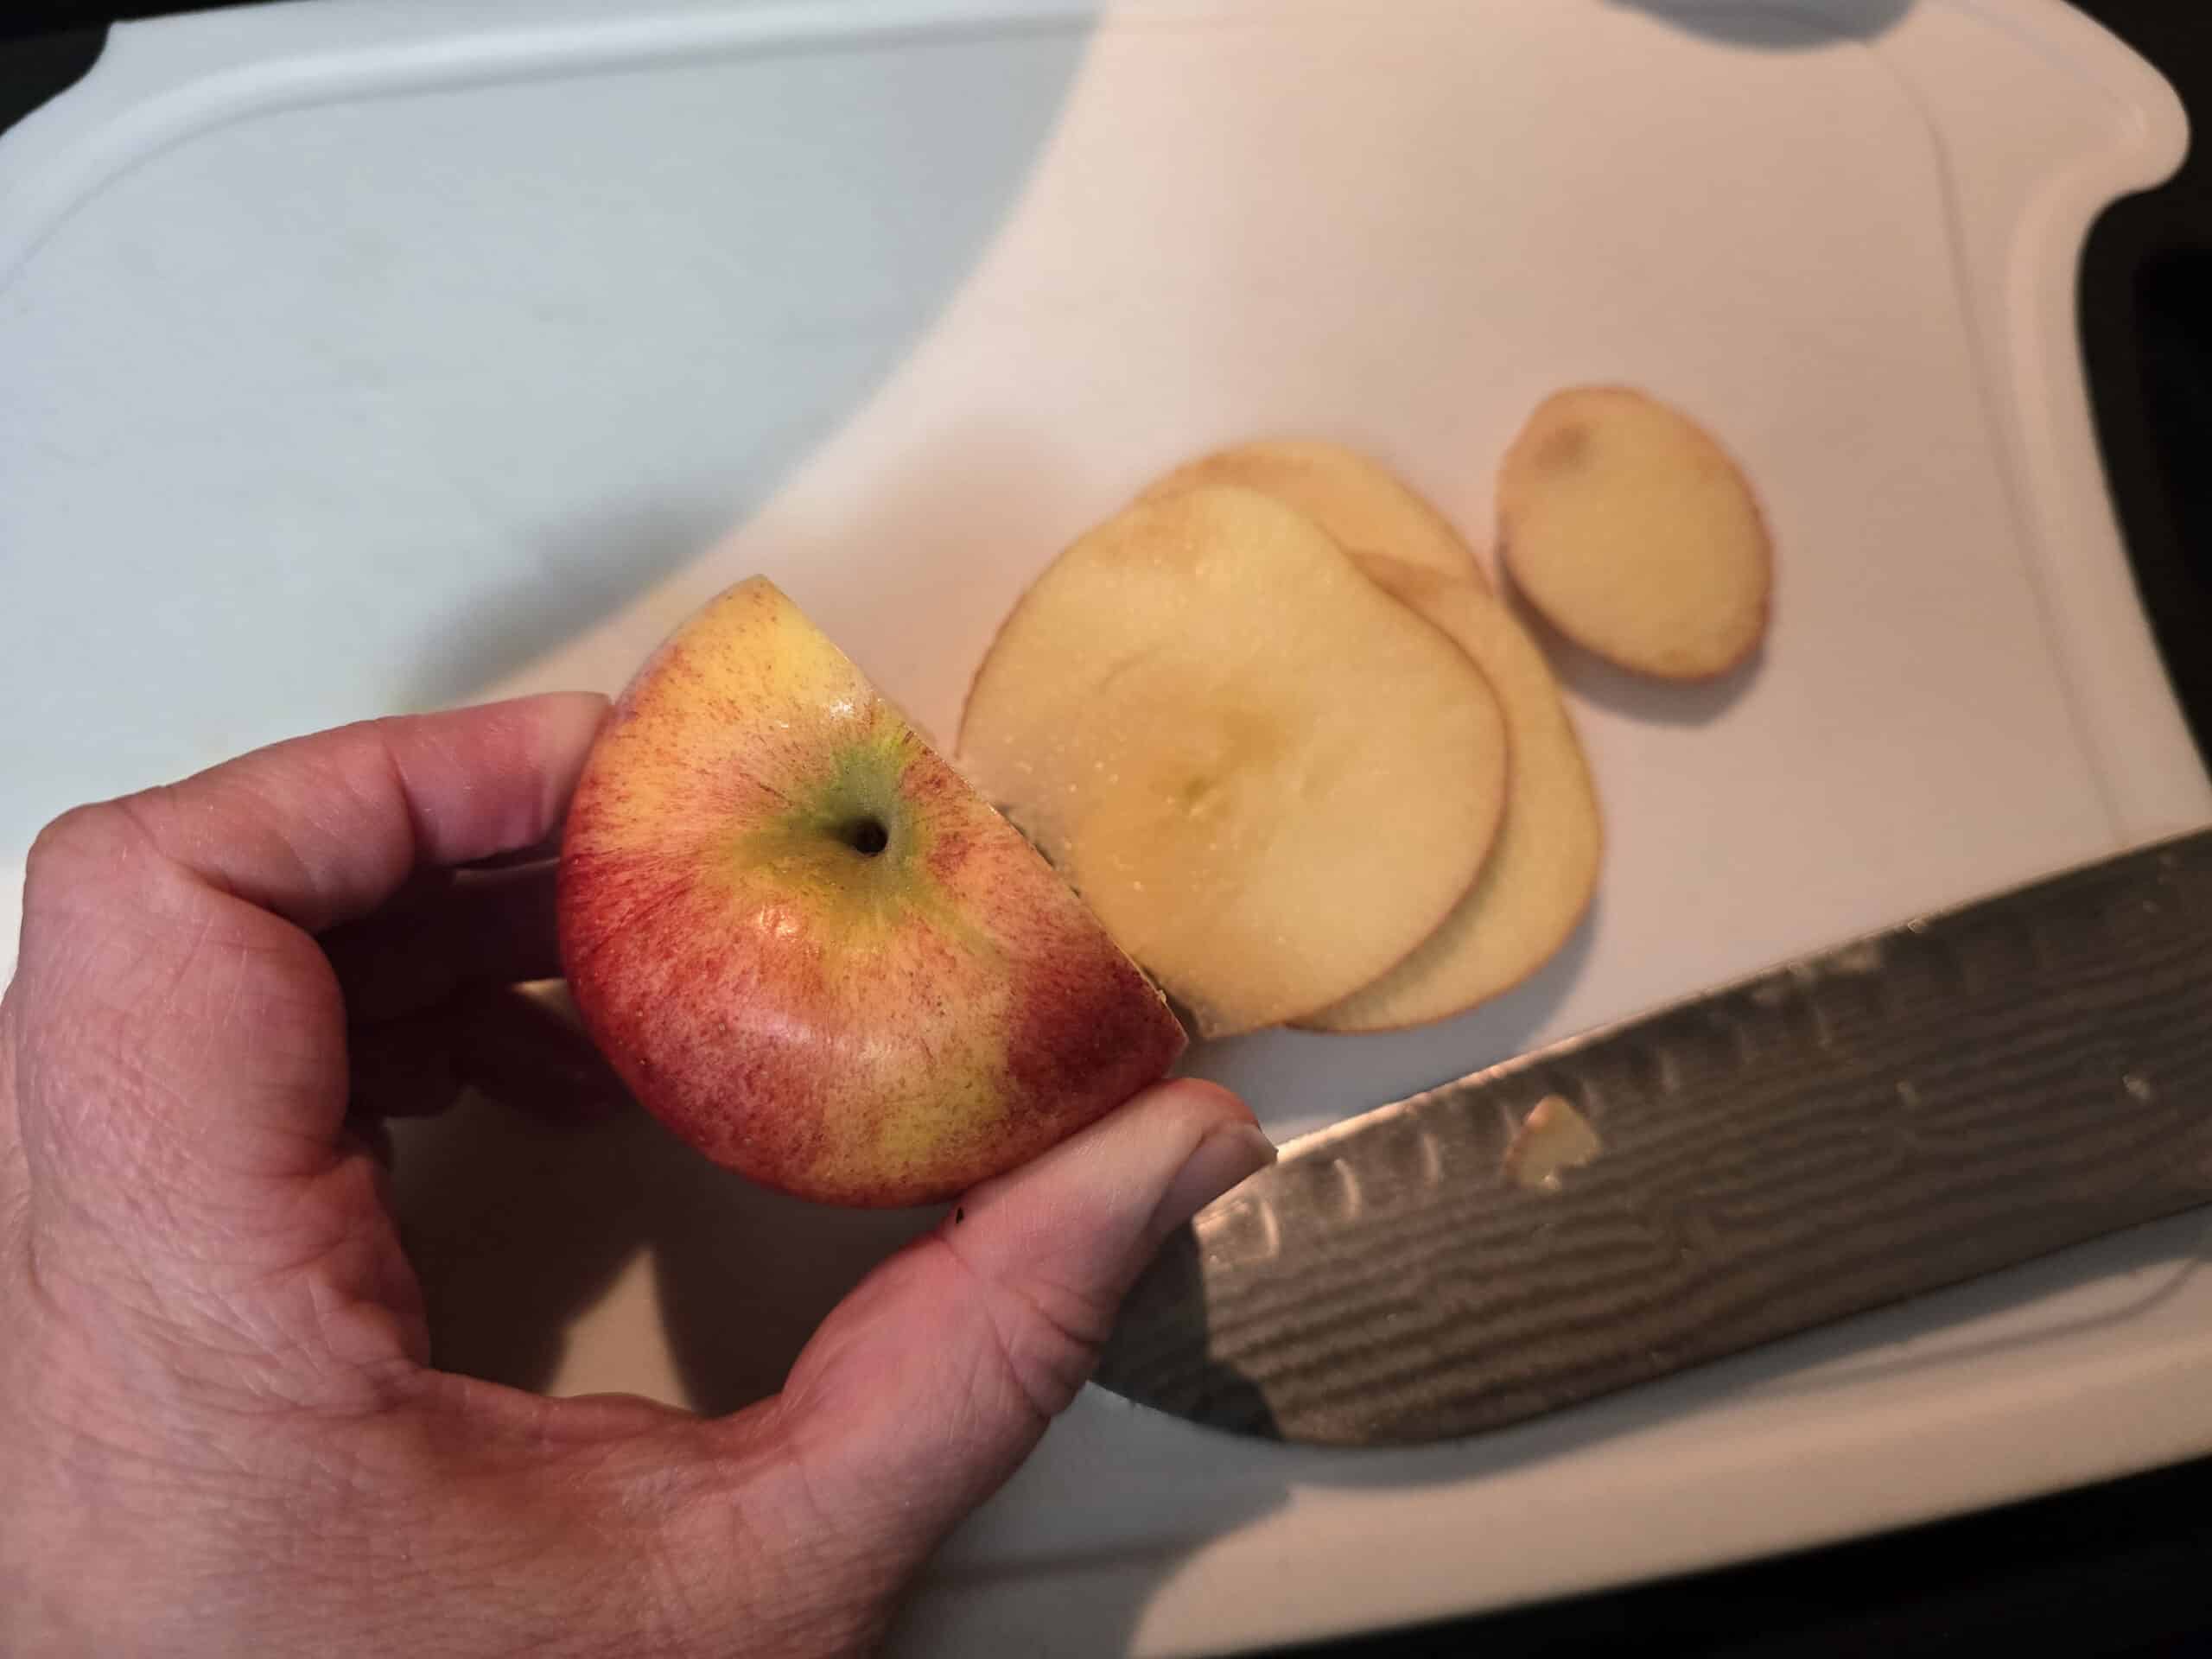
...then turn the apple about ⅓ and repeat.
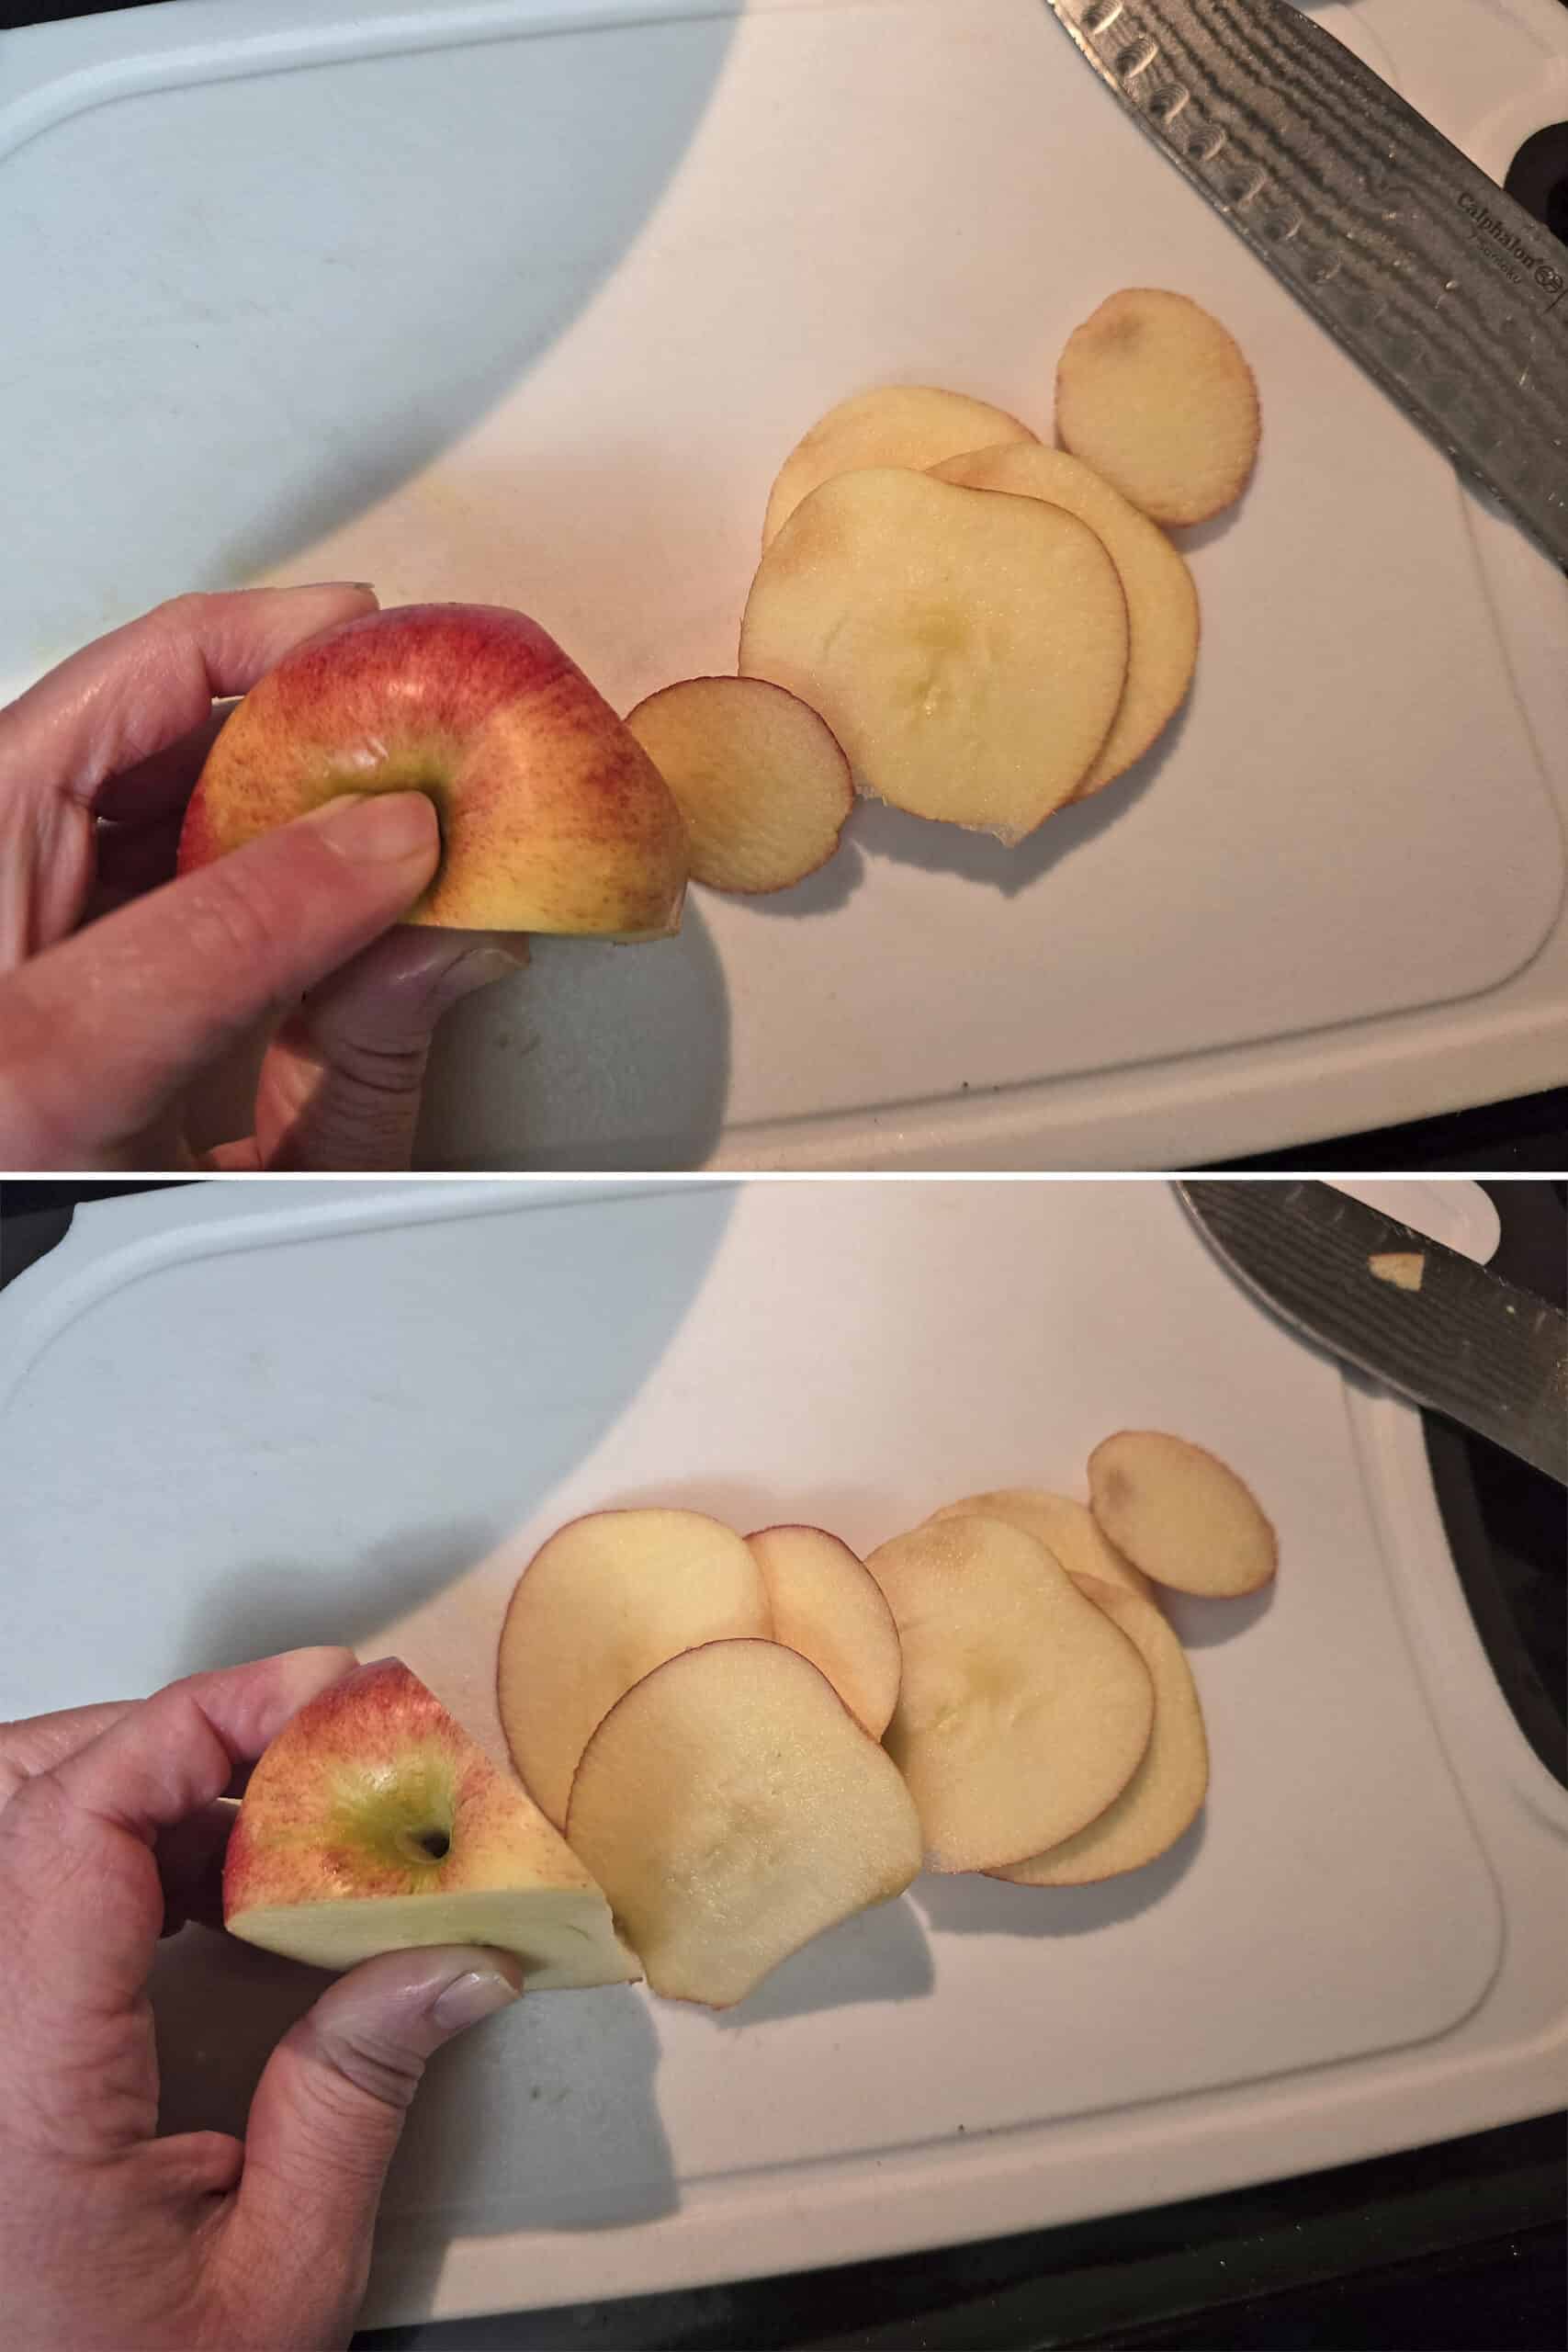
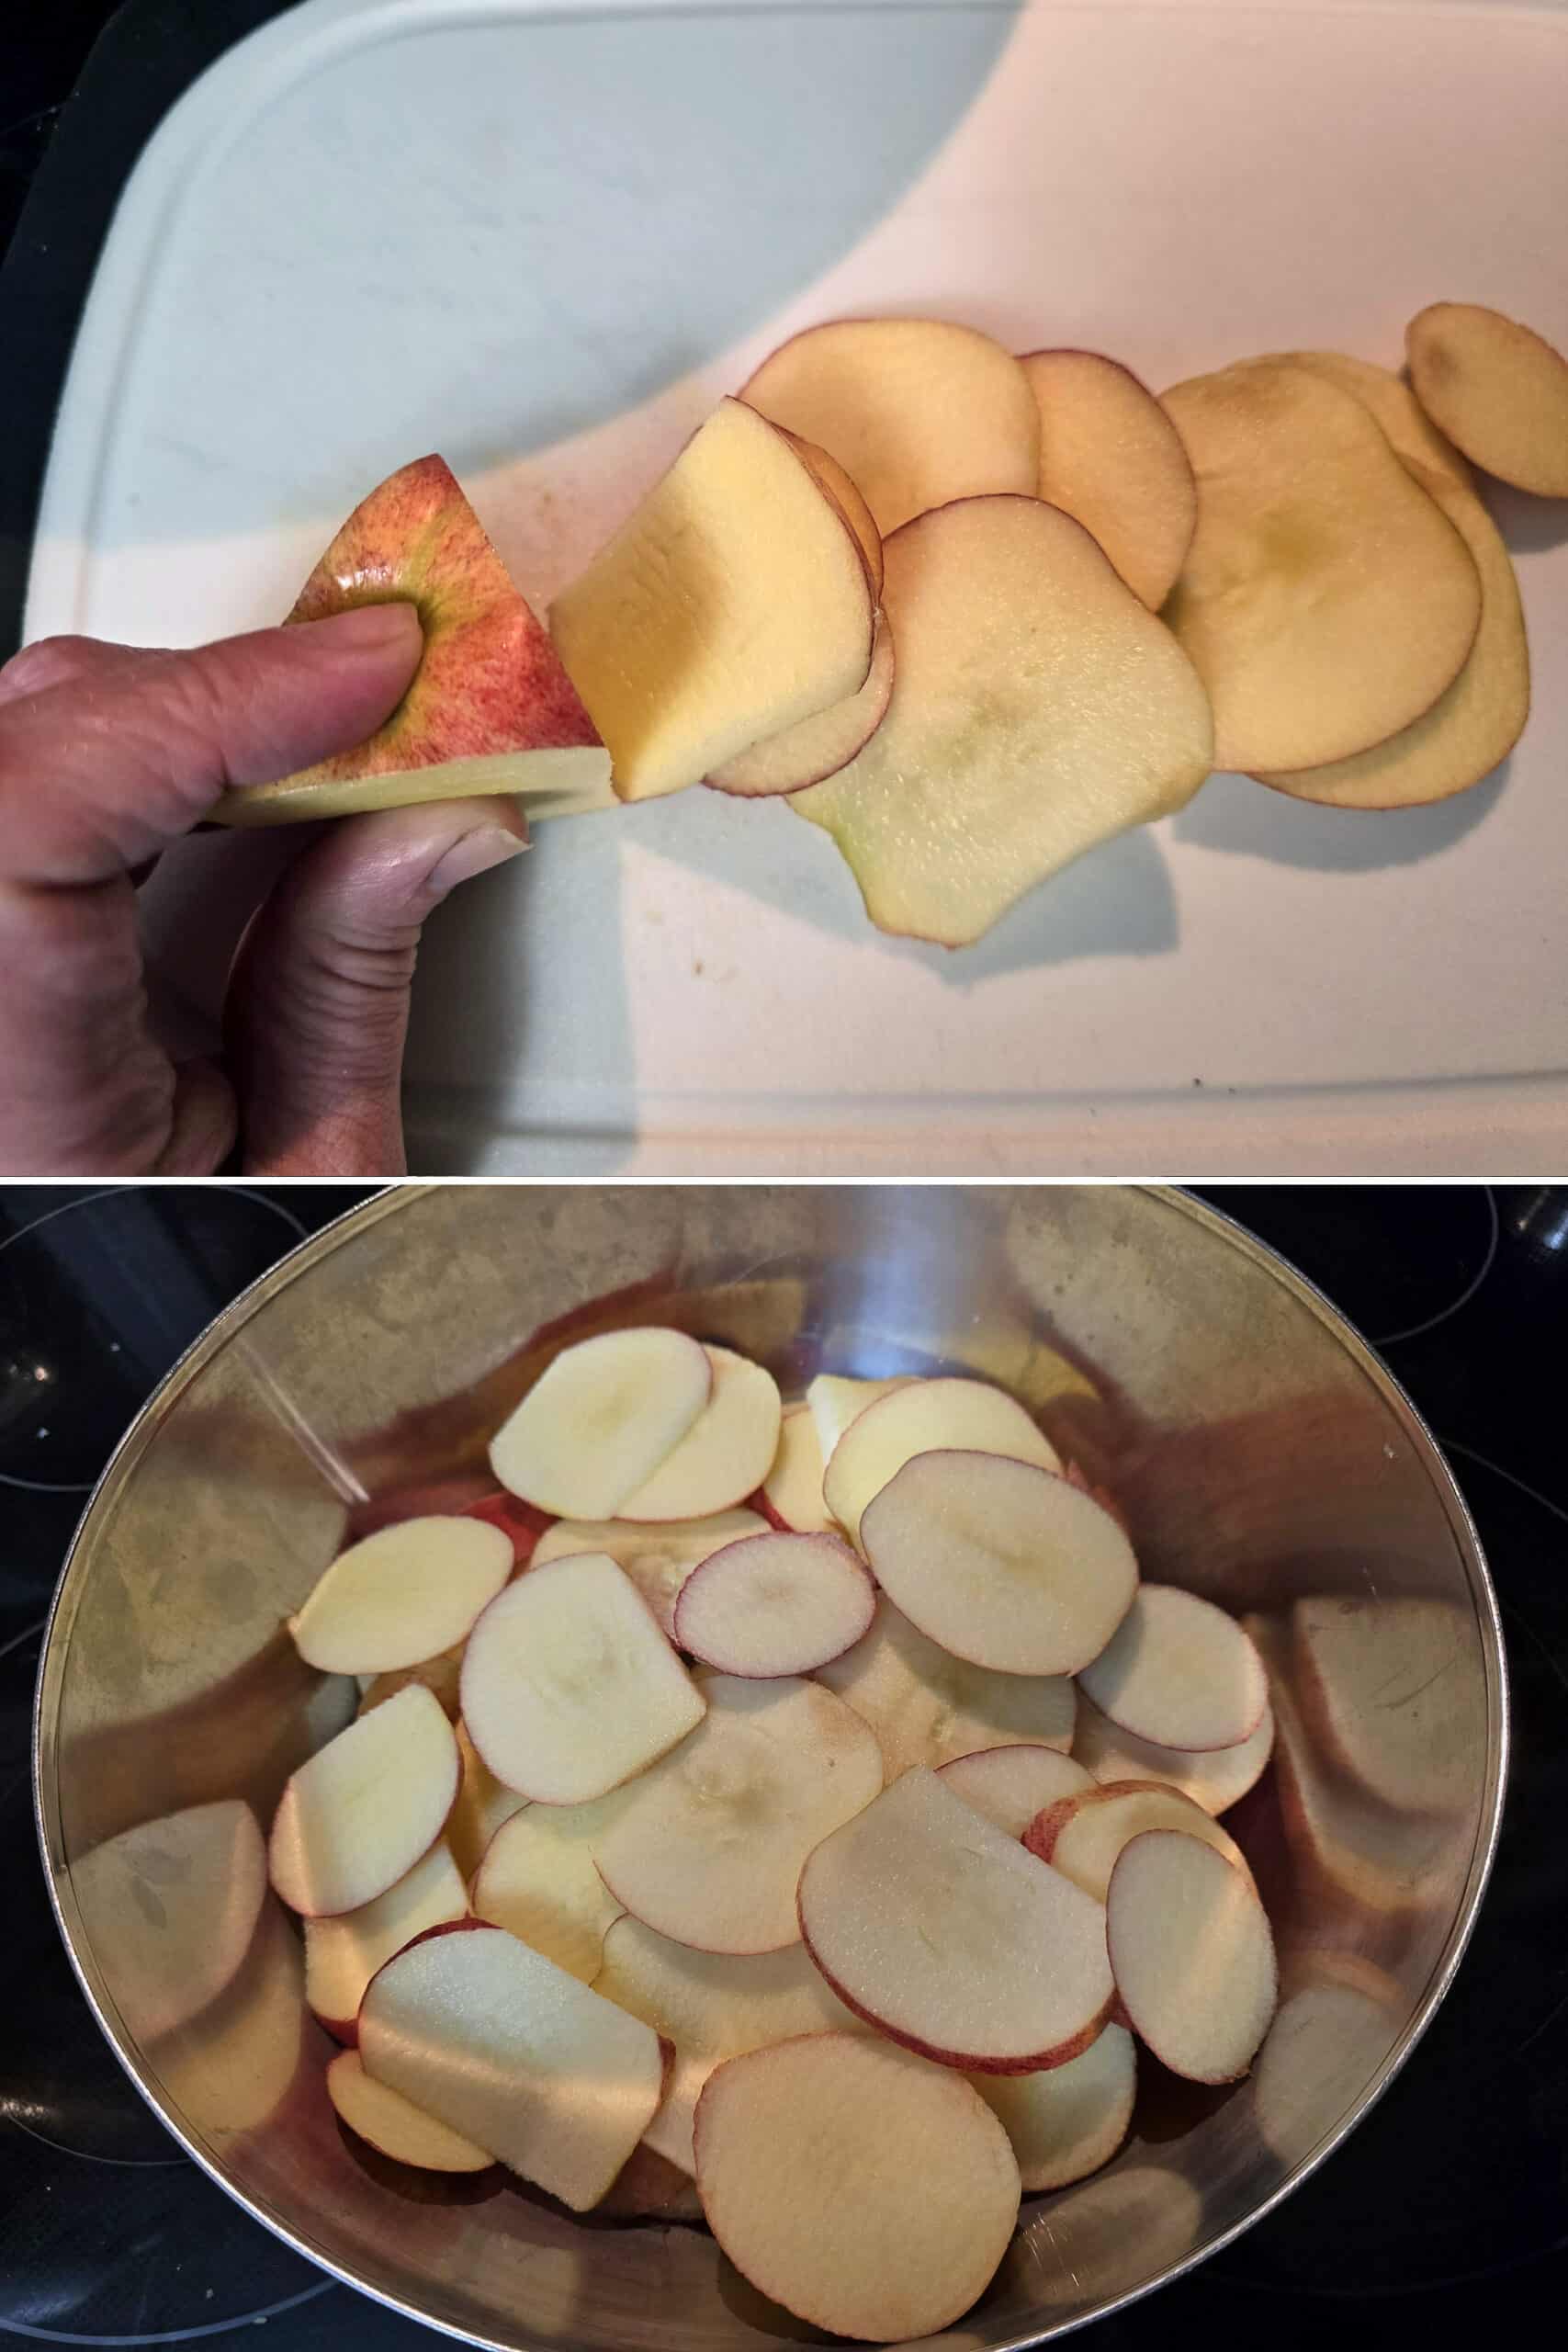
I like doing it this way, as you end up with the most full apple rounds - solid ones.
If you prefer apple rings, I find the mandoline to work best.
Either way, slice your apple into thin slices. I’ll usually aim for about 3/16" thick. Thicker than ⅛", but not ¼". For really crispy chips, you can go a bit thinner.
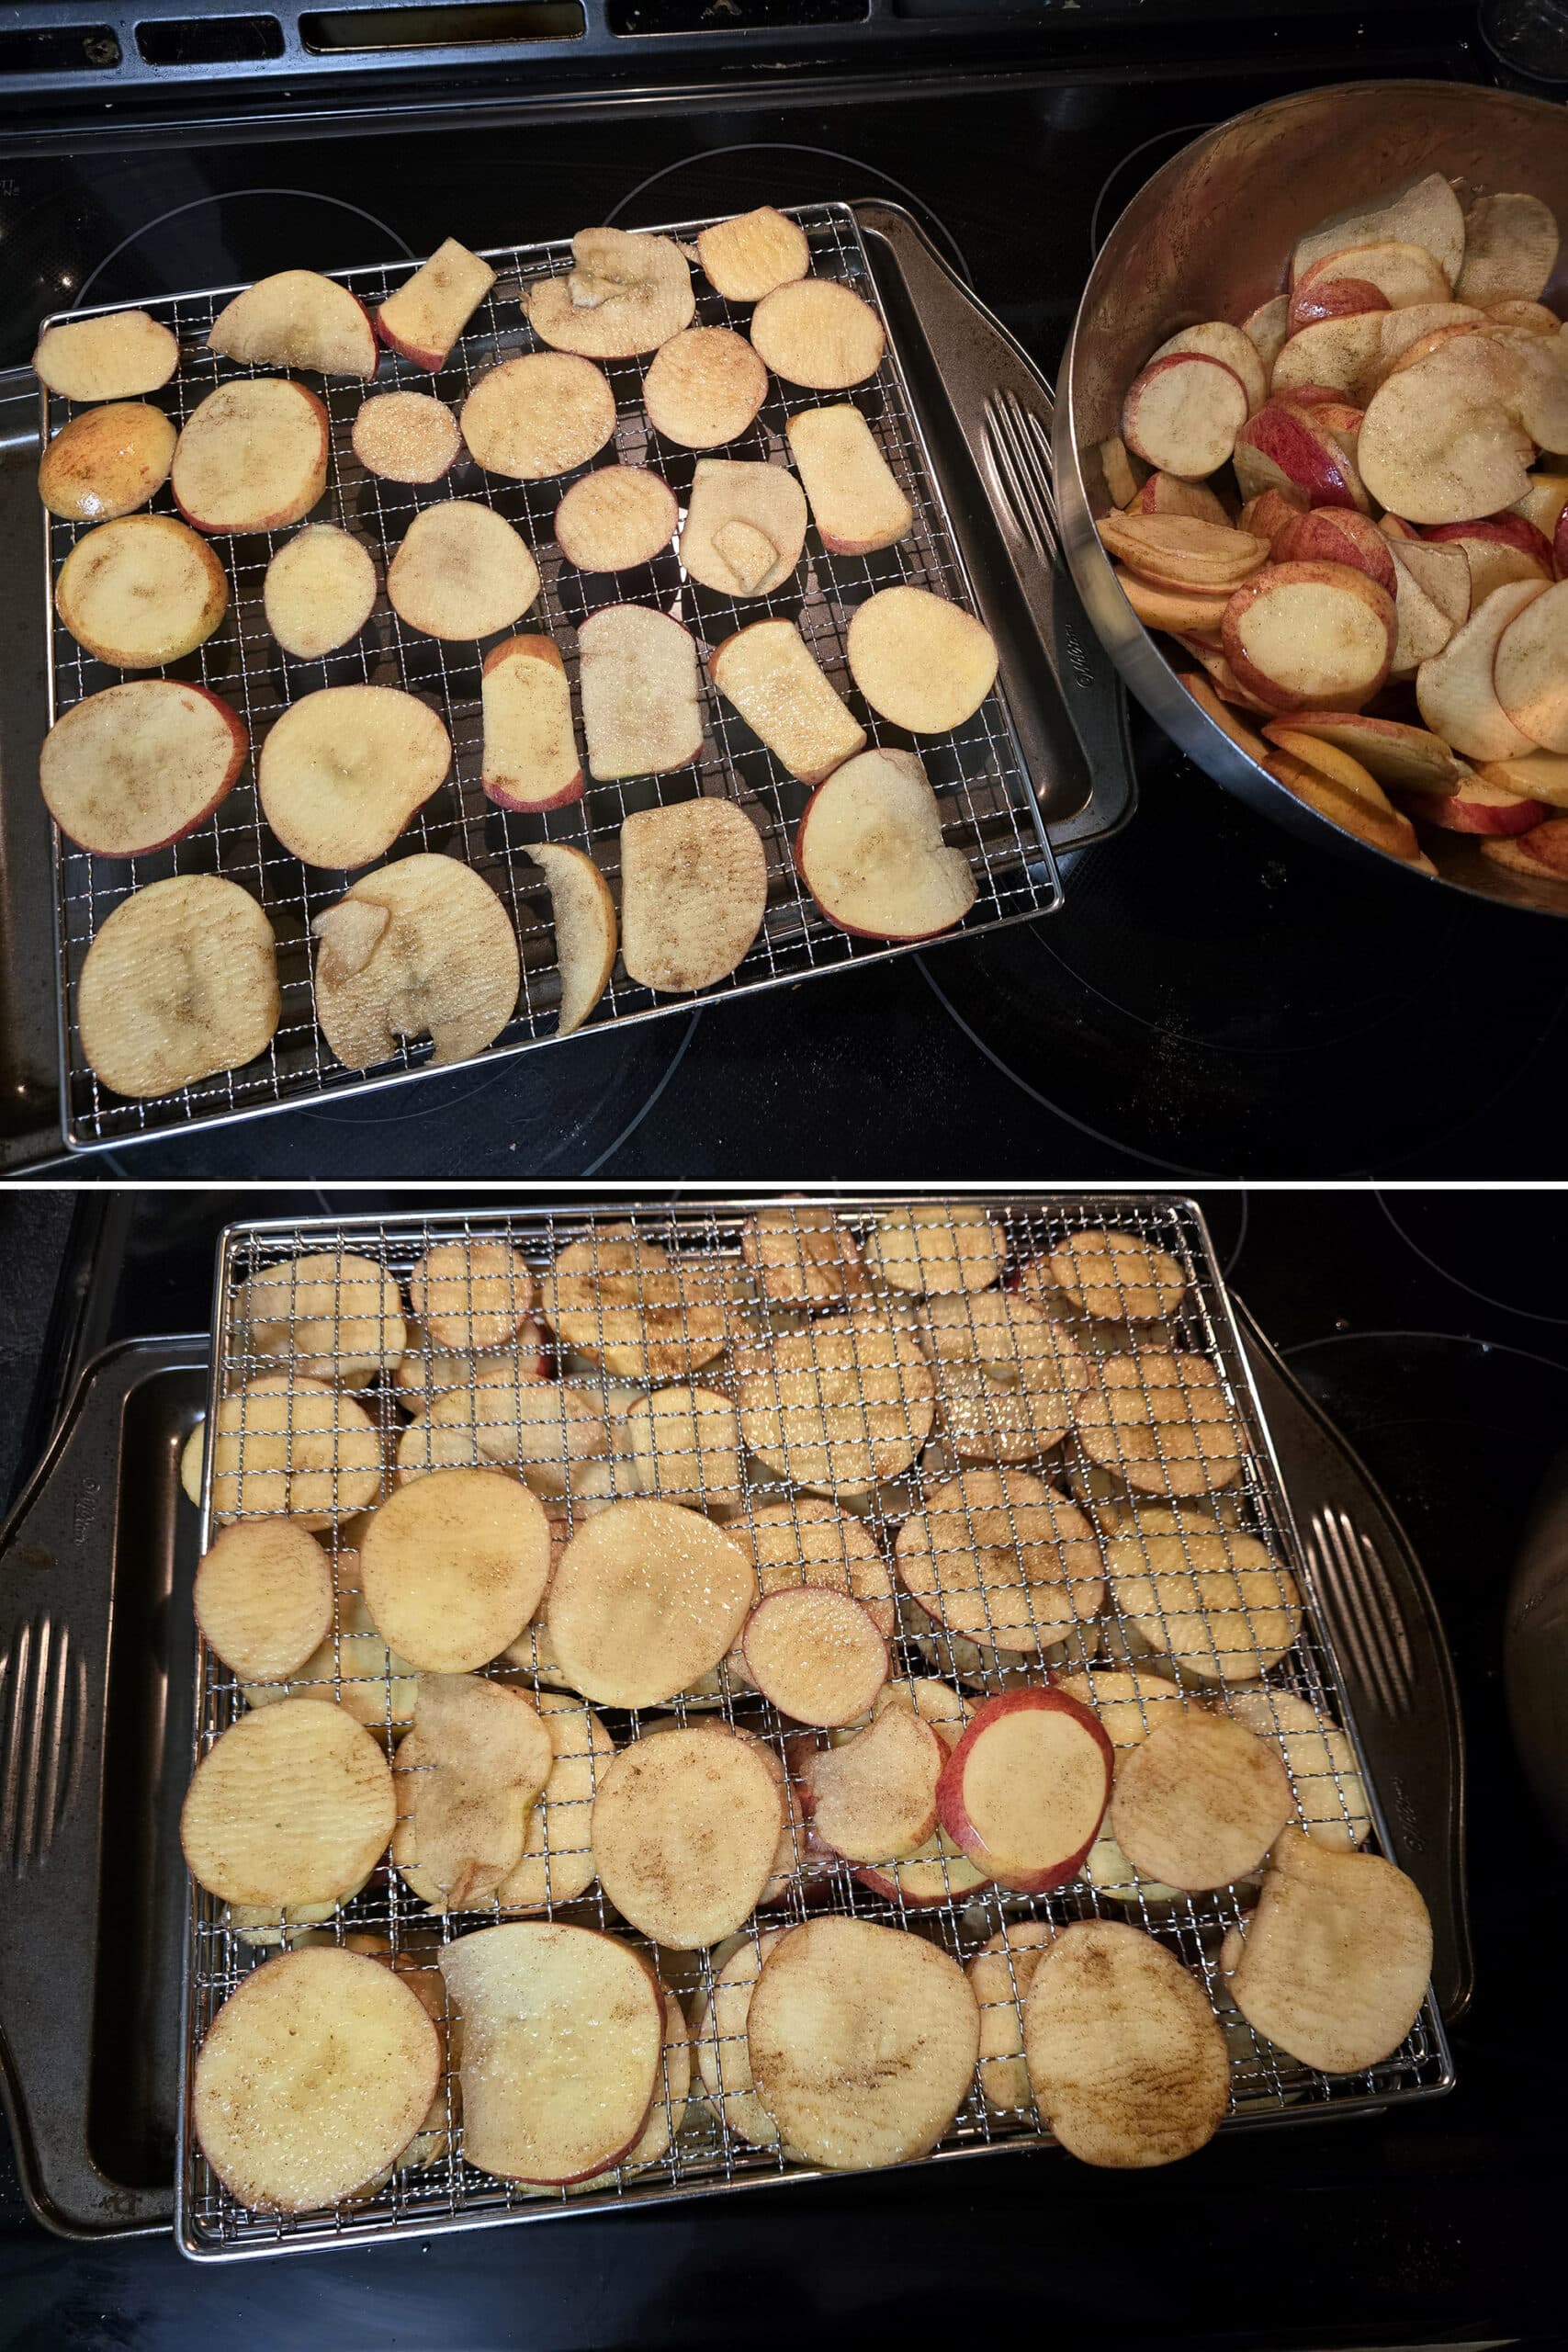
Place apple slices in a large bowl.
Season the Apple Slices
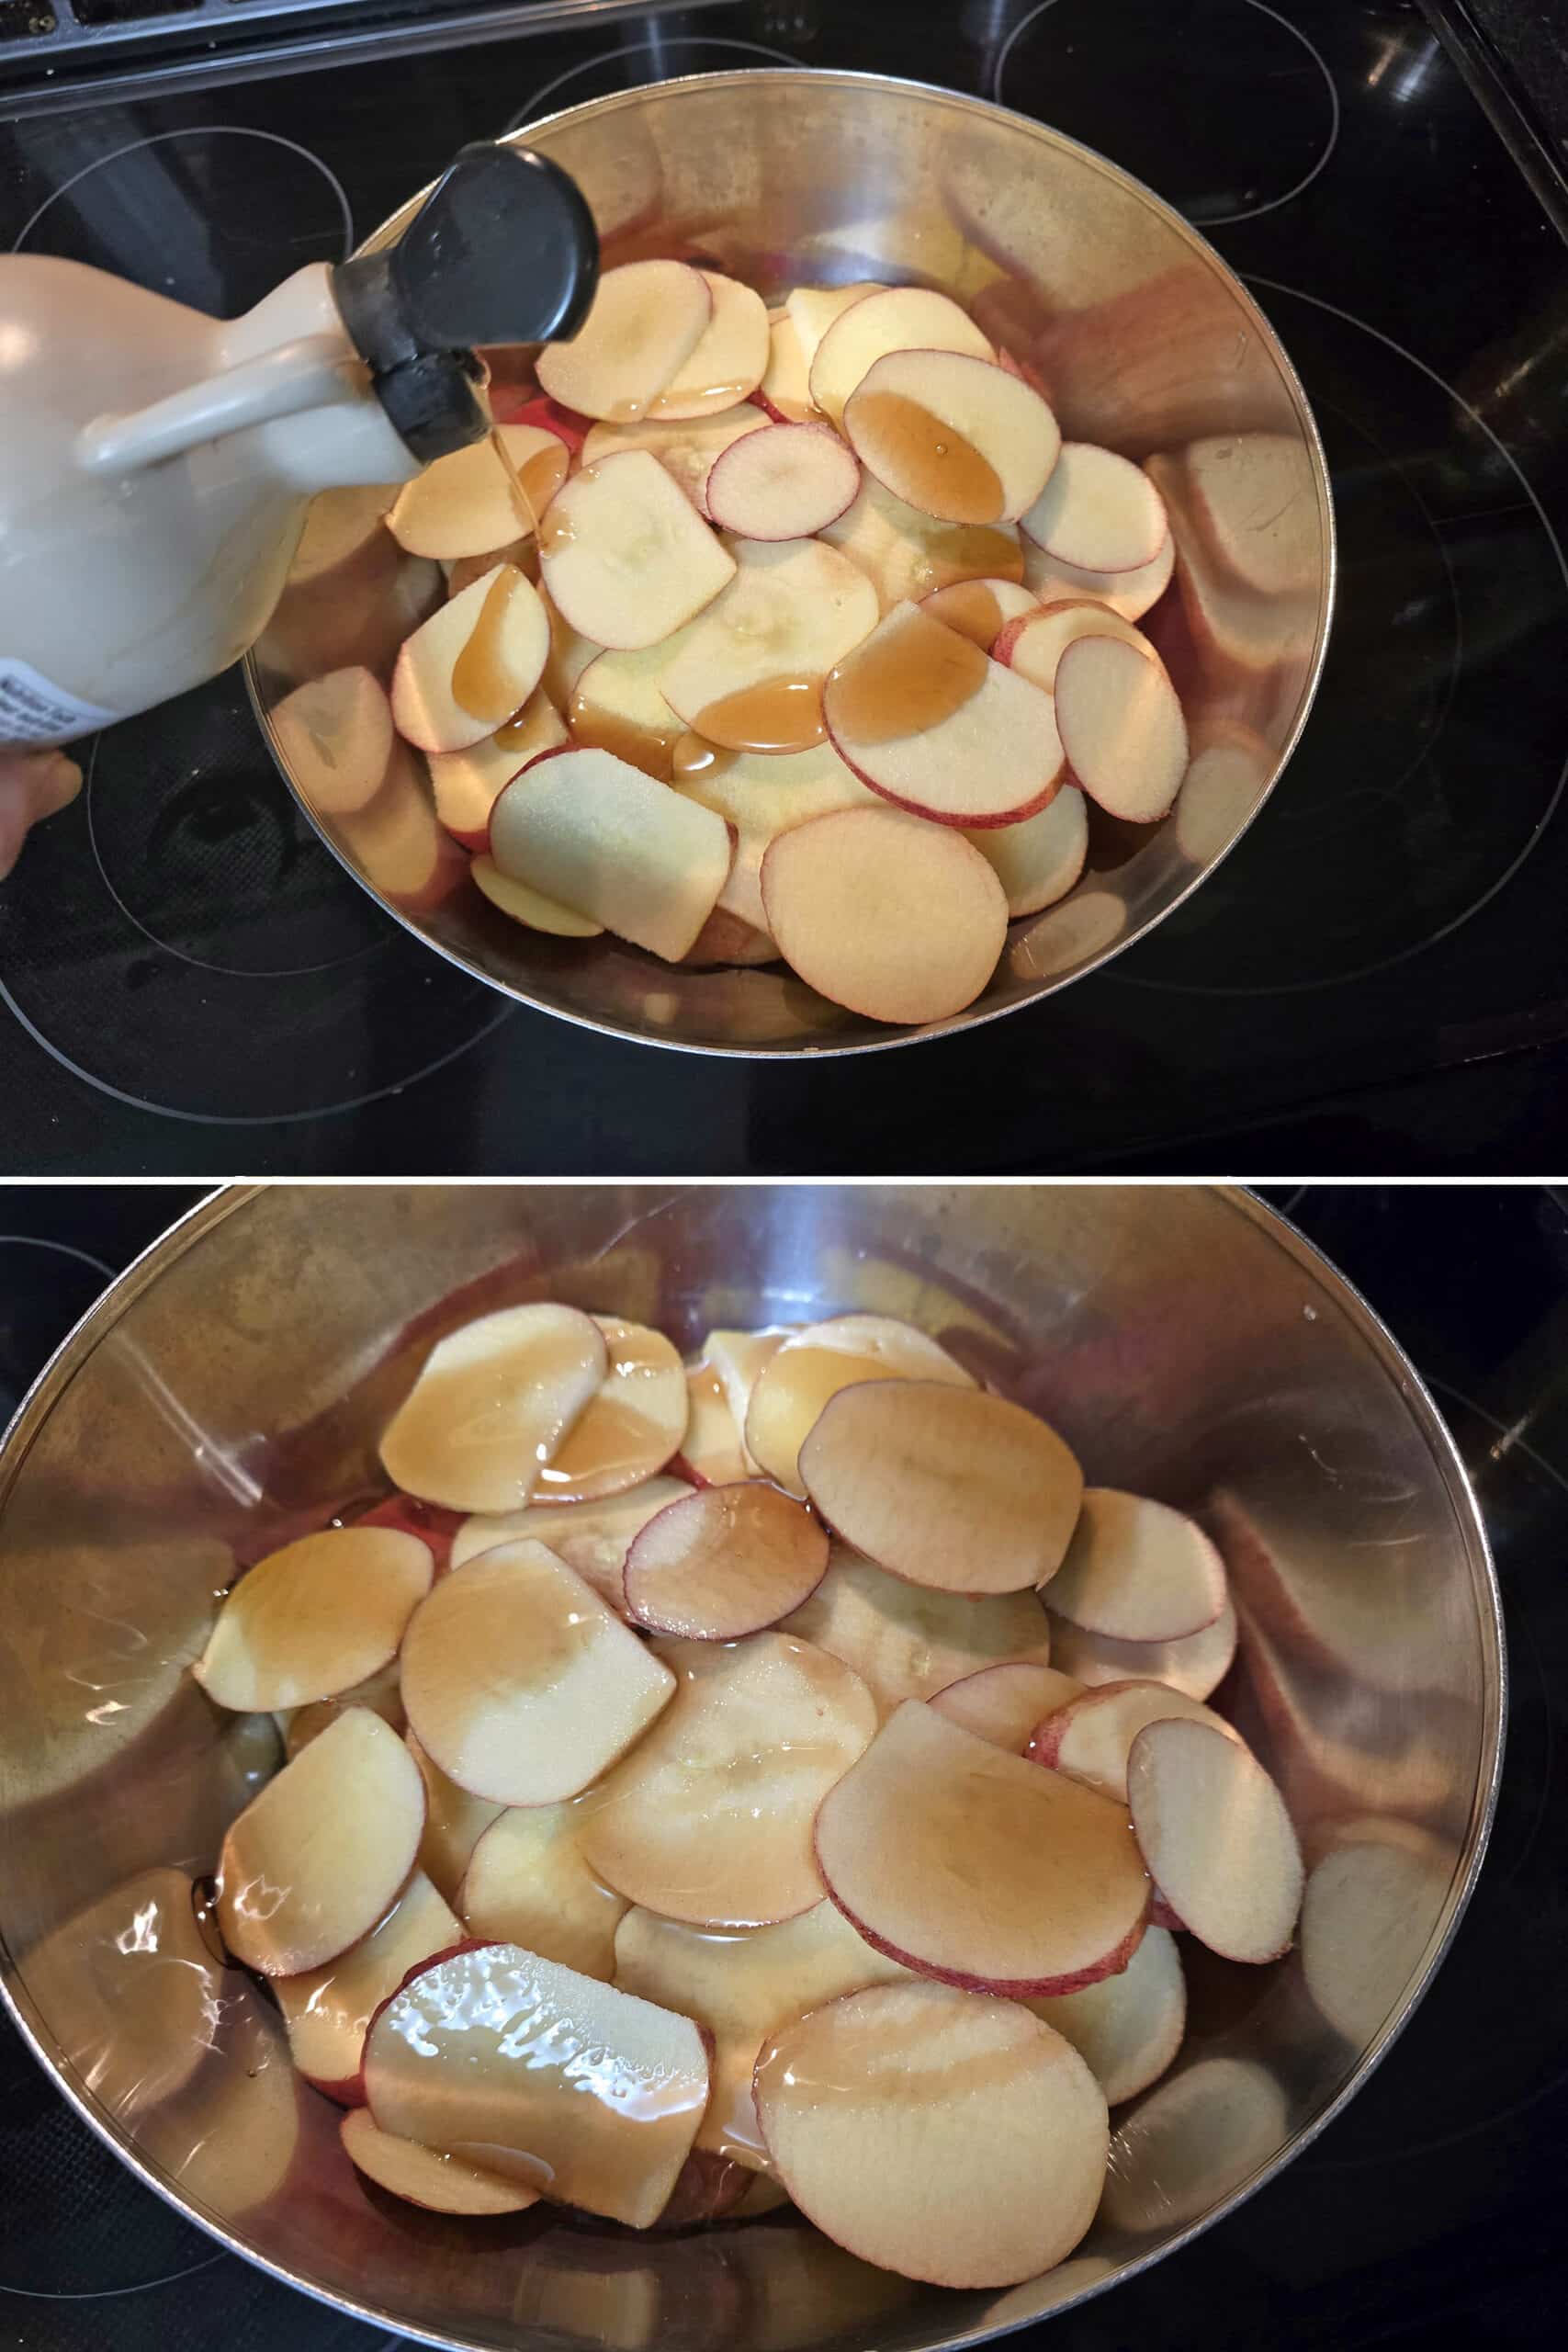
Drizzle the apple slices with a generous amount of maple syrup. You want enough to more or less coat the apple slices - use the ¼ cup as a rough suggestion only!
Using clean - or gloved hands - gently hand mix the apple slices, flipping and separating them to coat.
If they’re not quite covered - or you like them on the sweeter side - add a little bit more maple syrup, and toss to coat.
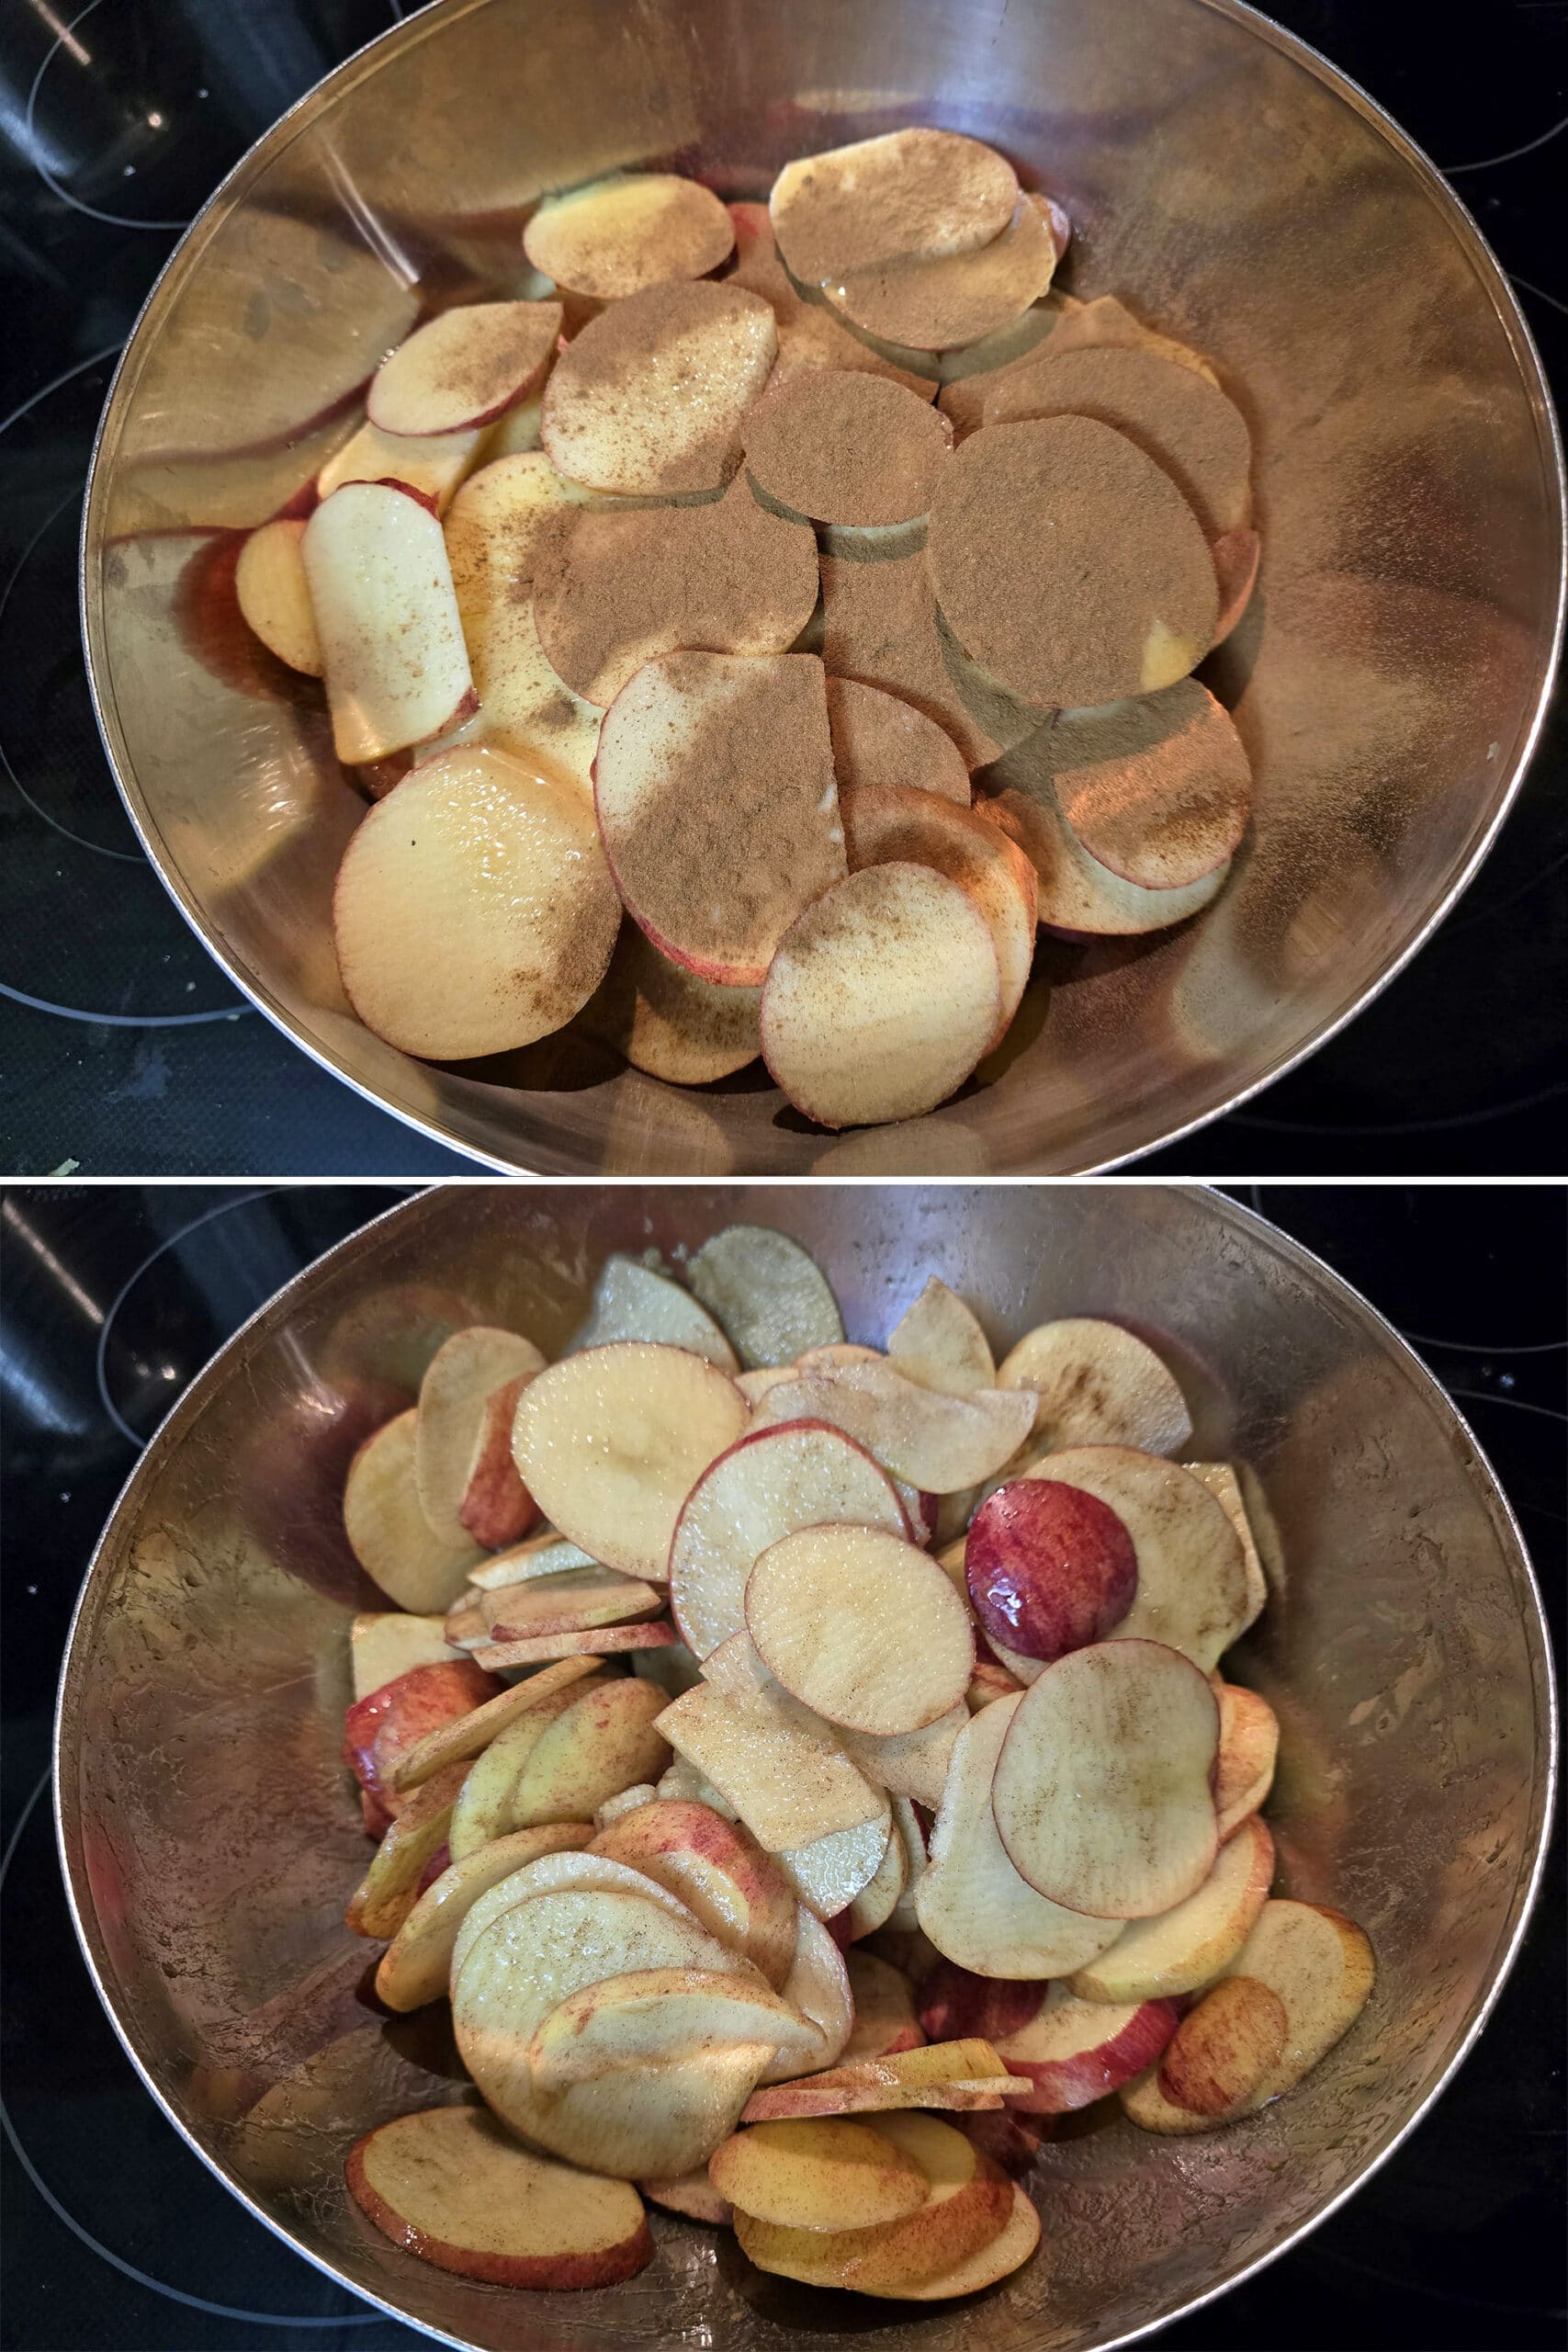
Again, gently stir, separating the slices and making sure everything is covered with maple syrup and cinnamon.
Taste, and add more maple syrup, cinnamon, and/or salt, if you like.
Dehydrate your Apple Chips
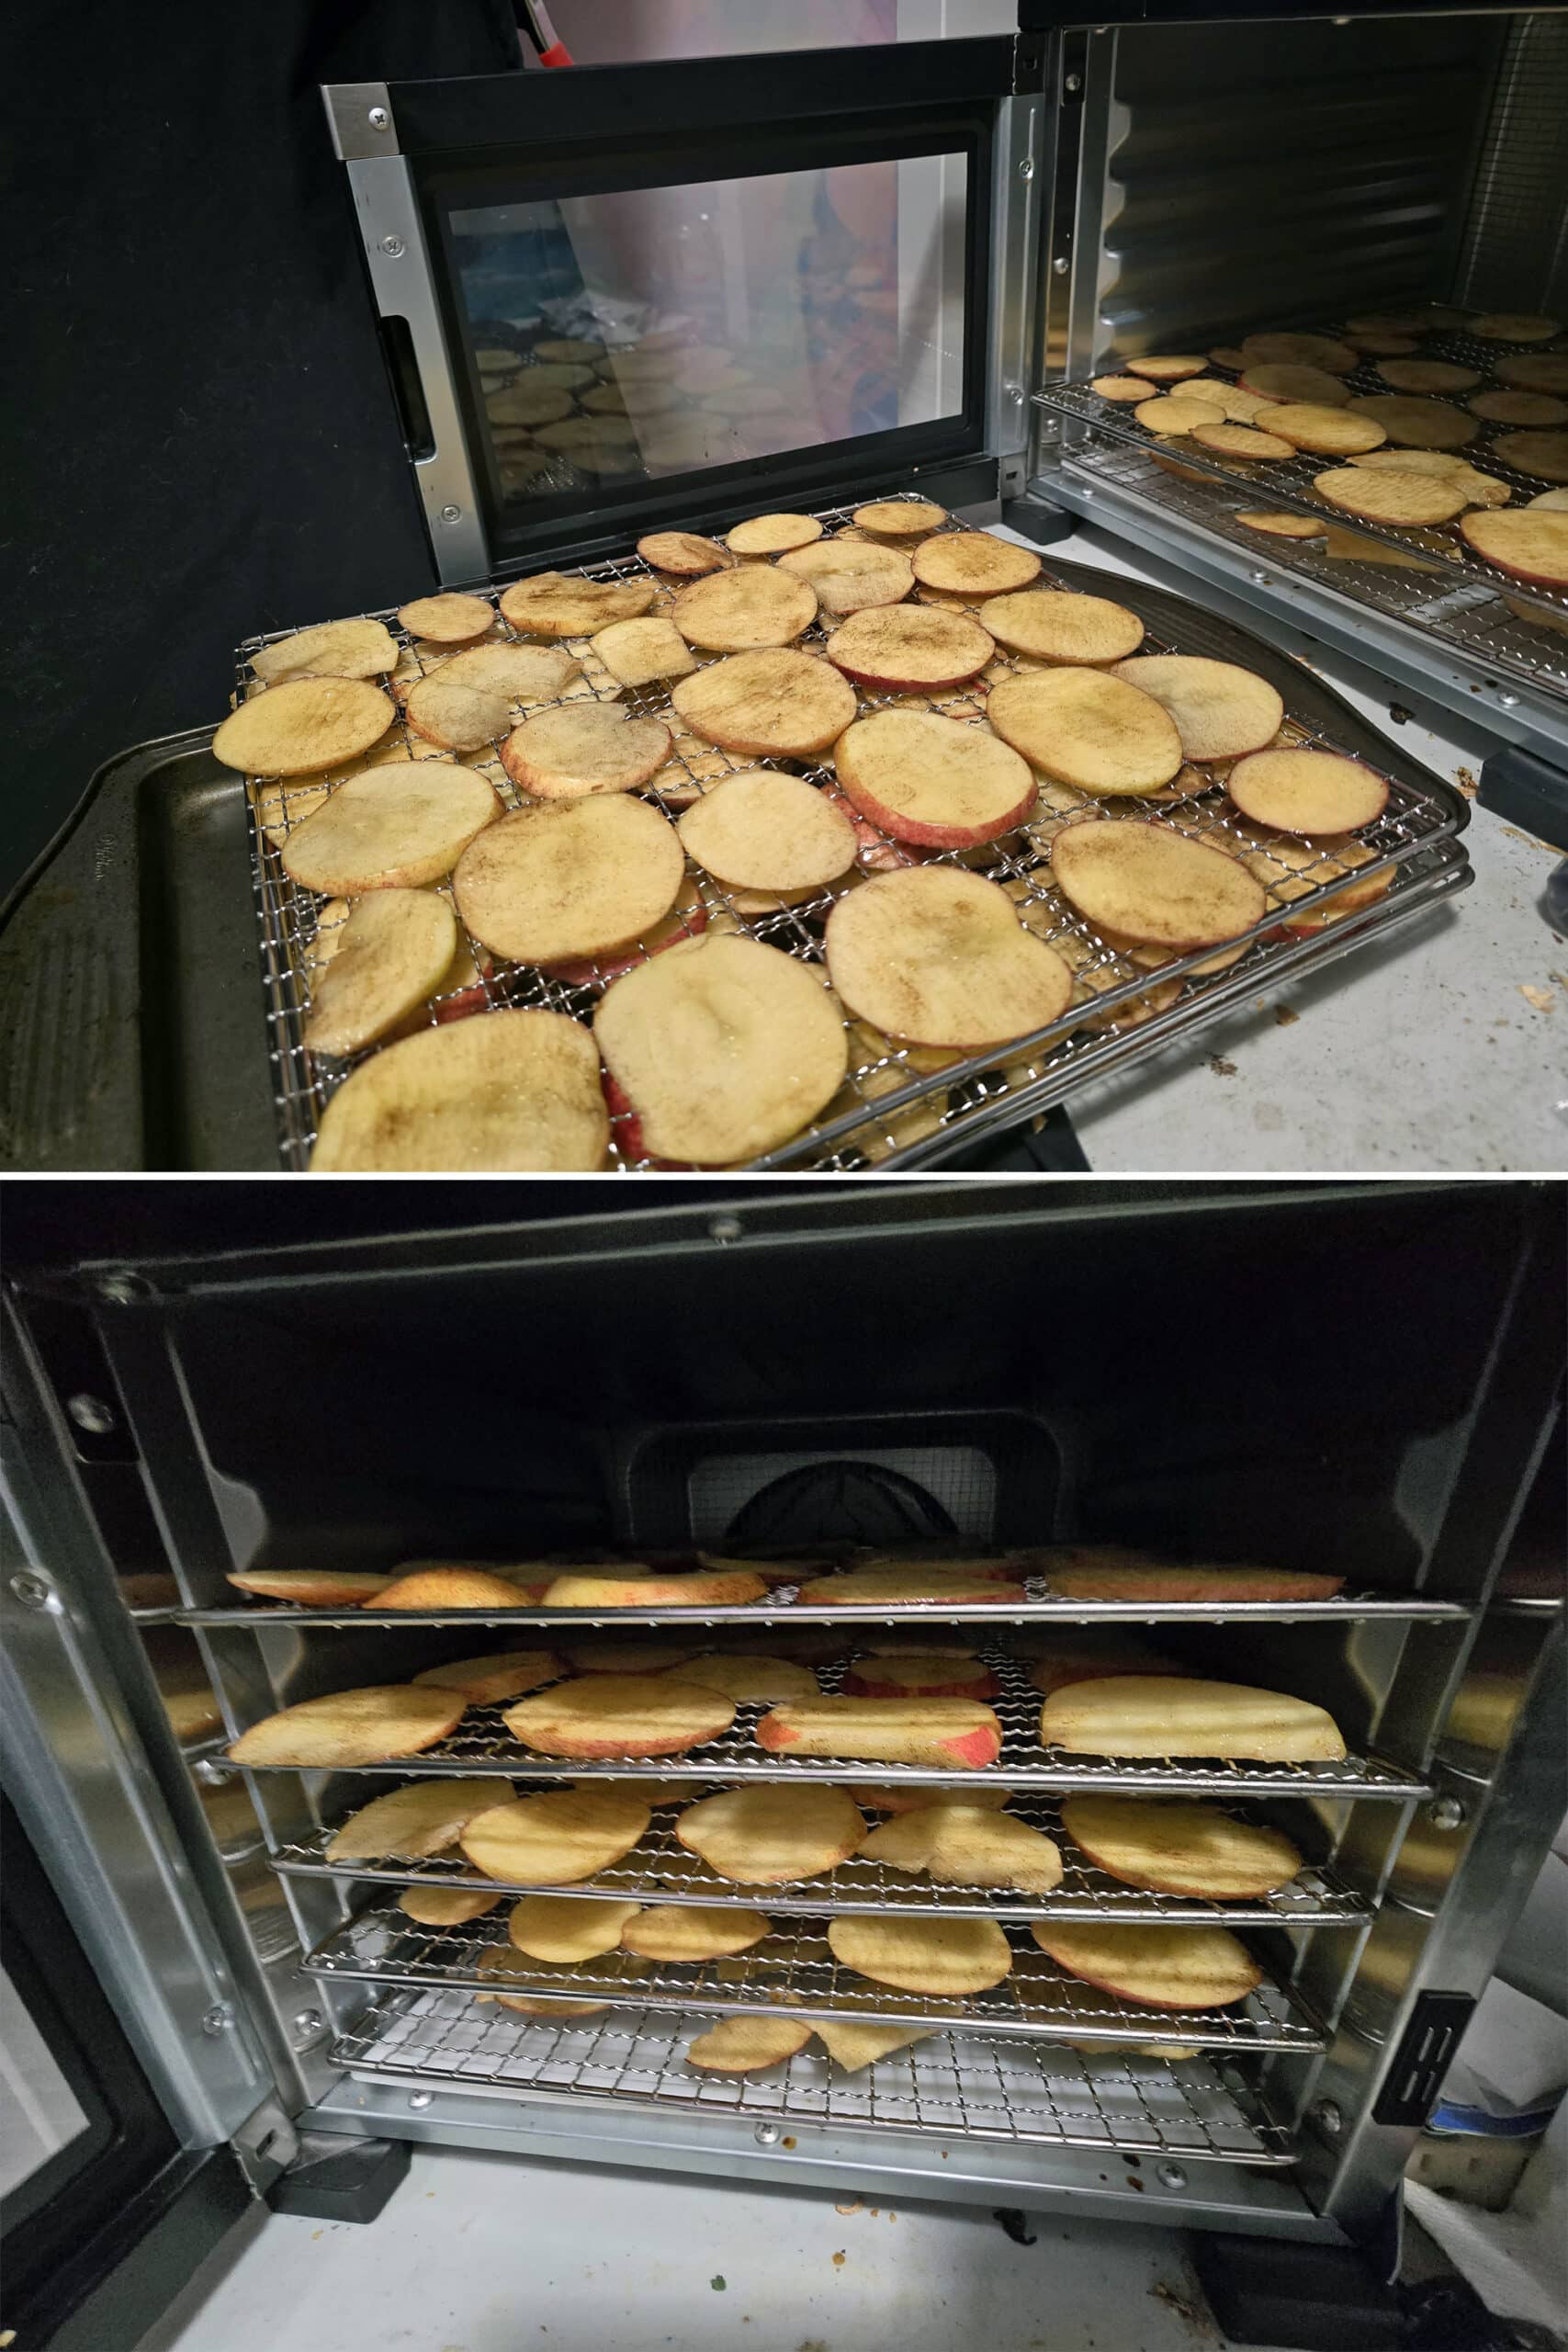
Arrange apple slices in a single layer on your dehydrator racks, being sure to leave some space between each - you want the air to be able to circulate.
I like to flip mine after about 2-3 hours, just to help prevent sticking in the end.
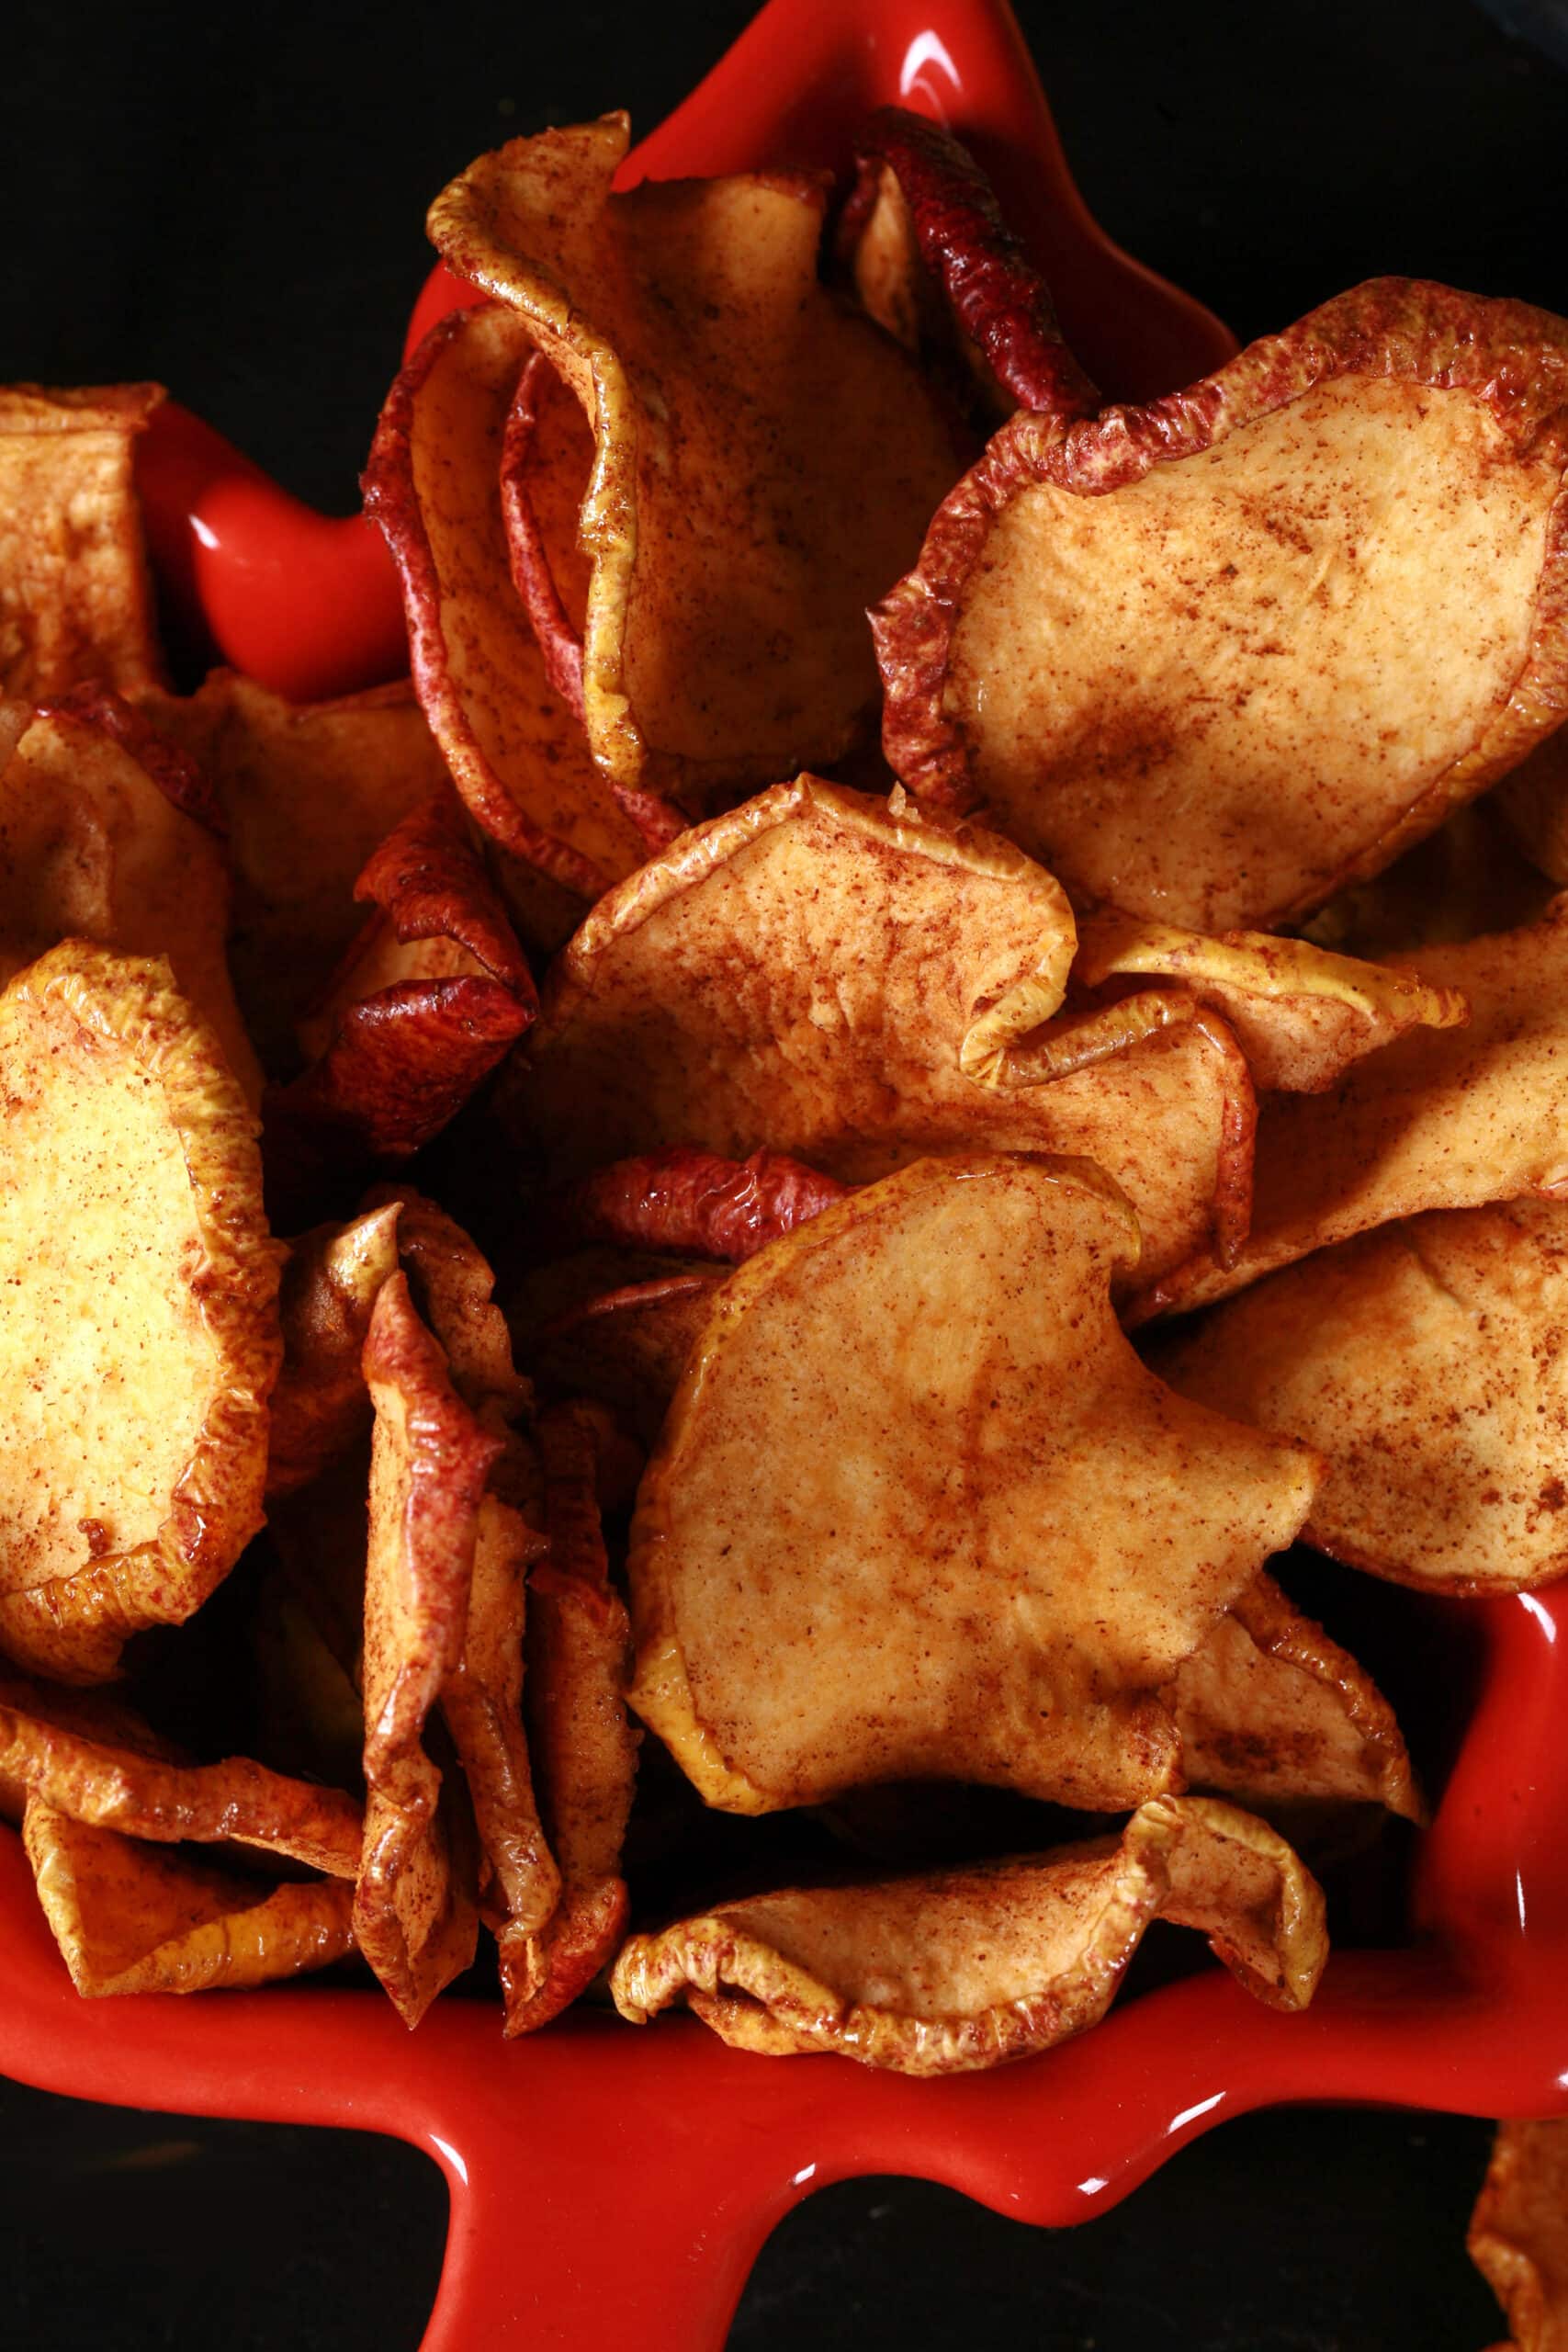
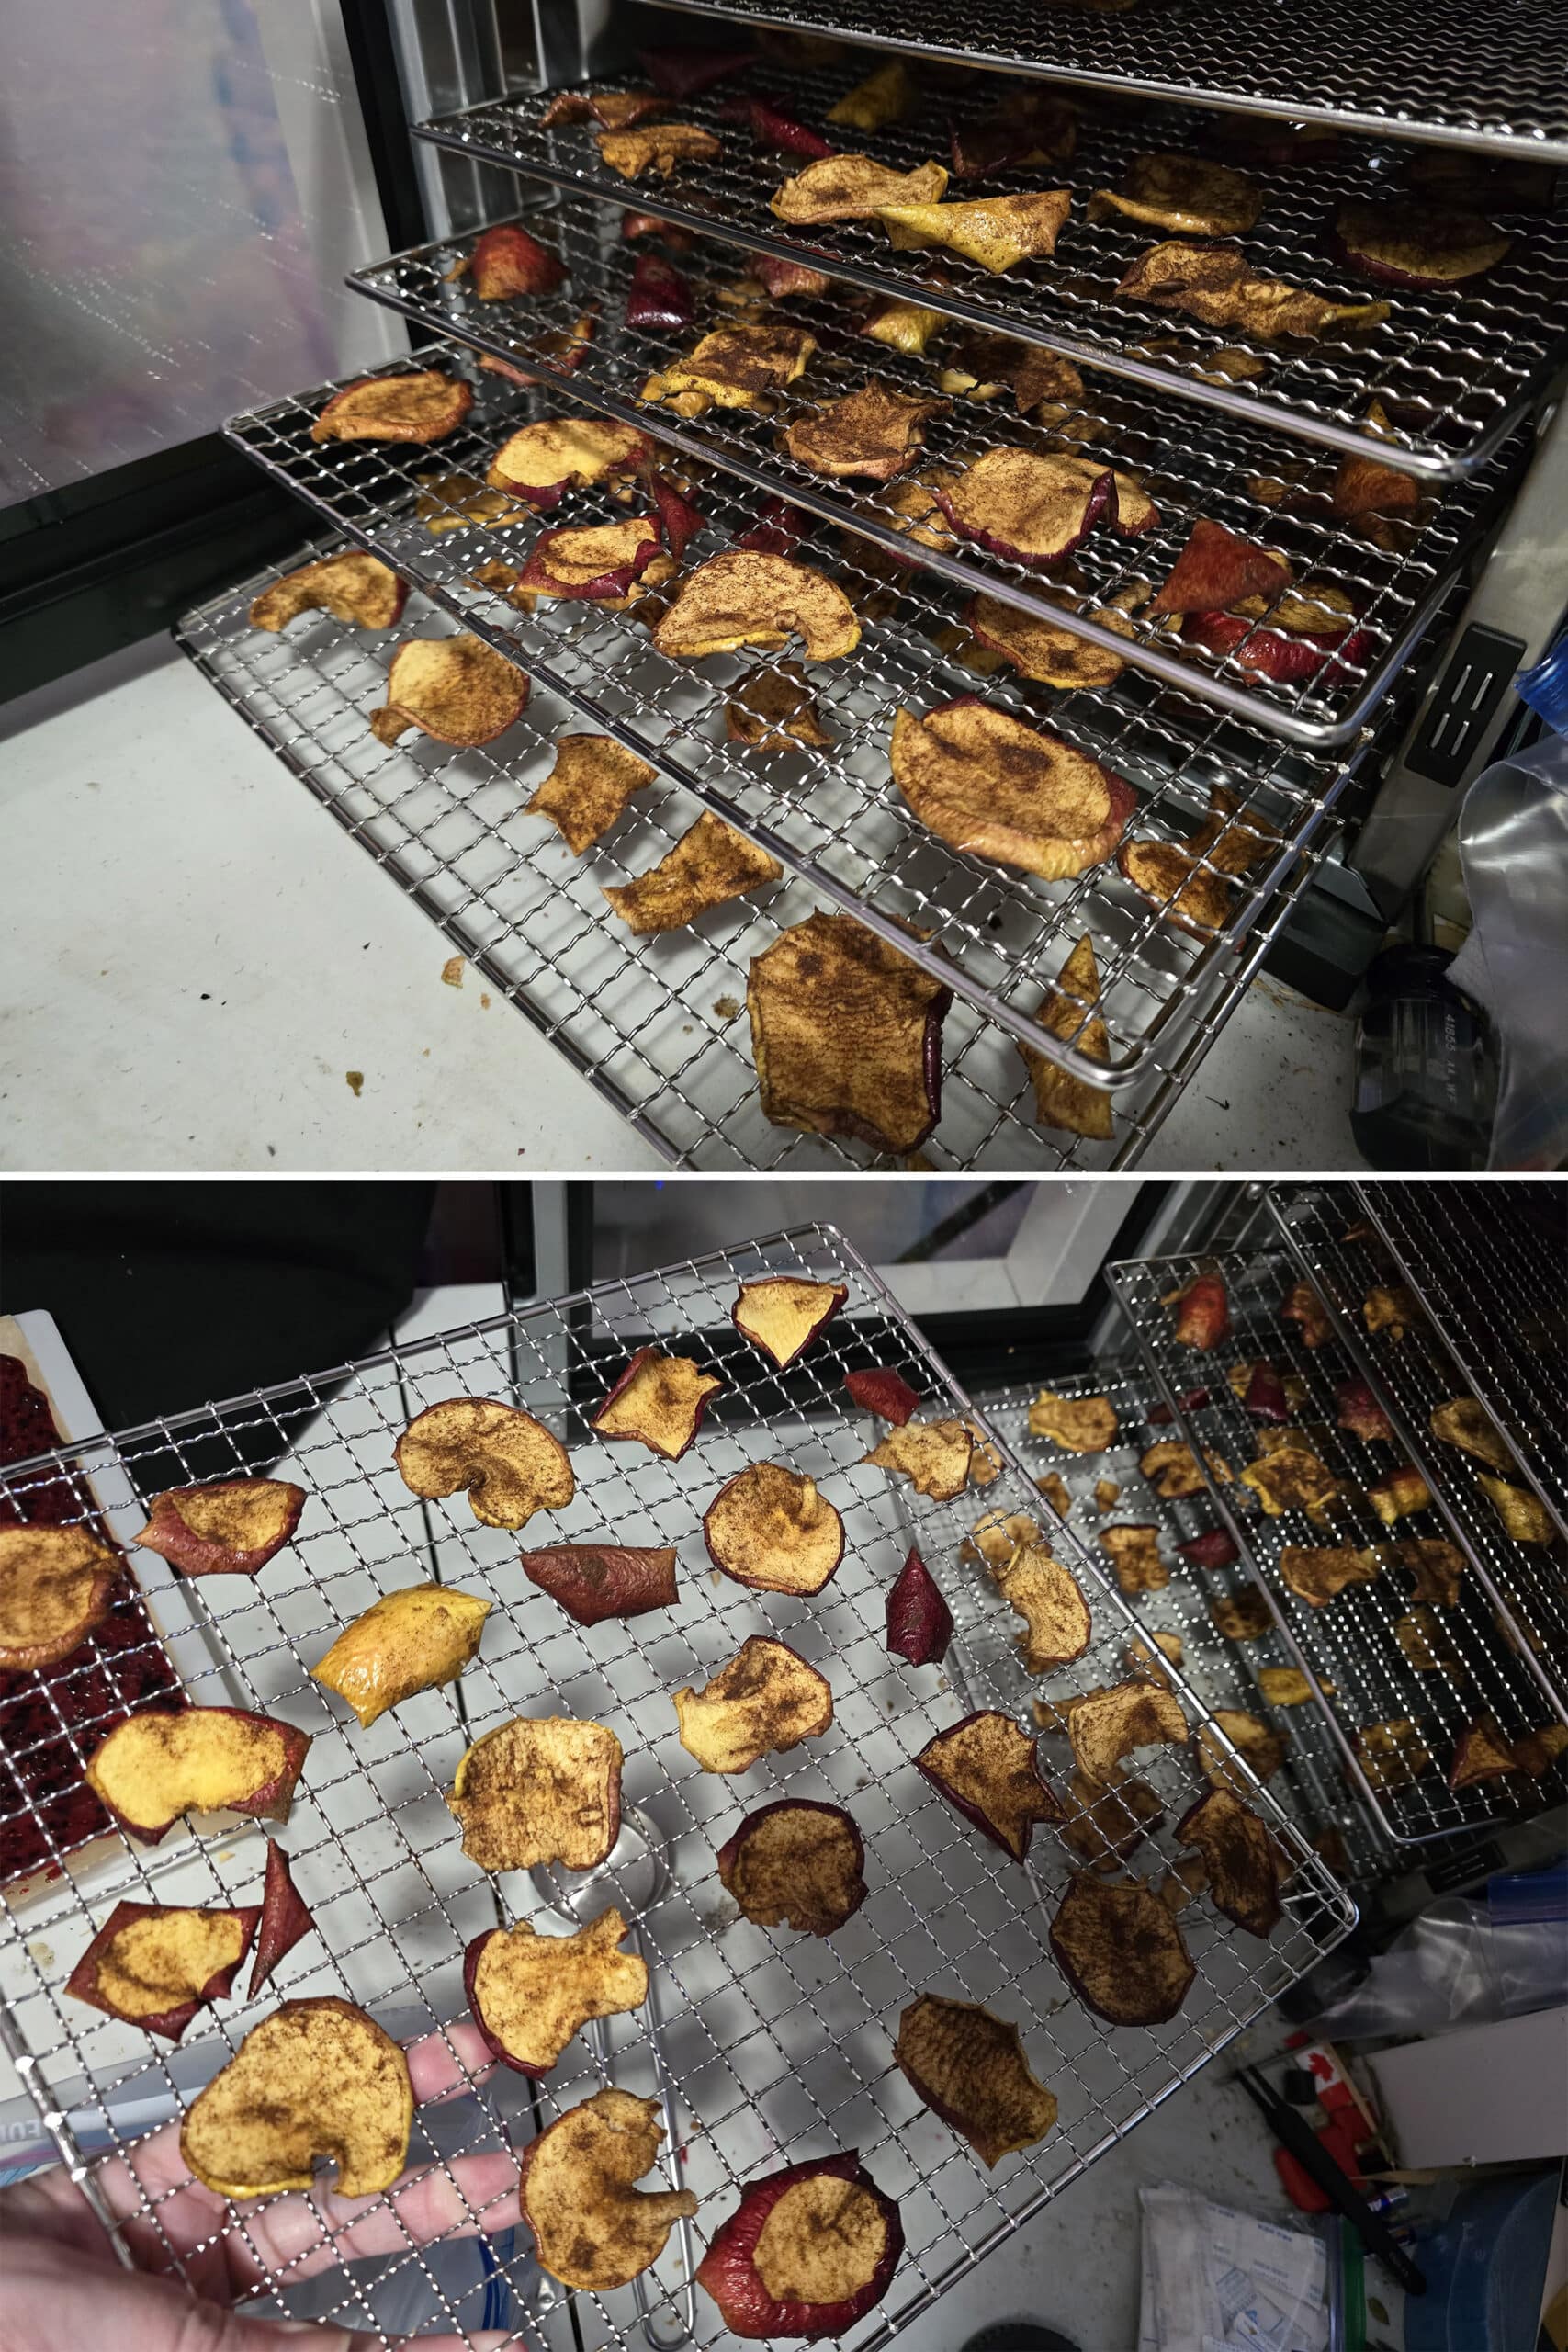
Once your apple slices are as dry as you’d like them, remove from the dehydrator and let them cool - on the wire rack - to room temperature.
Condition your Apple Chips
Once cooled completely, transfer your apple slices to a resealable plastic bag. Keep an eye on them for the next 3 days or so, shaking the bag once or twice a day. This is to allow any moisture to redistribute itself, safely.
If you see any evidence of residual moisture in that time frame - apple slices sticking to each other (more than will break up with a shake of the bag), droplets on the bag, etc - return the apple slices to the dehydrator and let them dry a bit more.
If at any point you see any evidence of mold, throw the batch out.
Once you’re sure the apples are dry and moisture isn’t coming out, transfer them to an airtight container for longer term storage.
More Camping Recipes
Looking for great ideas to cook on a campfire, or in an RV? Here's a few simple recipes to start with!
Banana Protein Pancakes
Cabbage Roll Soup Mix [Just Add Meat and Water!]
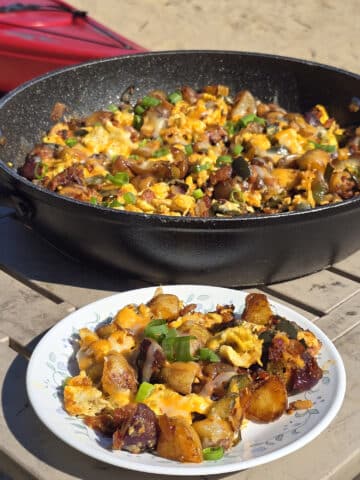
Camping Breakfast Skillet
Camping Tacos, 2 Ways
Dutch Oven Pulled Chicken
Egg Roll Soup Mix [Just Add Meat and Water!]
Hobo Eggs
Homemade Mushroom Jerky
Hot Chocolate Mix [Protein Powder Mix]
Instant Camping Pancake Mix
Instant Cream of Chicken Soup [Protein Powder Mix]
Italian Wedding Soup Mix
No Bake Cornflake Cookies
Peanut Butter No Bake Cookies
Pepperoni Jerky
S'Mores Board
Traditional Bannock
Vegan Tofu Jerky

Maple Cinnamon Apple Chips
Equipment
- Apple Peeler, Optional
- Apple Corer, Optional
- Mandoline Slicer, Optional
- Food Dehydrator
Ingredients
- 3 lbs Apples of choice Any stickers removed.
- ¼ cup Maple Syrup
- Pinch Salt
- Ground Cinnamon to taste
Instructions
Prepare the Apples
- Wash your apples, and peel if you like - we don’t bother.
- There are two main ways I recommend slicing your apples - with a mandoline slicer, or with a good sharp knife.
- If you’re using a mandoline, I recommend using apple corer to core your apples, before slicing them.(If you prefer apple rings, I find the mandoline to work best.)
- Personally, I find hand slicing to be the easiest way. I’ll slice apples from one side, JUST until I reach the core, then turn the apple about ⅓ and repeat. Finally, I’ll turn it another ⅓ and repeat one final time.I like doing it this way, as you end up with the most full apple rounds - solid ones.
- Either way, slice your apple into thin slices. I’ll usually aim for about 3/16" thick. Thicker than ⅛", but not ¼". For really crispy apple chips, you can go a bit thinner.
Season the Apple Slices
- Place apple slices in a large mixing bowl, drizzle with a generous amount of maple syrup. You want enough to more or less coat the apple slices - use the ¼ cup as a rough suggestion only!
- Using clean - or gloved hands - gently hand mix the apple slices, flipping and separating them to coat.
- If they’re not quite covered - or you like them on the sweeter side - add a little bit more maple syrup, and toss to coat.
- Sprinkle apple slices with a good pinch of salt, then sprinkle cinnamon over them. I like a generous portion, myself - use as much or as little as you like.
- Again, gently stir, separating the slices and making sure everything is covered with maple syrup and cinnamon.
- Taste, and add more maple syrup, cinnamon, and/or salt, if you like.
Dehydrate your Apple Chips
- Arrange apple slices in a single layer on your dehydrator racks, being sure to leave some space between each - you want the air to be able to circulate.
- Dehydrate at 135 degrees F for about 6 hours.
- I like to flip mine after about 2-3 hours, just to help prevent sticking in the end.
- Once your apple slices are as dry as you’d like them, remove from the dehydrator and let them cool - on the wire rack - to room temperature.
Condition your Apple Chips
- Once cooled completely, transfer your apple slices to a resealable plastic bag. Keep an eye on them for the next 3 days or so, shaking the bag once or twice a day. (This is to allow any moisture to redistribute itself, safely.)
- If you see any evidence of residual moisture in that time frame - apple slices sticking to each other (more than will break up with a shake of the bag), droplets on the bag, etc - return the apple slices to the dehydrator and let them dry a bit more.If at any point you see any evidence of mold, throw the batch out.
- Once you’re sure the apples are dry and moisture isn’t coming out, transfer them to an airtight container for longer term storage.
Notes
Nutrition
Thanks for Reading!If you loved this post - or have any questions about it - please leave a comment below! We'd also love it if you would consider sharing the link on social media! |


Marie & Michael Porter
This is one of my favourite trail snacks to make up before a camping trip - hope you love them too!