
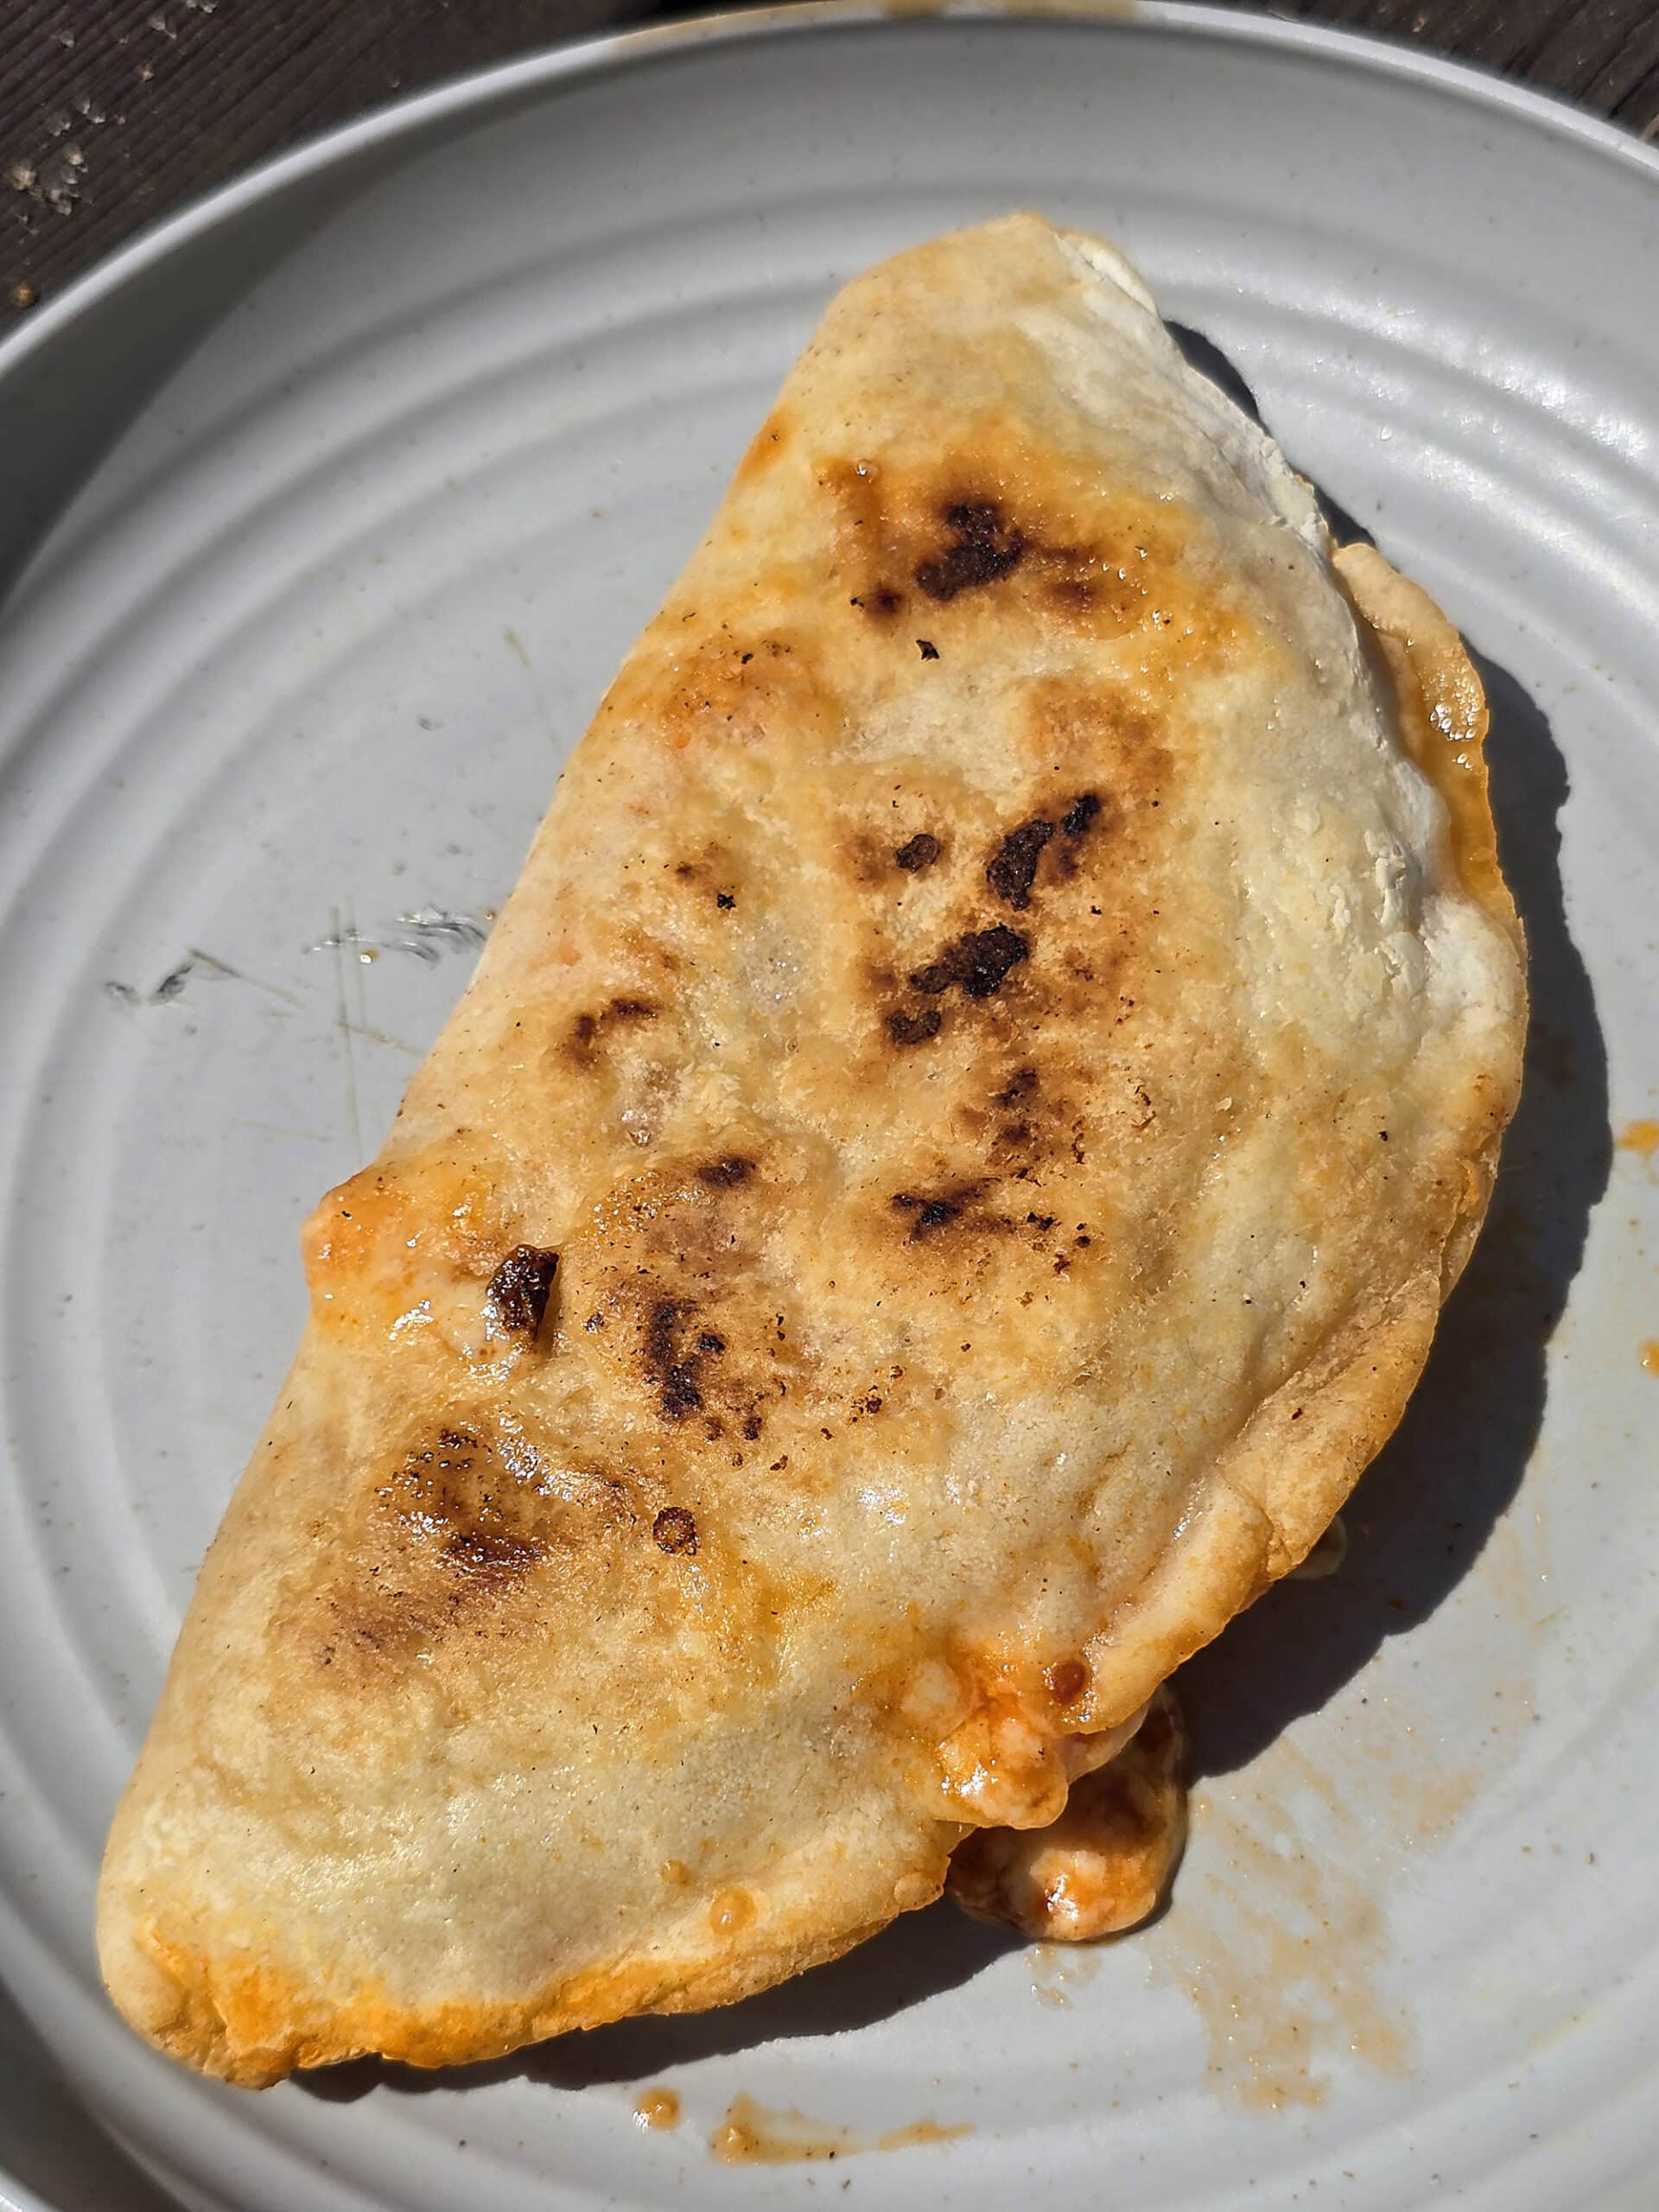
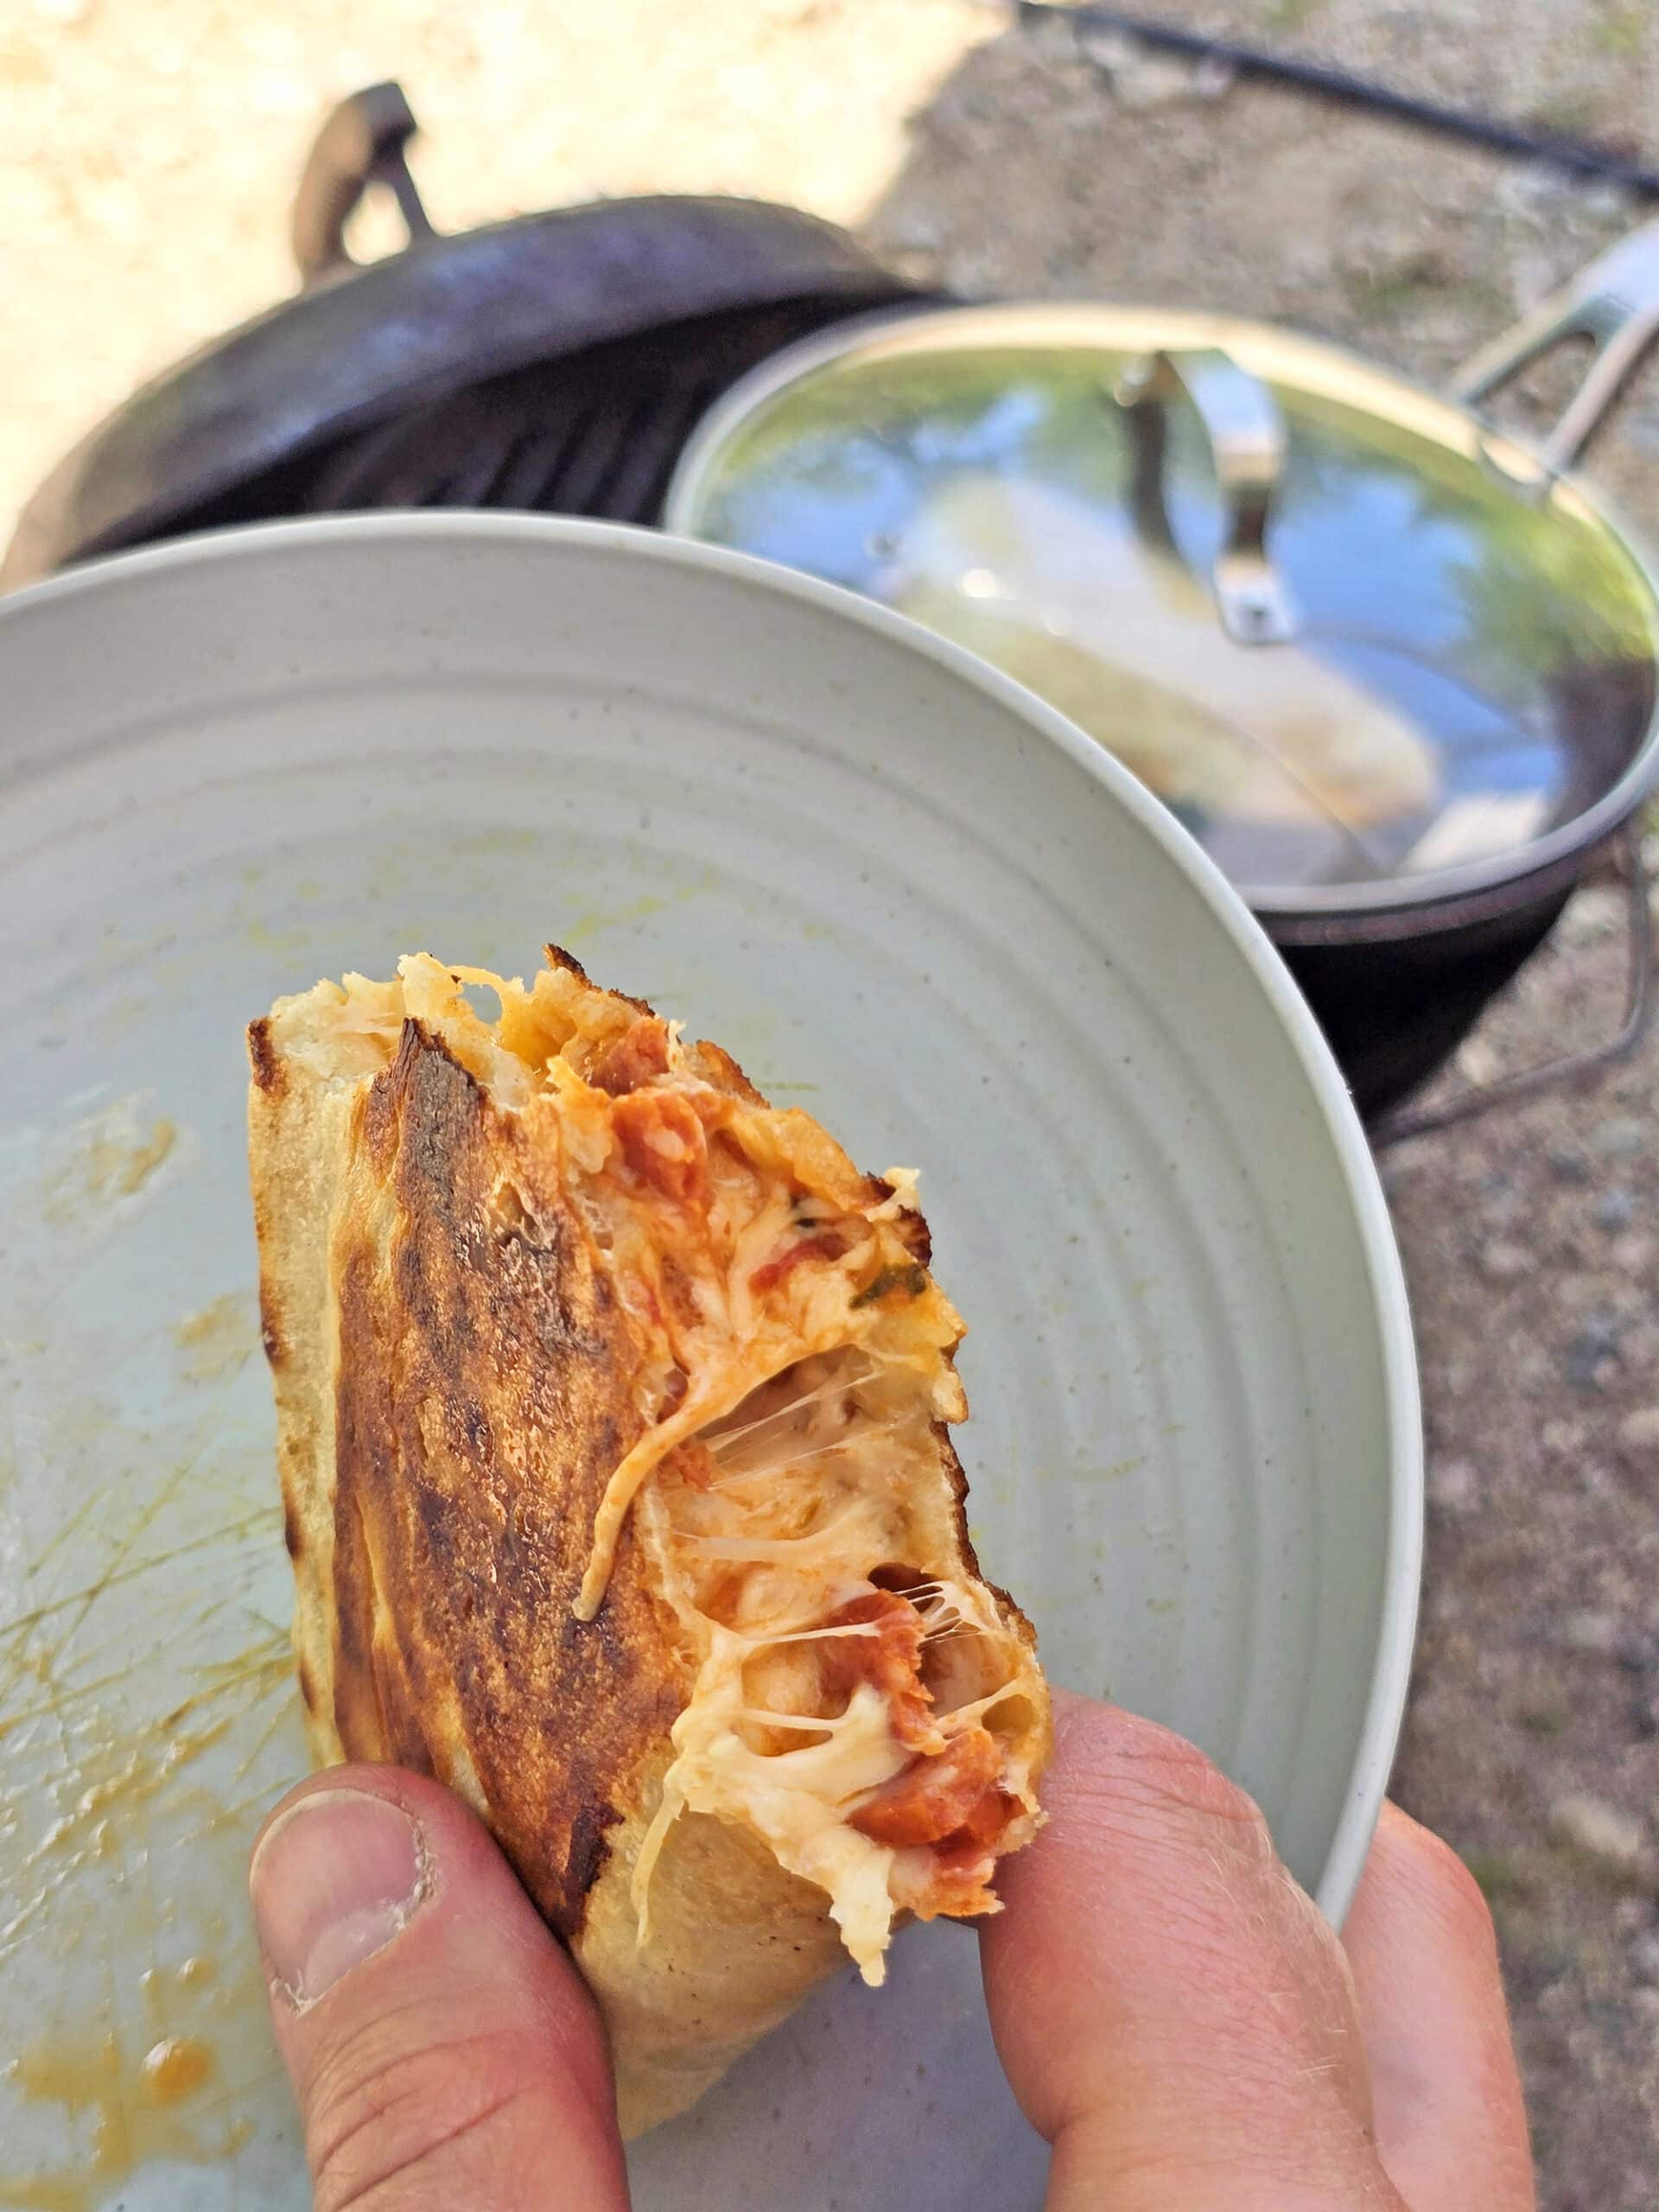
Campfire Calzones are one of our absolute favourite camping dinners. Super easy to make, very customizable, hearty, and TASTY!

It’s a roadtrip-friendly version of my favorite pizza dough, an easy recipe that tastes WAY better than store-bought pizza dough.
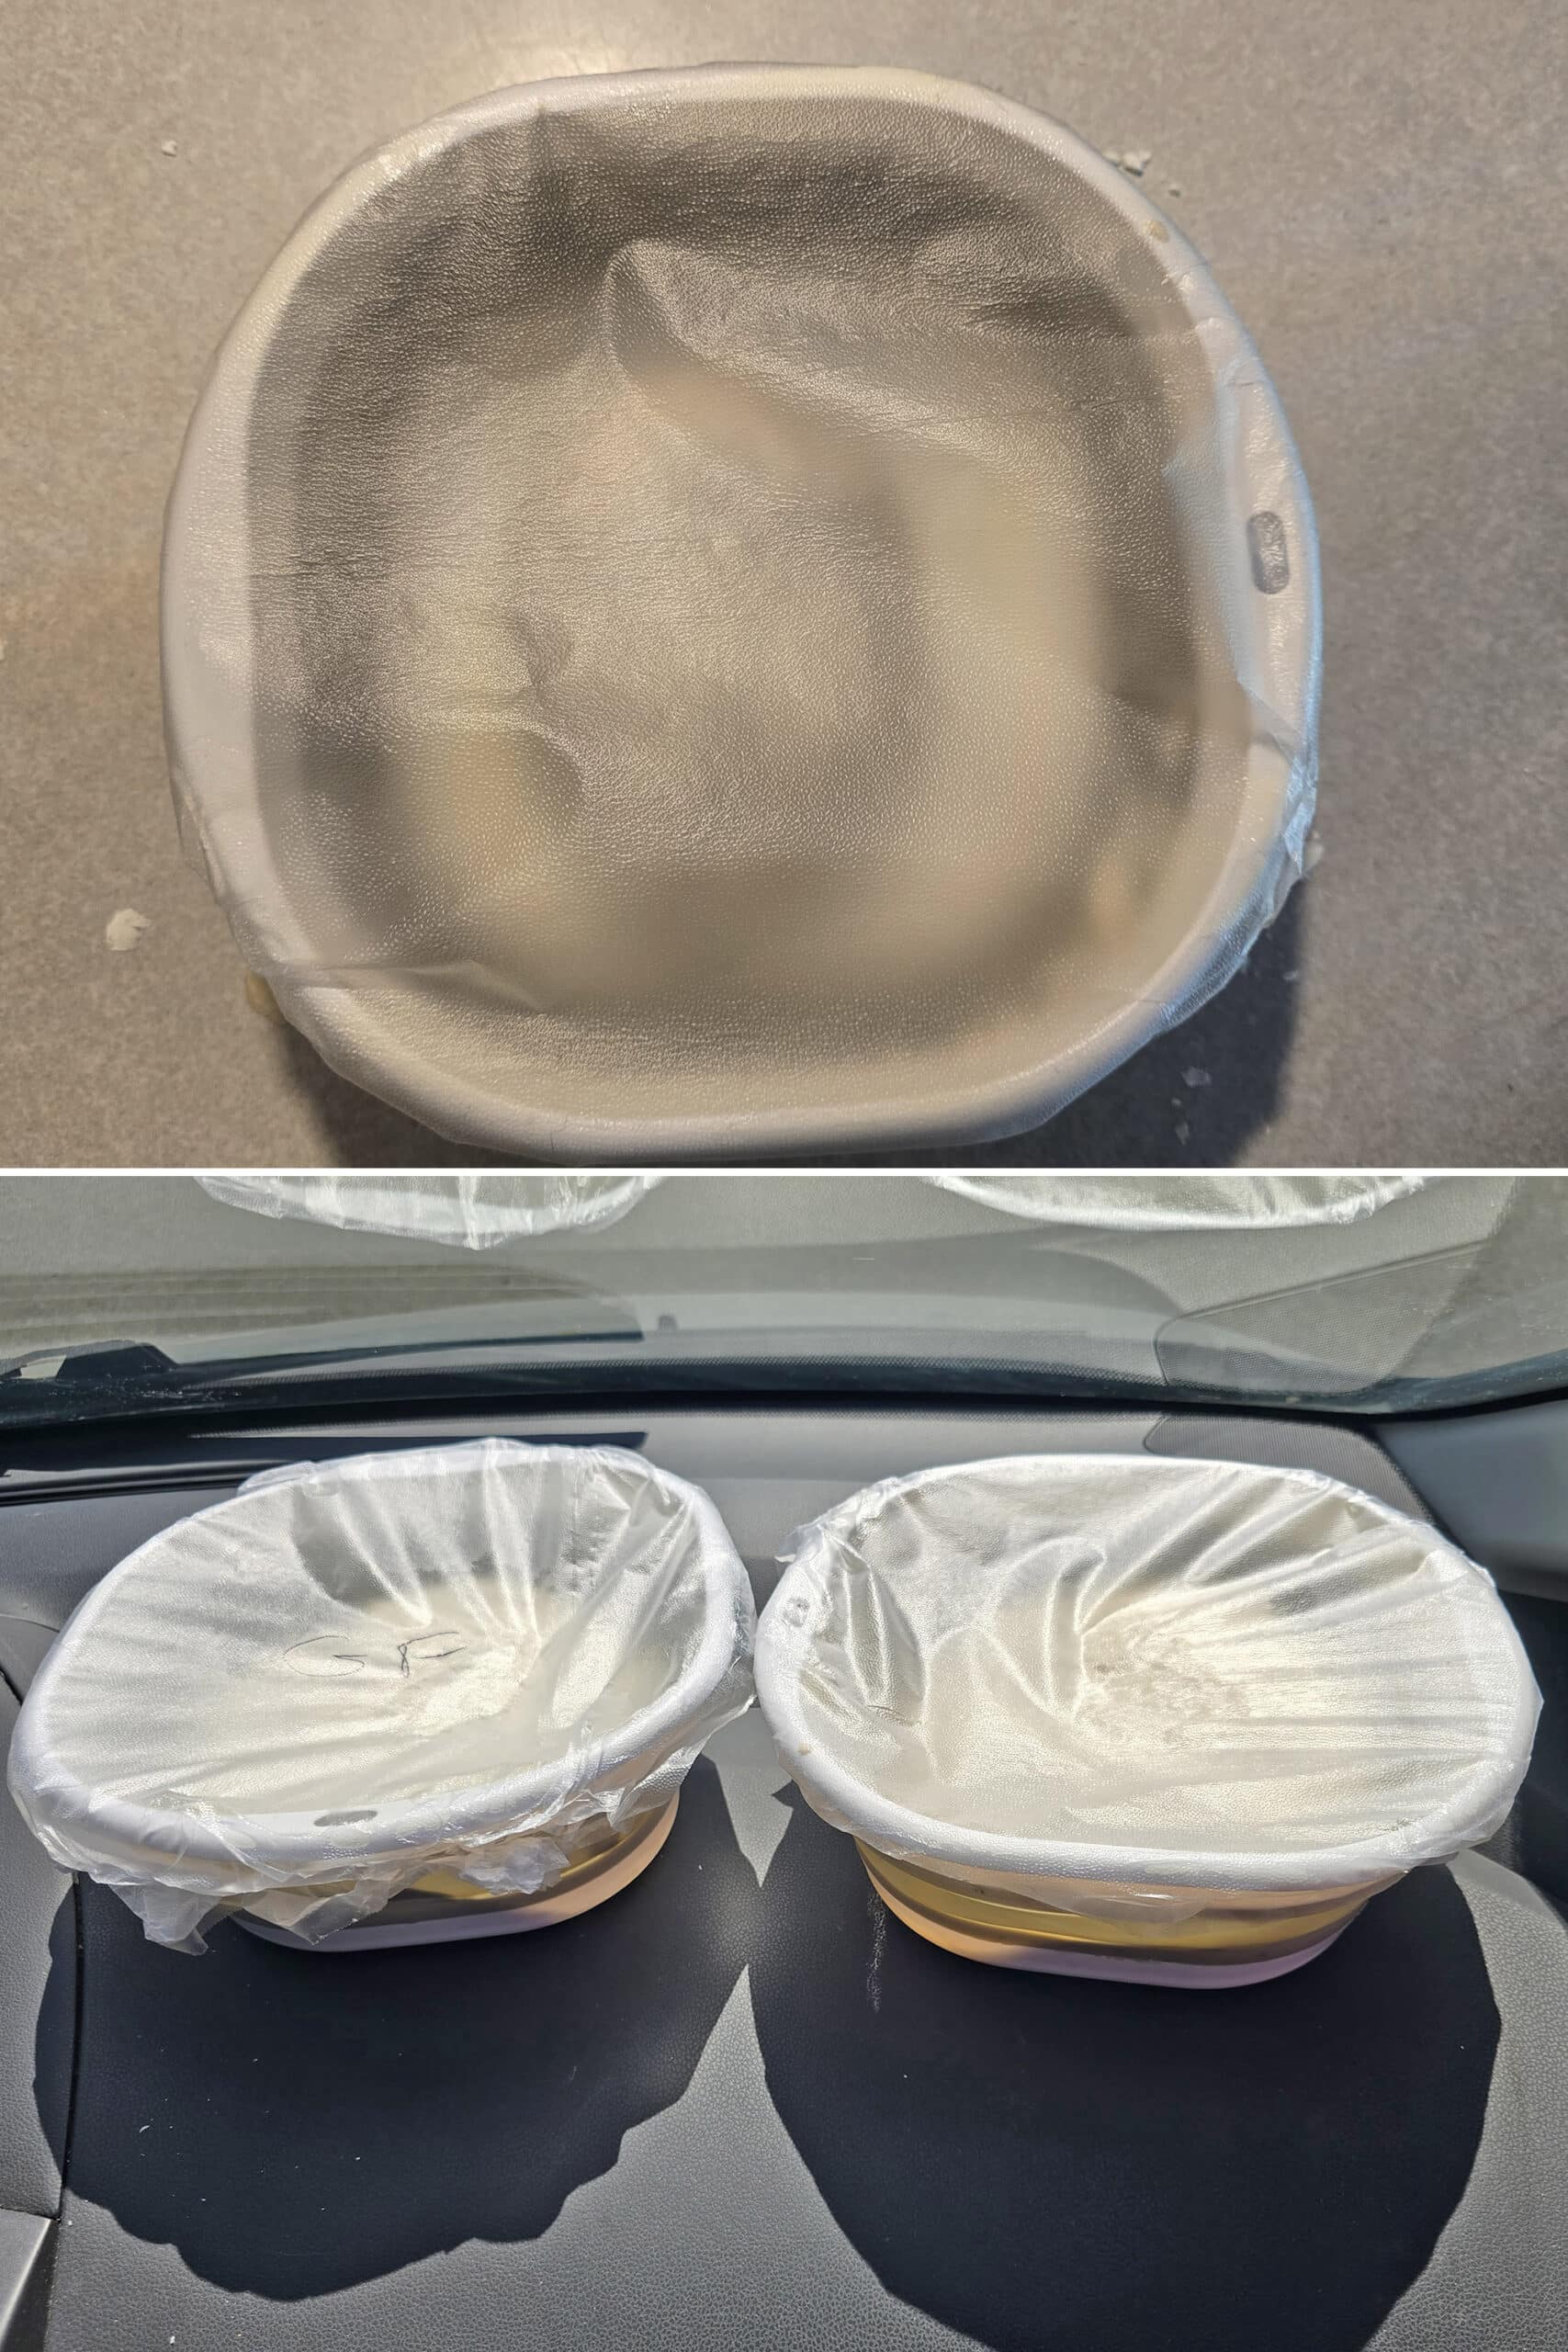
Plus, it’s fun to make my own pizza dough when camping - there’s something hilarious about turning our car into a proofing oven!
Anyway, one day, I decided to use a batch of that dough for homemade calzones ... and it quickly became our go-to use for that dough!
Traditional calzones are basically just a savory Italian turnover - kind of like a panzerotti, with the main difference being that panzerotti is essentially a small calzone that’s been deep fried, while calzones are generally larger and baked.
Obviously, actual baked calzones isn’t something that’s going to happen on a campsite, so this easy calzone recipe takes sort of a hybrid approach.
It’s a fun twist on campfire pizzas, but still one that the whole family will love.
Everyone can make their calzones to their personal preference in terms of type/amount of sauce, cheese, and favorite toppings, then cook up to gooey perfection.
It’s a delicious dinner, fresh off the fire... but also a fun lunch as leftovers.
We’ll usually make a few extra, and reheat them for drive day lunches on the road. Great stuff!
Anyway, let’s look at what you’ll need for this recipe:
Ingredients
This delicious homemade calzone recipe uses really simple ingredients - you won’t have any trouble finding everything you need in any grocery store.
As always, I have a few ingredient notes for you:
All Purpose Flour
This recipe was developed using all-purpose flour. Bread flour will work, and you can swap out up to ⅓ of the flour for whole wheat flour, if you like.
That’s about it as far I’d recommend the substitutions go, though.
Cake/pastry flour doesn’t have enough gluten, and “all-purpose” gluten free flours are definitely not going to work without some tweaking of the liquid amount and technique.
If you’re looking for a gluten free campfire pizza, use my Gluten Free Pizza Crust Mix. Follow the directions in that post for making the dough, then the cooking technique in this post.
One thing to note: The gluten free version doesn’t quite have the same degree of golden crust that the all-purpose flour pizza dough does. Aside from that, you’d never know it was gluten-free pizza dough.
Either way, you’re getting 6 relatively large calzones from these homemade pizza dough recipes– that taste much better than store-bought dough .
Instant Yeast
Generally speaking, I use active dry yeast in my baking ... but that doesn’t work as well when you’re making a dry mix for future use.
The thing is, active dry yeast needs to be bloomed in water - ideally separate from the flour - to activate the yeast.
When you use instant yeast - also known as quick rise or fast rising yeast - you can skip that step. The grains of yeast are much smaller, and activate much more easily.
That’s exactly what you need when making a homemade pizza mix. With instant yeast, you just add the warm water and oil to the mix, and form the dough.
Shredded Cheese
9 times out of 10, we’re using shredded mozzarella cheese in this recipe, but don’t let that stop you from using different cheeses.
There’s a “Quattron Fromaggi” mix that we’ll get - love it - and sometimes we’ll toss in some Parmesan cheese.
If you’re doing an all cheese calzone, you’ll probably want to be a bit more discerning about your choice of cheese, but really... no need to over think it!
Pizza Sauce
We’ll generally keep a jar of premade tomato sauce in the fridge for a spontaneous pizza night - usually just a basic marinara sauce.
Have some fun with different sauces, though - Sometimes we’ll make this with BBQ sauce (for a BBQ chicken pizza), my Basil Pesto, and even Alfredo sauce.
Whatever you’d order on a pizza is going to work just fine in this stuffed pizza pocket recipe!
Pizza Toppings
This recipe really is more about the crust and the technique, so I’m not dictating toppings. Really, use your favorite pizza toppings.
I like to have several different options on hand, to let everyone customize their personal calzones.
For meat, I like to use precooked Italian sausage, pepperoni slices, ground beef, Dutch Oven Pulled Chicken, even Back Bacon (“Canadian Bacon” to Americans, just... better.)
For veggies, I’ll usually have some finely chopped green bell peppers, red onions and sliced mushrooms (canned and drained, or fresh), and black olives.
Really, just use whatever you like!
Calzone Flavours
Here are some of our favourite calzone variations:
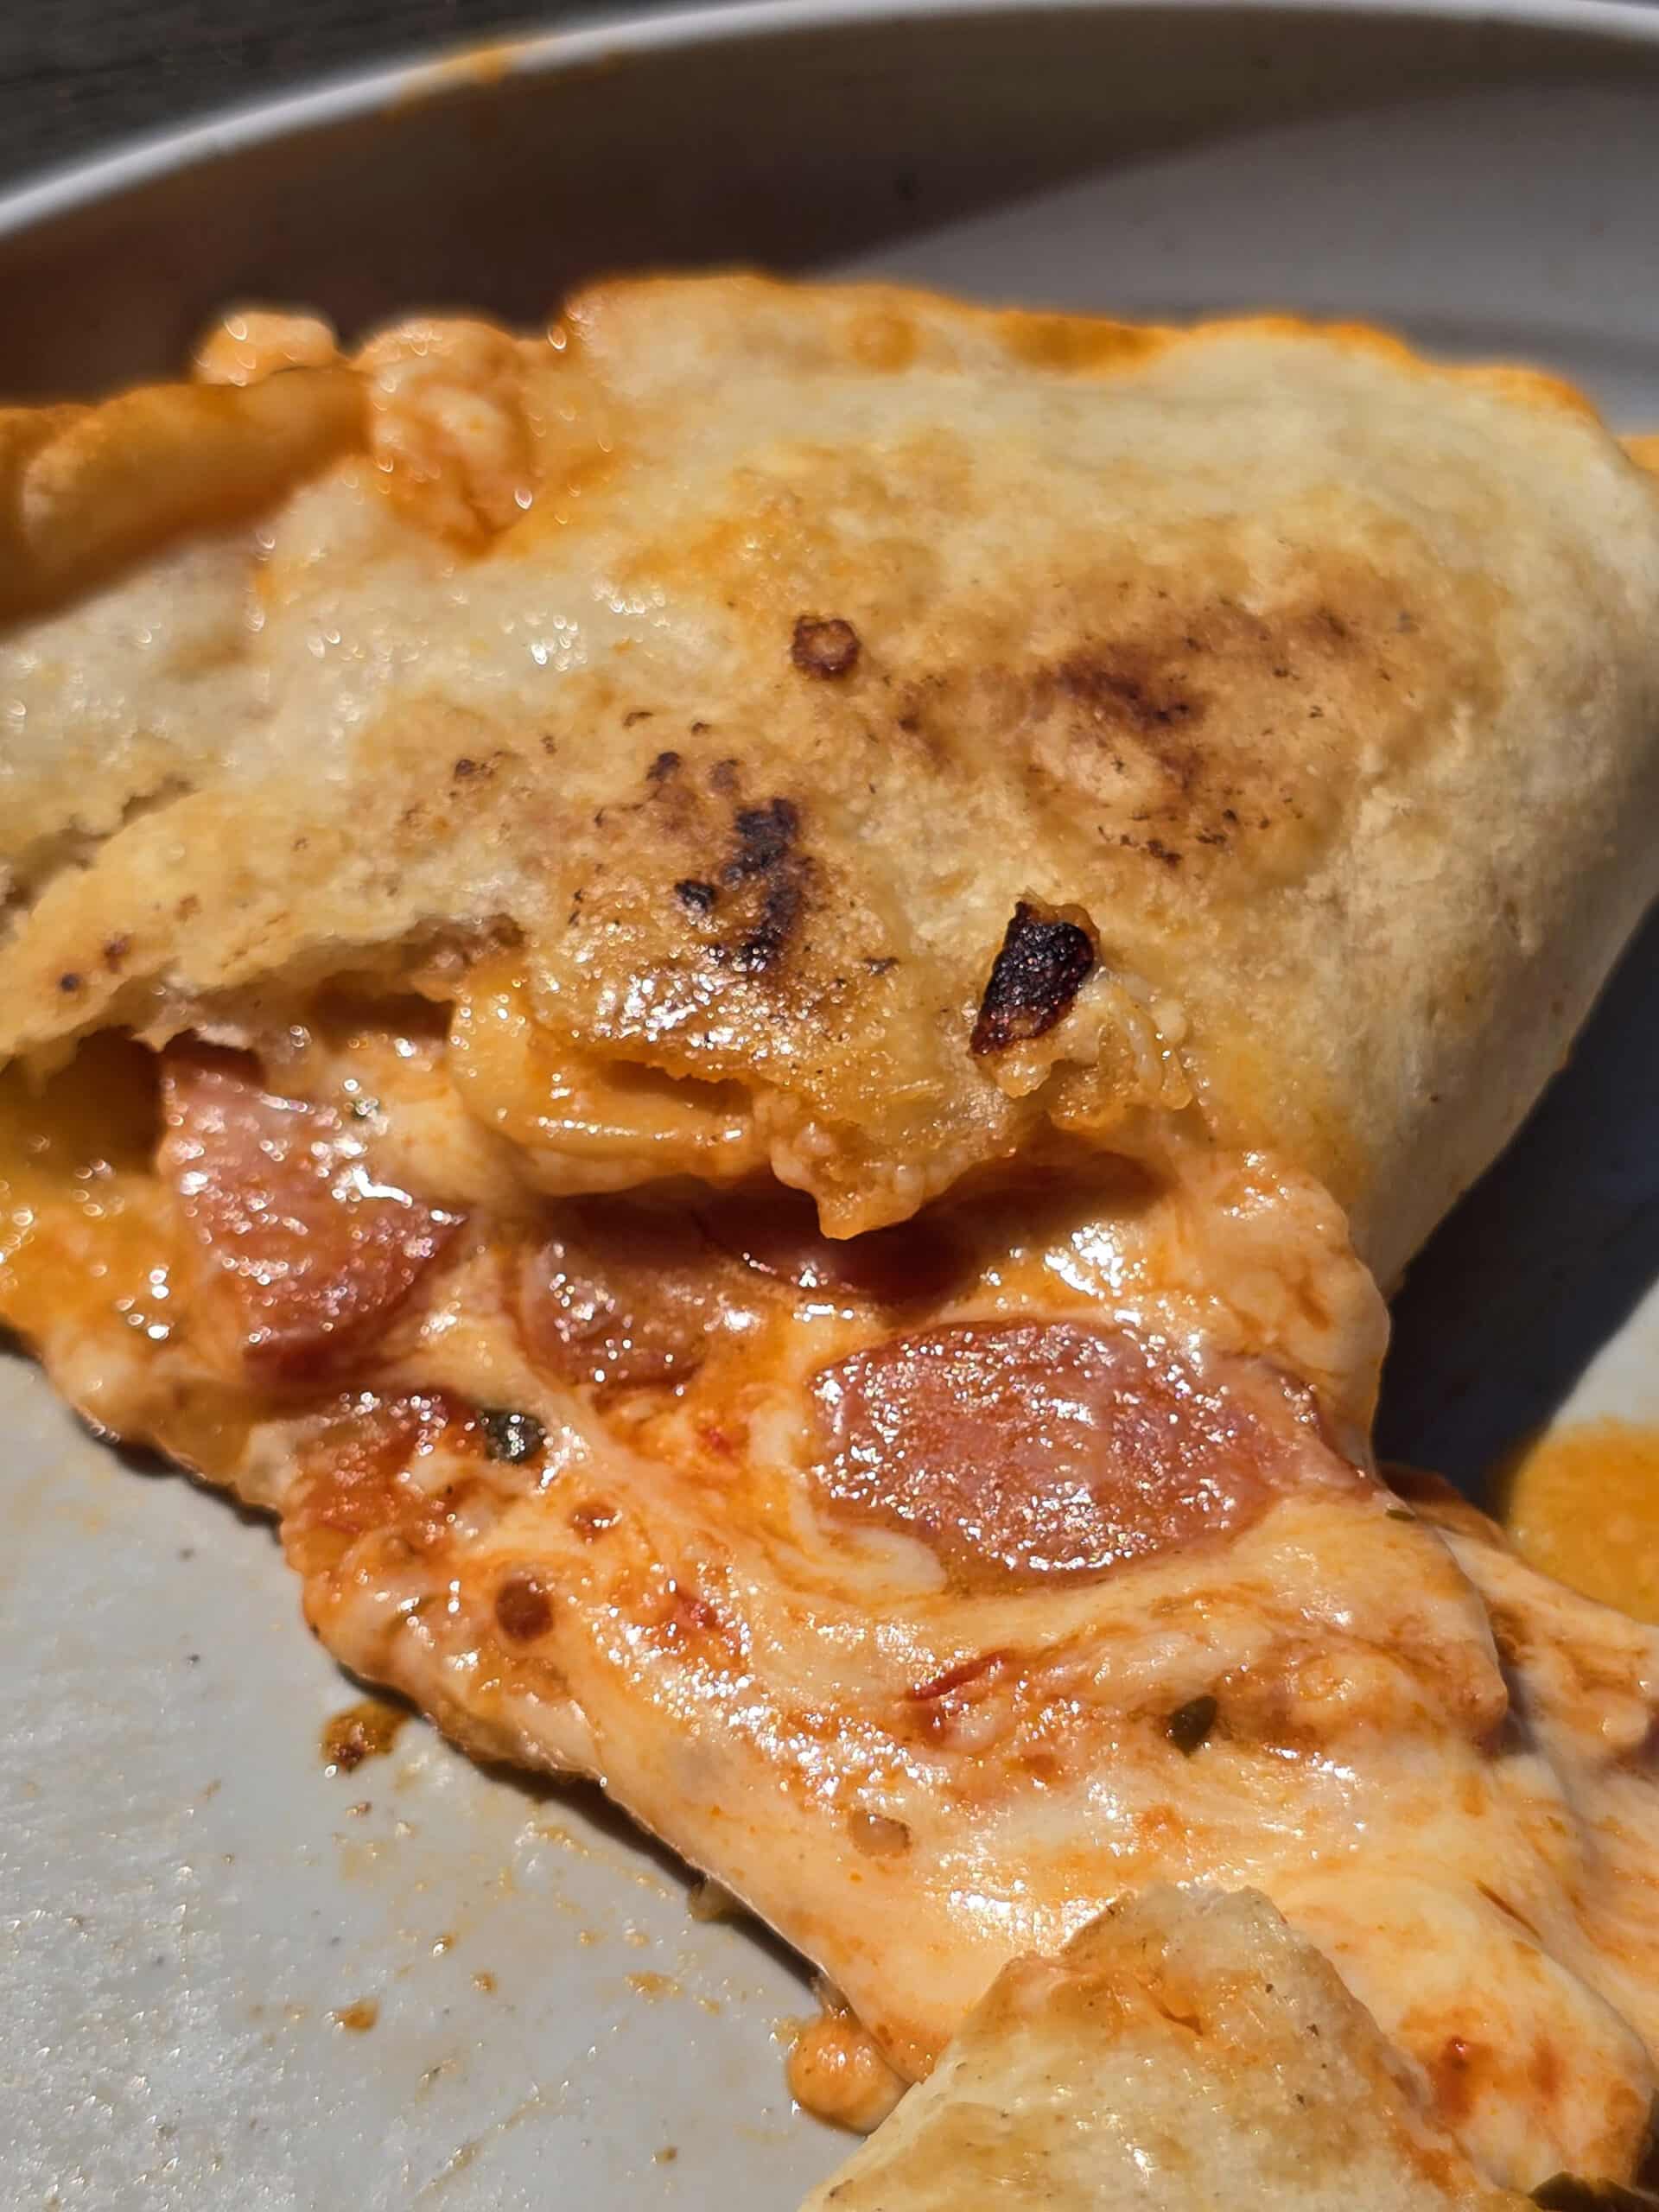
Pizza Calzones: Pizza Sauce, shredded mozzarella, shredded pepperoni, and whatever other pizza toppings we’re in the mood for.
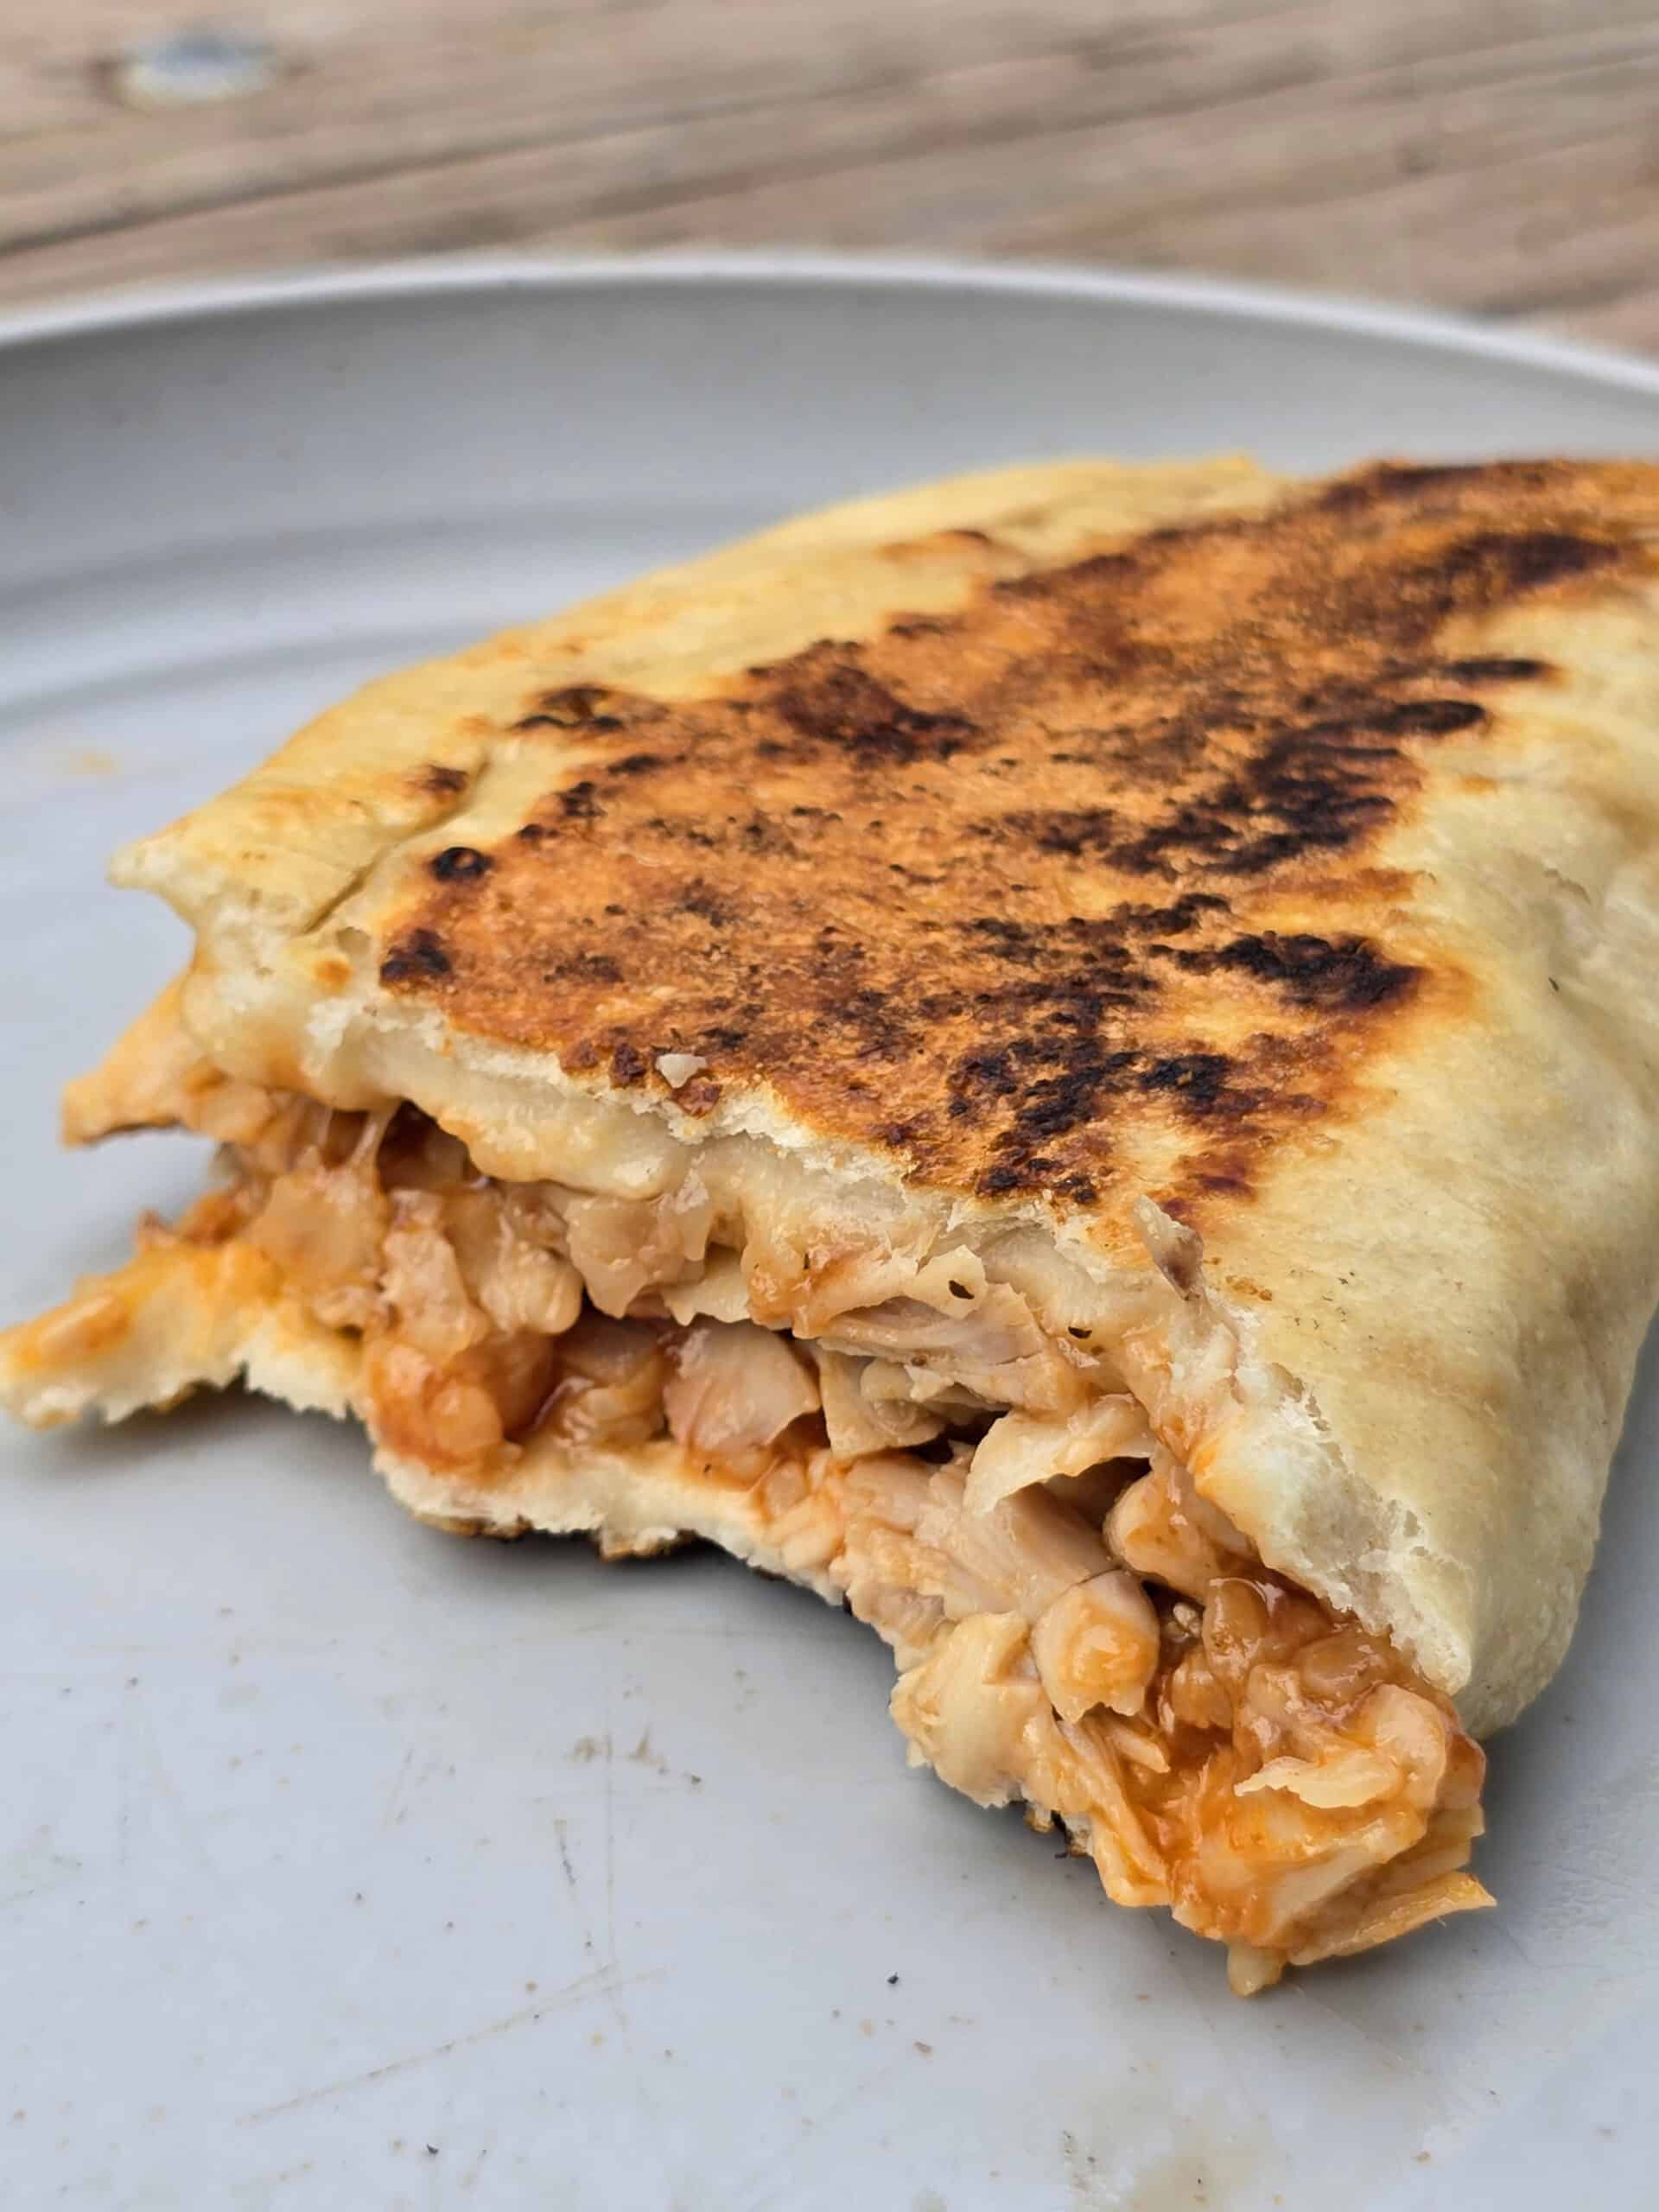
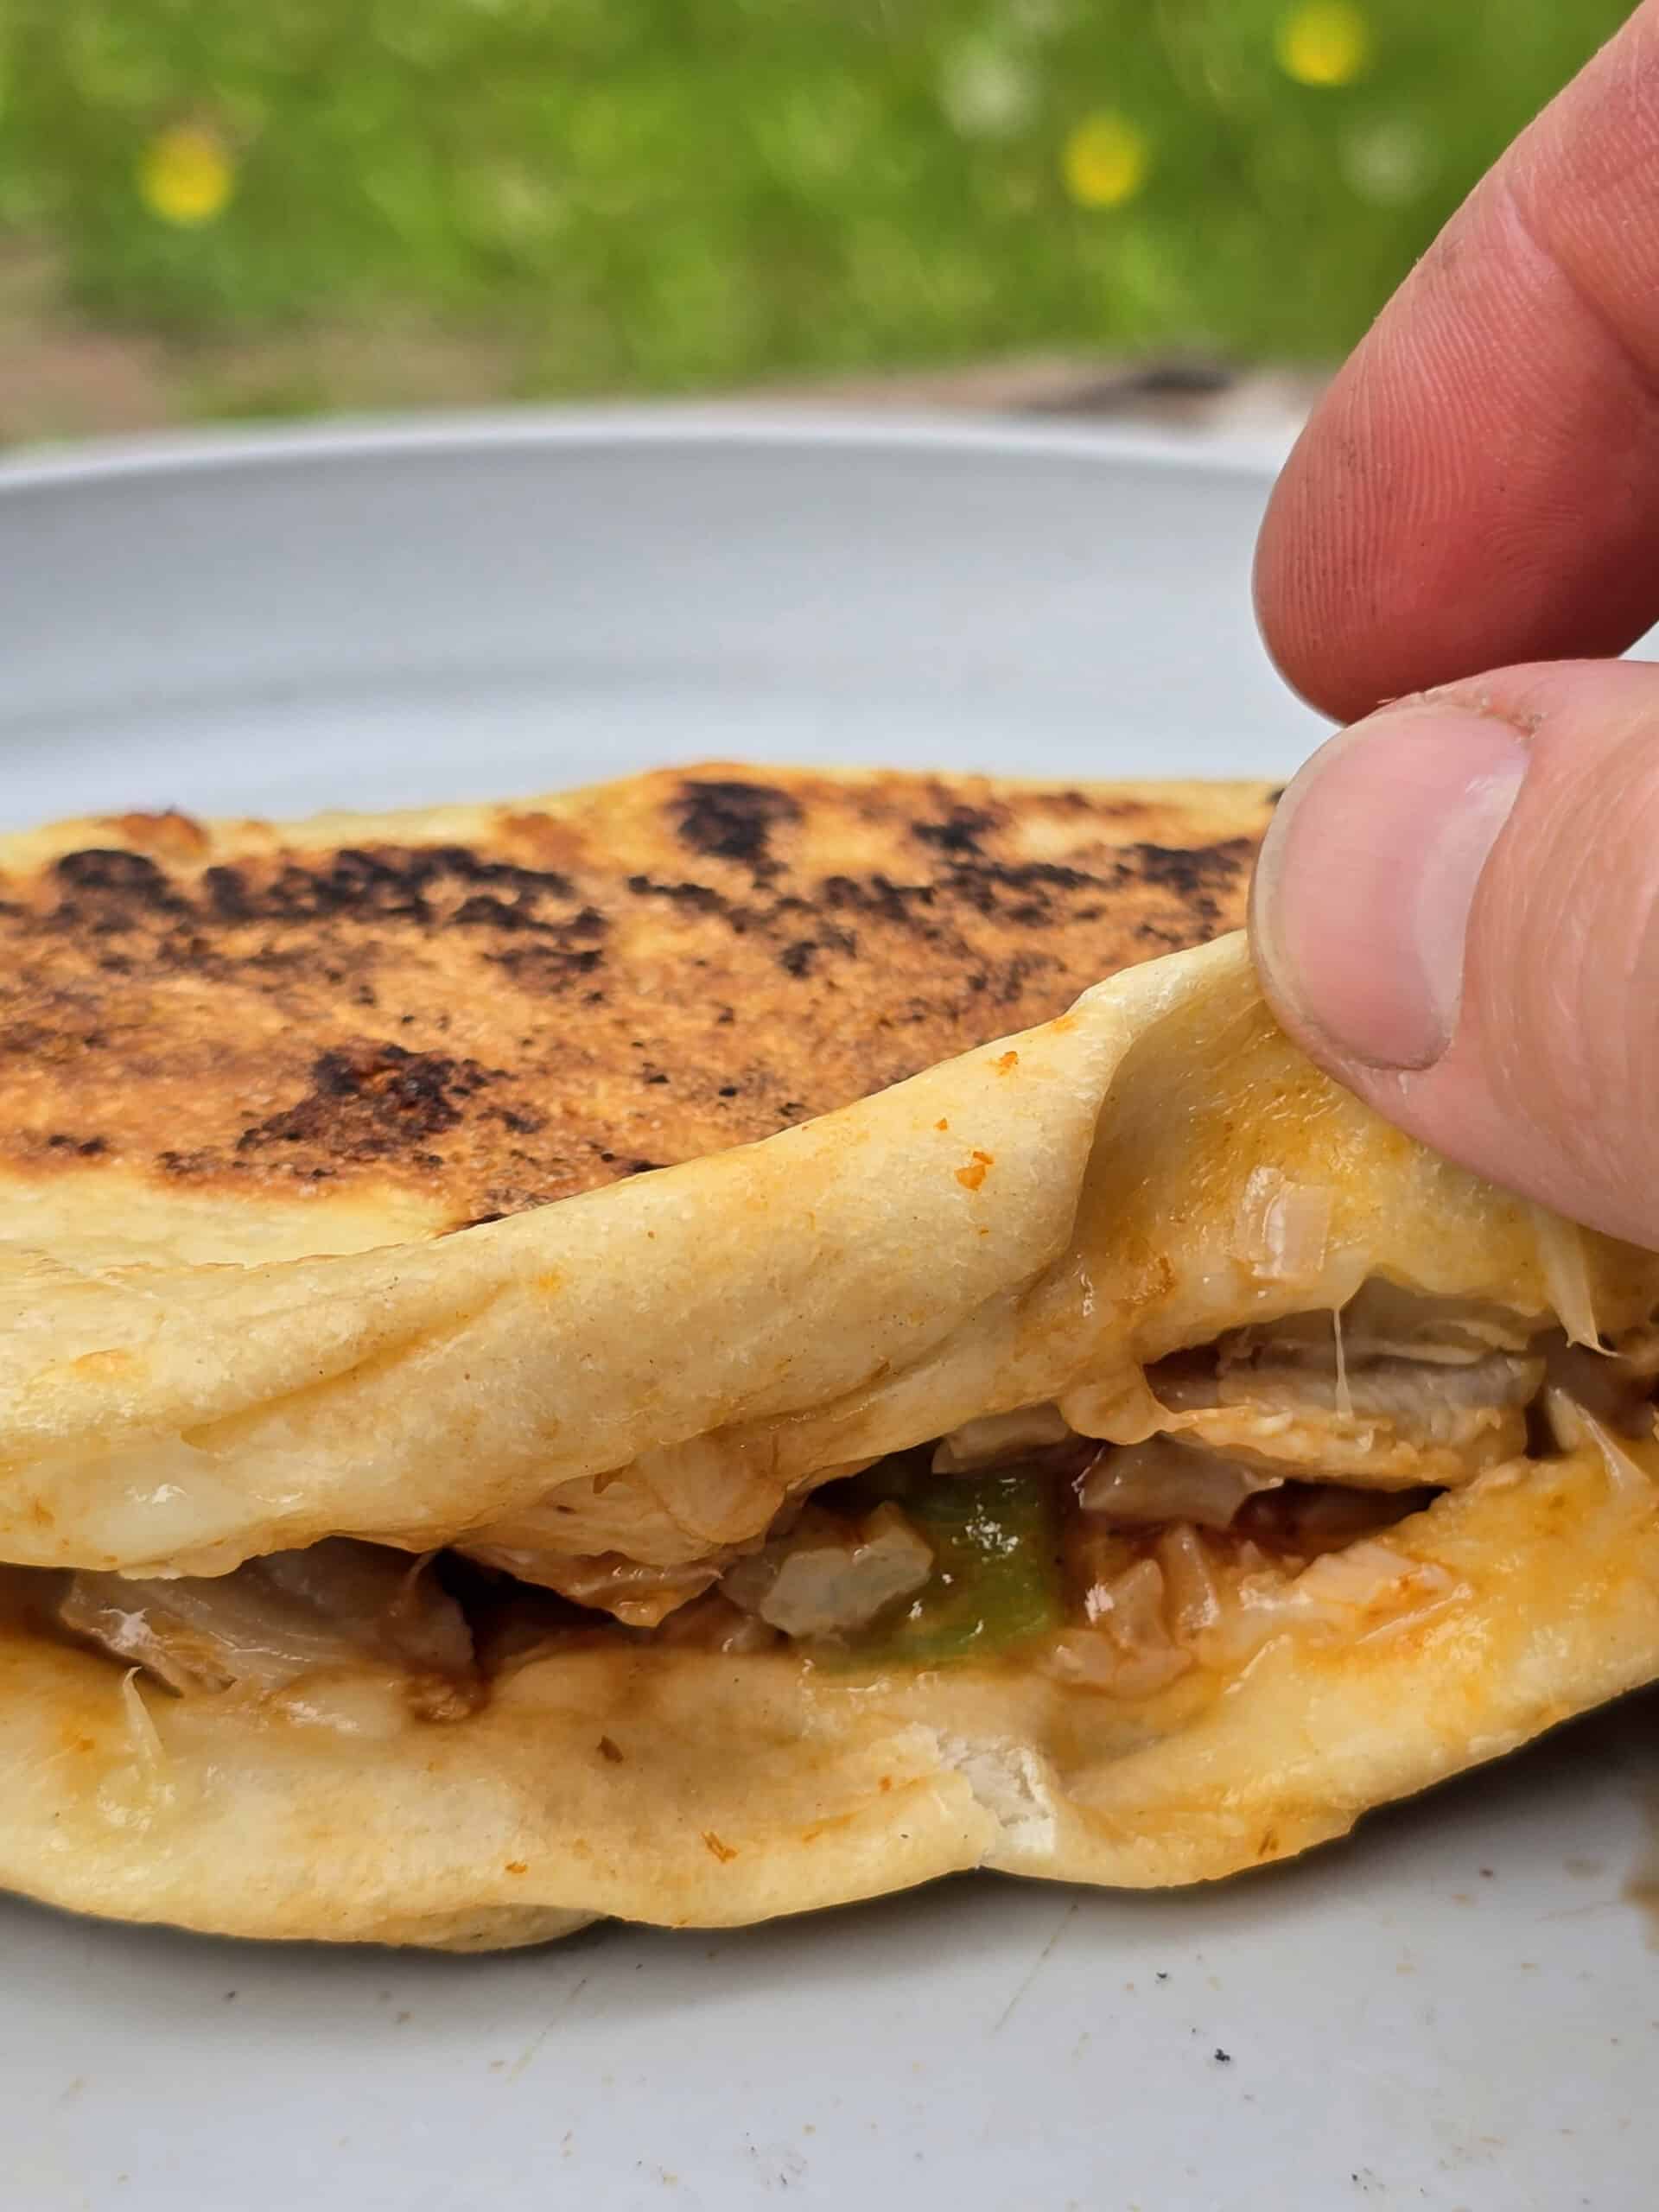
BBQ Chicken Calzones: BBQ sauce, cheddar, smoked cheddar, or Monterey Jack cheese, pulled chicken (or chopped leftover rotisserie chicken), green peppers, red onions.
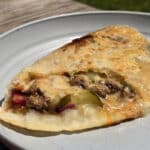
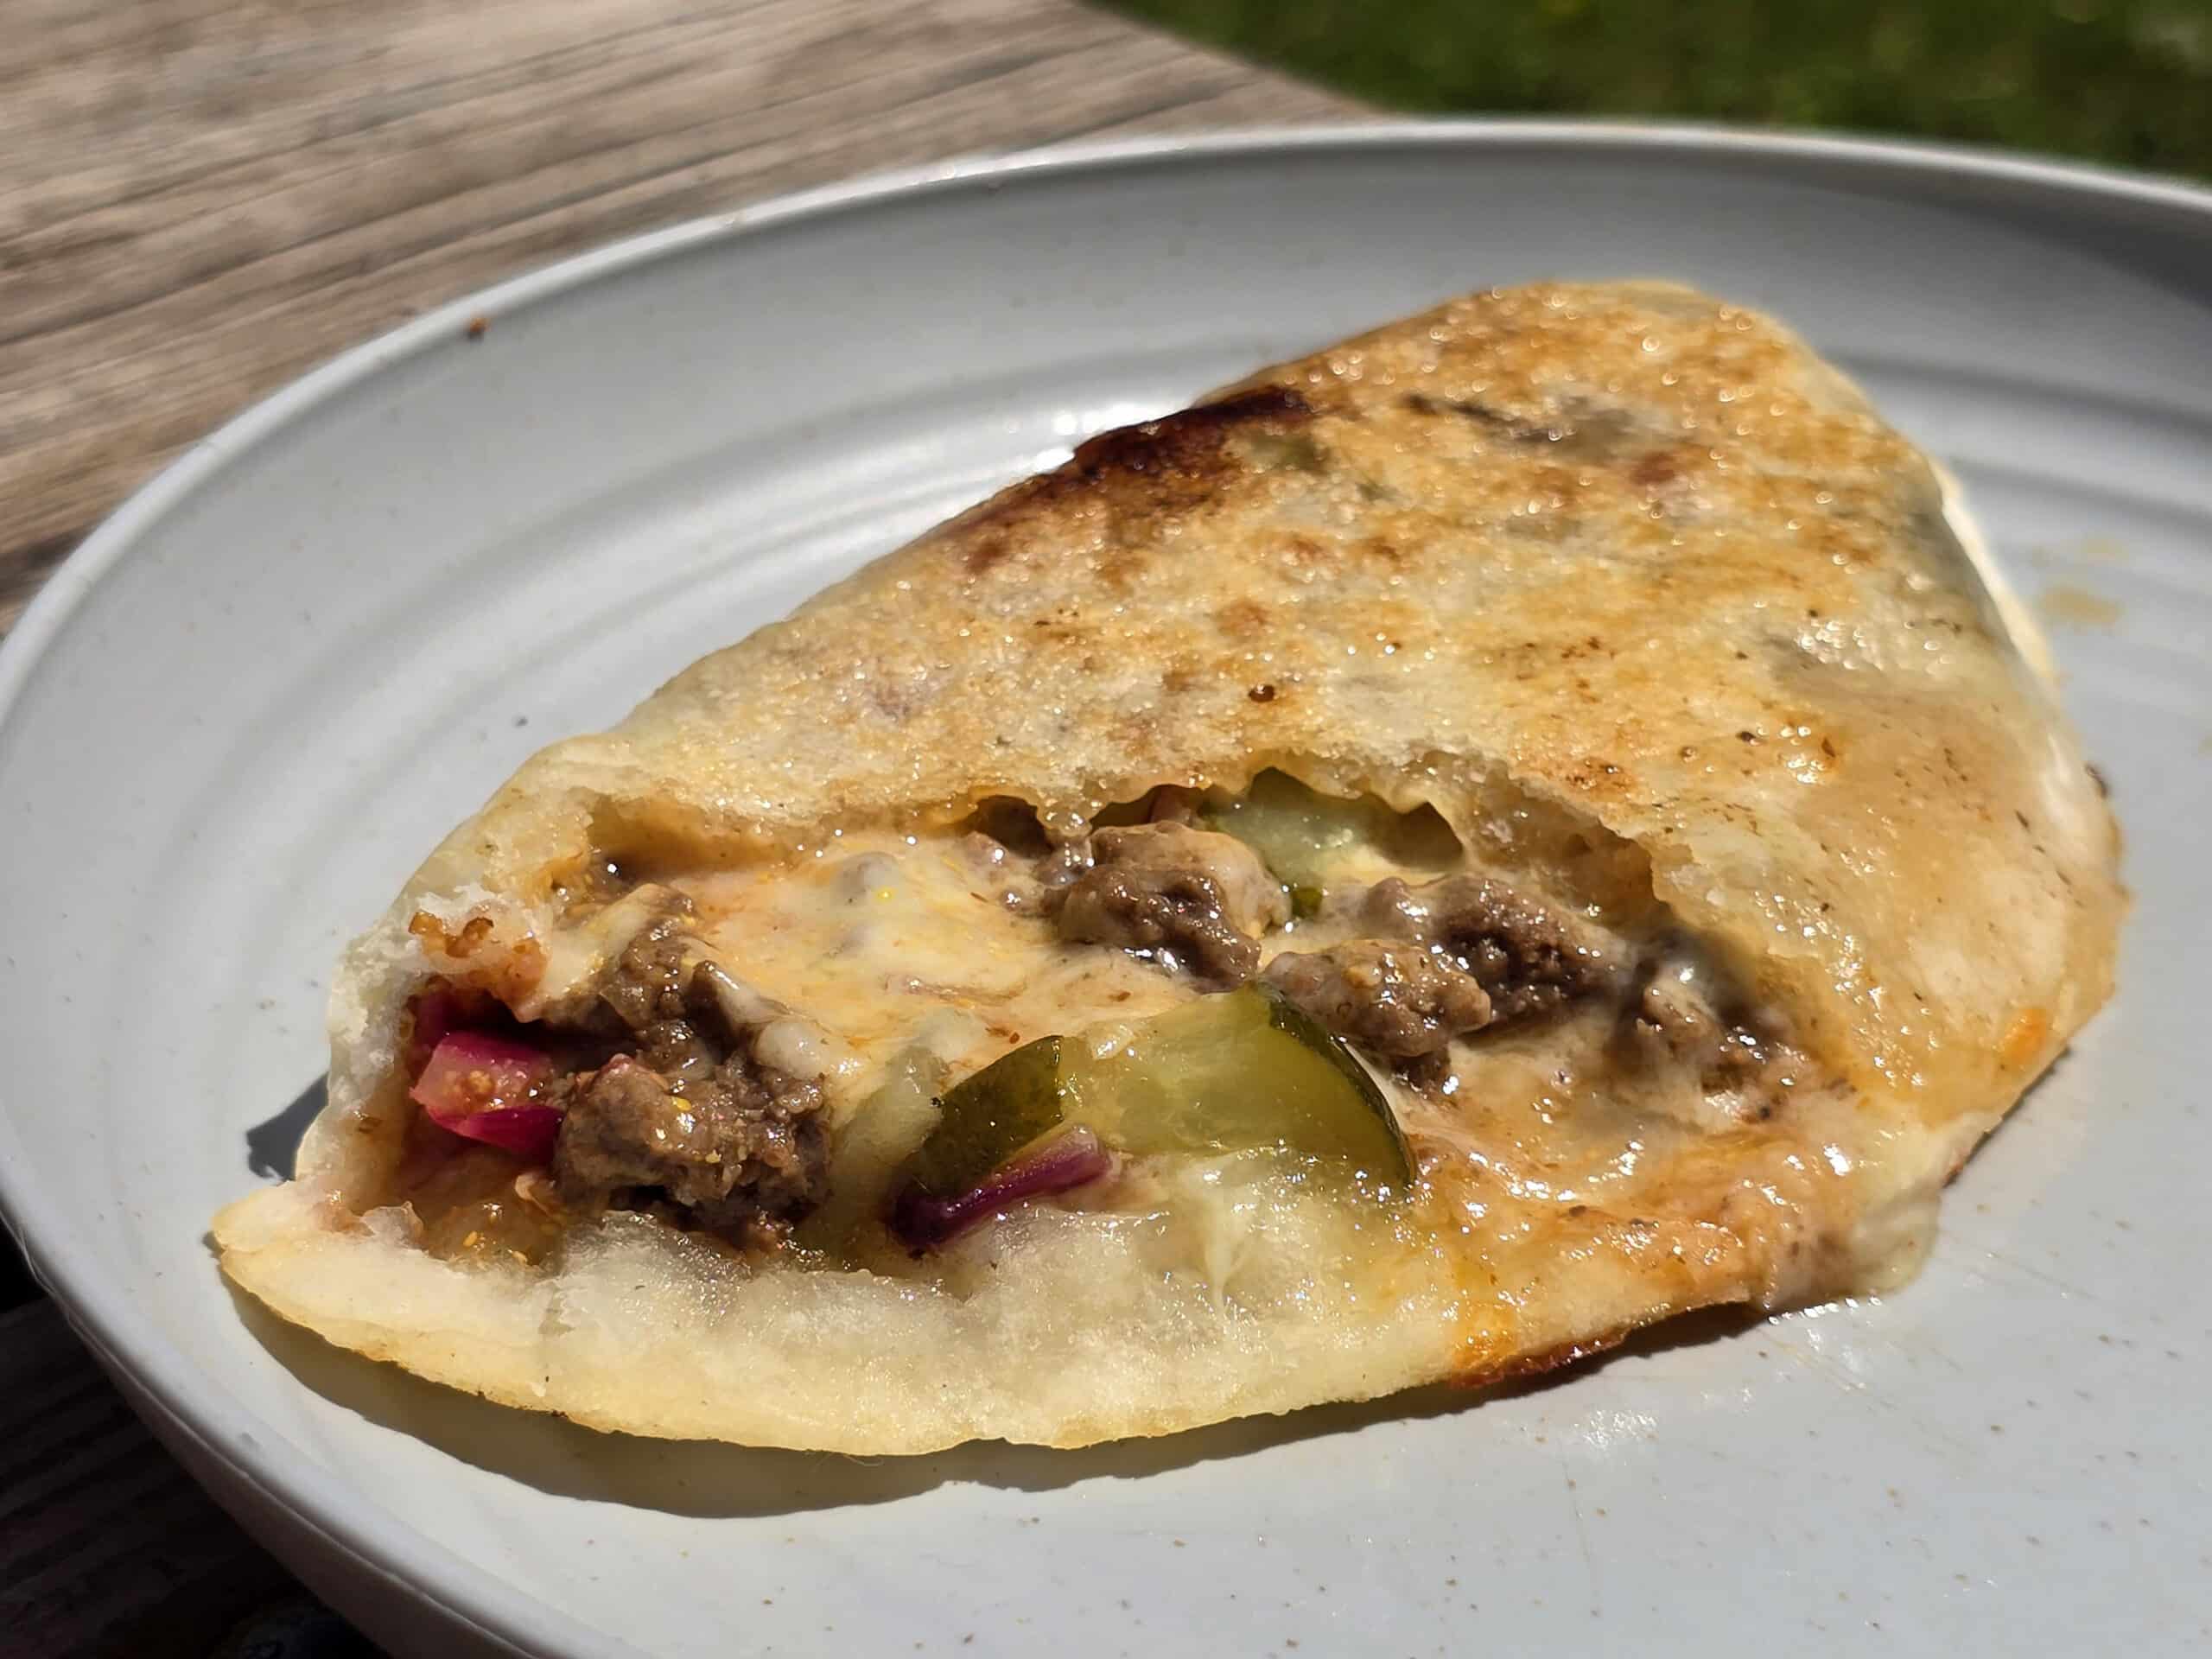
Cheeseburger Calzones: BBQ sauce, mustard, cheddar or smoked cheddar, cooked ground beef, chopped pickles, chopped red onions.
Everything Else
Rounding out this recipe, you will need:
Extra Virgin Olive Oil
Granulated Sugar
Cooking Spray
Salt
... I just don’t have anything to add, as far as these last few ingredients go. Pretty basic stuff!
Share the Love!If you’ve made one of our recipes, be sure to take some pics of your handiwork! If you post it to Bluesky, be sure to tag us - @2NerdsInATruck, or you can tag us on TikTok, if you’re posting video. We're also on Pinterest, so you can save all your favourite recipes and park reviews to your own boards! Also, be sure to subscribe to our free email newsletter, so you never miss out on any of our nonsense. Well, the published nonsense, anyway! |
How to Make Campfire Calzones
The full recipe is in the printable recipe card at the bottom of this post, here is the visual walk through:
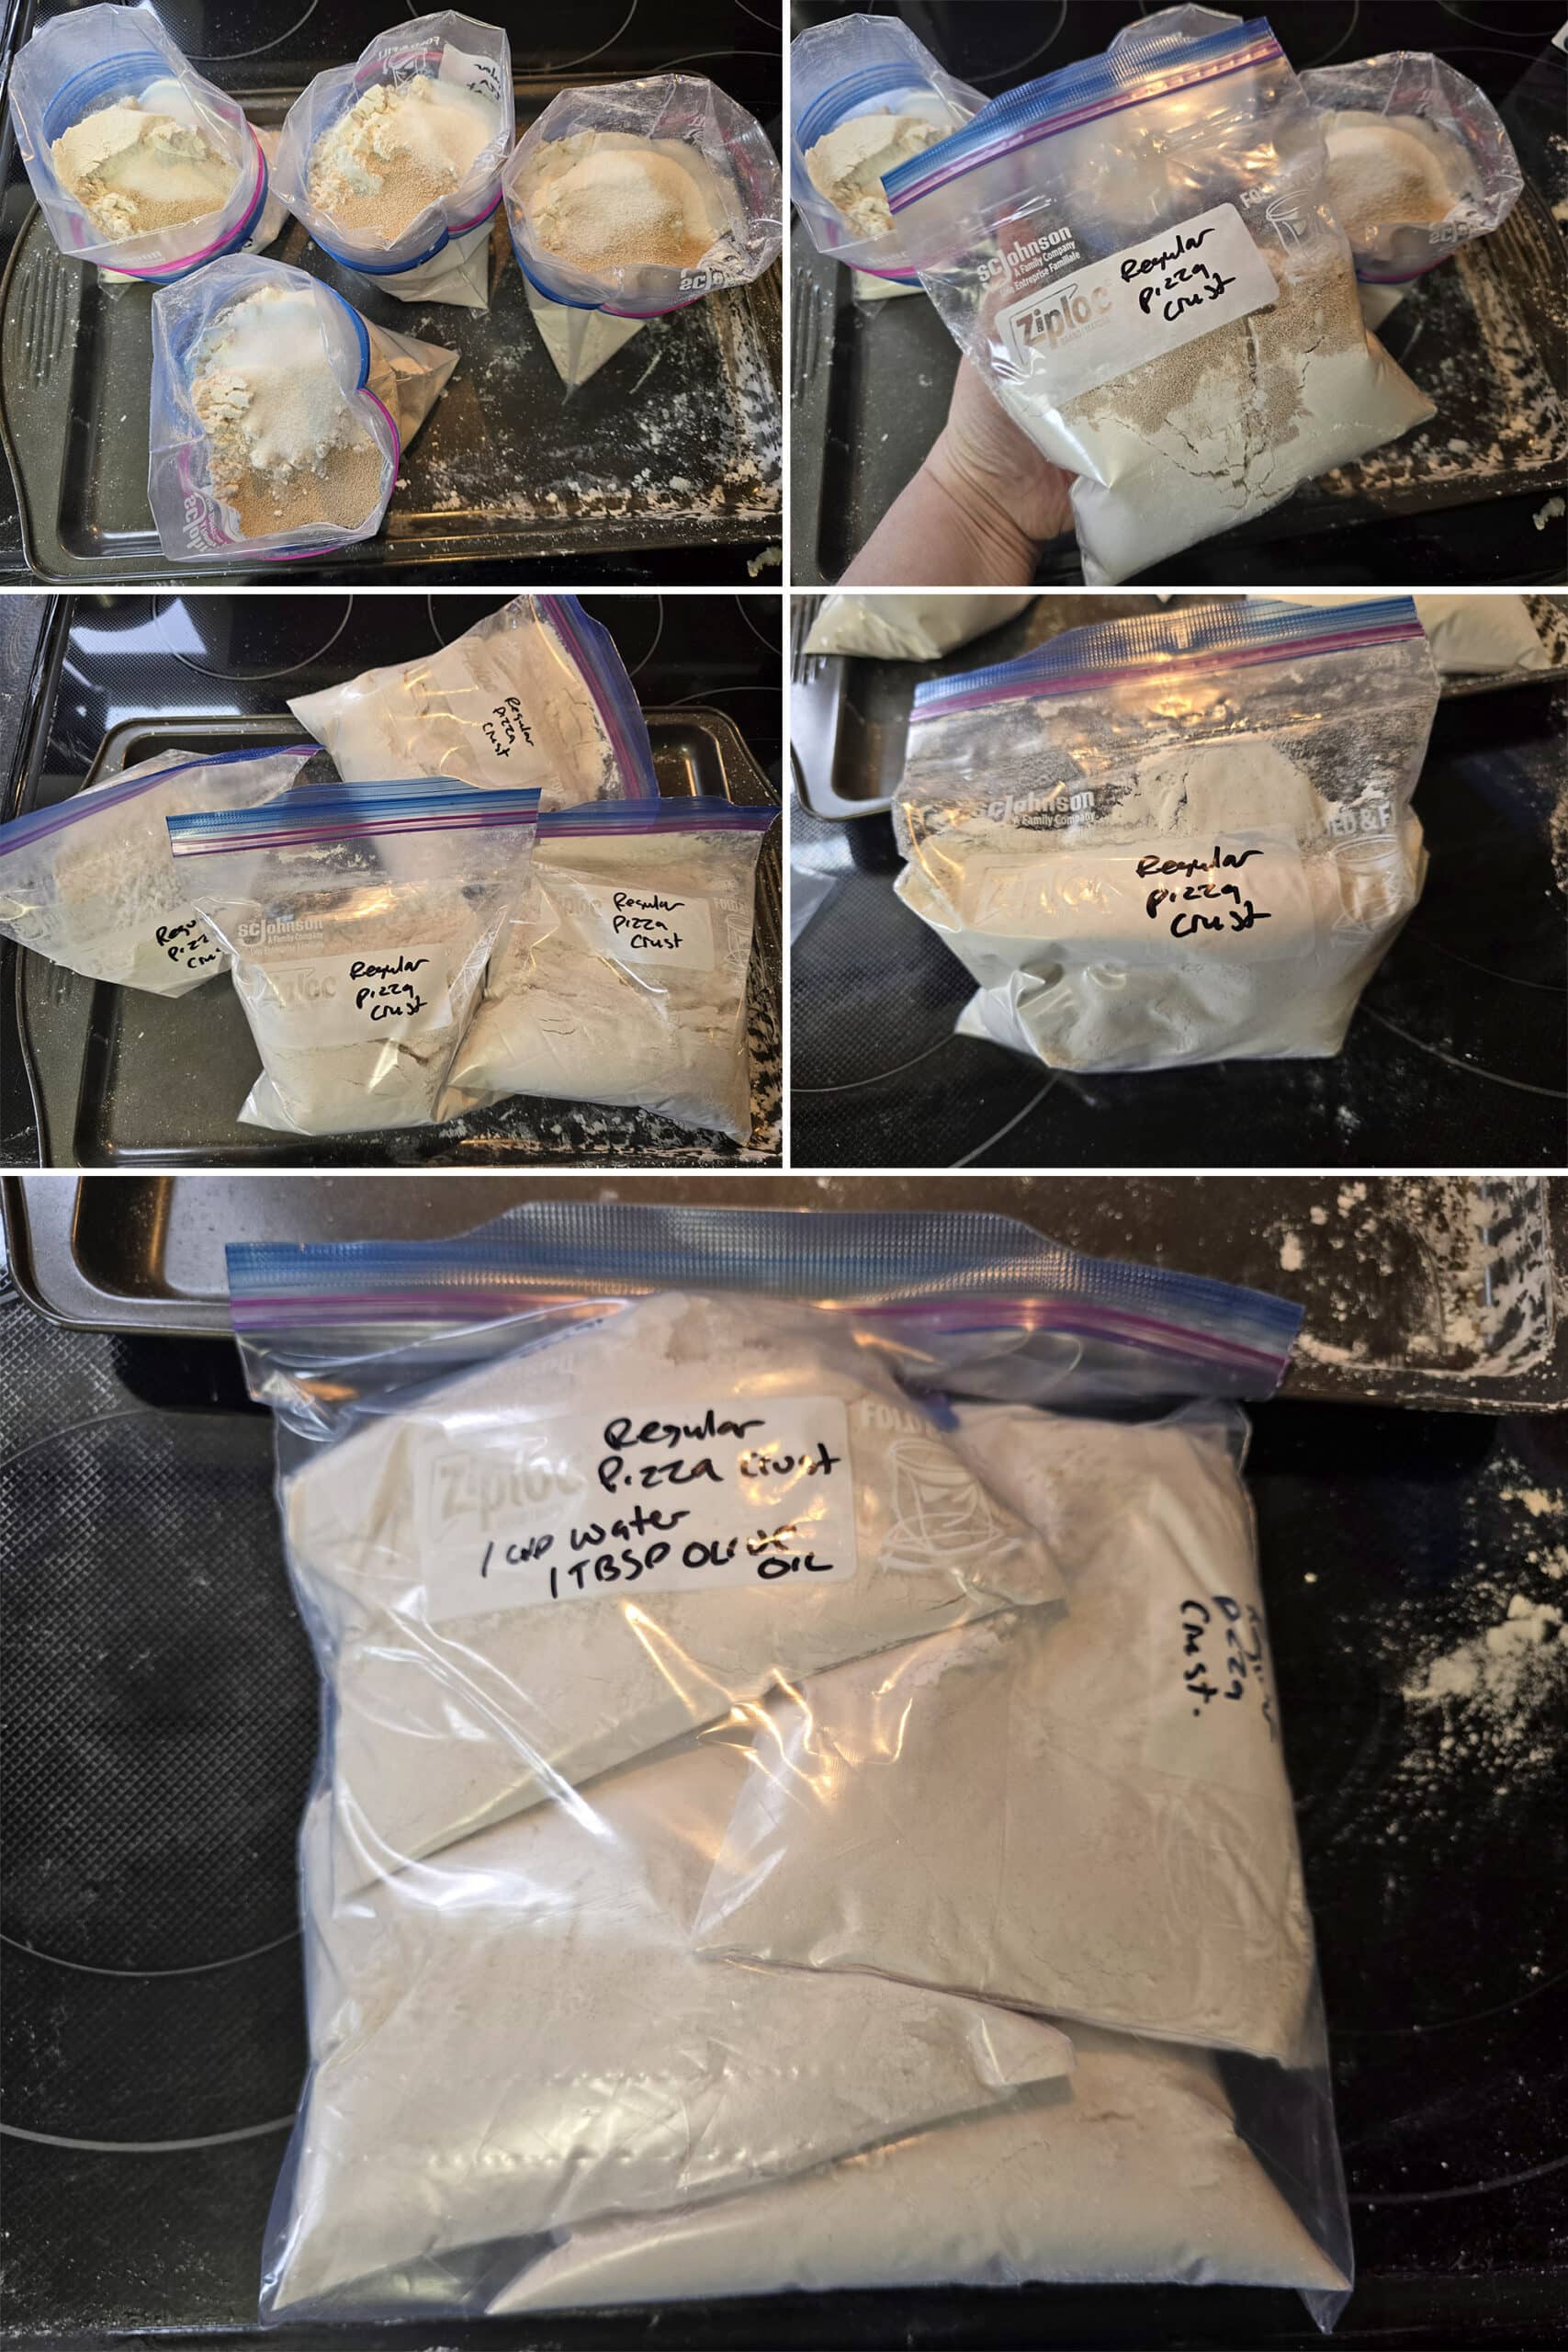
Homemade Pizza Crust Mix
Label a medium sized freezer baggie with “Pizza Crust Mix”, the ingredients under “To Use the Mix”, and any of the directions you’ll want to have on hand.
Measure the flour, yeast, salt, and sugar into the baggie. Seal, shake to combine, and allow to settle for a few seconds.
Re-open the baggie, gently press out any excess air and re-seal. Store in a cool, dark, DRY place until ready to use.
To Use the Mix
Dump the mix into a large mixing bowl, or the bowl of a stand mixer.
Add the warm water and olive oil, stir well with a wooden spoon or silicone spatula to combine.
Dump dough out onto a floured surface - or just work in a large bowl - and knead until soft and smooth, about 3-5 minutes.
You want the calzone dough smooth, but just very slightly sticky. If the dough isn’t a little sticky, add a little water, and knead it in. If it’s TOO sticky, add a small amount of flour.

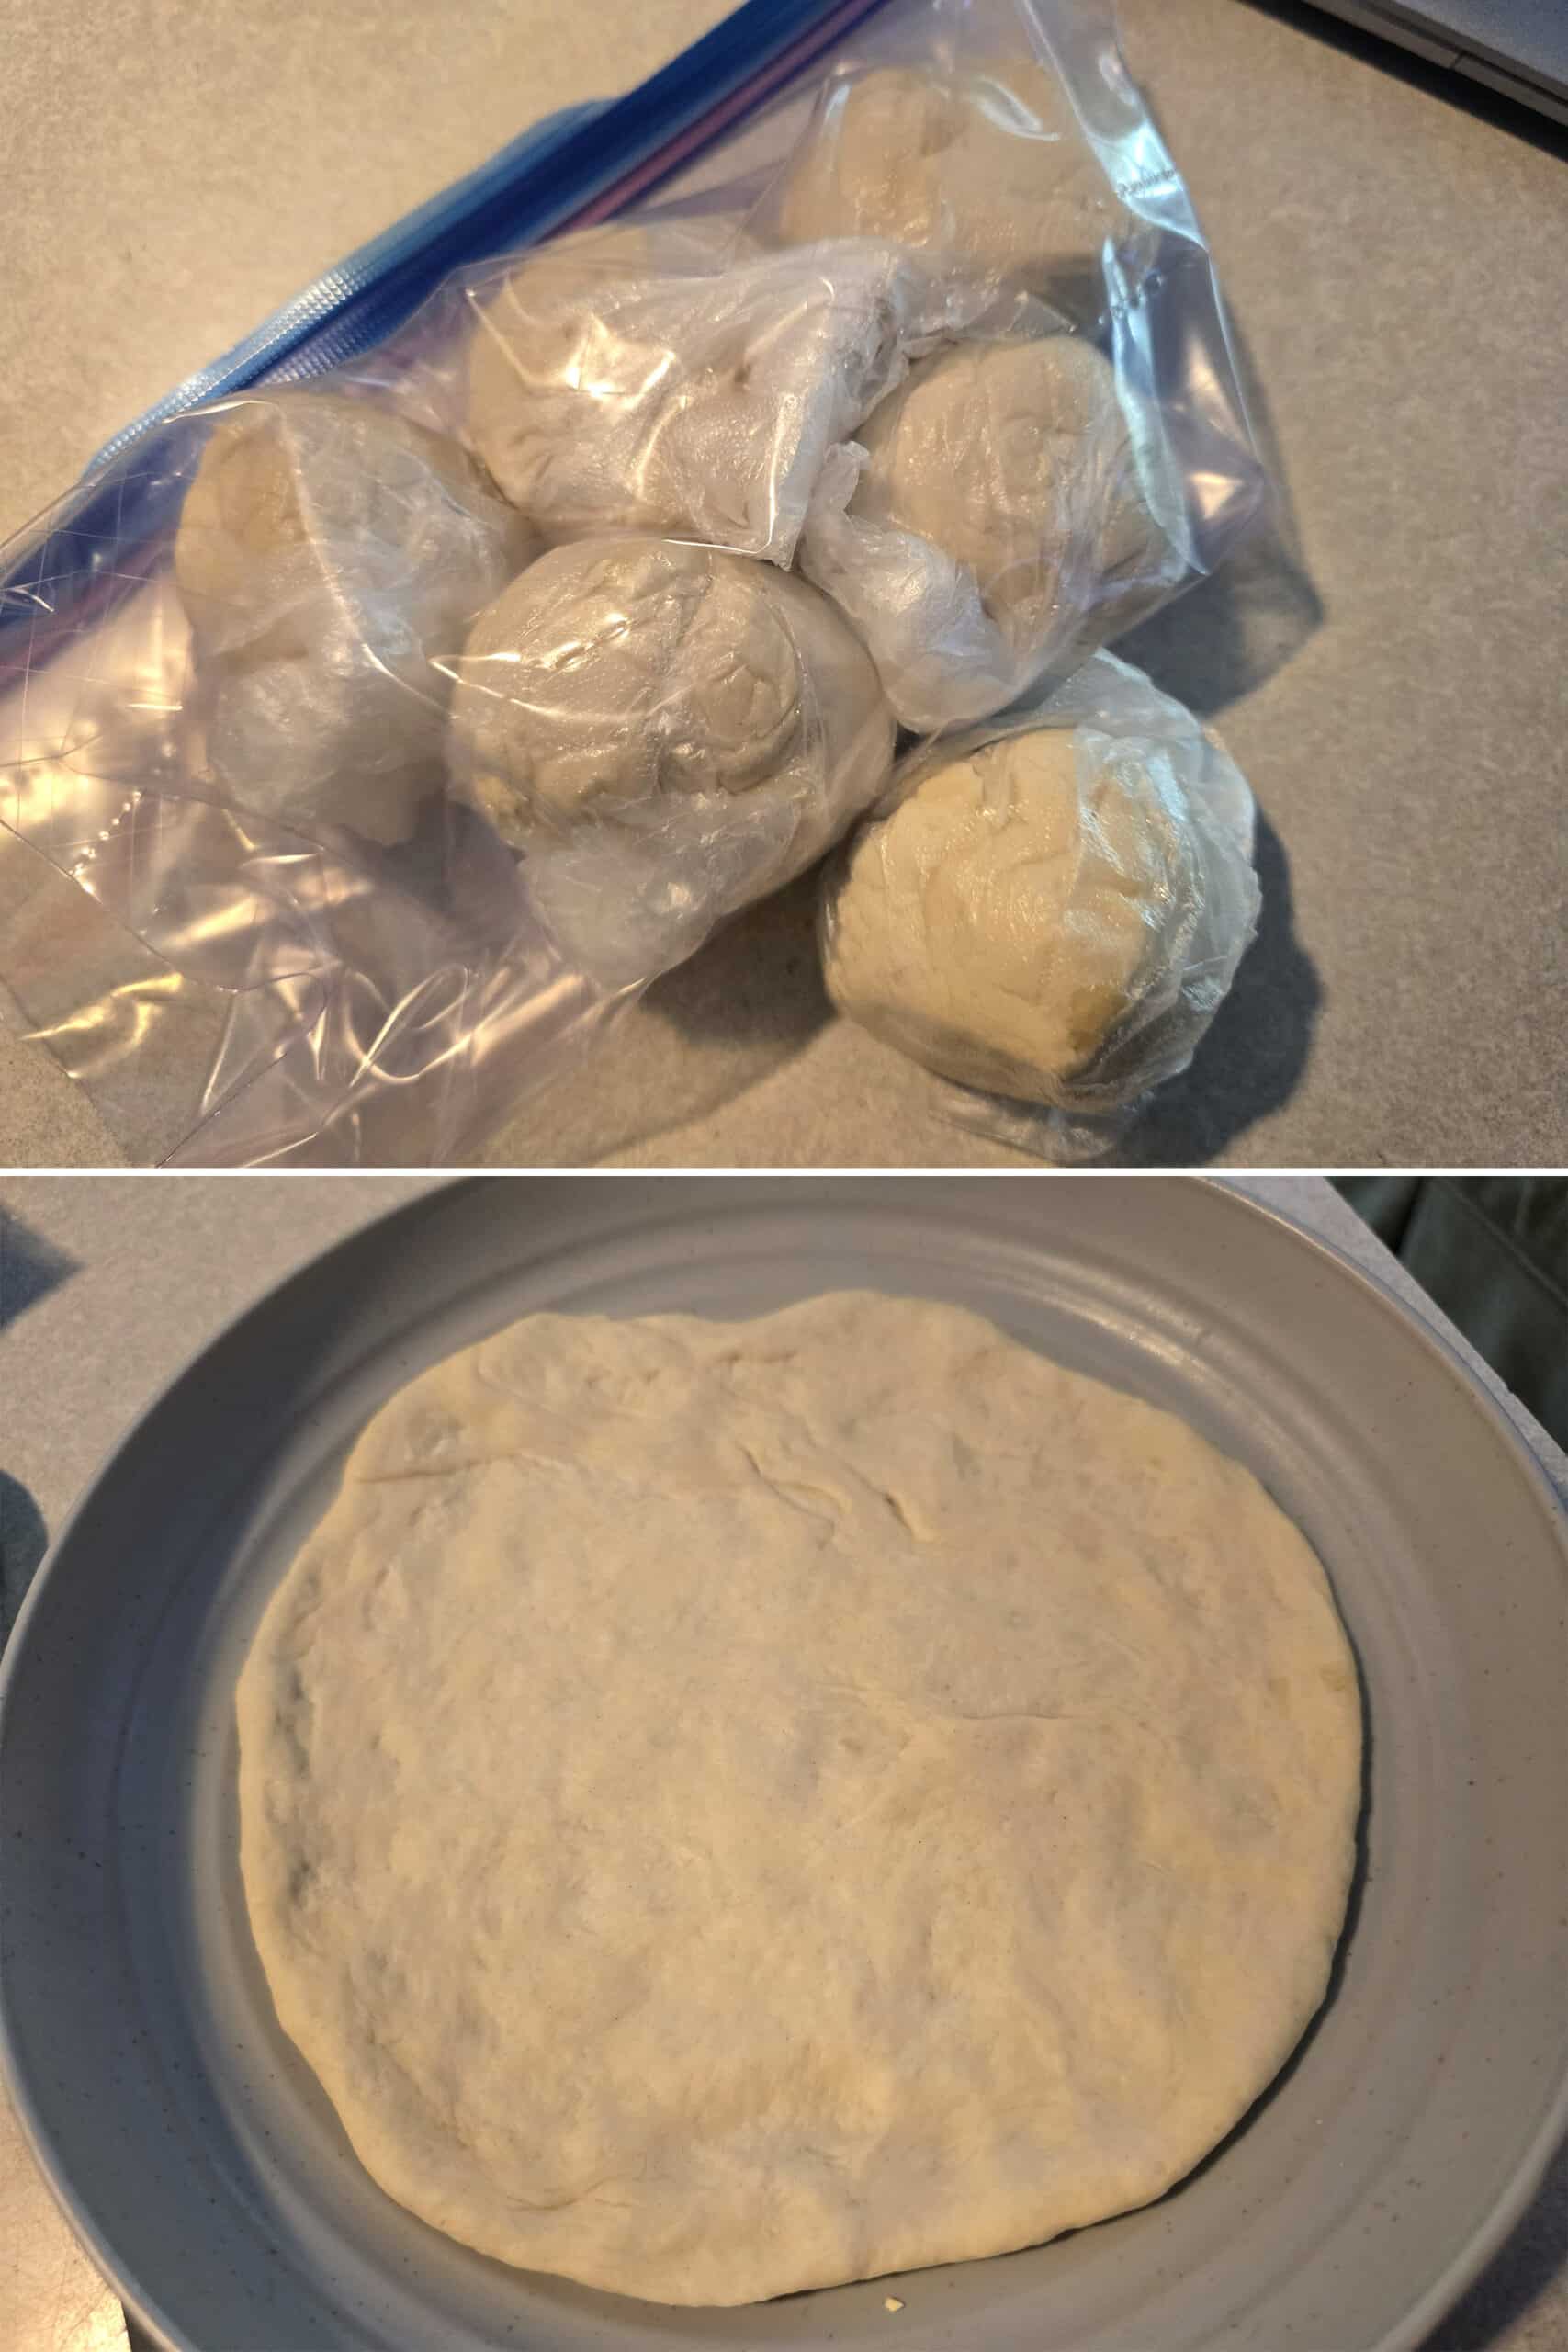
Place the ball of dough back in the bowl, cover the bowl loosely with plastic wrap, and let the dough rest in a warm place for 1 hour.
Hint: If your car is parked in the sun on a warm day, it makes a GREAT proofing oven!
Assemble the Campfire Calzones
Get a low fire going - whether in the BBQ or a charcoal grill.
Divide dough into 6 equal portions, then flatten one dough ball into a 6-7" round circle on a clean work surface - I’ll usually cover our table in parchment paper.
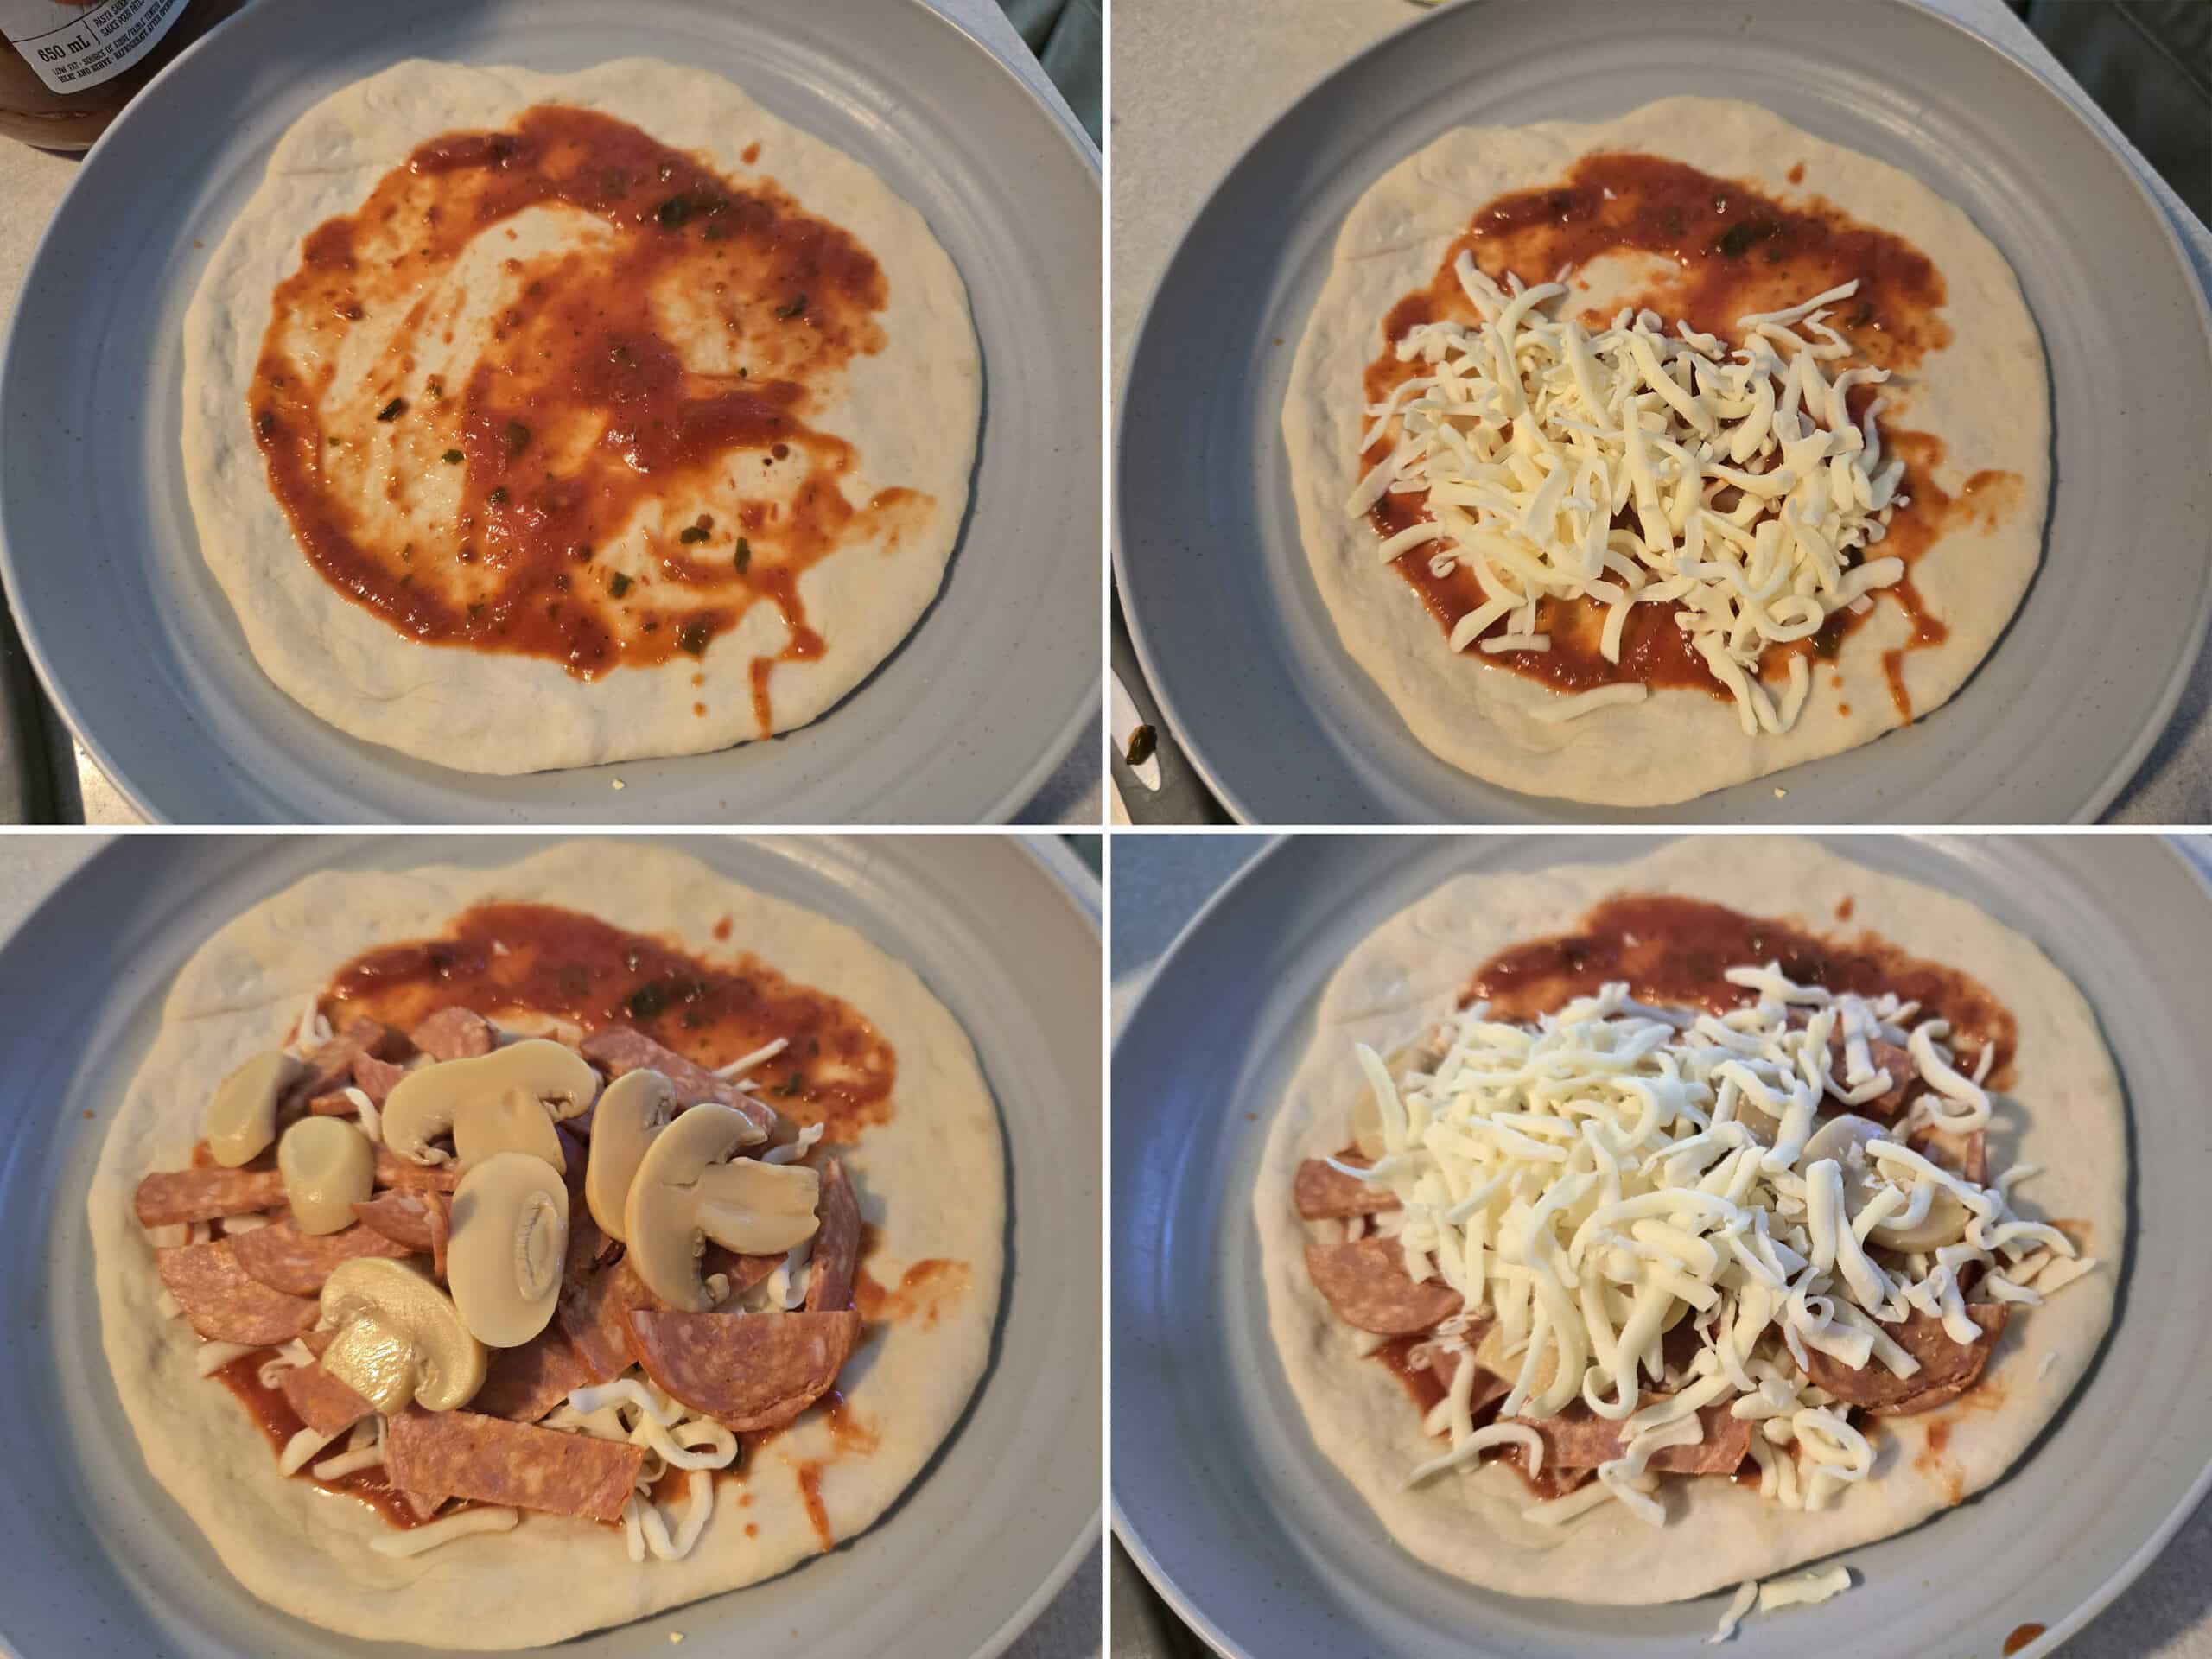
Sprinkle some cheese over half the sauce, then add some toppings, and finish with more shredded cheese.
I usually try to keep the toppings more or less on one half of the circular shaped pizza dough.
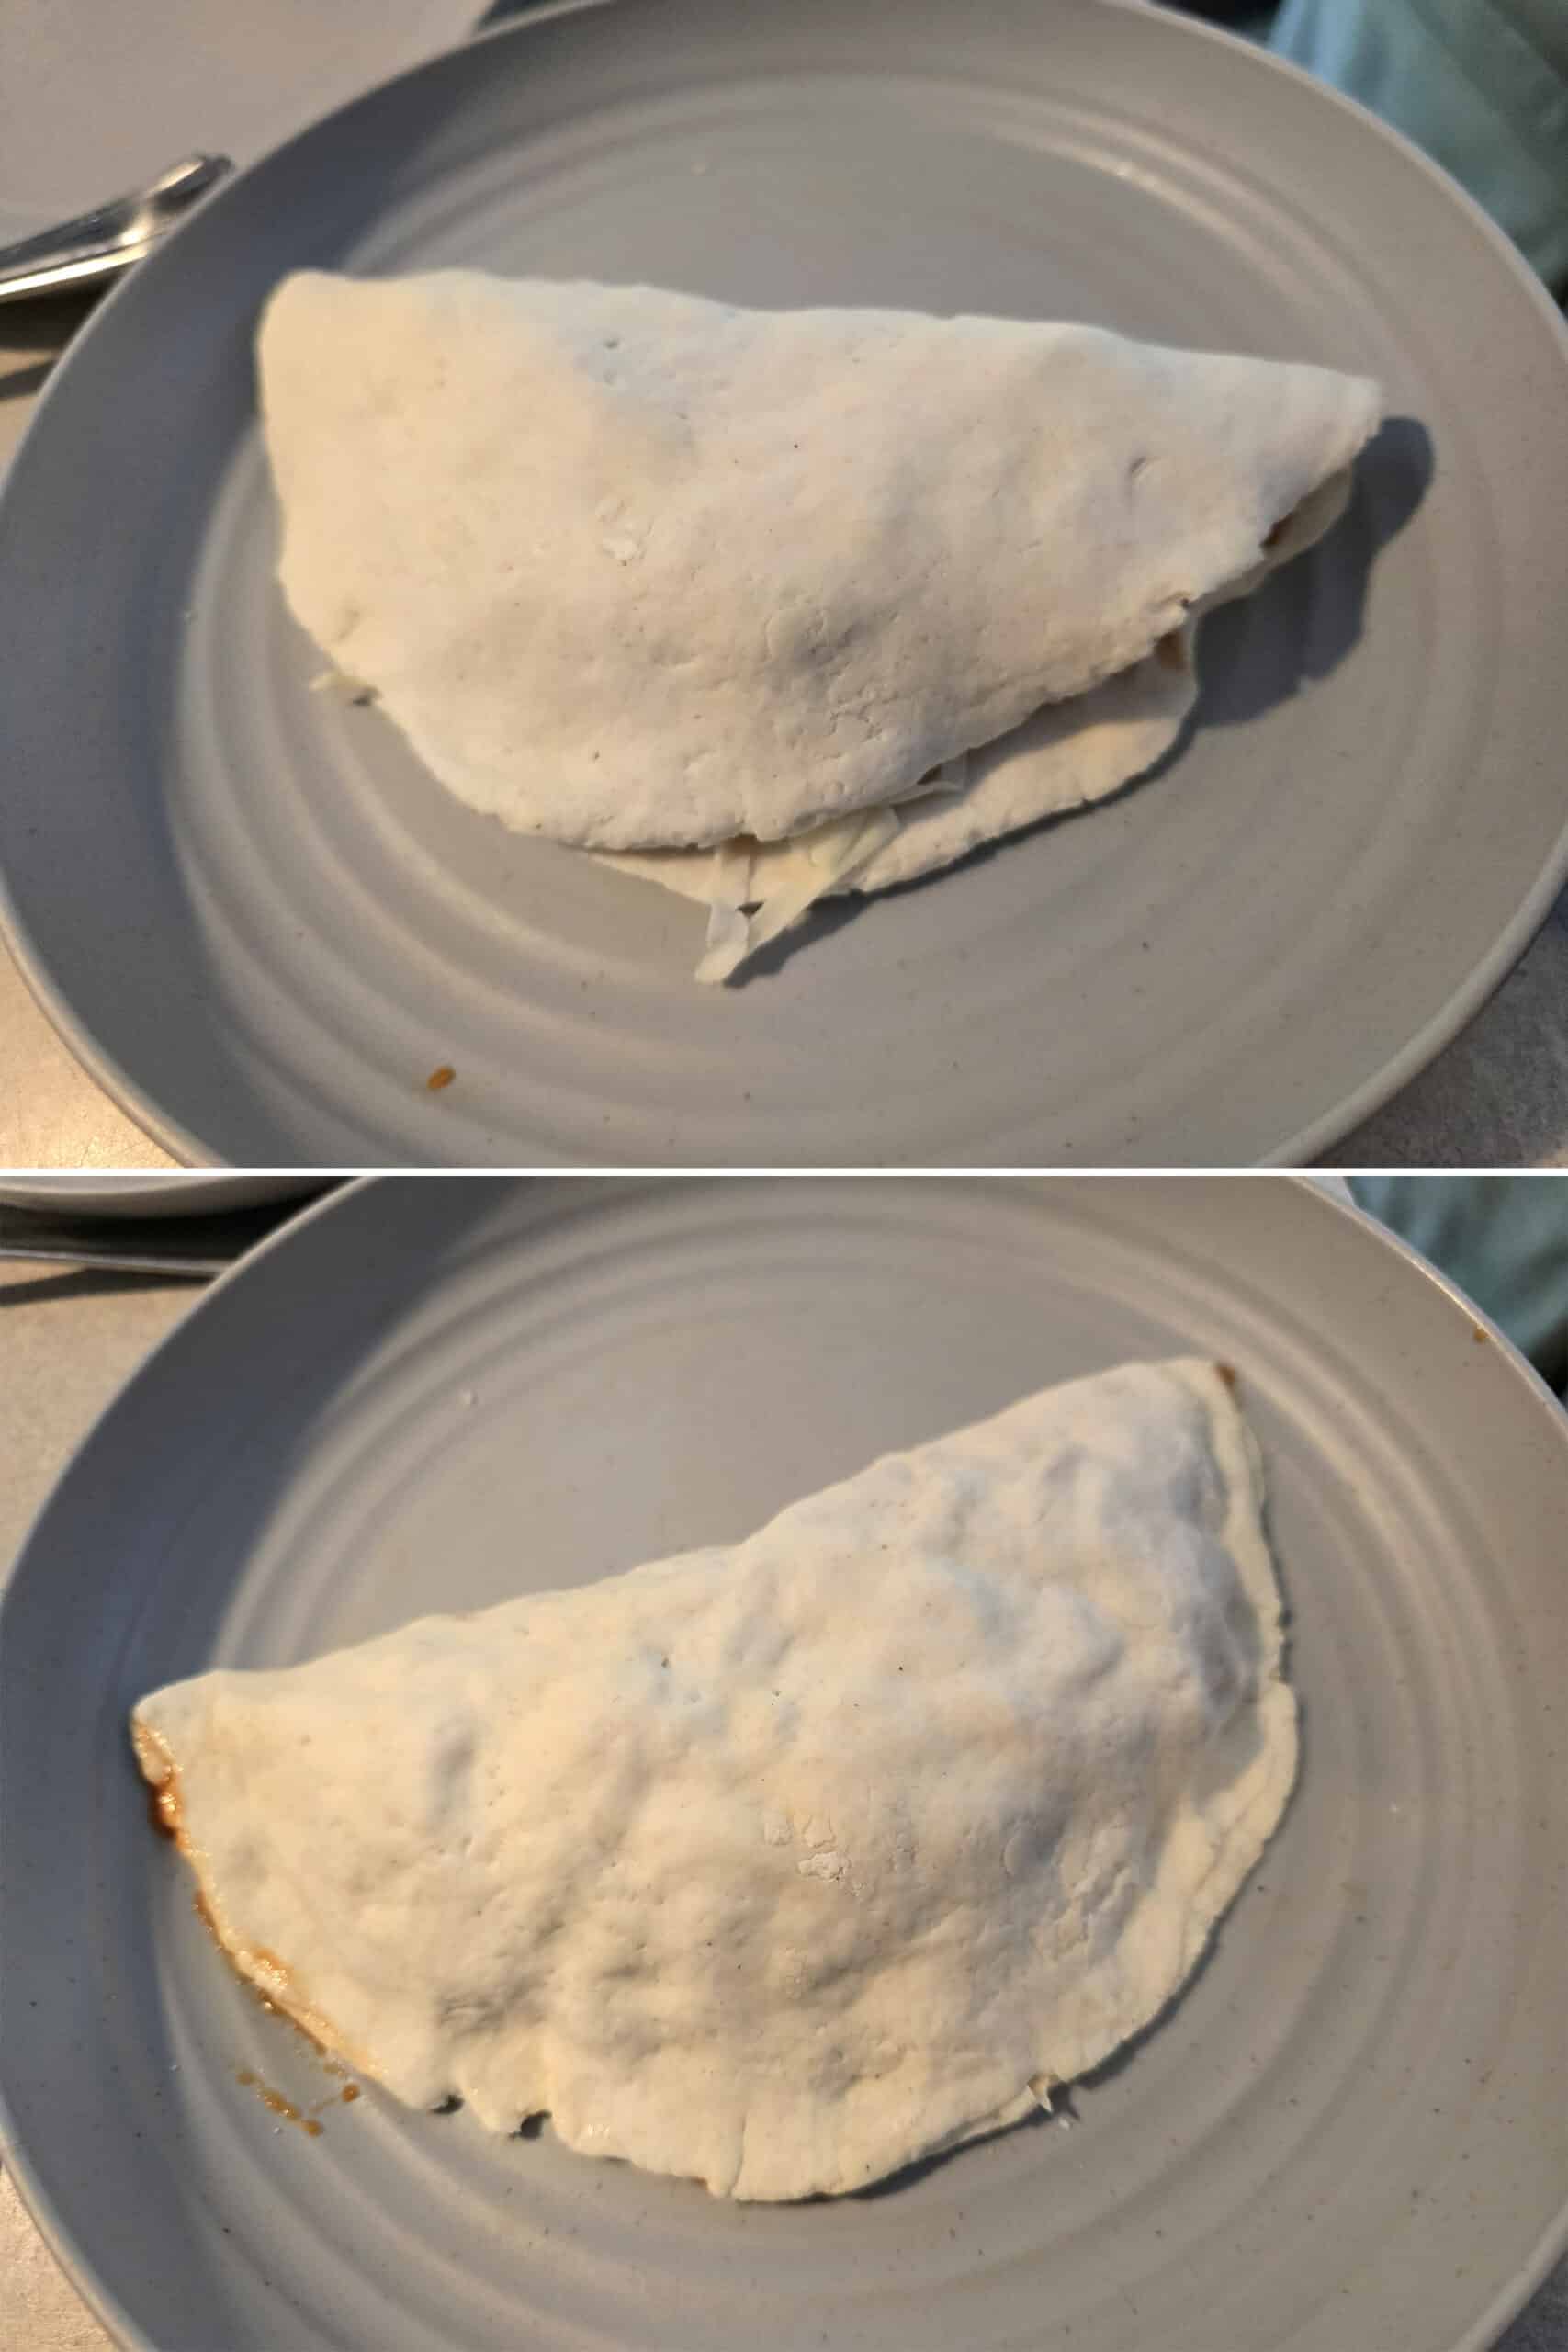
Press the top and bottom edges together, tucking any stray calzone filling ingredients inside. If the dough isn’t sticking to itself, brush a little water around the edge of the dough.
Repeat with as many of the dough balls as you’re looking to cook at once.
Bake the Campfire Grilled Calzones
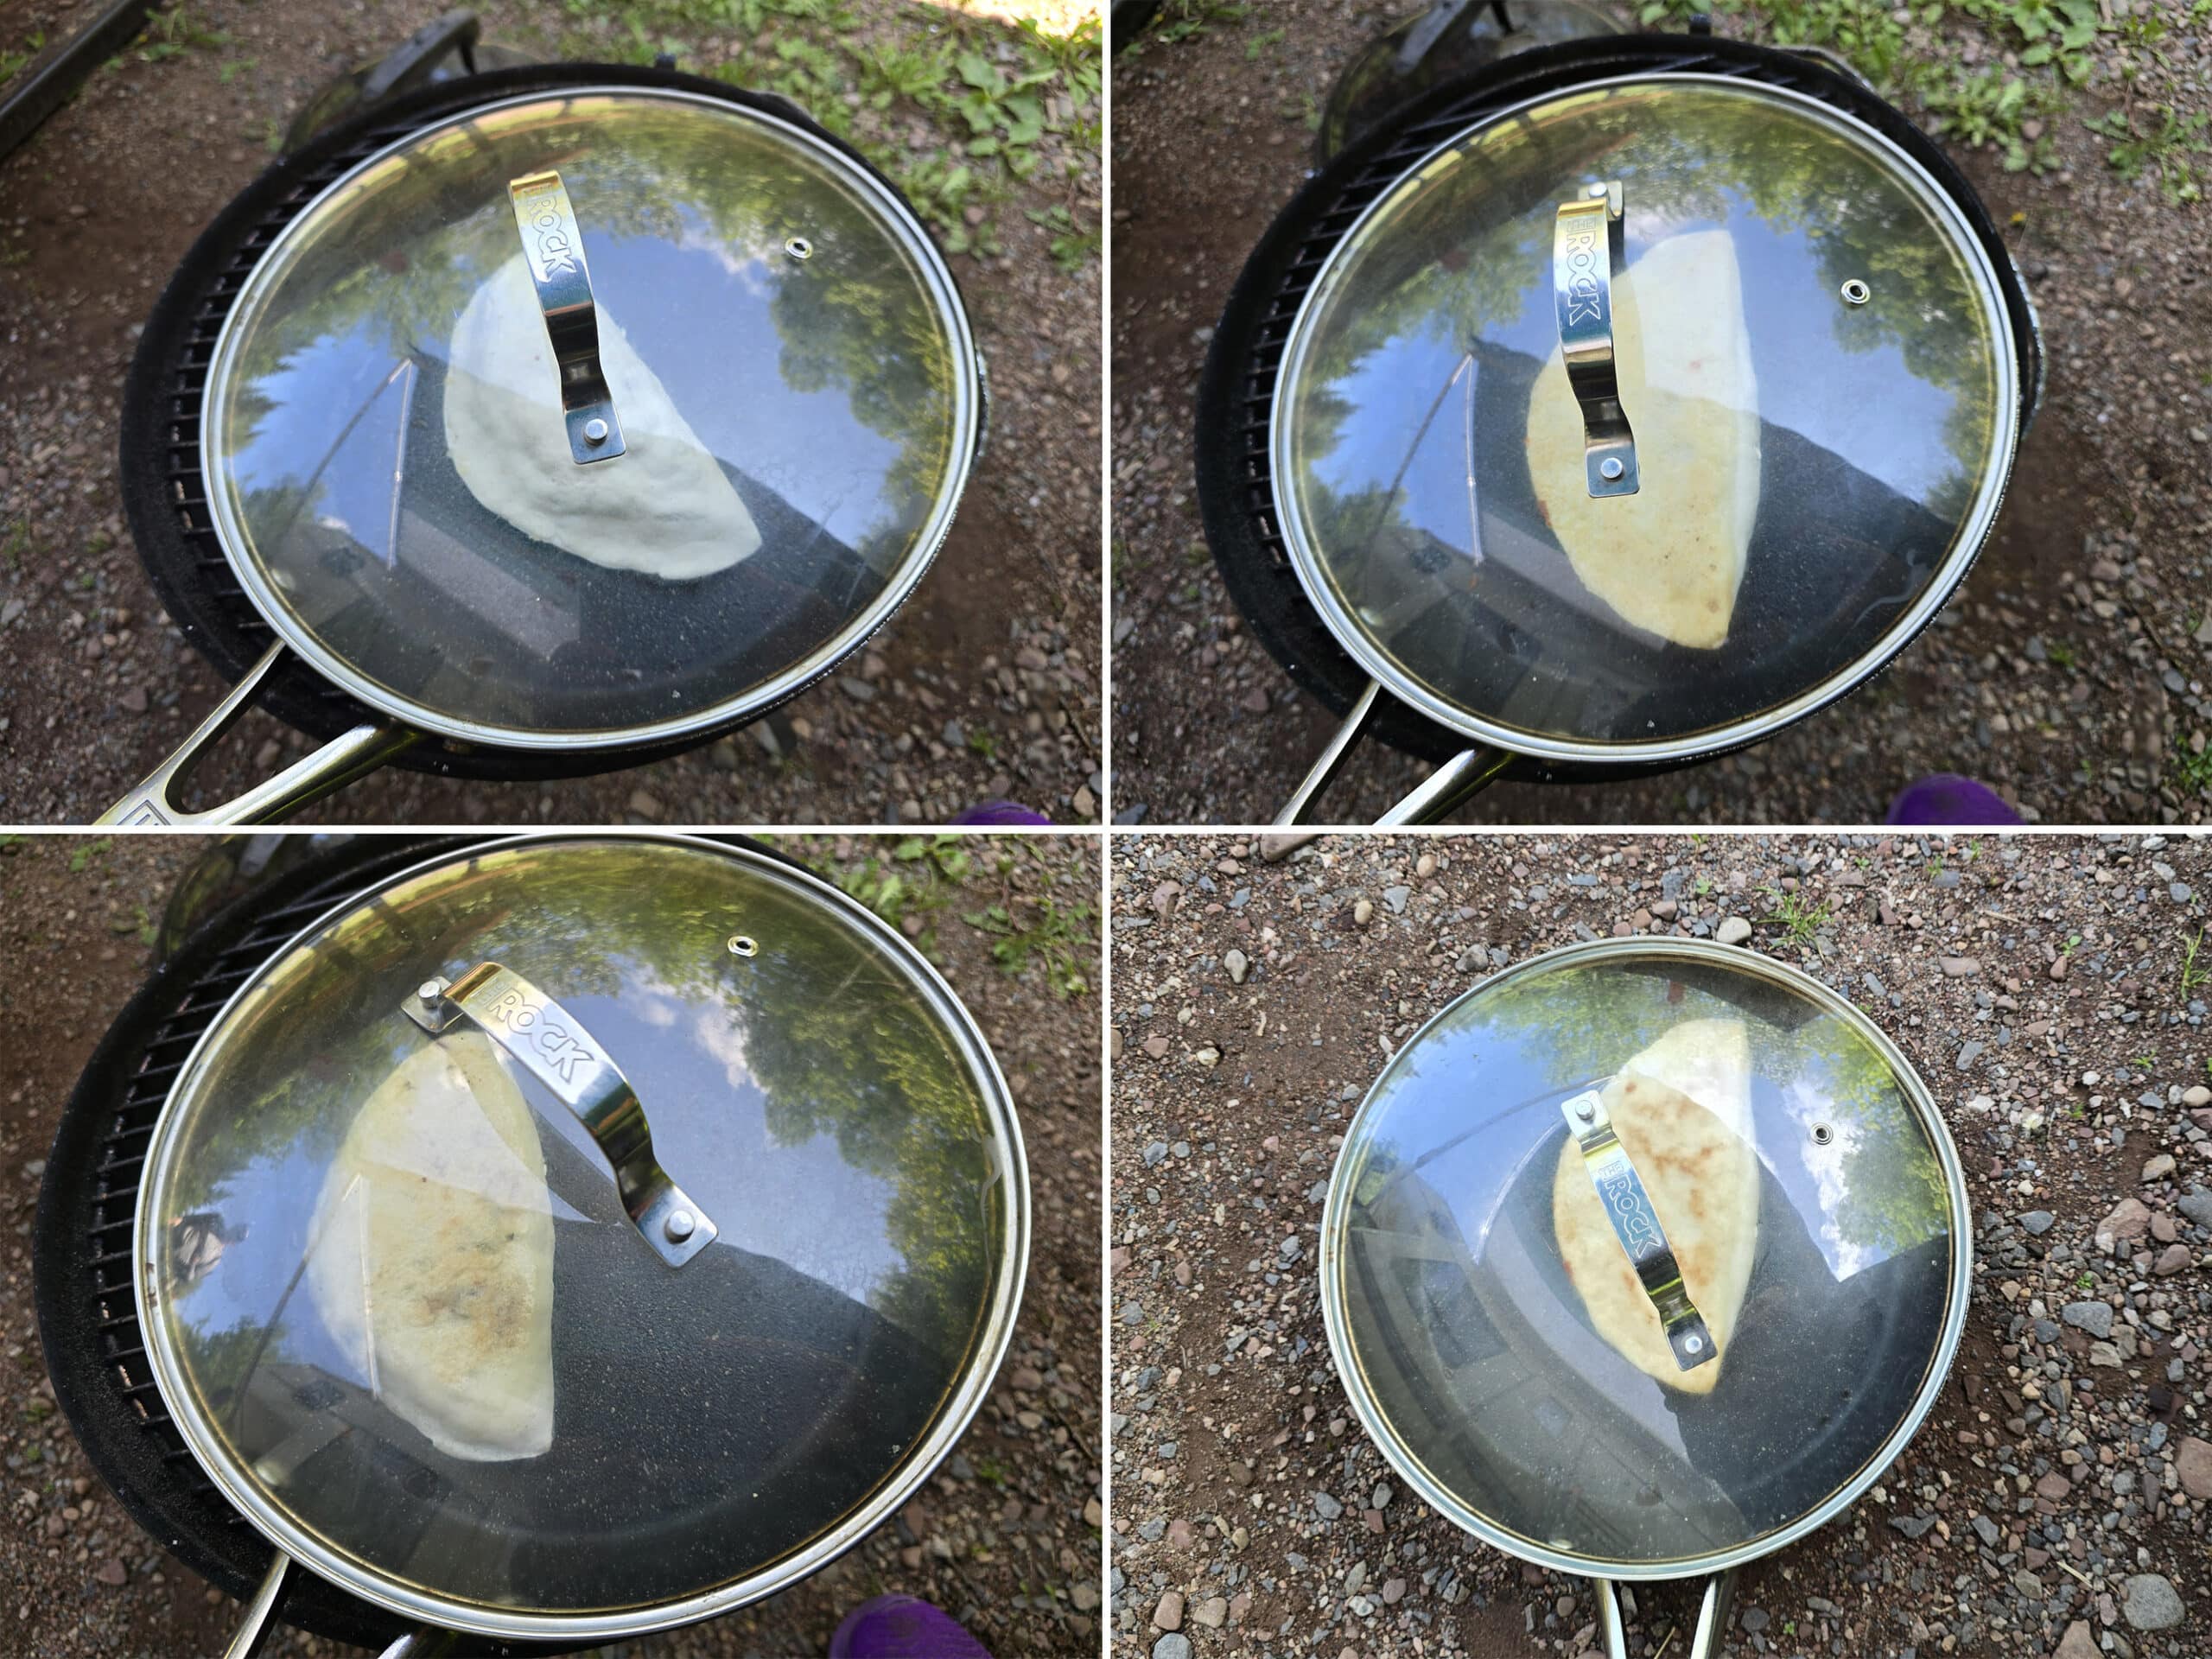
Spray the preheated pan with a bit of nonstick spray, then add one or two calzones to it. Spray the top of each calzone with more pan spray, then cover the pan. Cook over the low fire for 2 minutes.
Once two minutes are up, flip the calzone(s), cover the pan, and cook for another 2 minutes.
Once more, flip the calzones, cover, and continue cooking on the grill grates for another 2 minutes. (6 minutes, total so far).
Flip the calzone(s) one more time, cover, and take the pan off the heat. I’ll usually just set it on gravel nearby.
Allow it to continue cooking in the covered pan for another two minutes.
Serve hot, with dipping sauce if you like!
Leftovers
Once cooled to room temperature, leftover calzones can be wrapped in plastic wrap - or stored in an airtight container in the fridge for up to 3 days.
Best served reheated. We like to microwave it for 30 seconds or so to get the chill off it, then finish off on it a hot skillet to re-crisp the crust a bit.
Alternatively, you can wrap unused portions of dough in plastic wrap, and store in an airtight plastic baggie in the fridge until you’re ready to make more calzones.
I recommend letting them come up to room temperature before working with them. Whether you’re using this dough recipe or my gluten free version, the room temperature dough will be a lot easier to work with.
I’ll usually just set out the portions we’ll use, a couple hours before cooking them.
More Main Dish Camping Recipes
Looking for some great meals to cook on a campfire, or in an RV? Here's a few simple recipes to start with!
Bacon Cheeseburger Soup
Beef & Root Vegetable Stew
Camping Breakfast Skillet
Campfire Chili
Campfire Pizza
Classic Sloppy Joes
Dutch Oven Jambalaya
Easy Chicken Curry
Egg Roll in a Bowl
Hearty Campfire Beef Stew
Grilled Chicken Fajitas
Hobo Eggs
Grilled Shrimp Tacos
Camping Tacos, 2 Ways
Grilled Tuna Tacos
Sloppy Giuseppes
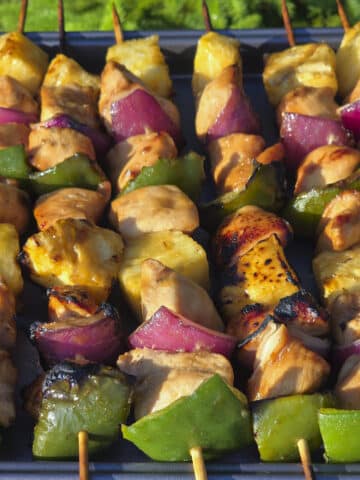
Mediterranean Chicken Kebabs
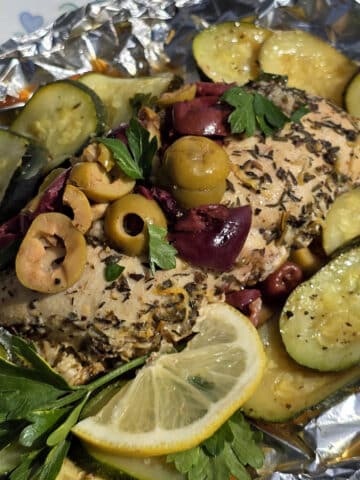
Rosemary Maple Chicken
Be sure to check out our other Camping Recipes, including Camping Desserts, Camping Snacks, Make-Ahead Camping Mix Recipes, and a ton of delicious Camping Main Dish Recipes!
Also, we had SO much fun designing gourmet jerky recipes for our camping trips, we started a whole new blog for them! Check out Dried & Tasty for all kinds of fun recipes to make in your food dehydrator!
Campfire Calzones
Equipment
- 1 Large, Cast Iron Skillet with Lid
Ingredients
Homemade Pizza Crust Mix
- 2 ½ cups All Purpose Flour See post for a link to a fantastic Gluten Free recipe
- 2 teaspoon Instant Yeast
- 1 ½ teaspoon Salt
- 1 teaspoon Granulated Sugar
To Use the Mix:
- 1 cup Very Warm - not hot - Water
- 1 tablespoon Extra Virgin Olive Oil
- Cooking Spray I use olive oil spray
Calzone Assembly:
- Pizza Sauce or other sauce of choice
- Shredded Mozzarella or other shredded cheese of choice
- Toppings of choice See post for some of our favourite combinations
Instructions
Homemade Pizza Crust Mix
- Label a medium sized freezer baggie with “Pizza Crust Mix”, the ingredients under “To Use the Mix”, and any of the directions you’ll want to have on hand.
- Measure the flour, yeast, salt, and sugar into the baggie. Seal, shake to combine, and allow to settle for a few seconds.
- Re-open the baggie, gently press out any excess air and re-seal. Store in a cool, dark, DRY place until ready to use.
To Use the Mix:
- Dump the mix into a large mixing bowl, or the bowl of a stand mixer.
- Add the warm water and olive oil, stir well with a wooden spoon or silicone spatula to combine.
- Dump dough out onto a floured surface - or just work in a large bowl - and knead until soft and smooth, about 3-5 minutes.
- You want the dough smooth, but just very slightly sticky. If the dough isn’t a little sticky, add a little water, and knead it in. If it’s TOO sticky, add a small amount of flour.
- Once dough is fully kneaded, remove it from the bowl, and spray the bowl with nonstick spray. Place the ball of dough back in the bowl, cover the bowl loosely with plastic wrap, and let the dough rest in a warm place for 1 hour.
- Hint: If your car is parked in the sun on a warm day, it makes a GREAT proofing oven!
Assemble the Campfire Calzones
- Get a low fire going - whether in the BBQ or a charcoal grill.
- Divide dough into 6 equal pieces, then flatten one dough ball into a 6-7" round circle.
- Spread the dough round with a bit of sauce, leaving a 1" border around the outside edge.
- Sprinkle some cheese over half the sauce, then add some toppings, and finish with more shredded cheese.
- Carefully pull the other side of the dough - without toppings - up and over your pile of cheese and calzone toppings, gently stretching the dough to meet the bottom edge. (See post for a pictorial walk through!).
- Press the top and bottom edges together, tucking any stray ingredients inside. If the dough isn’t sticking to itself, brush a little water around the edge.
- Repeat with as many of the dough balls as you’re looking to cook at once.
Bake the Campfire Grilled Calzones
- Spray the preheated pan with a bit of nonstick spray, then add one or two calzones to it. Spray the tops of the calzones with more pan spray, then cover the pan. Cook over the low fire for 2 minutes.
- Once two minutes are up, flip the calzone(s), cover the pan, and cook for another 2 minutes.
- Once more, flip the calzones, cover, and continue cooking on the grill grates for another 2 minutes. (6 minutes, total so far).
- Flip the calzone(s) one more time, cover, and take the pan off the heat. I’ll usually just set it on gravel nearby.
- Allow it to continue cooking in the covered pan for another two minutes, then serve!
Notes
Nutrition
Thanks for Reading!If you loved this post - or have any questions about it - please leave a comment below! We'd also love it if you would consider sharing the link on social media! |
Marie & Michael Porter
This Campfire Calzones recipe is one of our all-time favourite camping recipes - hope you love it too!