
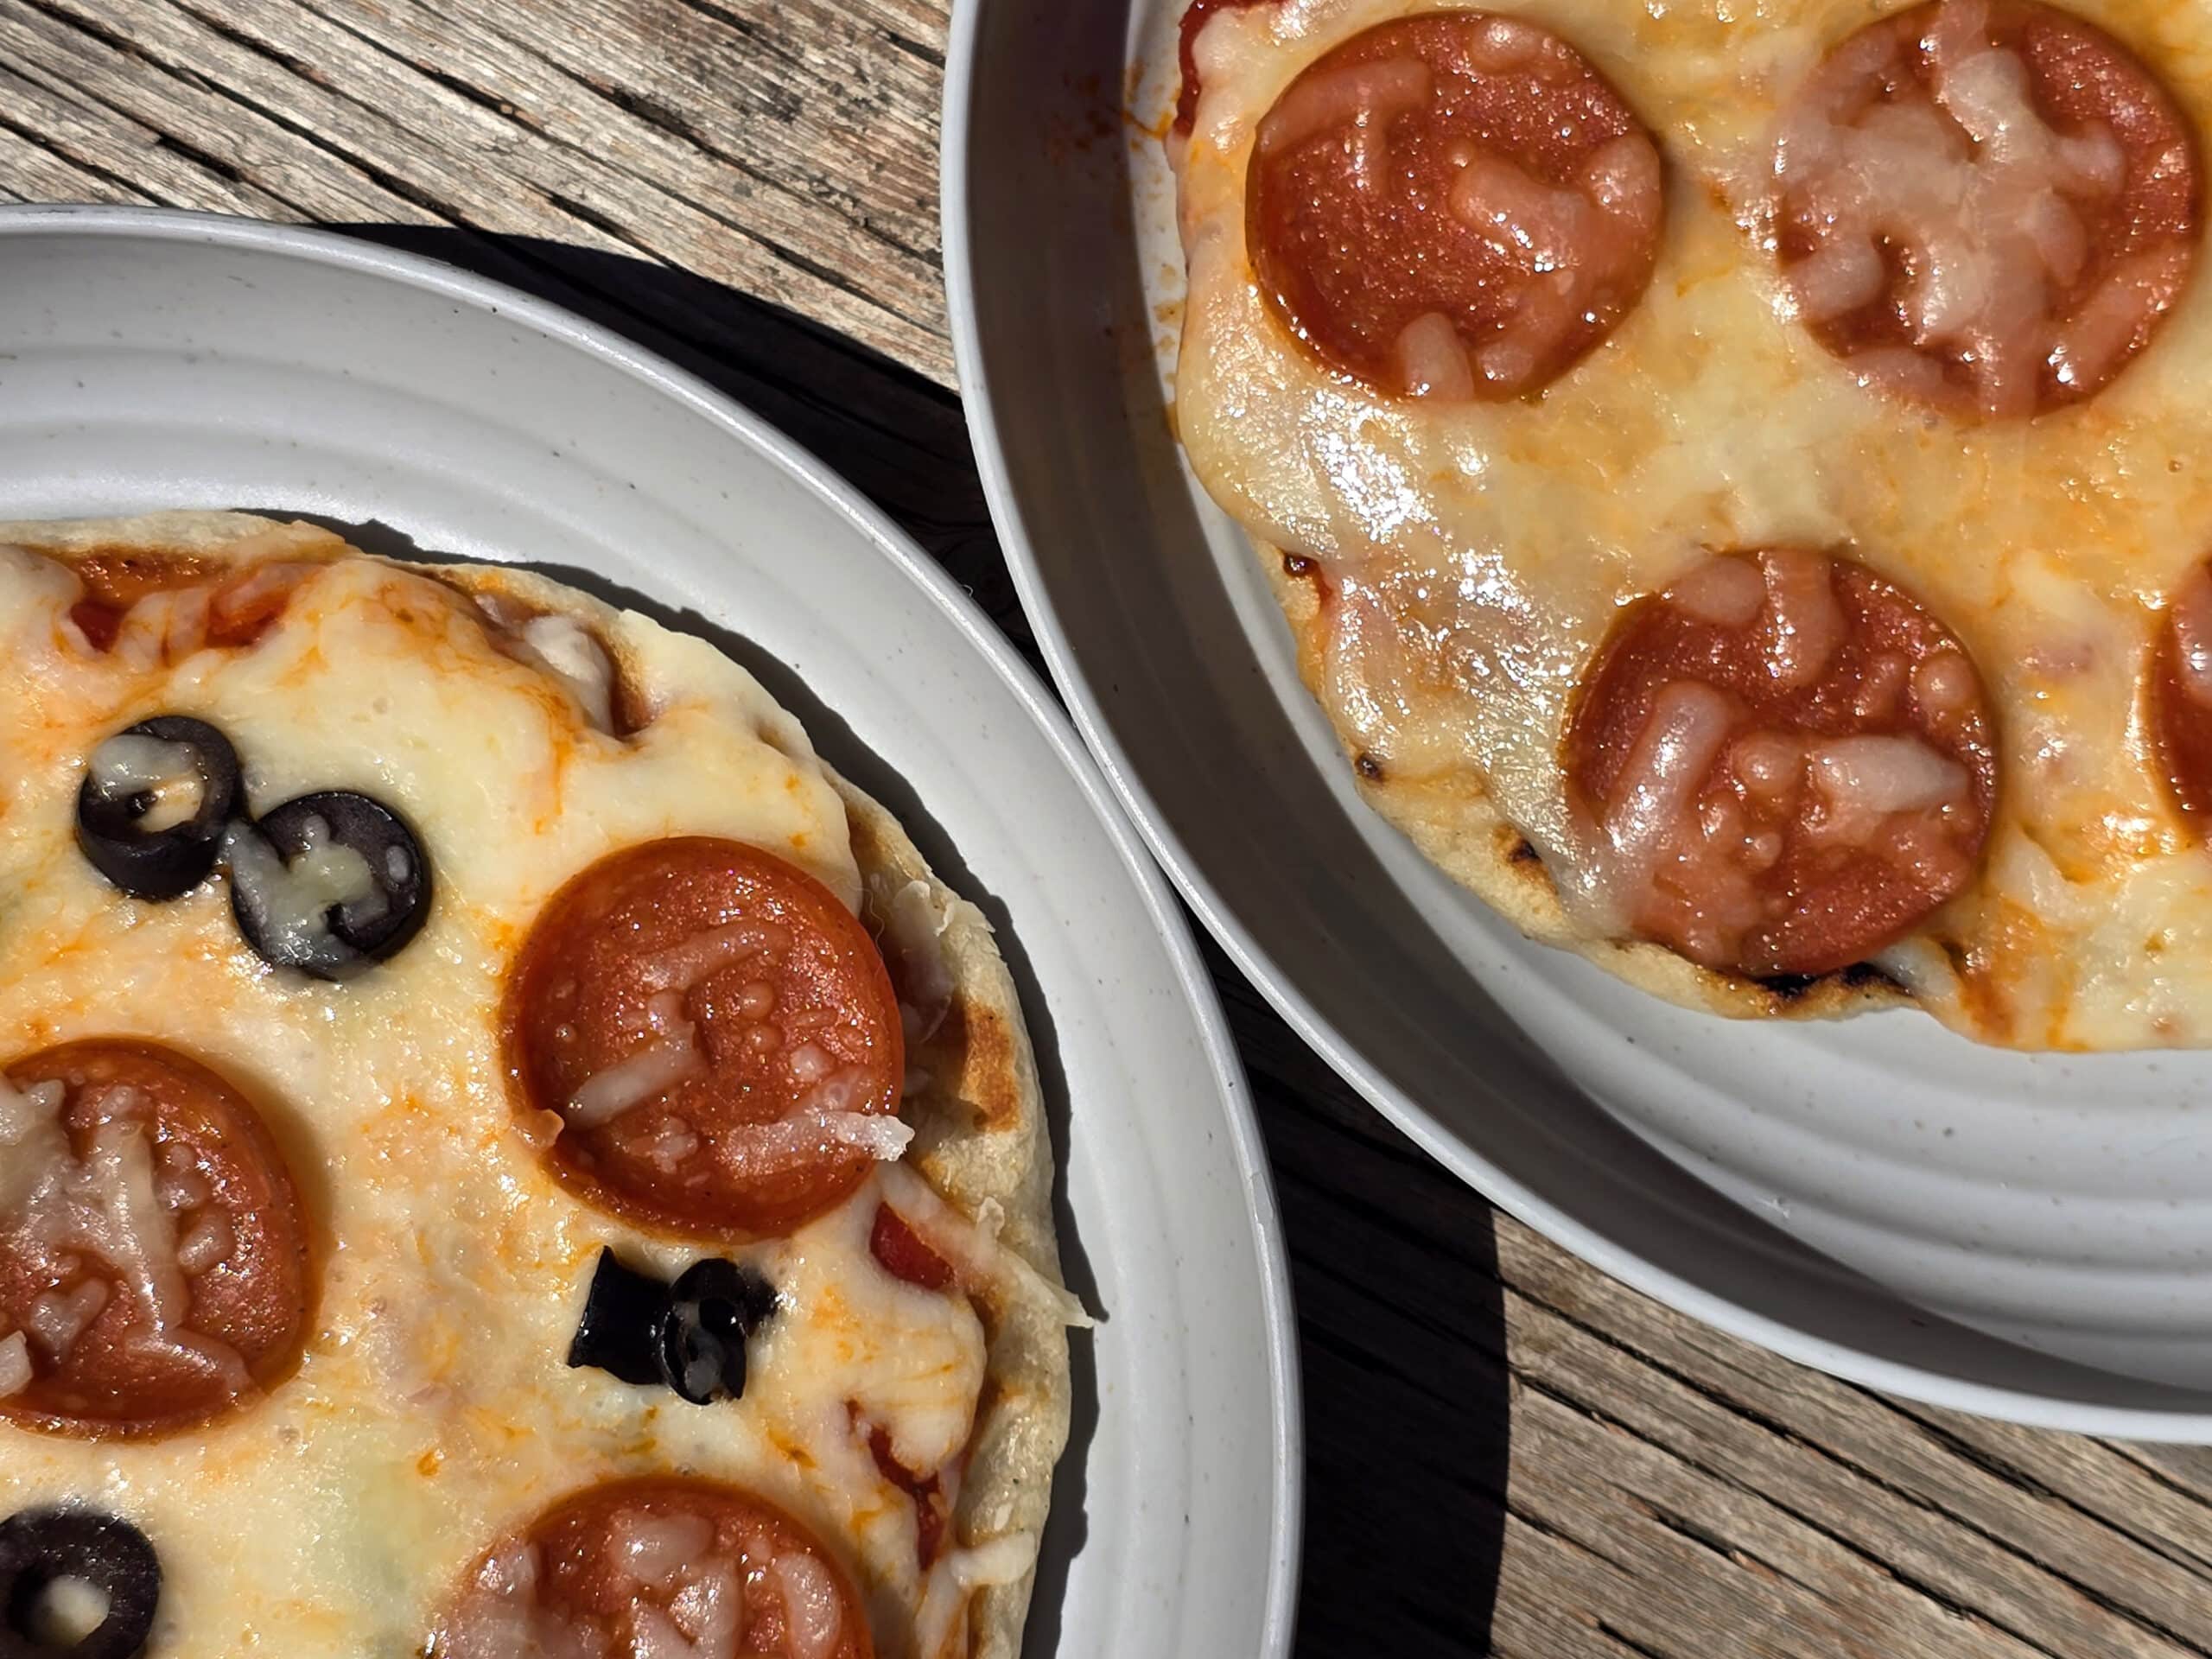
Our campfire pizza recipe starts out with a homemade pizza dough mix, giving us fresh pizza dough for little effort. Cook it over hot coals, a grill, camp stove, or a fire!

When I explored the great outdoors in my youth, I mostly remember MREs and toasting bread over a campfire. Simple, uncomplicated food!
At some point in the past few decades, pizza has become a popular camping meal option.
There are all kinds of different methods people use for getting their backwoods pizza night on - campfire flatbread pizza using either naan bread or pita bread, pie iron pizza with regular bread or tubes of store-bought dough, etc.
Whichever way you do it, having a meal of delicious pizza is a great option for camping. It’s something that the whole family loves, and the custom nature of it means that even picky eaters will be satisfied!
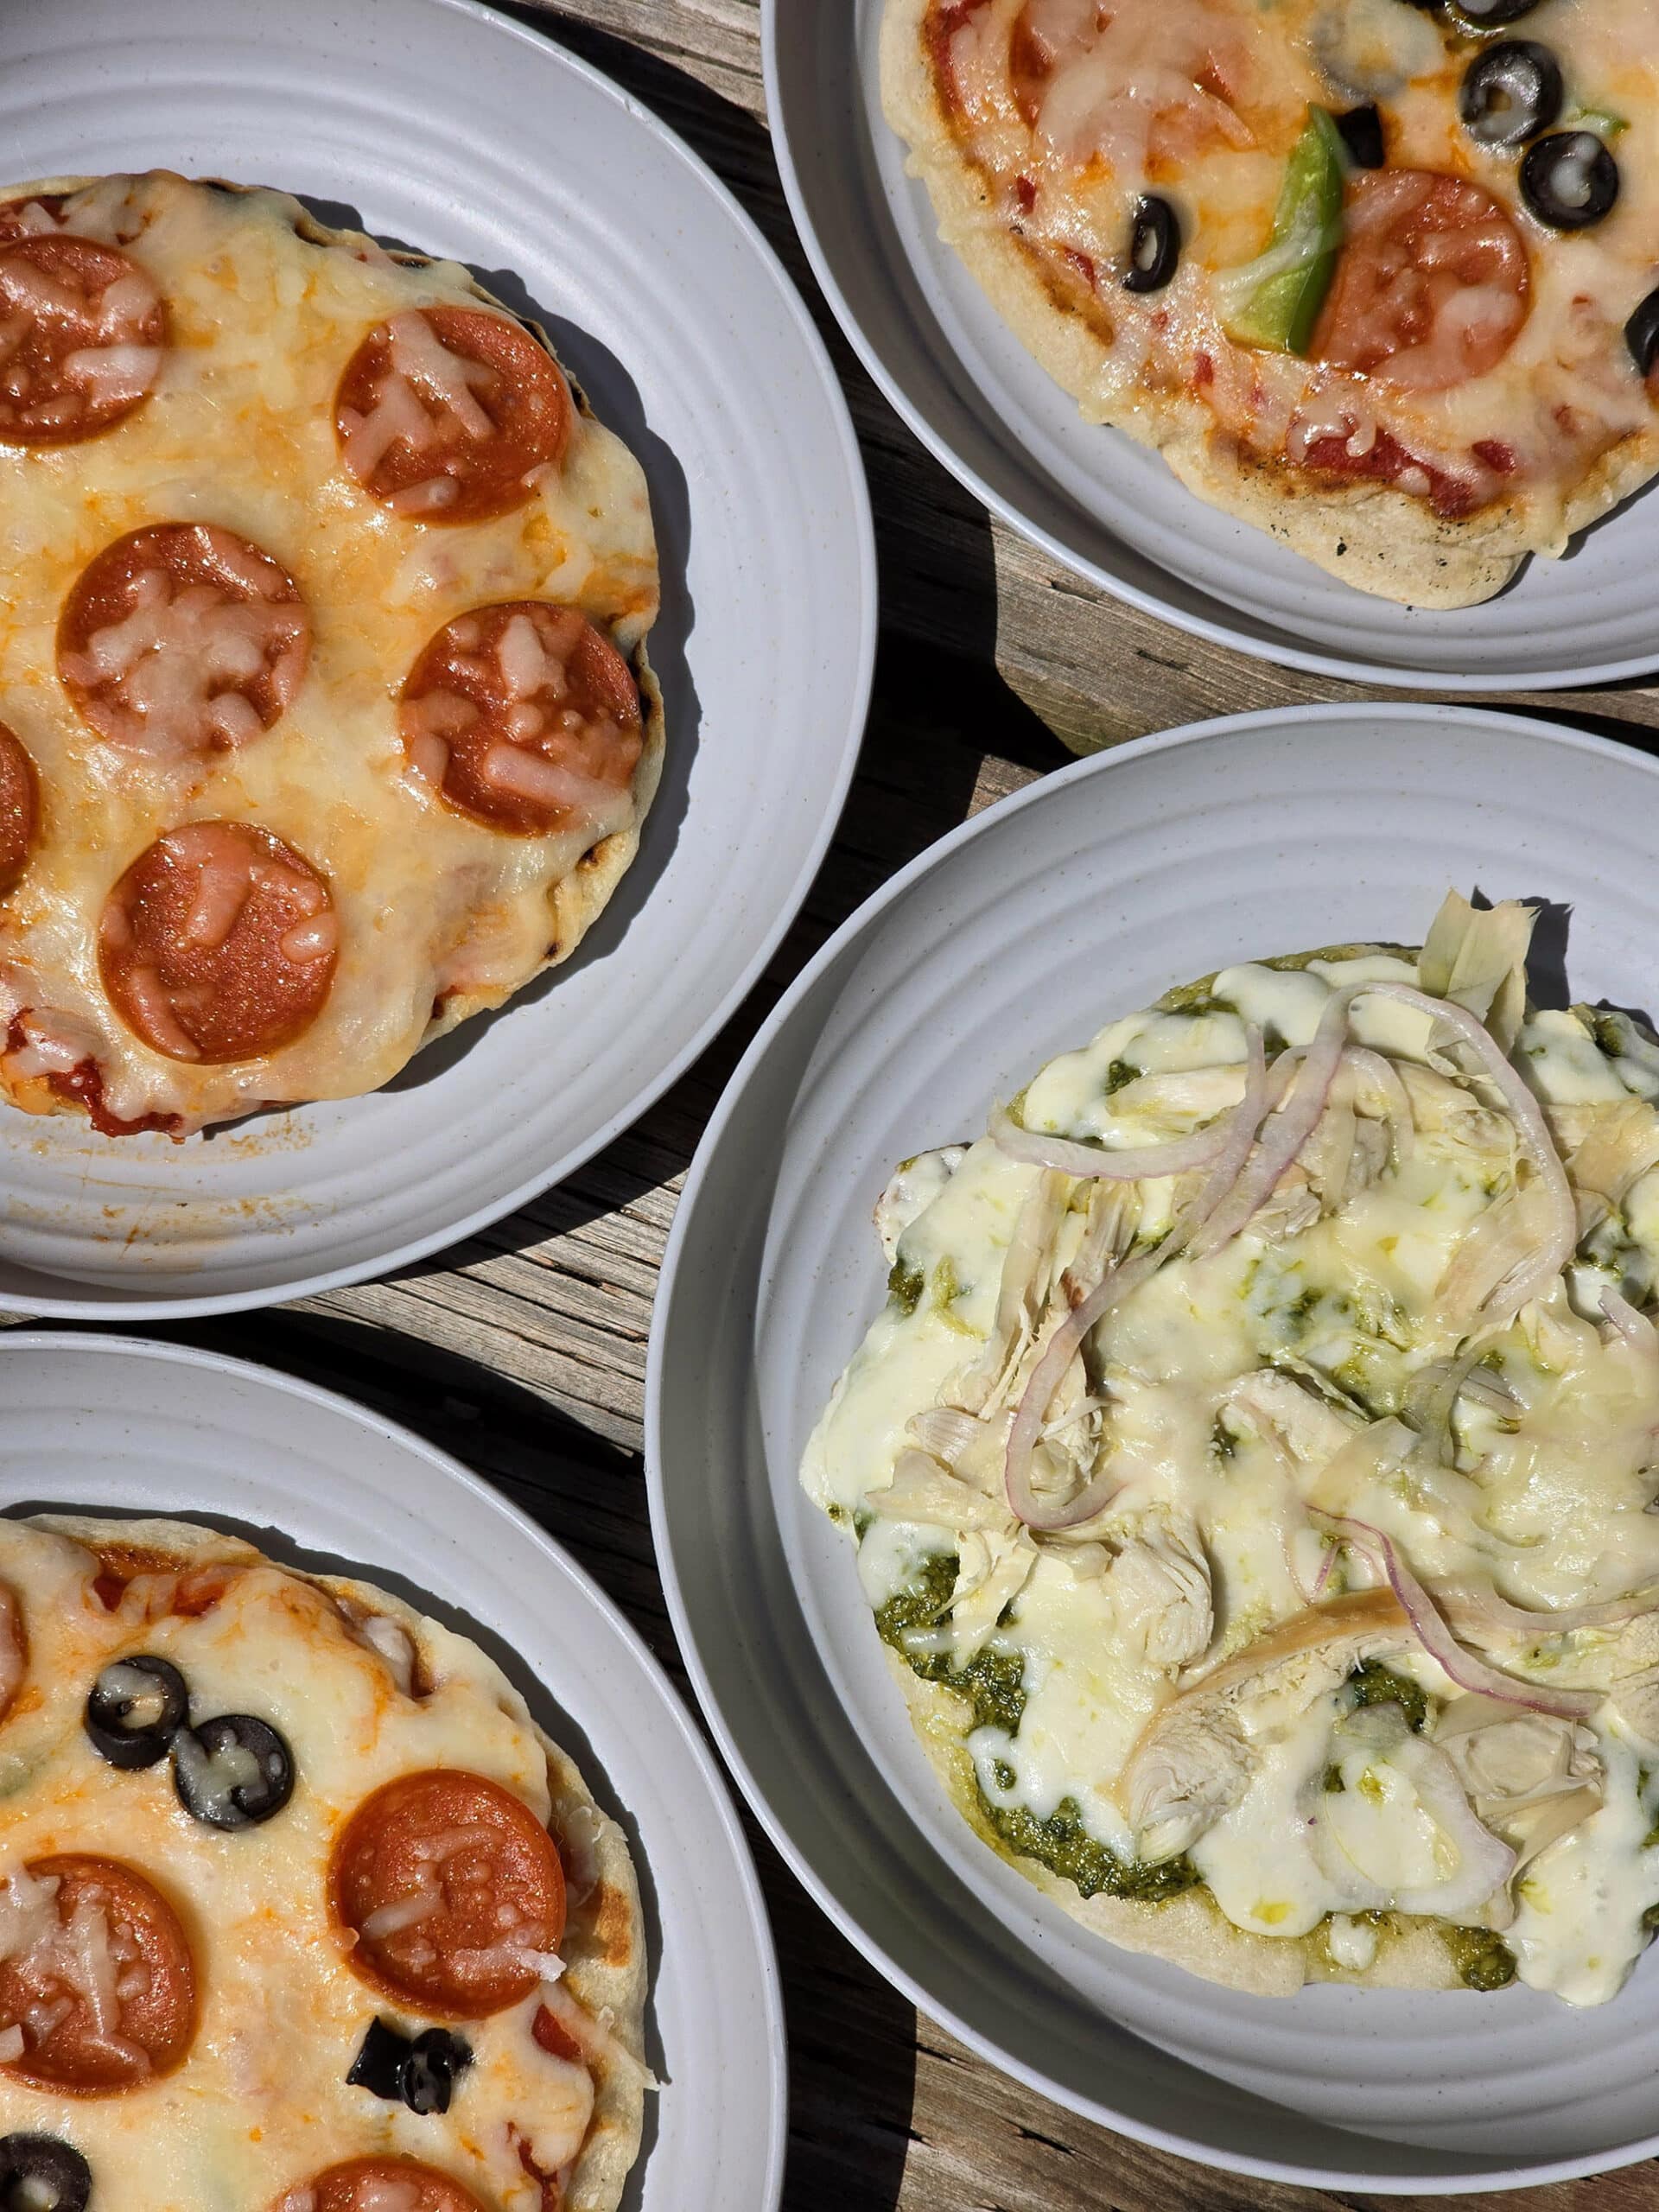
Individual pizzas can be made to personal preference - size, thickness, favorite pizza toppings - so everyone gets a great pizza!
Personally, I like - well, need - to make my own pizza dough. As someone who’s gluten-intolerant, most of the easy pizza dough recipes out there ... aren’t something I can use.
The dough in this post is a simple recipe, and allows you to make your dough from an instant mix - no fussing with blooming yeast in water, etc!
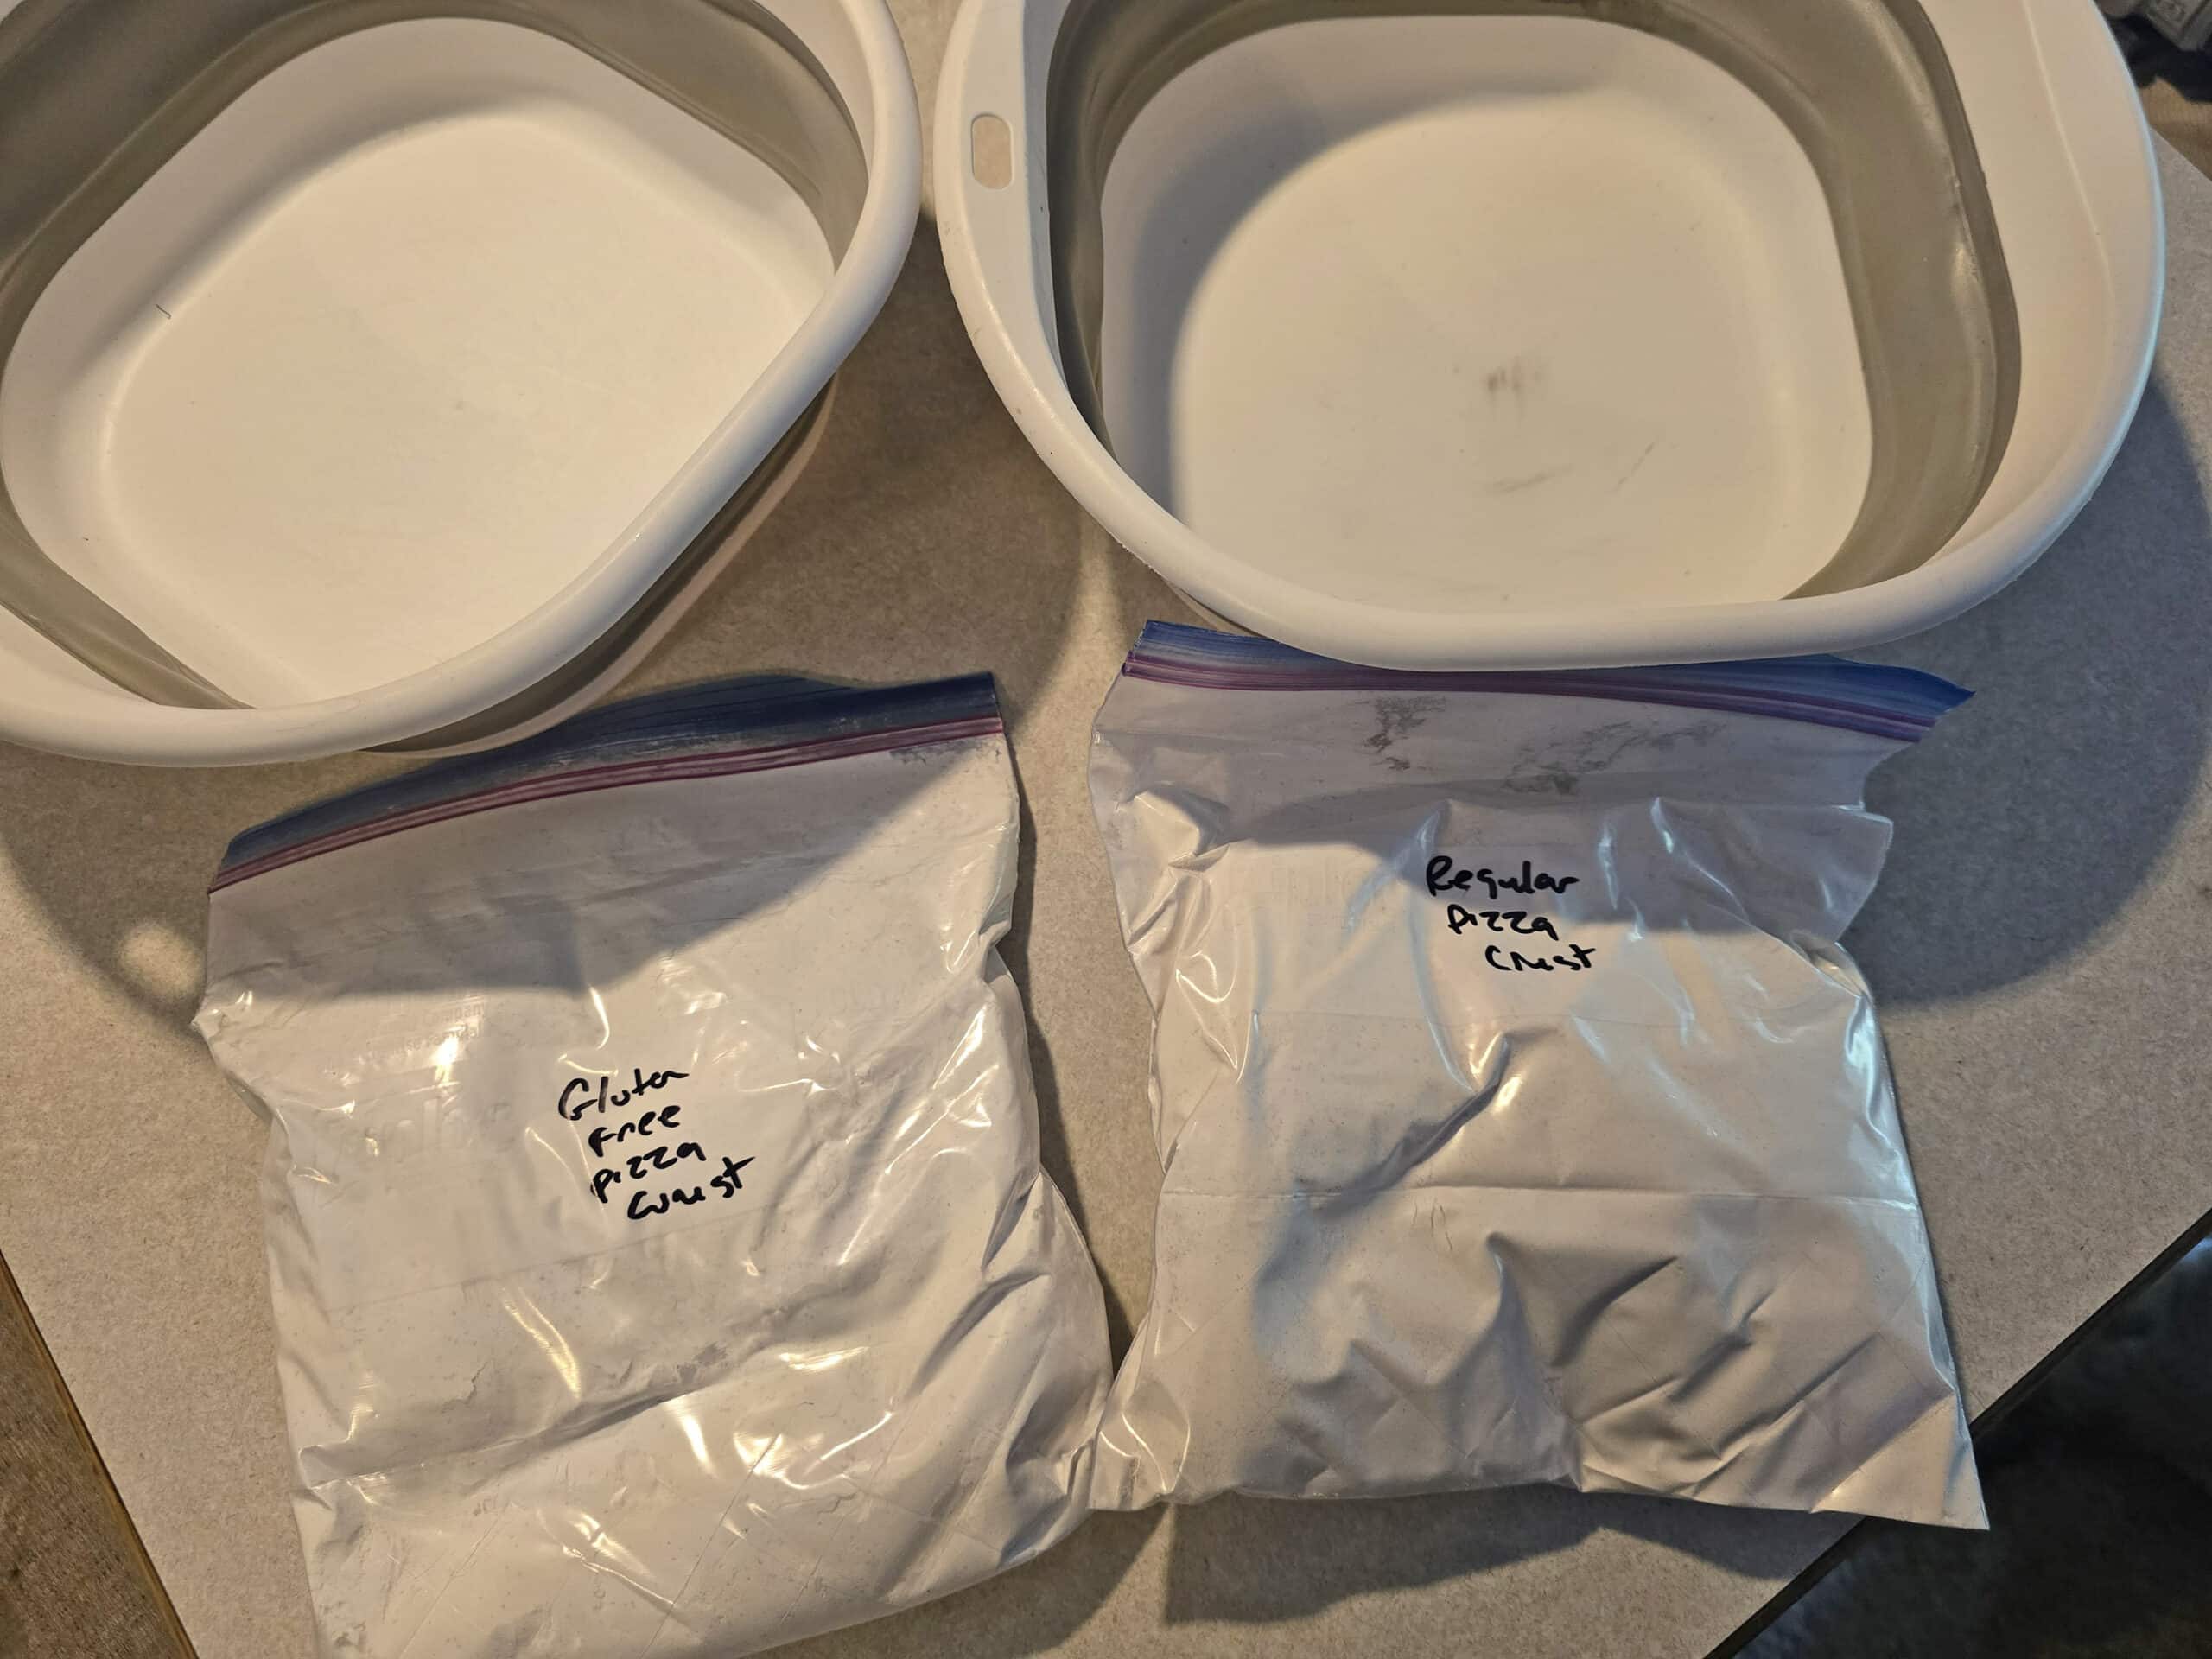
I make my own dough, separately - from my Gluten Free Pizza Crust Mix. It produces the same volume of dough as this recipe, and can be used with the same technique.
It quickly became a new camping tradition for us!
Not only is it just a great recipe in general, it make a fun activity out of meal prep.
Anyway, let’s look at what you’ll need, so you can get set up to make some campfire pizza on your next campig trip. It’s sure to become a new favorite camping meal!
Ingredients
This recipe uses VERY simple ingredients, it shouldn’t be too hard to find what you need in almost any grocery store.
As always, I have some ingredient notes for you:
All Purpose Flour
This recipe was developed using all-purpose flour.
Bread flour will work, and you can swap out up to ⅓ of the flour for whole wheat flour, if you like.
That’s about it as far as recommended substitutions go, though. Cake/pastry flour doesn’t have enough gluten, and “all-purpose” gluten free flours are definitely not going to work without some tweaking of the liquid amount and technique.
If you’re looking for a gluten free campfire pizza, use my Gluten Free Pizza Crust Mix. Follow the directions in that post for making the dough, then the cooking technique in this post.
Instant Yeast
I usually use active dry yeast in my baking, but that doesn’t work as well when you’re making a dry mix for future use.
See, active dry yeast needs to be bloomed in water - separate from the flour - to activate the yeast.
When you use instant yeast - also known as quick rise or fast rising yeast - you can skip that step. The grains of yeast are much smaller, and activate much more easily.
That’s exactly what you need when making a homemade pizza mix. With instant yeast, you just add the warm water and oil to the mix, and form the dough.
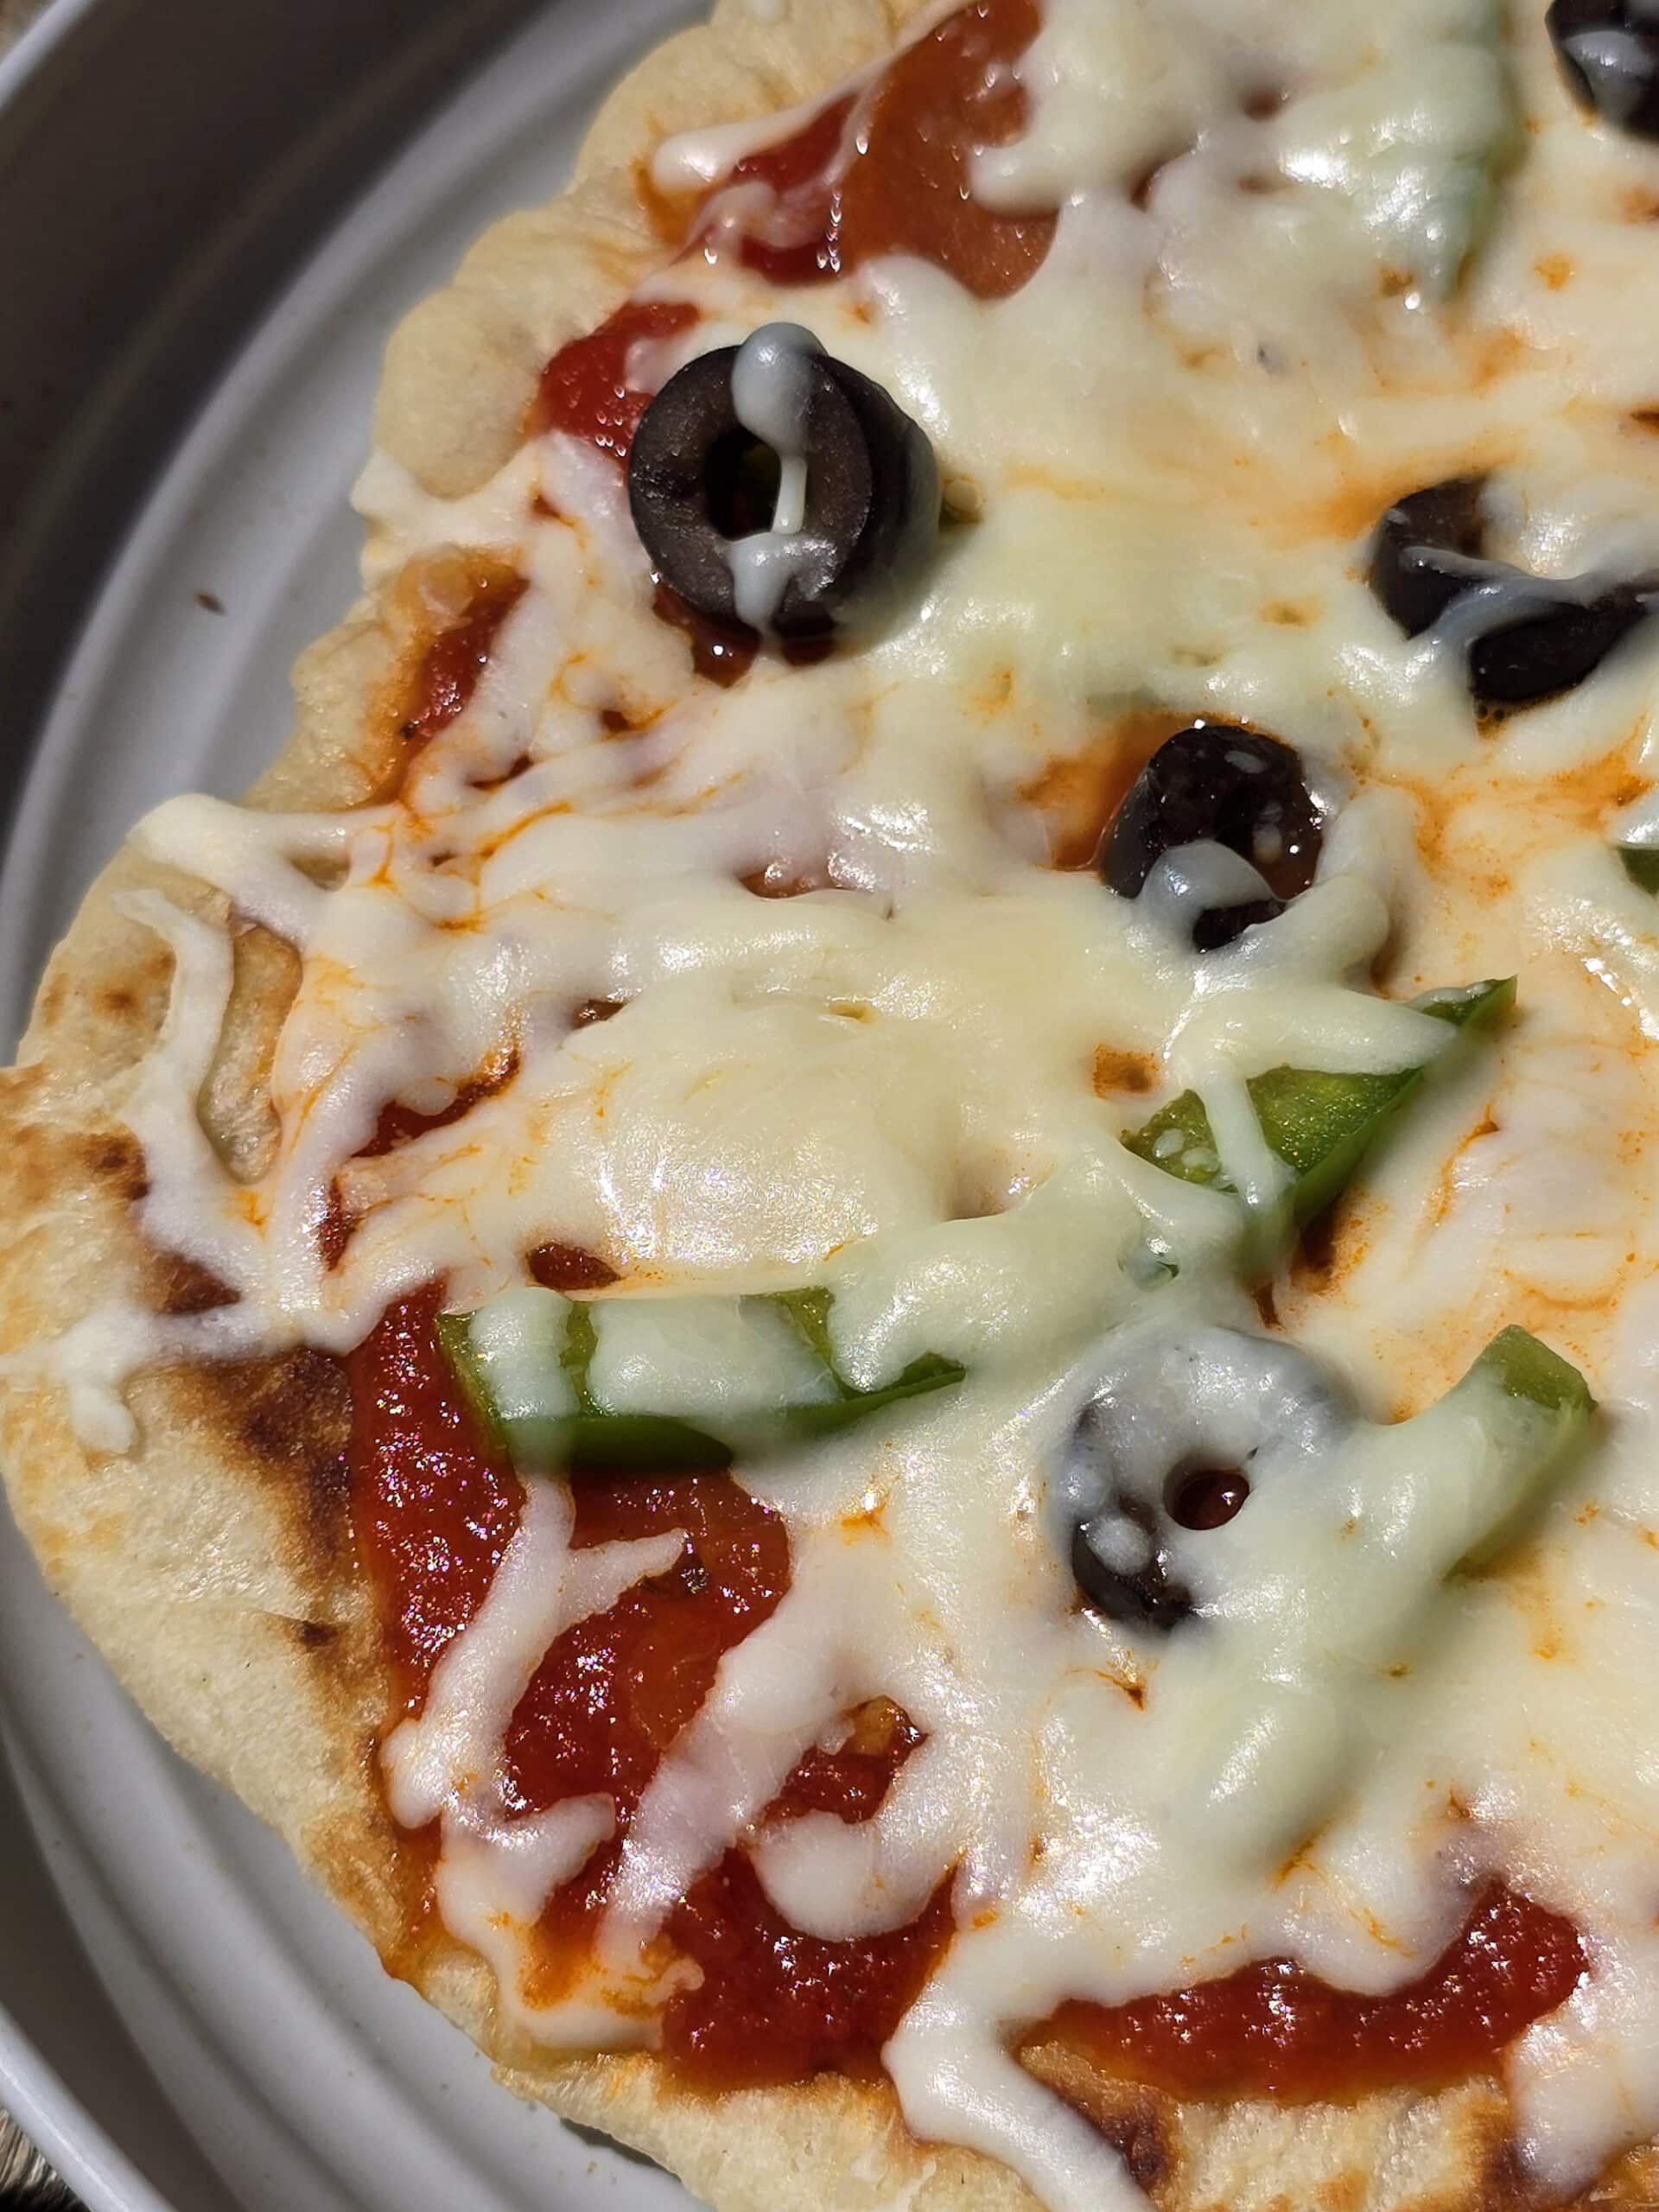
Pizza Toppings
This recipe really is more about the crust and the technique, so I’m not going to police anyone on the toppings! Really, use whatever you like!
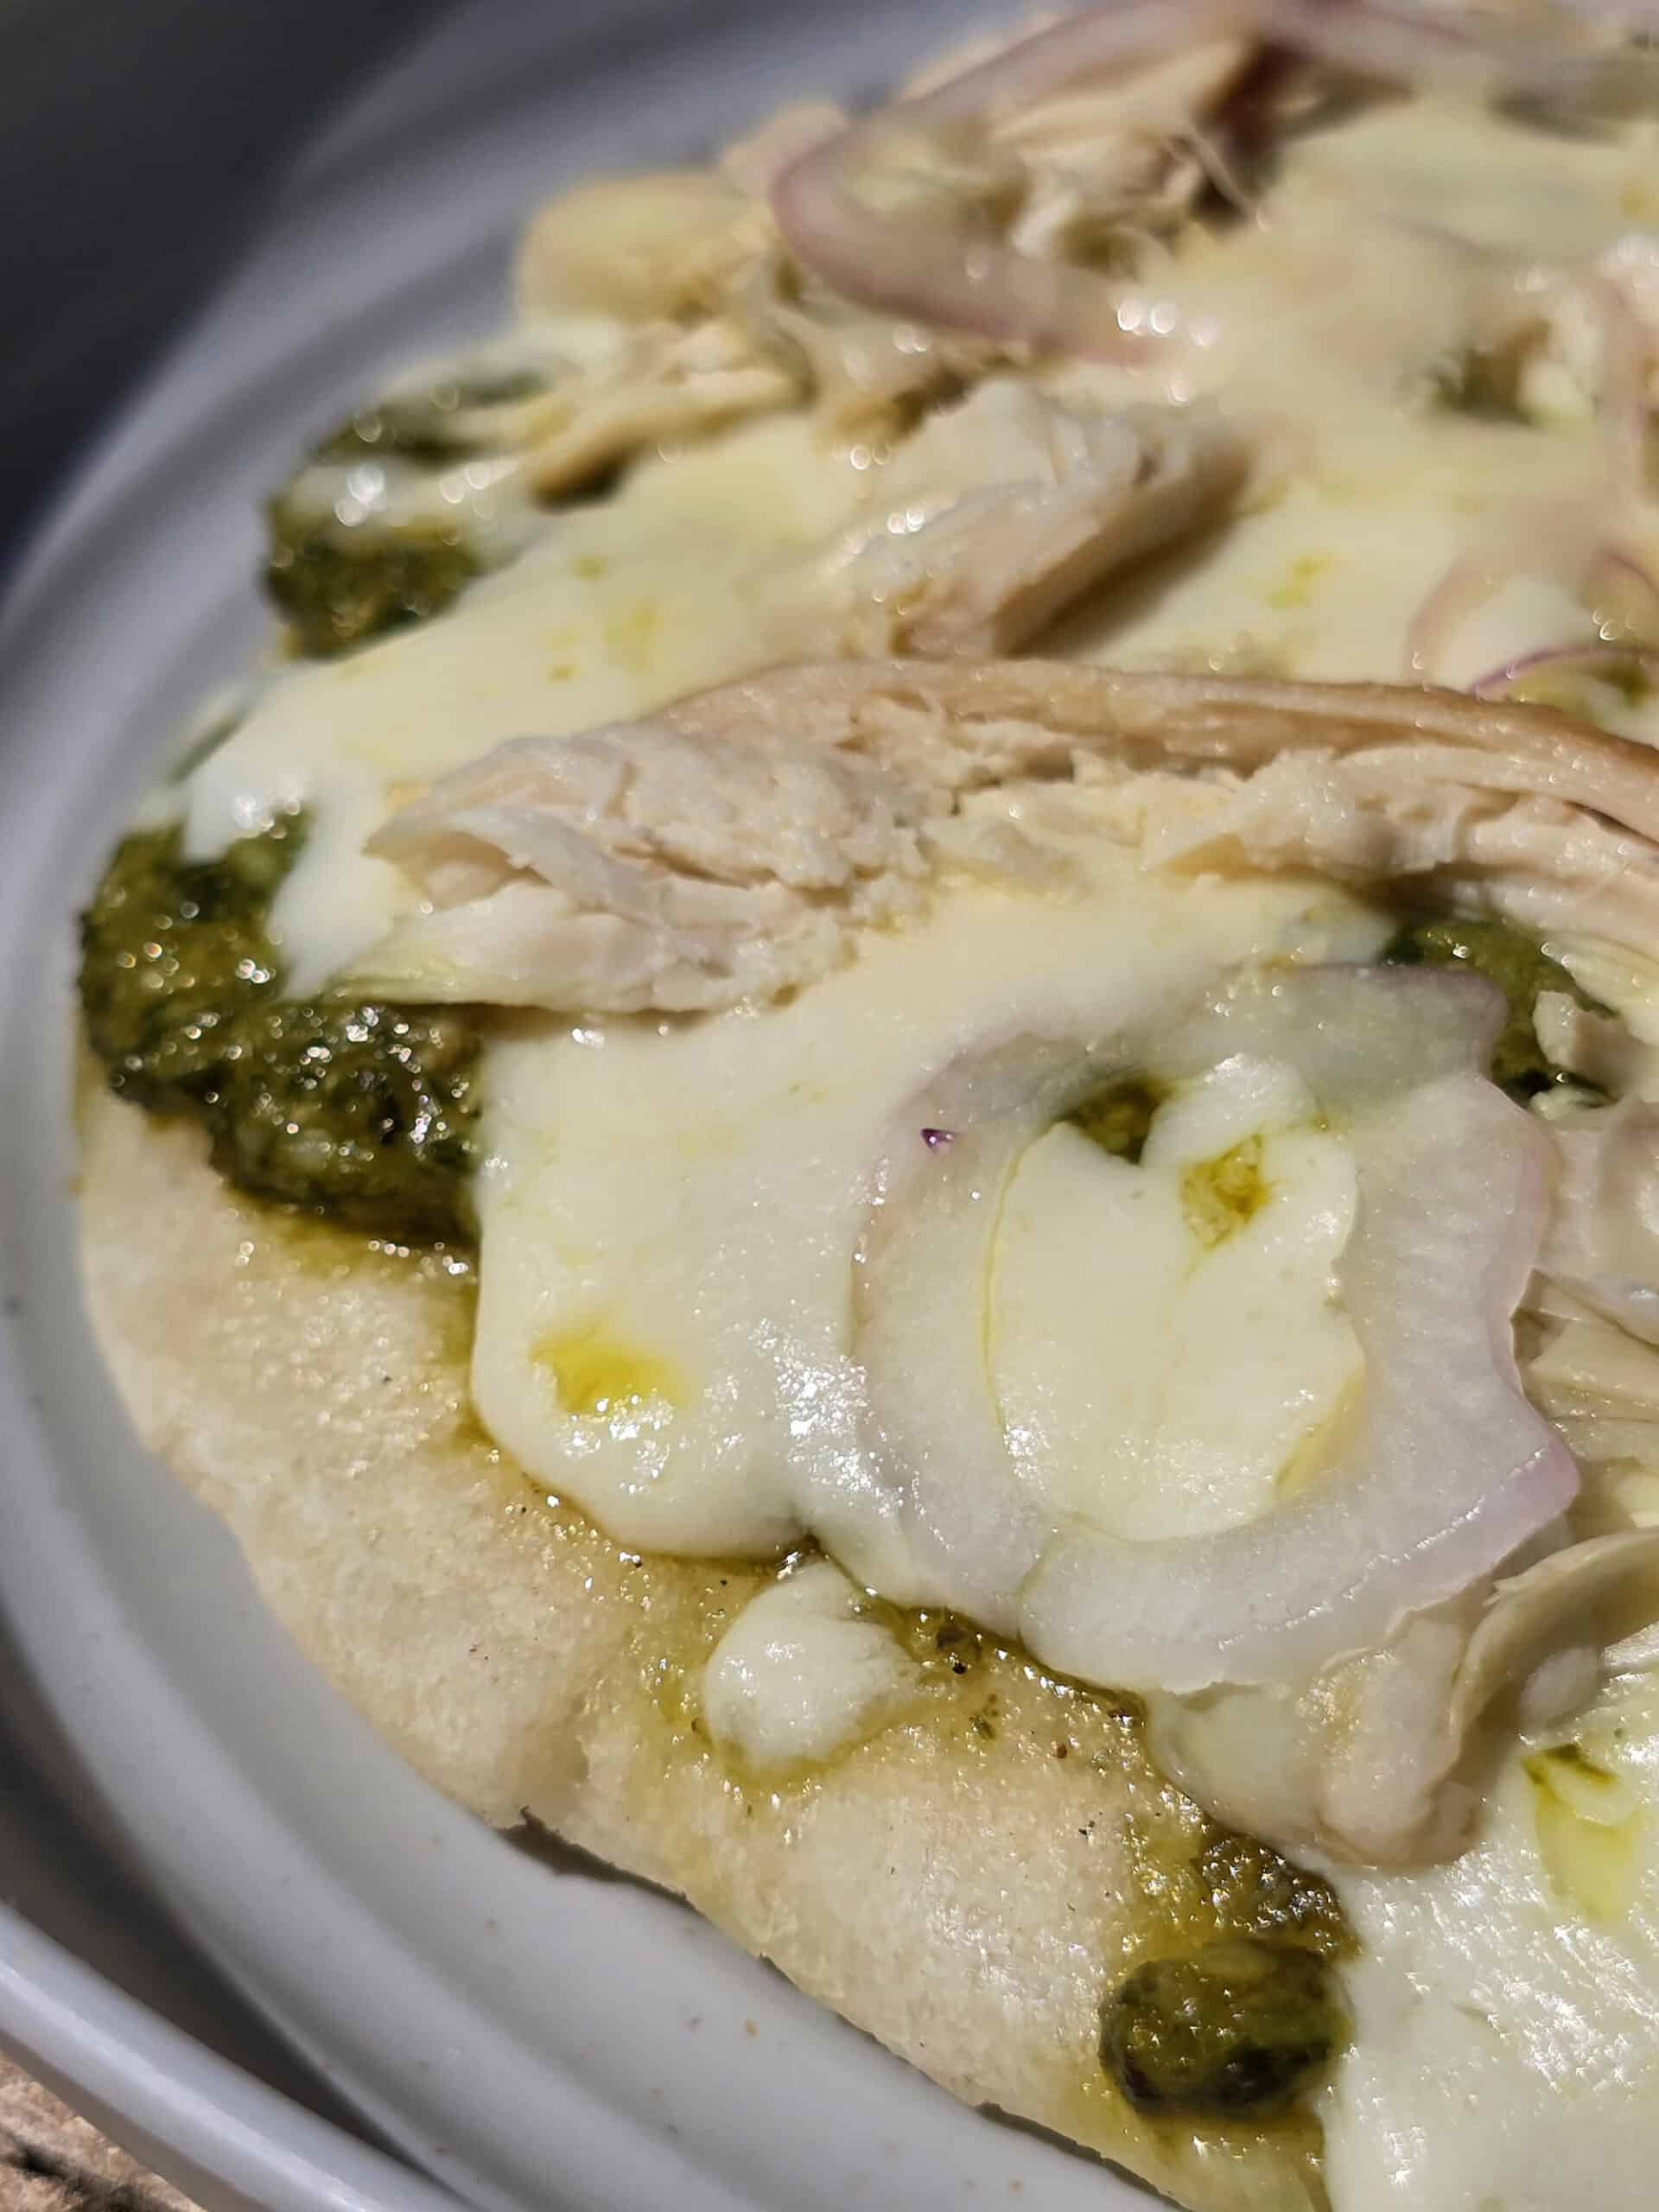
For the sauce, we’ll usually use a regular pizza sauce, but we’ve made this recipe with BBQ sauce (for a BBQ chicken pizza), Basil Pesto, and even Alfredo sauce.
It’s fun to have a couple options on hand, to let your family REALLY customize their personal pizzas.
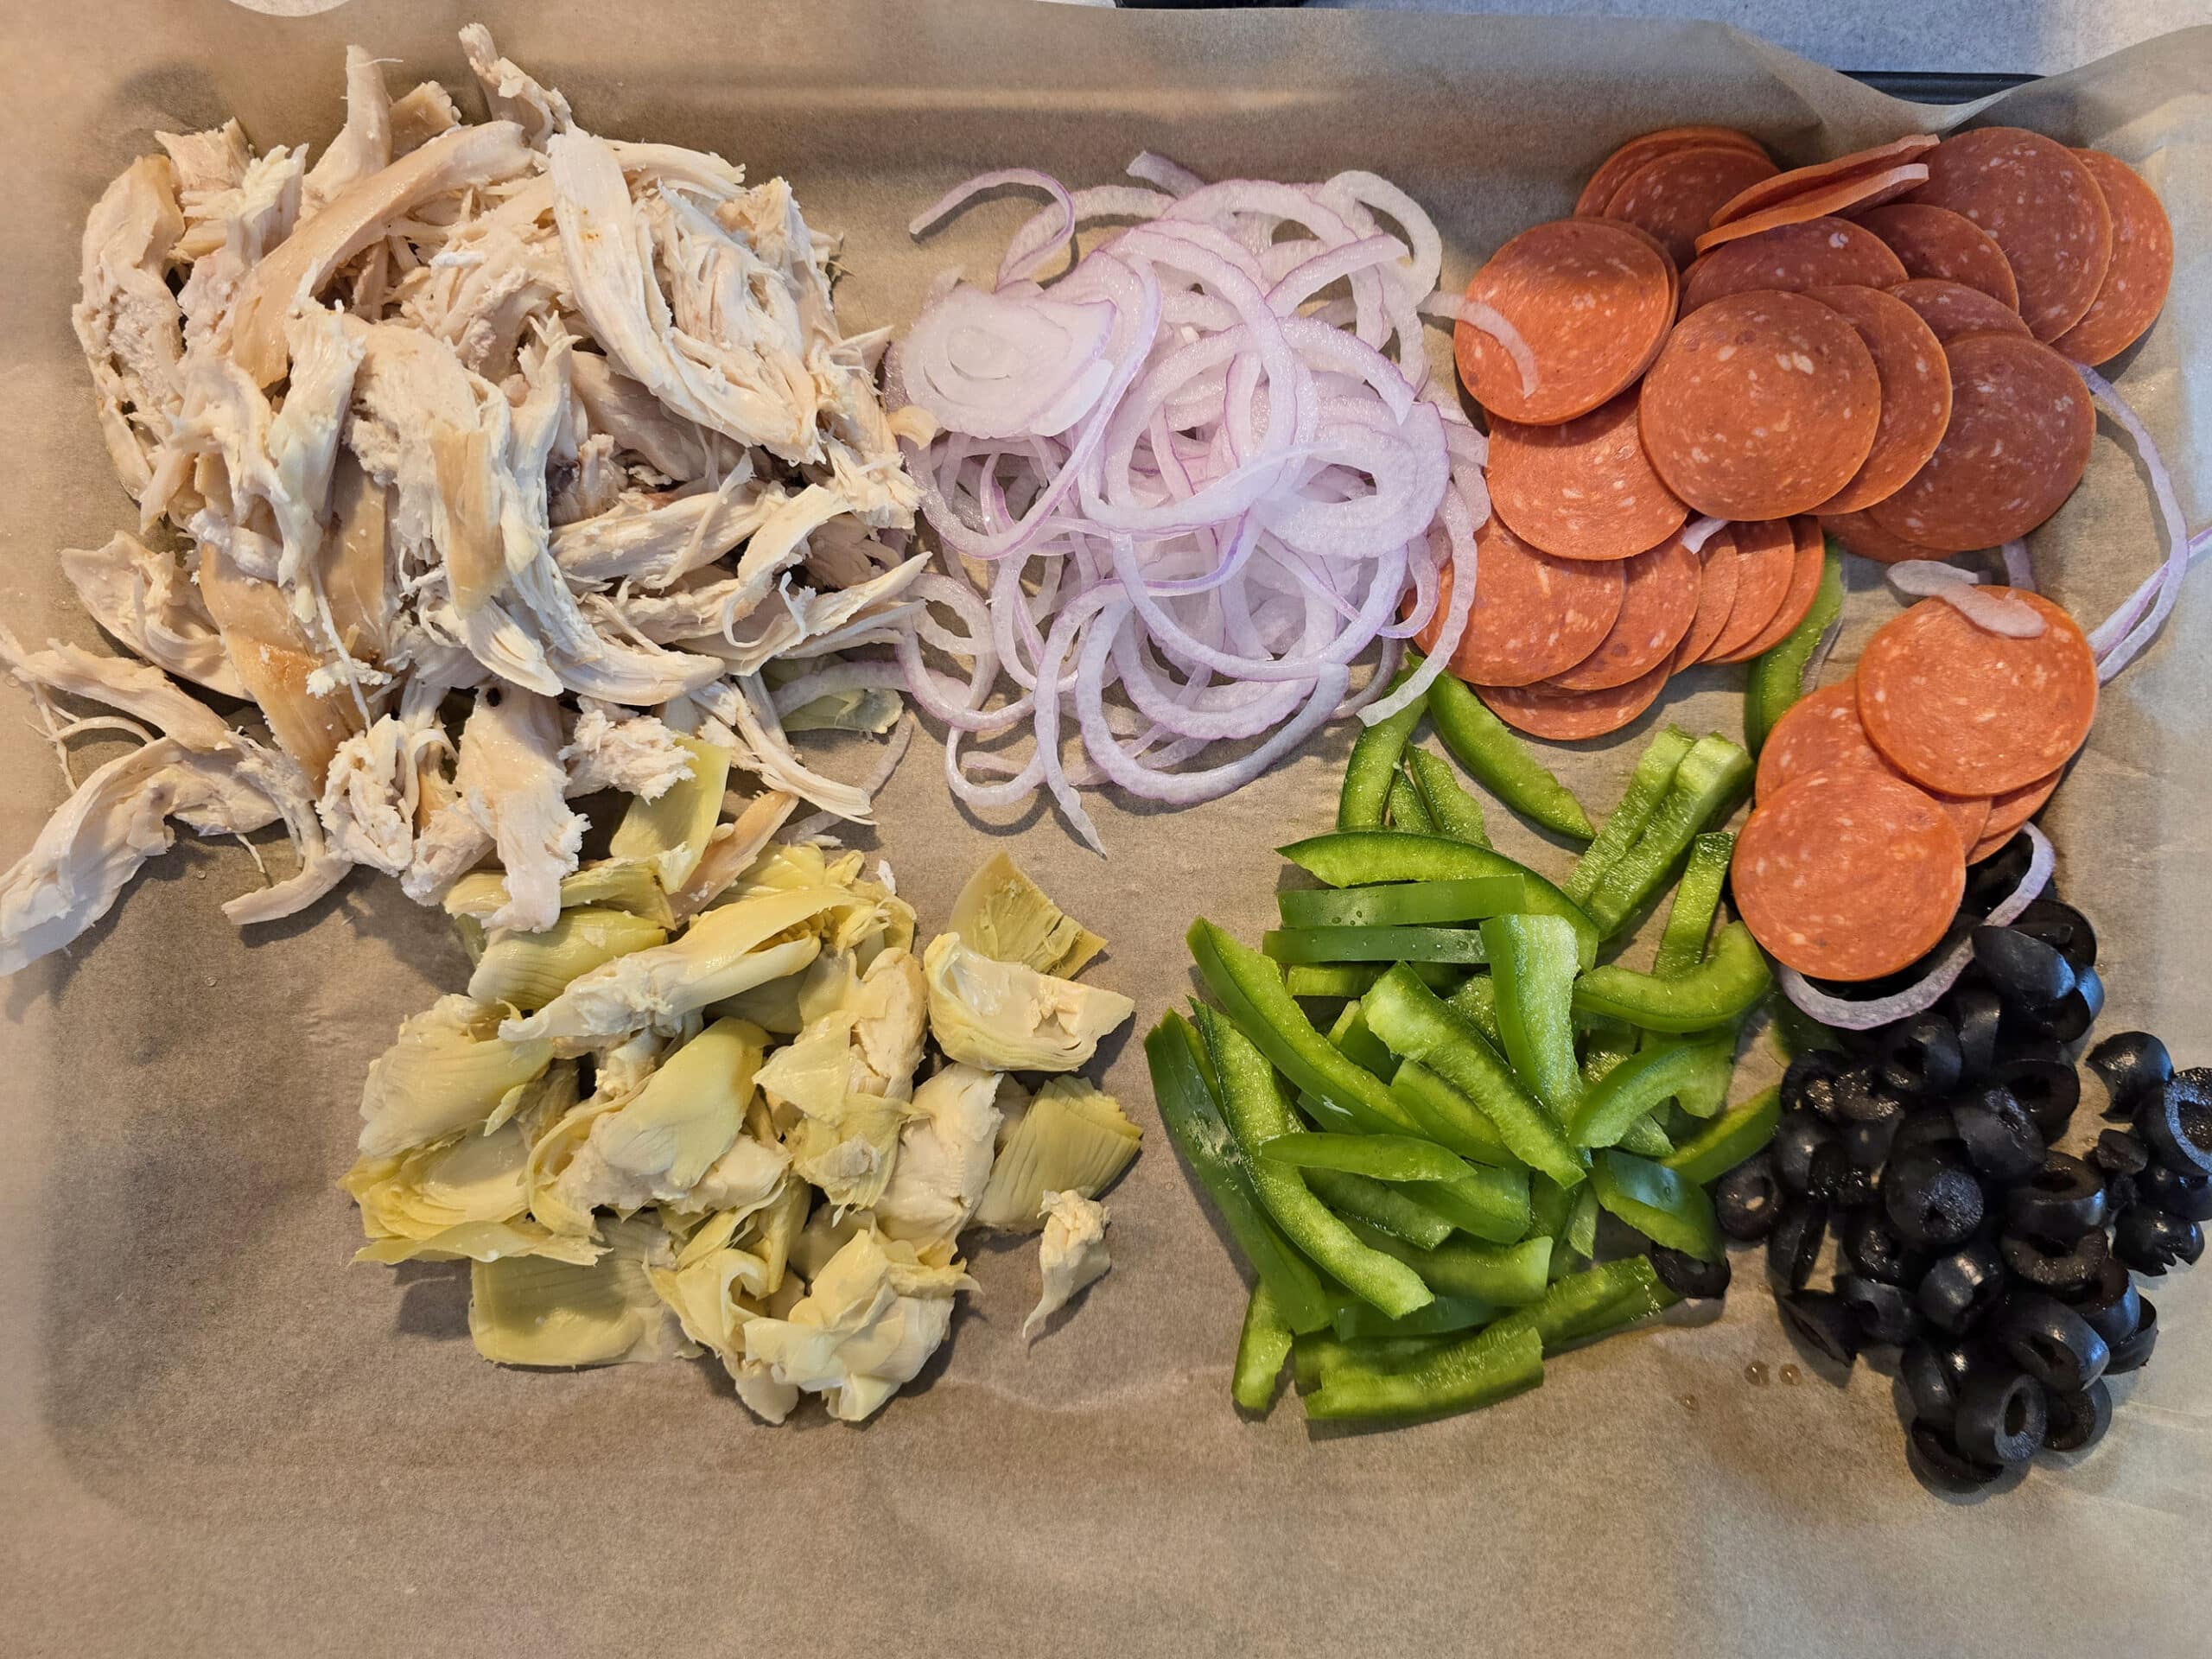
As for toppings, we’ve done everything from pepperoni slices alone, to cooked chicken.
Bell peppers, crumbled Italian sausage, mushrooms... use whatever you like!
For the BBQ chicken pizza, we use green peppers, red onion, and olives - see my Dutch Oven Pulled Chicken for the easy way we cook the chicken on our campsite.
On that note, I’ll use canned artichoke hearts (well drained), red onion, and plain pulled chicken as my go-tos when making an Alfredo or Pesto pizza.
Shredded Cheese
We buy pre-shredded cheese when making these on the road - Pizza Mozzarella - because I don’t want to fuss with shredding a block of cheese in the RV.
That said, using a brick of cheese - rather than pre shredded - will give you a nicer final texture and flavour, IMHO.
Sometimes, we’ll use something like a “Quattro Fromaggi” mix, or toss some Parmesan on top. If we’re doing a BBQ chicken pizza, we’ll usually use Monterey Jack and/or Cheddar.
Really, use whatever you like, and whatever makes sense for the pizza you’re making.
Everything Else
Rounding out this recipe, you will need:
Extra Virgin Olive Oil
Cooking Spray
Granulated Sugar
Salt
... nothing to add, here! Like I said.. Really basic ingredients!

Share the Love!If you’ve made one of our recipes, be sure to take some pics of your handiwork! If you post it to Bluesky, be sure to tag us - @2NerdsInATruck, or you can tag us on TikTok, if you’re posting video. We're also on Pinterest, so you can save all your favourite recipes and park reviews to your own boards! Also, be sure to subscribe to our free email newsletter, so you never miss out on any of our nonsense. Well, the published nonsense, anyway! |
How to Make Campfire Pizza
The full recipe is in the printable recipe card at the bottom of this post, here is the visual walk through:
Homemade Pizza Crust Mix
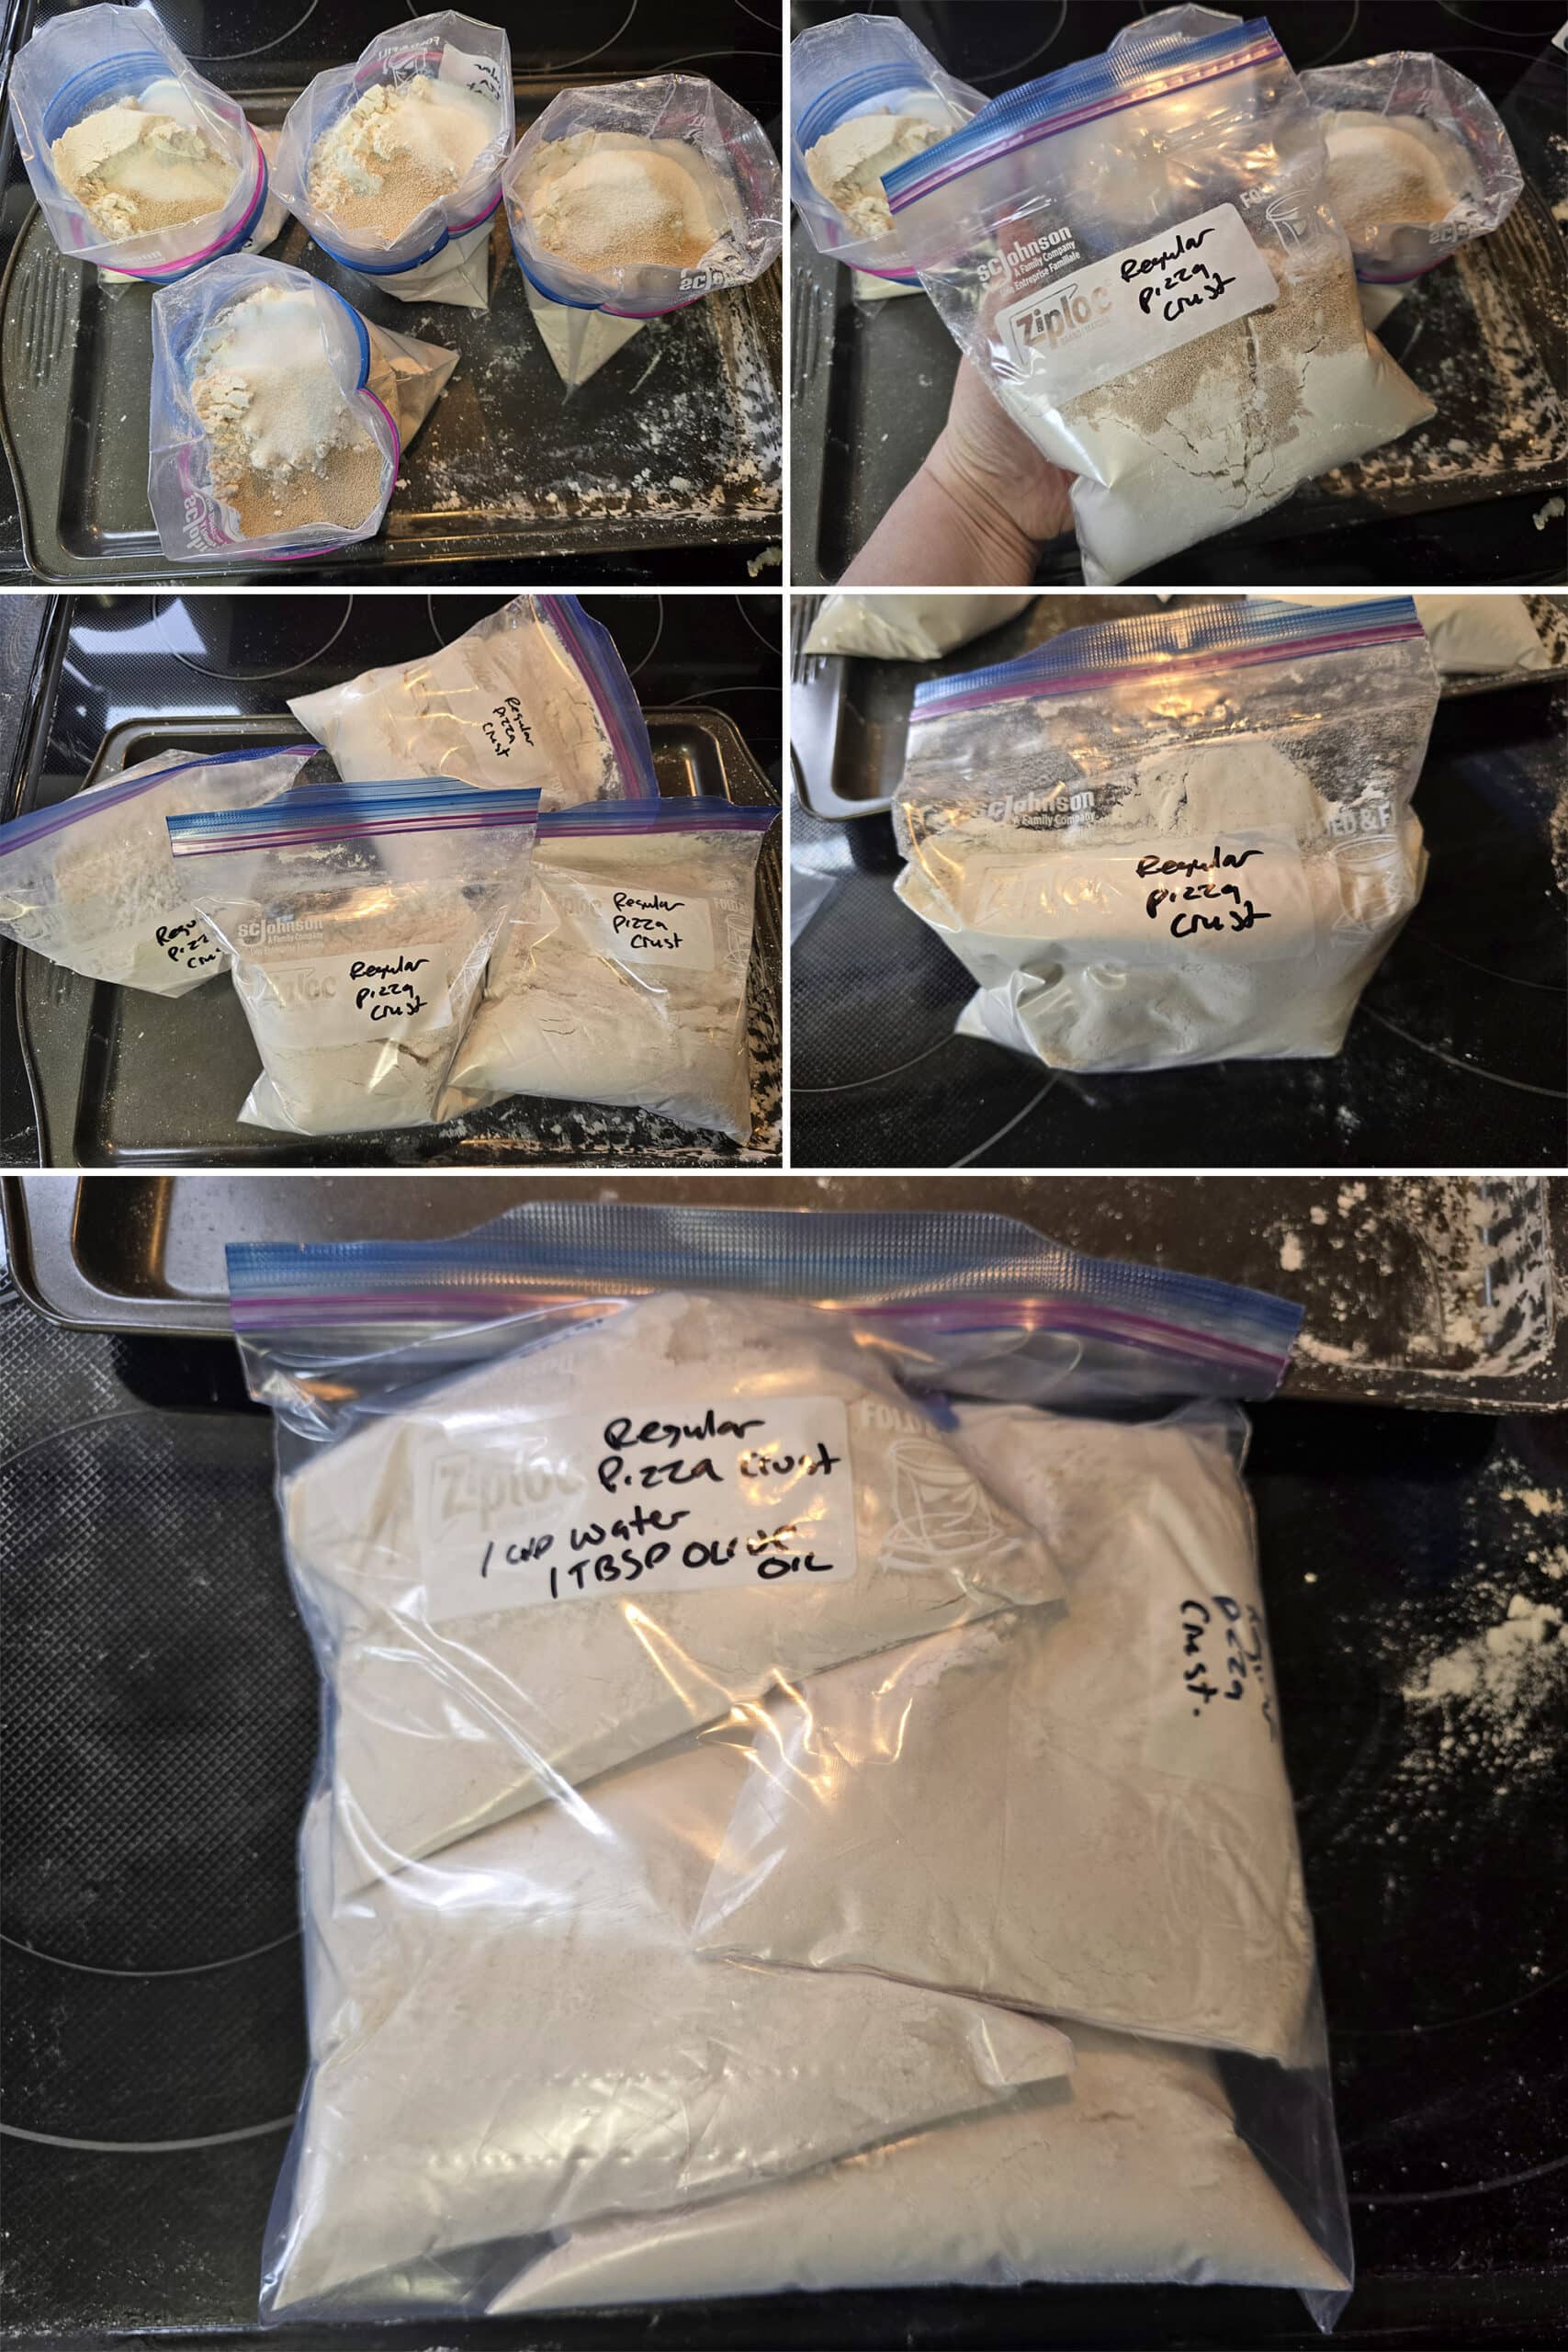
Label a medium sized freezer baggie with “Pizza Crust Mix”, the ingredients under “To Use the Mix”, and any of the directions you’ll want to have on hand.
Measure the flour, yeast, salt, and sugar into the baggie. Seal, shake to combine, and allow to settle for a few seconds.
Re-open the baggie, gently press out any excess air and re-seal. Store in a cool, dark, DRY place until ready to use.
To Use the Mix
Dump the mix into a large mixing bowl, or the bowl of a stand mixer.
Add the warm water and olive oil, stir well with a wooden spoon or silicone spatula to combine.
Dump dough out onto a floured surface - or just work in a large bowl - and knead until soft and smooth, about 3-5 minutes.
You want the dough smooth, but just very slightly sticky. If the dough isn’t a little sticky, add a little water, and knead it in. If it’s TOO sticky, add a small amount of flour.

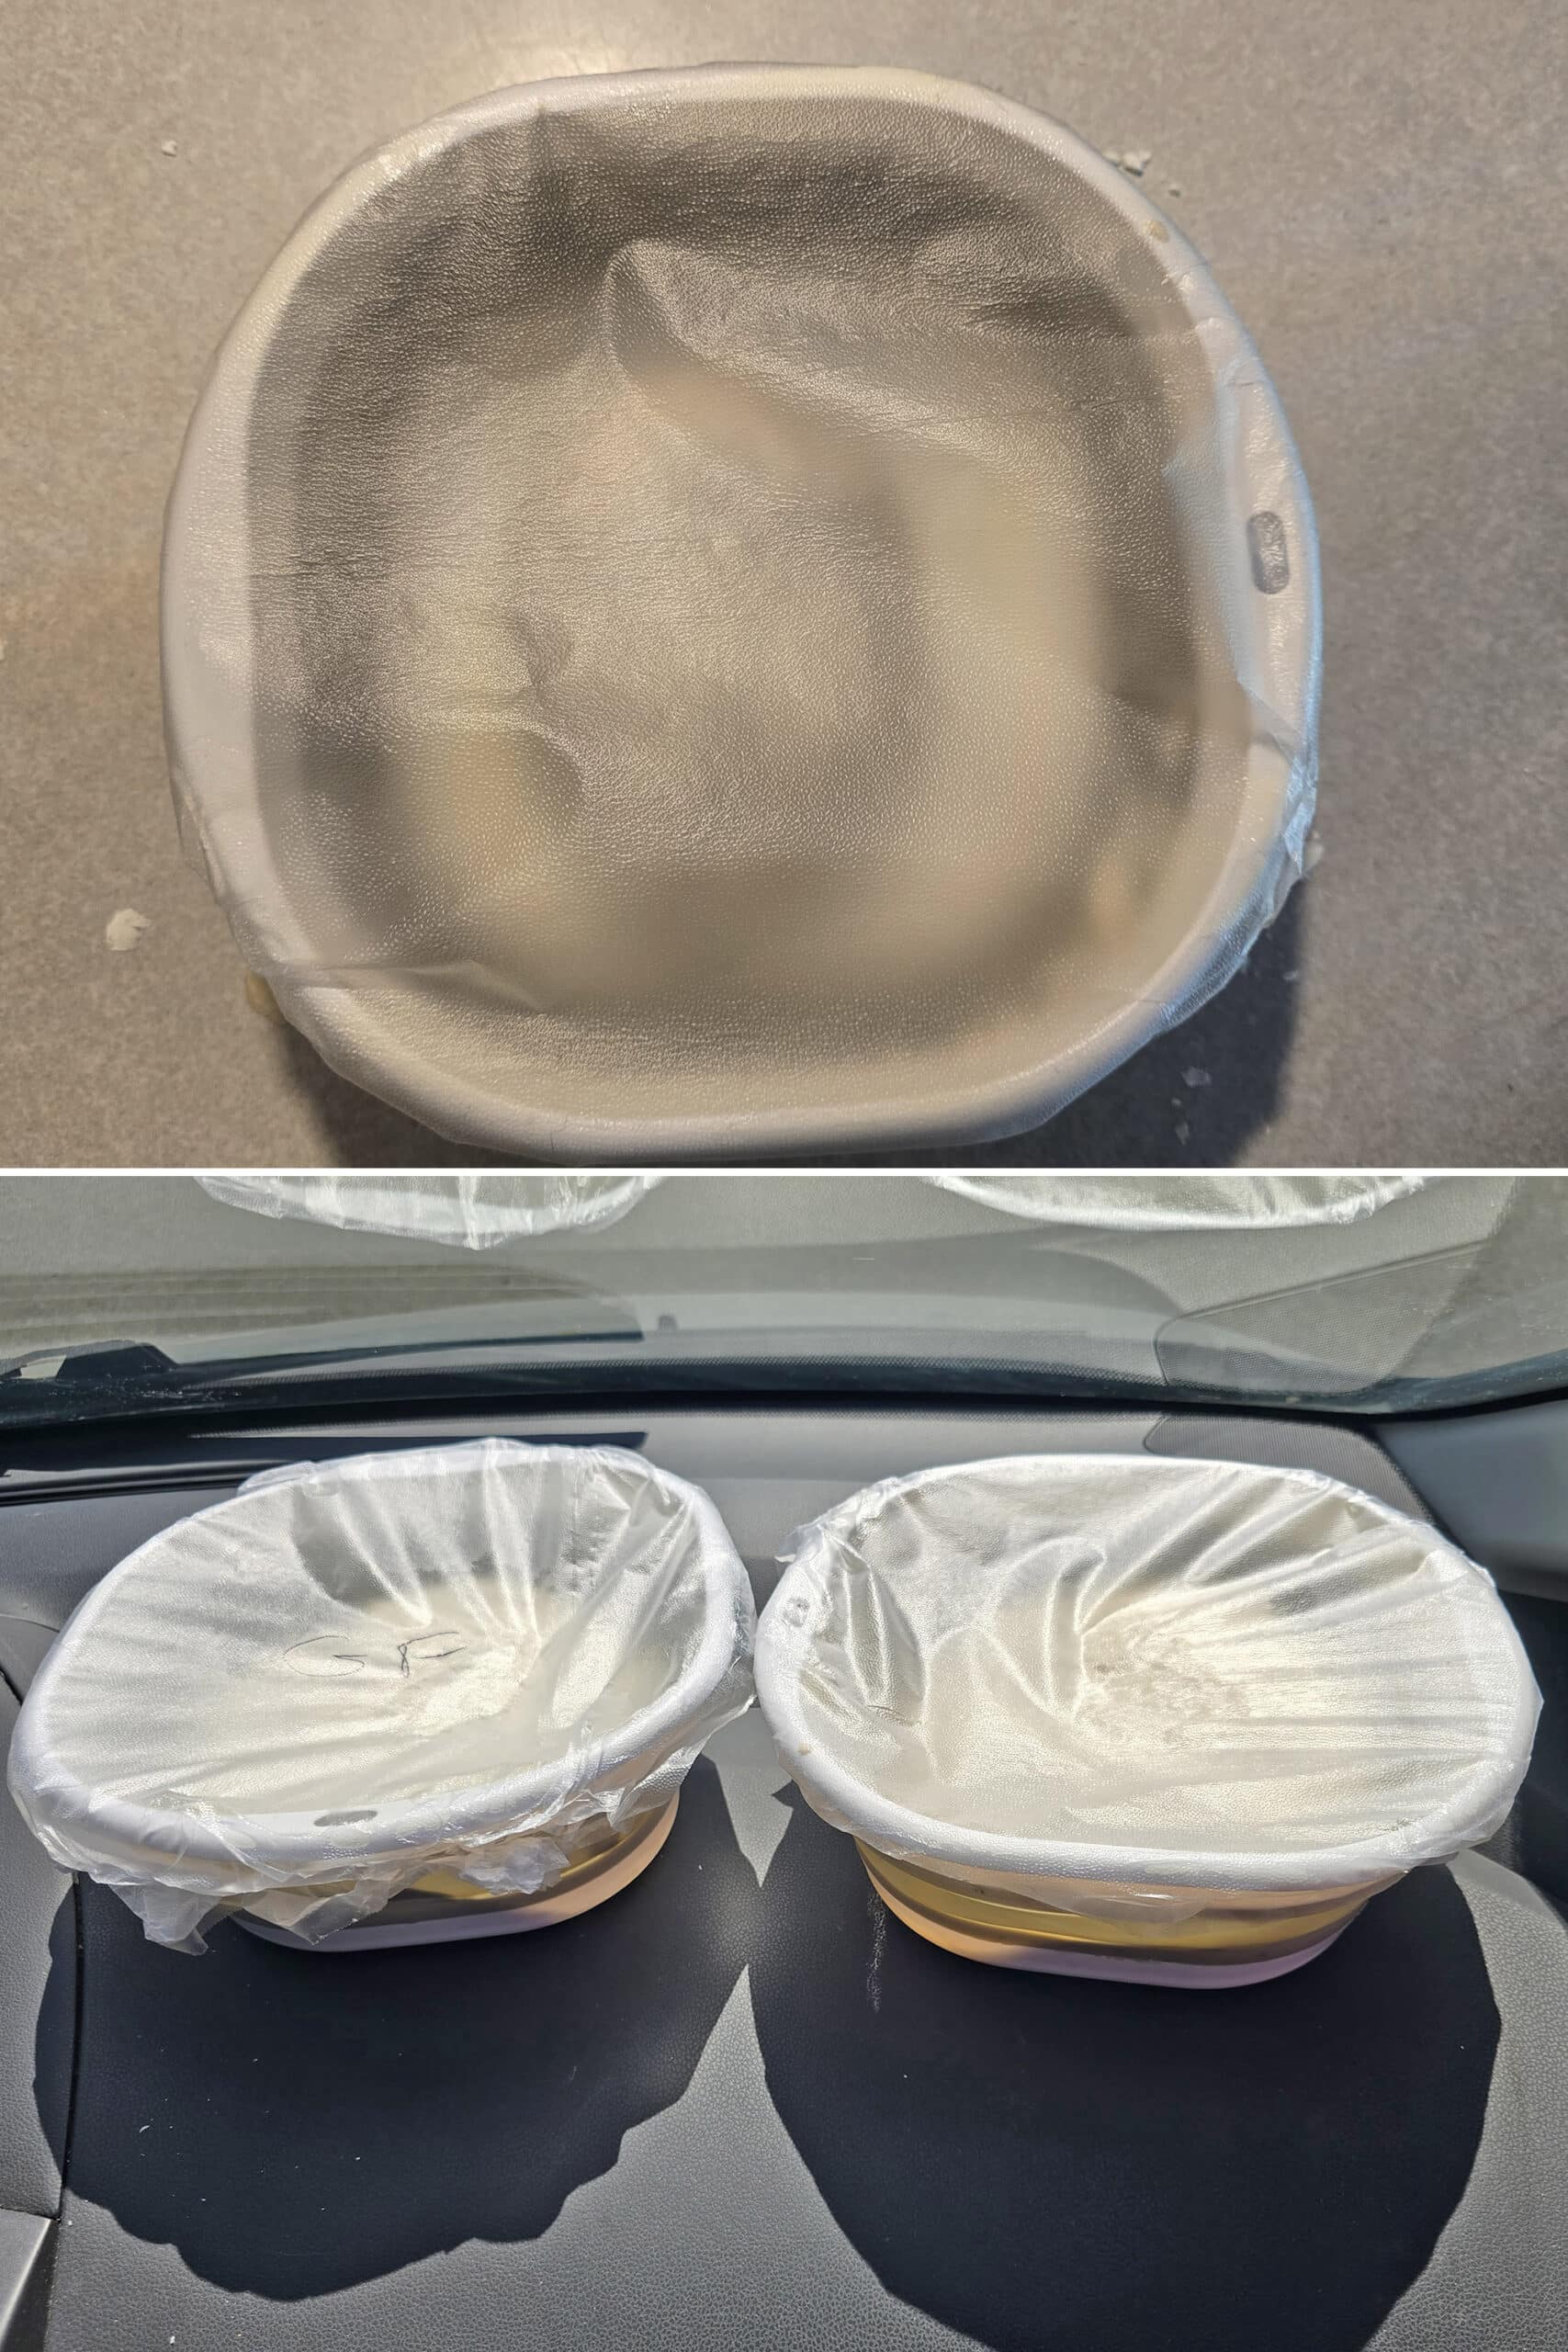
Place the ball of dough back in the bowl, cover the bowl loosely with plastic wrap, and let the dough rest in a warm place for 1 hour.
Hint: If your car is parked in the sun on a warm day, it makes a GREAT proofing oven!
Assemble and Bake the Campfire Pizza
Get a hot fire going - whether in the BBQ, a fire pit, or a charcoal grill - then place a cast iron pan on the grill grates to preheat.
Note: You can also do this as a dutch oven pizza, if you don’t have a skillet
Divide dough into 4 equal pieces, flatten each into a 6-7" round circle*.
* You can make them larger for a thin crust, or smaller for a thicker crust. Just note, it’s easier to burn thick crust, before it cooks through!
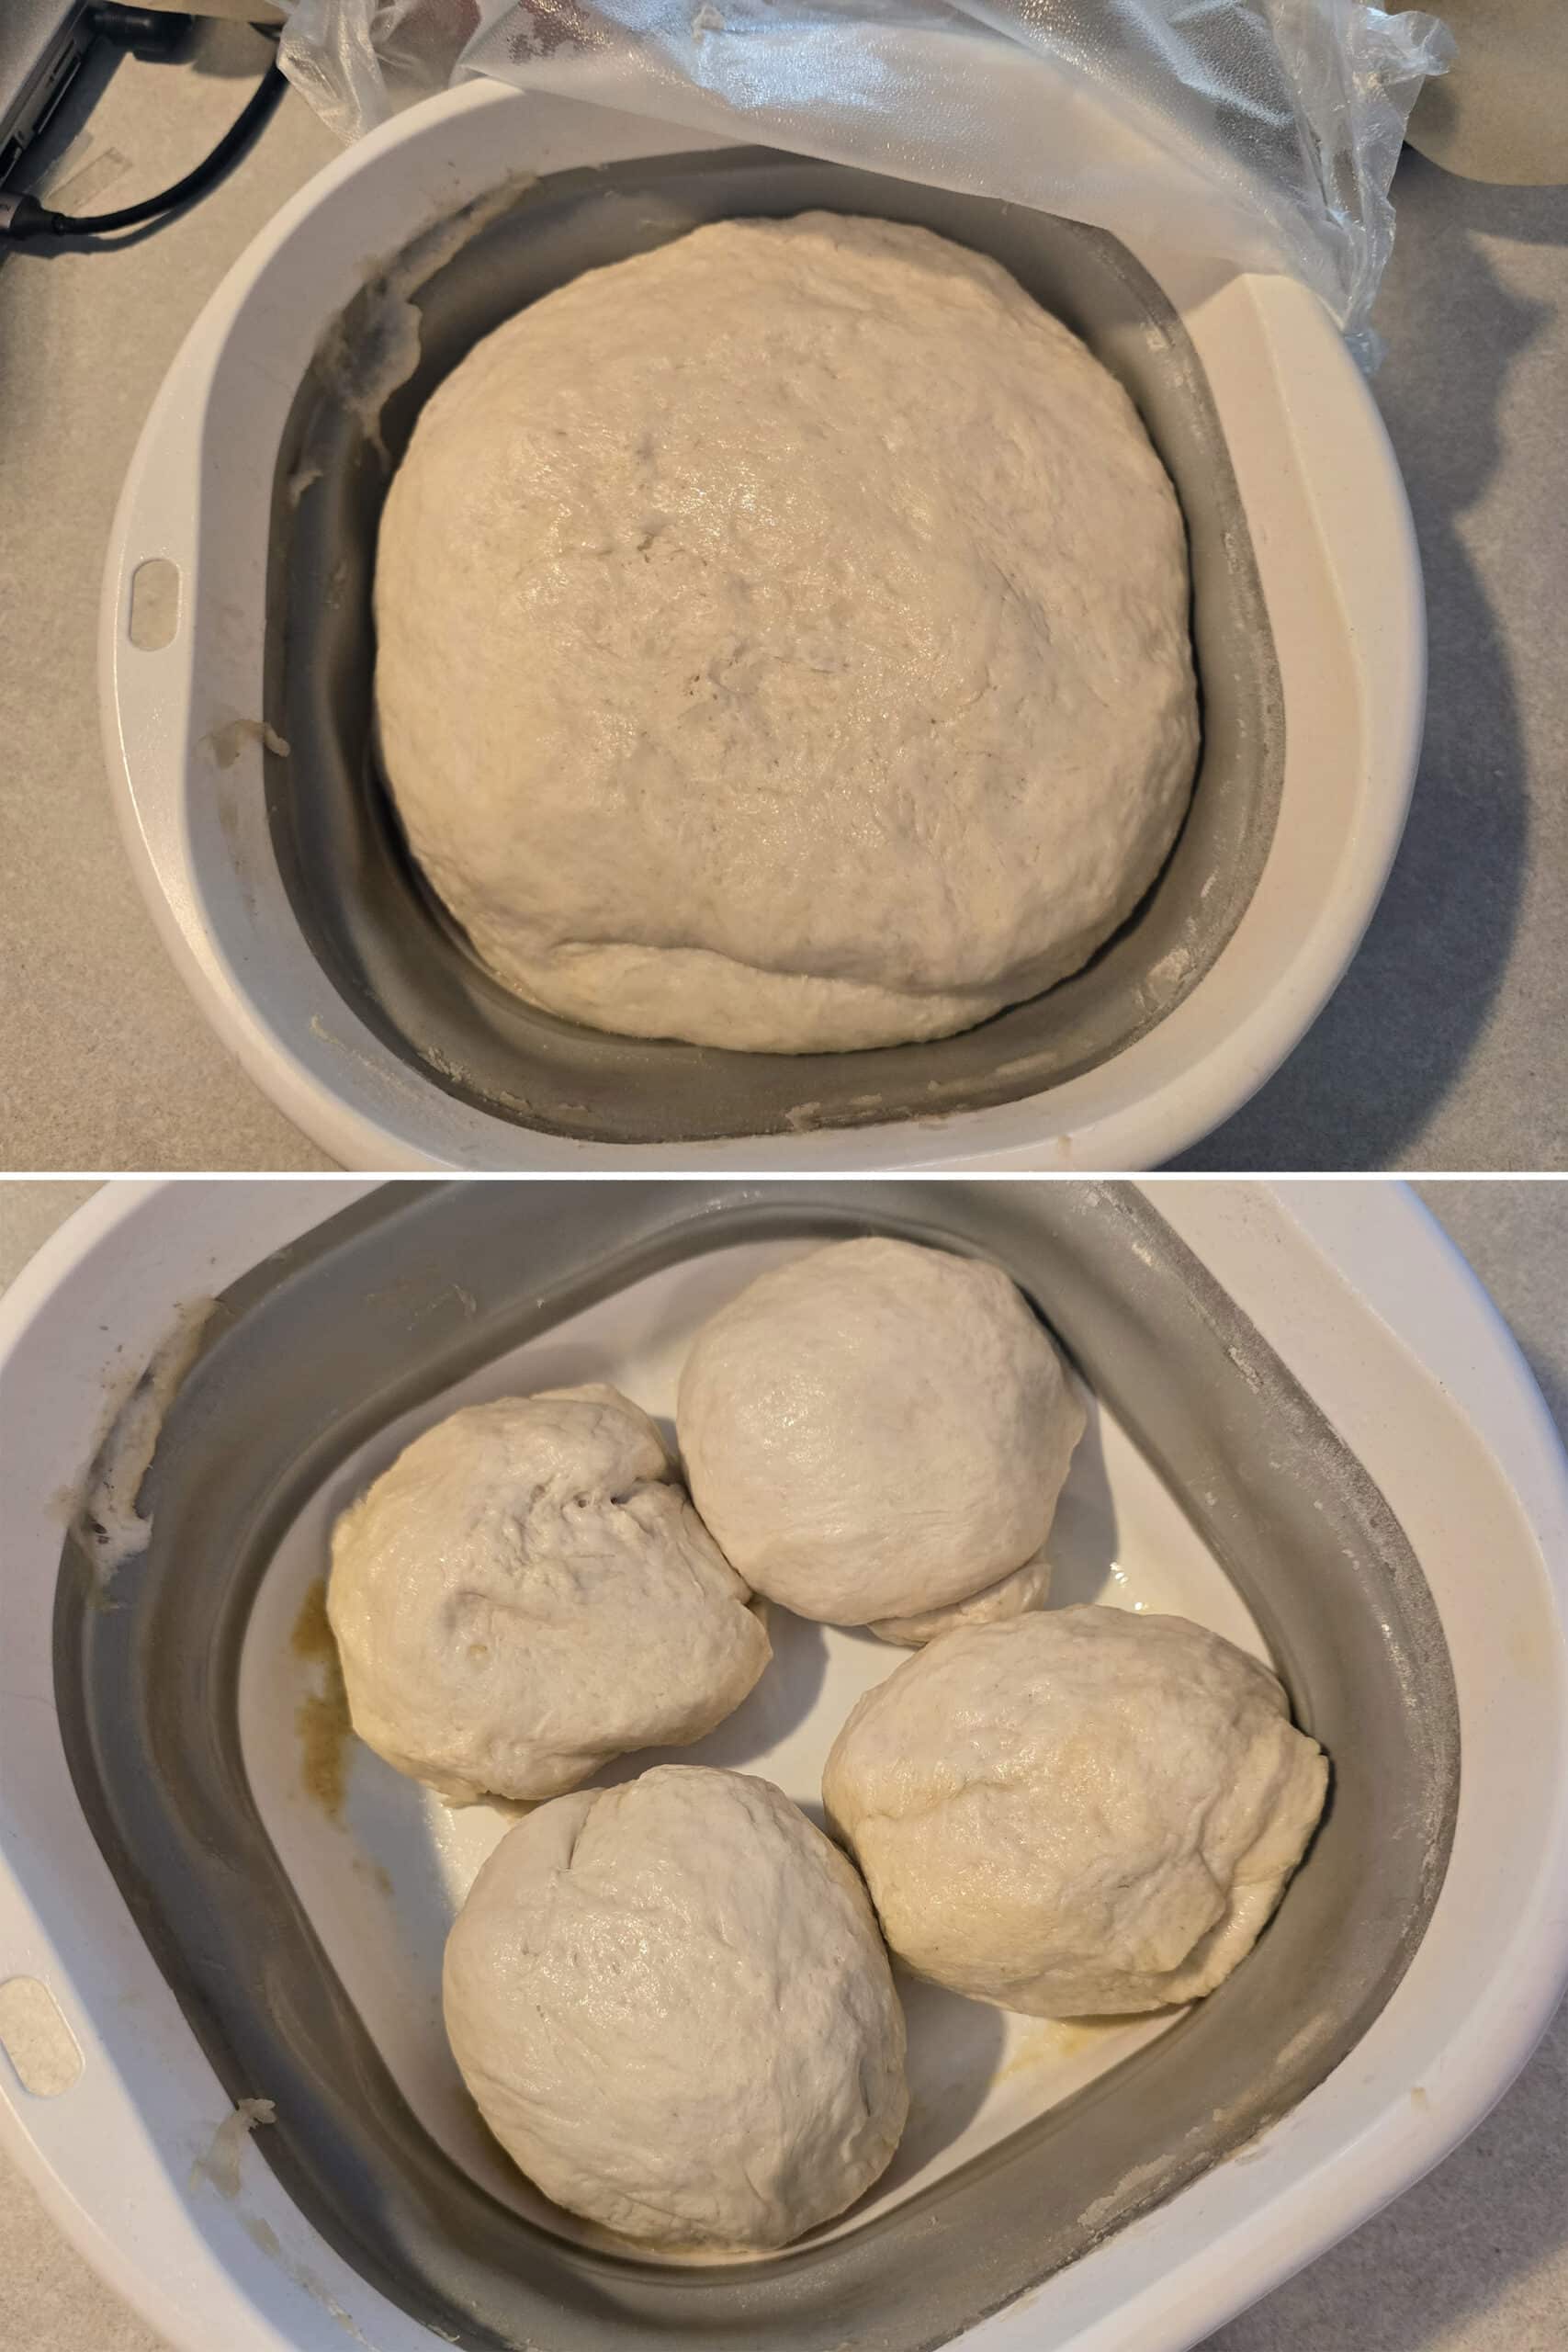
Allow to rise for another 10 minutes in a warm place.
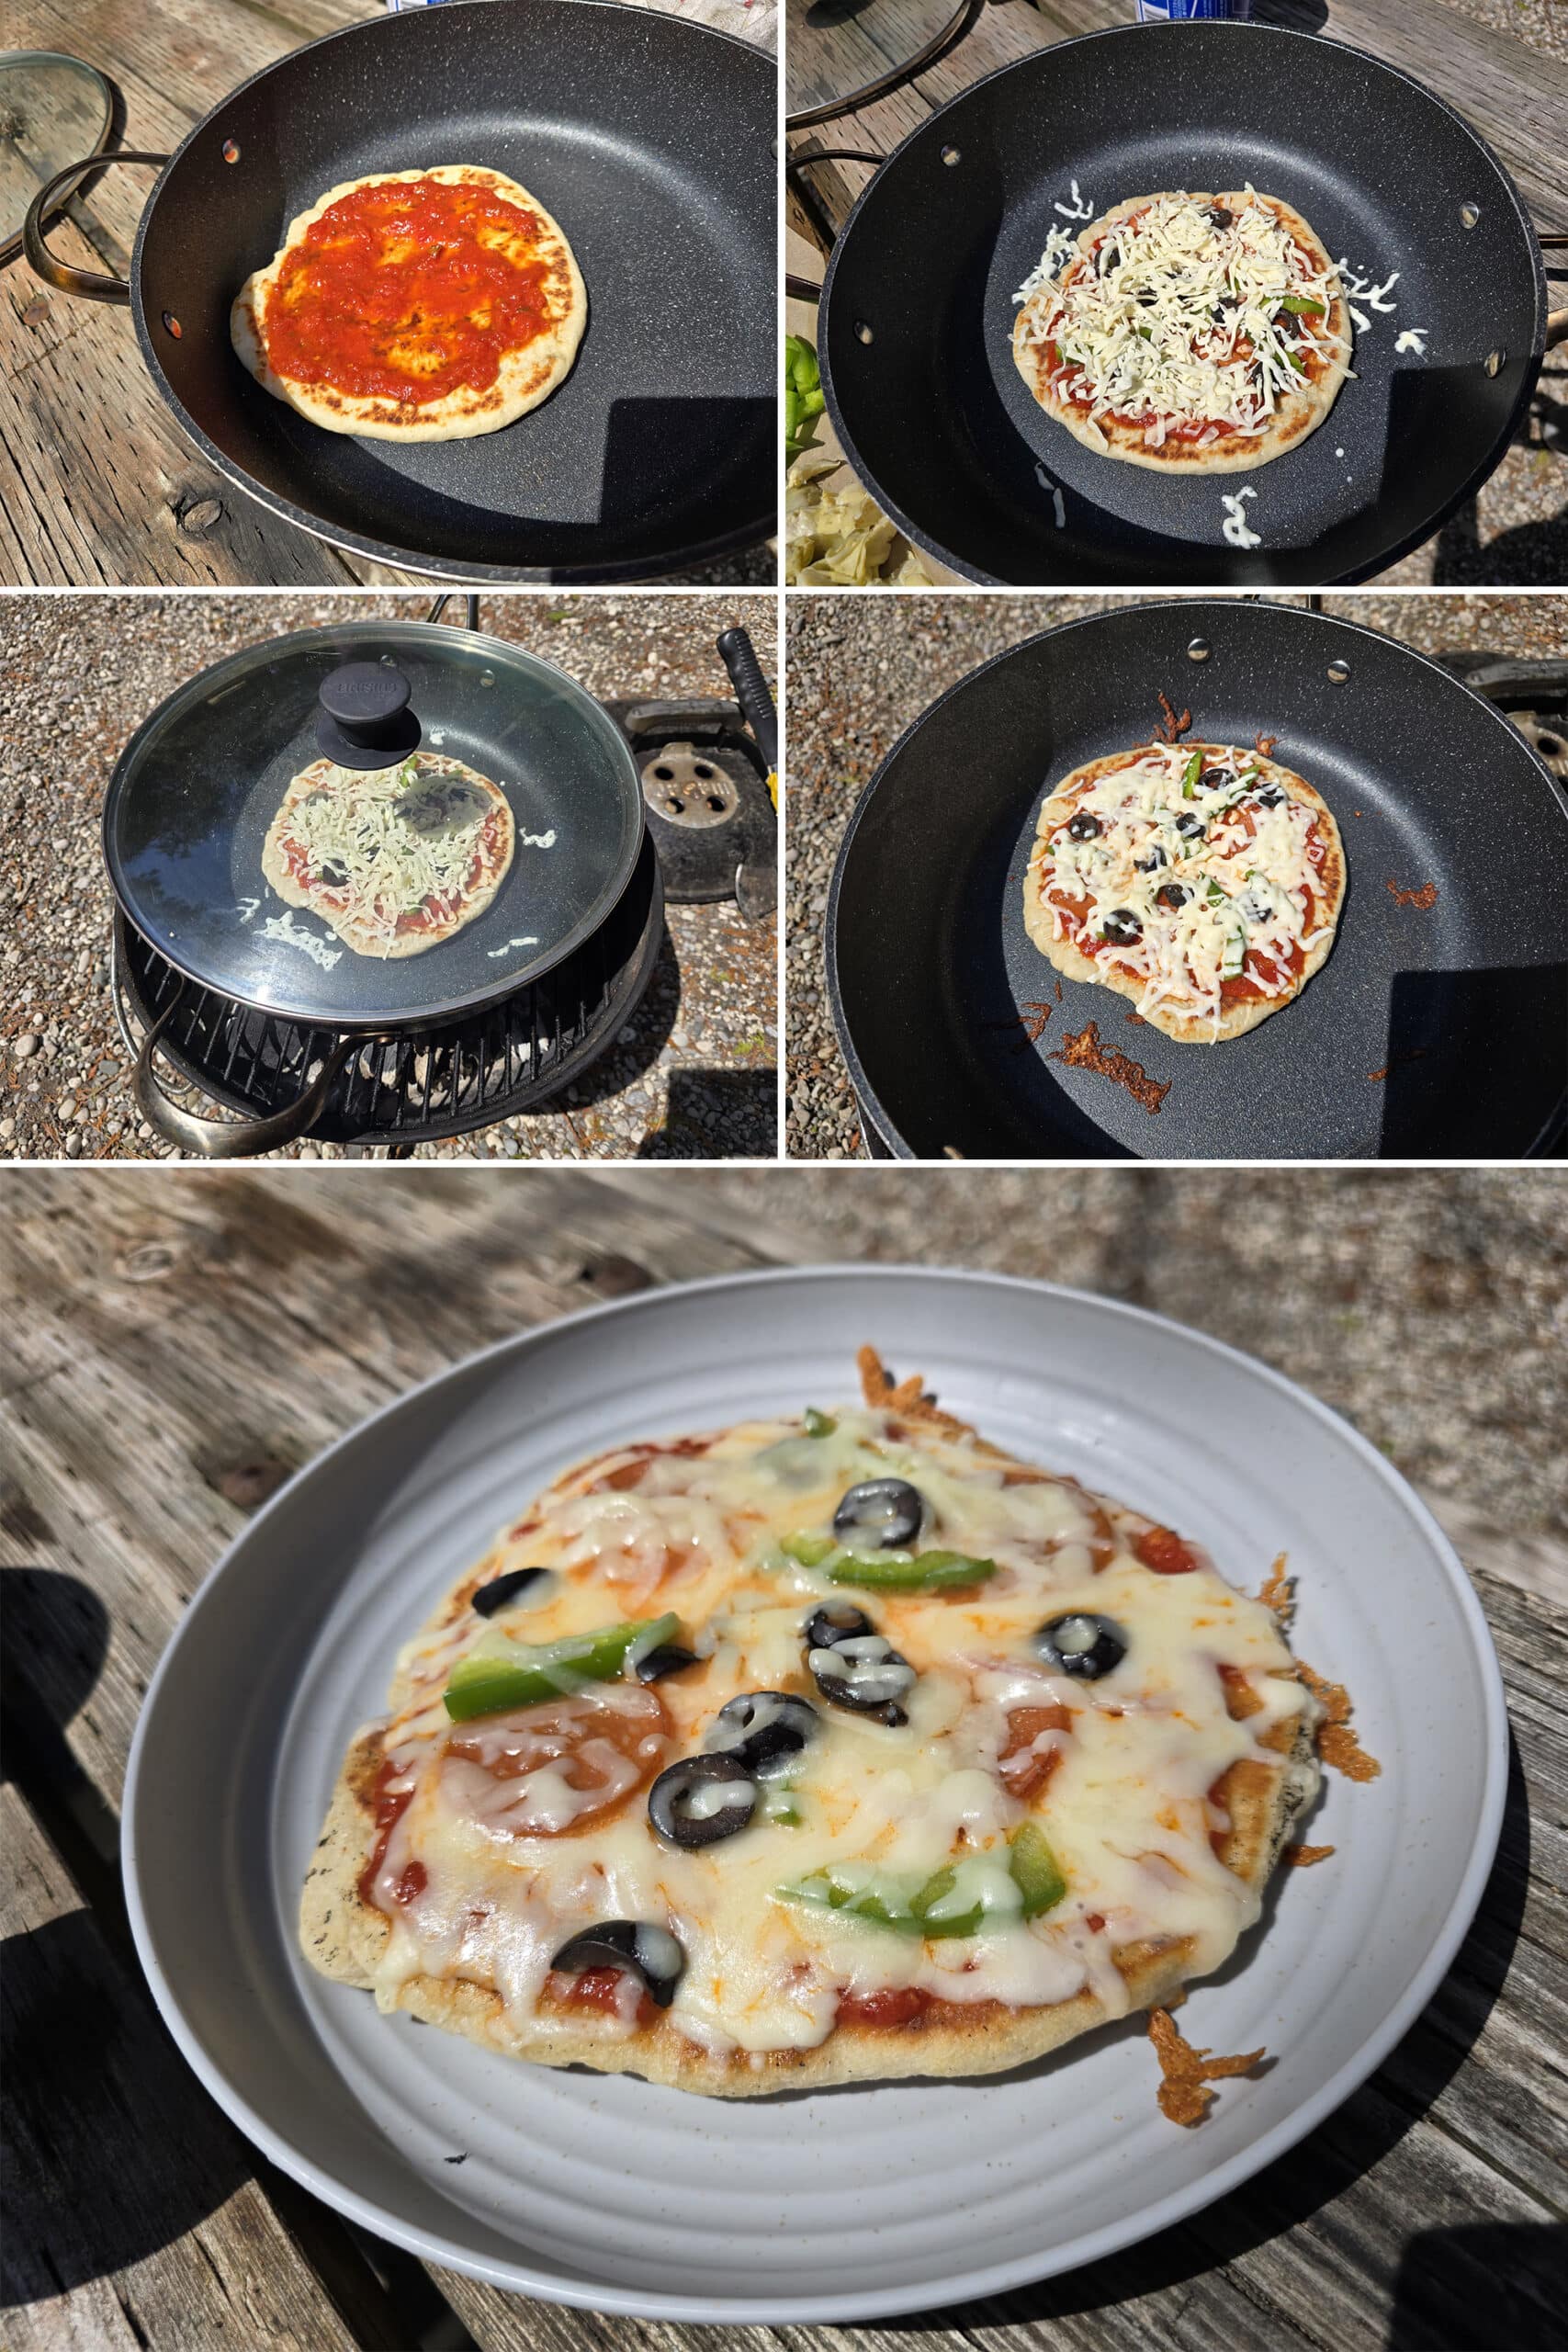
Cook over your heat source until the bottom of your dough is golden brown - this usually takes 3 or 4 minutes, depending on the campfire and setup.
Once the bottom looks good, remove the pan from the heat.
Spray the uncooked side with nonstick spray - or brush oil over it - and use some tongs to flip the crust over, oil side down.

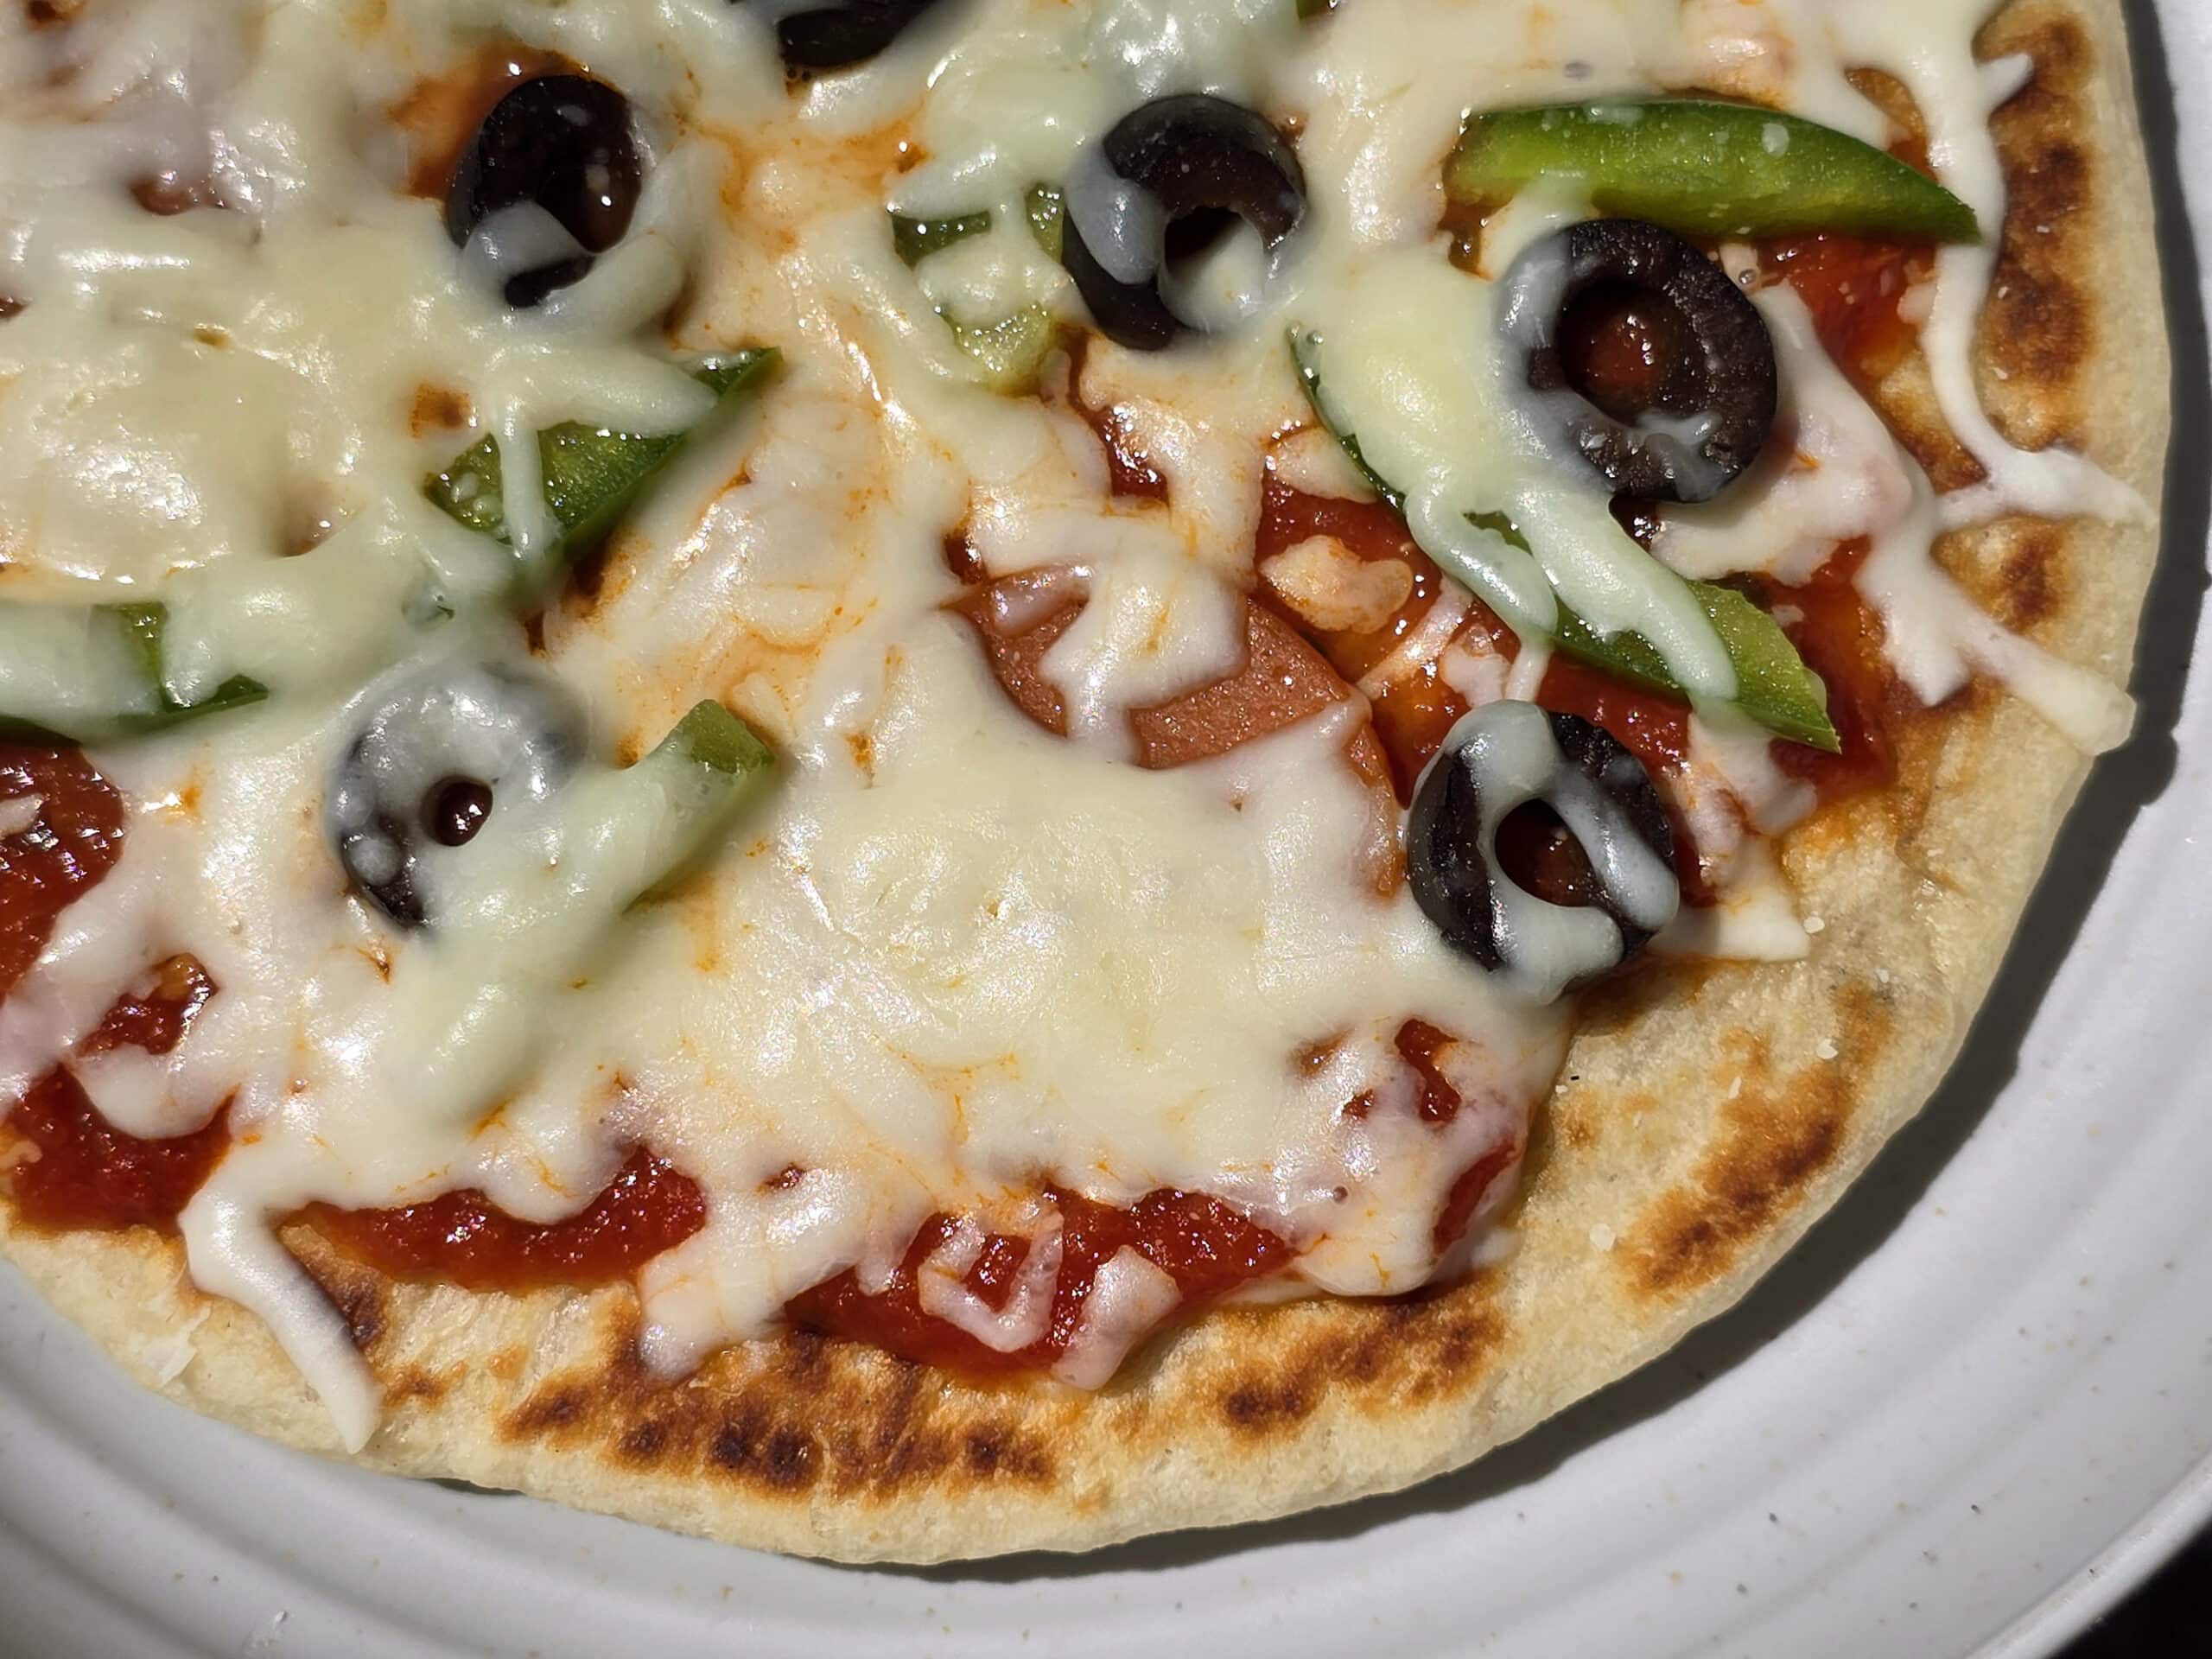
Cover the pan with a fitted lid - or some aluminum foil- and return it to the campfire or grill. Let the campfire pizza bake for another 5 minutes or so, until the pizza is cooked through, the bottom of the crust is golden brown, and the cheese melts.
Repeat with as many of the pizza rounds as you want to prepare - the rest can be wrapped in plastic and kept in the fridge for a couple days, or frozen.
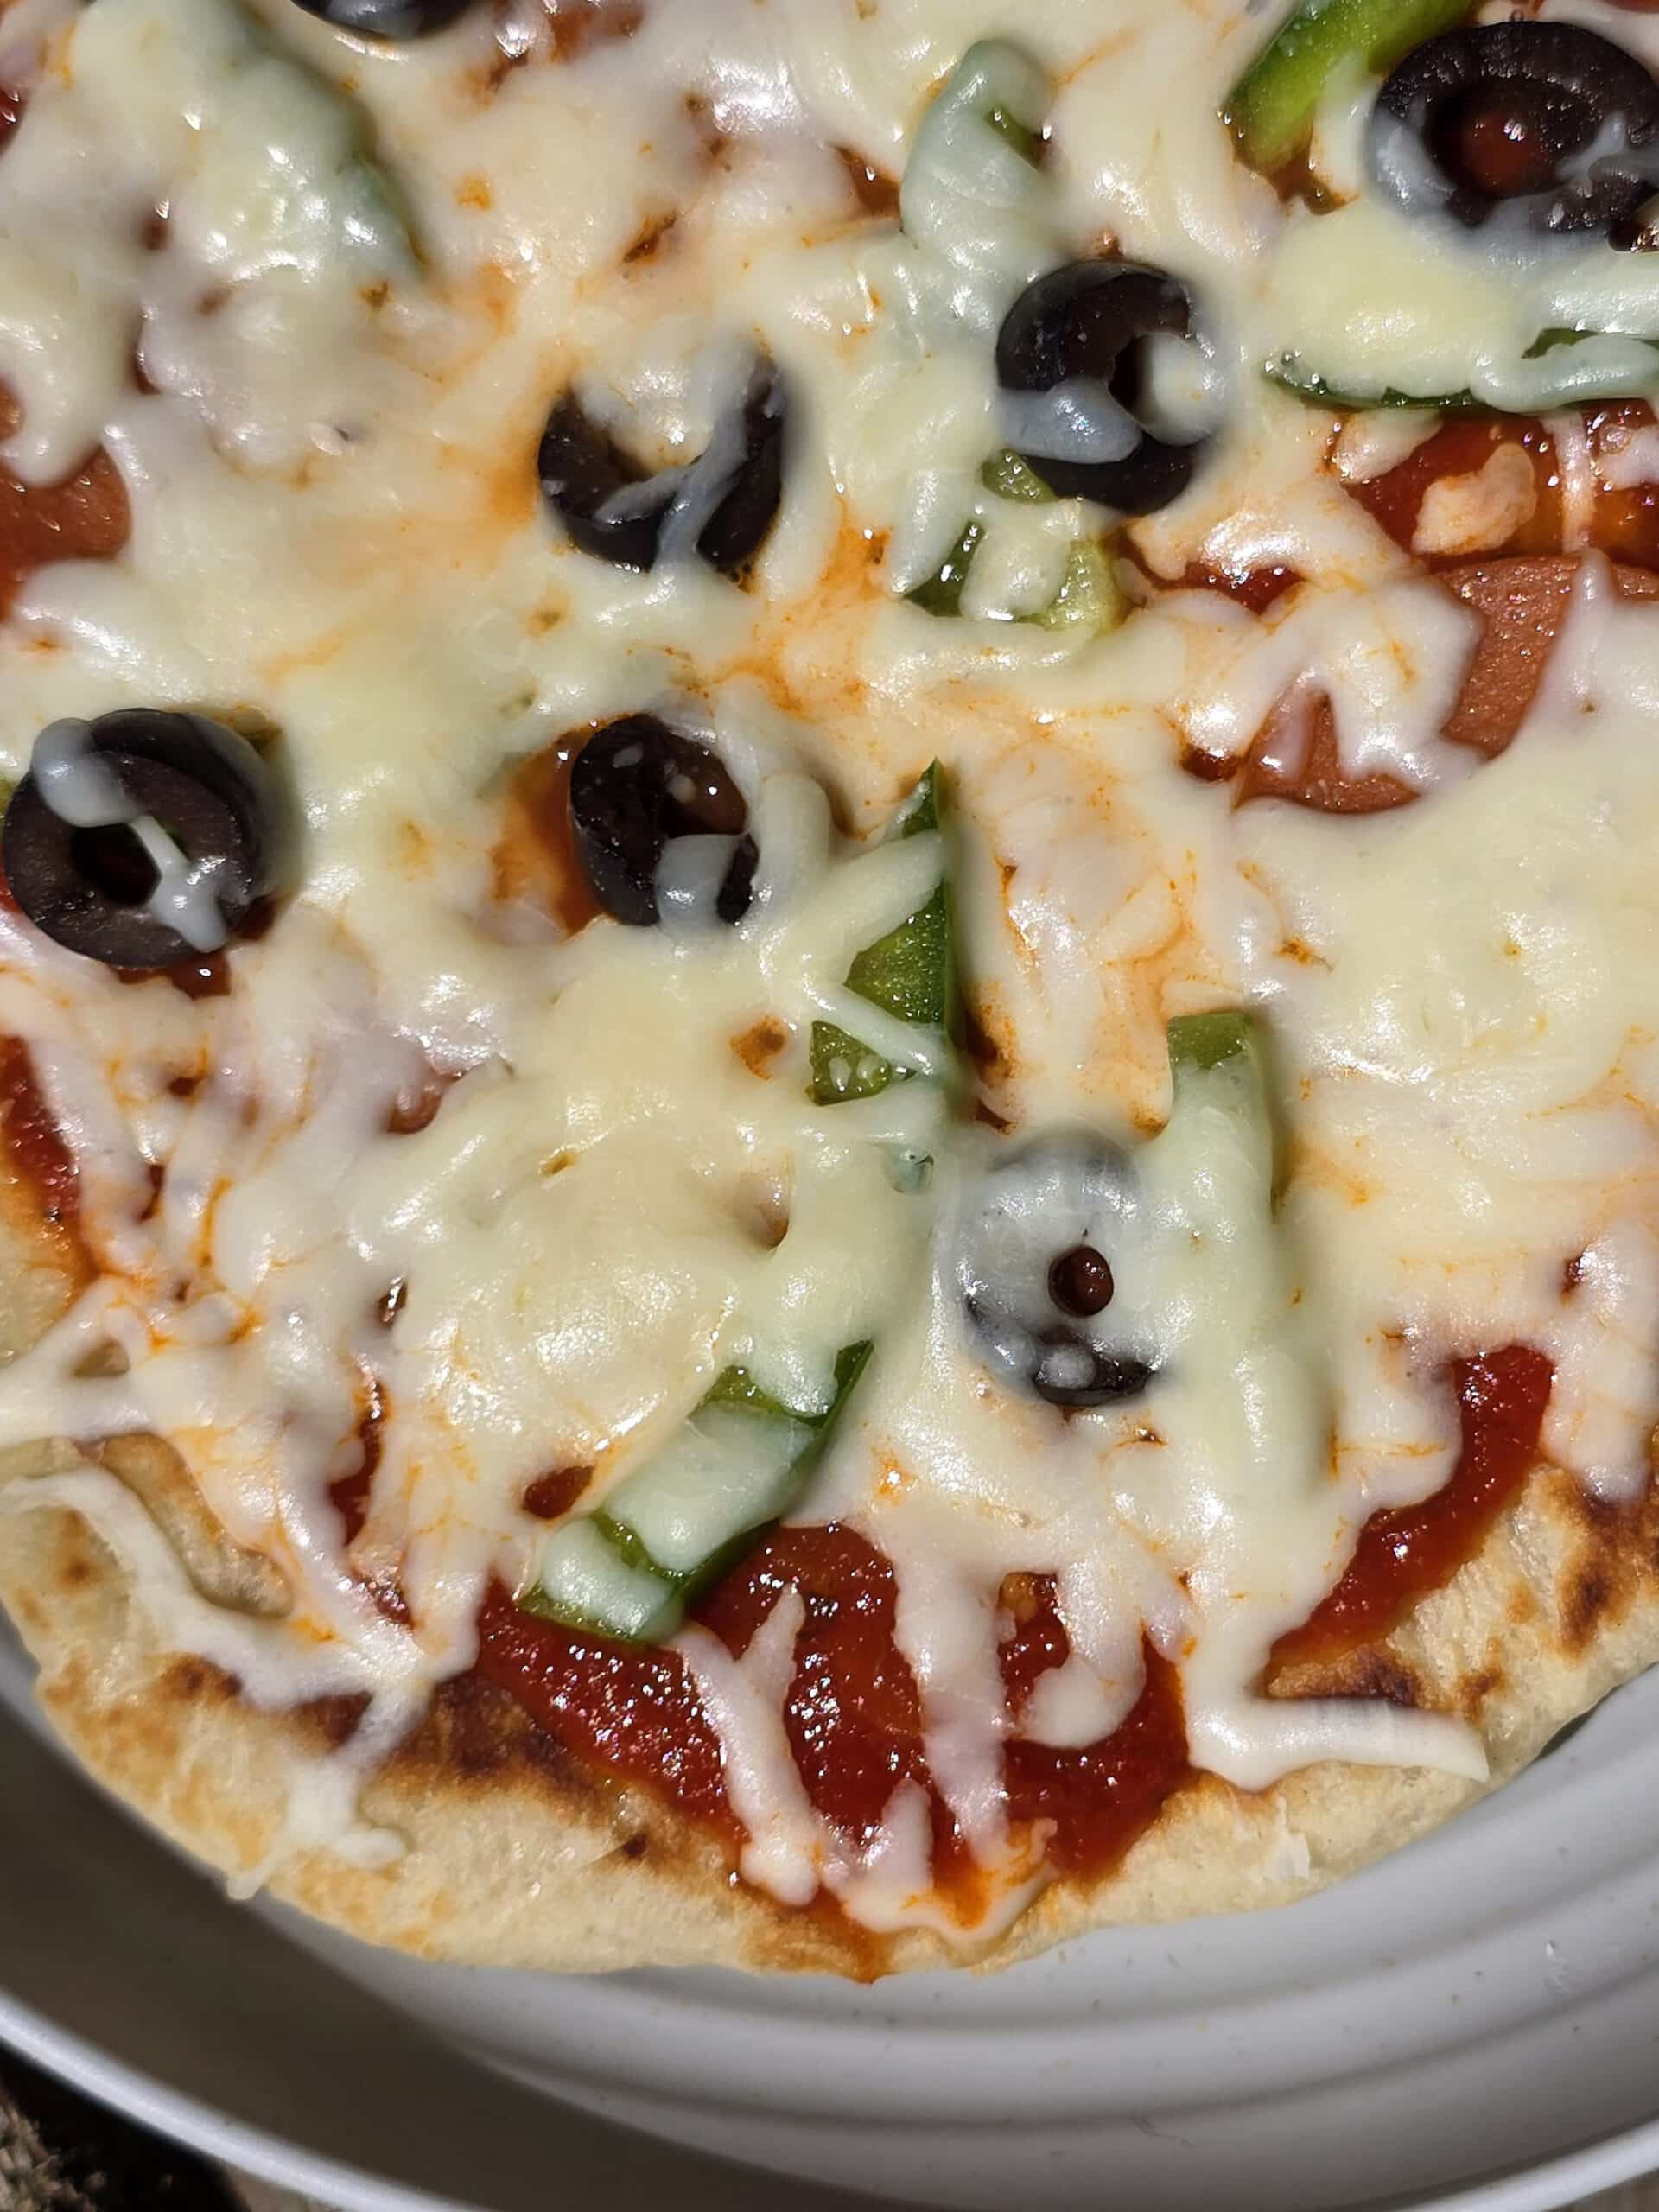
As the hot pizza comes off the grill, cut into slices with a sharp knife or pizza cutter, and serve hot!
Leftovers
Once cooled to room temperature, leftover pizza slices can be wrapped in plastic wrap - or stored in an airtight container in the fridge for up to 3 days.
Best served reheated. We like to microwave it for 30 seconds or so to get the chill off it, then finish off on it a hot skillet to re-crisp the crust a bit.
More Main Dish Camping Recipes
Looking for some great meals to cook on a campfire, or in an RV? Here's a few simple recipes to start with!
Beef and Root Vegetable Stew
Camping Breakfast Skillet
Campfire Chili
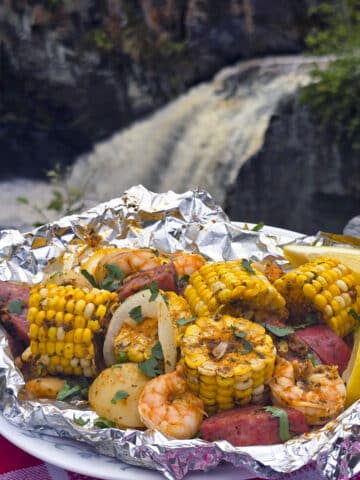
Dutch Oven Jambalaya
Easy Campfire Chicken Curry
Egg Roll in a Bowl
Hearty Campfire Beef Stew
Grilled Chicken Fajitas
Rosemary Maple Chicken
Sloppy Giuseppes
Sloppy Joes
Hobo Eggs
Grilled Shrimp Tacos
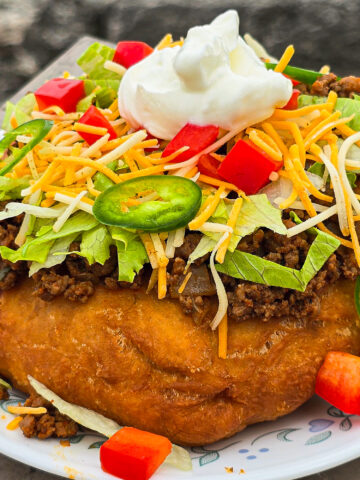
Camping Tacos, 2 Ways
Grilled Tuna Tacos
One Pot Bacon Cheeseburger Soup
Mediterranean Chicken Kebabs
... But wait, there's more! Be sure to check out our other Camping Recipes, including Camping Desserts, Camping Snacks, Make-Ahead Camping Mix Recipes, and a ton of delicious Camping Main Dish Recipes.
Also, we had SO much fun designing gourmet jerky recipes for our camping trips, we started a whole new blog for them! Check out Dried & Tasty for all kinds of fun recipes to make in your food dehydrator!
Campfire Pizza - Homemade Pizza When Camping!
Equipment
- 1 Cast Iron Skillet
Ingredients
Homemade Pizza Crust Mix
- 2 ½ cups All Purpose Flour
- 2 teaspoon Instant Yeast
- 1 ½ teaspoon Salt
- 1 teaspoon Granulated Sugar
To Use the Mix
- 1 cup Very Warm - not hot - Water
- 1 tablespoon Extra Virgin Olive Oil
- Cooking Spray I use olive oil spray
Pizza Assembly
- ¾ - 1 cup Pizza Sauce
- 2 ½ cups Mozzarella
- Toppings of choice
Instructions
Make the Homemade Pizza Crust Mix
- Label a medium sized freezer baggie with “Pizza Crust Mix”, the ingredients under “To Use the Mix”, and any of the directions you’ll want to have on hand.
- Measure the flour, yeast, salt, and sugar into the baggie. Seal, shake to combine, and allow to settle for a few seconds.
- Re-open the baggie, gently press out any excess air and re-seal. Store in a cool, dark, DRY place until ready to use.
To Use the Mix
- Dump the mix into a large mixing bowl, or the bowl of a stand mixer.
- Add the warm water and olive oil, stir well with a wooden spoon or silicone spatula to combine.
- Dump dough out onto a floured surface - or just work in a large bowl - and knead until soft and smooth, about 3-5 minutes.
- You want the dough smooth, but just very slightly sticky. If the dough isn’t a little sticky, add a little water, and knead it in. If it’s TOO sticky, add a small amount of flour.
- Once dough is fully kneaded, remove it from the bowl, and spray the bowl with nonstick spray. Place the ball of dough back in the bowl, cover the bowl loosely with plastic wrap, and let the dough rest in a warm place for 1 hour.
- Hint: If your car is parked in the sun on a warm day, it makes a GREAT proofing oven!
Assemble and Bake the Campfire Pizza
- Get a hot fire going - whether in the BBQ or a charcoal grill - then place a cast iron skillet on the grill grates to preheat.
- Divide dough into 4 equal pieces, flatten each into a 6-7" round circle. Allow to rise for another 10 minutes in a warm place.
- Spray the preheated pan with a bit of nonstick spray, then add one dough round to it. Cook over the hot fire until the bottom is golden brown - this usually takes 3 or 4 minutes, depending on the campfire and setup.
- Once the bottom looks good, remove the pan from the heat.
- Spray the top with nonstick spray and use some tongs to flip the crust over.
- Spread pizza sauce over surface of each pizza round, then top with shredded mozzarella and your choice of toppings.
- Cover the pan with a fitted lid - or some tinfoil- and return it to the campfire or grill. Cook for another 5 minutes or so, until the pizza is cooked through, the bottom of the crust is golden brown, and the cheese is melted.
- Repeat with as many of the pizza rounds as you want to prepare - the rest can be wrapped in plastic and kept in the fridge for a couple days, or frozen.
- As the pizzas come off the grill, cut into slices and serve hot!
Notes
Nutrition
Thanks for Reading!If you loved this post - or have any questions about it - please leave a comment below! We'd also love it if you would consider sharing the link on social media! |

Marie & Michael Porter
One of our absolute favourite camping recipes - hope you love it too!