
RV Window Screen Replacement is an easy DIY project that can spruce up your trailer and make RV life more pleasant. Here's how we do it!

That said... the older an RV is, the more likely you’re going to want to do some window screen repair before hitting the road for the first time.
It’s always good to be able to get some fresh air into your rig, without inviting in extra bugs... or worse!
Screen replacement is easy to do, and a handy skill to have. No need to pay for expensive screen repair services, when it’s quick, cheap, and easy to fix broken screens on the spot!
There are some differences, of course - the corners tend to be more curved on RV windows, and you’ll use a more narrow window screen spline (a kind of cord used in screen repair- we’ll go over that in a minute).
Overall, though, once you learn to fix RV and mobile home window screens, you’ll be able to do the same kind of easy installation on regular house window screens, as well.
I don’t know about you, but once we saw the difference that new screens made in our RV, I started side-eyeing OTHER window screens in my life!
Anyway, here’s the tools, materials, and knowledge you’ll need to be able to do an outstanding job on your own RV window repairs!
Tools & Materials
You’ll need a few things in order to do your window repairs:
Window Screen Mesh
Window Screen Mesh is the actual screen material that you’ll be replacing, and it comes in rolls.
Most rolls are big enough to accommodate all kinds of RV window sizes, with some left over for future repairs.
There are all kinds of options when it comes to choosing the type screen material, so you’ll want to look through them to see what best suits your needs.
A few examples are:
Fiberglass Window Mesh - Pretty standard, and the most common type. It's flexible, economical, and pretty easy to install. They're also good about resisting creases, dents, erosion, and fraying.
Aluminum Window Mesh - This is a durable, strong, and rust-resistant mesh that resists sagging - though that's not so much an issue with smaller windows like most RV windows tend to be. They don't tear as easily as fiberglass.
Polyester Window Mesh - More durable than Fiberglass, and is fade, heat, pet, and rust resistant.
Pet Proof Window Mesh - As it implies, pet resistant screens are designed to be more heavy duty and resistant to rips and tears from pet claws. These are generally recommended for screen doors, if you'll be camping with dogs.
Tiny Insect Window Mesh - AKA No-See-Um Mesh / 20 x 20 Mesh. This is a very tightly woven - usually fiberglass - screen. Its very fine mesh helps prevent the really small insects, like gnats and no-see-ums - from getting in. If you camp in a lot of marshy areas, or near lakes and coastline... this can be a great option.
There are other options - like copper window mesh or stainless steel window mesh - but these are generally way more expensive and wholly unneccesary for RV windows.
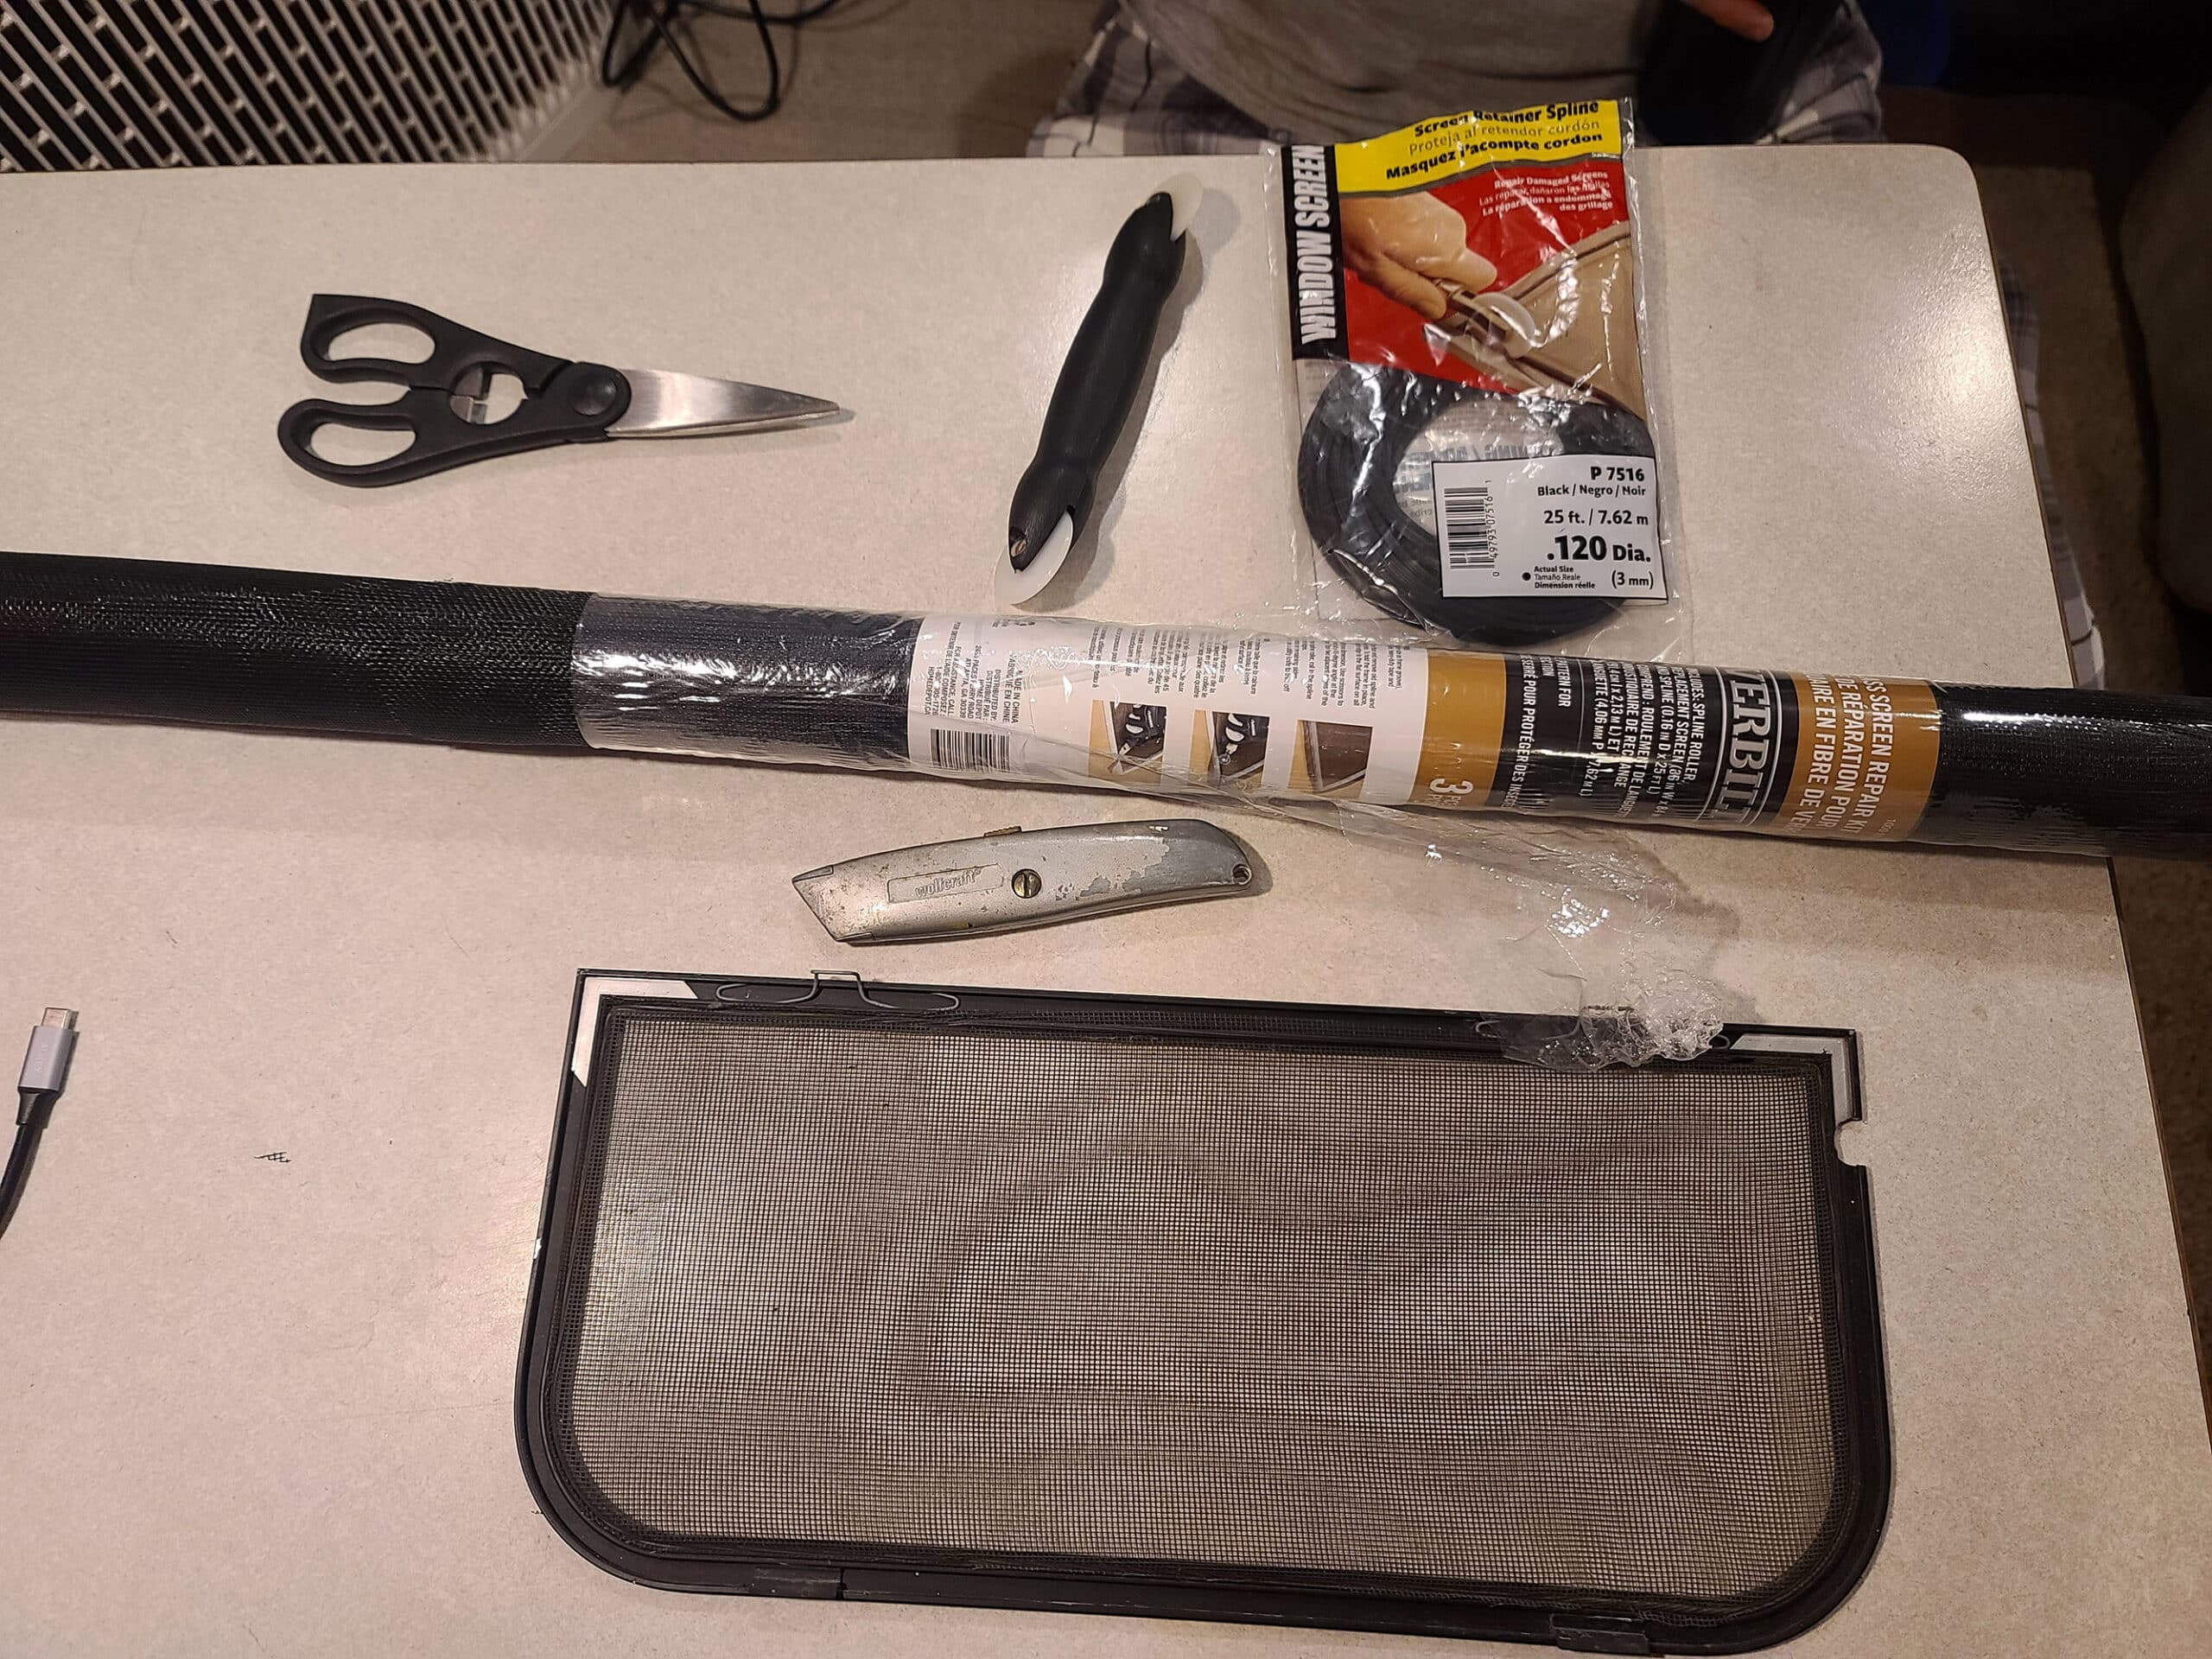
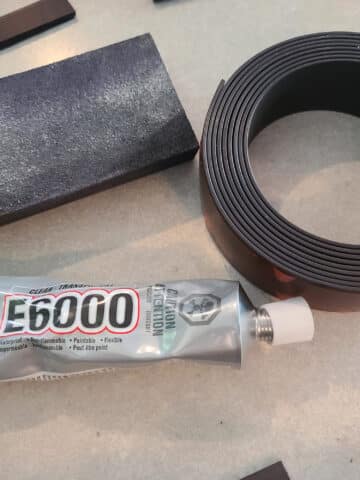
Window Screen Roller Tool
A Window Screen Roller Tool (AKA Screen Spline Roller, Window Roller, Screen Rolling Tool, etc) may come as part of a kit with your choice of window screen, or with your Screen Retainer Spline (see below), as part of a Window Screen Replacement Kit, or purchased on its own.
One way or another, though, you’re going to use this to secure the spline into the window frame.
Window Screen Spline
Window Screen Spline (AKA Screen Retainer Spline) is a type of narrow, usually rubber cord.
It’s what’s used to secure your mesh into a groove in the window frame, securely holding it in place. This technique helps to stretch the mesh a bit, holding it taut into place.
Just note: It comes in different diameters, which will be slightly larger than the groove in your window frame. This is because the cord is a tube - so it will kind of squish into place.
The easiest way to figure out what size you’ll need is to pull out some of the existing spline, measure the diameter, and estimate from there. If it’s not TOO degraded, it should be pretty easy to figure out what you’re looking at.
It’ll likely be more of an oval shape than a round tube when you pull it - just try to squish it into a more round shape when you measure it.
Hook & Pick Set
Like the roller tool, some form of a Hook & Pick Set will usually come in a window screen repair kit.
This is used to dig out the existing spline, which will need to be replaced when you install your new window screen.
Alternatively, a very small flat head screwdriver will work in a pinch. You want to dig out and pull up the existing cord, without gouging the actual window frame groove.
Utility Knife
You’ll be using a Utility Knife to cut the window screen spline, as well as to trim the screen after it’s been installed.
Scissors
We recommend using heavy duty Scissors to cut the window screen to the initial size you’ll be working with.
DO NOT USE GOOD SEWING SCISSORS FOR THIS, OMFG.
Share the Love!If you’ve made one of our recipes, be sure to take some pics of your handiwork! If you post it to Bluesky, be sure to tag us - @2NerdsInATruck, or you can tag us on TikTok, if you’re posting video. We're also on Pinterest, so you can save all your favourite recipes and park reviews to your own boards! Also, be sure to subscribe to our free email newsletter, so you never miss out on any of our nonsense. Well, the published nonsense, anyway! |
How to Replace RV Window Screens
Here’s the pictorial guide on how to replace your window screens. If you’re more of a video person, we also have a tutorial video a bit further down in this post.
Here’s what you need to do.
Prepare the Screen Frame
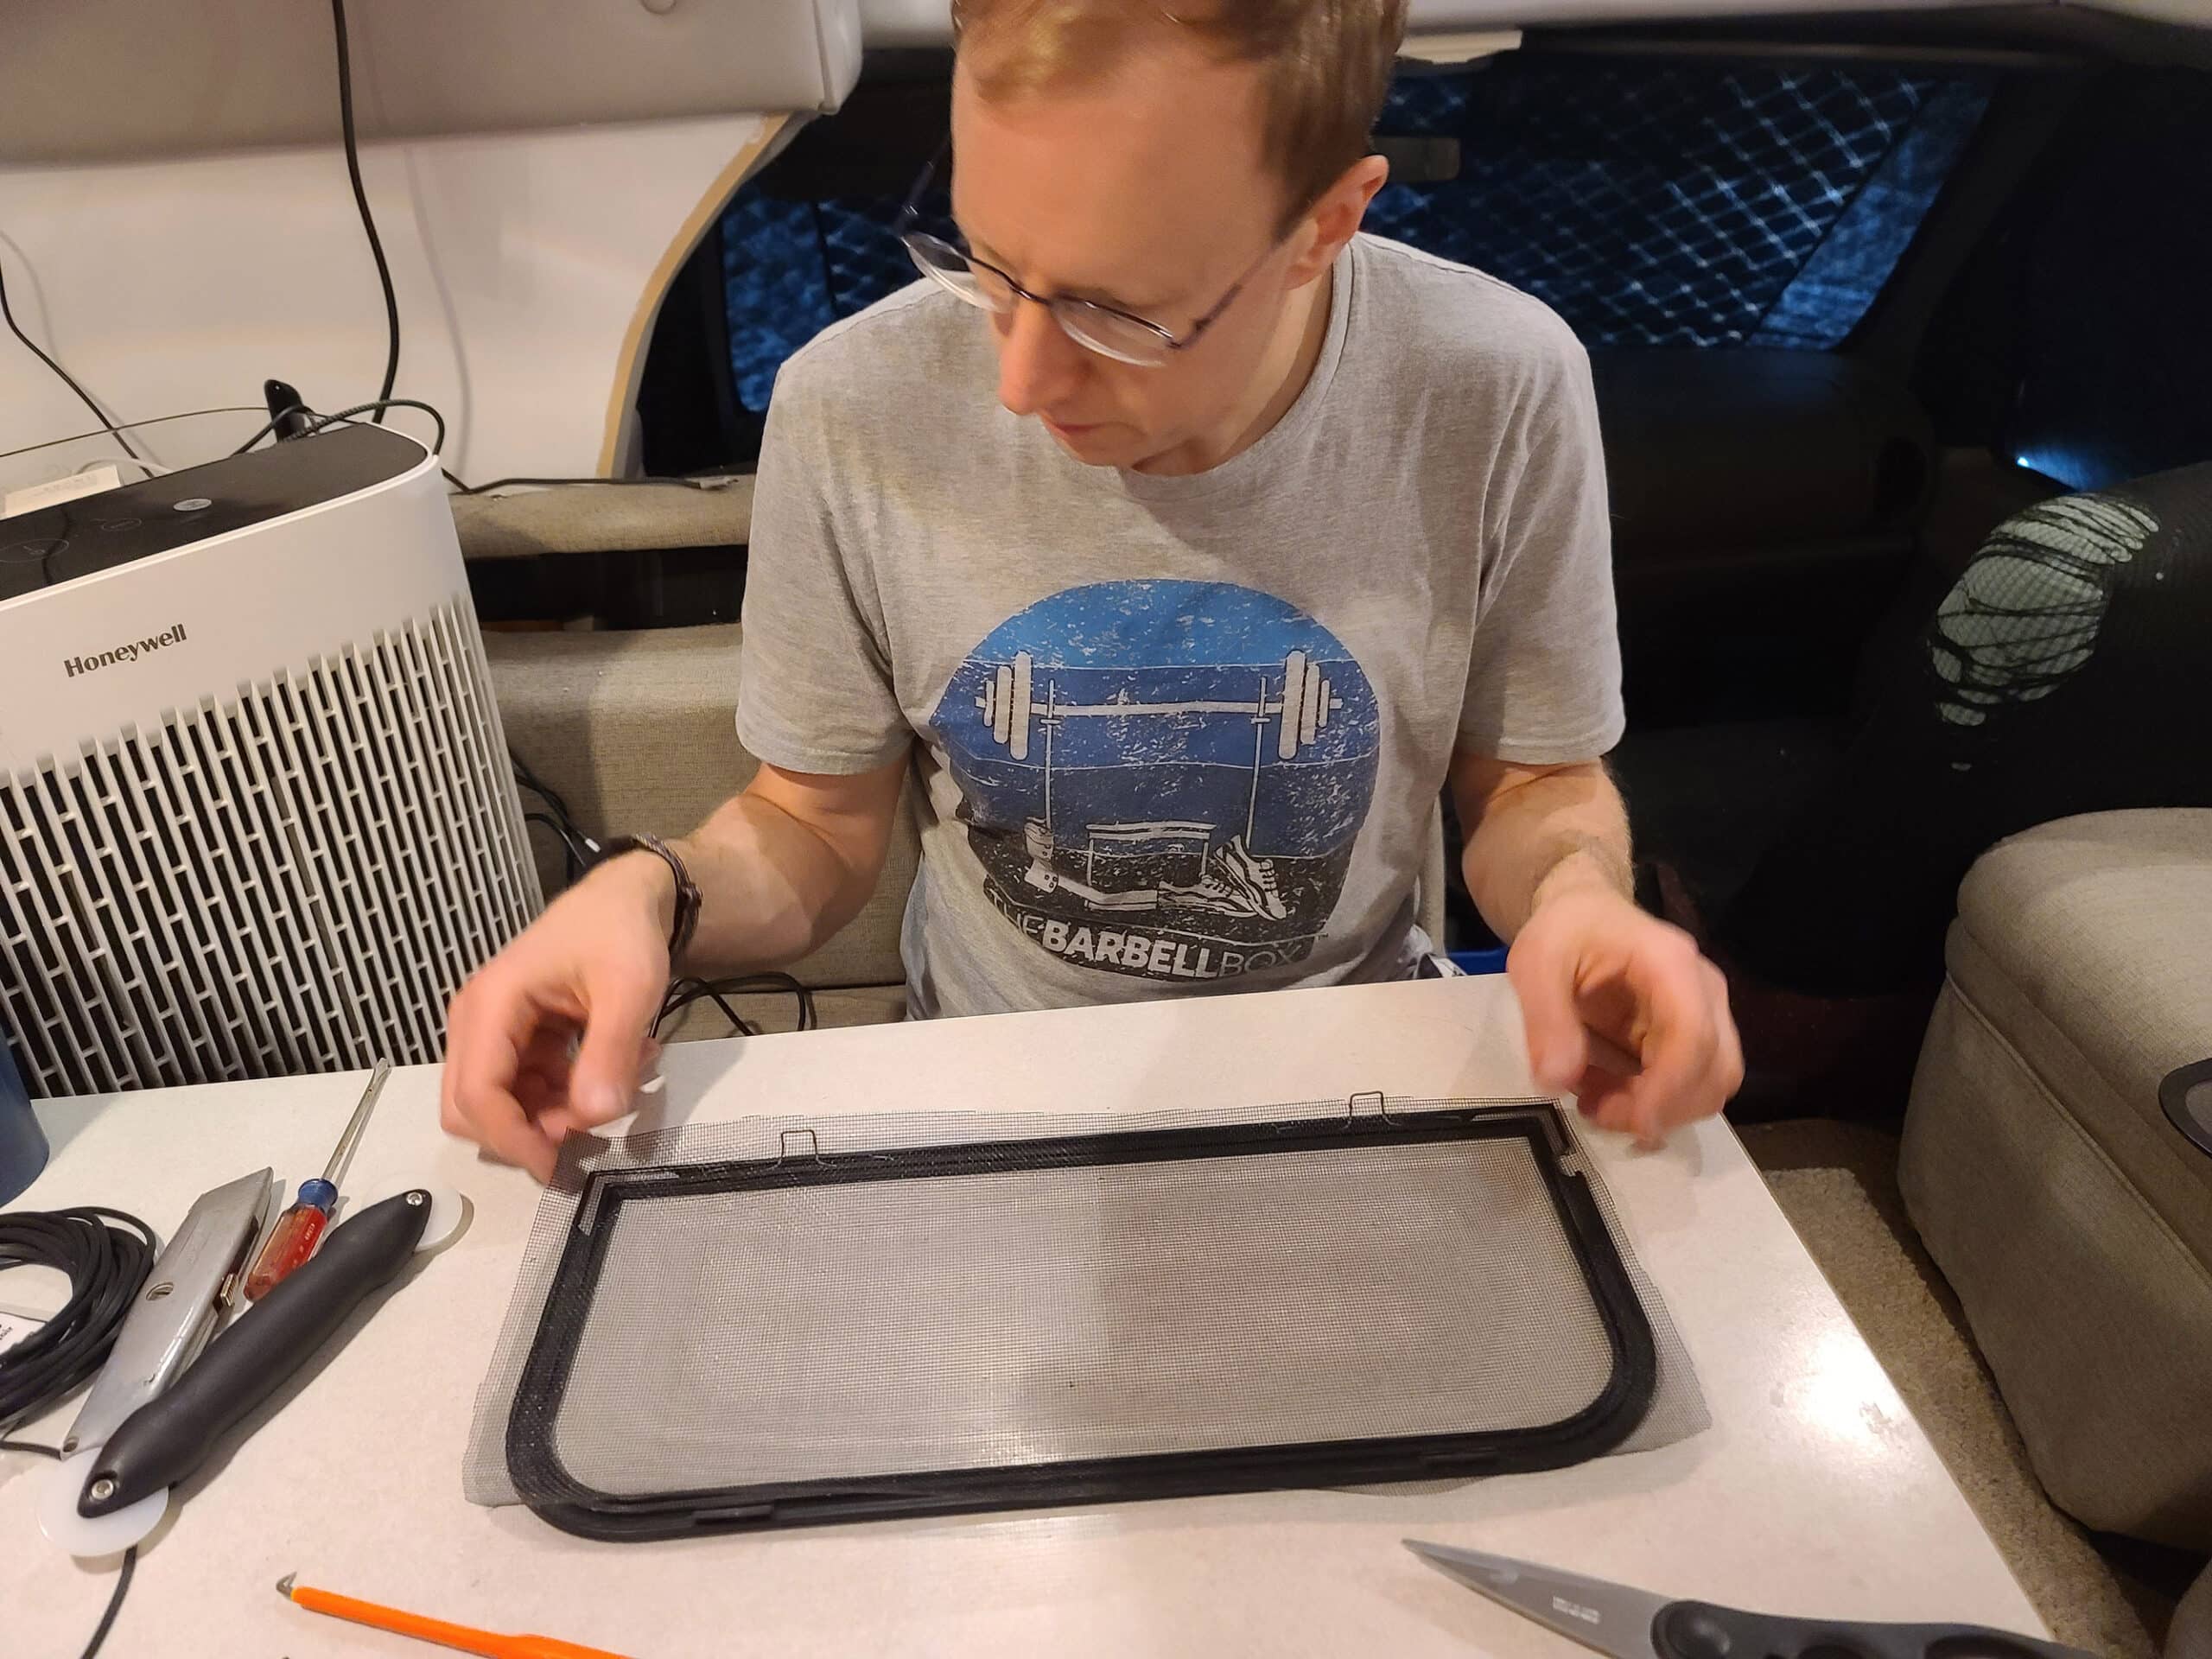
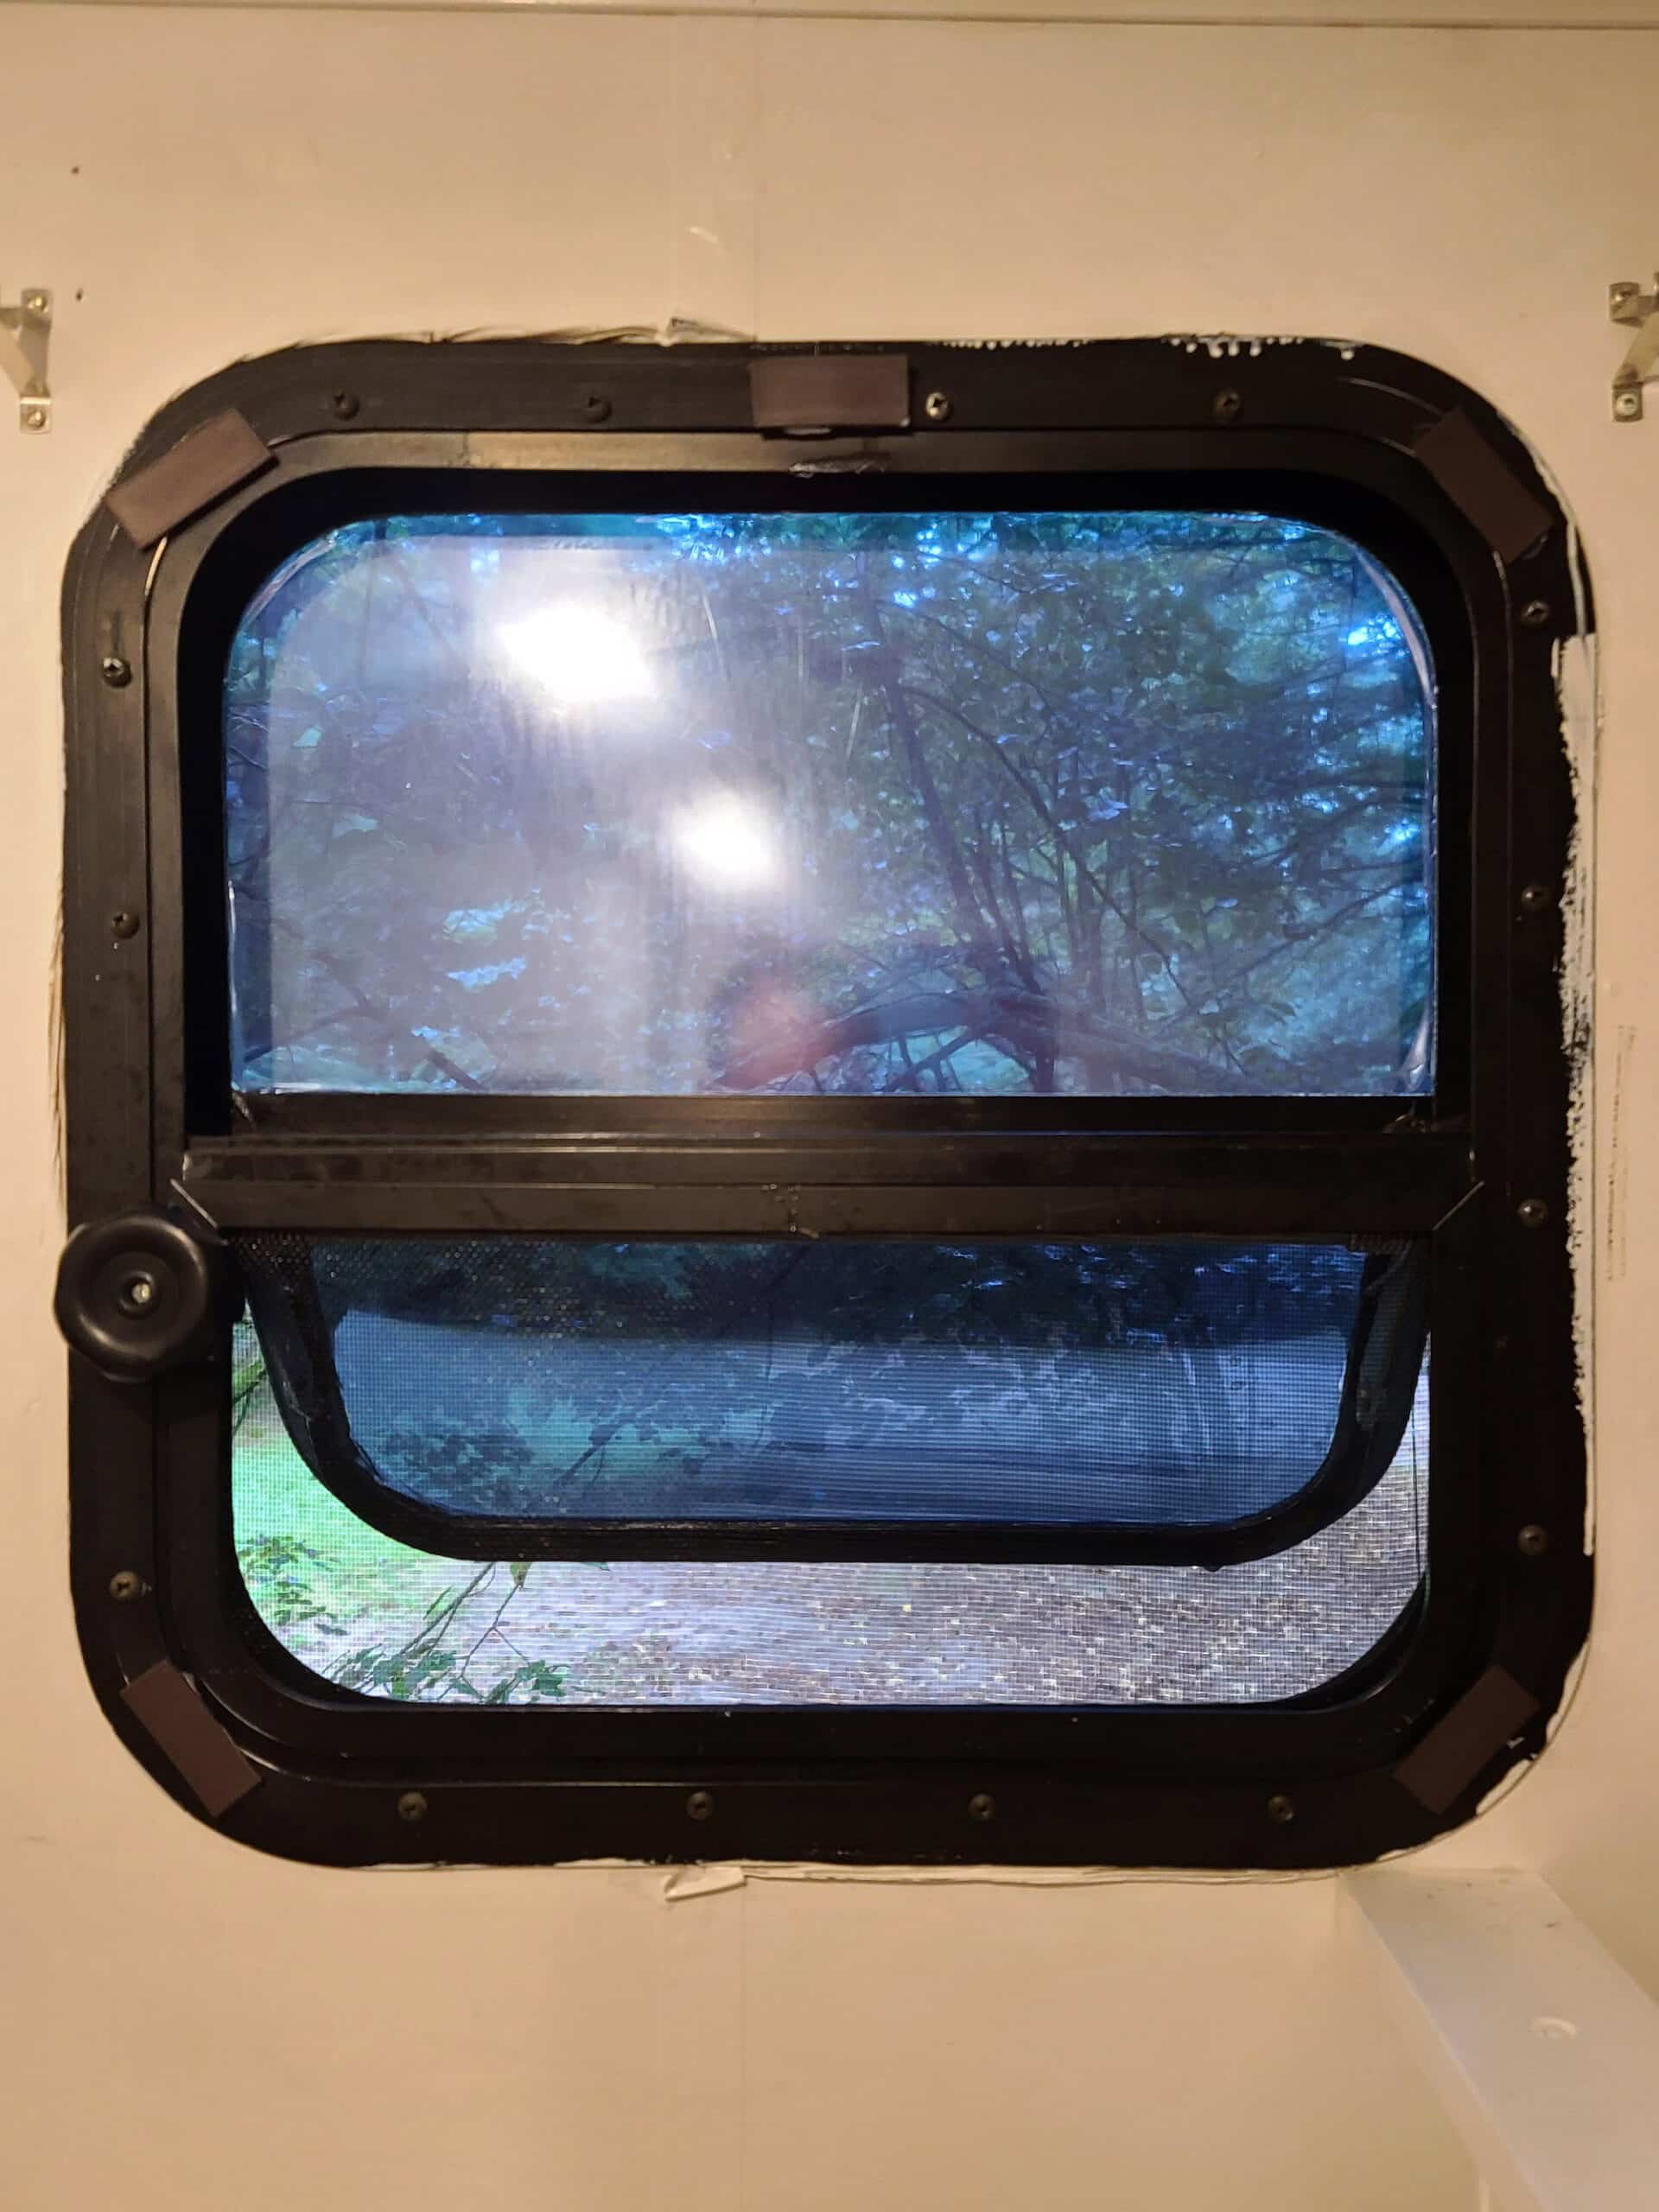
1. To start, you’re going to want to get the existing screen frames out of the windows.
When it comes to RV, Motorhome, and trailer windows, they’re usually just aluminum frames held in place with some form of little clip. All you need to do is wedge your fingers behind the outside of the screen frame and pop them out.
If yours are different, just have a look and see what you’re dealing with. They’re all made to be easily removable, one way or the other.
One side of your frame will look more finished - this is the side that faces into your camper. The other side has kind of a groove around the edge of the screen itself - this is what you’ll be working on, so it needs to be facing up.
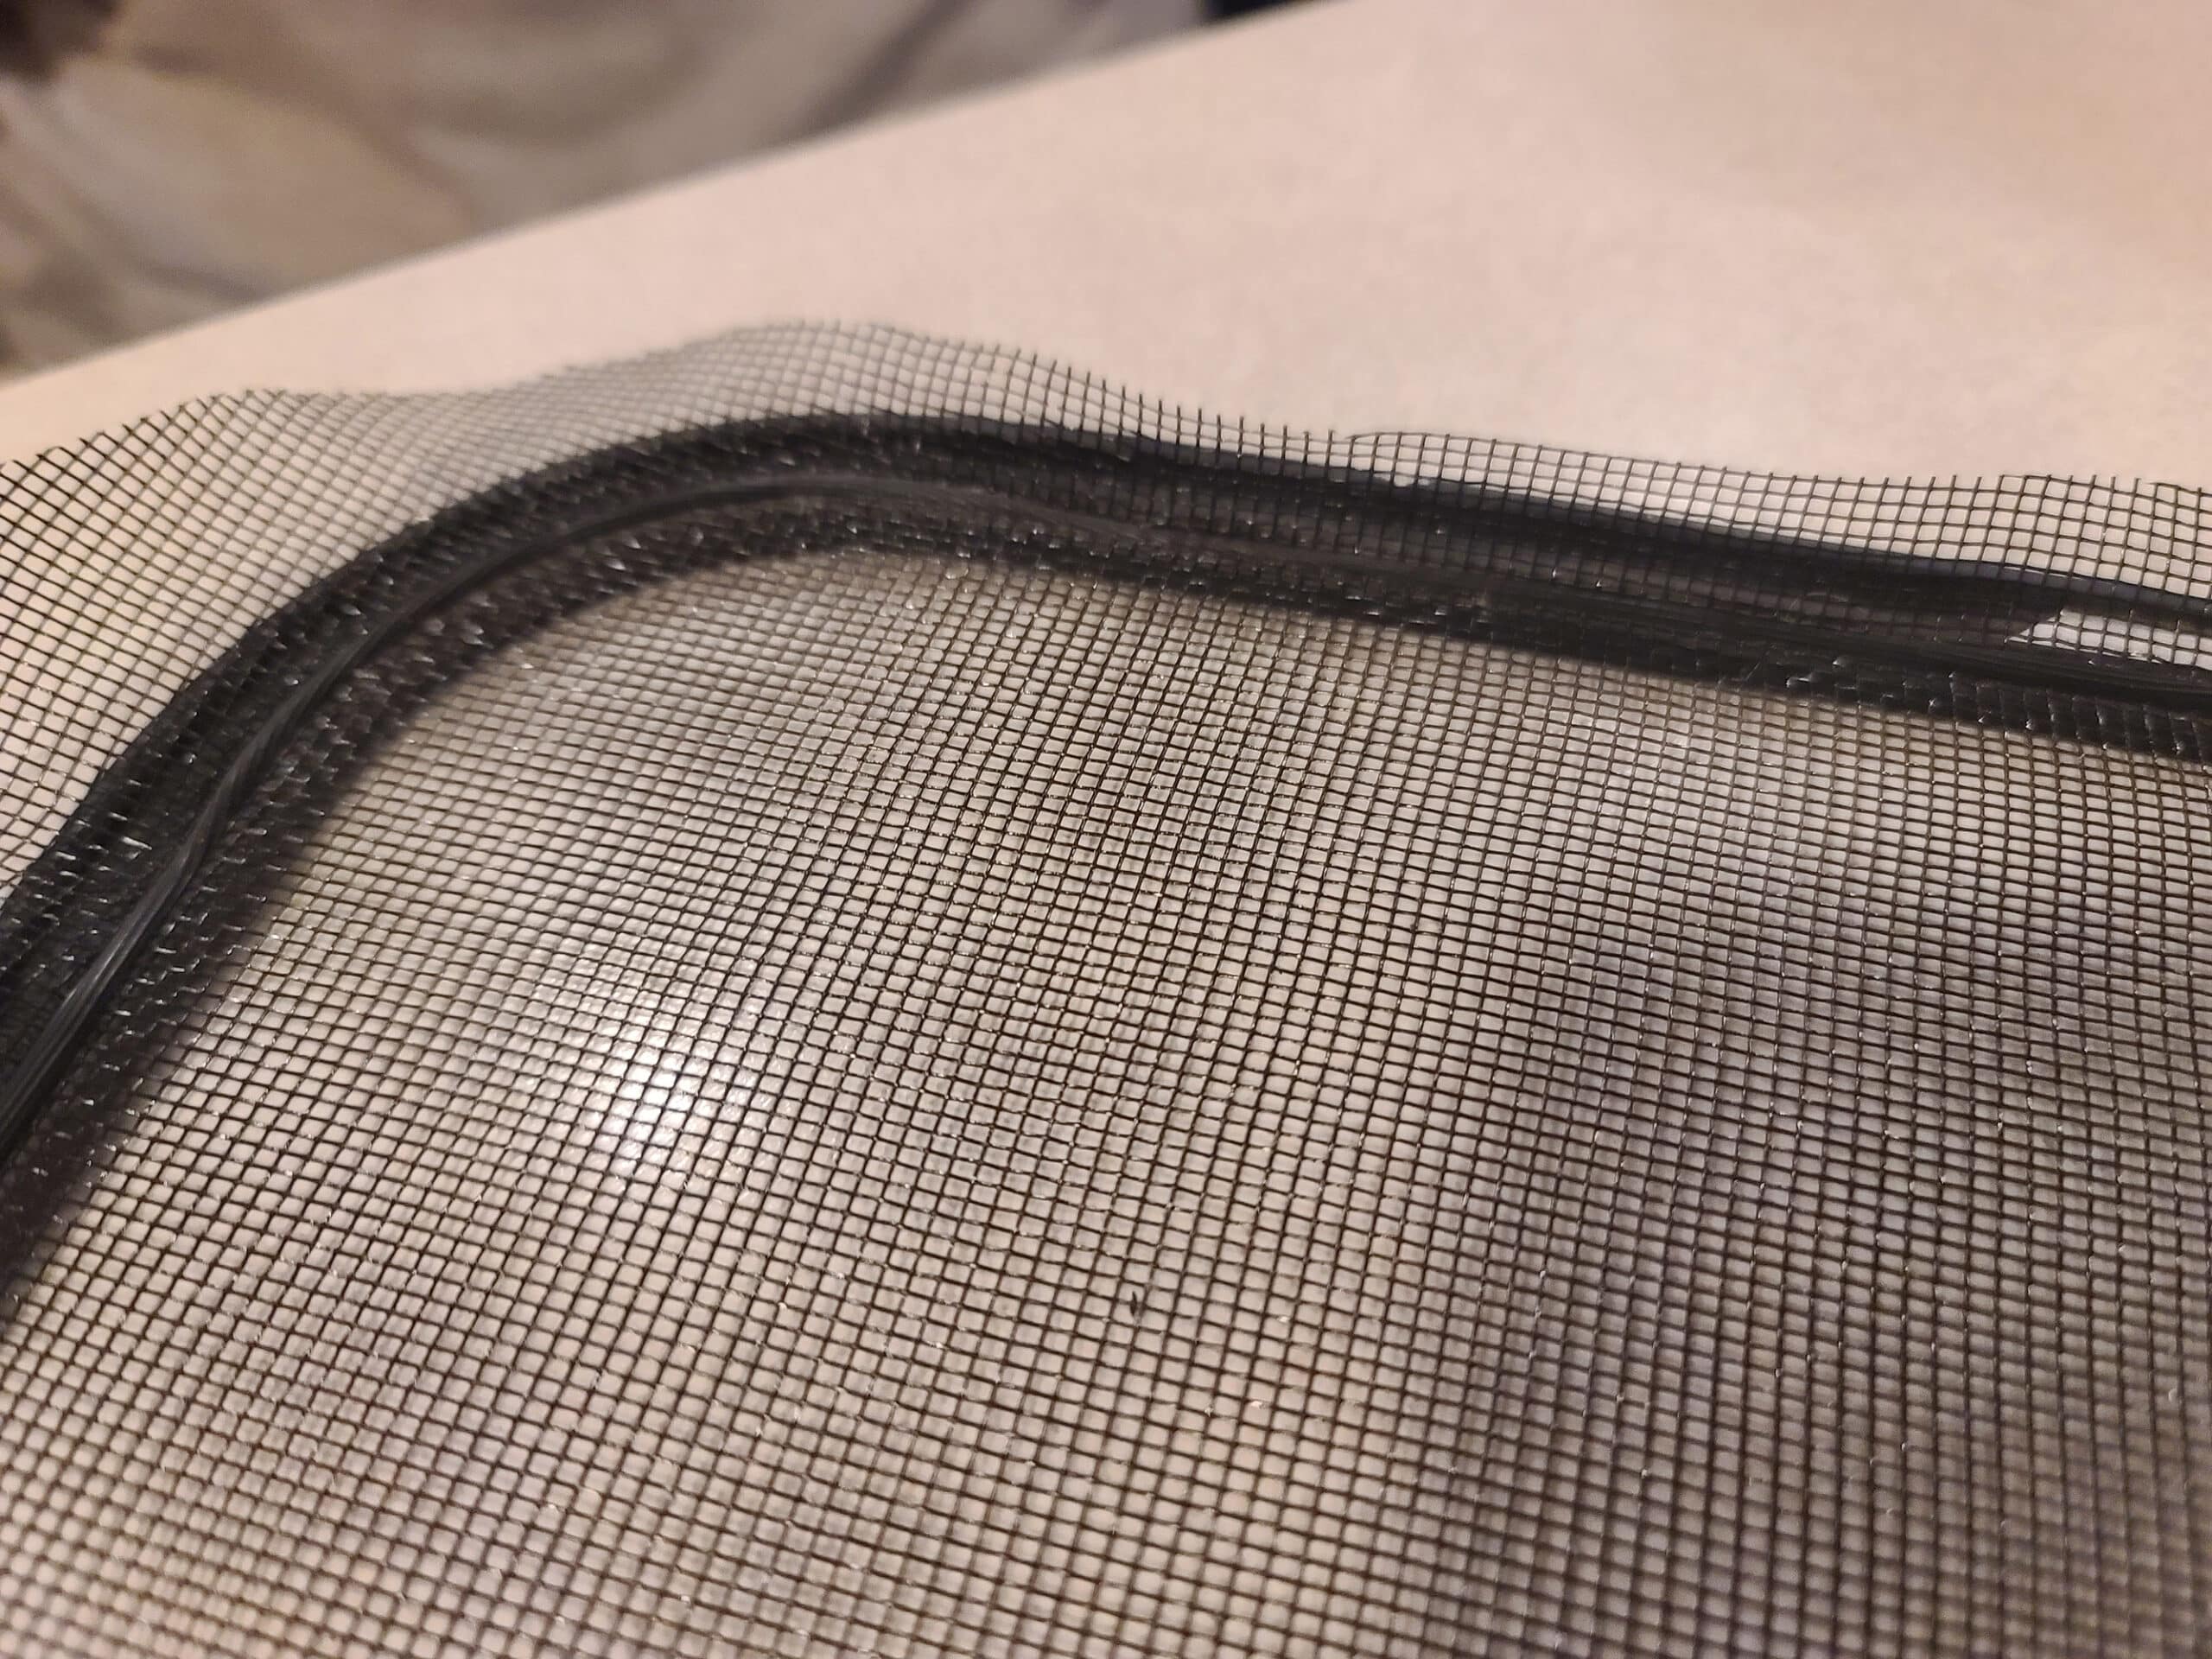
3. Locate the end of the spline. This is that cord we were talking about earlier - you should be able to see it jammed into the groove around the screen.
What you’re looking for is where that cord begins and ends in the original installation.
If your window is really old, your spline may be degraded and cracked, making it hard to find the actual end of the spline. If this is the case, no worries, just move on to the next step.
If it’s cracked and worn, you may need to pick out sections a little at a time. Either way, just get all the spline - whole or in bits - out of the groove so that it’s completely clear.
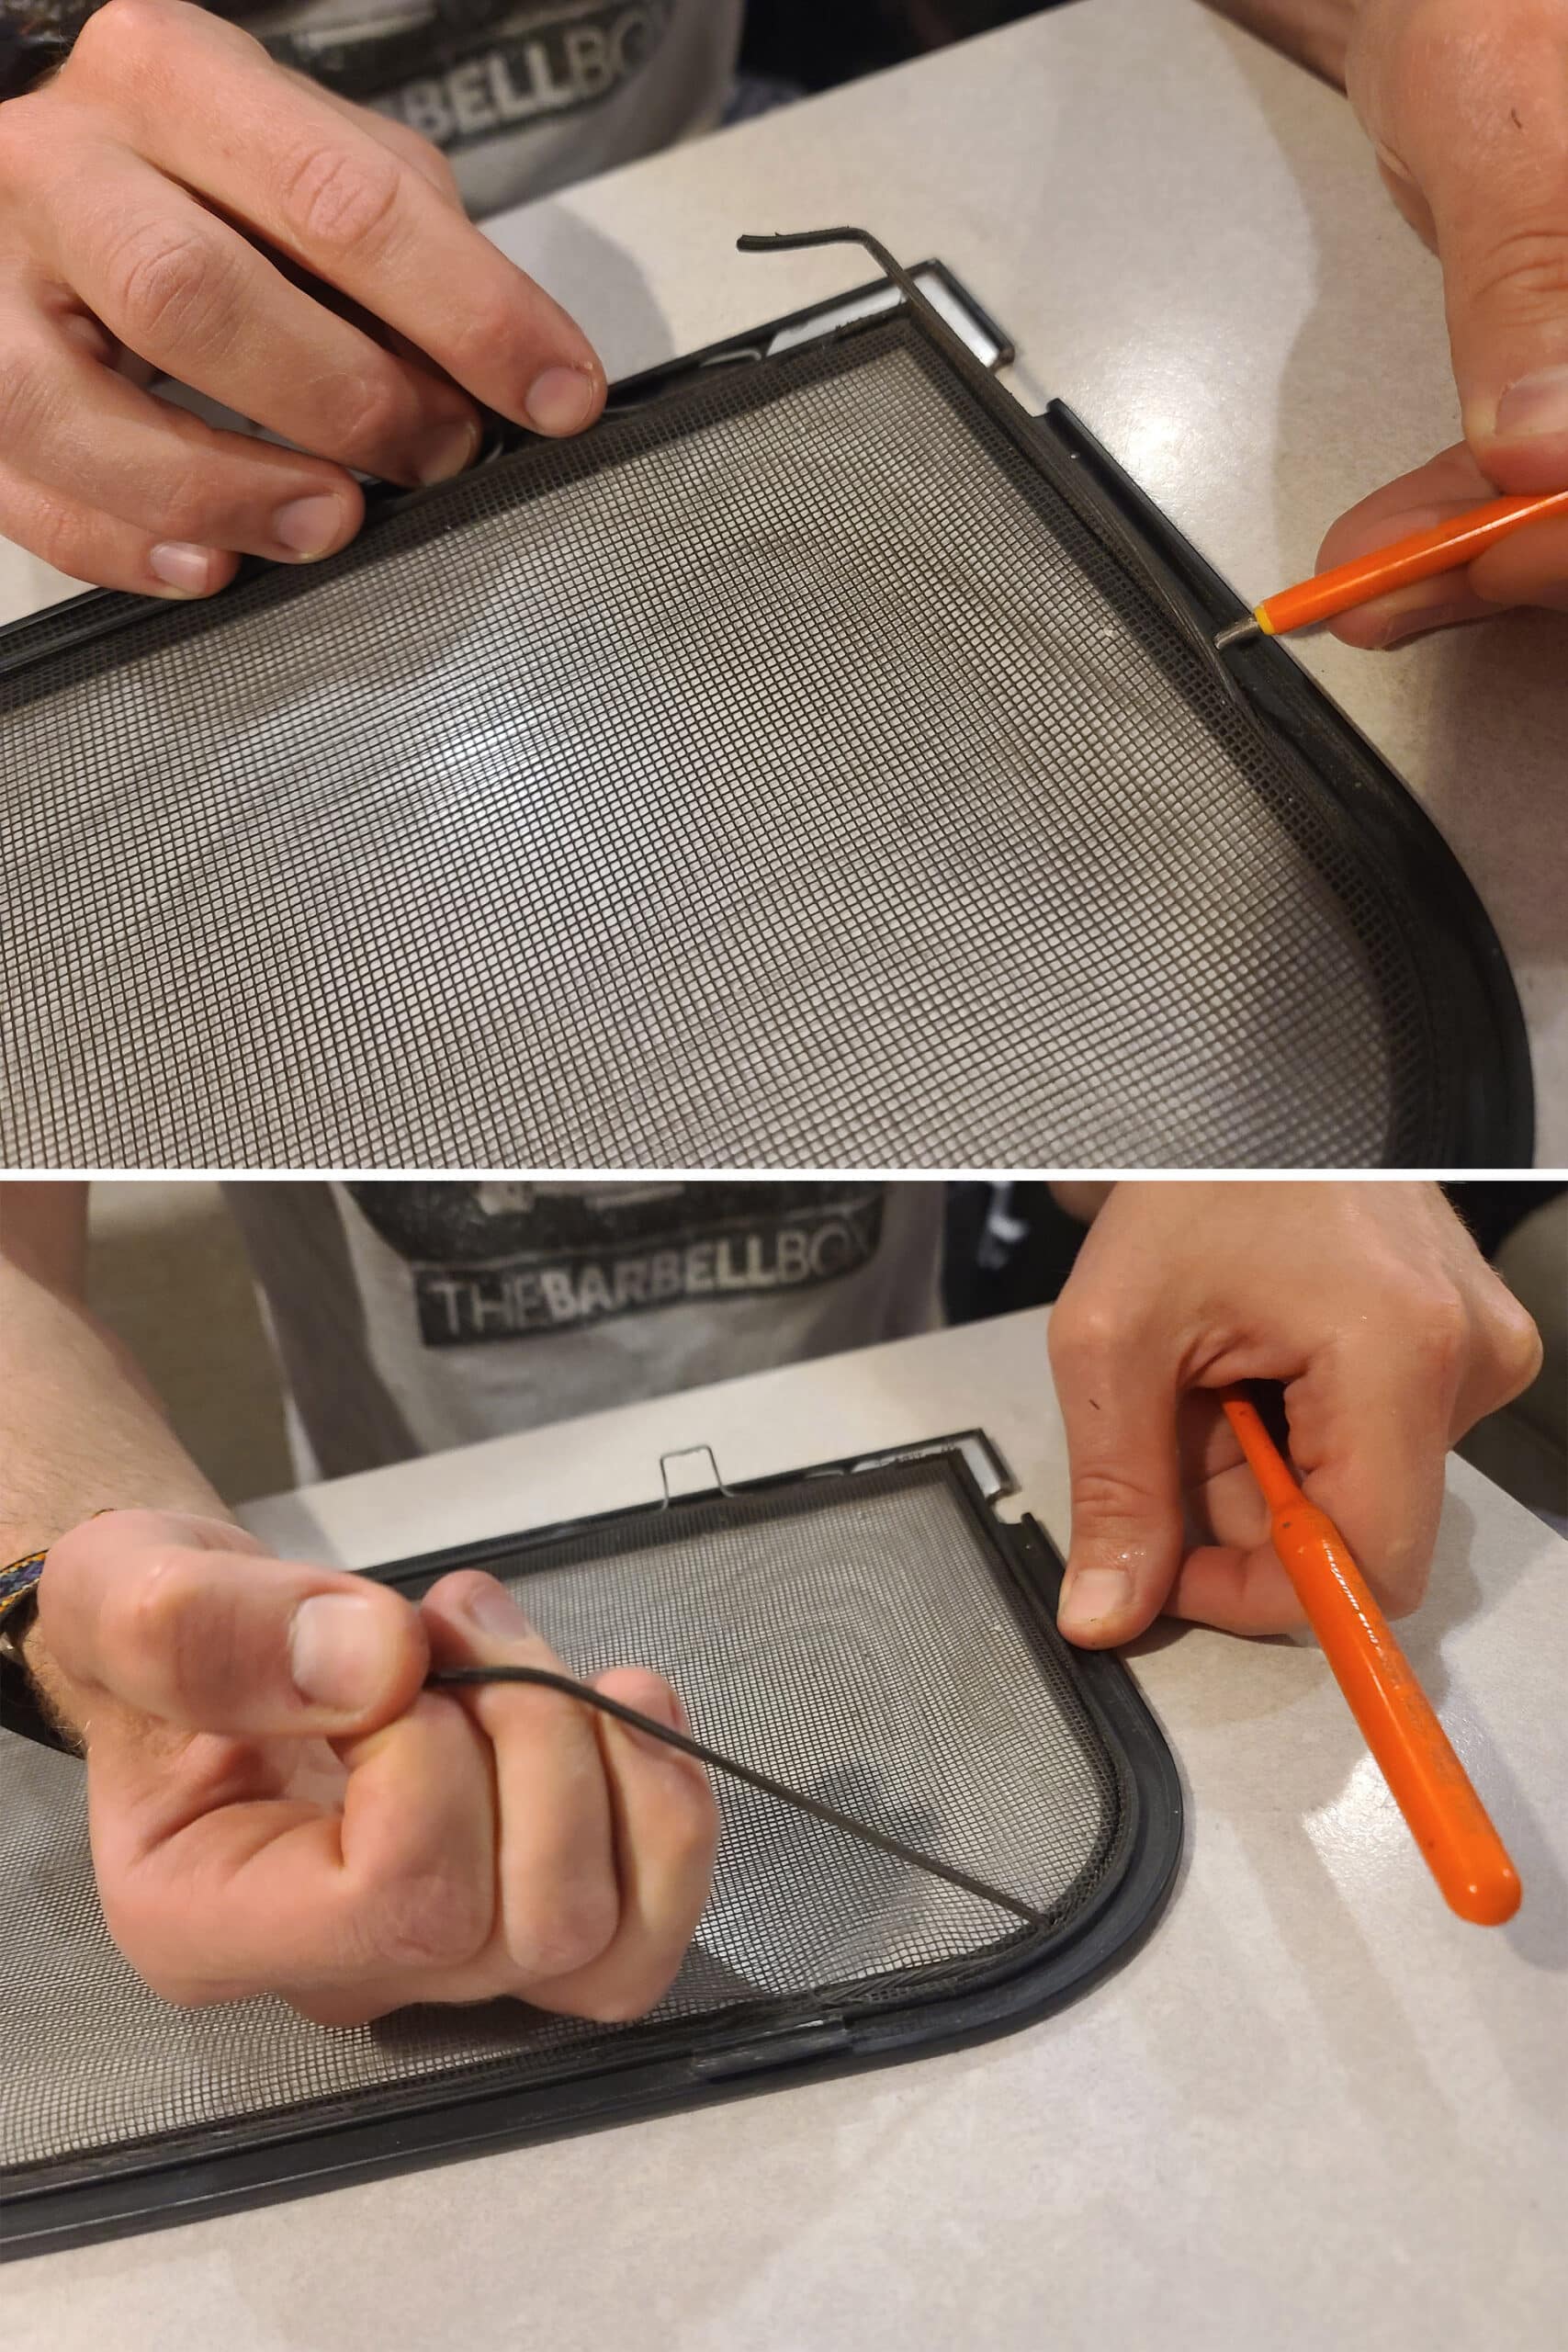
If it’s degraded, you may need to pick out little bits of window screen that get left behind in the groove.
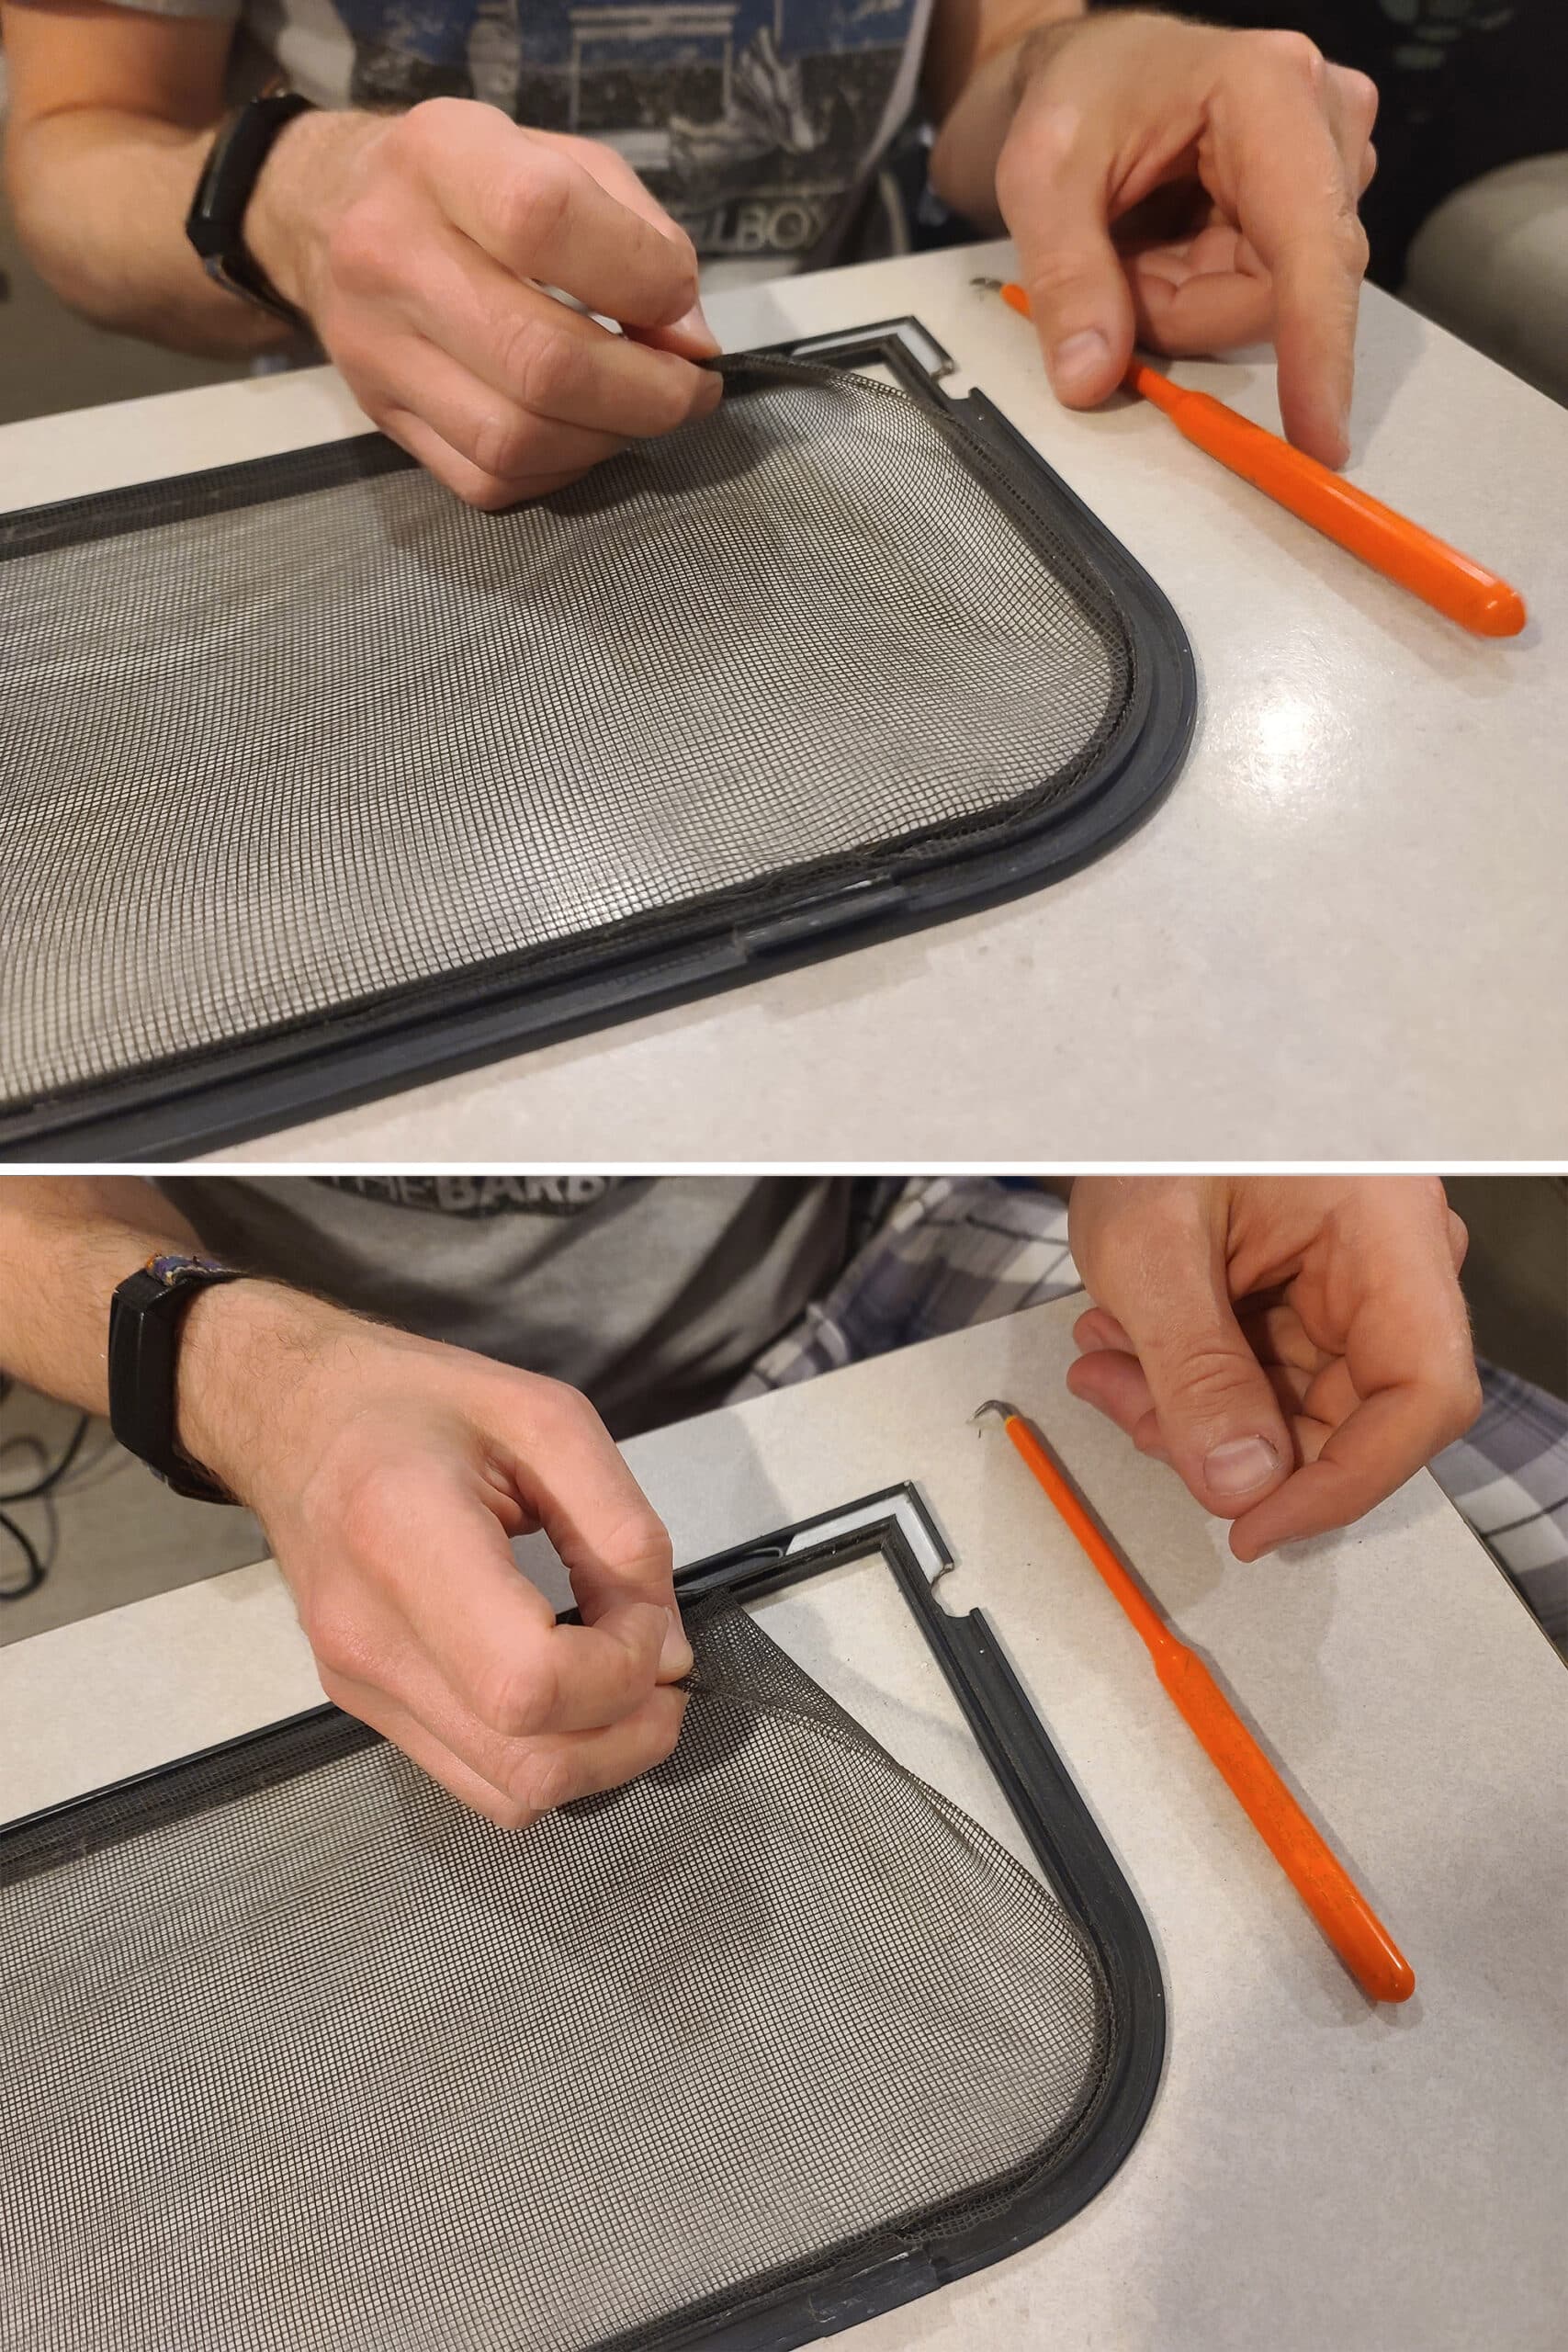
You’re never going to have better access to really give it a good cleaning, and you may a well start your fresh new window screen out in a nice, clean frame!
Cut your Window Screen
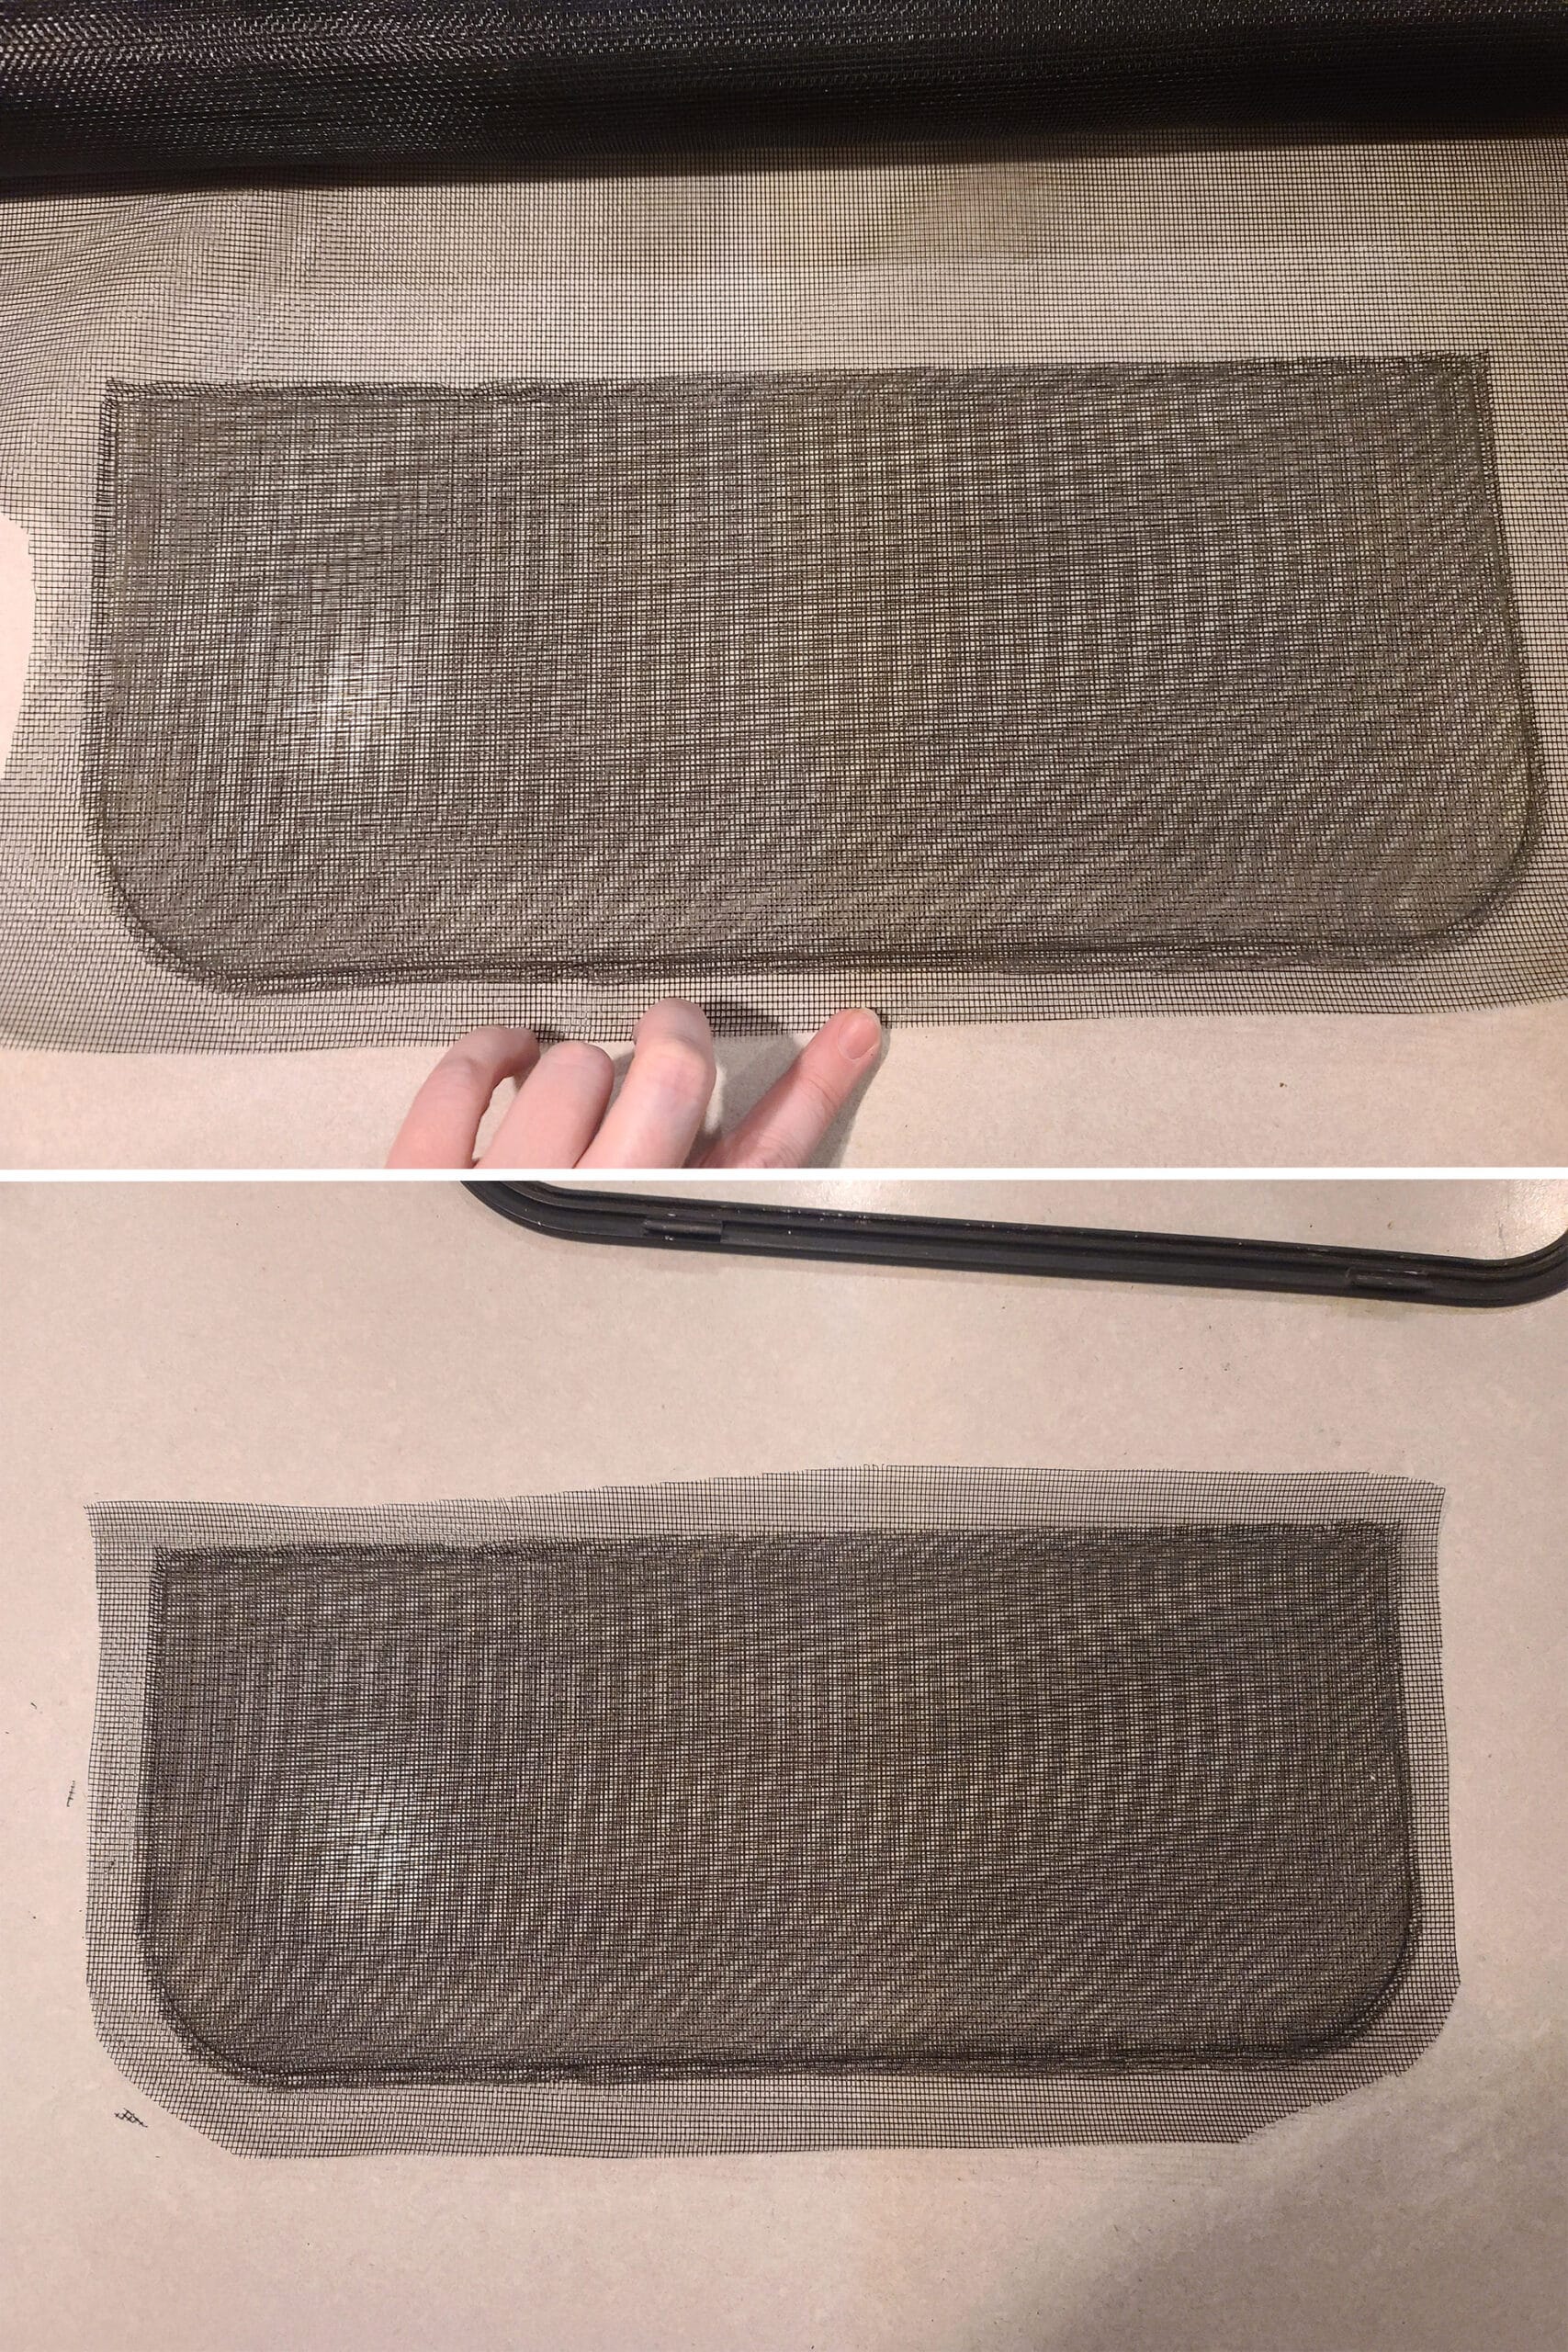
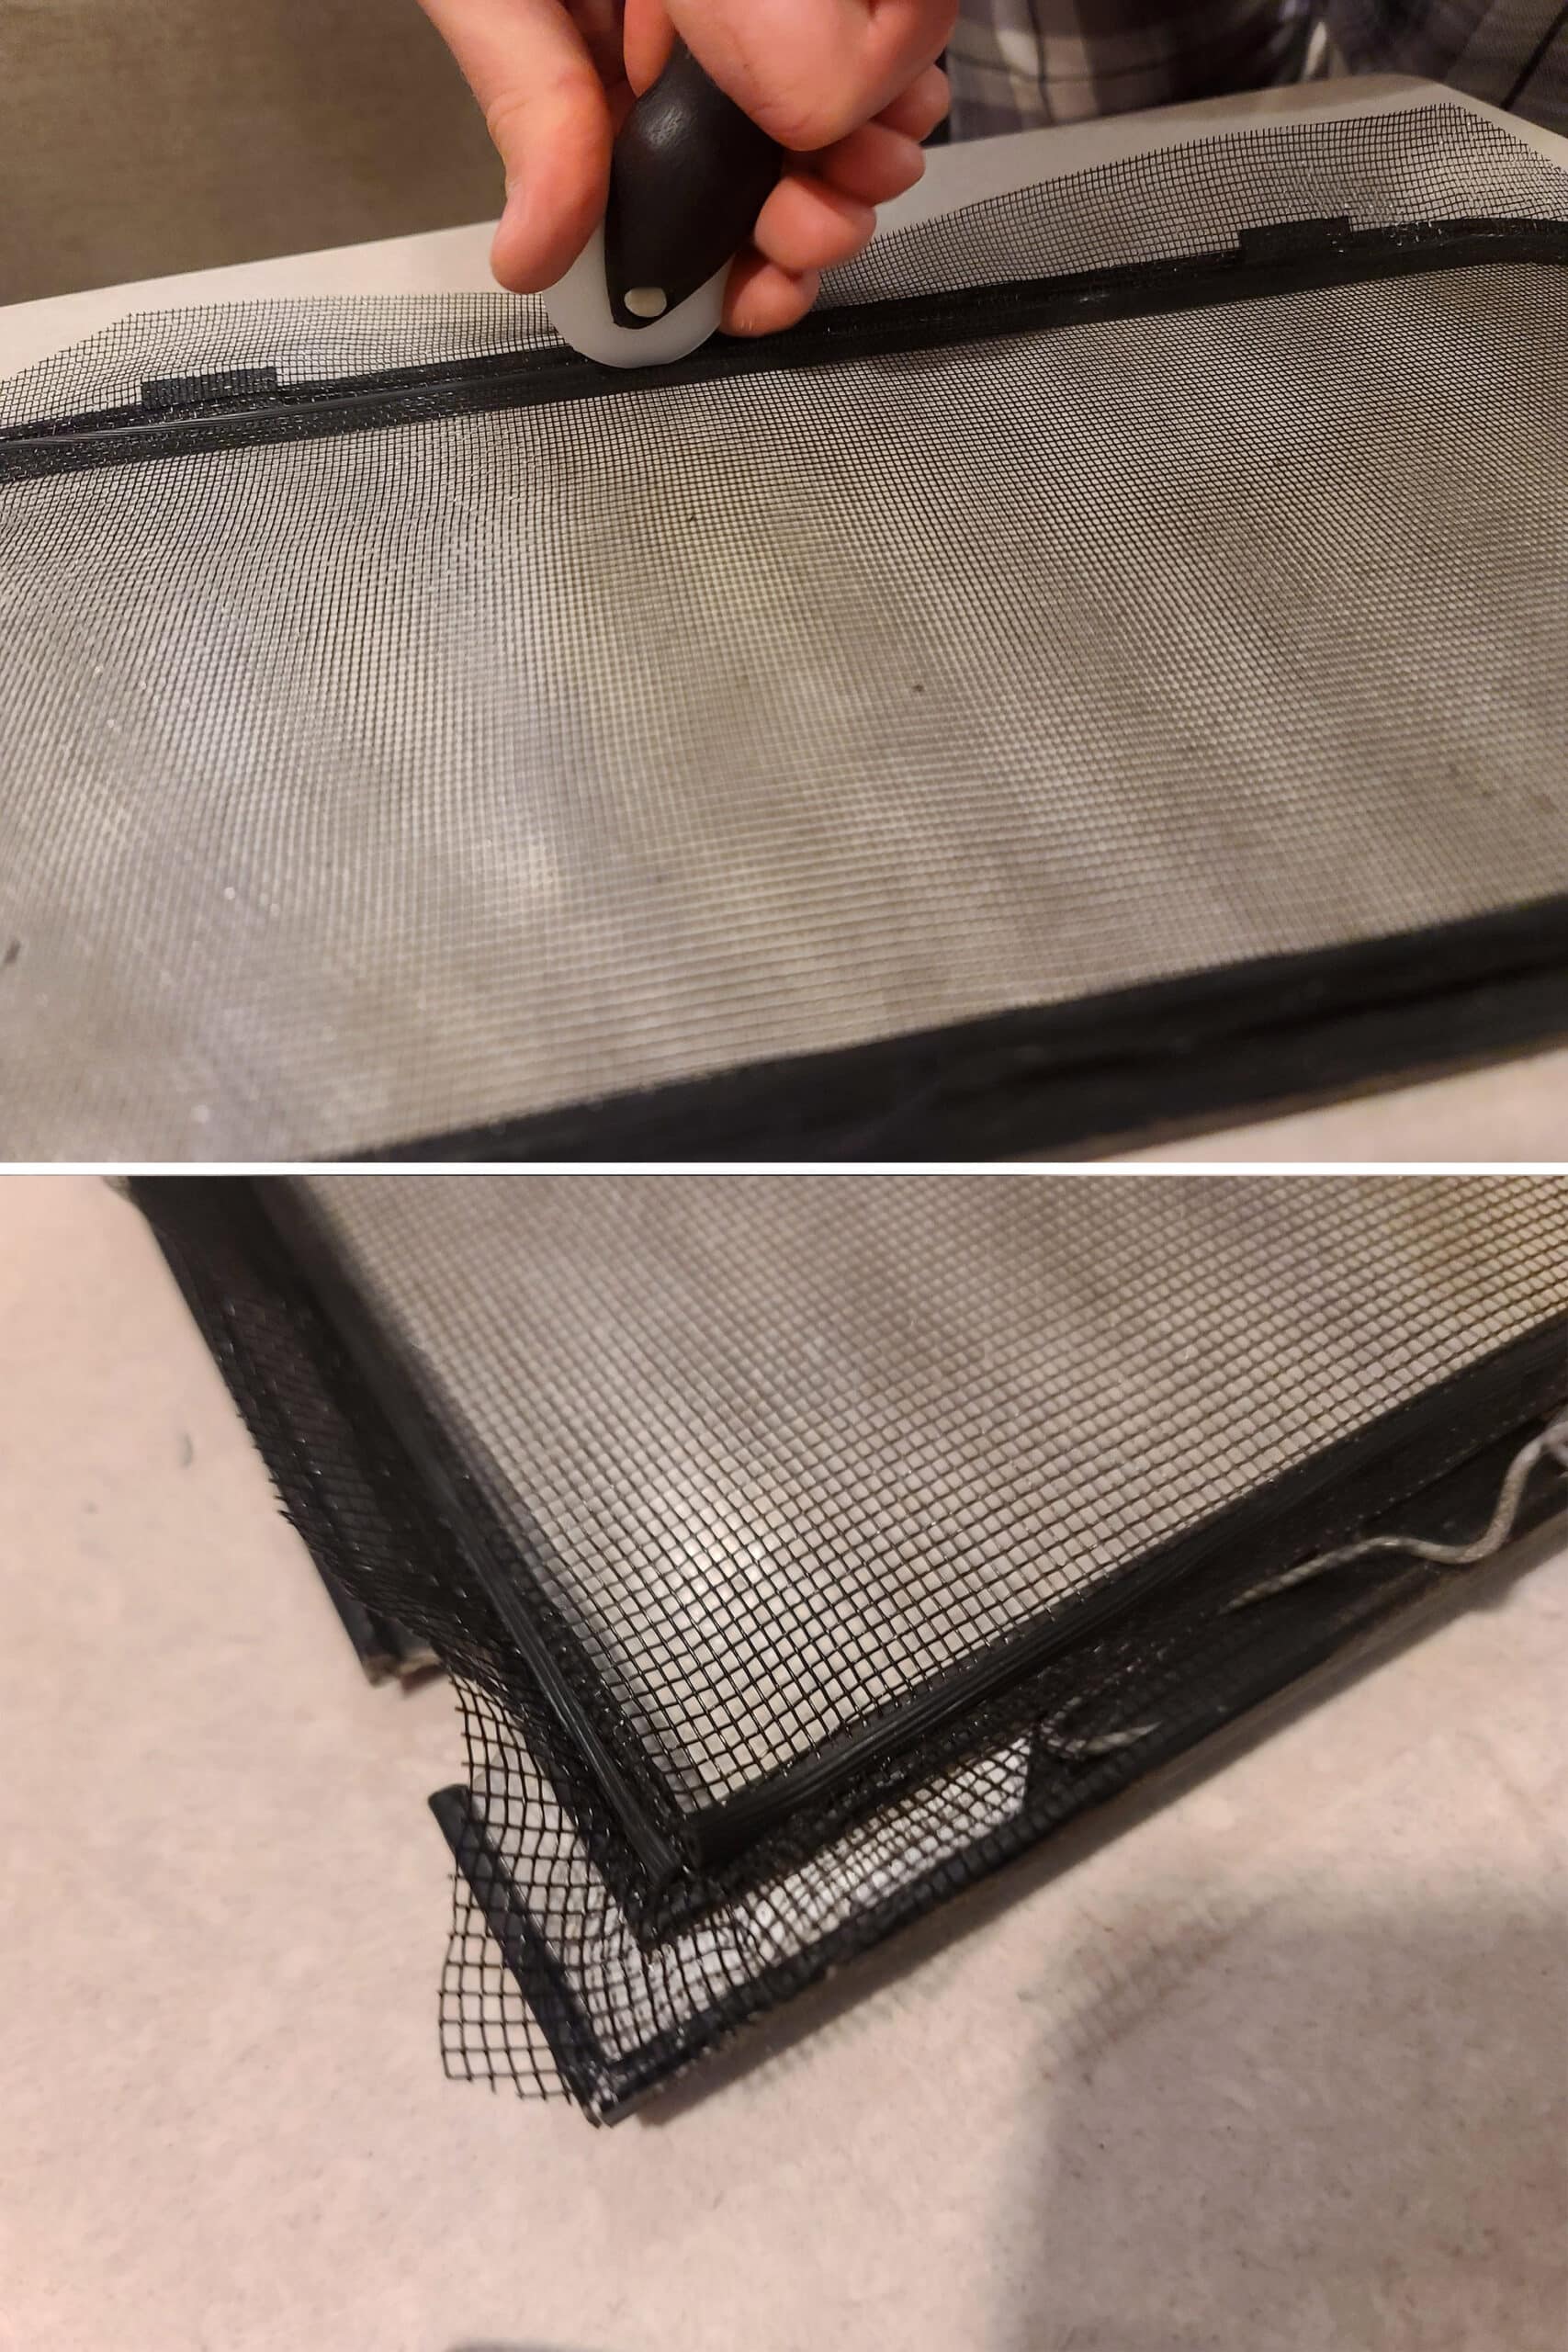
7. Use your existing window screen to cut your new window screen piece.
This is the best way to start out with an appropriate screen size to work with. Just smooth the original out as flat as you can, and lay it out on your roll of window screening.
Be sure to keep it level with the weave. You want the lines running straight up and down, and side to side - not on some wonky diagonal.
Once you are happy with the placement, use the original screen as a pattern, but cut the new screen so that it’s about 1" bigger all around, as shown.
Install the Window Screen
8. With your window screen frame laid out with the groove side facing up, place your new window screen piece over it.
Center it such that it’s got an even border all along the outside of the frame, with the lines straight across / up and down. Again, try to avoid wonky placement.

Using the concave side (the side where there’s a groove cut into the wheel) of your roller tool, follow along the groove of the frame, gently pushing the line of spline into the groove.
You’ll be rolling the spline into the groove around the whole track of the window, slowly and carefully.
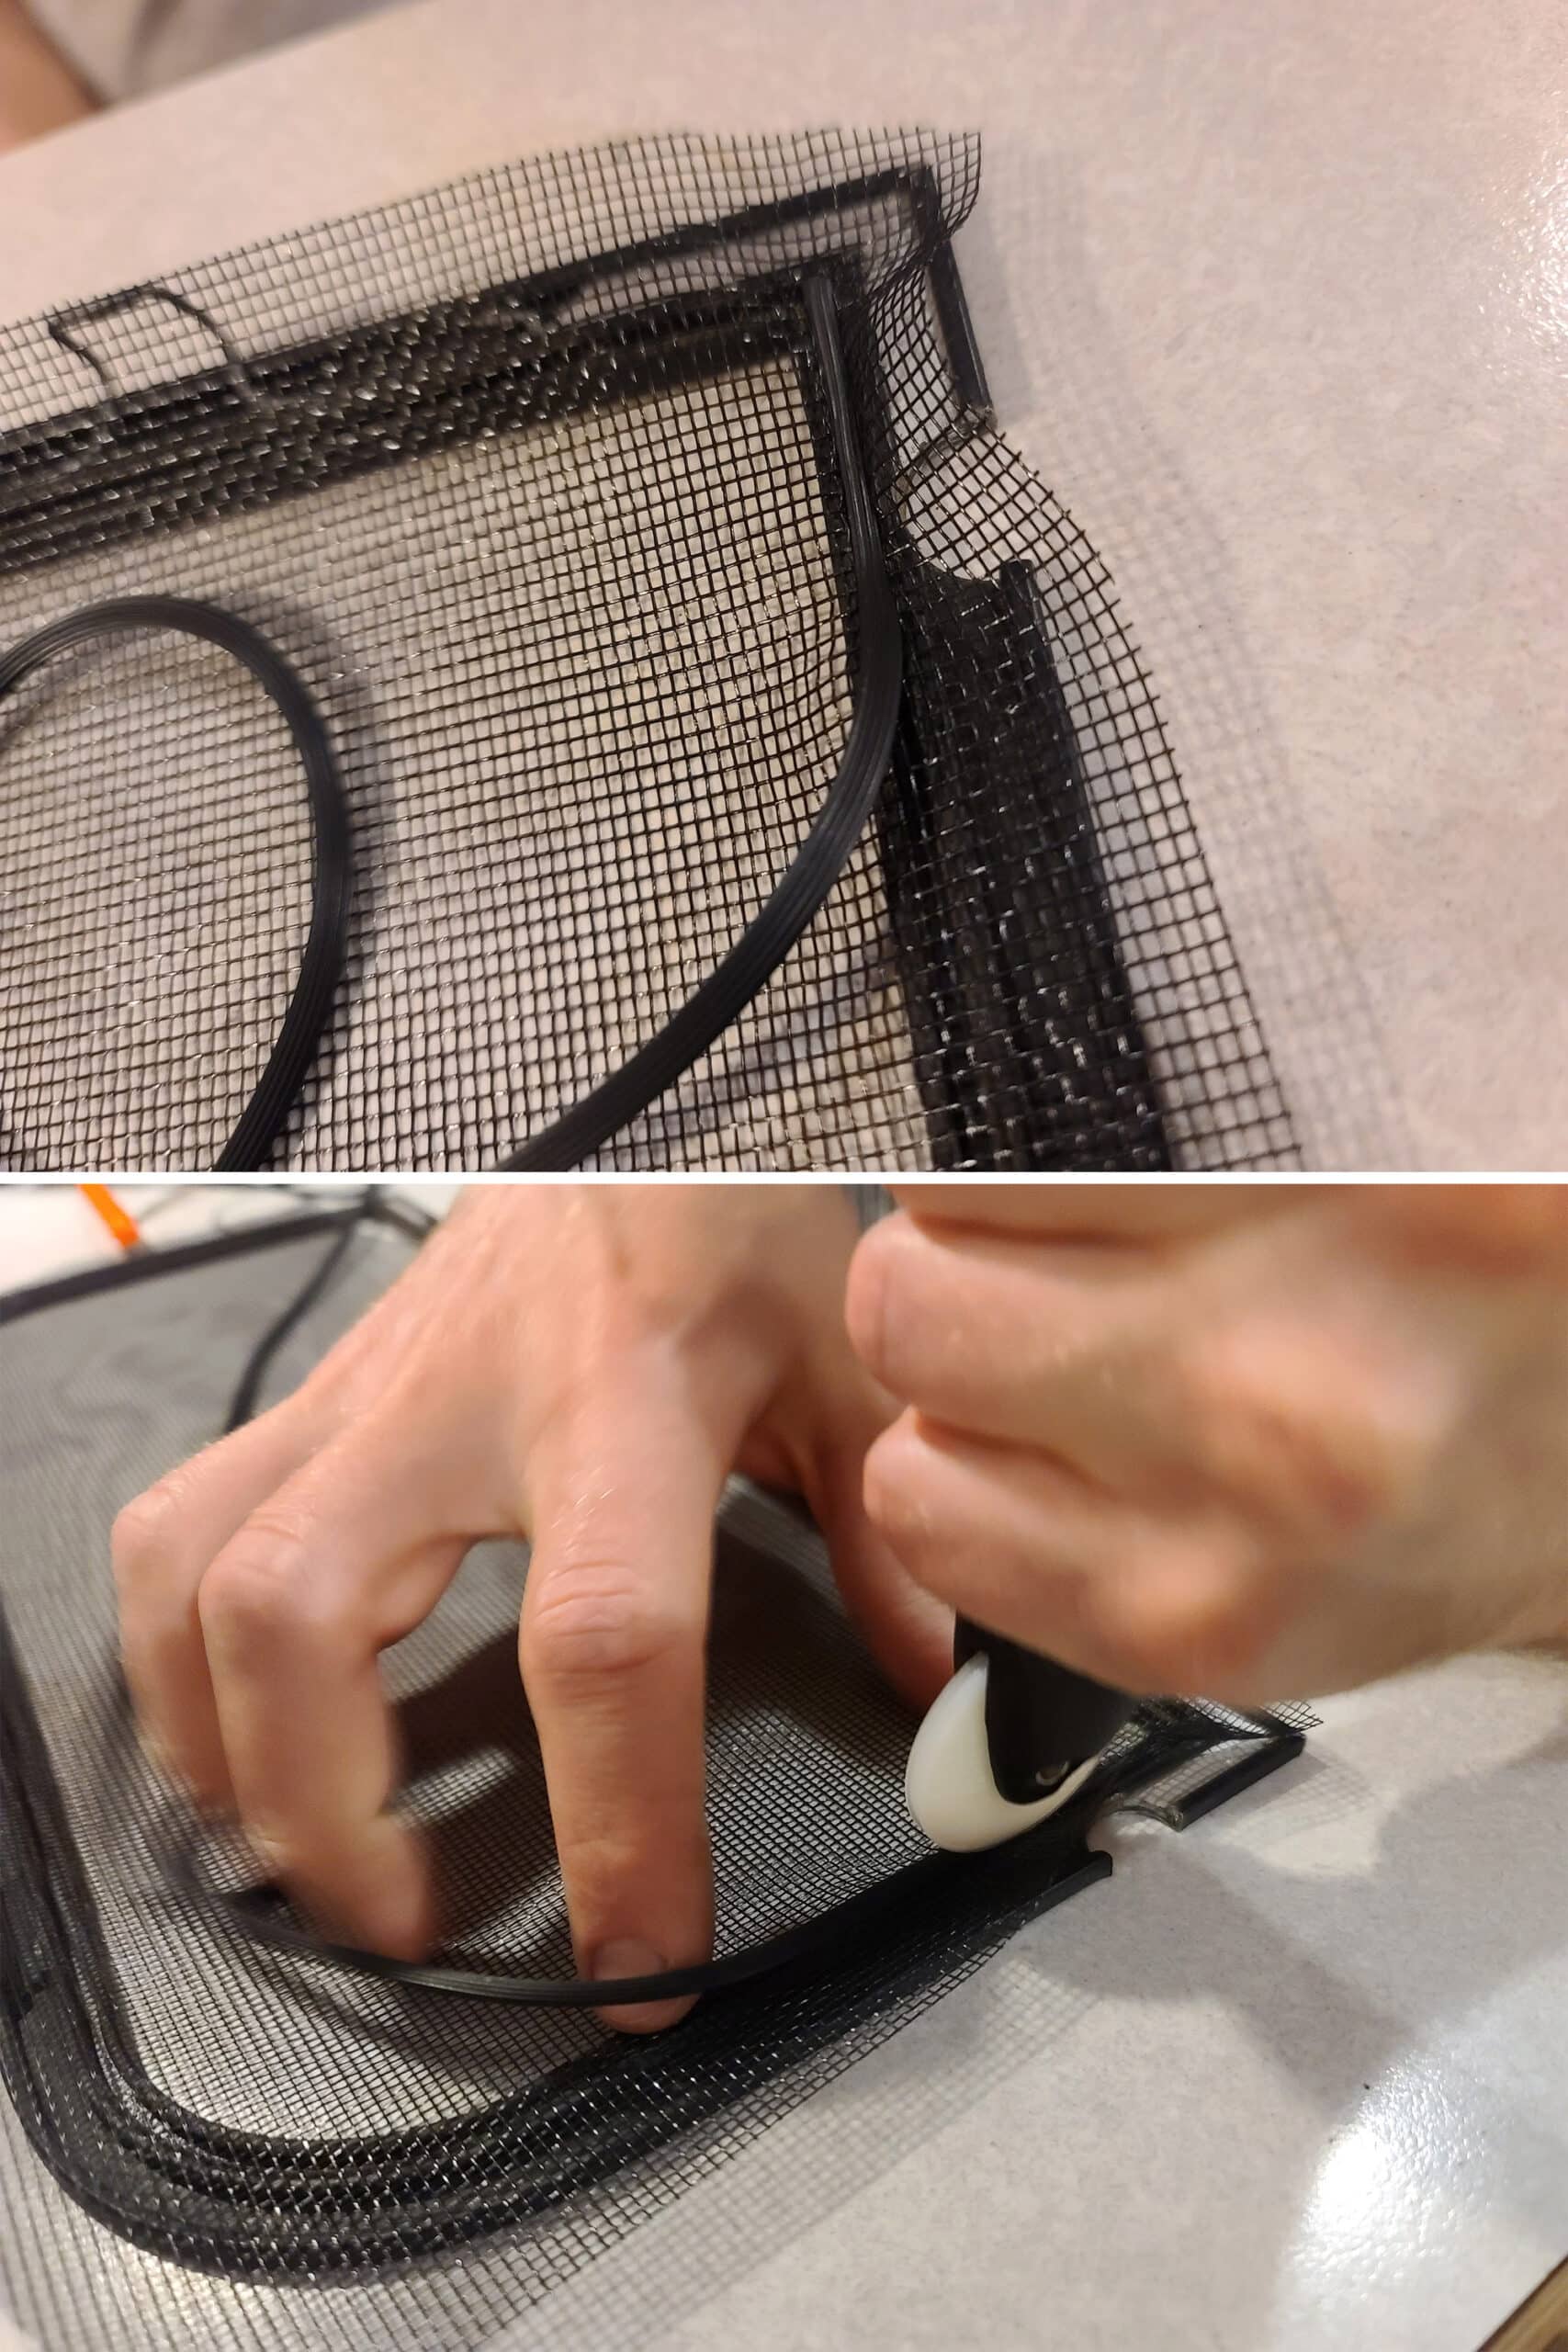
A. At this point, we don’t want the spline DEEP set into the groove, that’ll come later.
B. At this point, the screen will not be super tight, but it should be flat, even, and with no waves or wrinkles. We’ll be tightening it in a future step.
C. If you find yourself screwing up one way or another - too loose, wonky setting, etc - just pull back the spline, reposition what you’re doing, and keep going.
Note: If needed, you can stop/start again at each hard corner along the way, to ensure a sharp corner. This is entirely optional, we usually don’t bother.
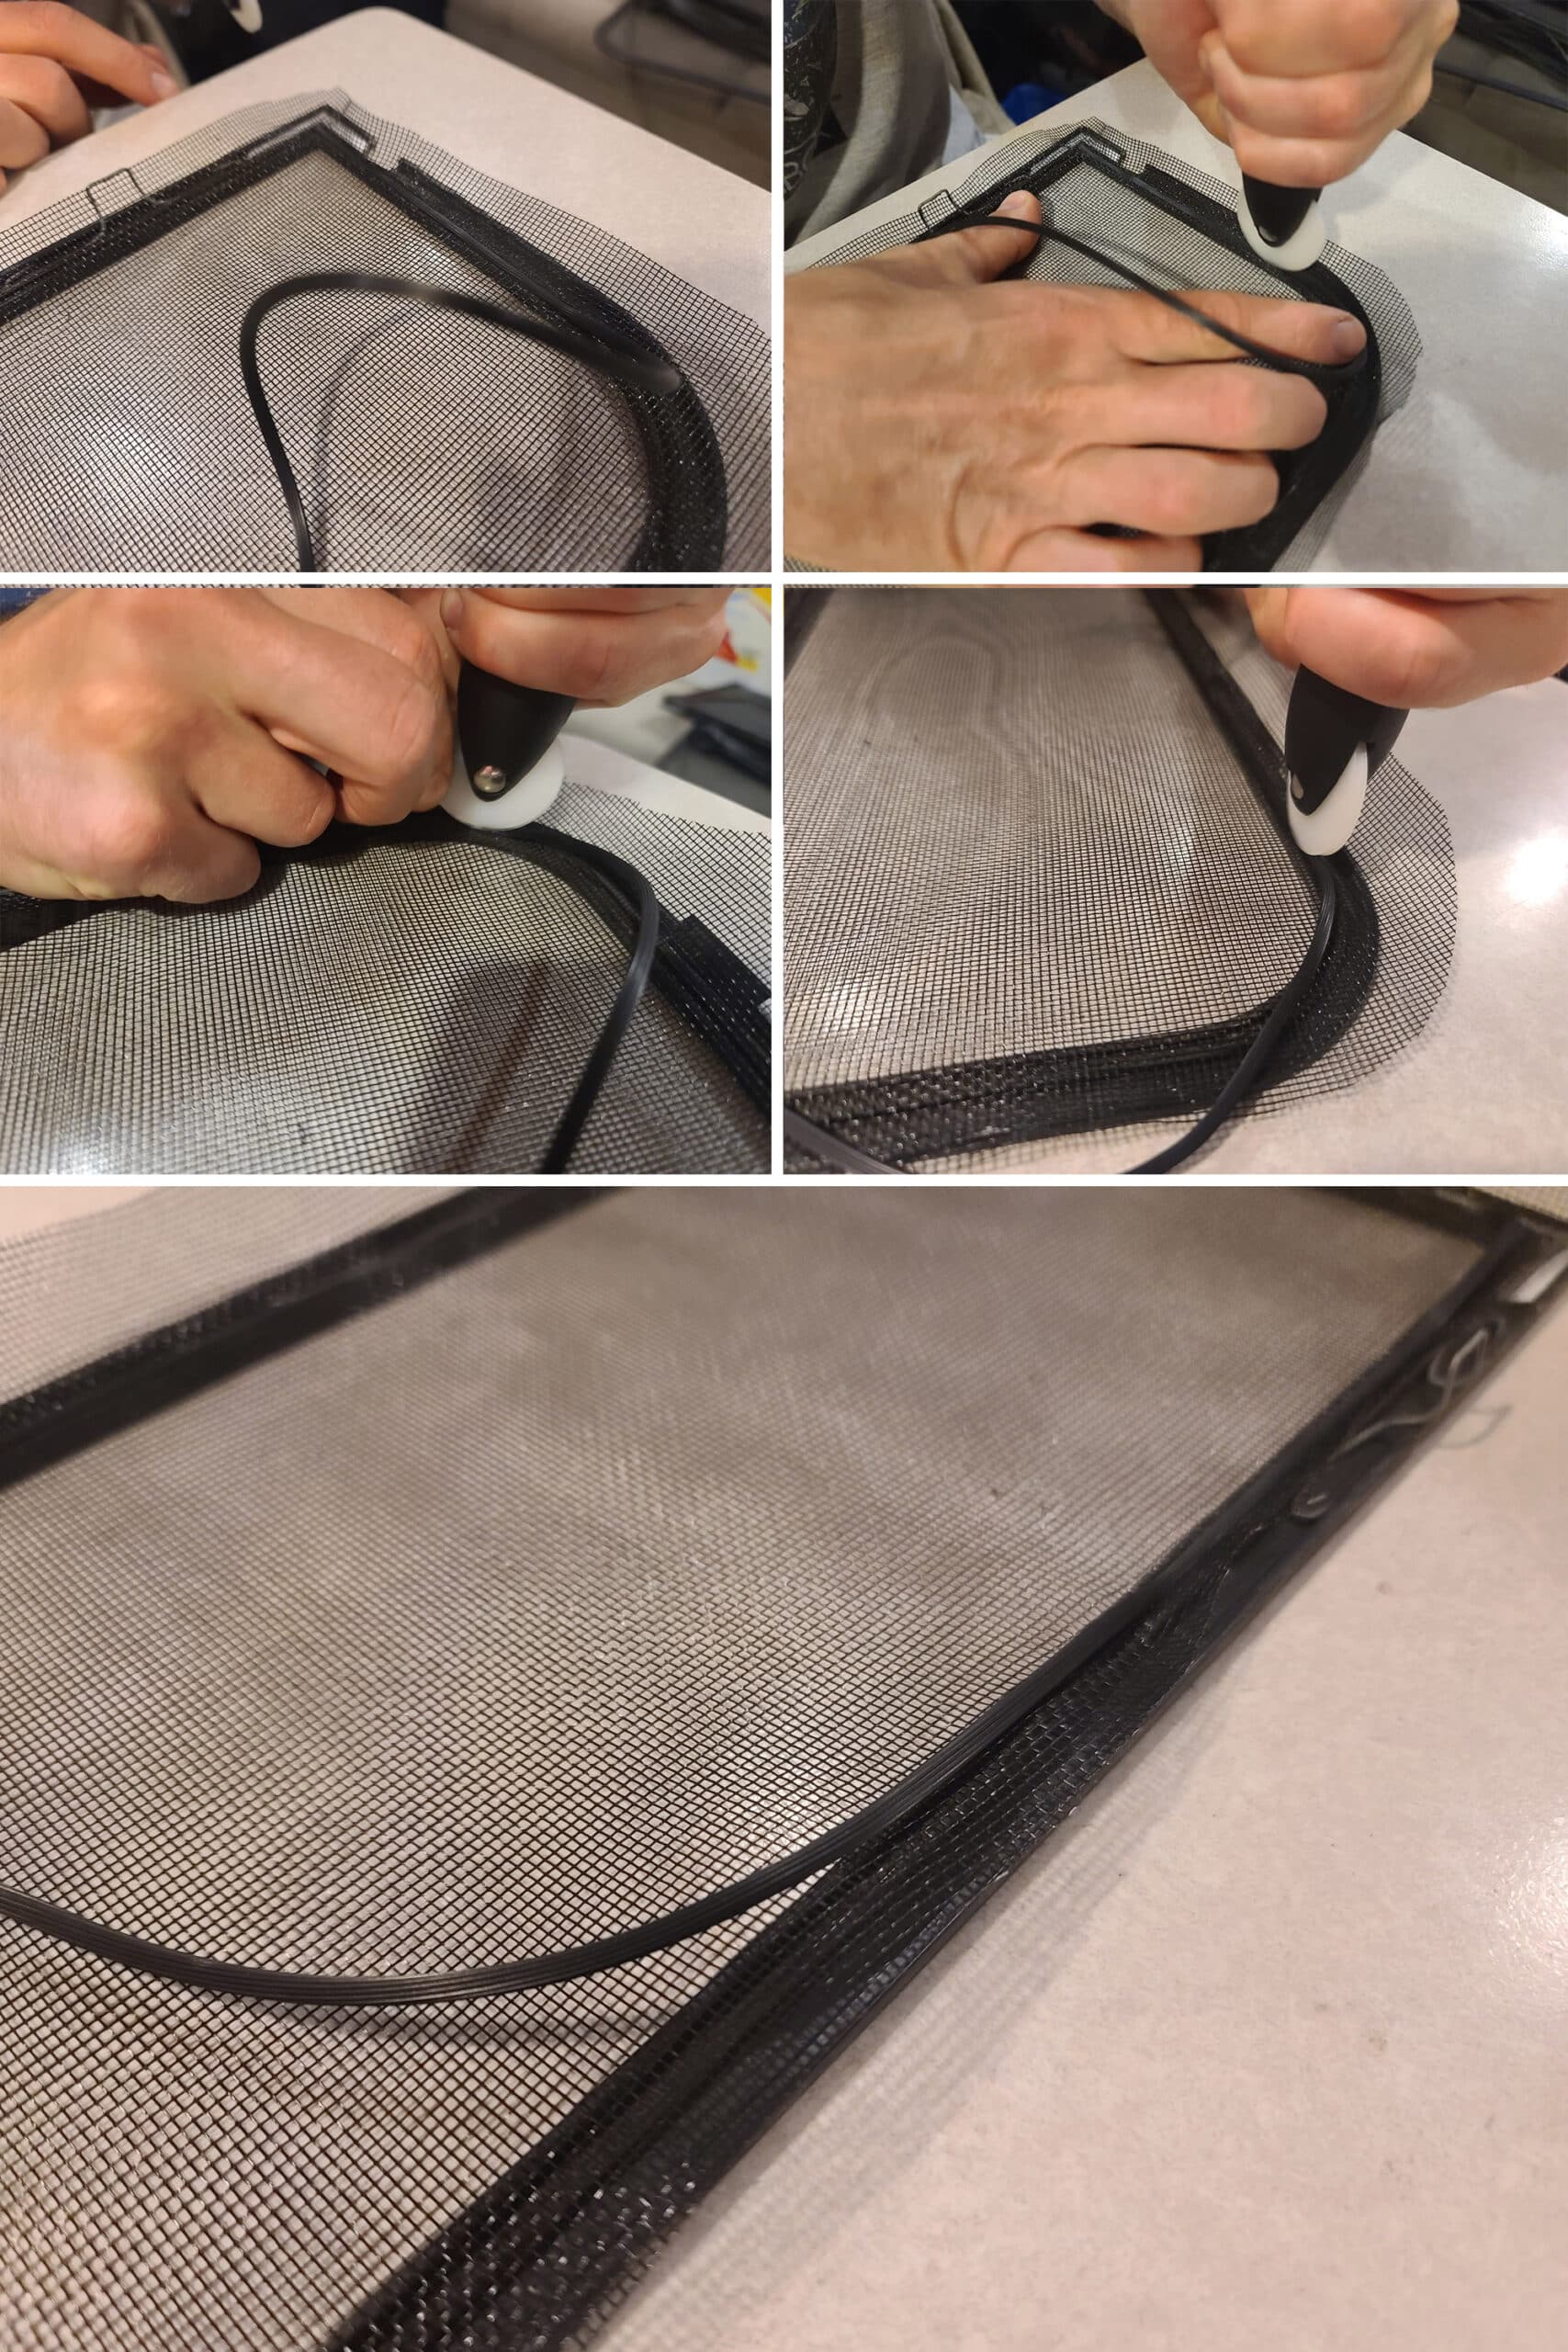
This is what it should look like, at this point:
Starting where you started the spline length, use the tool to firmly and evenly press and roll the spline deeply into the groove.
This is how the screen will become taut.
12. Examine your screen installation, look for loose sections of the screen. If there’s anywhere that seems loose, try to press the spline in further around those areas.
If it’s still too loose, you’ll want to pull up the spline in that area, straighten out the screen, and try again.
Trim the Excess Window Screen
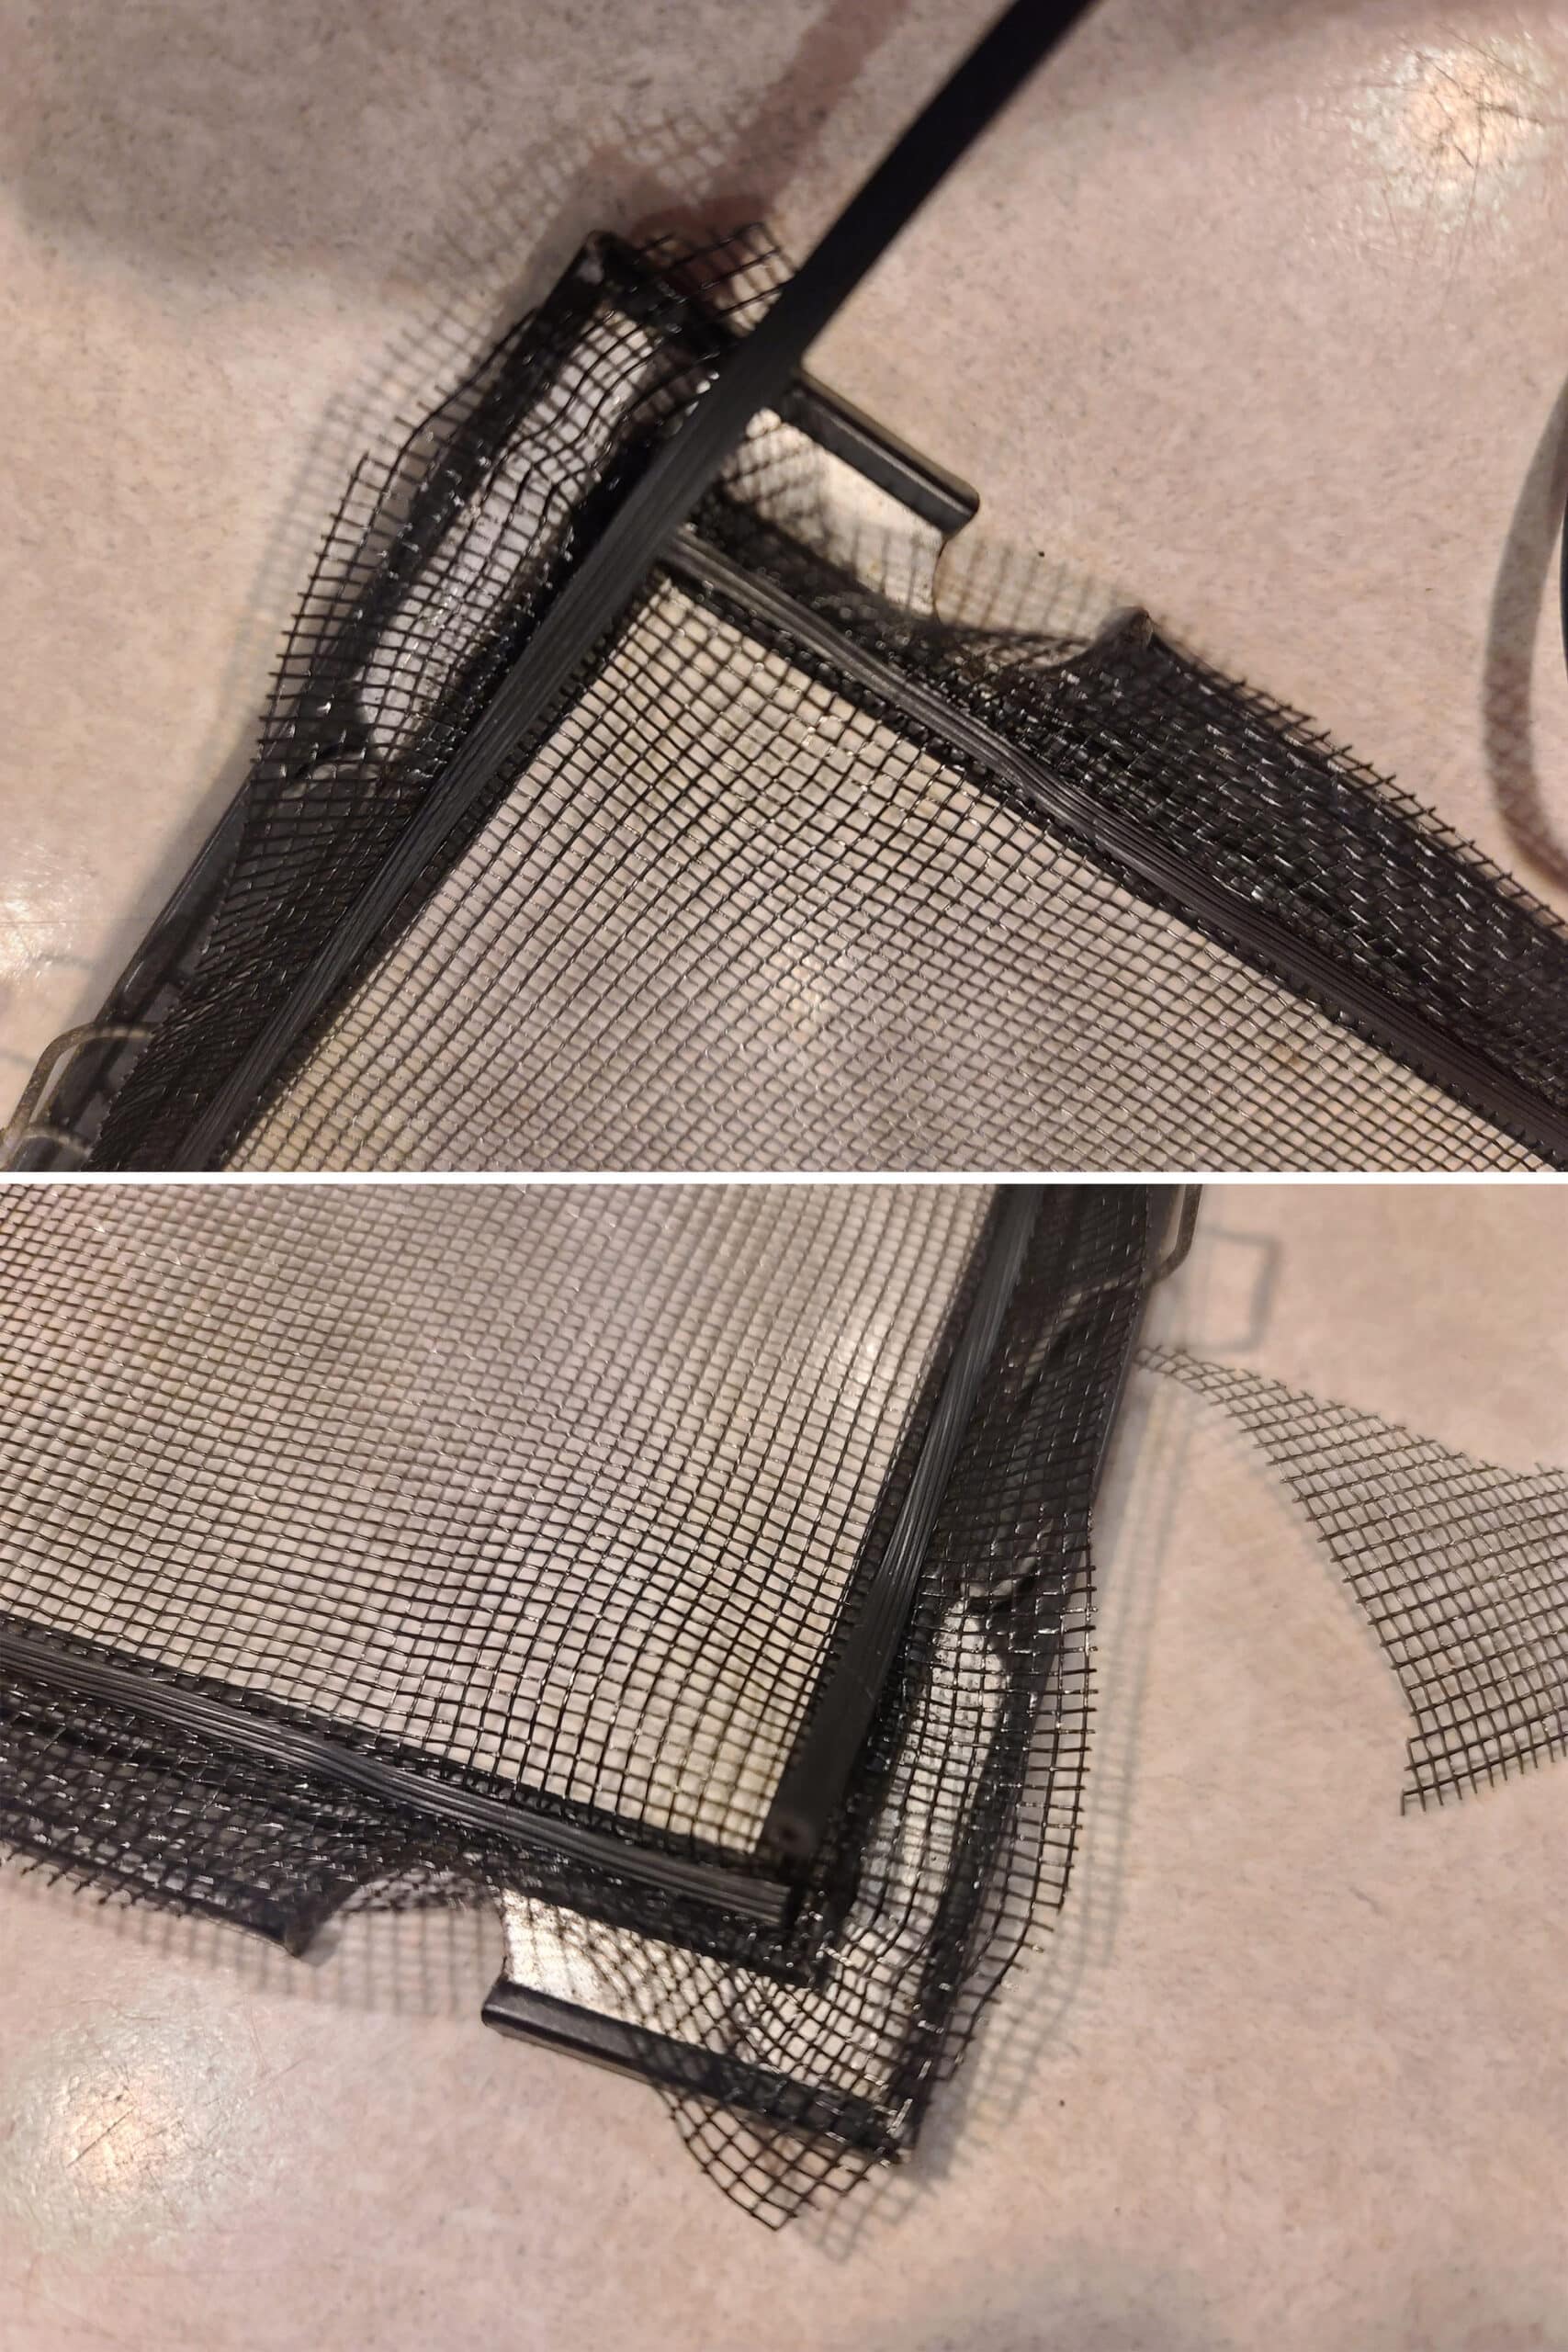
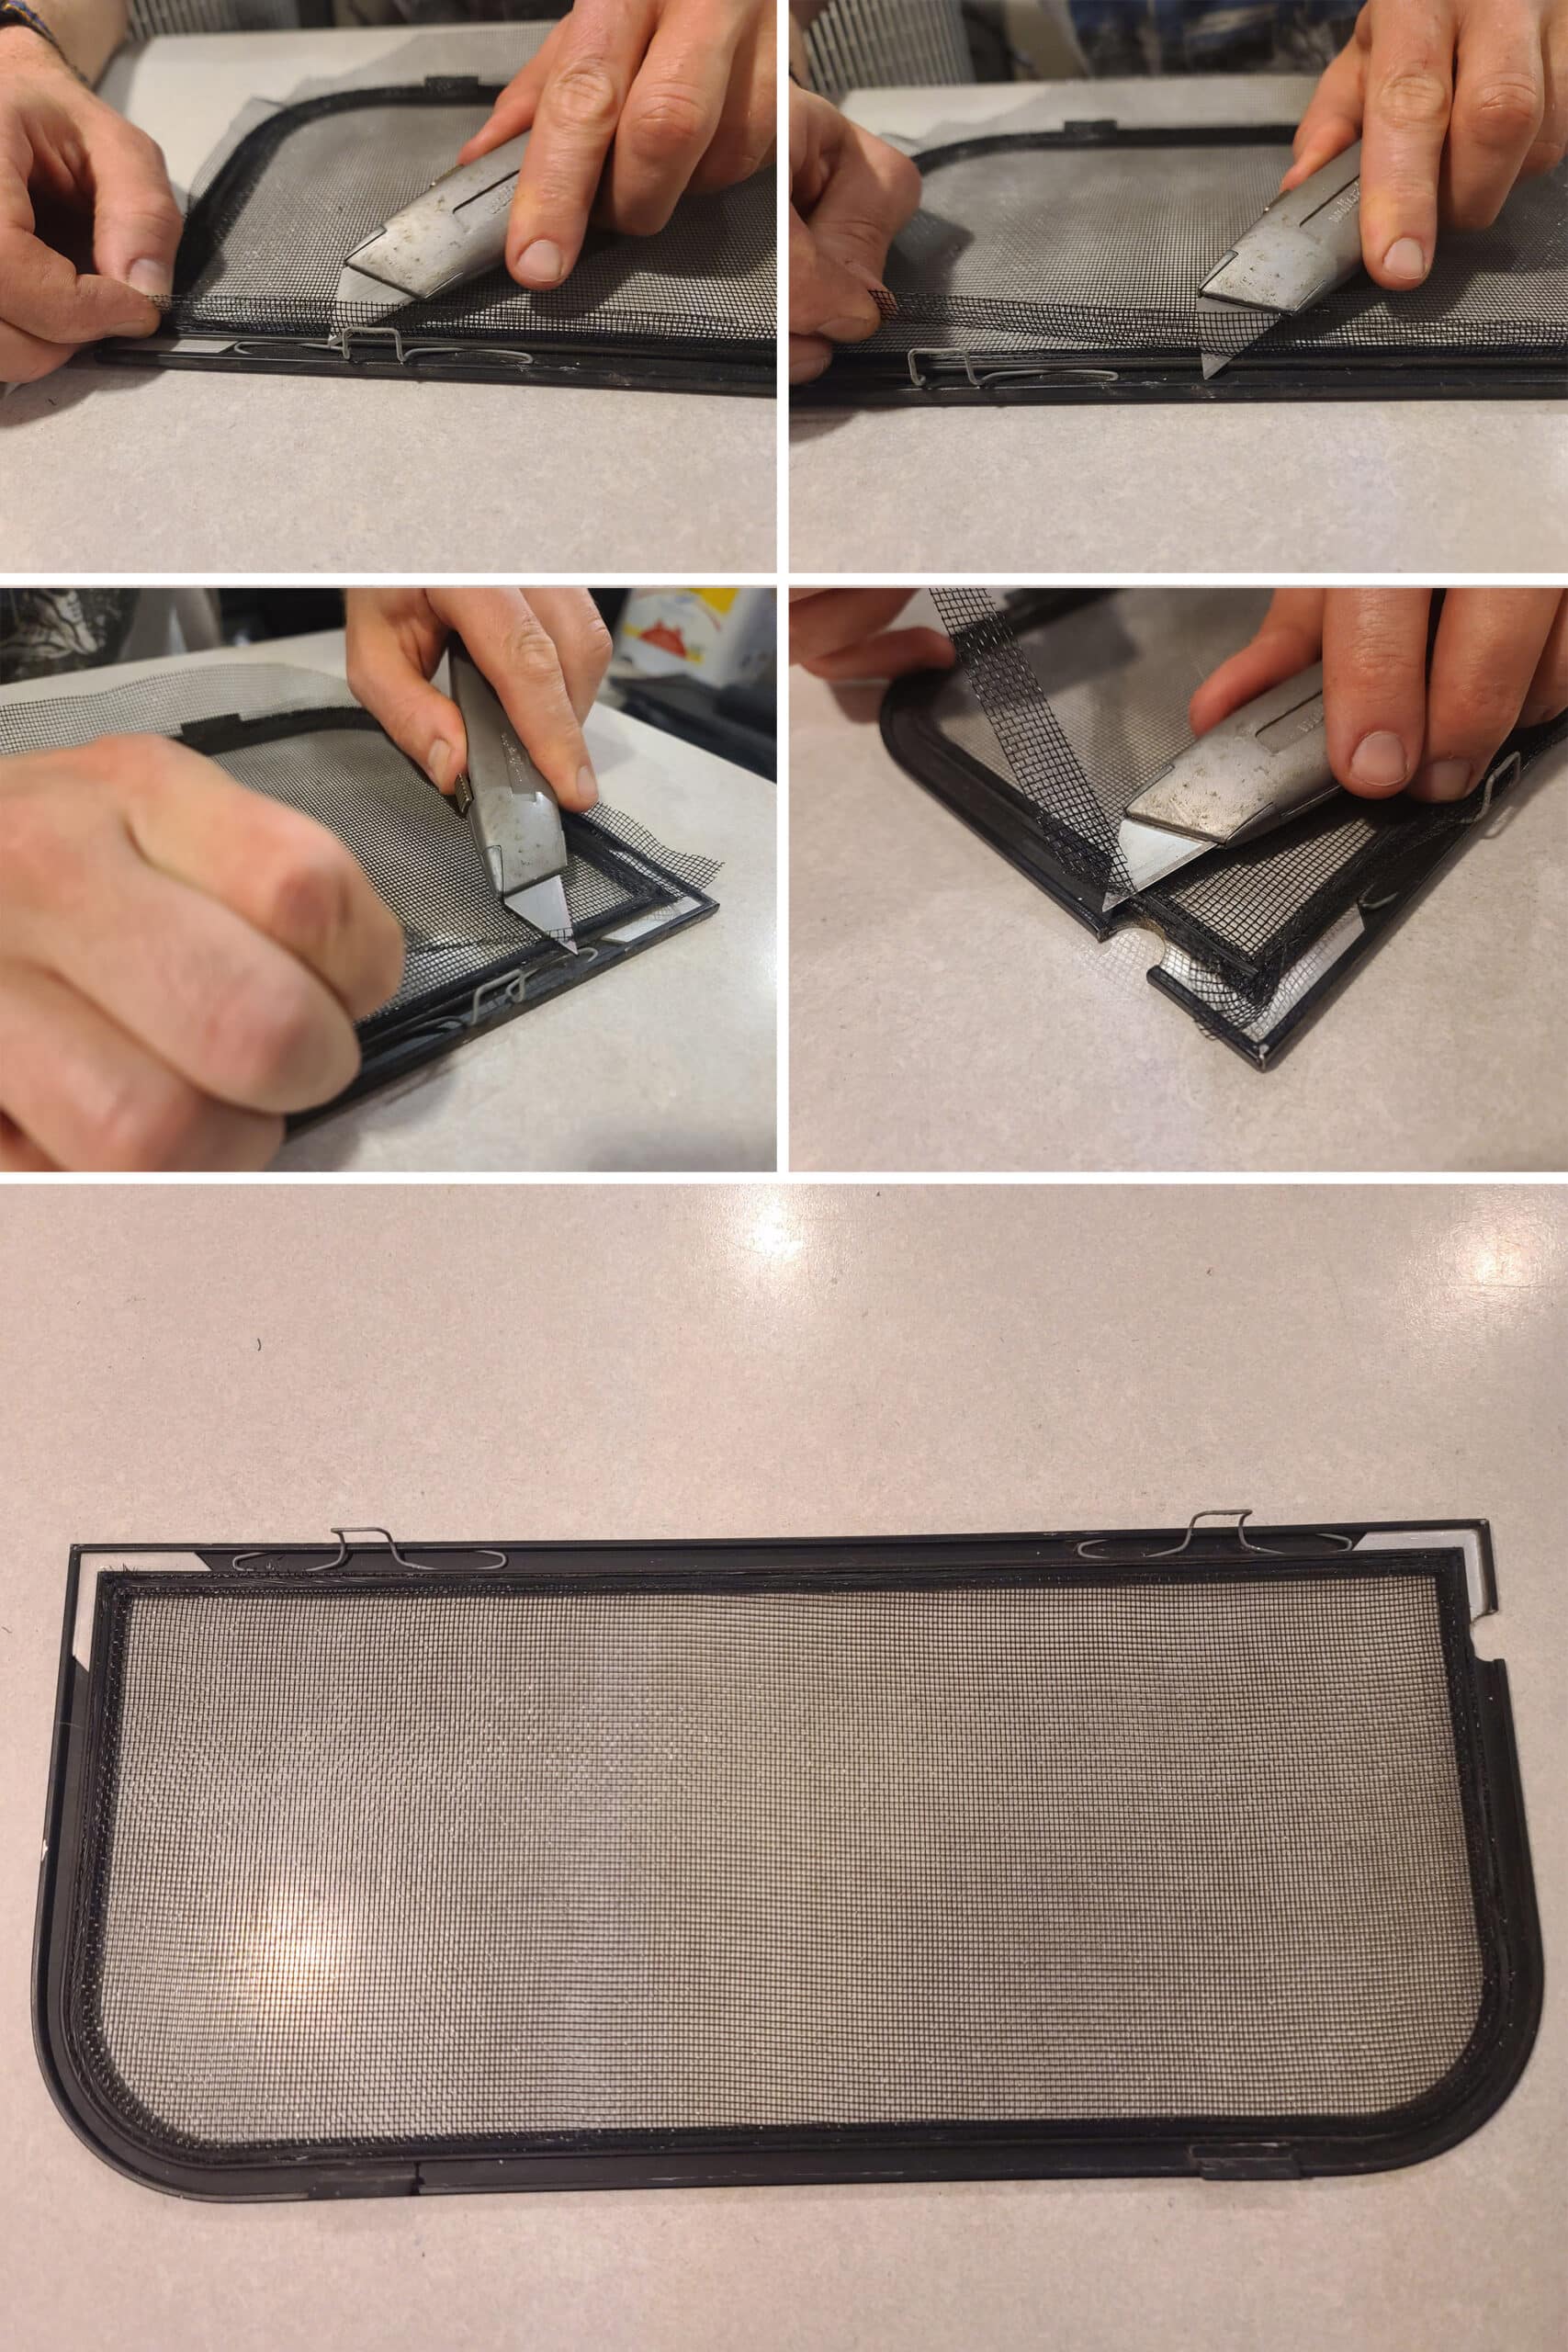
Without pulling the spline out, hold the loose edge of the window screening up and away from the window frame, and use your utility knife to trim the excess.
Aim to get it trimmed as close as possible to the spline, without cutting into the spline. Don’t try to cut lower than the top edge of the spline / window frame groove, though.
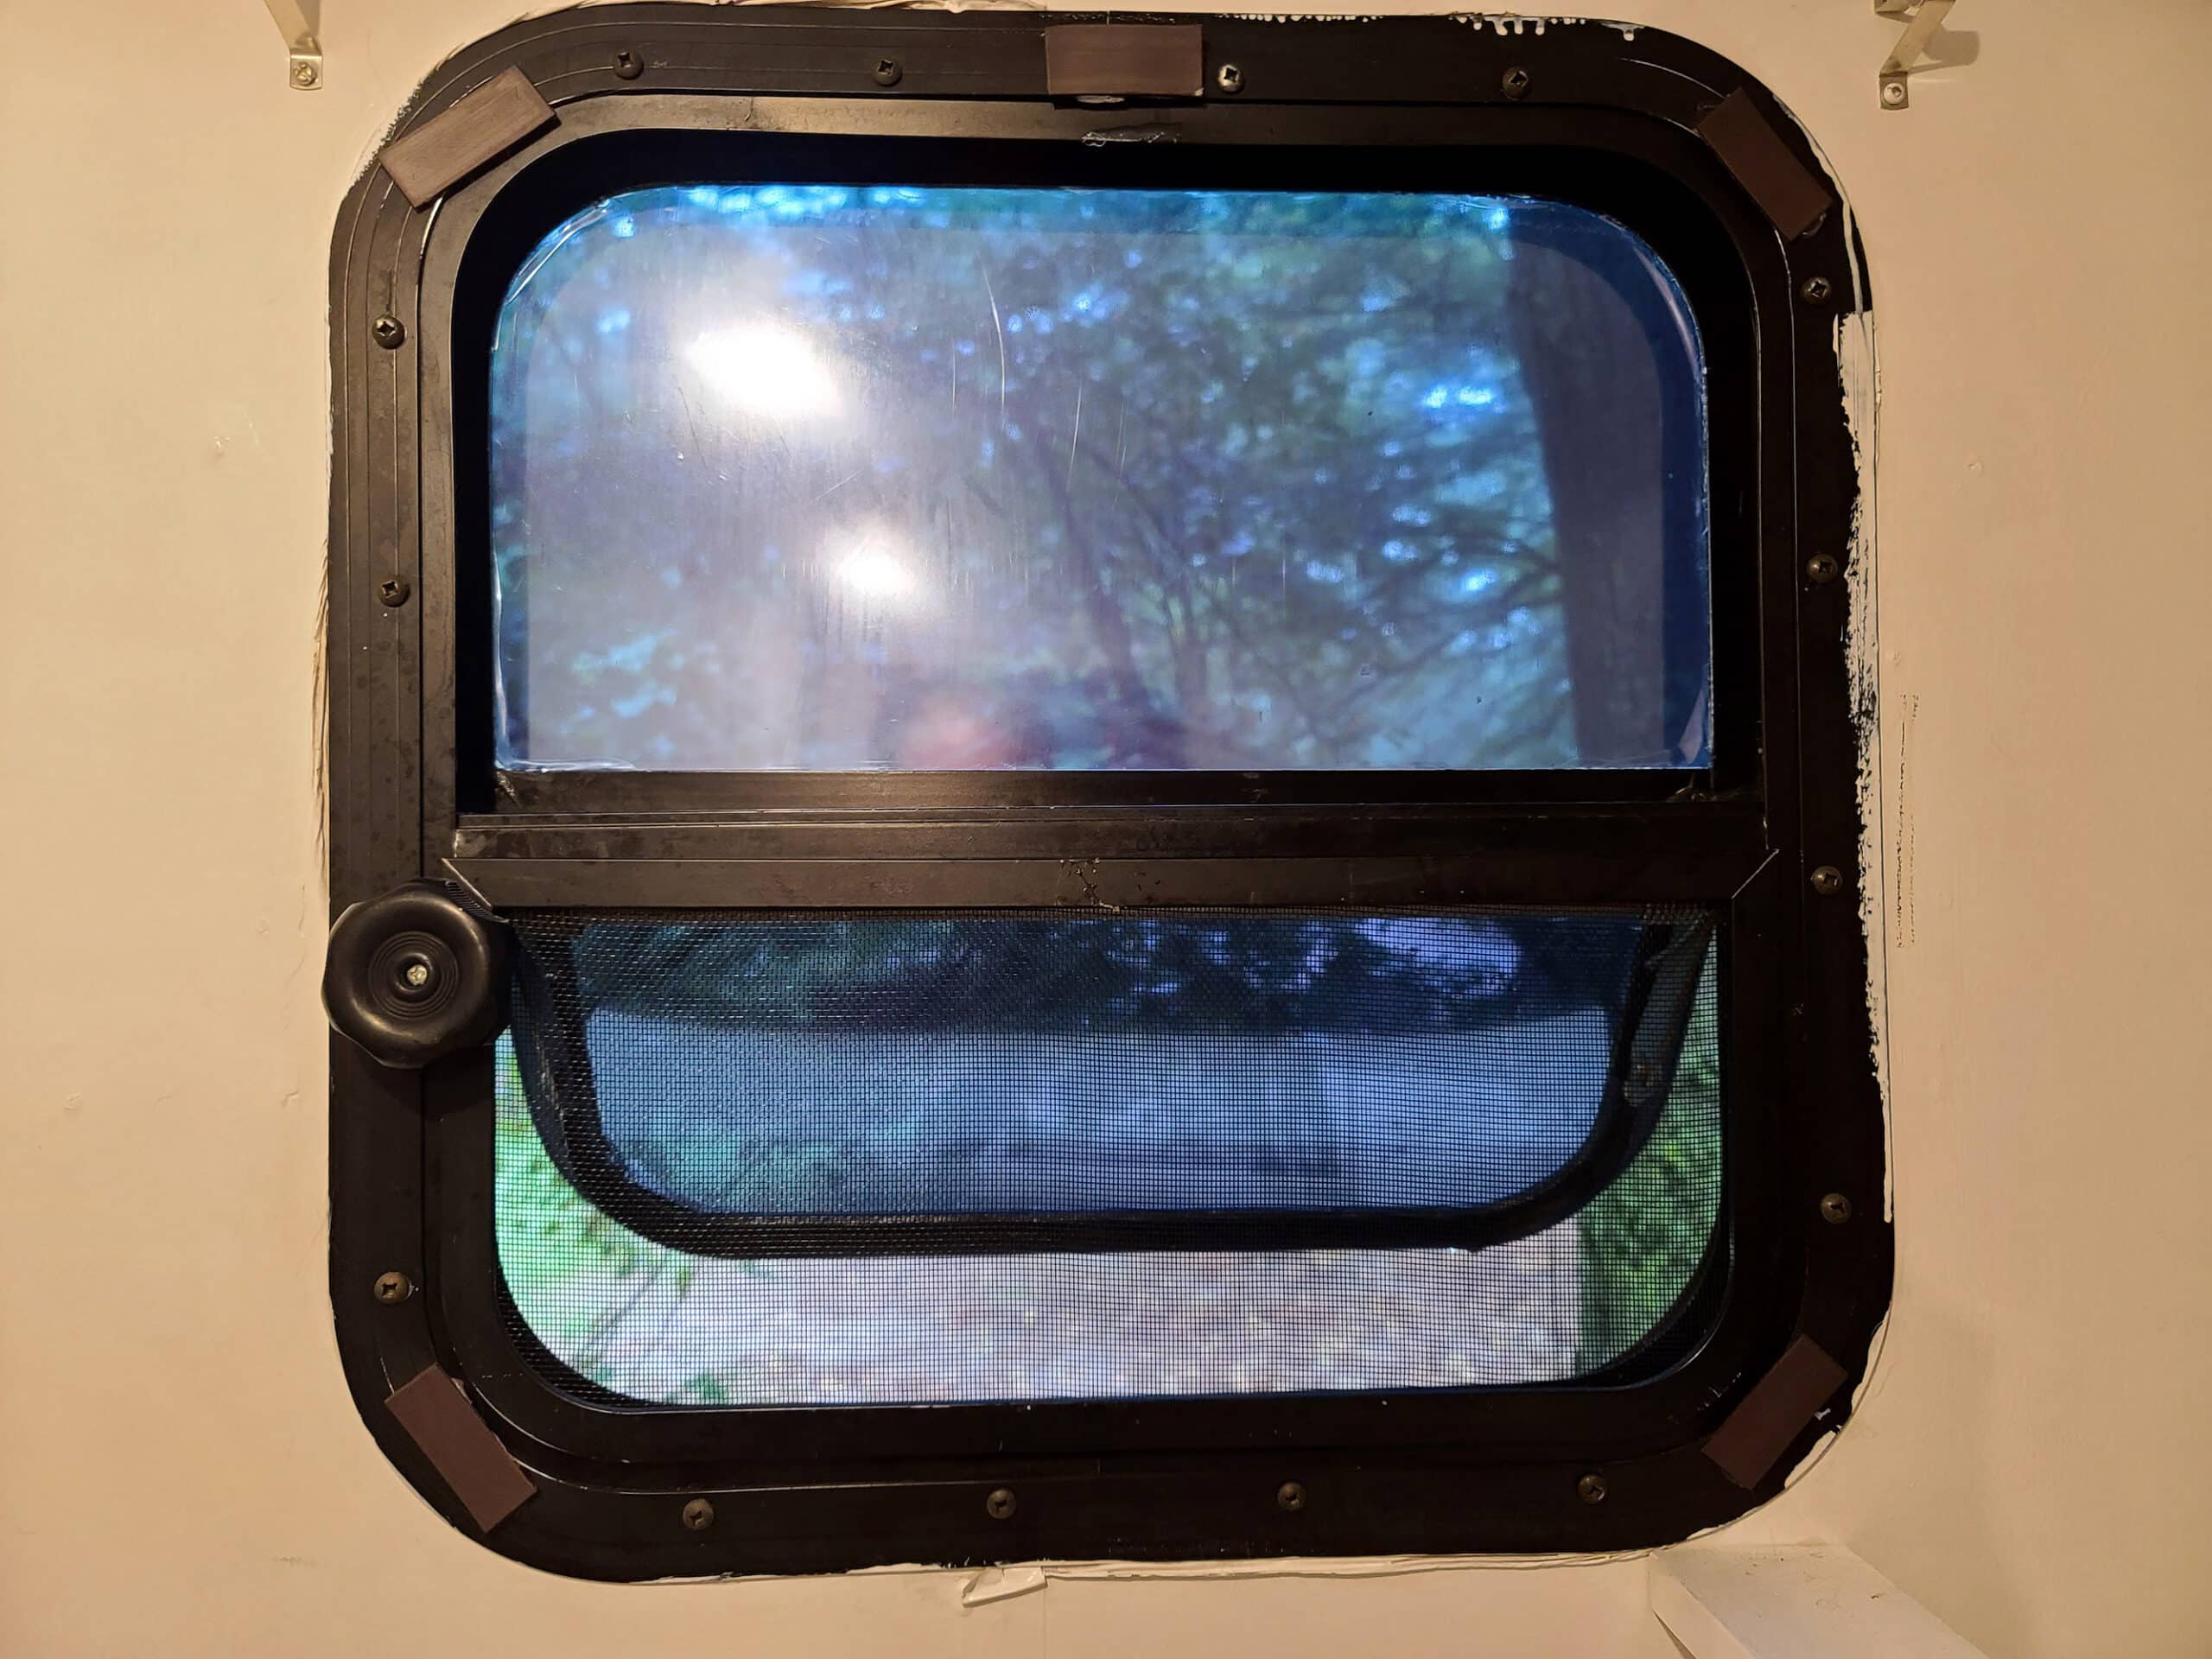
Reinstall the Screen Windows
Pop your window frame back in place - grove side facing outward - and you’re done!
Now repeat with any other window screens that need replacing!
Tips & Tricks
Here are a few things to keep in mind, to ensure the successful installation of your new window screen:
1. Try to use high quality products for this. You want your windows to last a long time, don’t skimp and buy a cheap brand of screen or spline to save a couple bucks.
2. You don’t want to stretch the spline as you feed it into the groove. It’ll stretch a little bit, naturally, but don’t HELP it stretch.
3. When you’re initially rolling the spline (with the concave side of the roller tool), smooth the screen out, but DON’T pull or hold it tight. You don’t want it super loose or wavy on there - just flat - but that’s it. If the screen is too tight at this point, it’s going to either warp the frame, cut the screen material, or pull out of the groove, either on the next step, or later on.
4. When doing the final roll around to push the spline in deep, you might find it easier to use a small flat head screw driver to push the corners in. Just be careful not to damage the screen as you poke it in.
More DIY RV Tutorials
Want to check out more of our tutorials for ways to improve your camping experience?
Well, we don’t have many posted yet, but here’s a start!
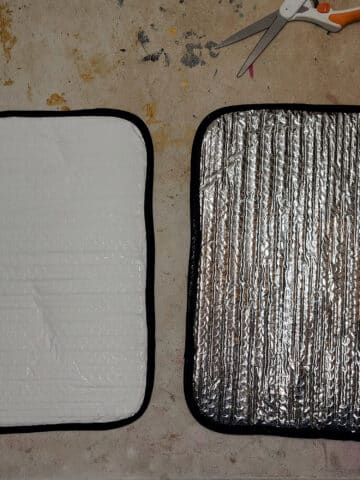
DIY Fabric Covered RV Reflector Shades
Homemade Fire Starters
How to Apply RV Window Tinting
Installing RV Window Shades with Magnets
Make a Custom RV Camper Step
Also, be sure to check out our RV Lifestyle section for other tutorials to make RV life great - including photography tutorials. We also have a great Camping Recipes sections... that counts as DIY, right? 🙂
Thanks for Reading!If you loved this post - or have any questions about it - please leave a comment below! We'd also love it if you would consider sharing the link on social media! |


Leave a Reply