
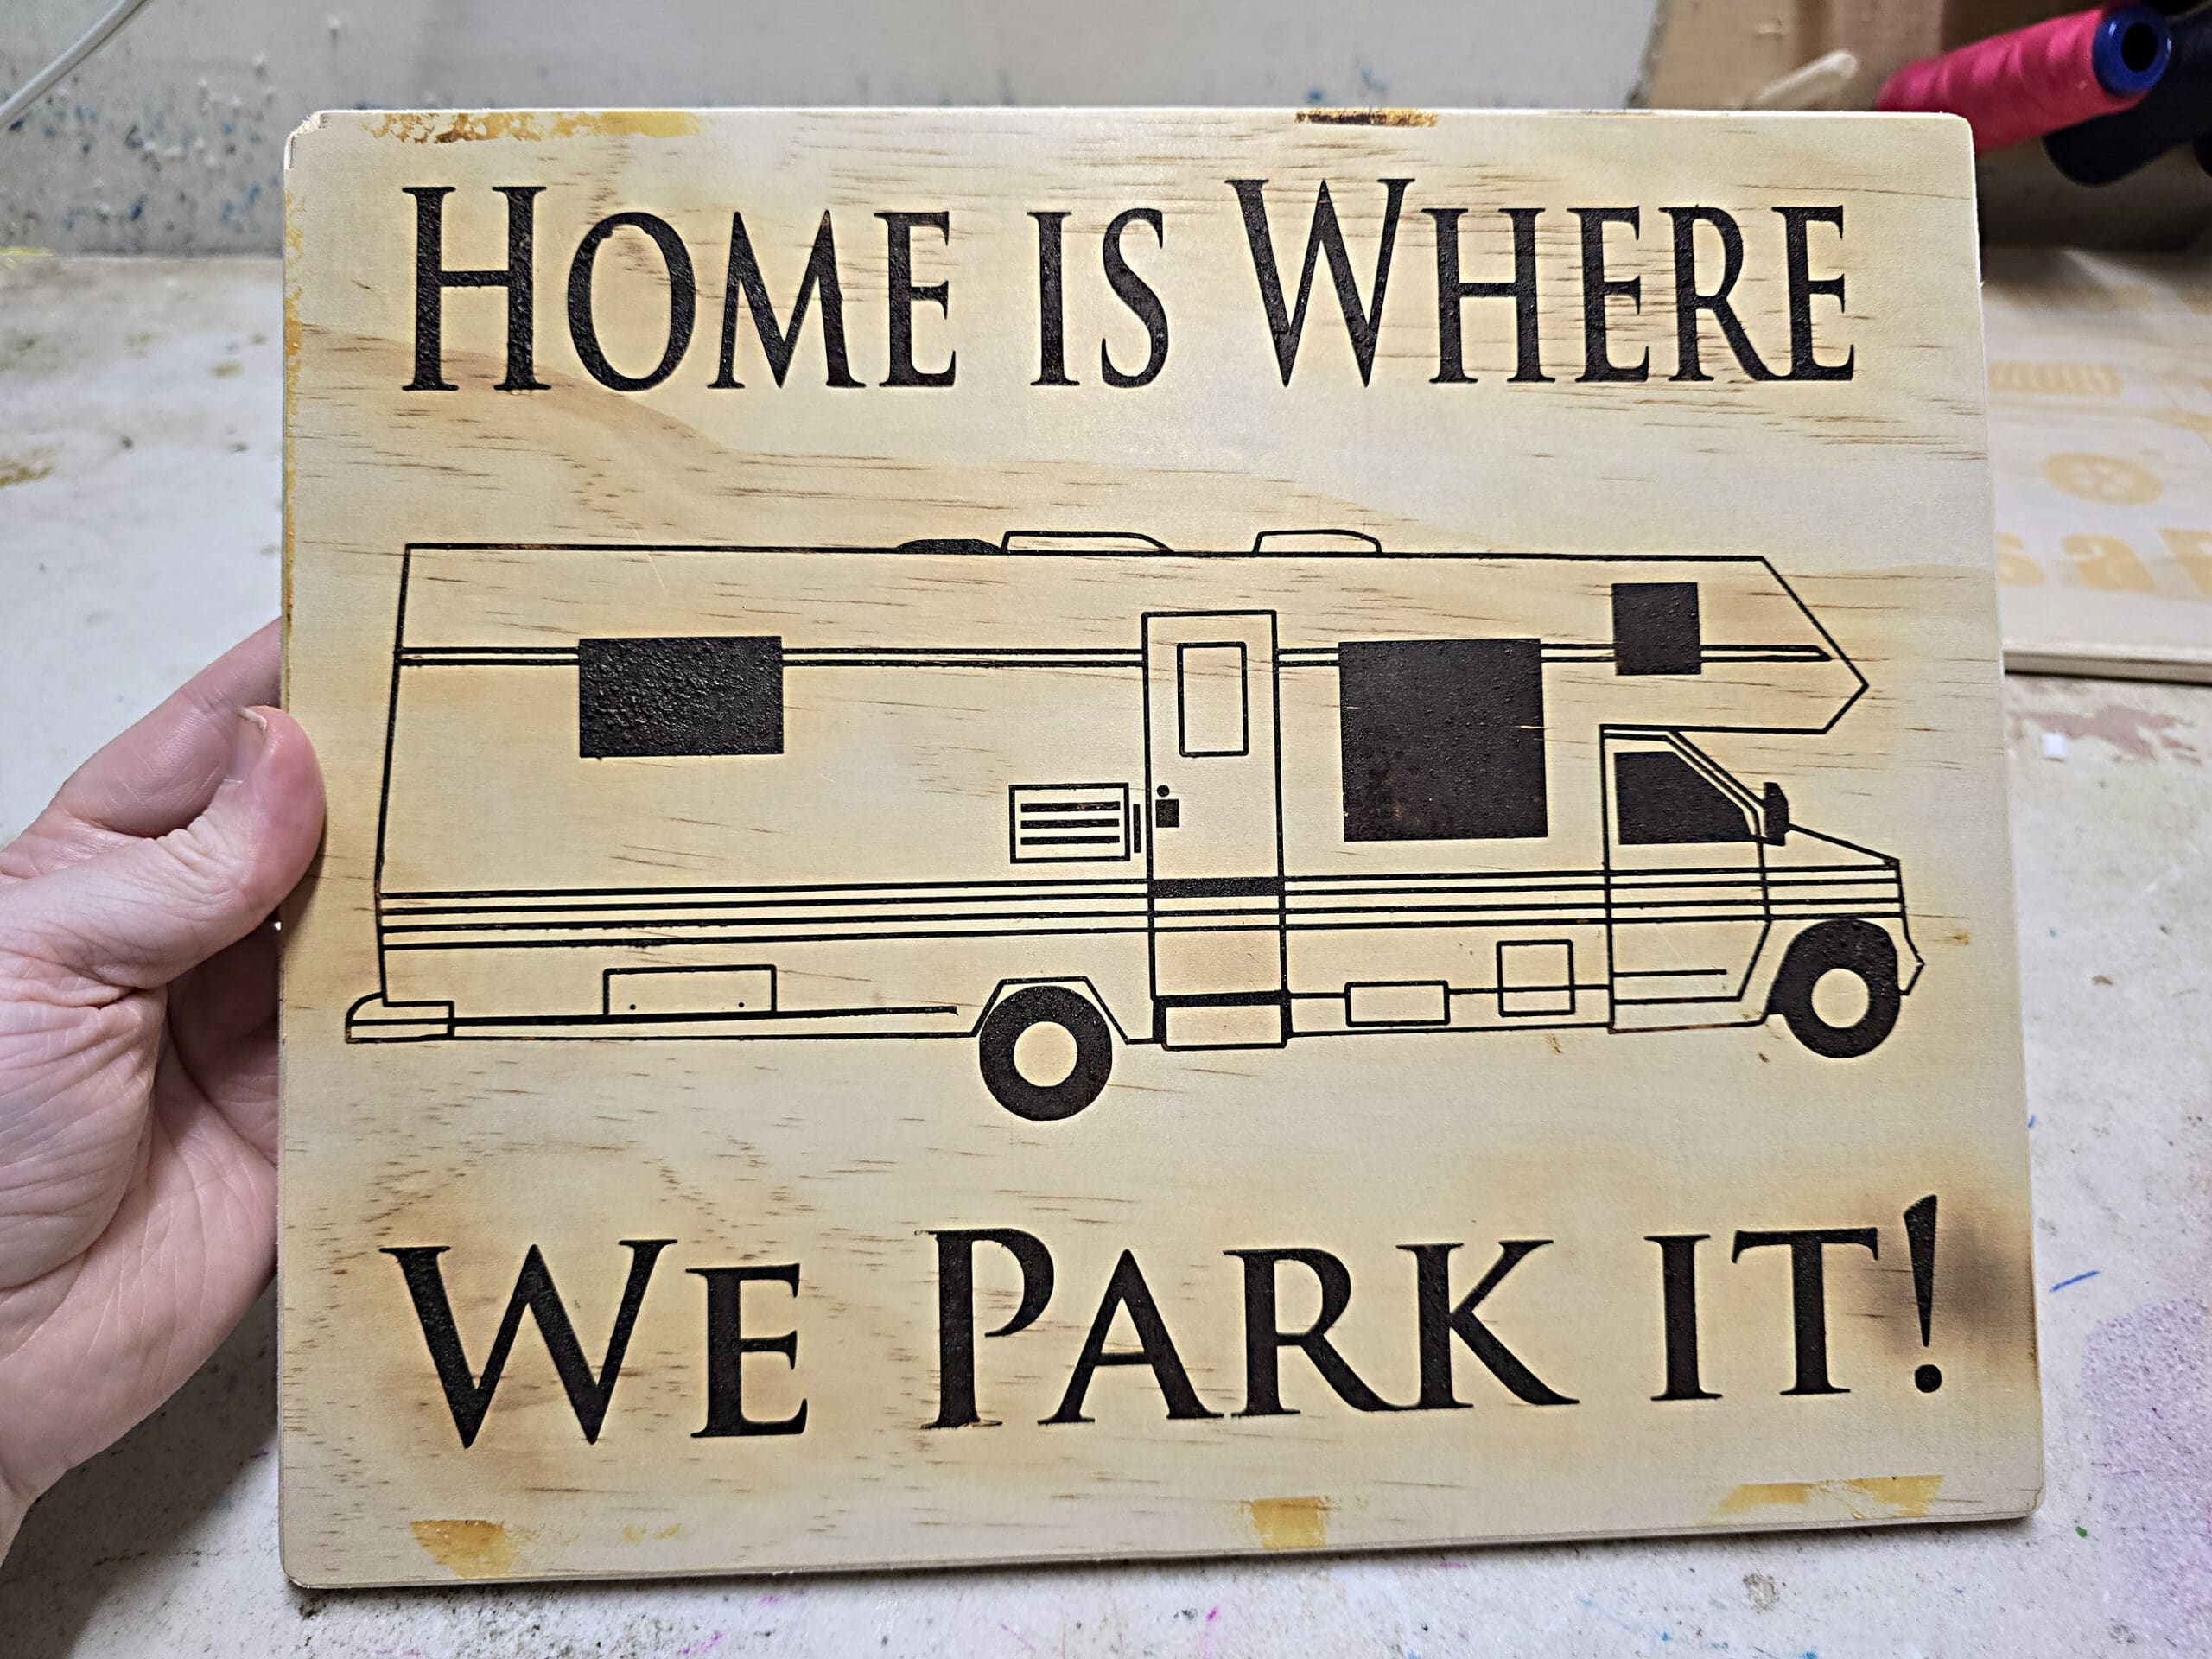
Making DIY Personalized Camping Signs is fun, easy, and economical. Here's how to use Torch Paste to make any camper sign you can imagine!

My favourite style has been the wooden camping sign, or site name plate. These have usually been handmade pieces, personalized with the camper name, the campers’ names, a funny welcome greeting, etc.
We’ve seen some more generic, purchased ones - usually a variation of “happy camper” or “Spending our Kids’ Inheritance” kind of thing - we’ve seen vintage treasures indicating that a couple has been camping for several decades, and we’ve seen all kinds of cute puns, etc.
Whether you’re looking to simply label your campsite with your name, share a festive greeting when camping on a holiday weekend, or advertise small businesses*, a DIY camp sign is a great way to do it!
* We’ve seen multiple creative entrepreneurs set up outdoor studios on their campsites. Fantastic!
The technique I like to use is kind of a cheater way to do wood burning - with a burn paste.
Anyway, not only is this a perfect way to decorate your own campsite (or cabin, lake house, etc!), these kind of creative goods are ALSO excellent gifts for the other campers in your life!
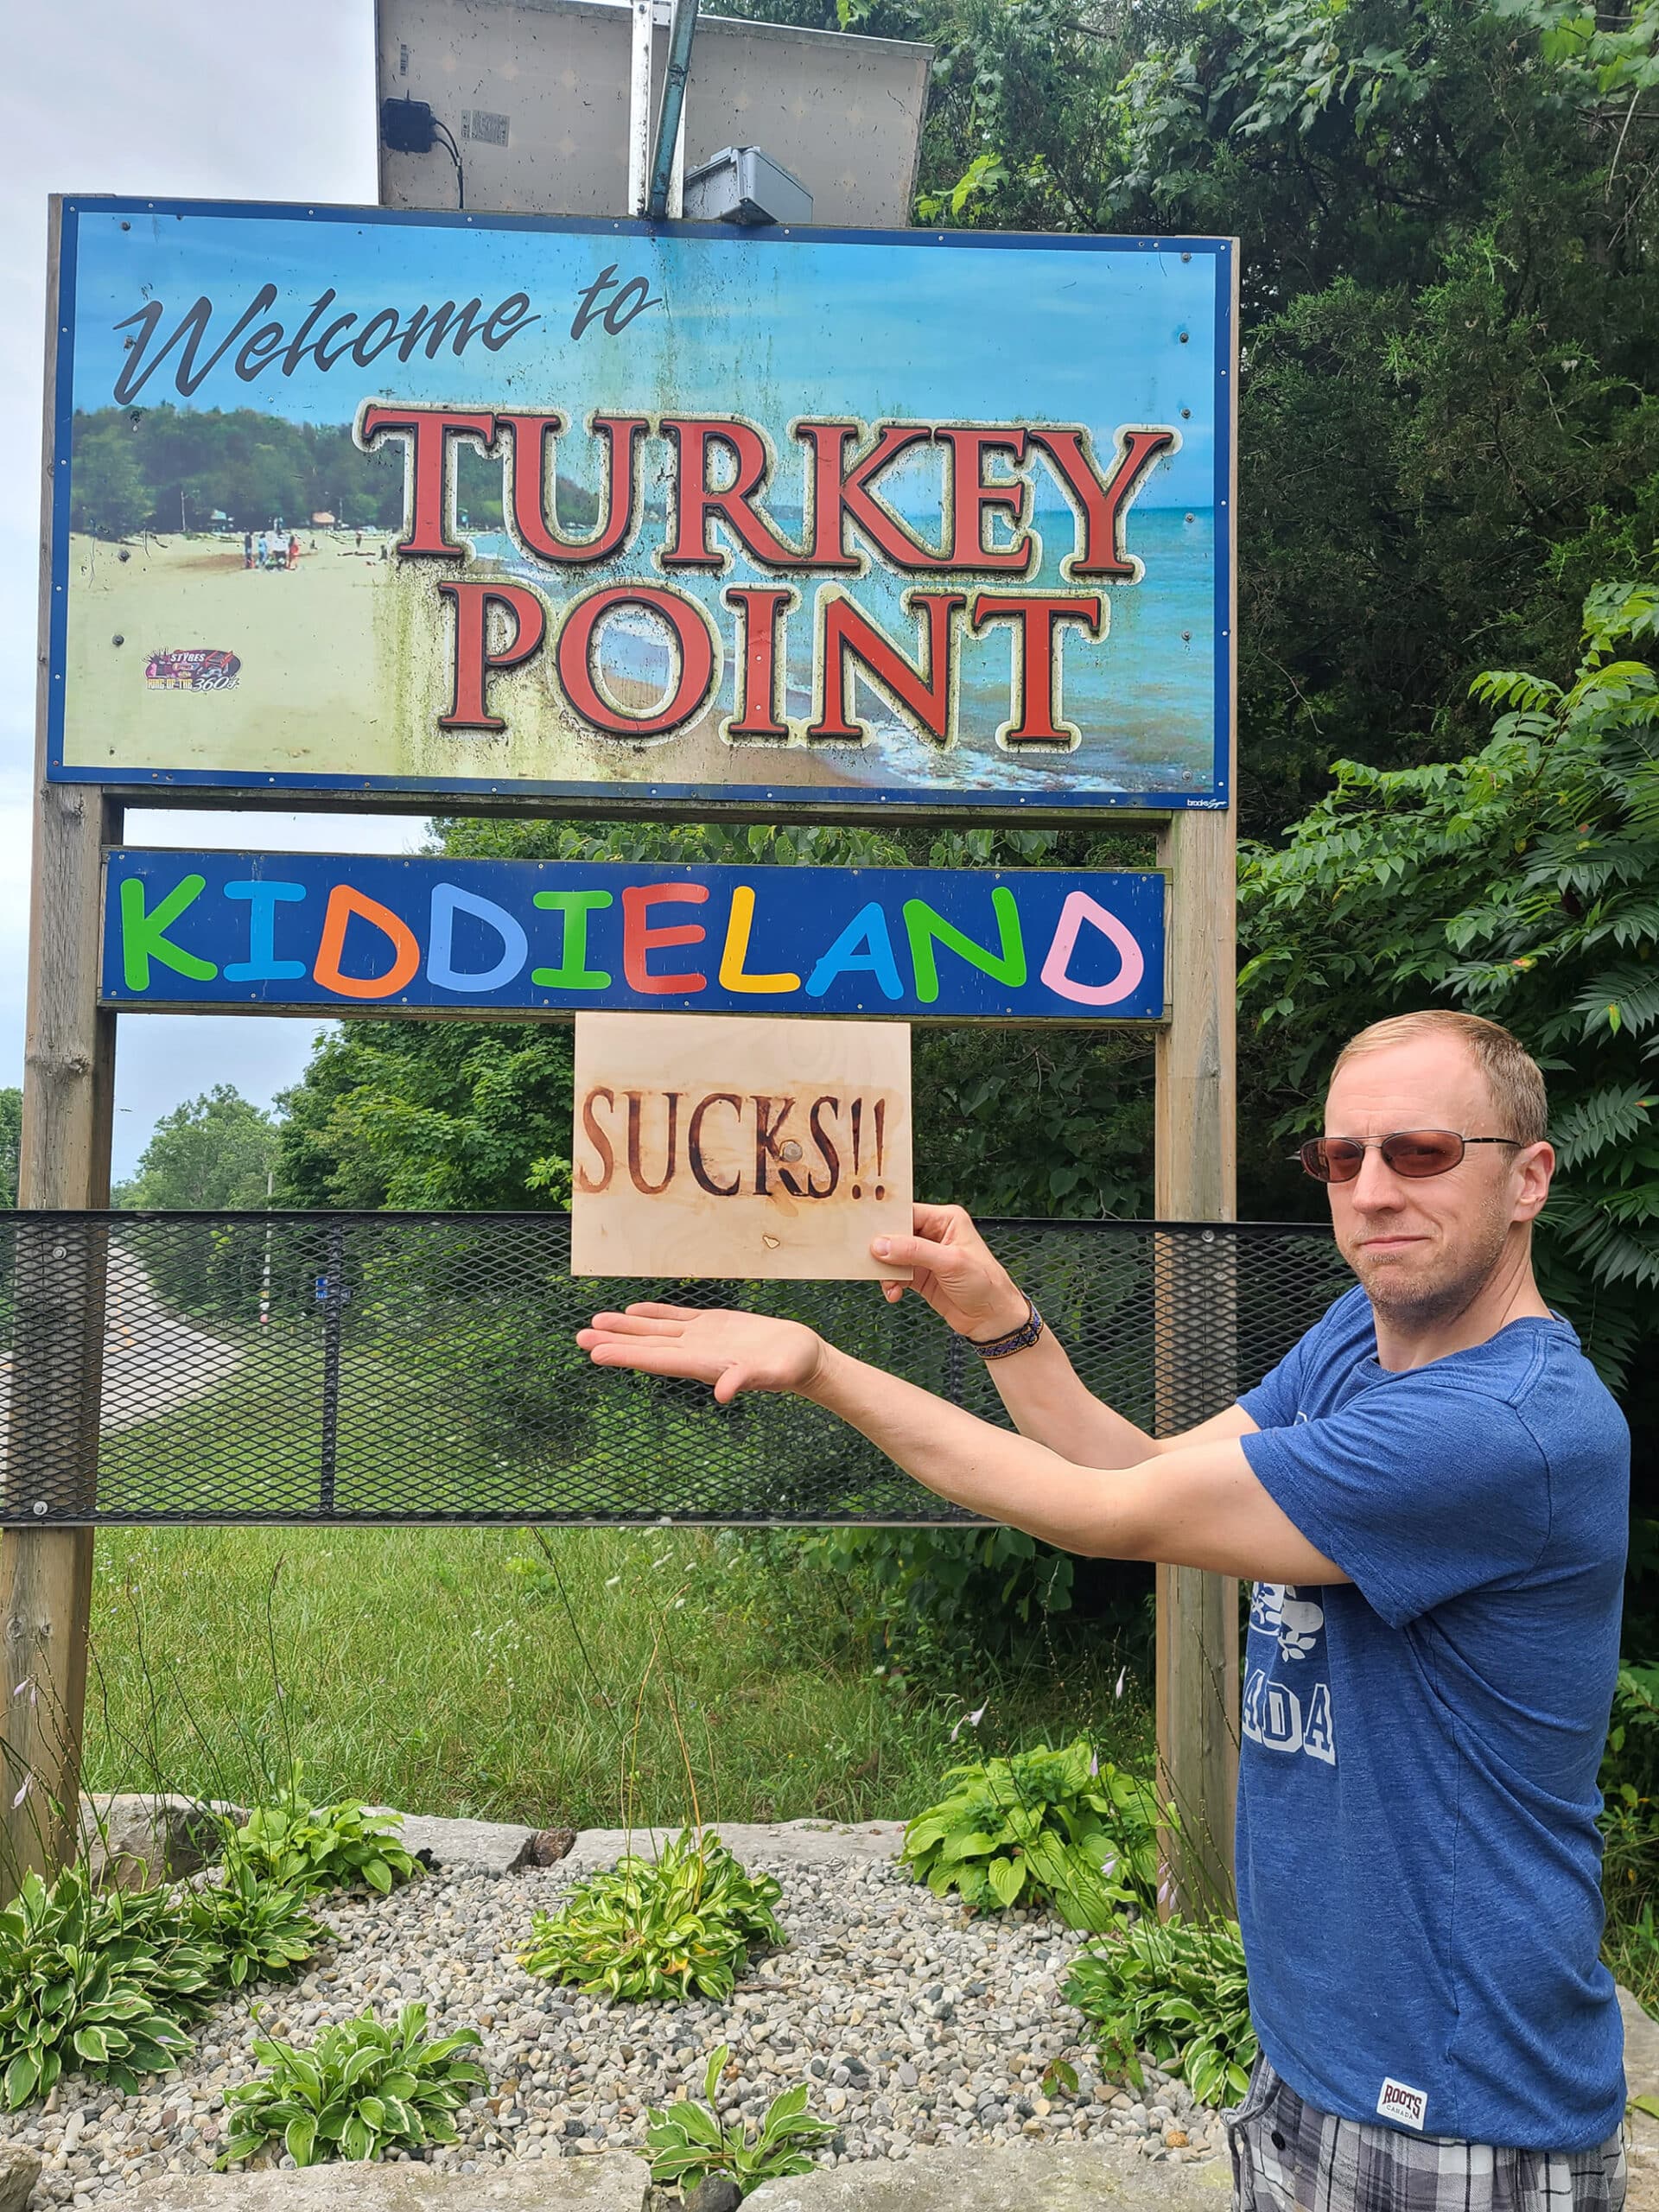
We actually made one that just says “SUCKS!”, and we’ve been taking selfies at town signs anytime we happen to be somewhere mentioned in “The Toronto Song” by Three Dead Trolls in a Baggie.
... it’s a long game we’re playing, with that one. LOL!
Anyway, good news: No matter what your intended use is, these signs are super easy to make, and you can do them in any design you can possibly think of.
So, let’s get to my tutorial for homemade wood burned camping signs!
Tools and Supplies
You’ll need a few craft supplies and such to make your camping signs:
Wooden Sign Base
You have a LOT of options to consider when it comes to your base.
Type of Wood
Look for an actual wood (not press board or OSB / chipboard / etc) that is NOT chemically treated.
You want something with a relatively fine grain, with low porosity.
Less porous wood = sharper burn lines, because the paste is less likely to “bleed” beyond the actual design.
Hemlock and Pine boards are ideal for making chemically wood burned camper signs. Kiln dried - ie: store bought - are going to give better results than something you chopped down yourself.
Cedar and poplar are OK, but just ok. Because the wood itself - outside of the paste - burns easier than pine and hemlock, it’s easier to make a mess of your work. Also, the burn lines aren’t as sharp, as with the others.
Condition of Wood
First off, you’ll want wood dry and at least ½" thick - ideally. As mentioned, kiln-dried is best - you’ll have less chance of running into issues of excess moisture or resin being heated up in the process!
You CAN go thinner than ½", but they sign will be more fragile - these are generally used as an outdoor sign, after all!
IMHO, I don’t want to put all that effort into my personalized work of art, only to have it break in half if a gusty day blows it onto the ground!
Anyway, look for wood with a smooth face that doesn’t have a lot of blemishes or raised edges.
Ideally you want a wood that’s light in colour, so there’s a nice contrast between the background, and the burned design.
Style of the Wood
You can buy sign bases in different sizes - even a premade Blank Wooden Sign - or have them cut to measure. Whichever way you’re planning to go with it, you’ll want your wood base *ready* before you start your wood burning design.
Basic cut edge and live edge signs (live edge is wood with the bark still on it) can look more rustic, or you can finish the edge with a router for a more “finished” look.
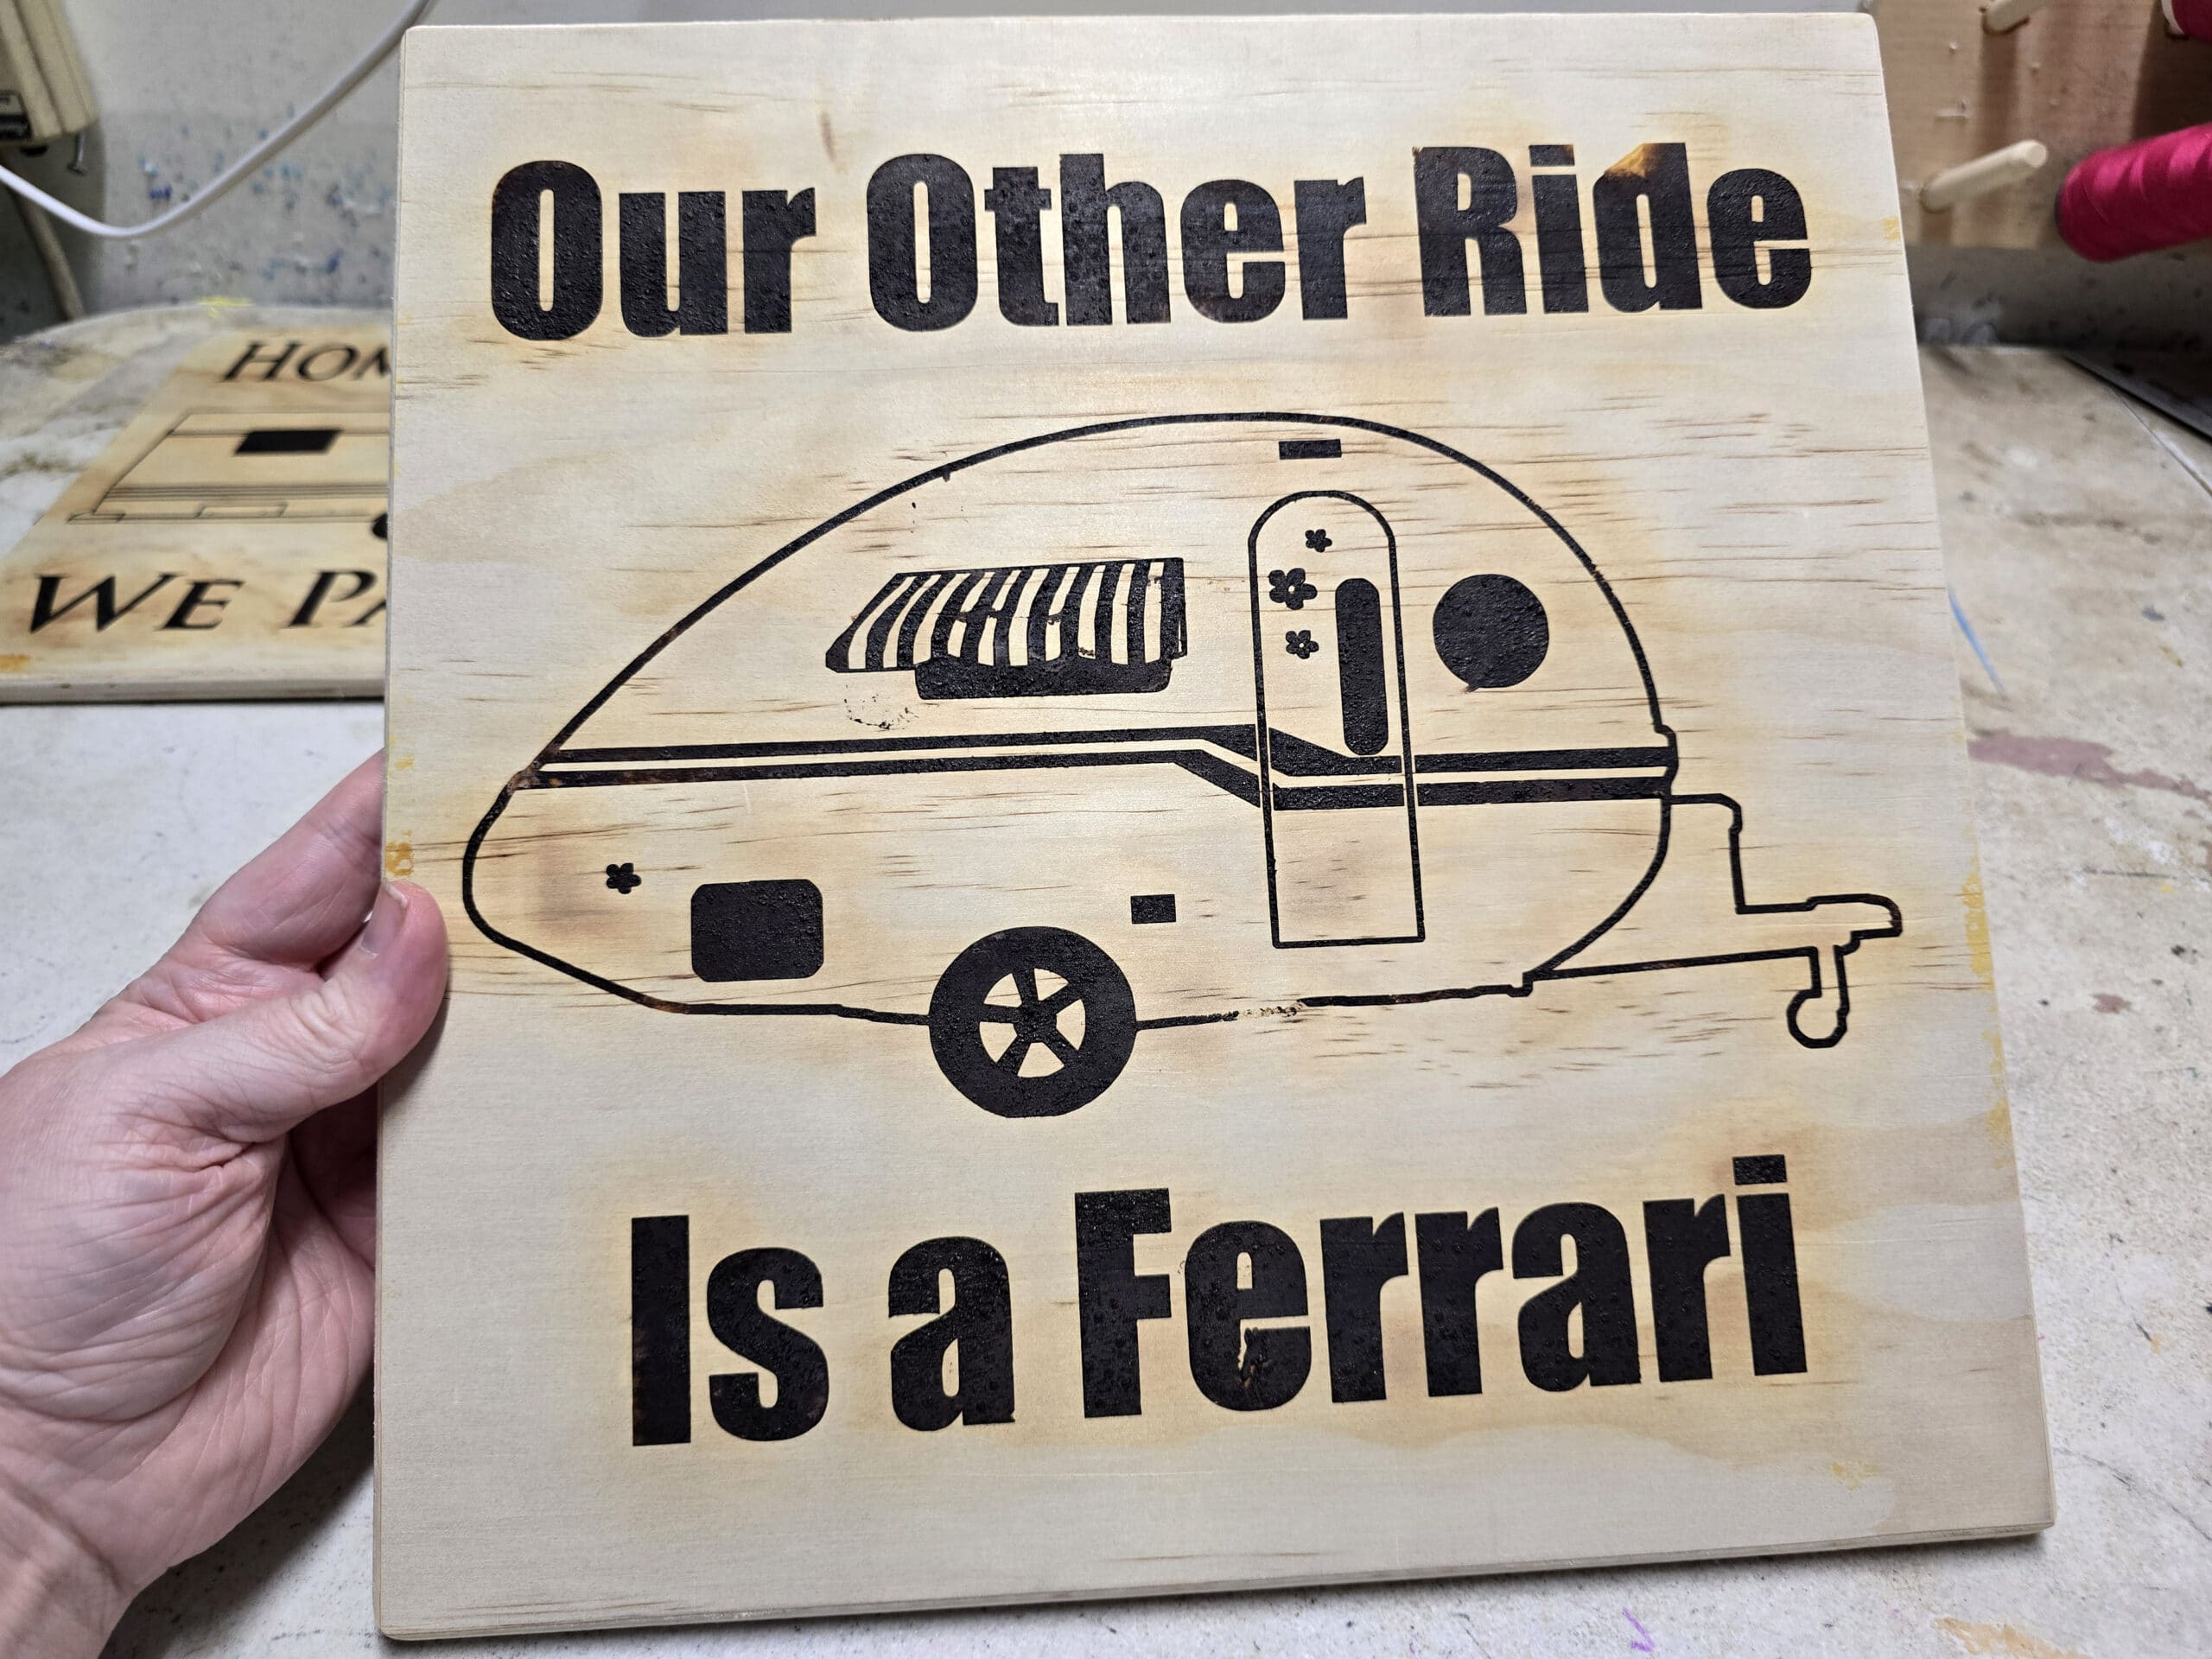
For that matter, you can get really fancy with it - consider cutting your wood base into shapes!
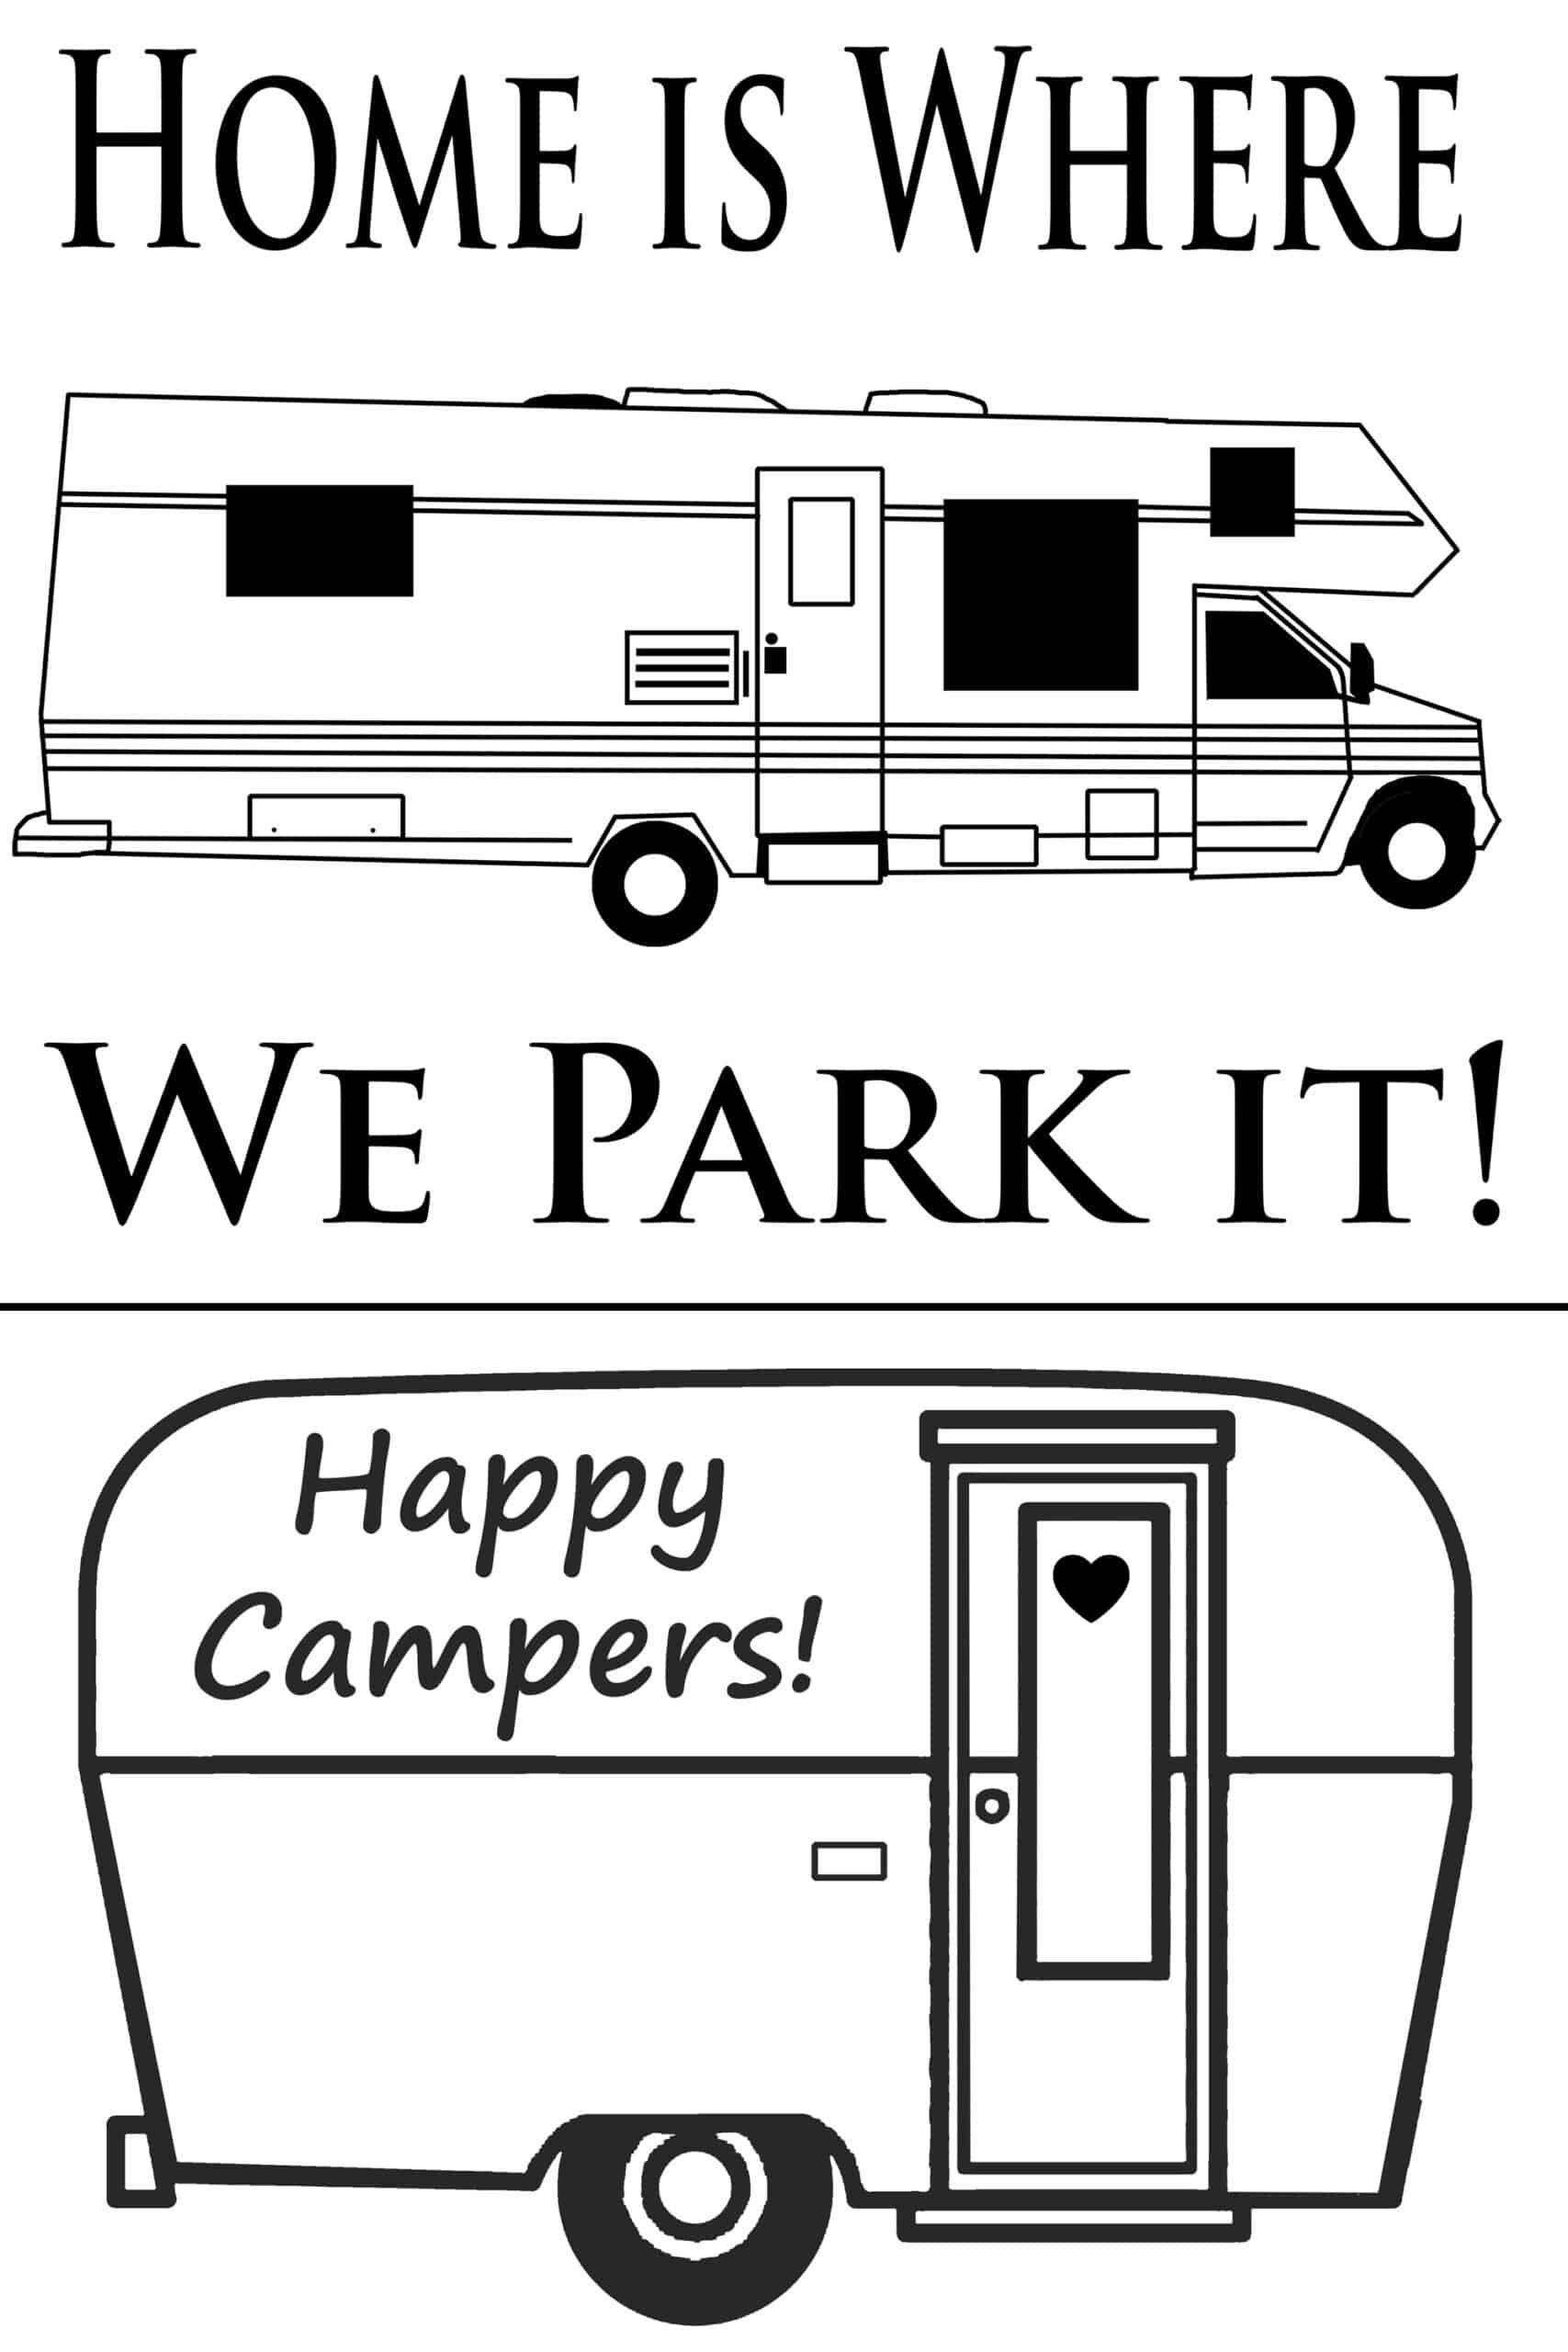
If you’re handy with a jigsaw, you can cut your wood base into an RV shape - if you have a camper with an iconic style, this can be a fun option.
Imagine a homemade camping sign in the shape of your camper - an Airstream or Teardrop camper sign would be cute!
Anyway, a coping saw would also work, but that’s more manual labour, rather than a power tool option.
We have an example of this version of sign after the main tutorial, a bit further down in this post.
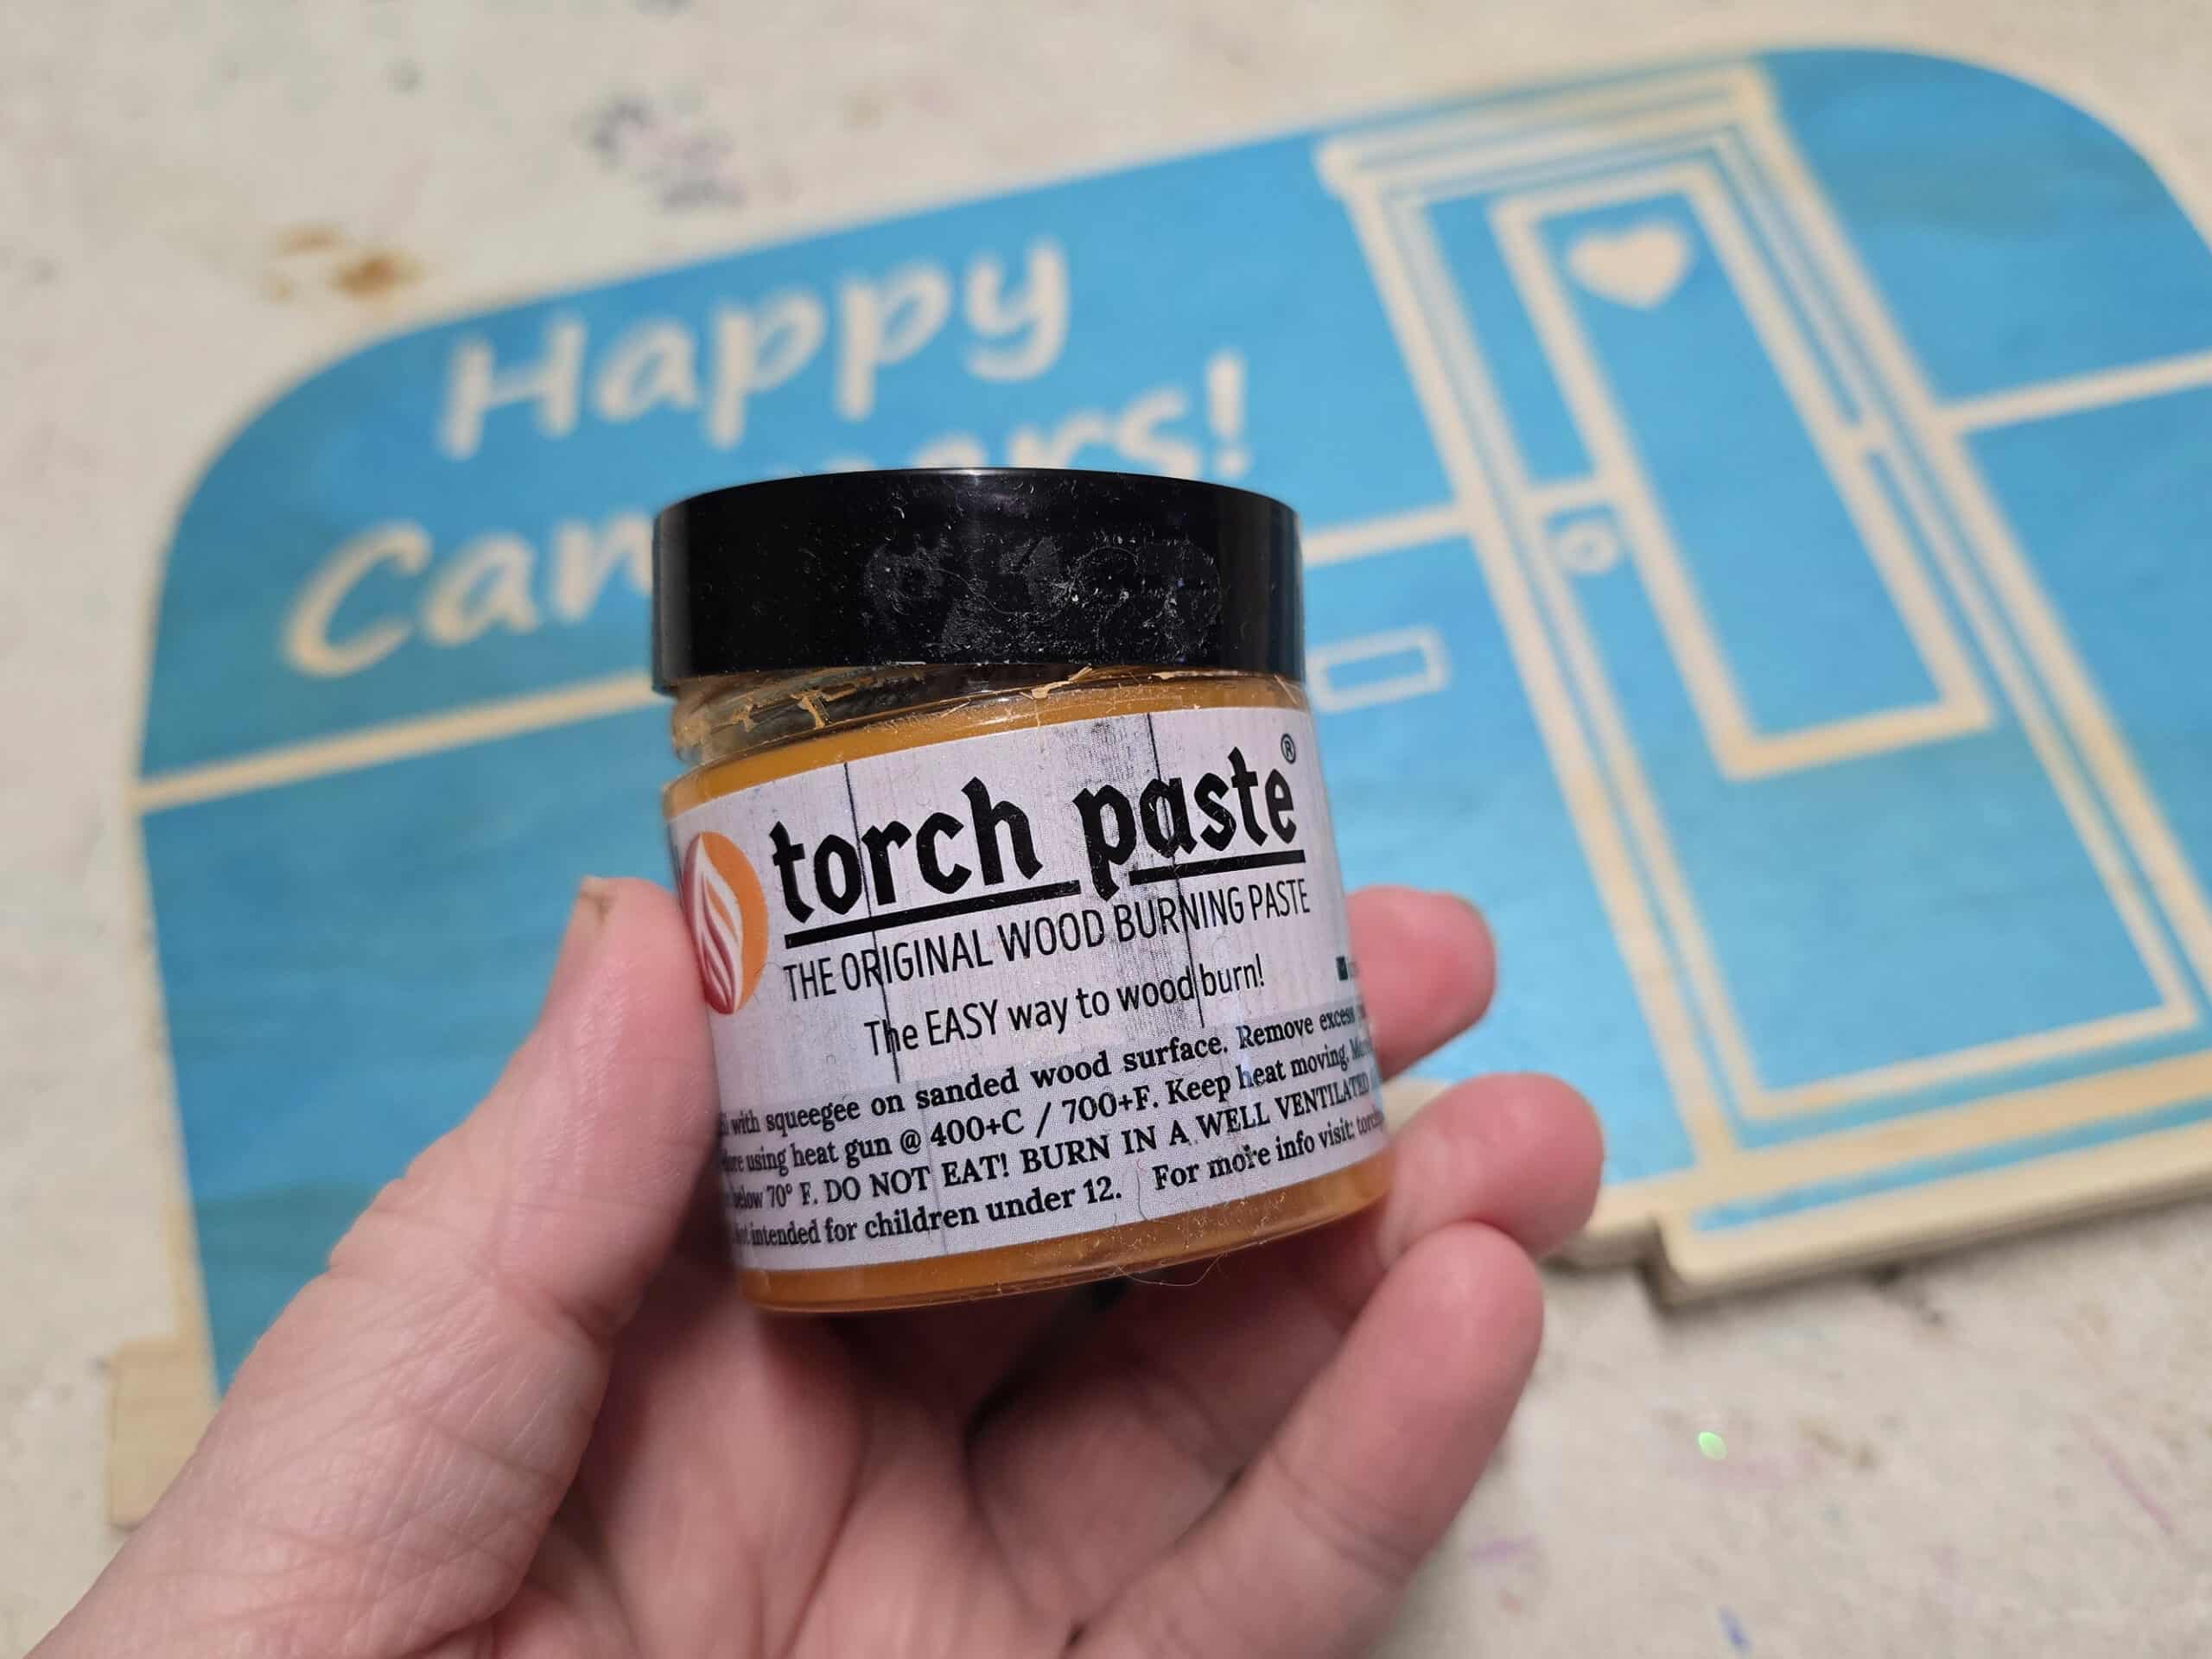
Torch Paste
I love discovering new products to craft with, and Torch Paste can be a LOT of fun.
Torch Paste is a gel that’s used for chemical wood burning. You apply it to your wooden sign base in the design you want, let it dry a bit, then heat it up.
The areas where you applied the torch paste will burn to a lovely dark colour... and all you have to do is wave a heat gun over it!
Torch Paste is a brand name, and it’s the only one I’ve used - I find it to be great quality!
That said, there are other brands of Wood Burning Gel out there ... just check reviews before trying one out! You may find them labeled as burn gel, flame gel, or scorch paste.
Alternatively... If you want to be frugal, you can apparently make homemade torch paste, with ammonium chloride and water.
Personally, I’m too lazy for that, so I’ve never tried. Check Google to find a Torch Paste recipe that works for you!
A Stencil
There are a million tutorials for stencil making out there, so I’m not going to get too deep into it here
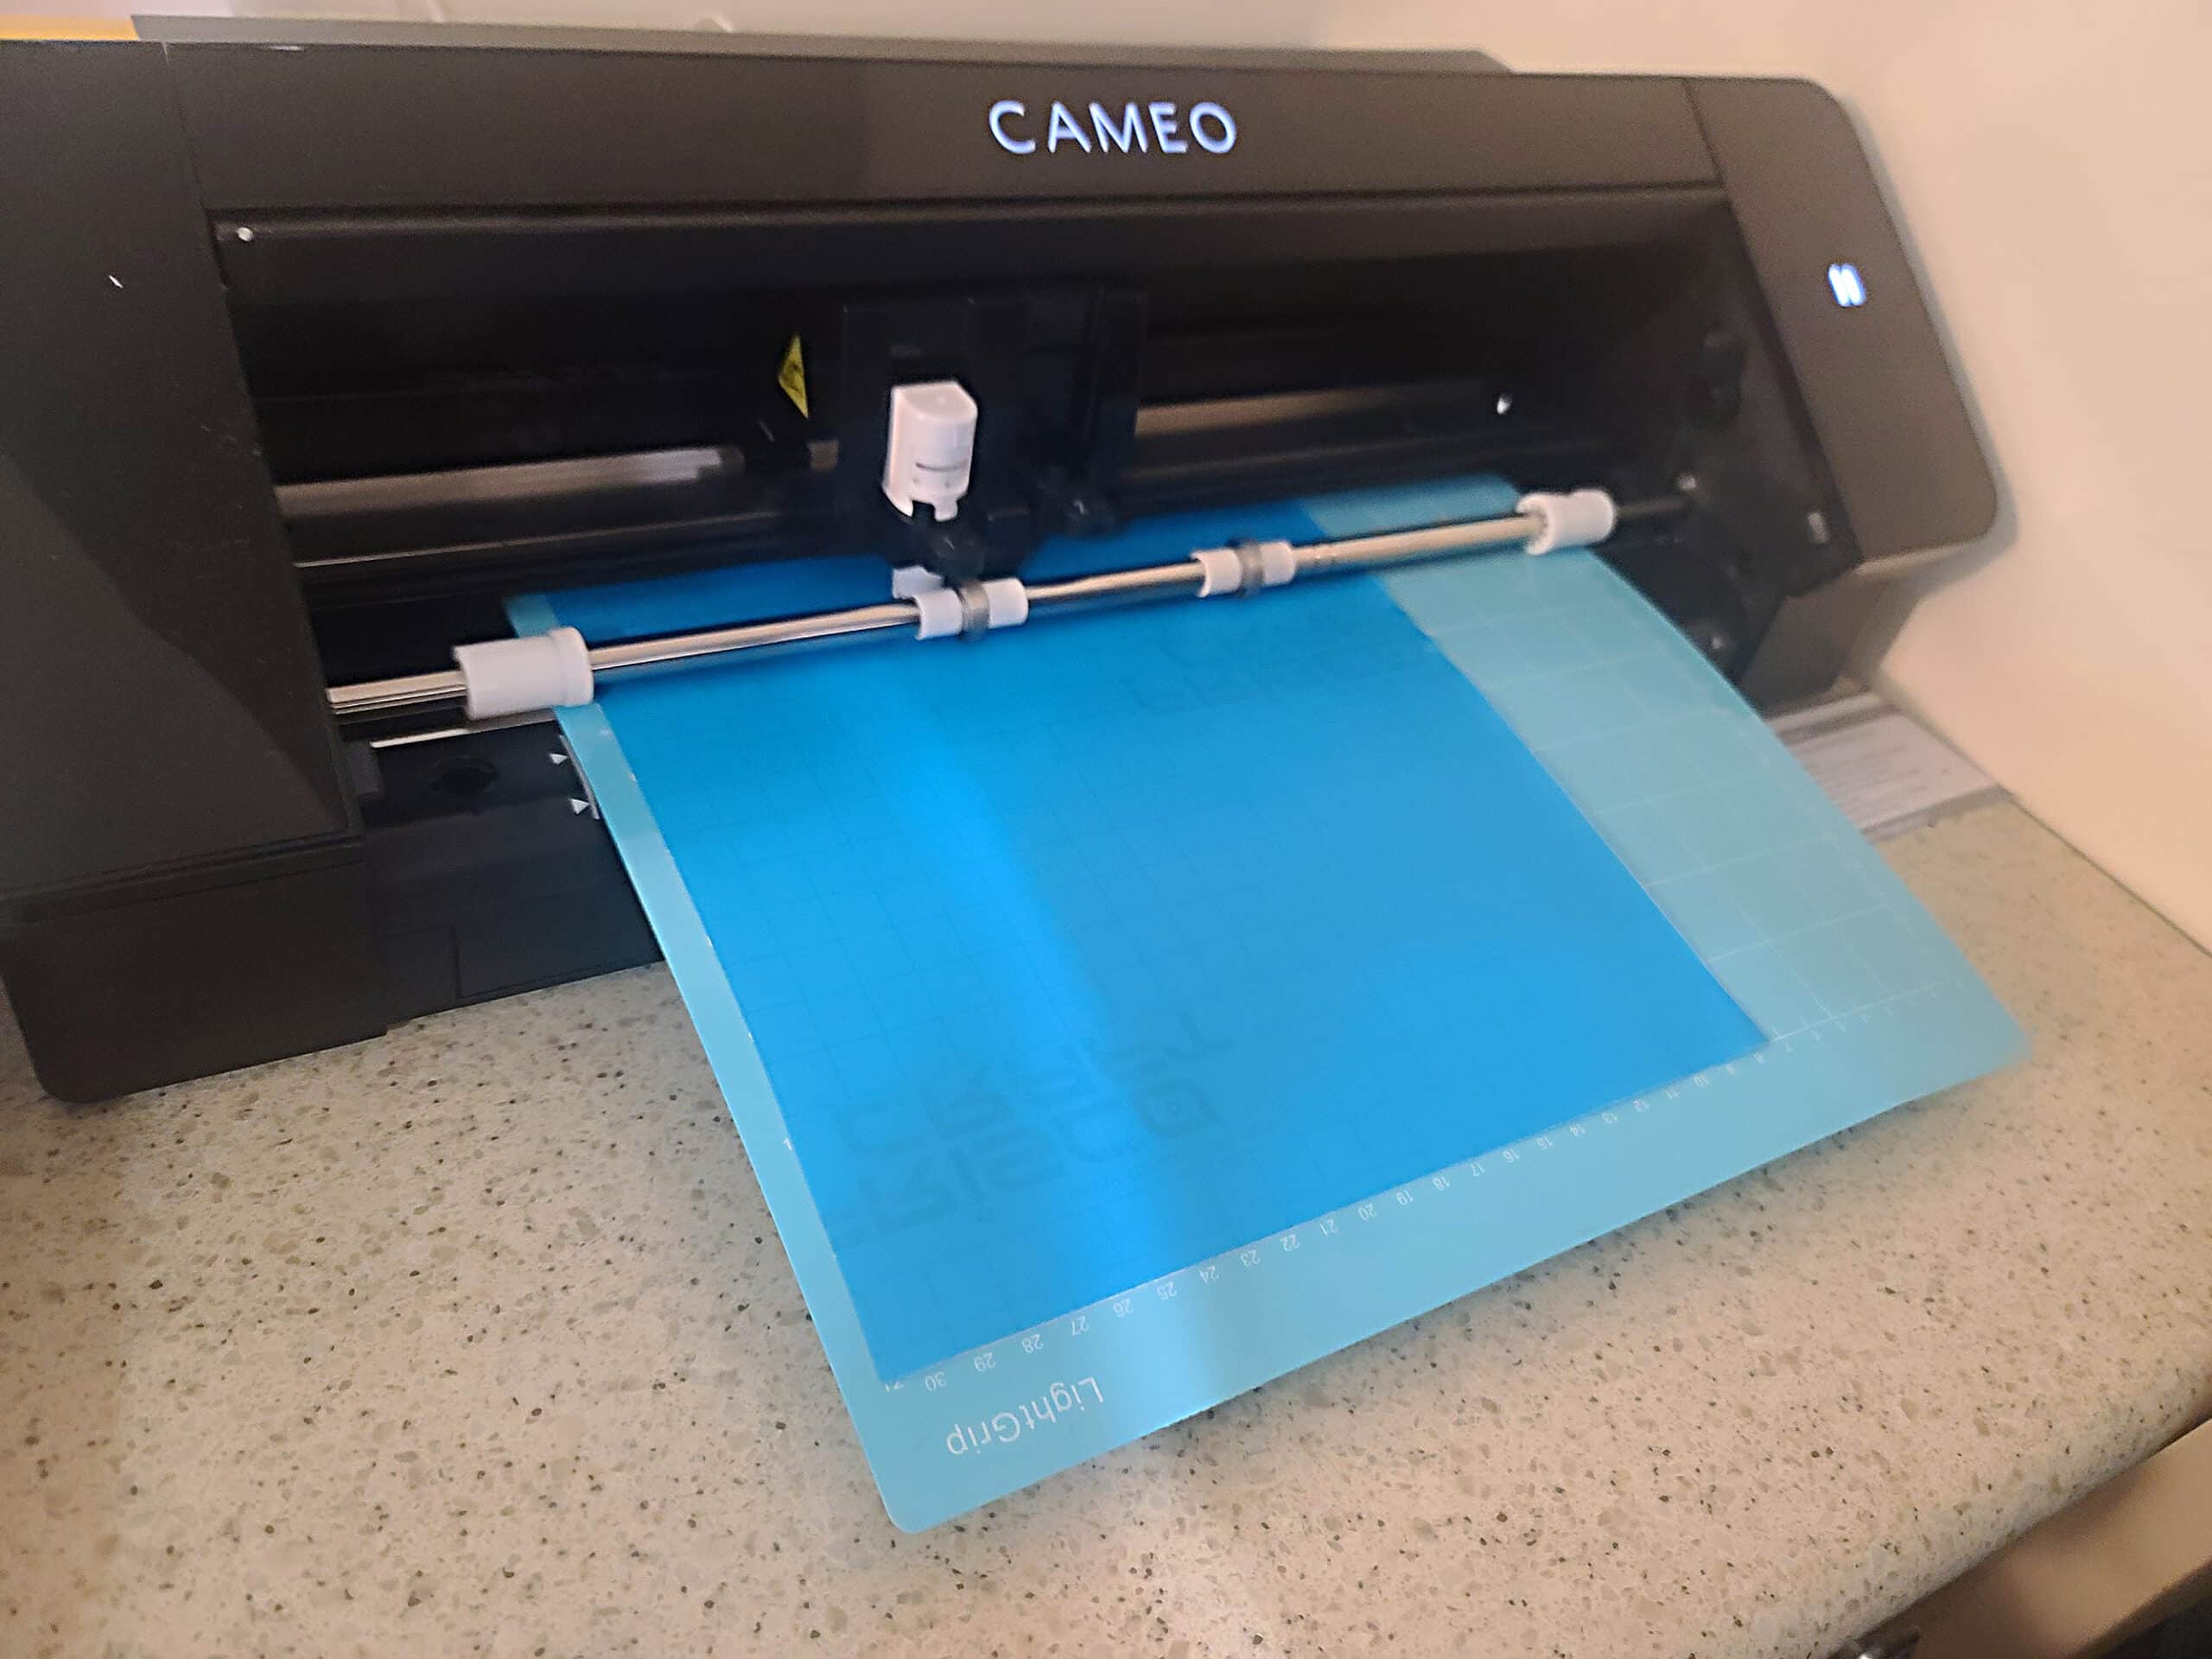
We made our own stencil on our Silhouette Cameo, using a digital file we designed, and Stencil Material Sheets
Whatever stencil you use, make sure it fits well on your sign base, BEFORE you get started!
Transfer Paper
Now, way back when we bought the Silhouette, I saw that there was some kind of transfer paper you could buy... and I remember thinking it was too expensive and inconvenient.
Your mileage may vary, but I find it a lot easier to just make transfer sheets as needed.
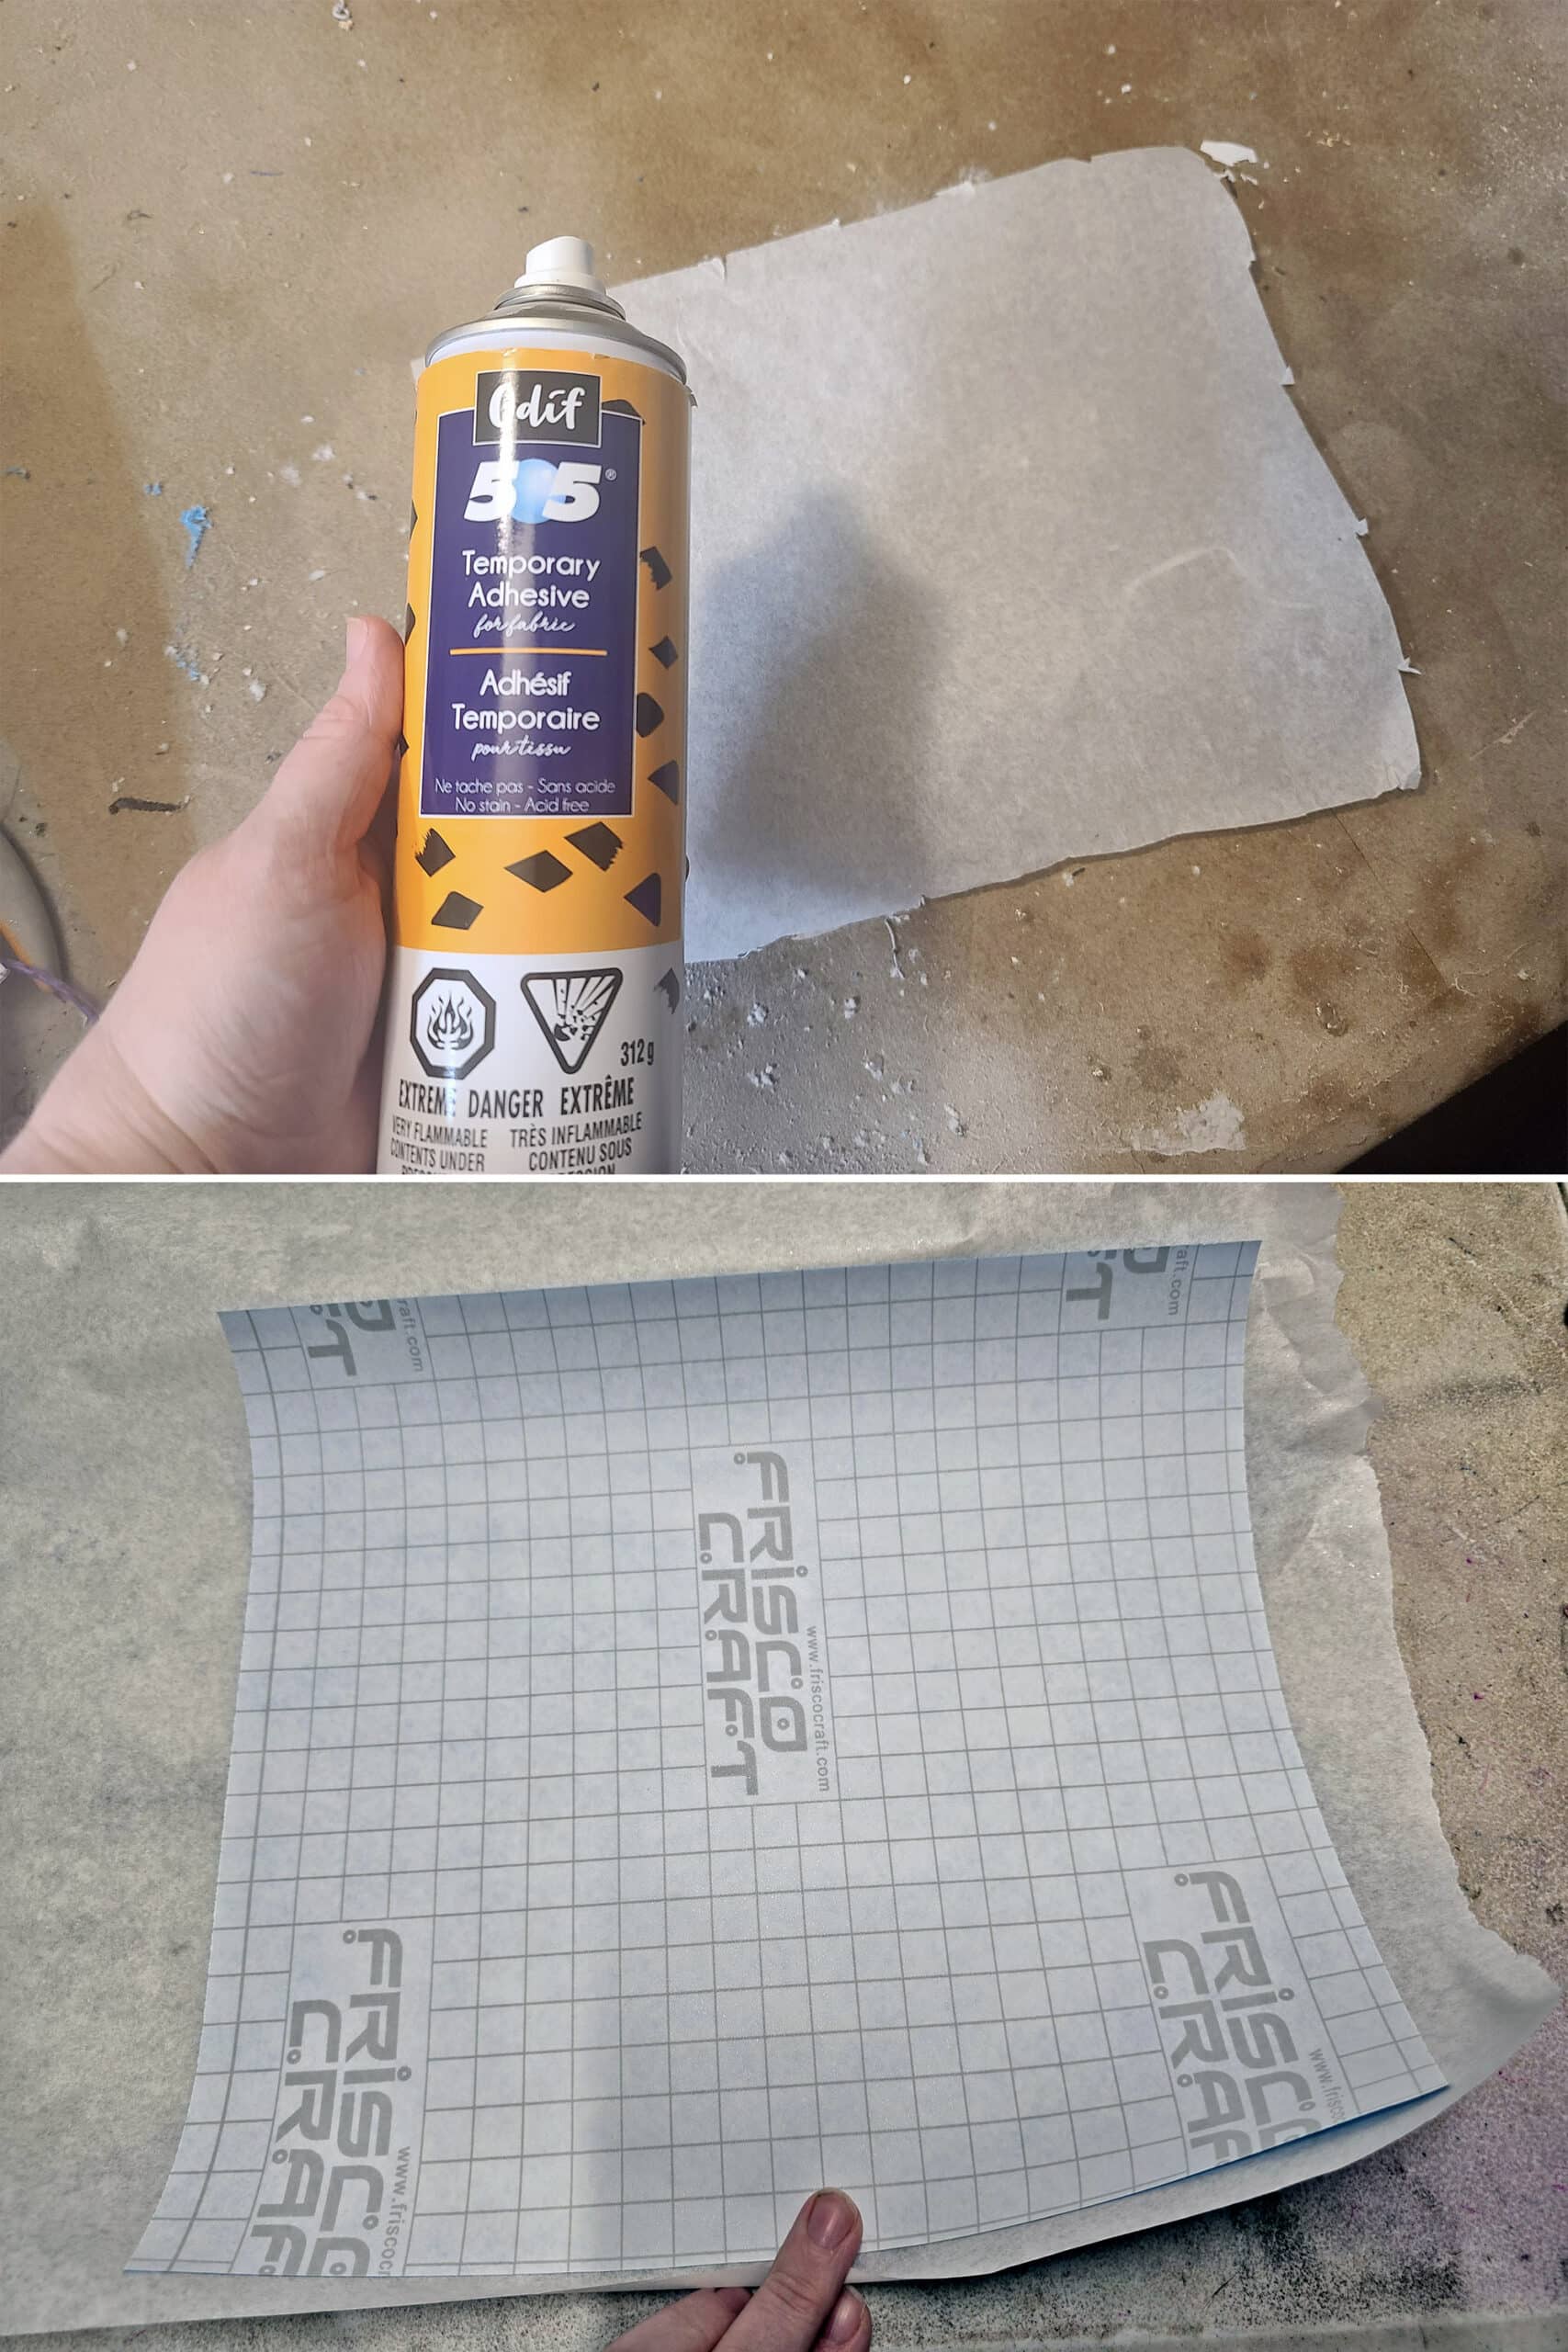
I keep Odif 505 Temporary Spray Adhesive on hand, as I use it a lot for spandex costuming.
There are other brands - you’ll want a good quality, repositionable one - but basically you’re looking to basically make it like a post it note, not stuck onto the wood forever.
Spray a bit of that temporary on some medical exam table paper (another thing I use in costuming)... and boom, transfer paper.
I don’t know anything about specialty transfer paper, but if you’re set up to make stencils, you probably have a better idea than I do. We’ve barely used the Silhouette so far, so it’ll be a learning process.
Craft Squeegee or Sponge Brush
You’ll need a Stencil Squeegee Tool or a small
Foam Sponge Brush to spread a thin layer of the wood burning gel over the stencil.
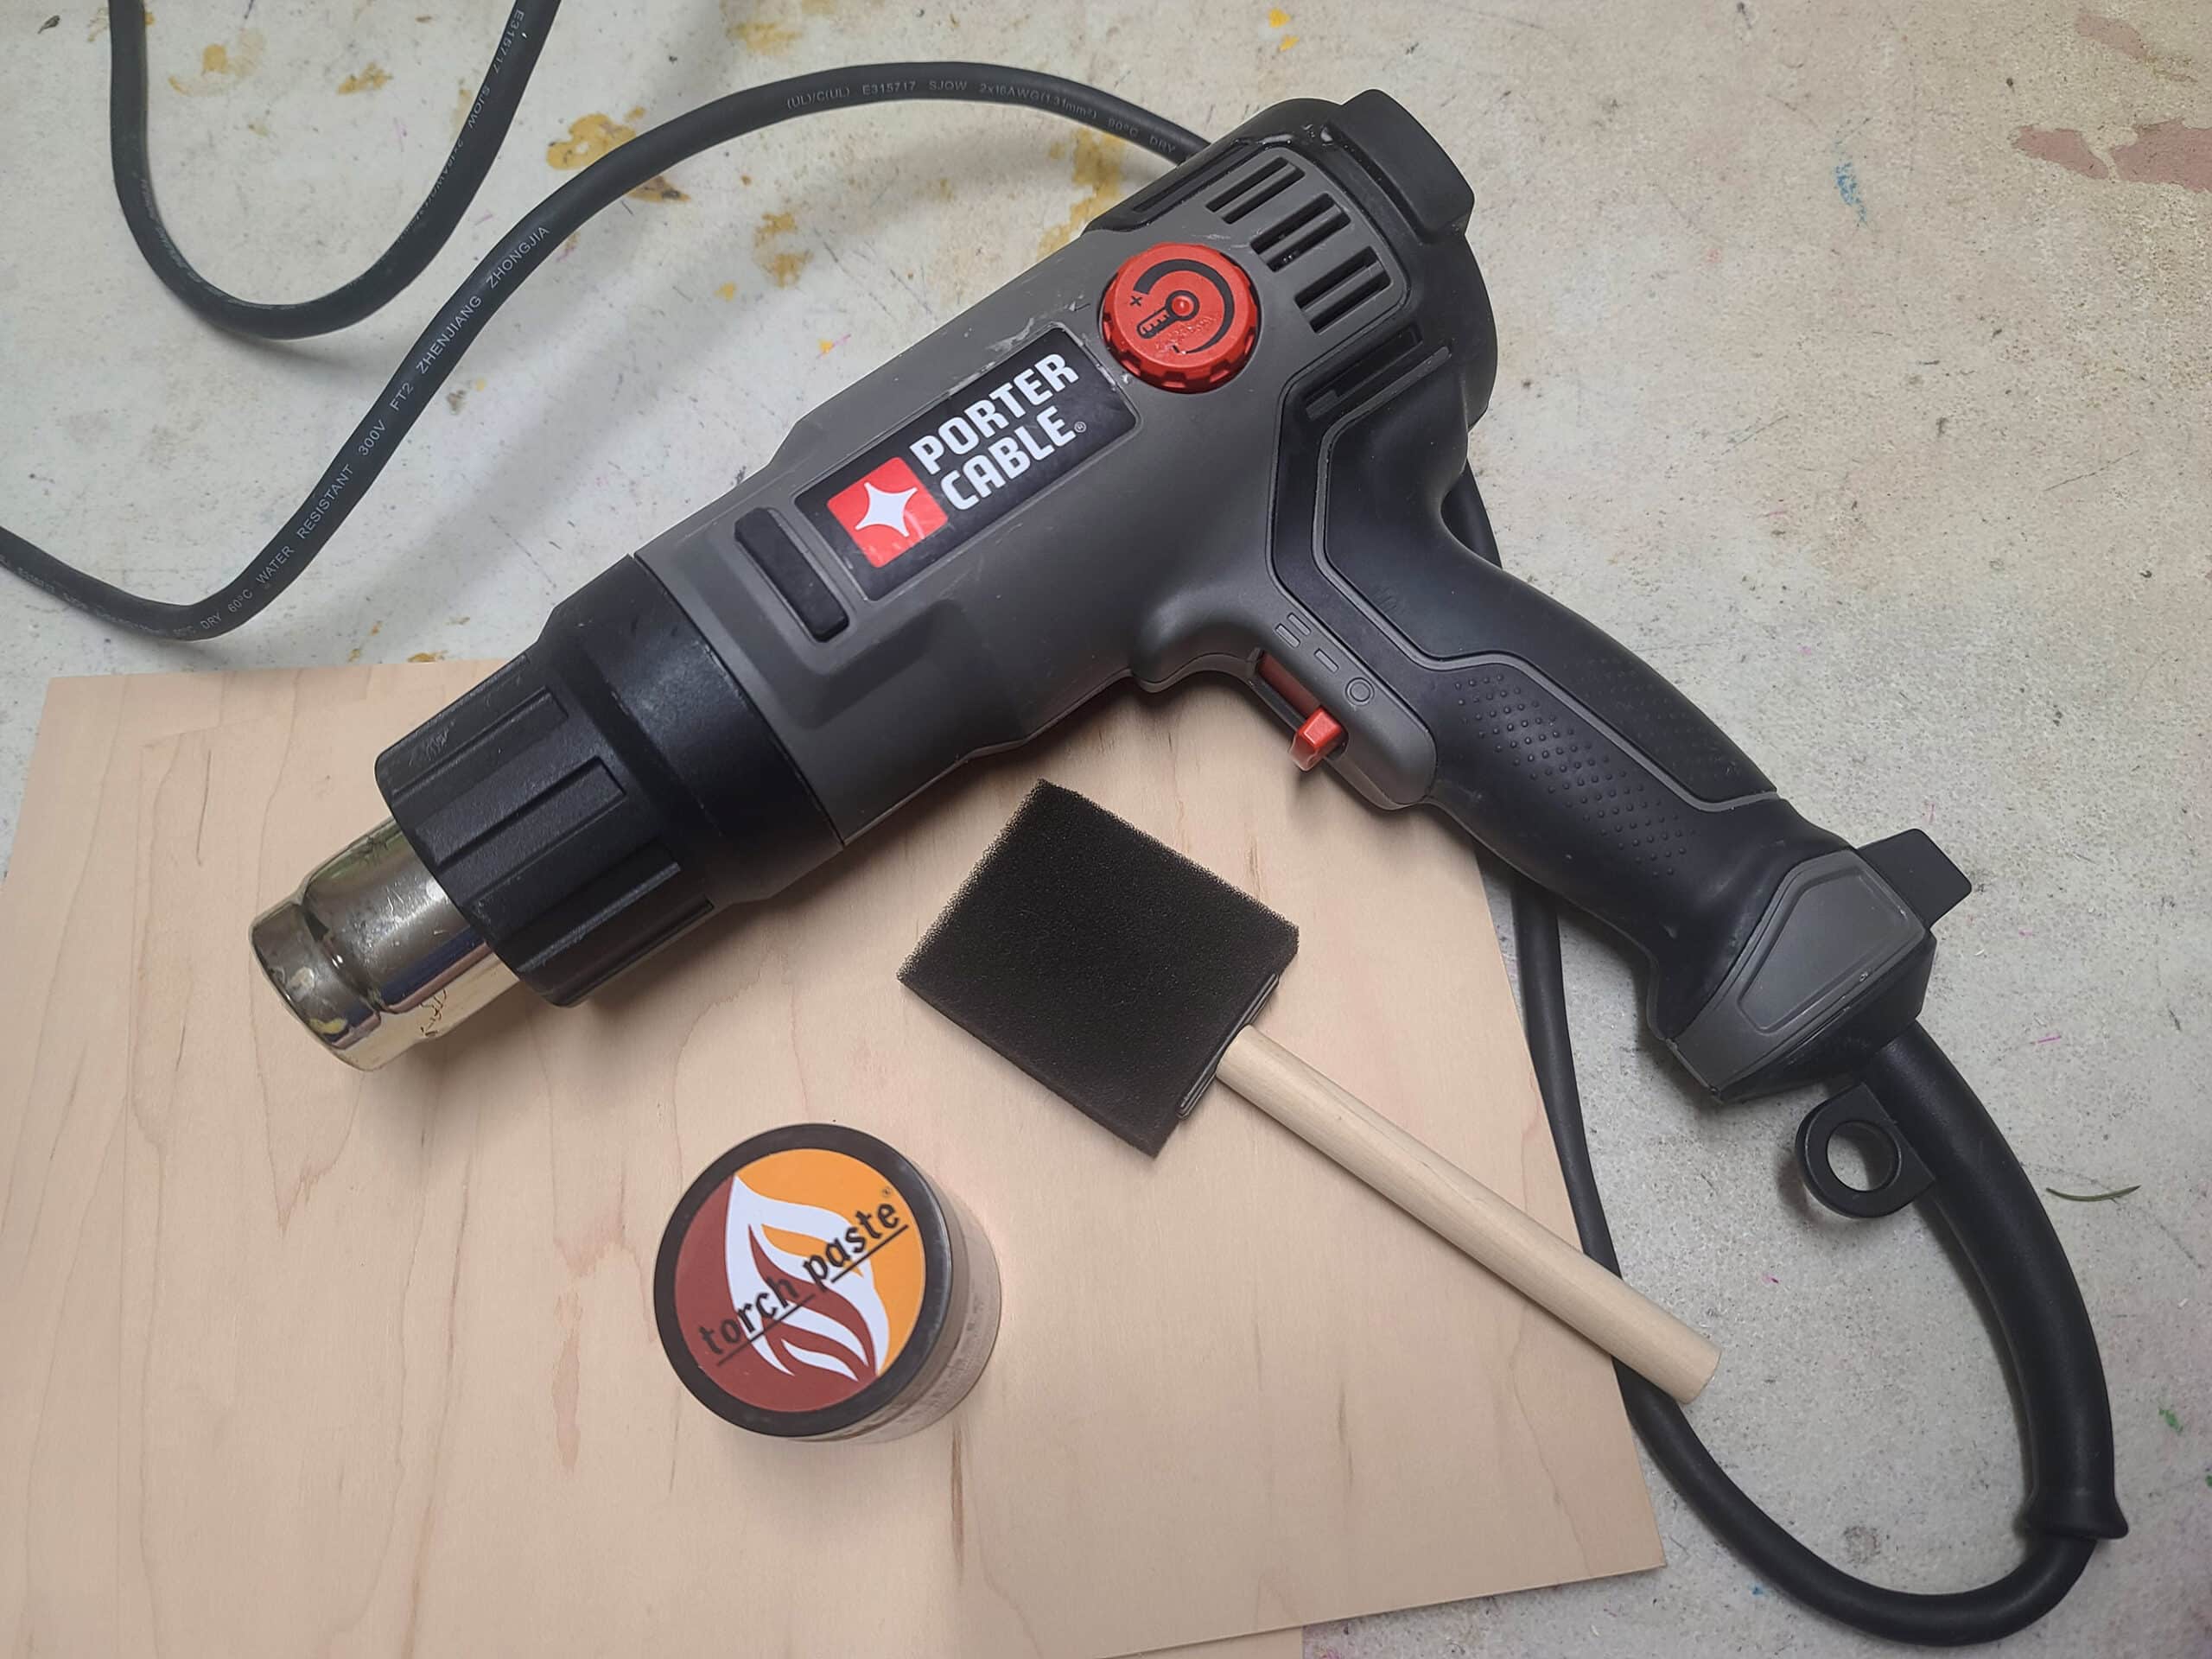
Heat Gun
Unfortunately, most hair dryers don’t get hot enough to get the burn gel... well, BURNING... so you’re going to want a Heat Gun for that.
You want one that’s at least 1000 watts, but don’t go TOO hot with it, either - you don’t want to char the surrounding area!
Other Items
Sandpaper: Use some relatively fine grit sandpaper to get a nice smooth surface on your wood sign, before applying the stencil.
Gloves, optional: Actual Torch Paste is non-toxic, but I’m not sure about other brands and formulations. Personally, I’m not a fan of getting *stuff* on my hands when crafting, though... so I like to use nitrile gloves.
Mask and Goggles, optional: Especially if you’re not doing this somewhere well ventilated, masking and eye protection couldn’t hurt.
Paper towels: To blot excess Torch Paste before removing the stencil.

Blotting the excess before removing the stencil takes away SOME risk of smudging.
Share the Love!If you’ve made one of our recipes, be sure to take some pics of your handiwork! If you post it to Bluesky, be sure to tag us - @2NerdsInATruck, or you can tag us on TikTok, if you’re posting video. We're also on Pinterest, so you can save all your favourite recipes and park reviews to your own boards! Also, be sure to subscribe to our free email newsletter, so you never miss out on any of our nonsense. Well, the published nonsense, anyway! |
How to Make Personalized Camping Signs
Design Your Stencil, if applicable
This can be a whole thing by itself, and is WAY outside the purpose of this post... so I’m just doing a quick overview. If you’re using a purchased stencil, skip this section!
I worked my designs up in Photoshop, but any image program will work.
You can design your line art from scratch, or add a layer over a photo of your camper and trace the main lines for a REALLY custom design.
Just remember - every line you draw will need to be picked out of the stencil eventually. You’ll want them wide enough to work with - and wide enough that the final design will actually be visible from a distance.
Try to keep your design relatively simple, for the same reason.
(Again, WAY beyond the scope of this post - there are plenty of tutorials out there, find one for your machine!)
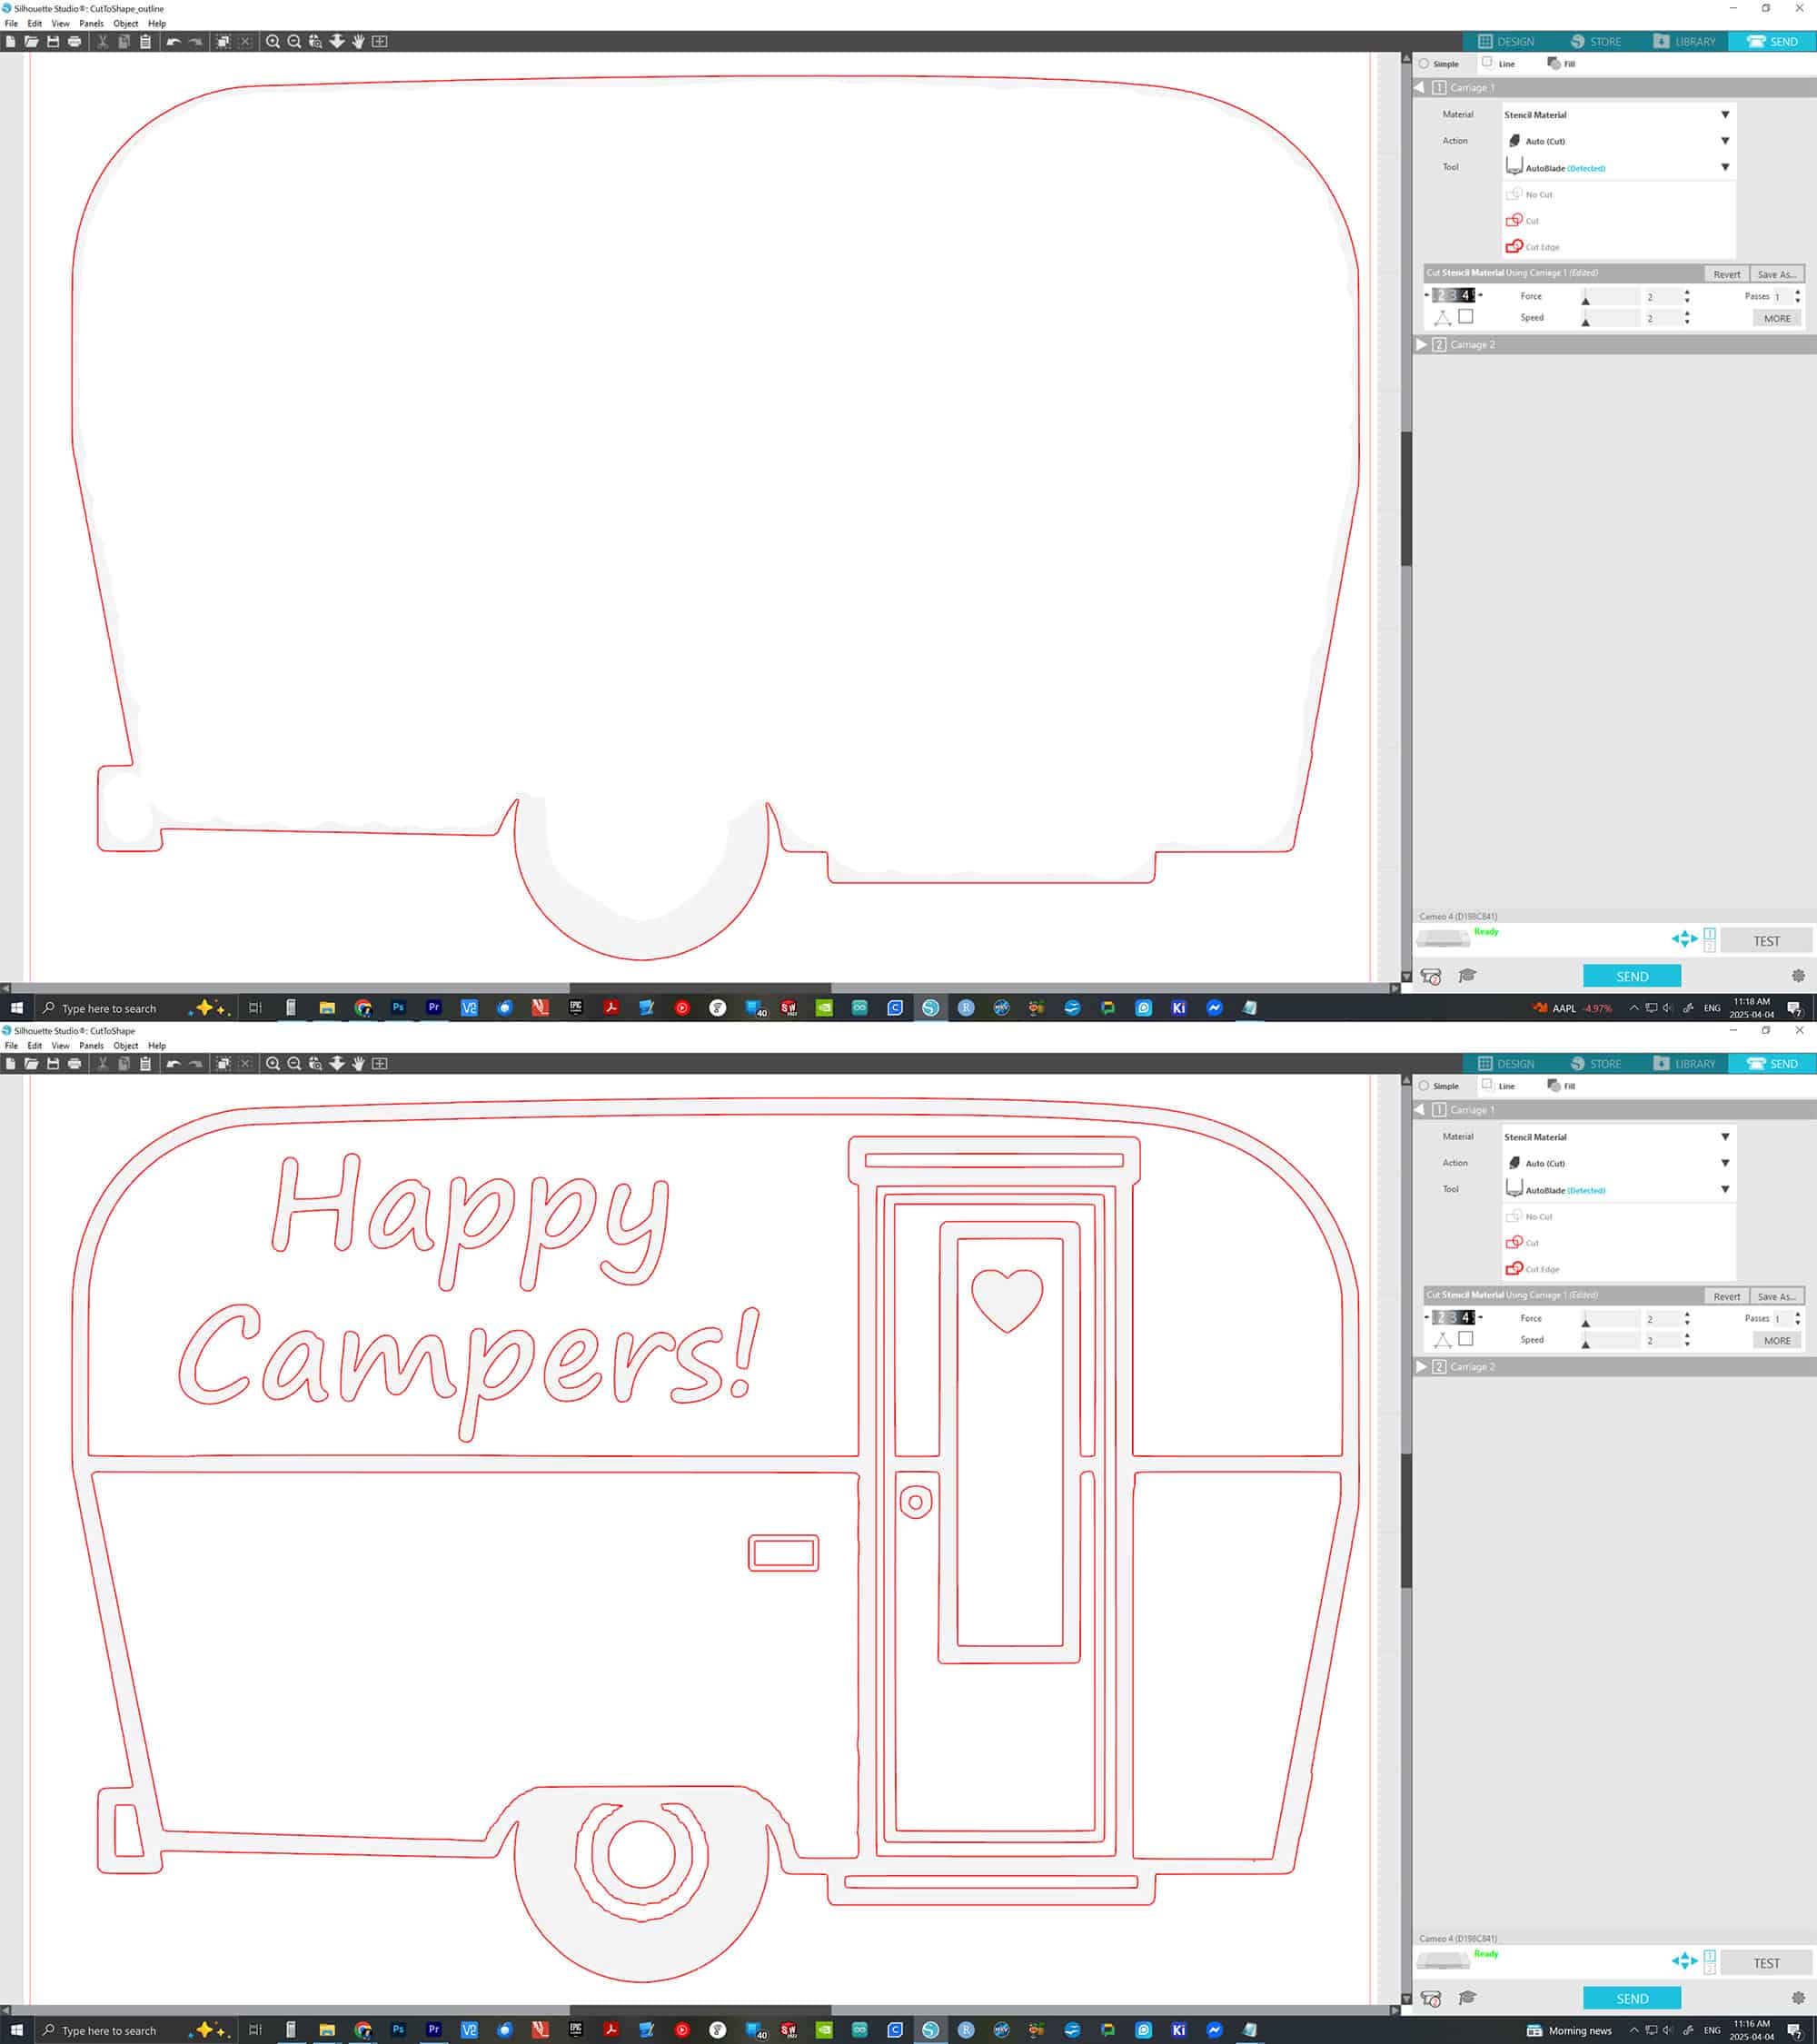
Finally, use follow the manufacturer’s directions to cut your stencil out.
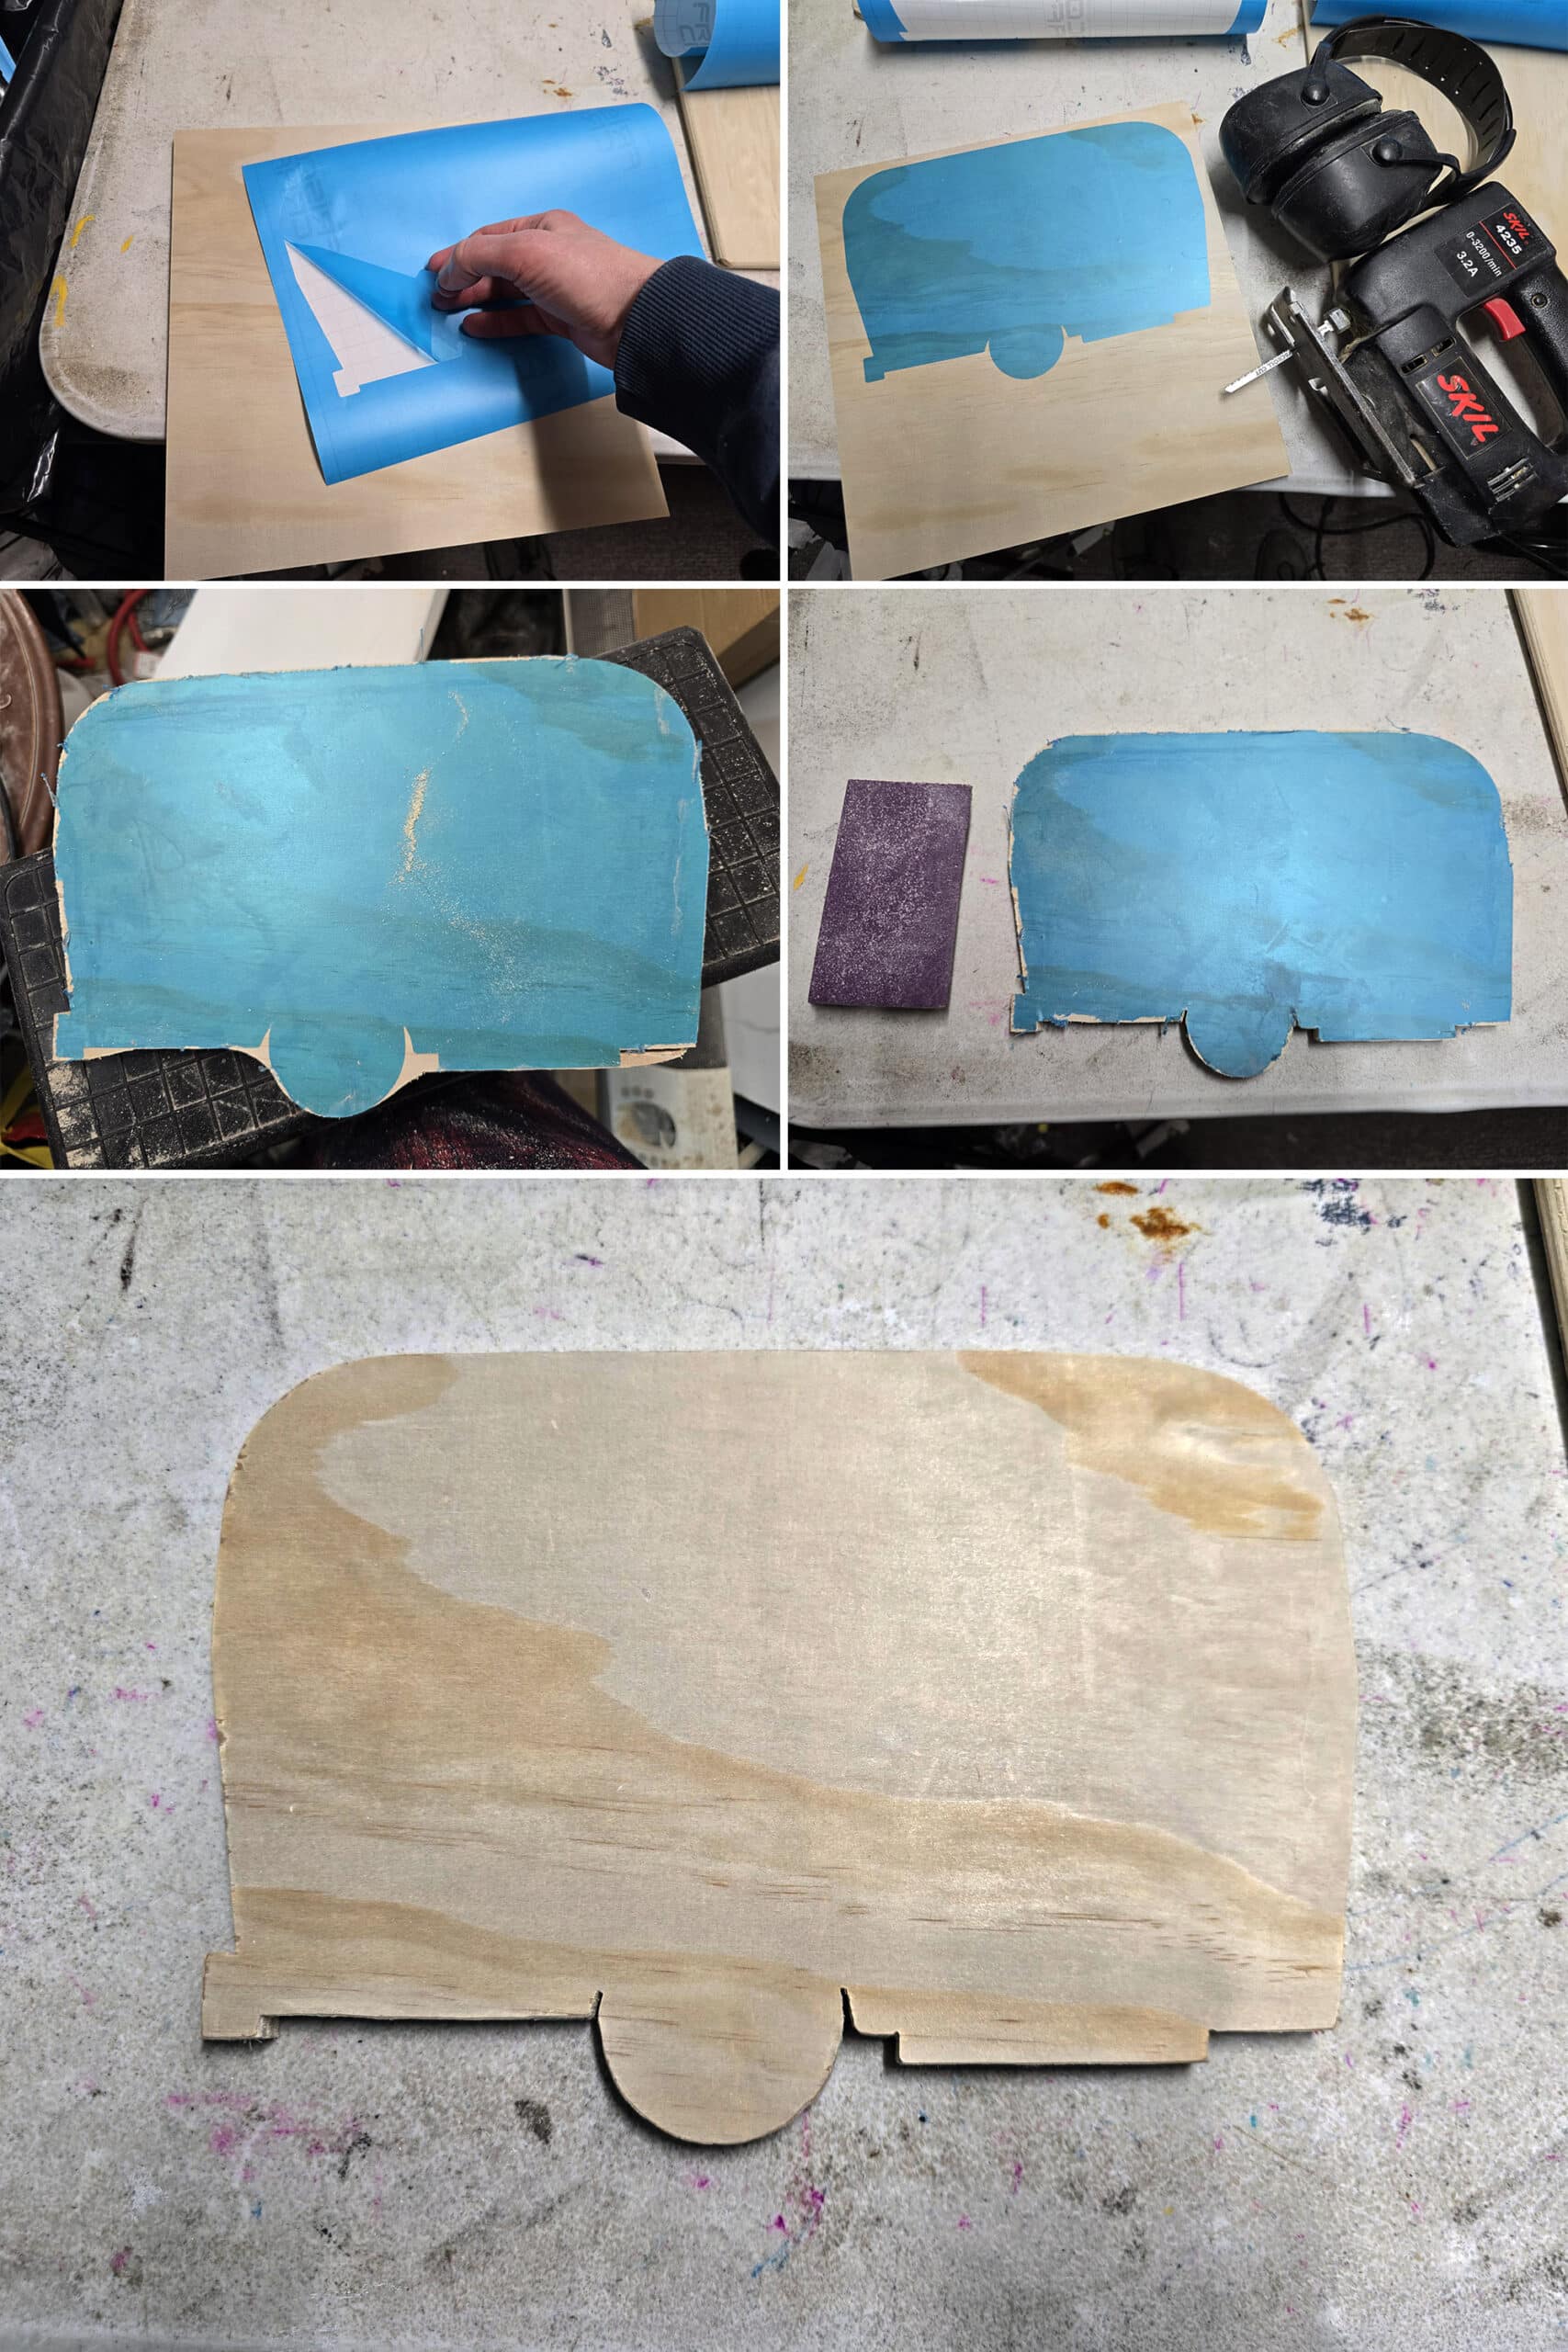
Prepare your Sign Base
After doing whatever edge cutting and edge finishing you may want to do, lightly sand the surface of your wood. You want a nice smooth, level surface to apply your stencil to.
Carefully brush away all bits of sawdust, before proceeding. Be sure to use a dry cloth for this - you want the wood to be VERY dry when you apply your stencil and Torch Paste!
Prepare your Stencil
Use a sticky paper transfer sheet, or make your own by lightly spraying paper with repositionable adhesive.
Be sure to have a drop cloth or craft paper under, when you’re doing this. Spray adhesive is super annoying to clean off surfaces!
Once you’ve sprayed your paper, let it dry for at least a minute. You want it tacky, but not WET. *Wet* spray will transfer to your sign, and you definitely want to avoid that!
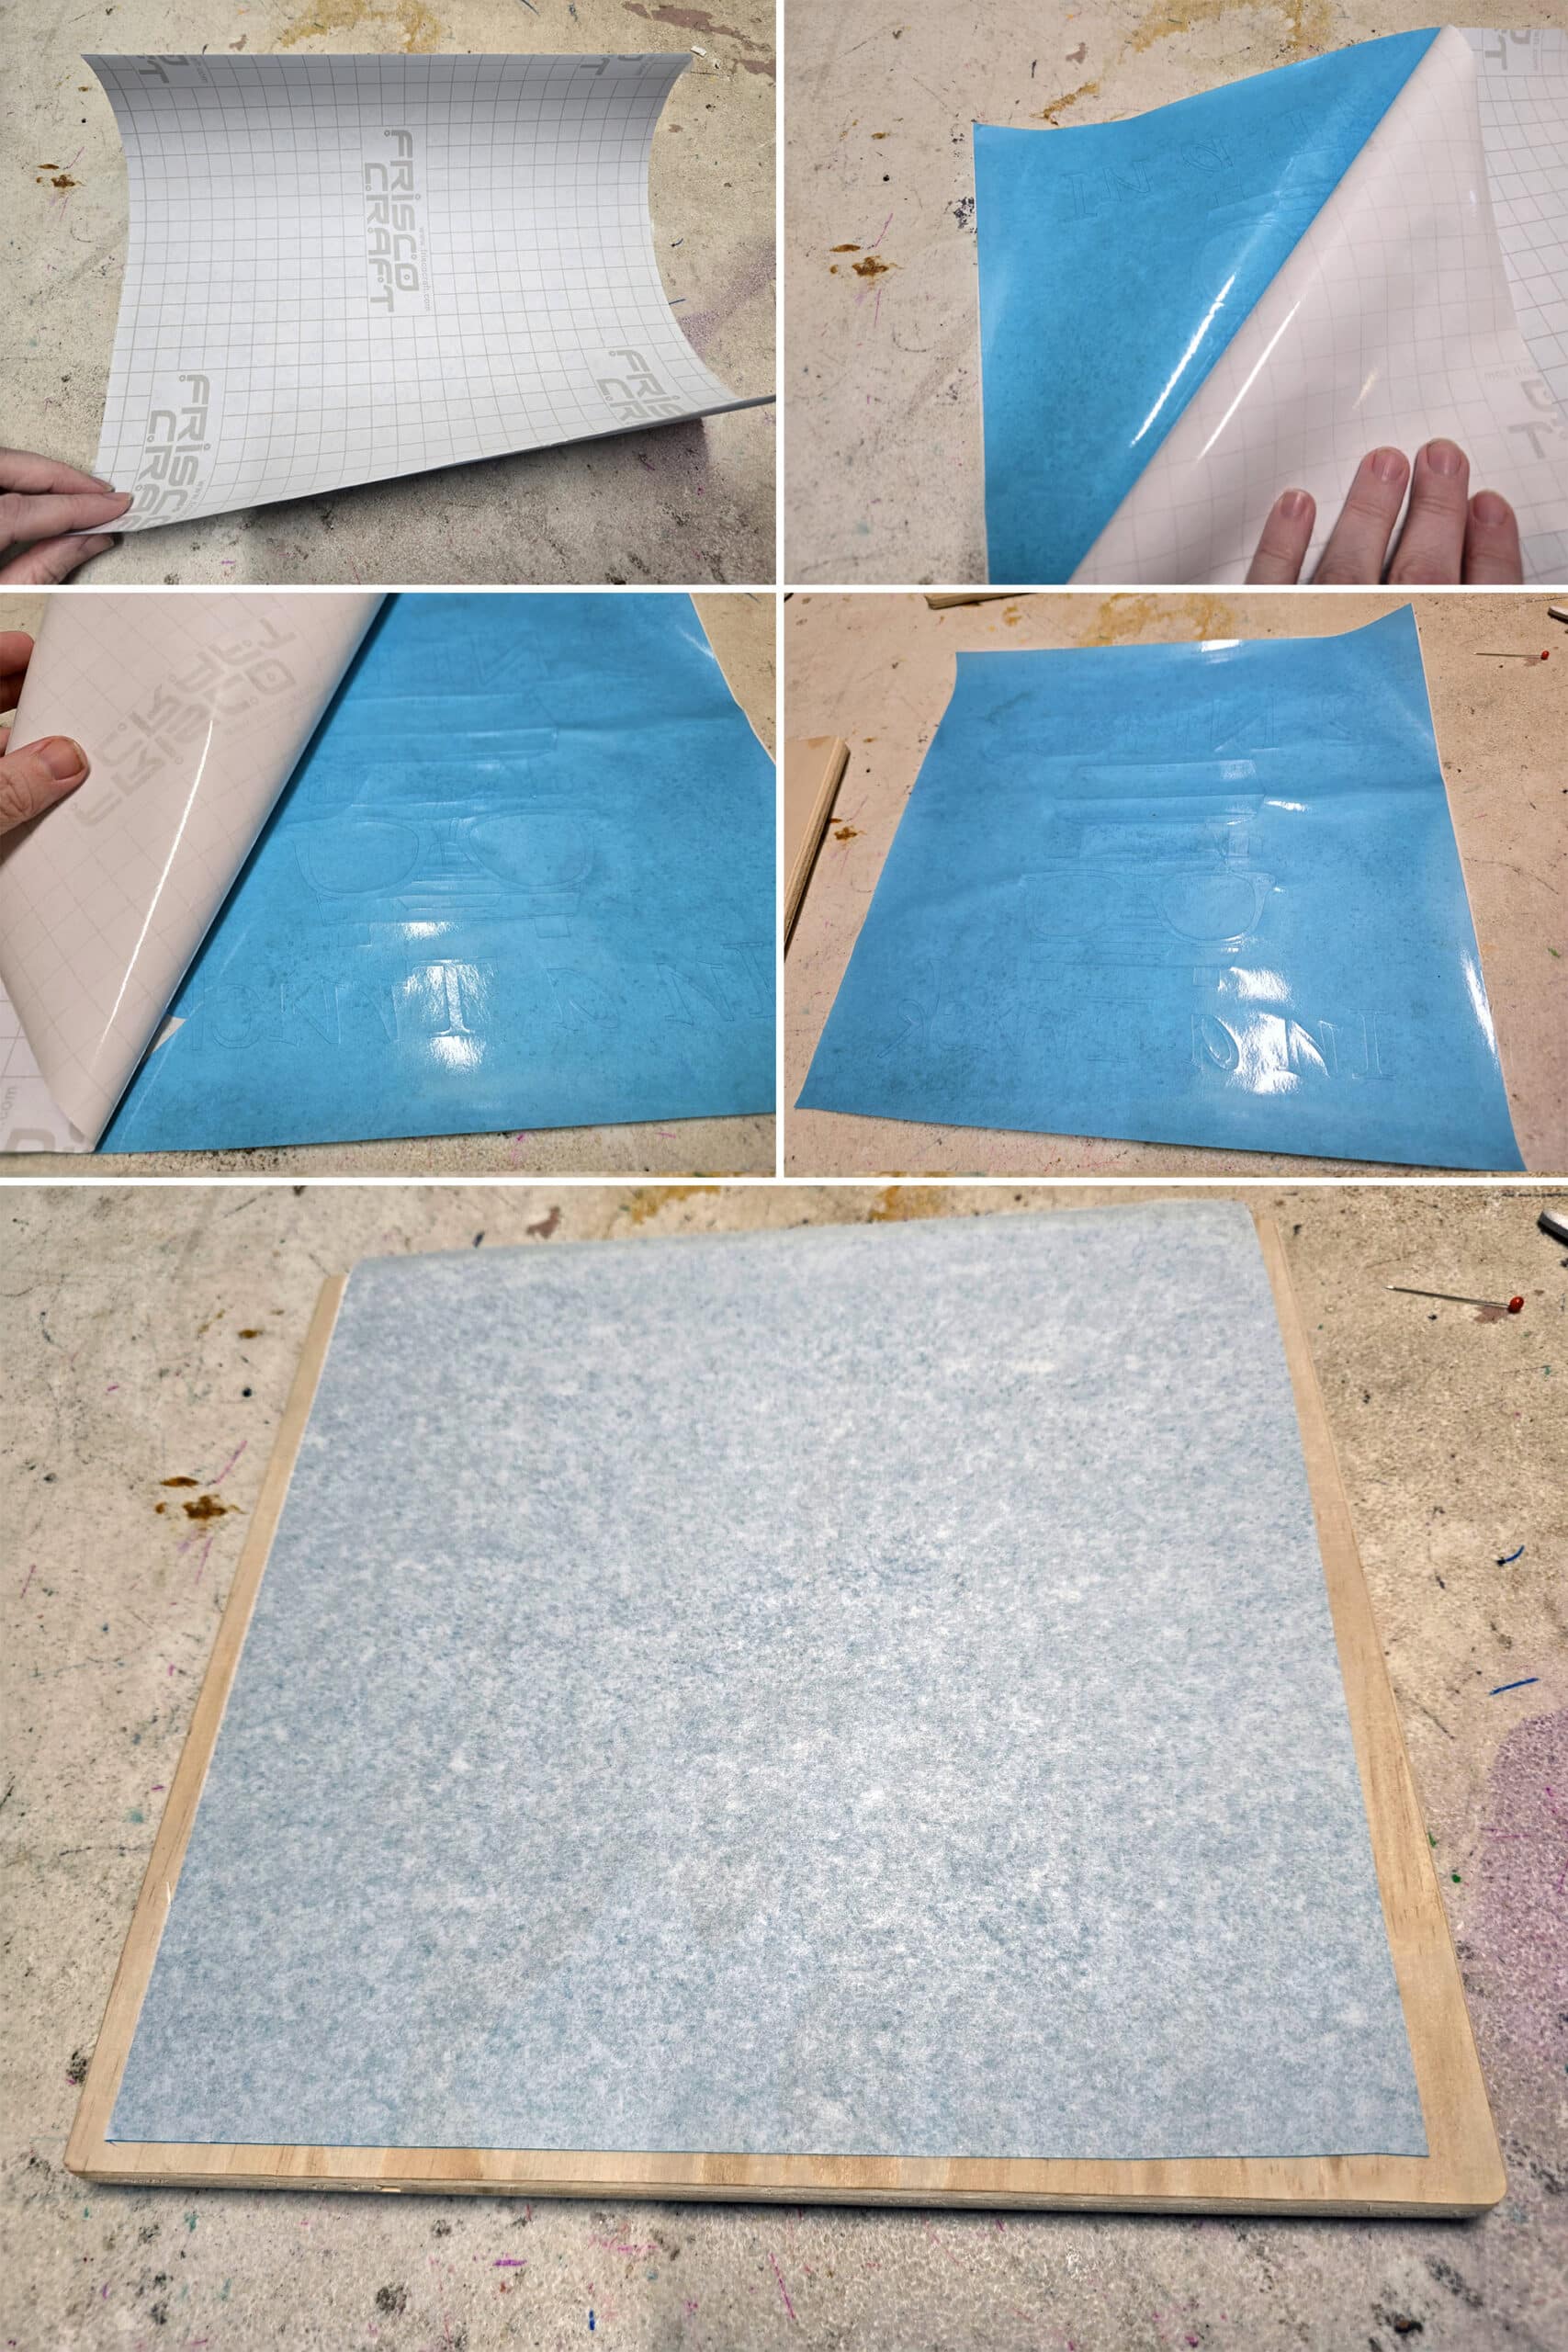
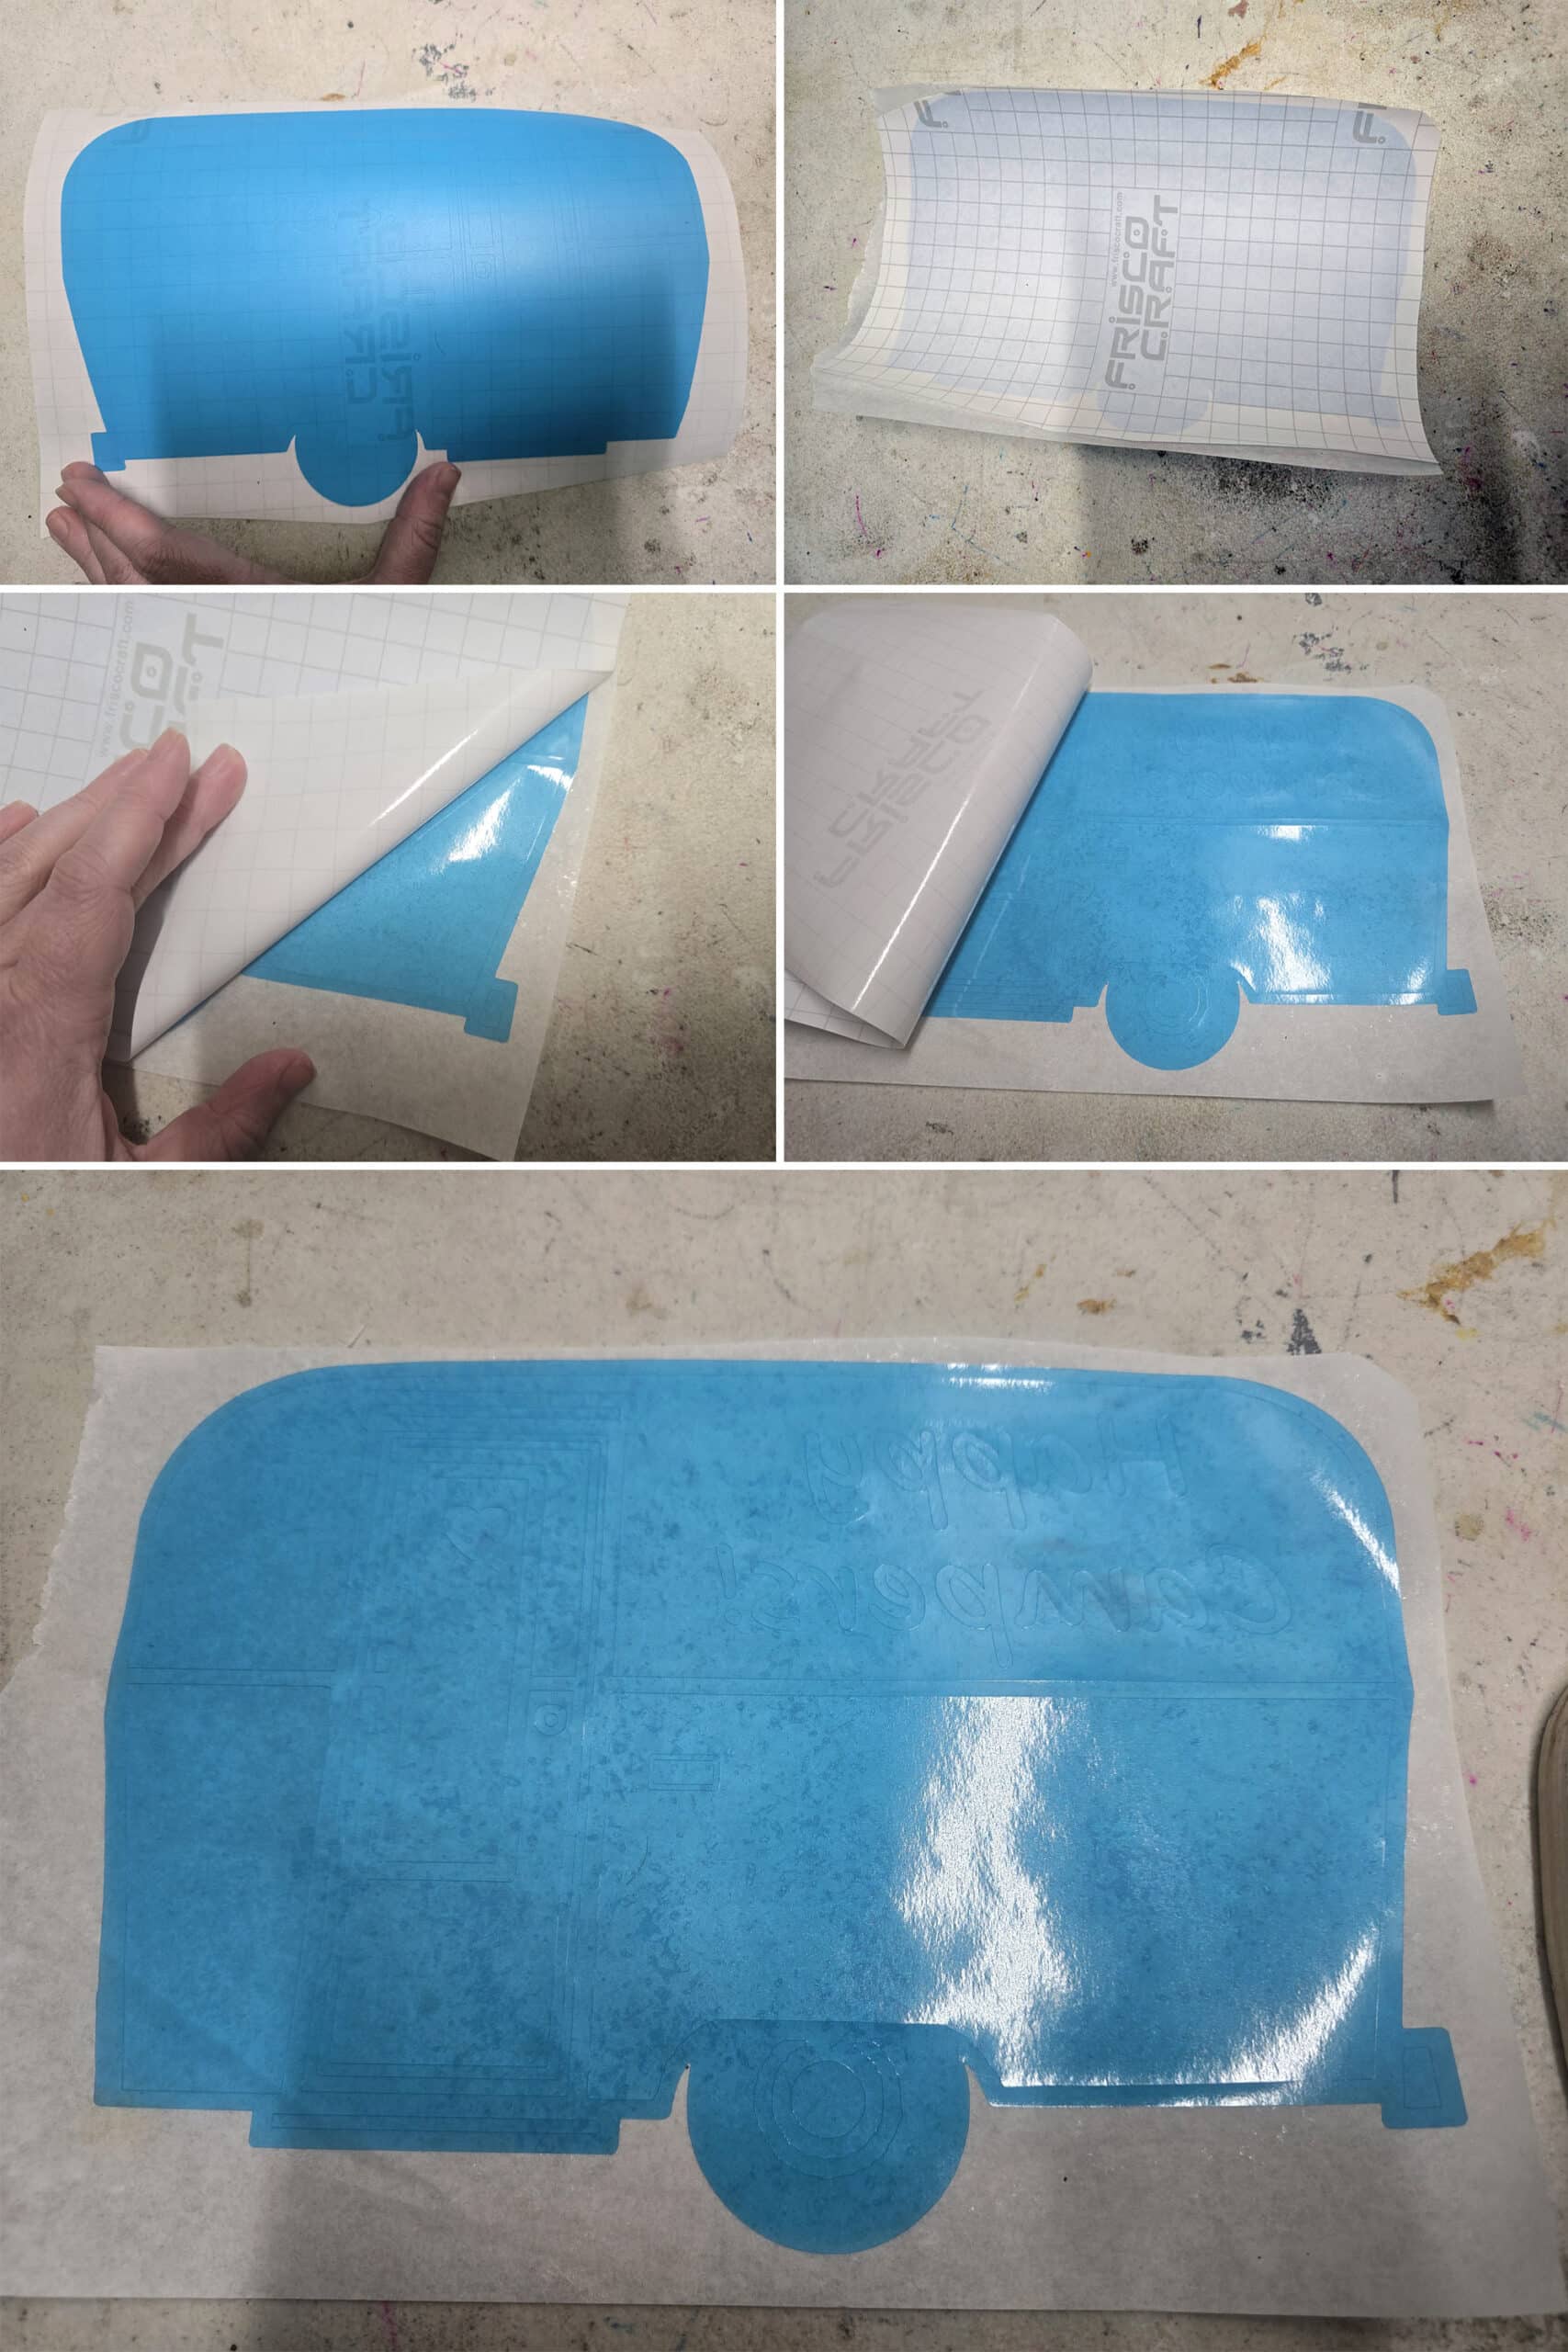
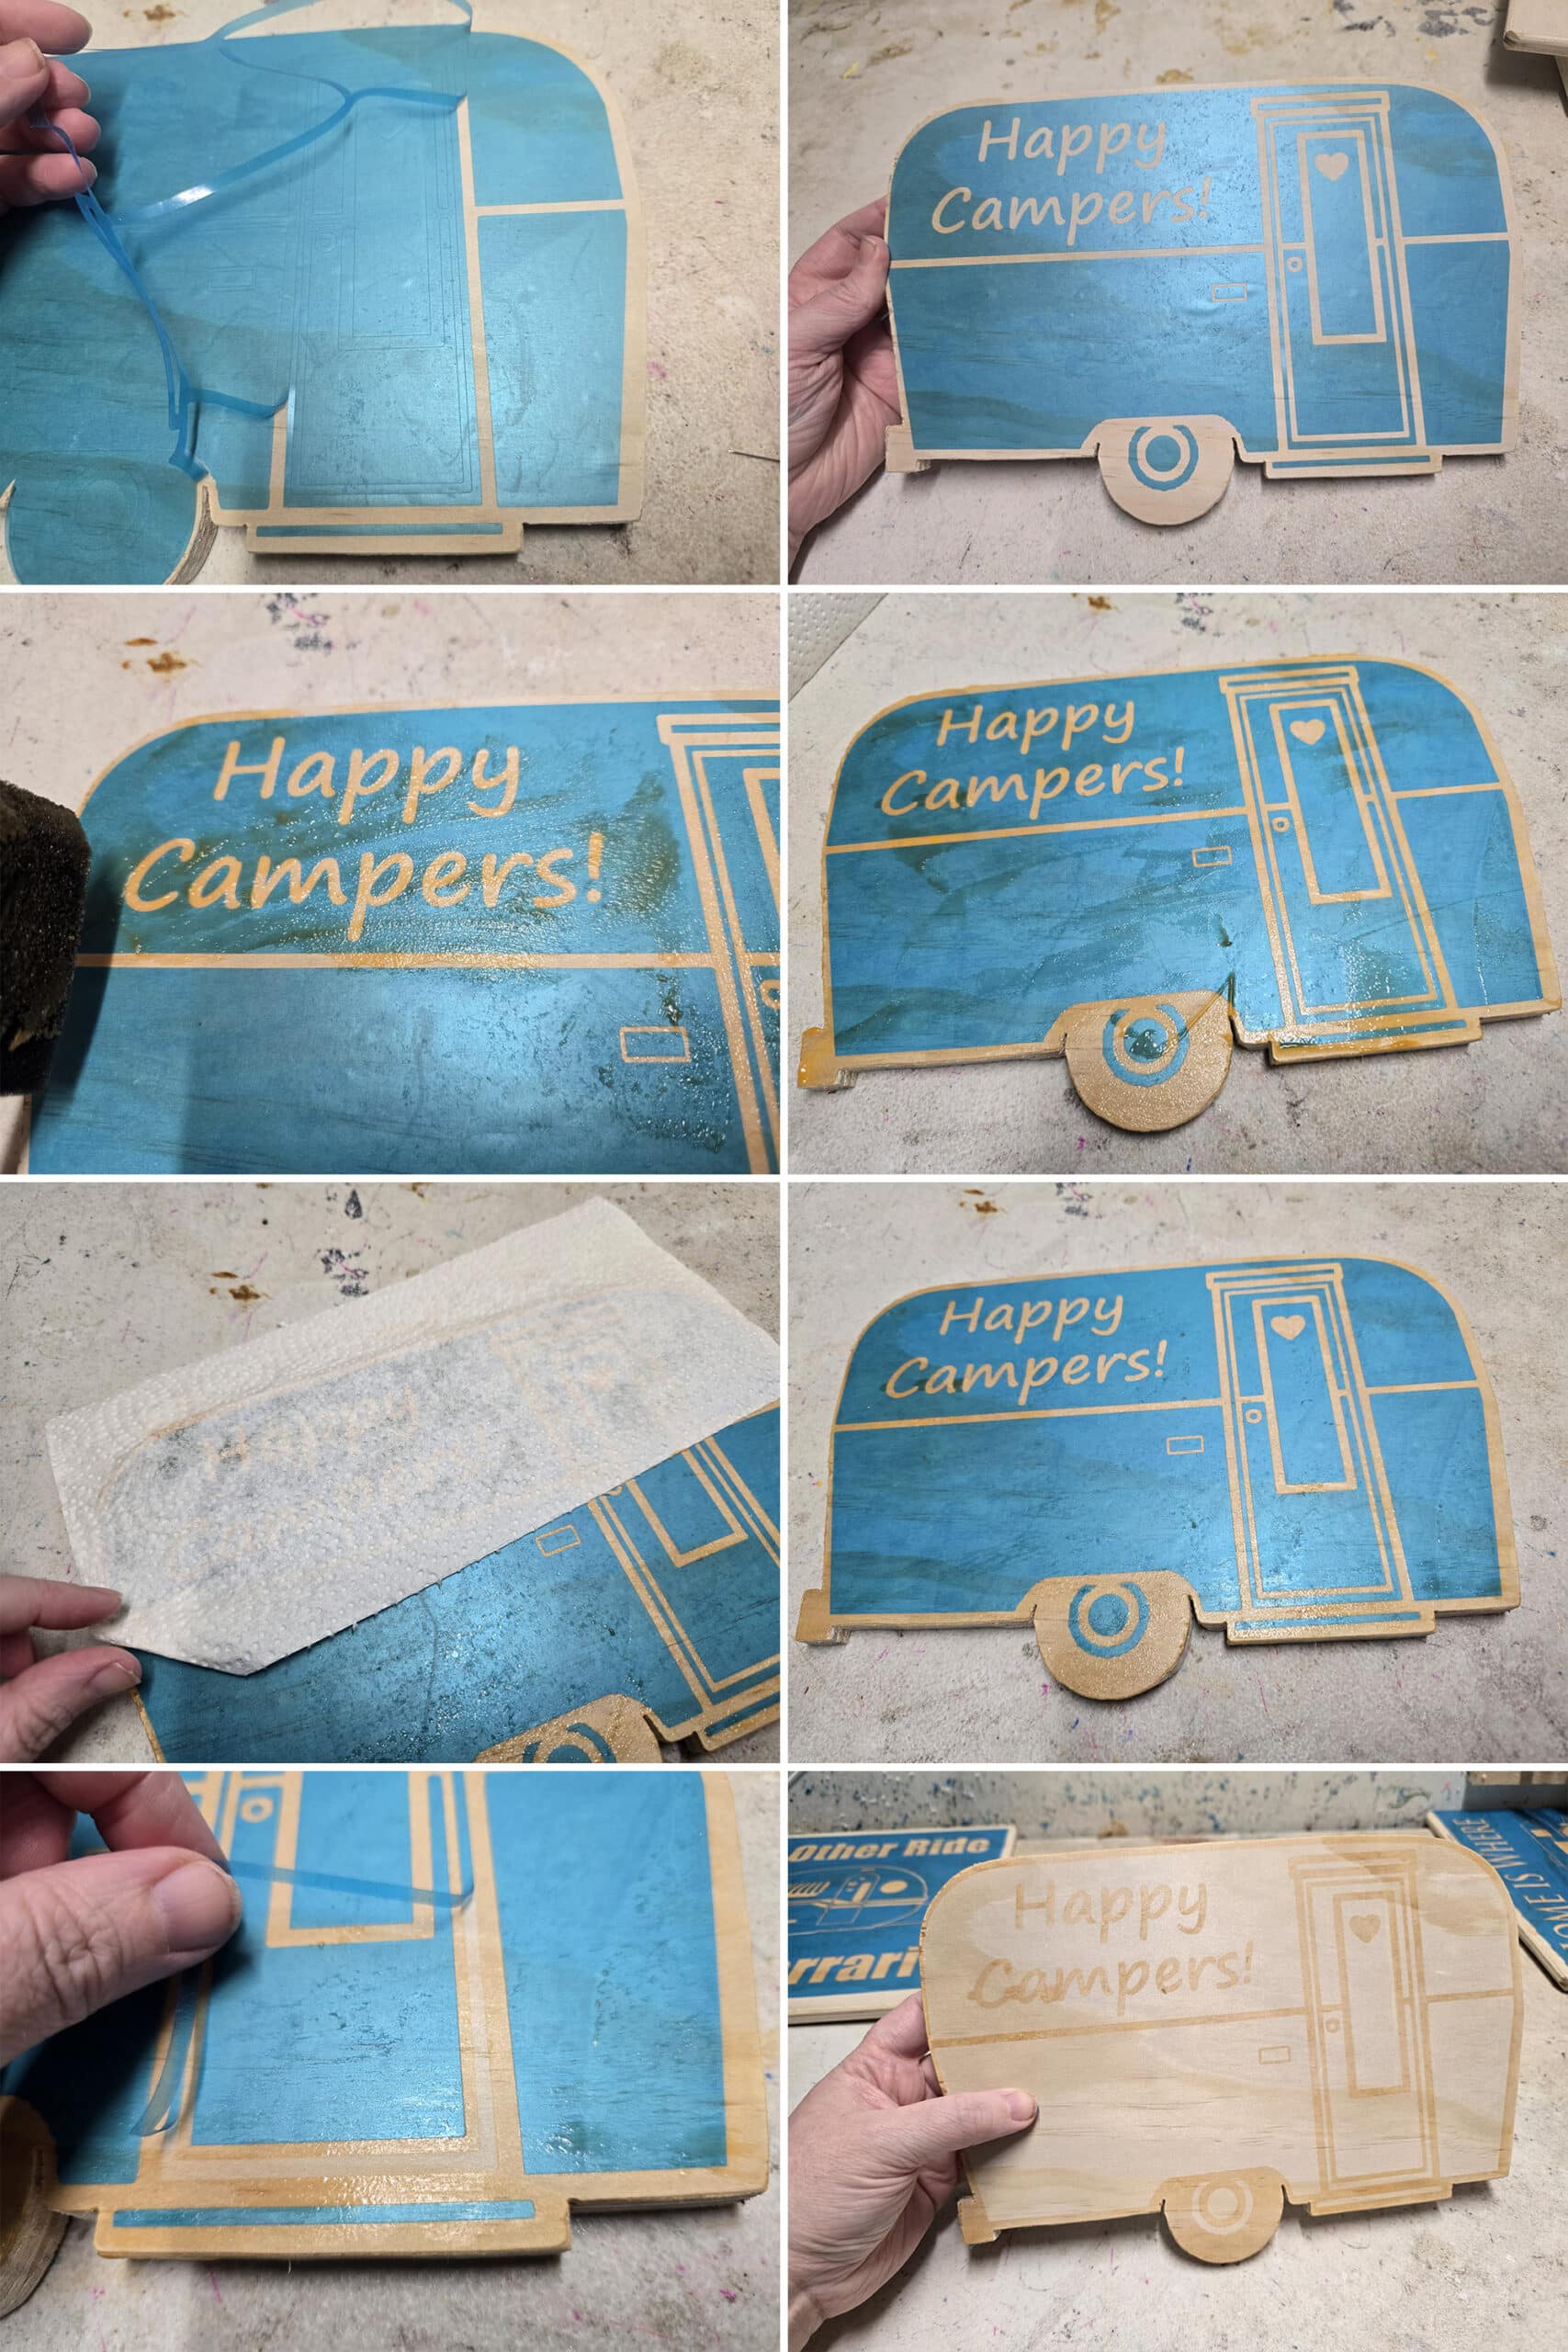
Smooth the sticky side of the paper down over the RIGHT side of the cut stencil. In our case, that’s the blue side, as shown below.
Be careful to smooth the paper over the stencil, so there are no air bubbles or wrinkles. Once you’re happy with the placement, trim the sticky paper - following the edge of the stencil paper.
This will make for easier handling and placement.
Place your Stencil
Carefully peel the backing off the stencil vinyl, revealing the self-adhesive side of it.
Take care not to handle the sticky part - you want it to FULLY adhere to the wood. Fingerprints can dull the adhesion.
Carefully position the stencil, sticky side down, on your wood. When it’s placed where you want it, smooth it out. Make sure there are no wrinkles or air bubbles, then firmly press down over the whole surface to adhere it.
Note: if it’s not fully stuck down - or has any bubbles - when you’re applying the paste, the paste can flow under the stencil. This causes blotchy edges - as I demonstrated in the “Tools & Supplies” section!
Be sure not to pull up any of the stencil when you’re doing this - small pieces can easily get pulled along for the ride!
When the sticky paper is removed, check your stencil placement. If anything has moved, replace it. If there are any bubbles, smooth them out.
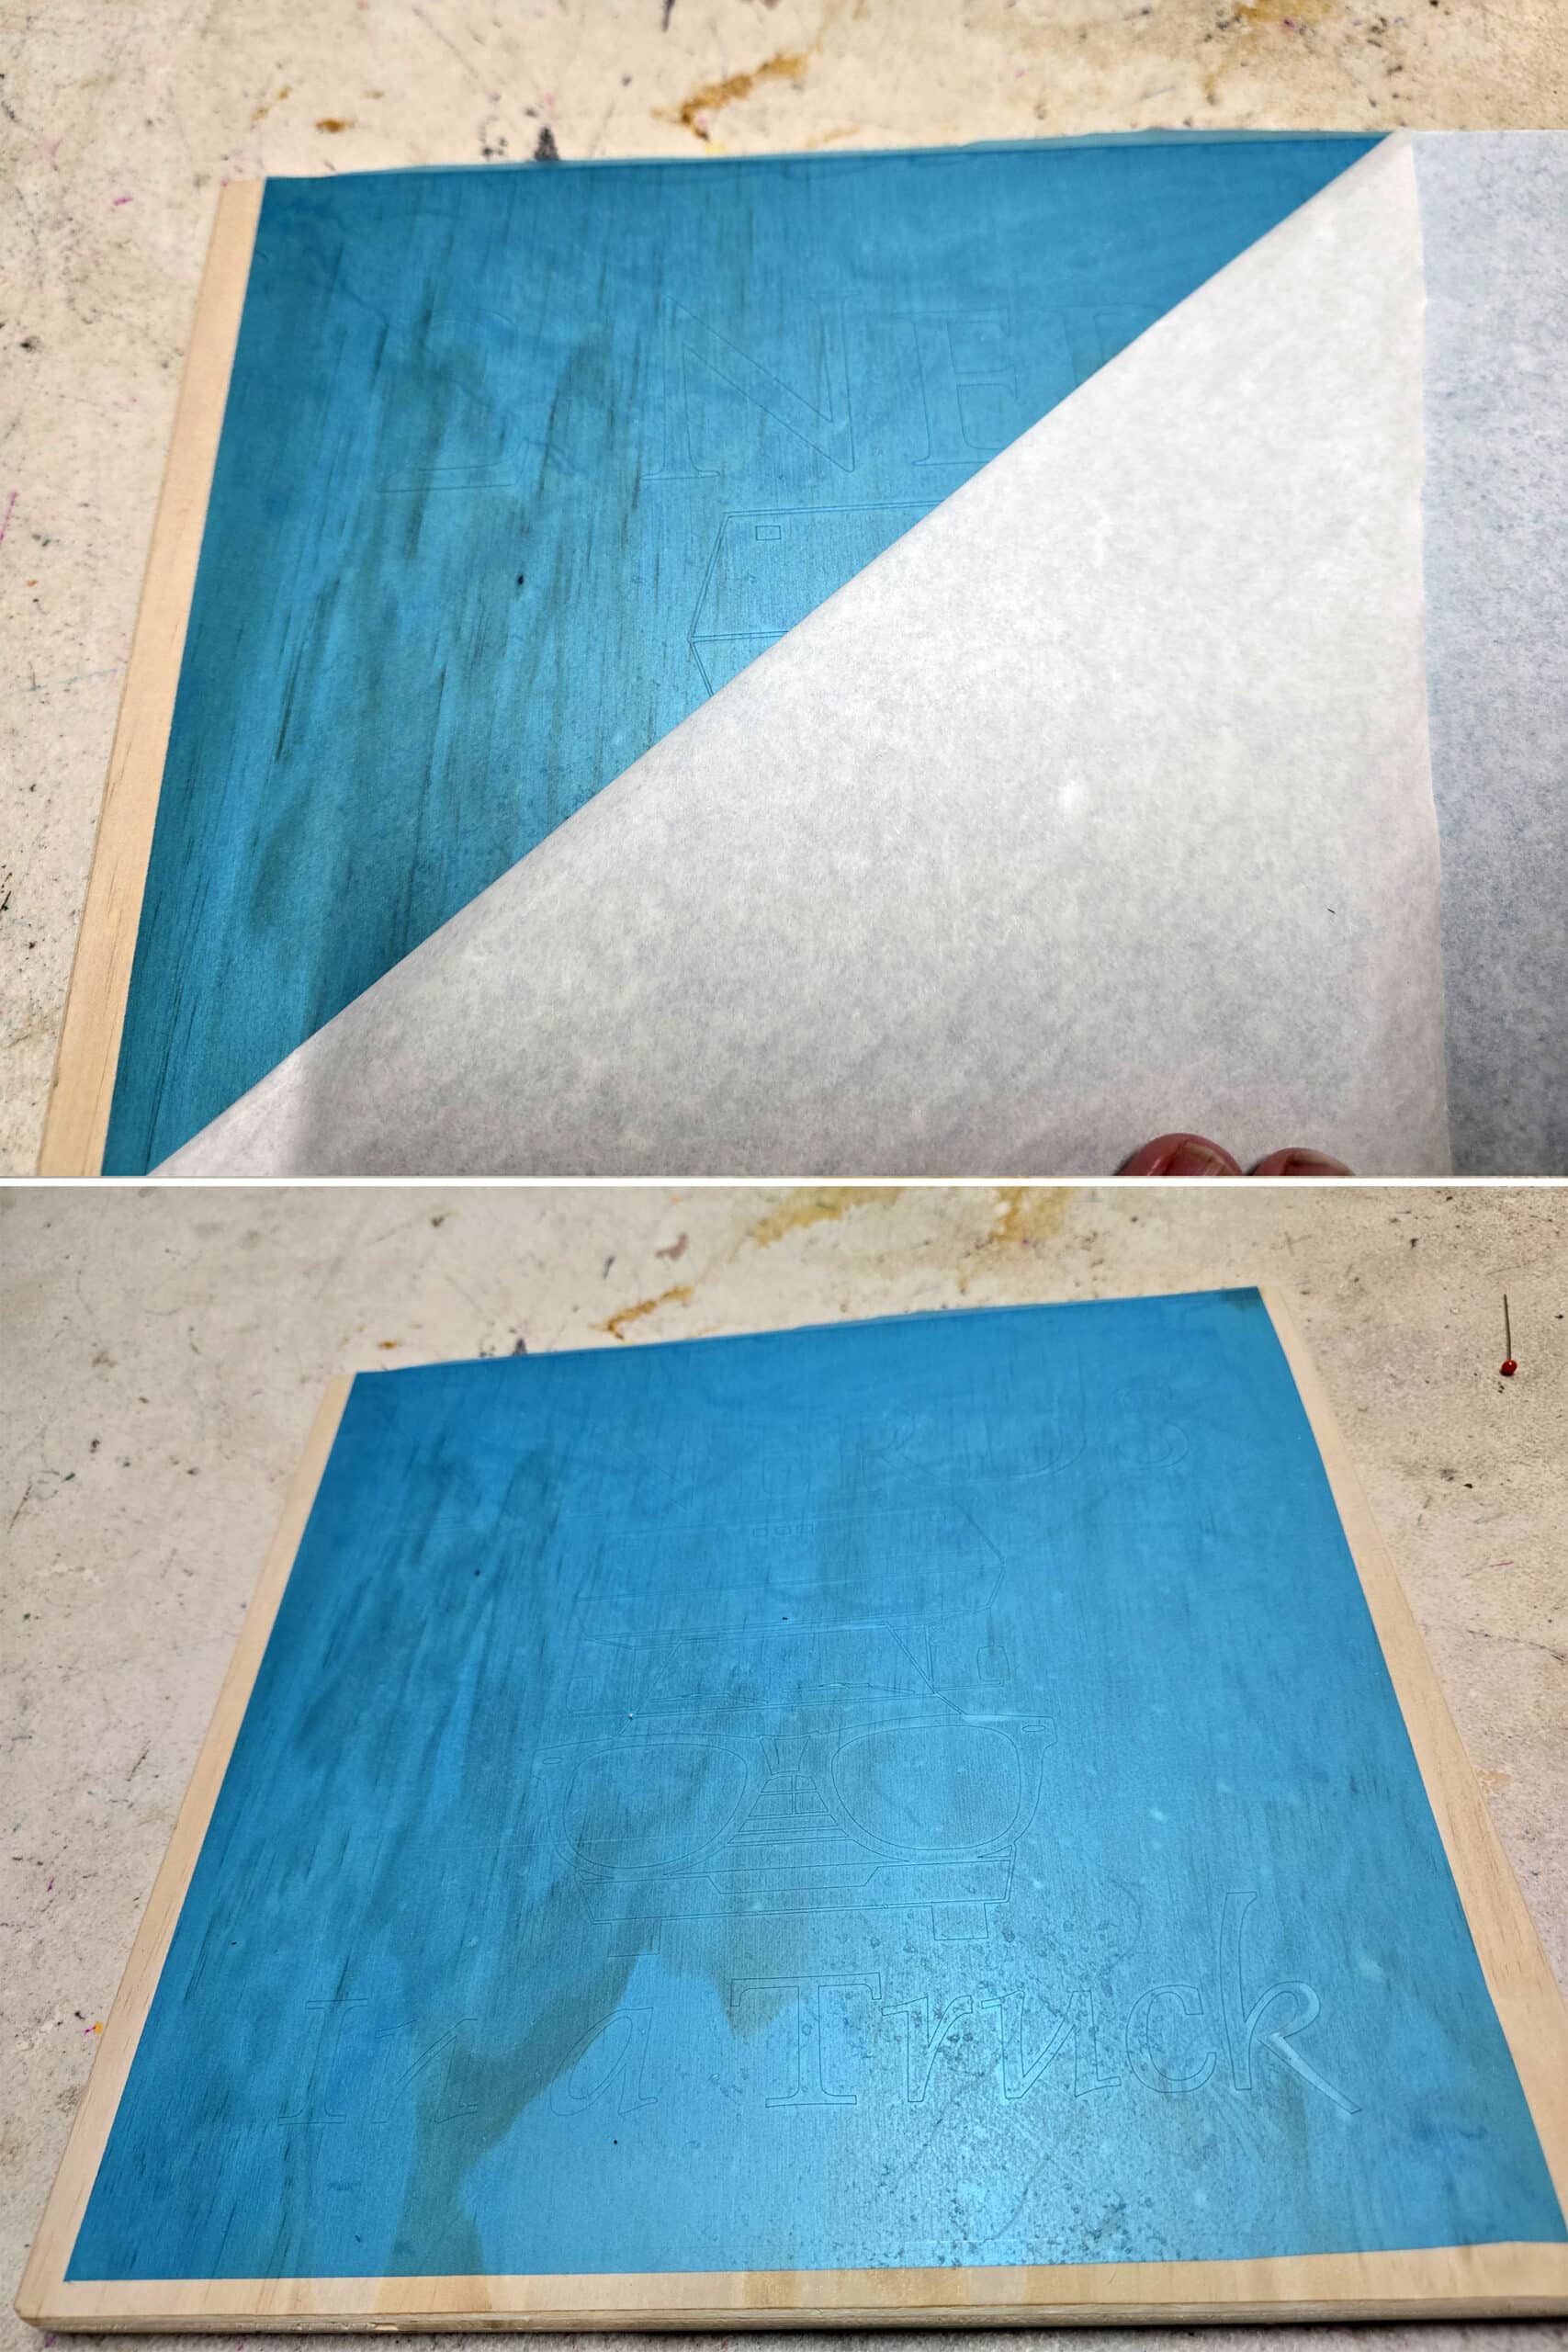
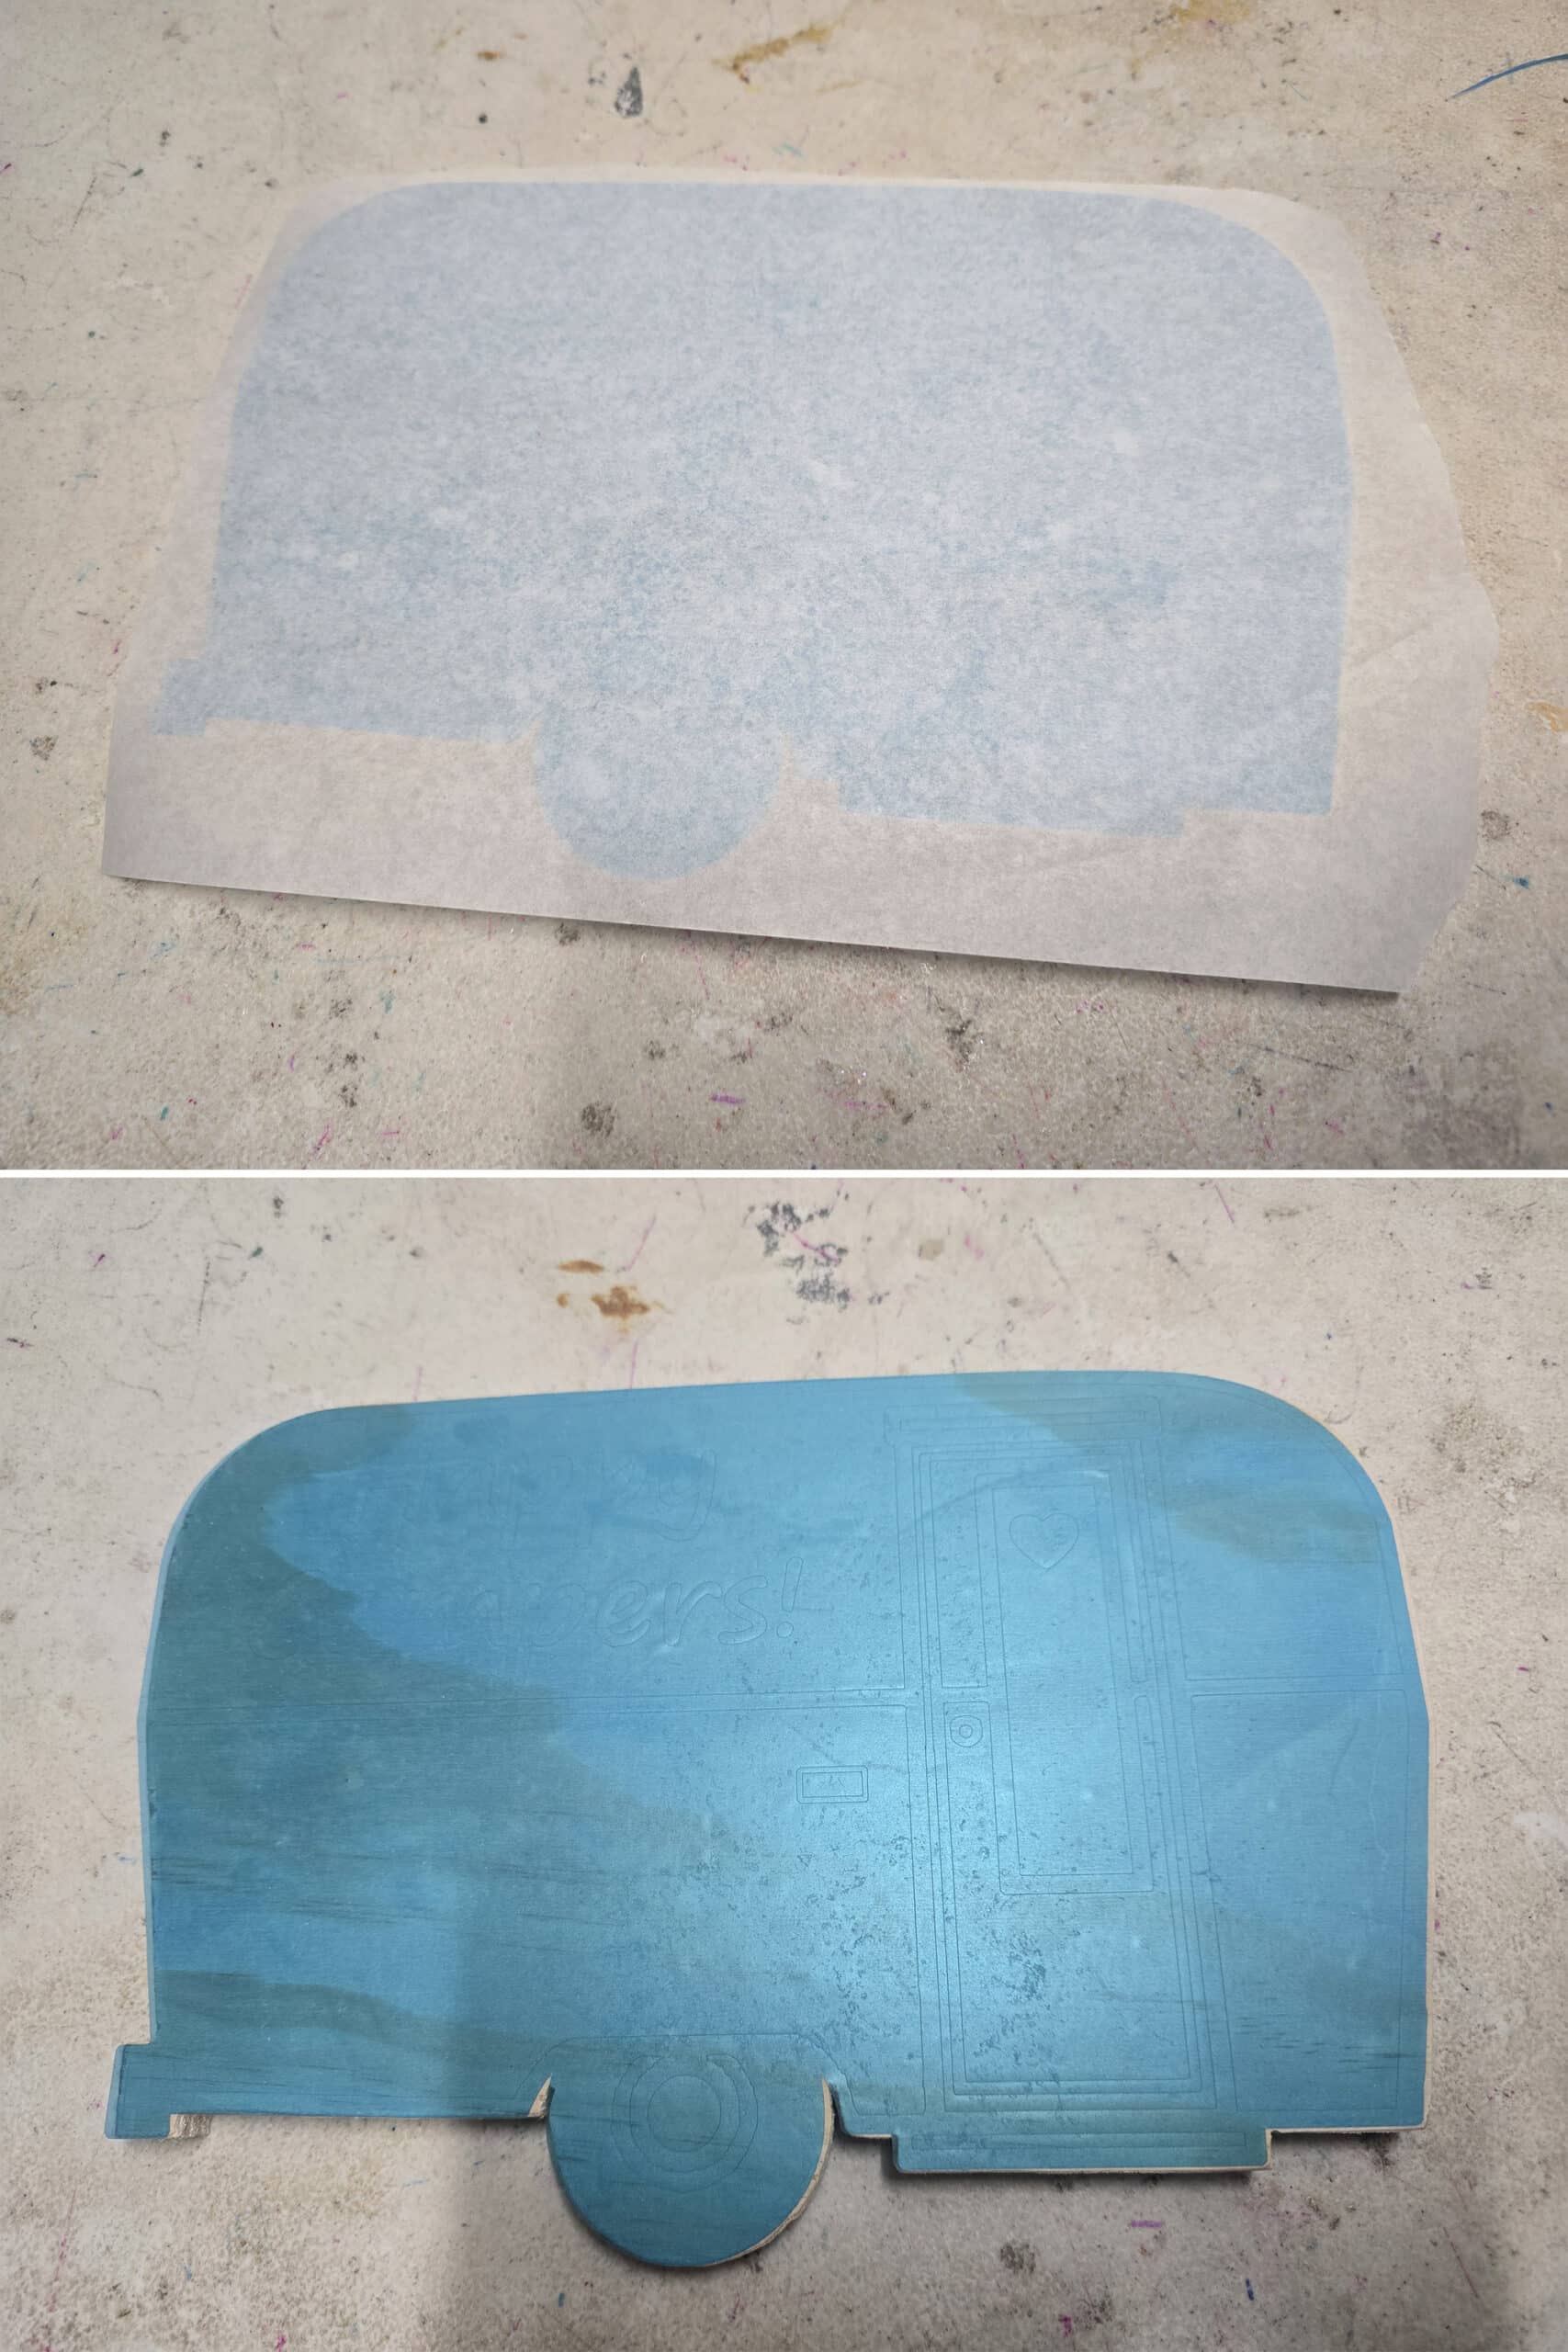
Weed Your Stencil
Using whatever method or tool you prefer, pick the little pieces of design out from your vinyl - these are the areas that will get wood burned in a future step.
Take your time, make sure you get every piece that you want out ... and that you leave everything on the wood, that needs to be on the wood.
Again, the really tiny pieces can easily pull up when you’re not wanting them to!
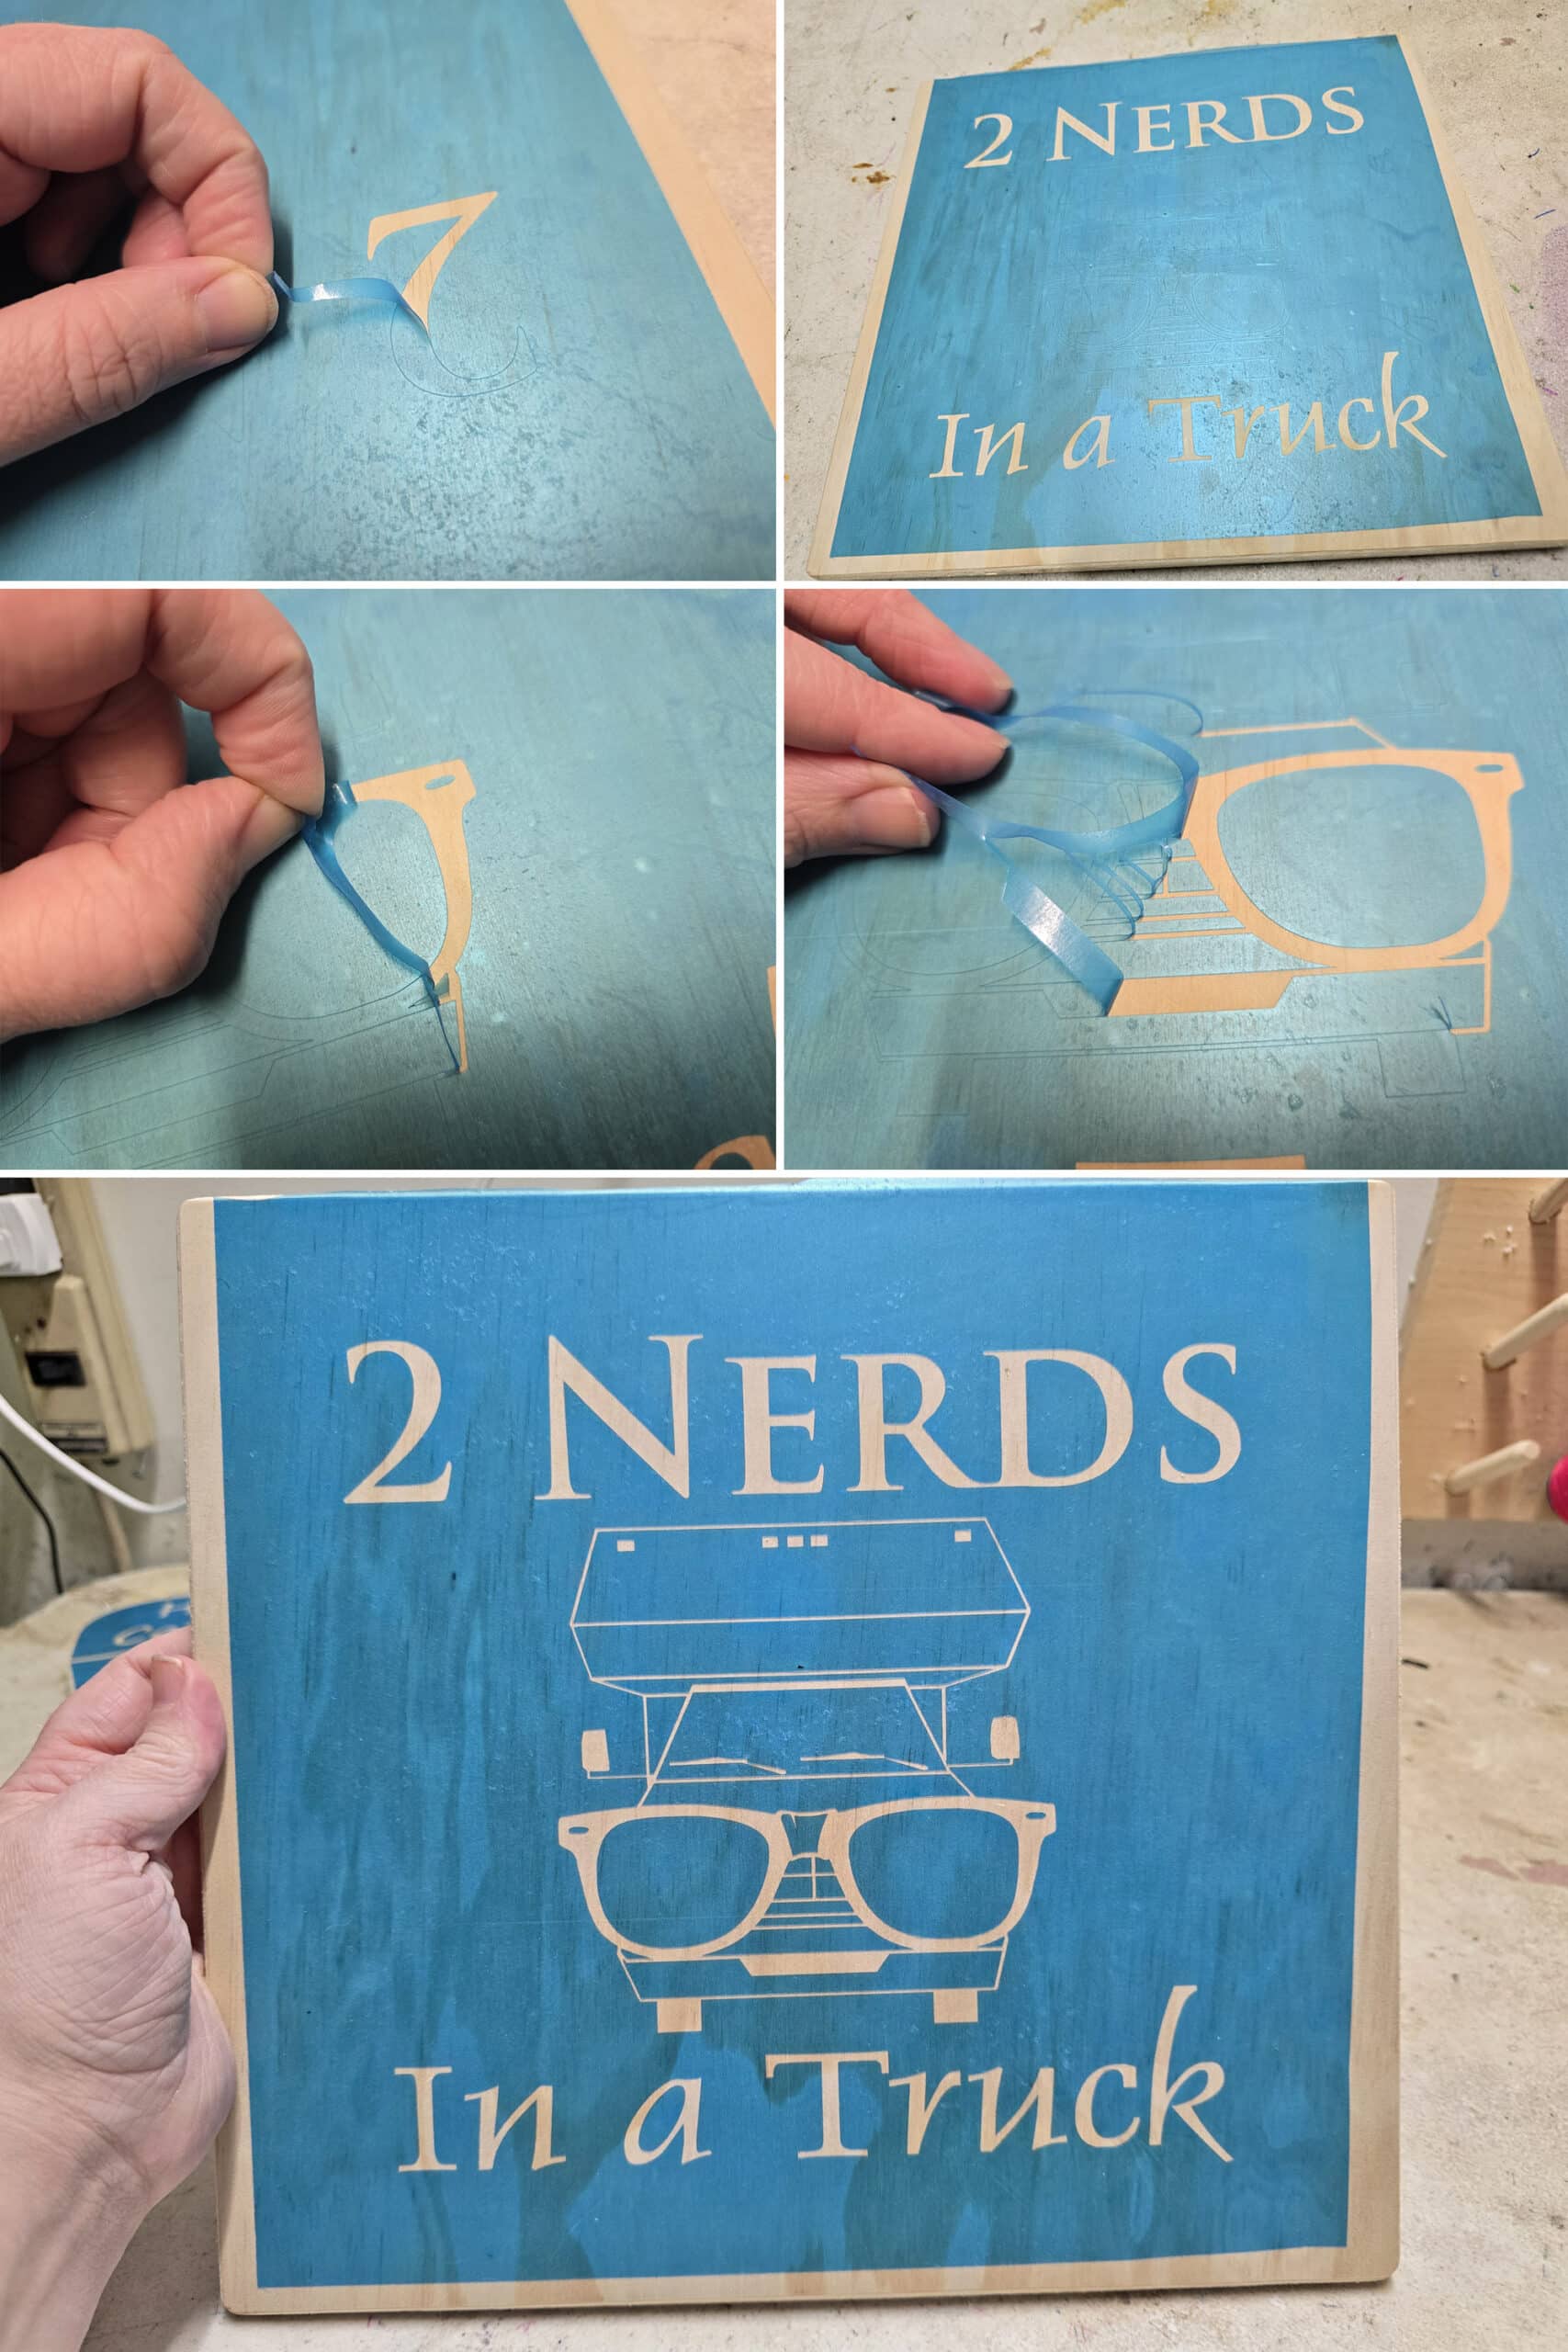
Apply the Torch Paste
Using your squeegee or sponge brush, very carefully apply a THIN layer of torch paste to the cut out sections of your stencil.
A little goes a long way, so don’t load it on!
You want to be sure it’s all coated fully and evenly - right into all of the edges of the stencil - but you don’t want to cram it in, or risk it getting pushed under the stencil.
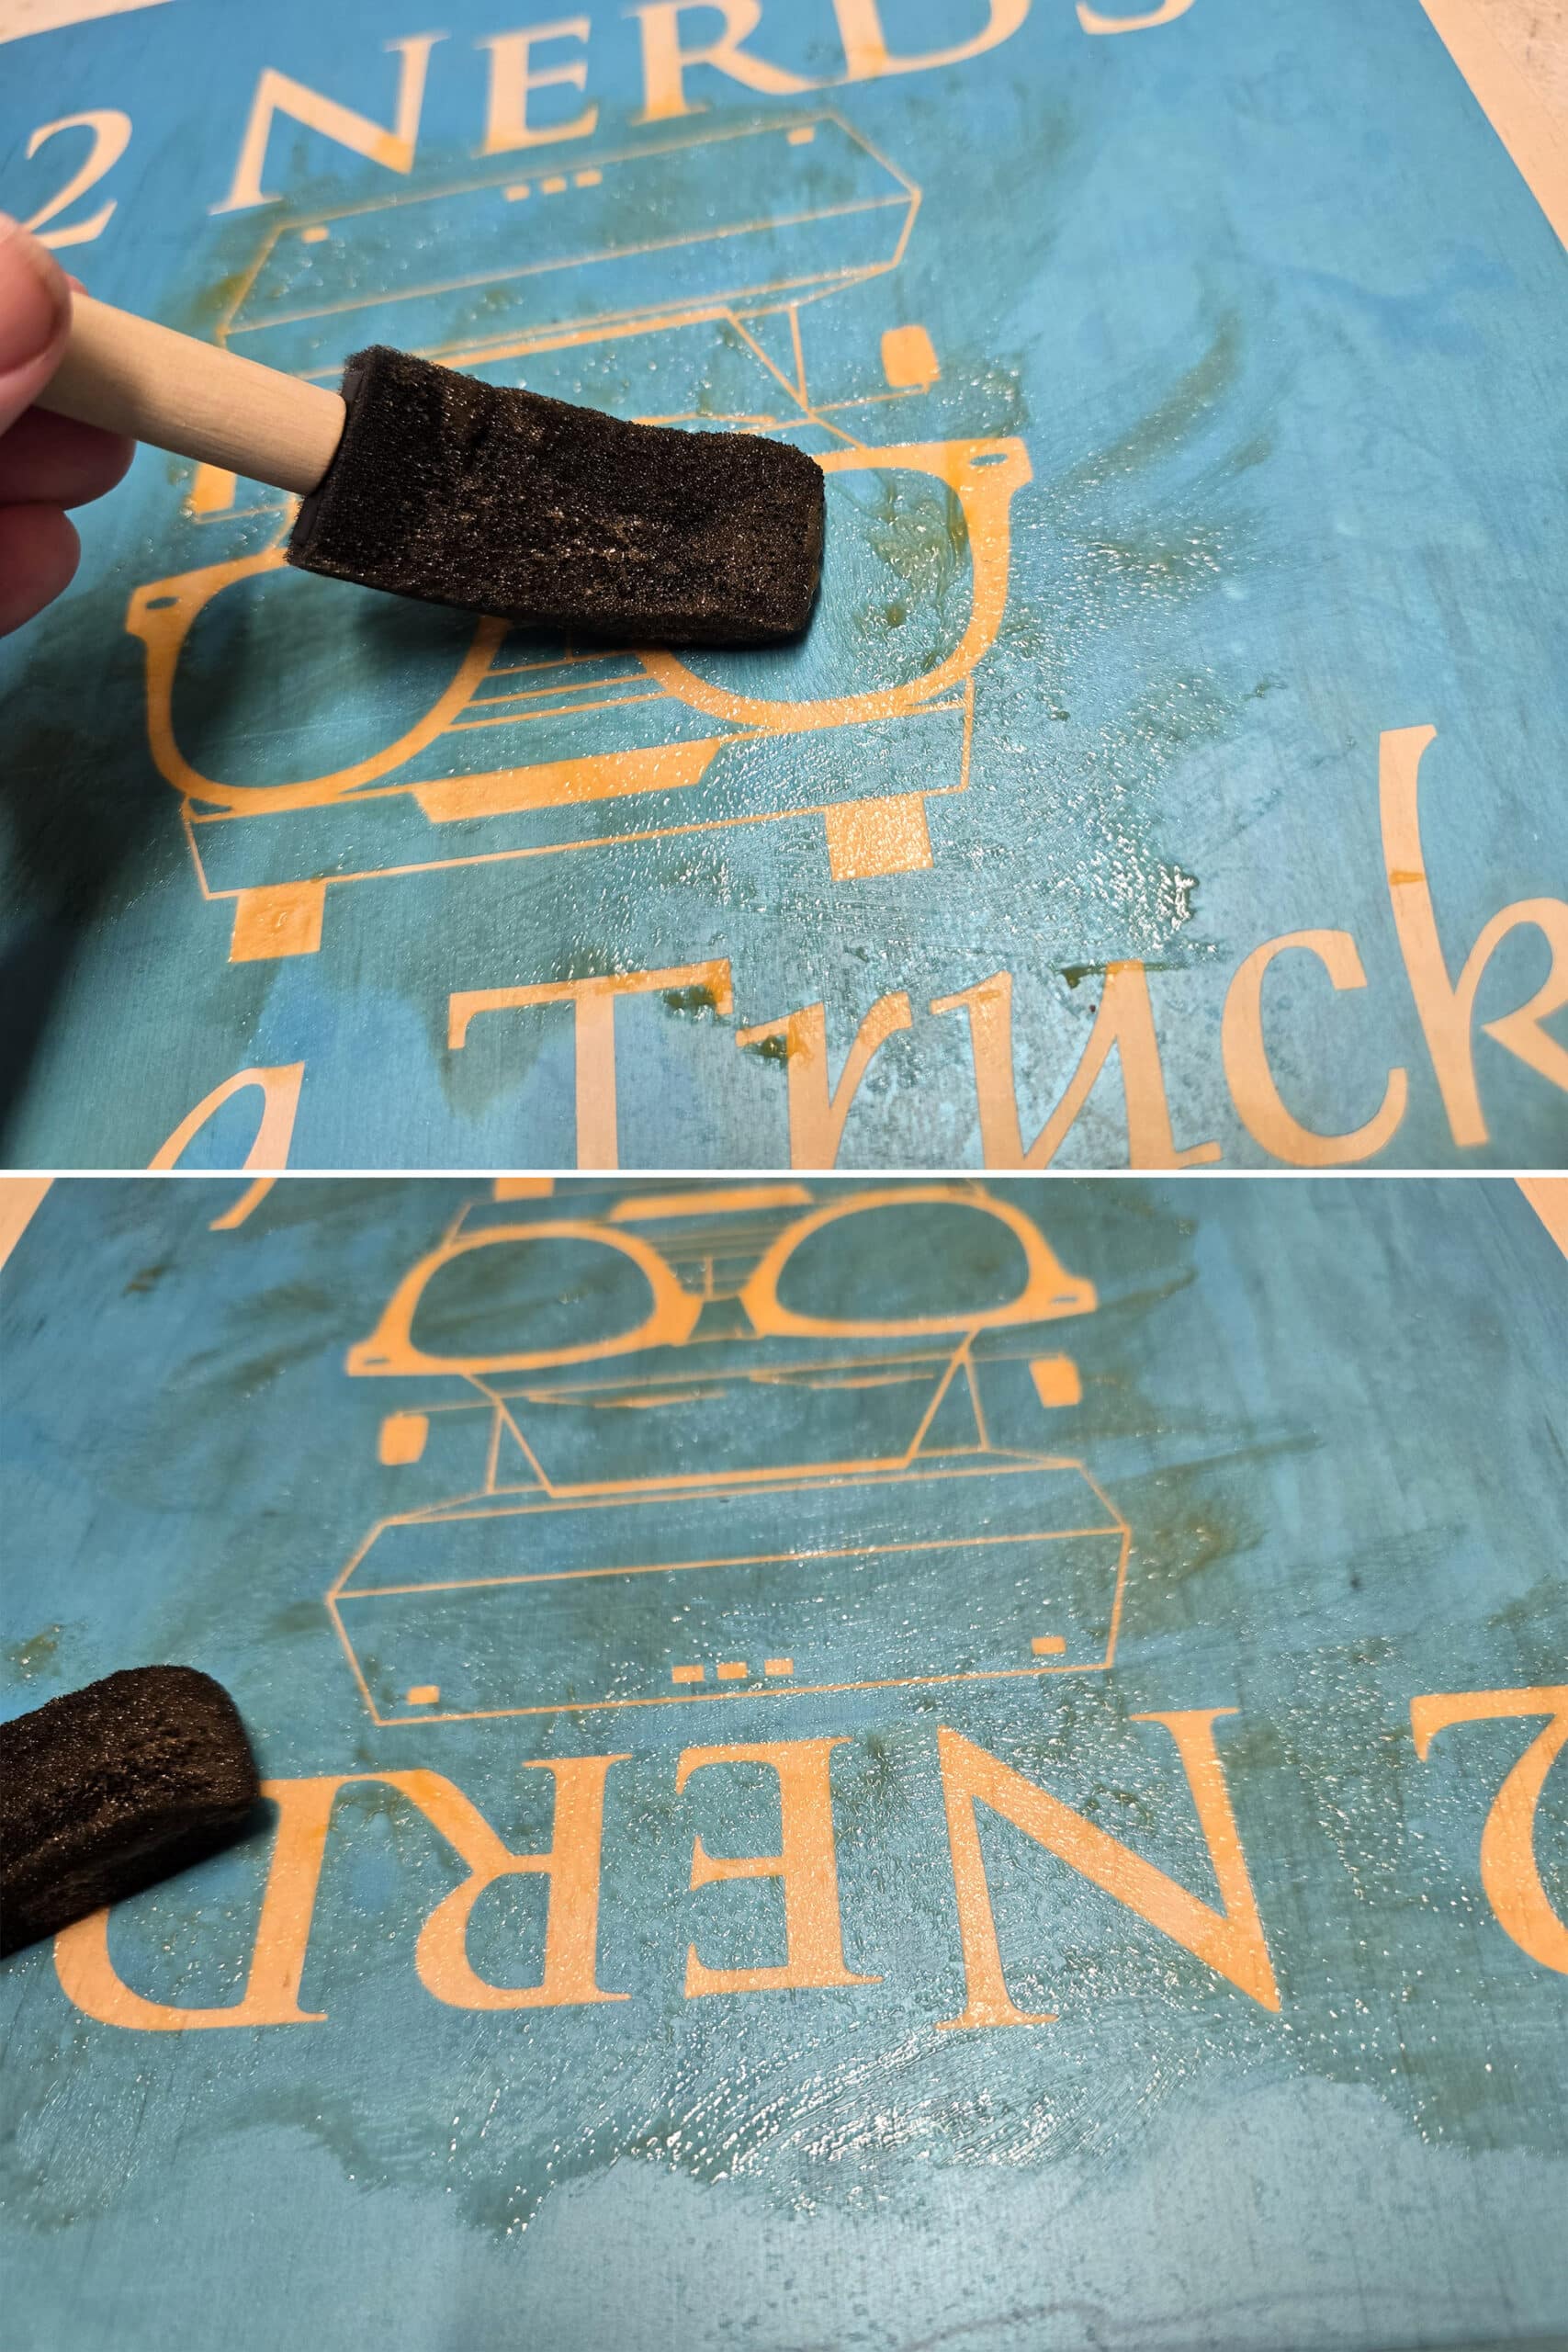
This will help prevent getting it everywhere, when you remove the stencil.
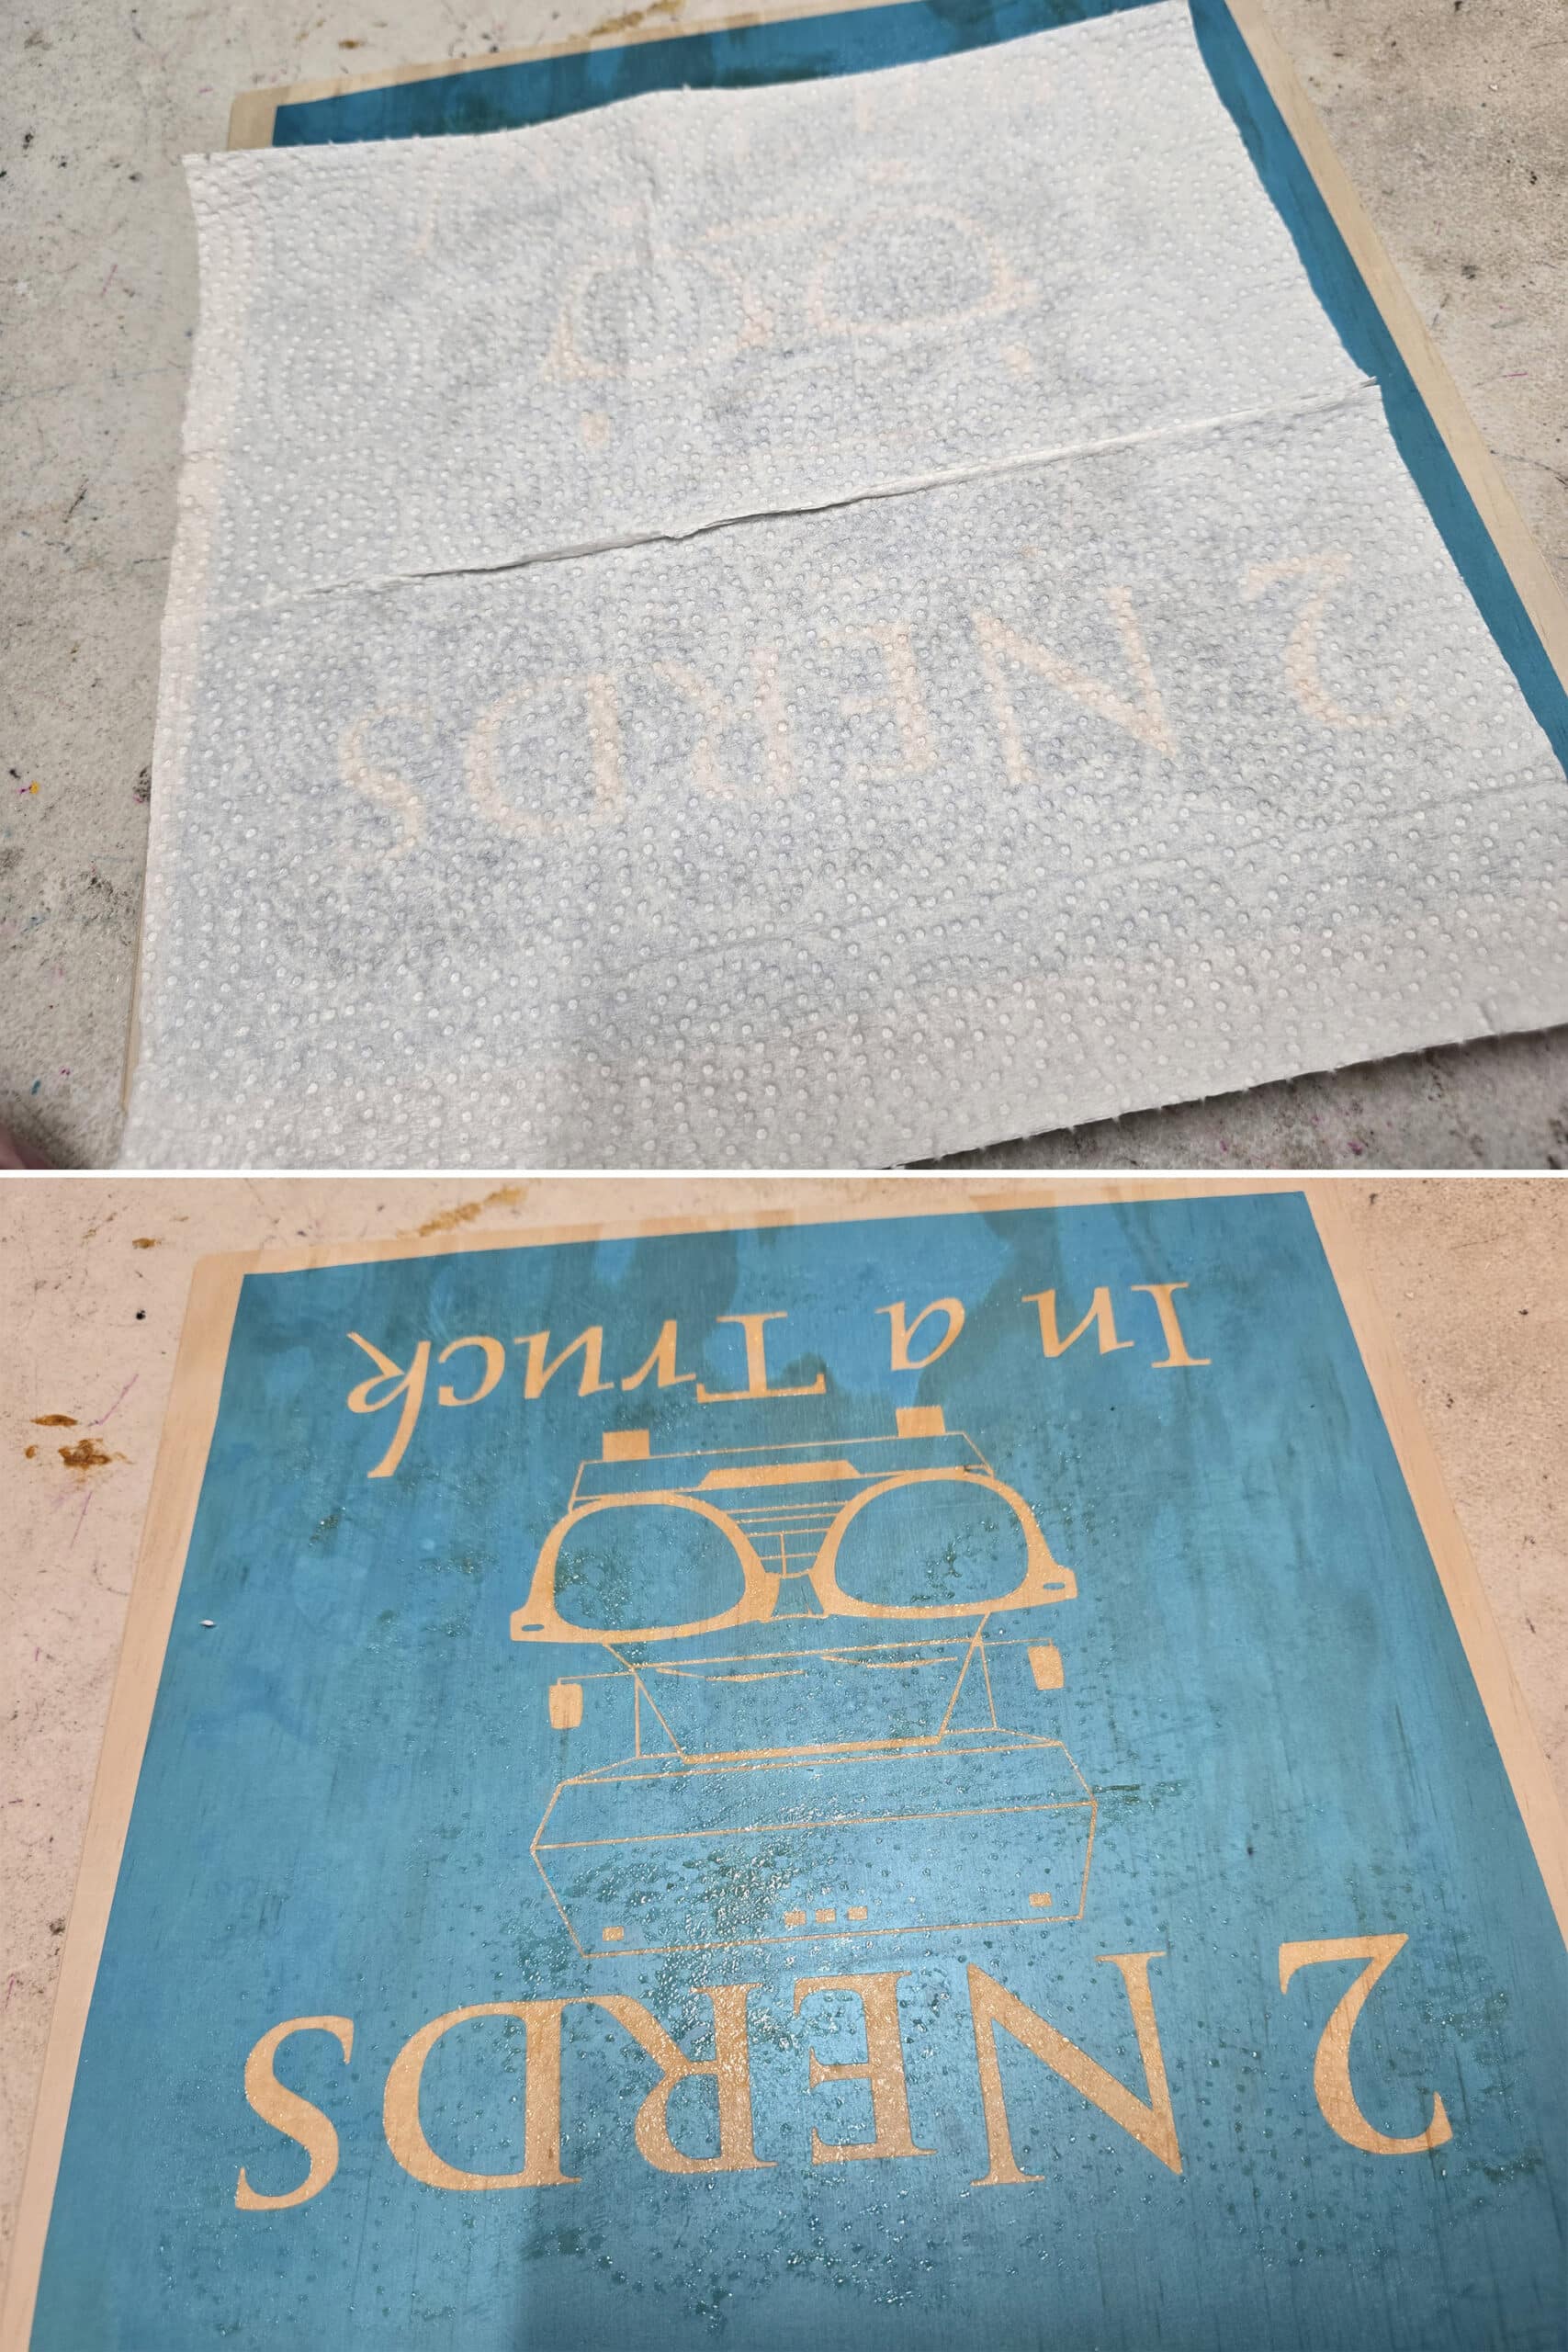
Carefully remove the stencil.
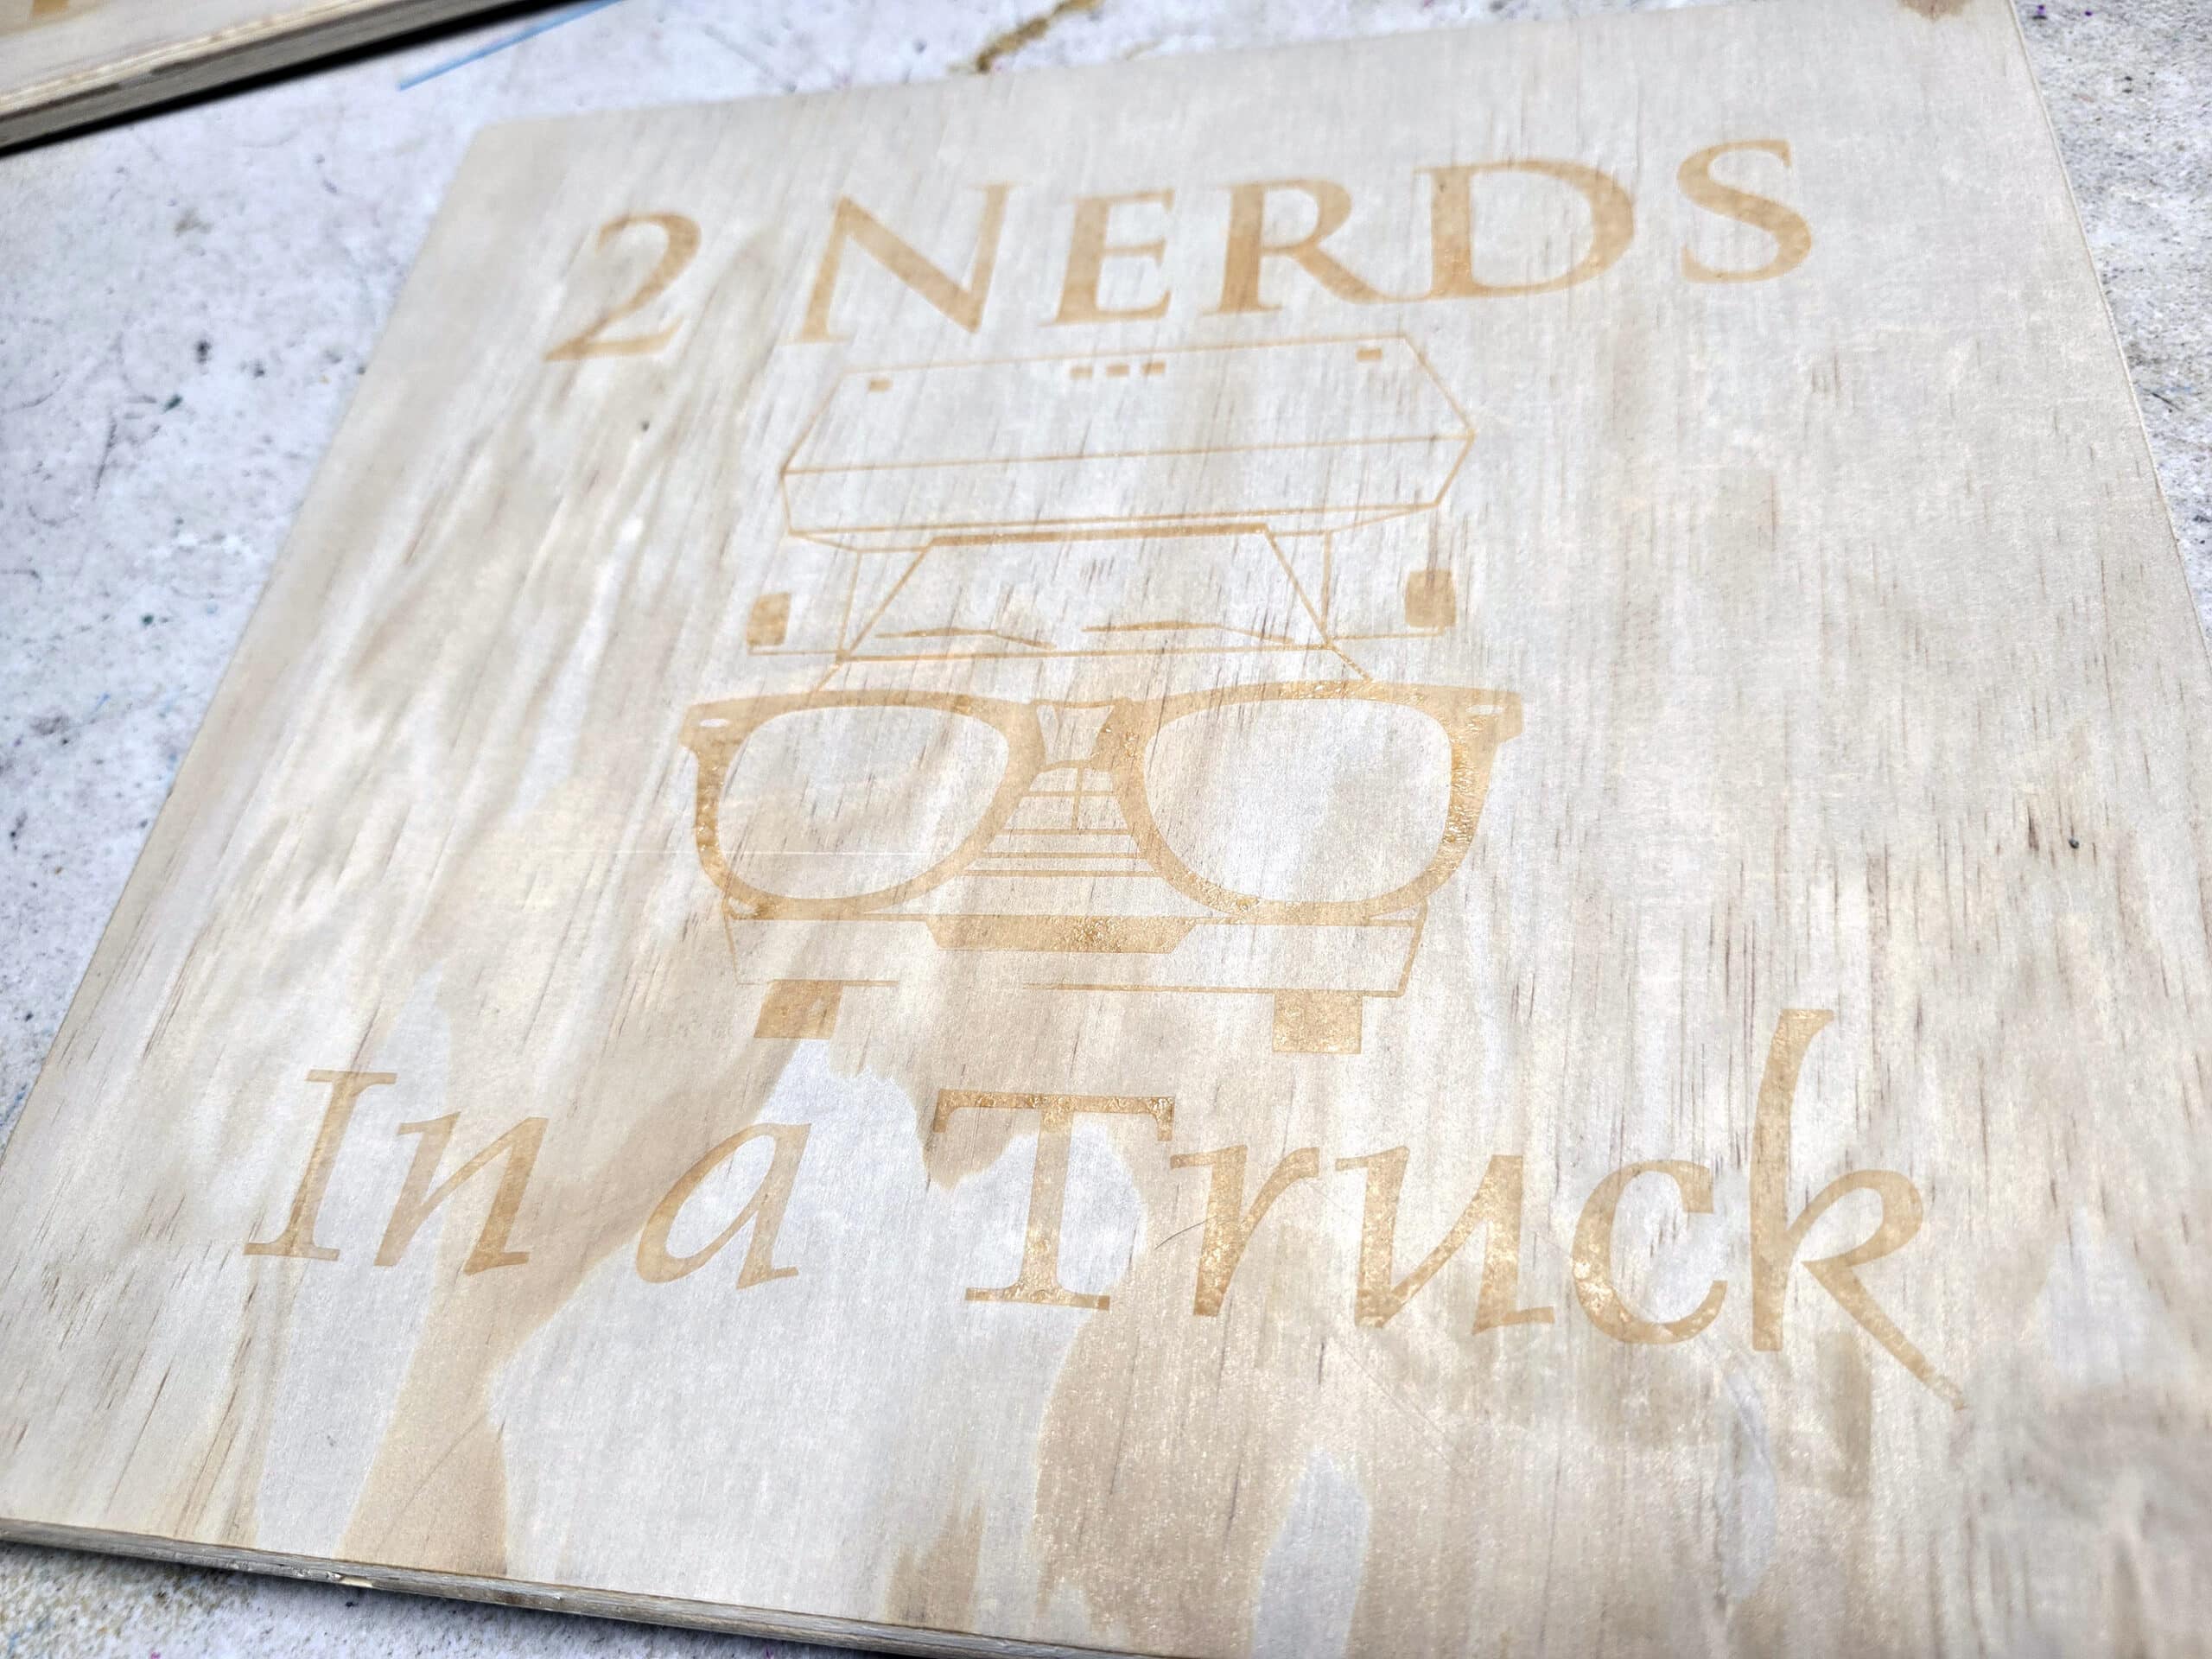
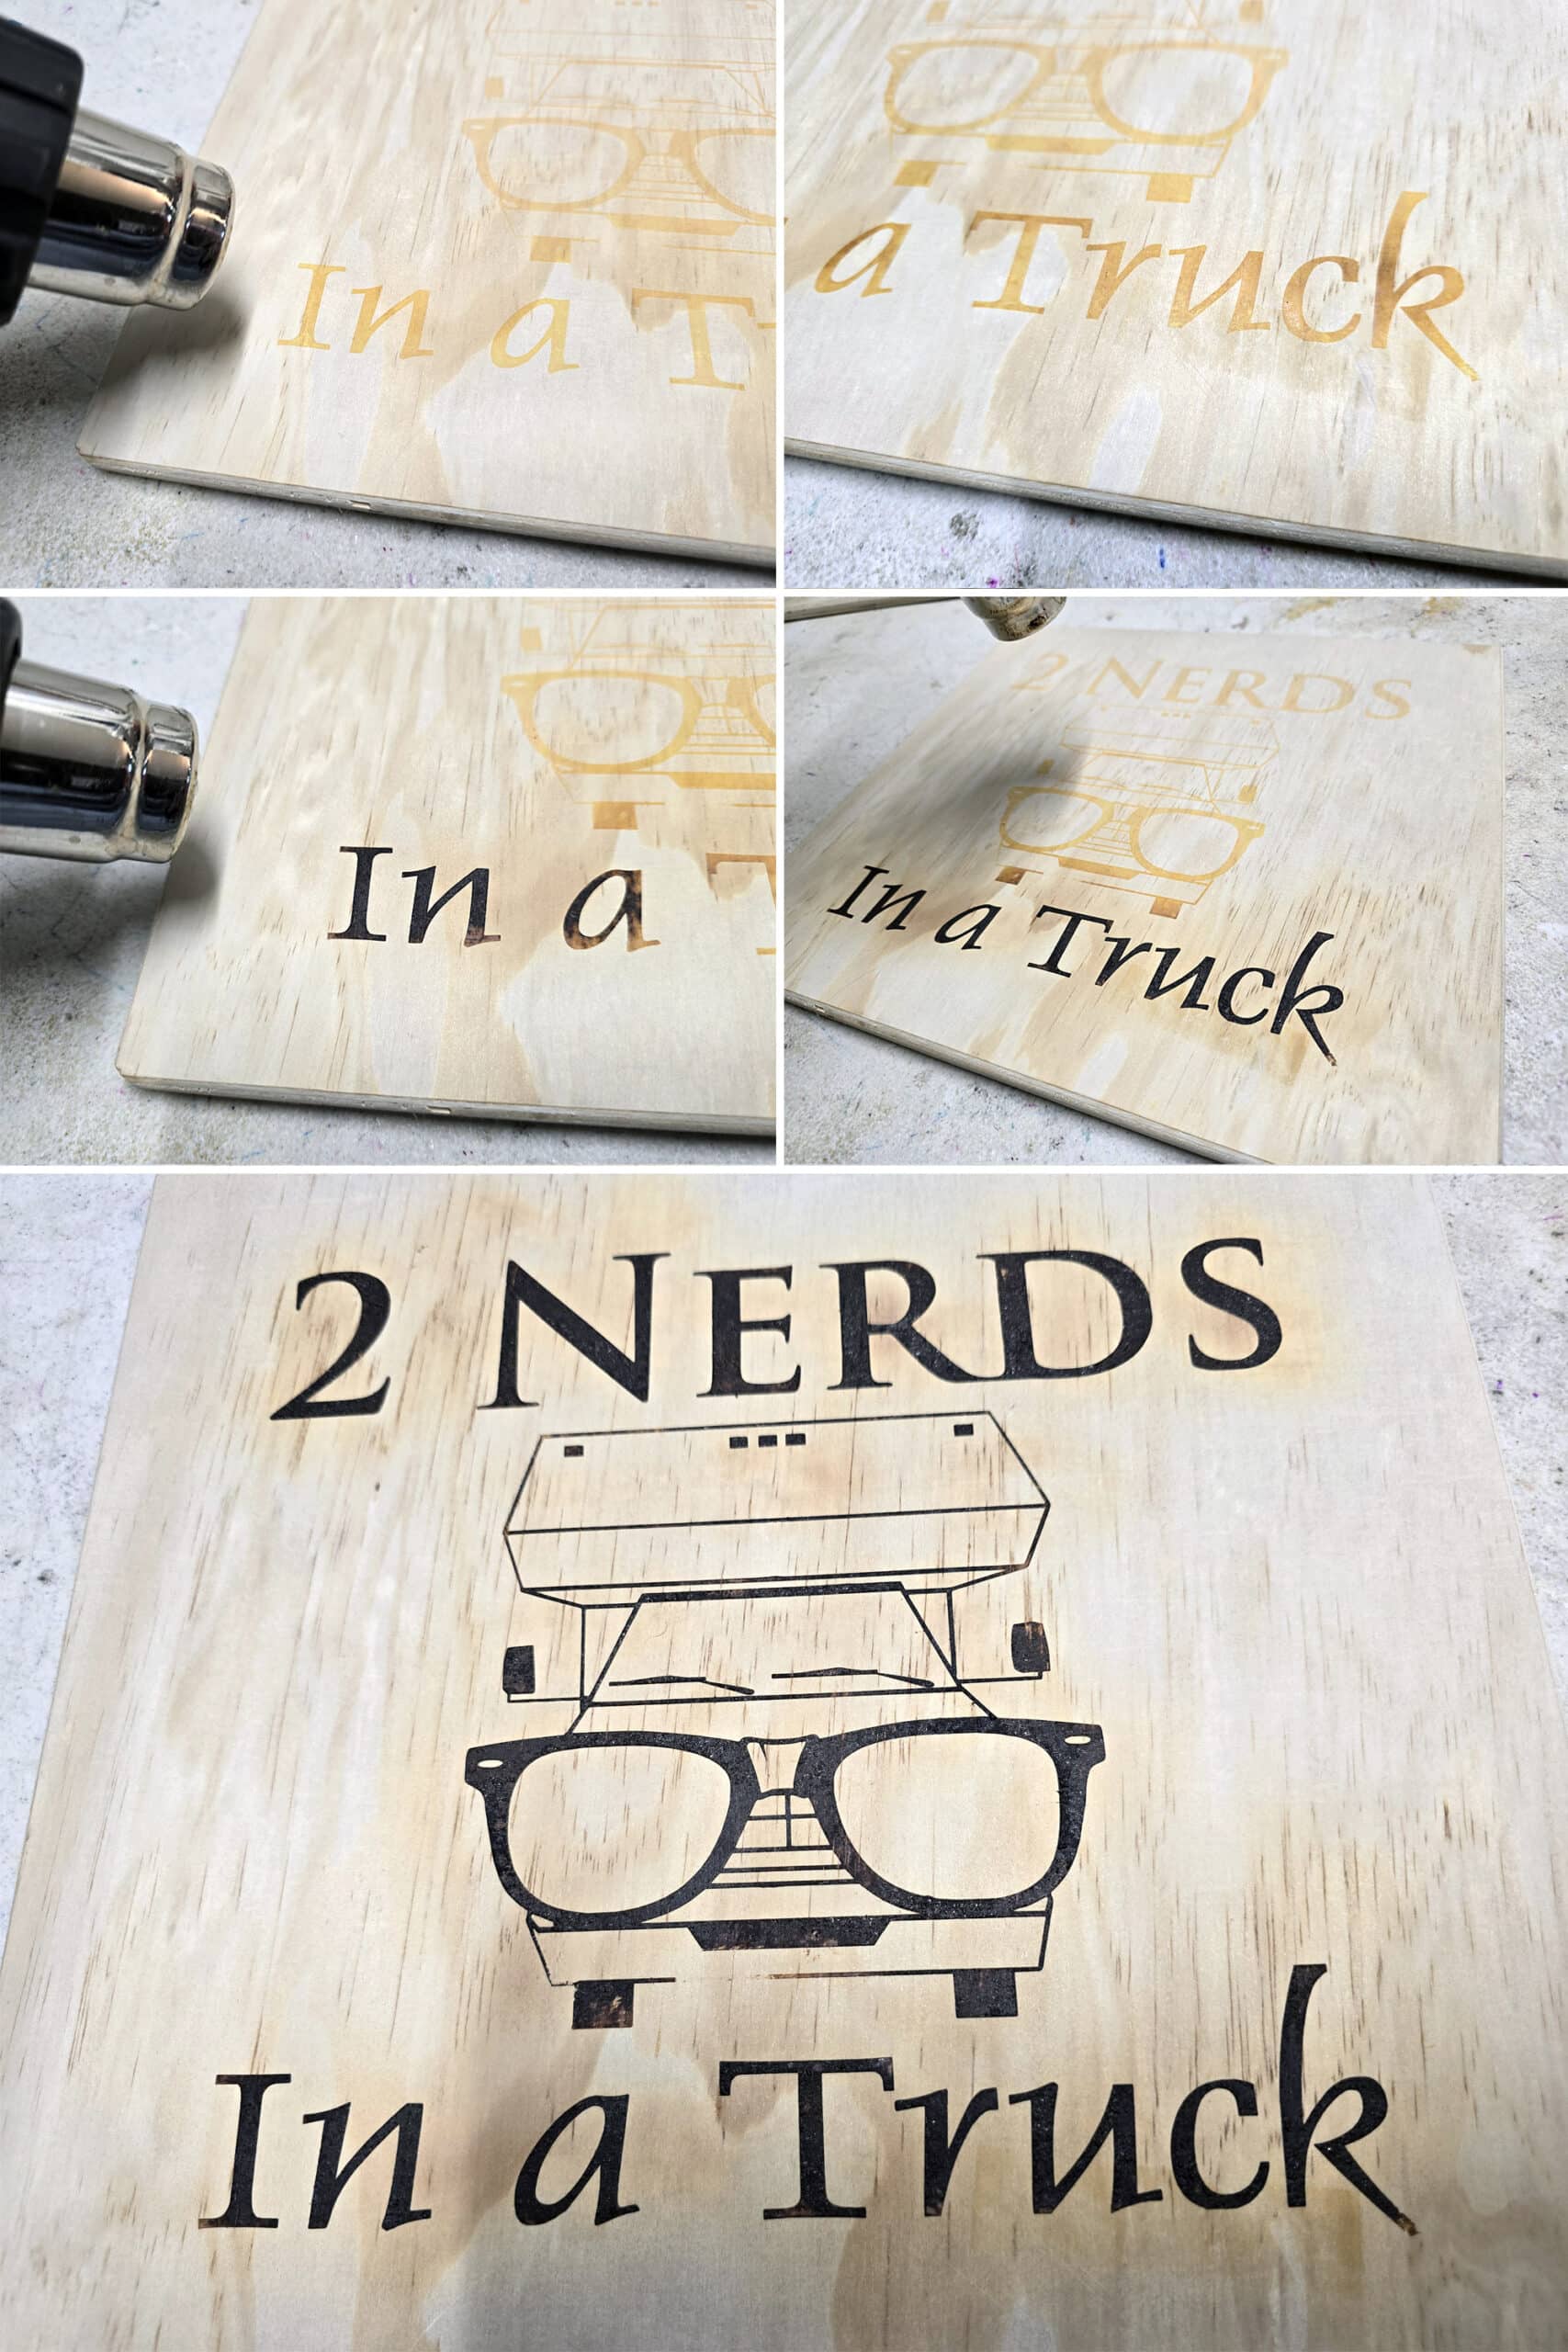
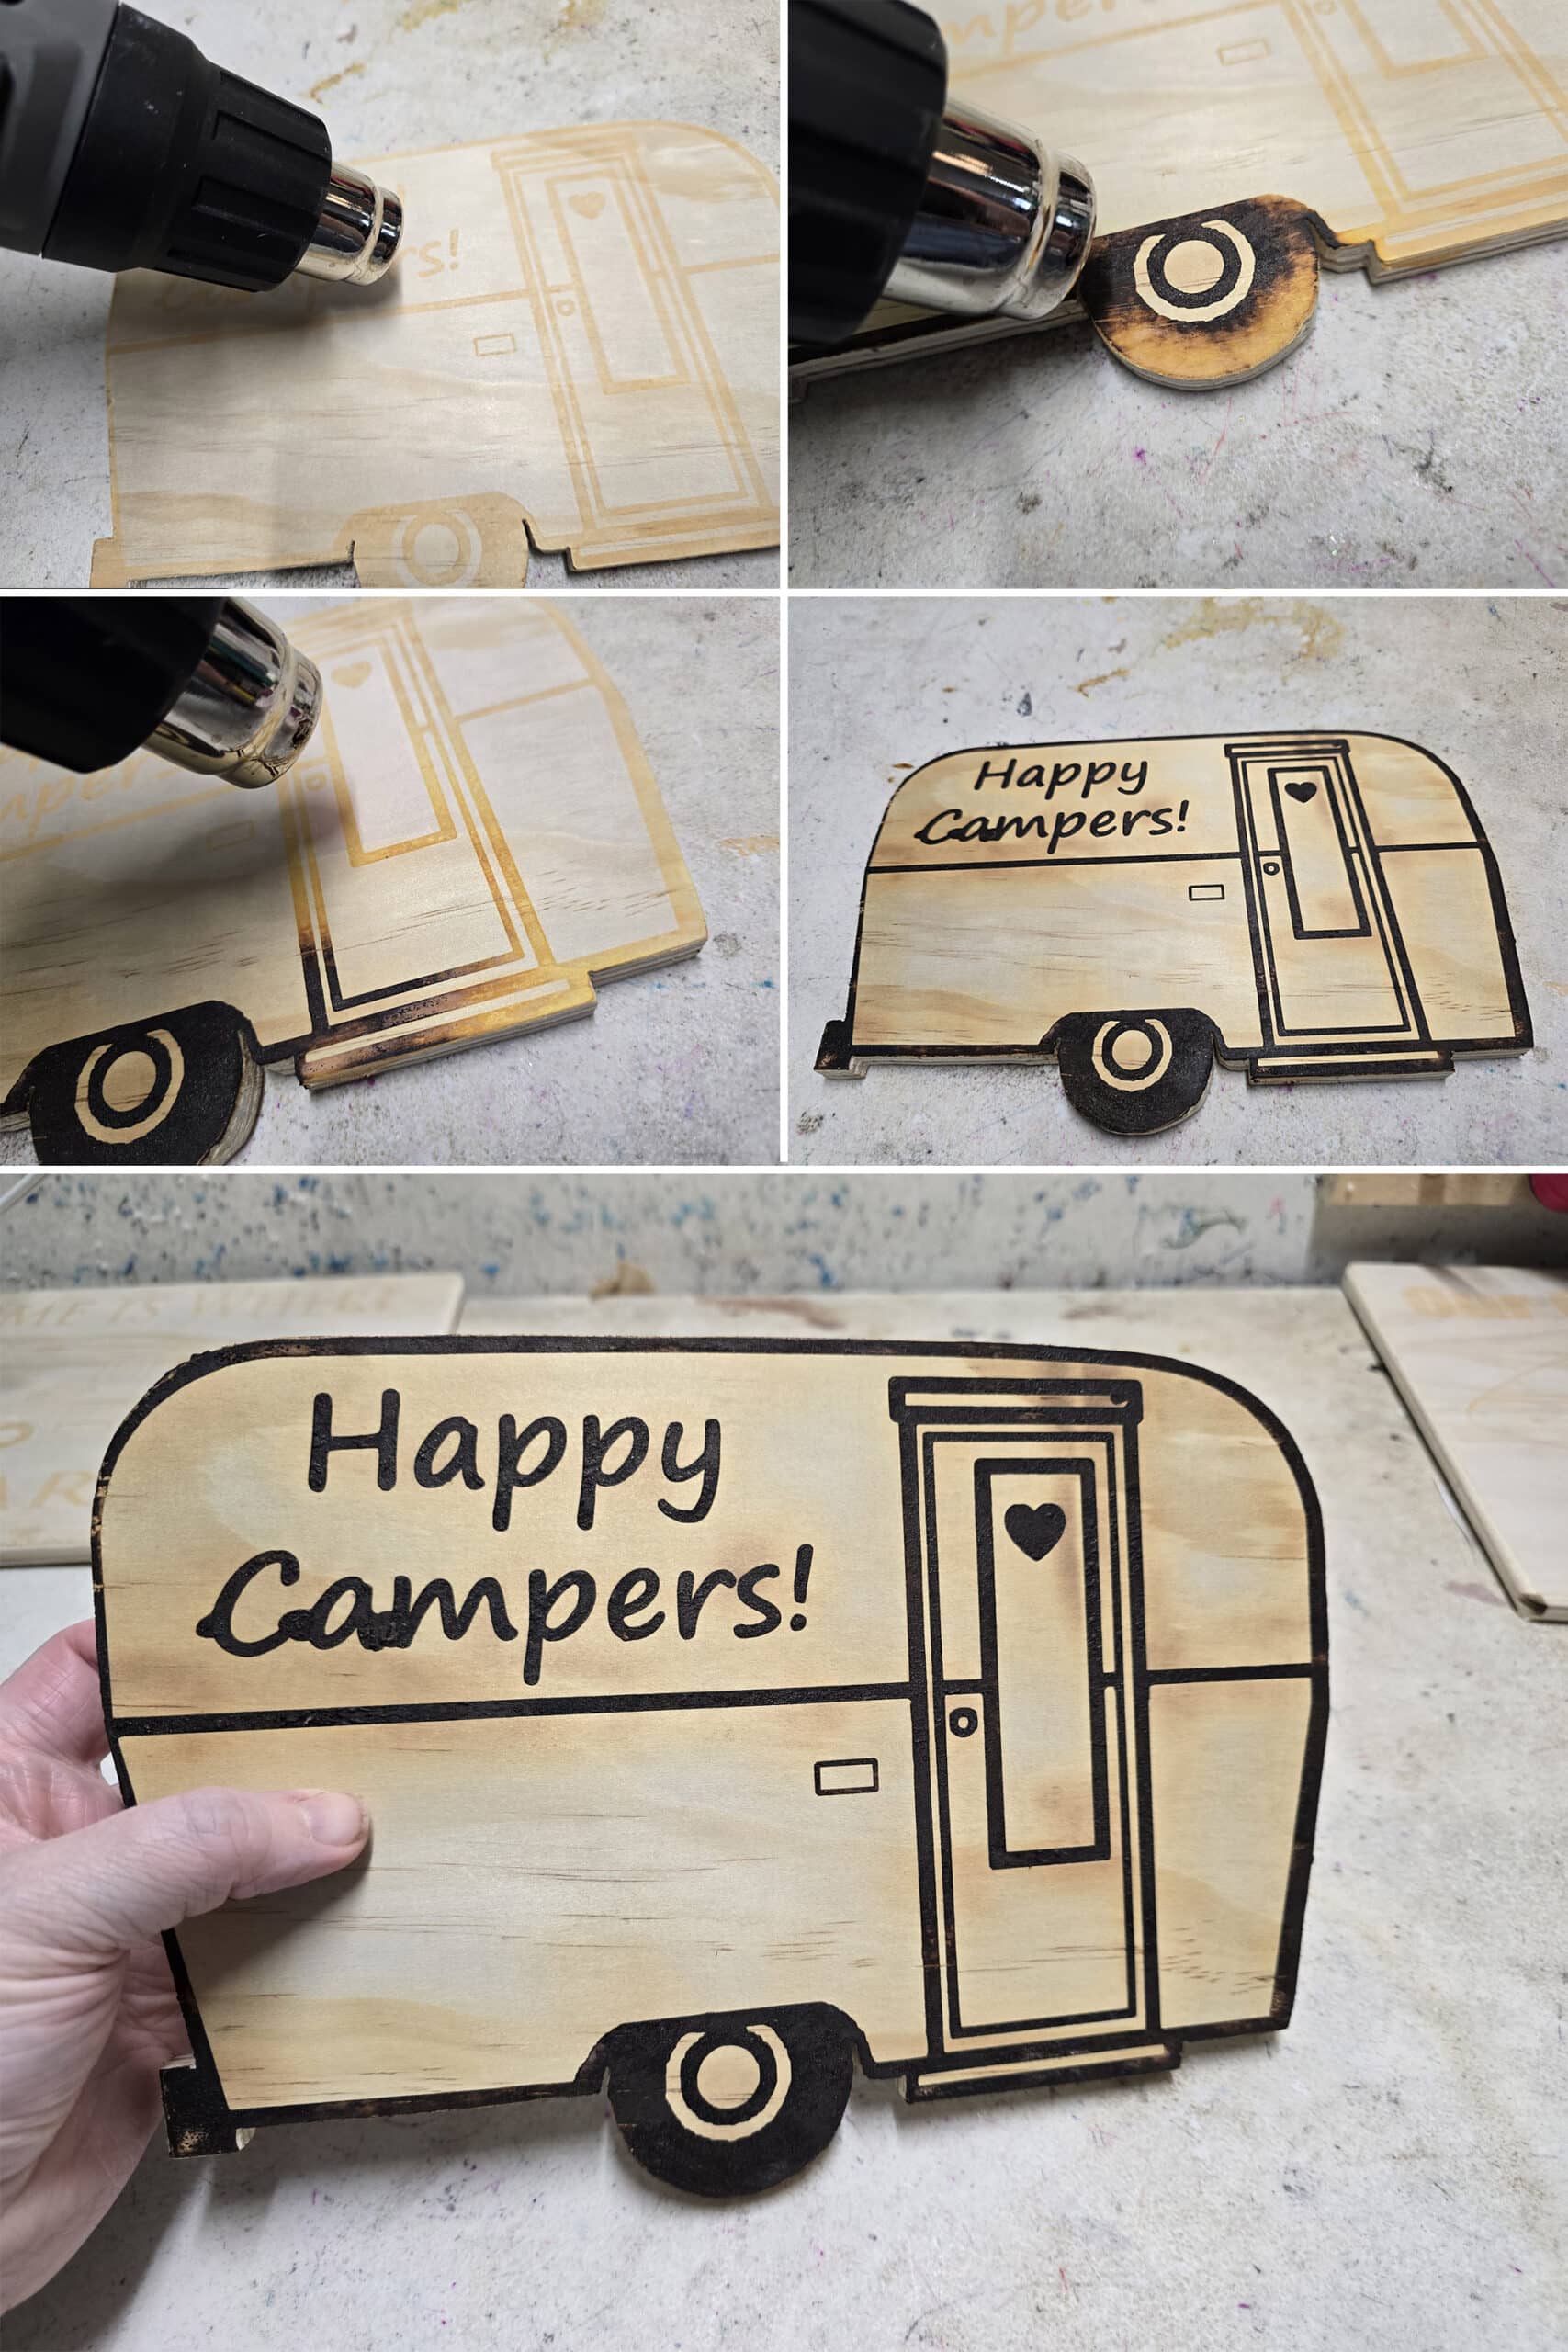
Torch the Camping Sign!
Finally, it’s time to, use your heat gun to burn the design into the wood.
This can take a bit of practice, so I definitely recommend testing it on a scrap piece of the same kind of wood, if at all possible.
You’ll get a feel for how far away you’ll need to be for your particular type of wood / gel, to burn the design WITHOUT scorching outside of the design.
In general, you’ll want to hold your heat gun a few inches away, and slowly wave it back and forth over the paste design. Holding it in one place for too long is a great way to burn areas you DON’T mean to!
As the paste heats up, it’ll bubble, turn darker orange/brown, then burn to a nice dark brown-black colour.
As you’re happy with one area, continue on to the next, until the whole design is burned in to the degree you’re looking for.
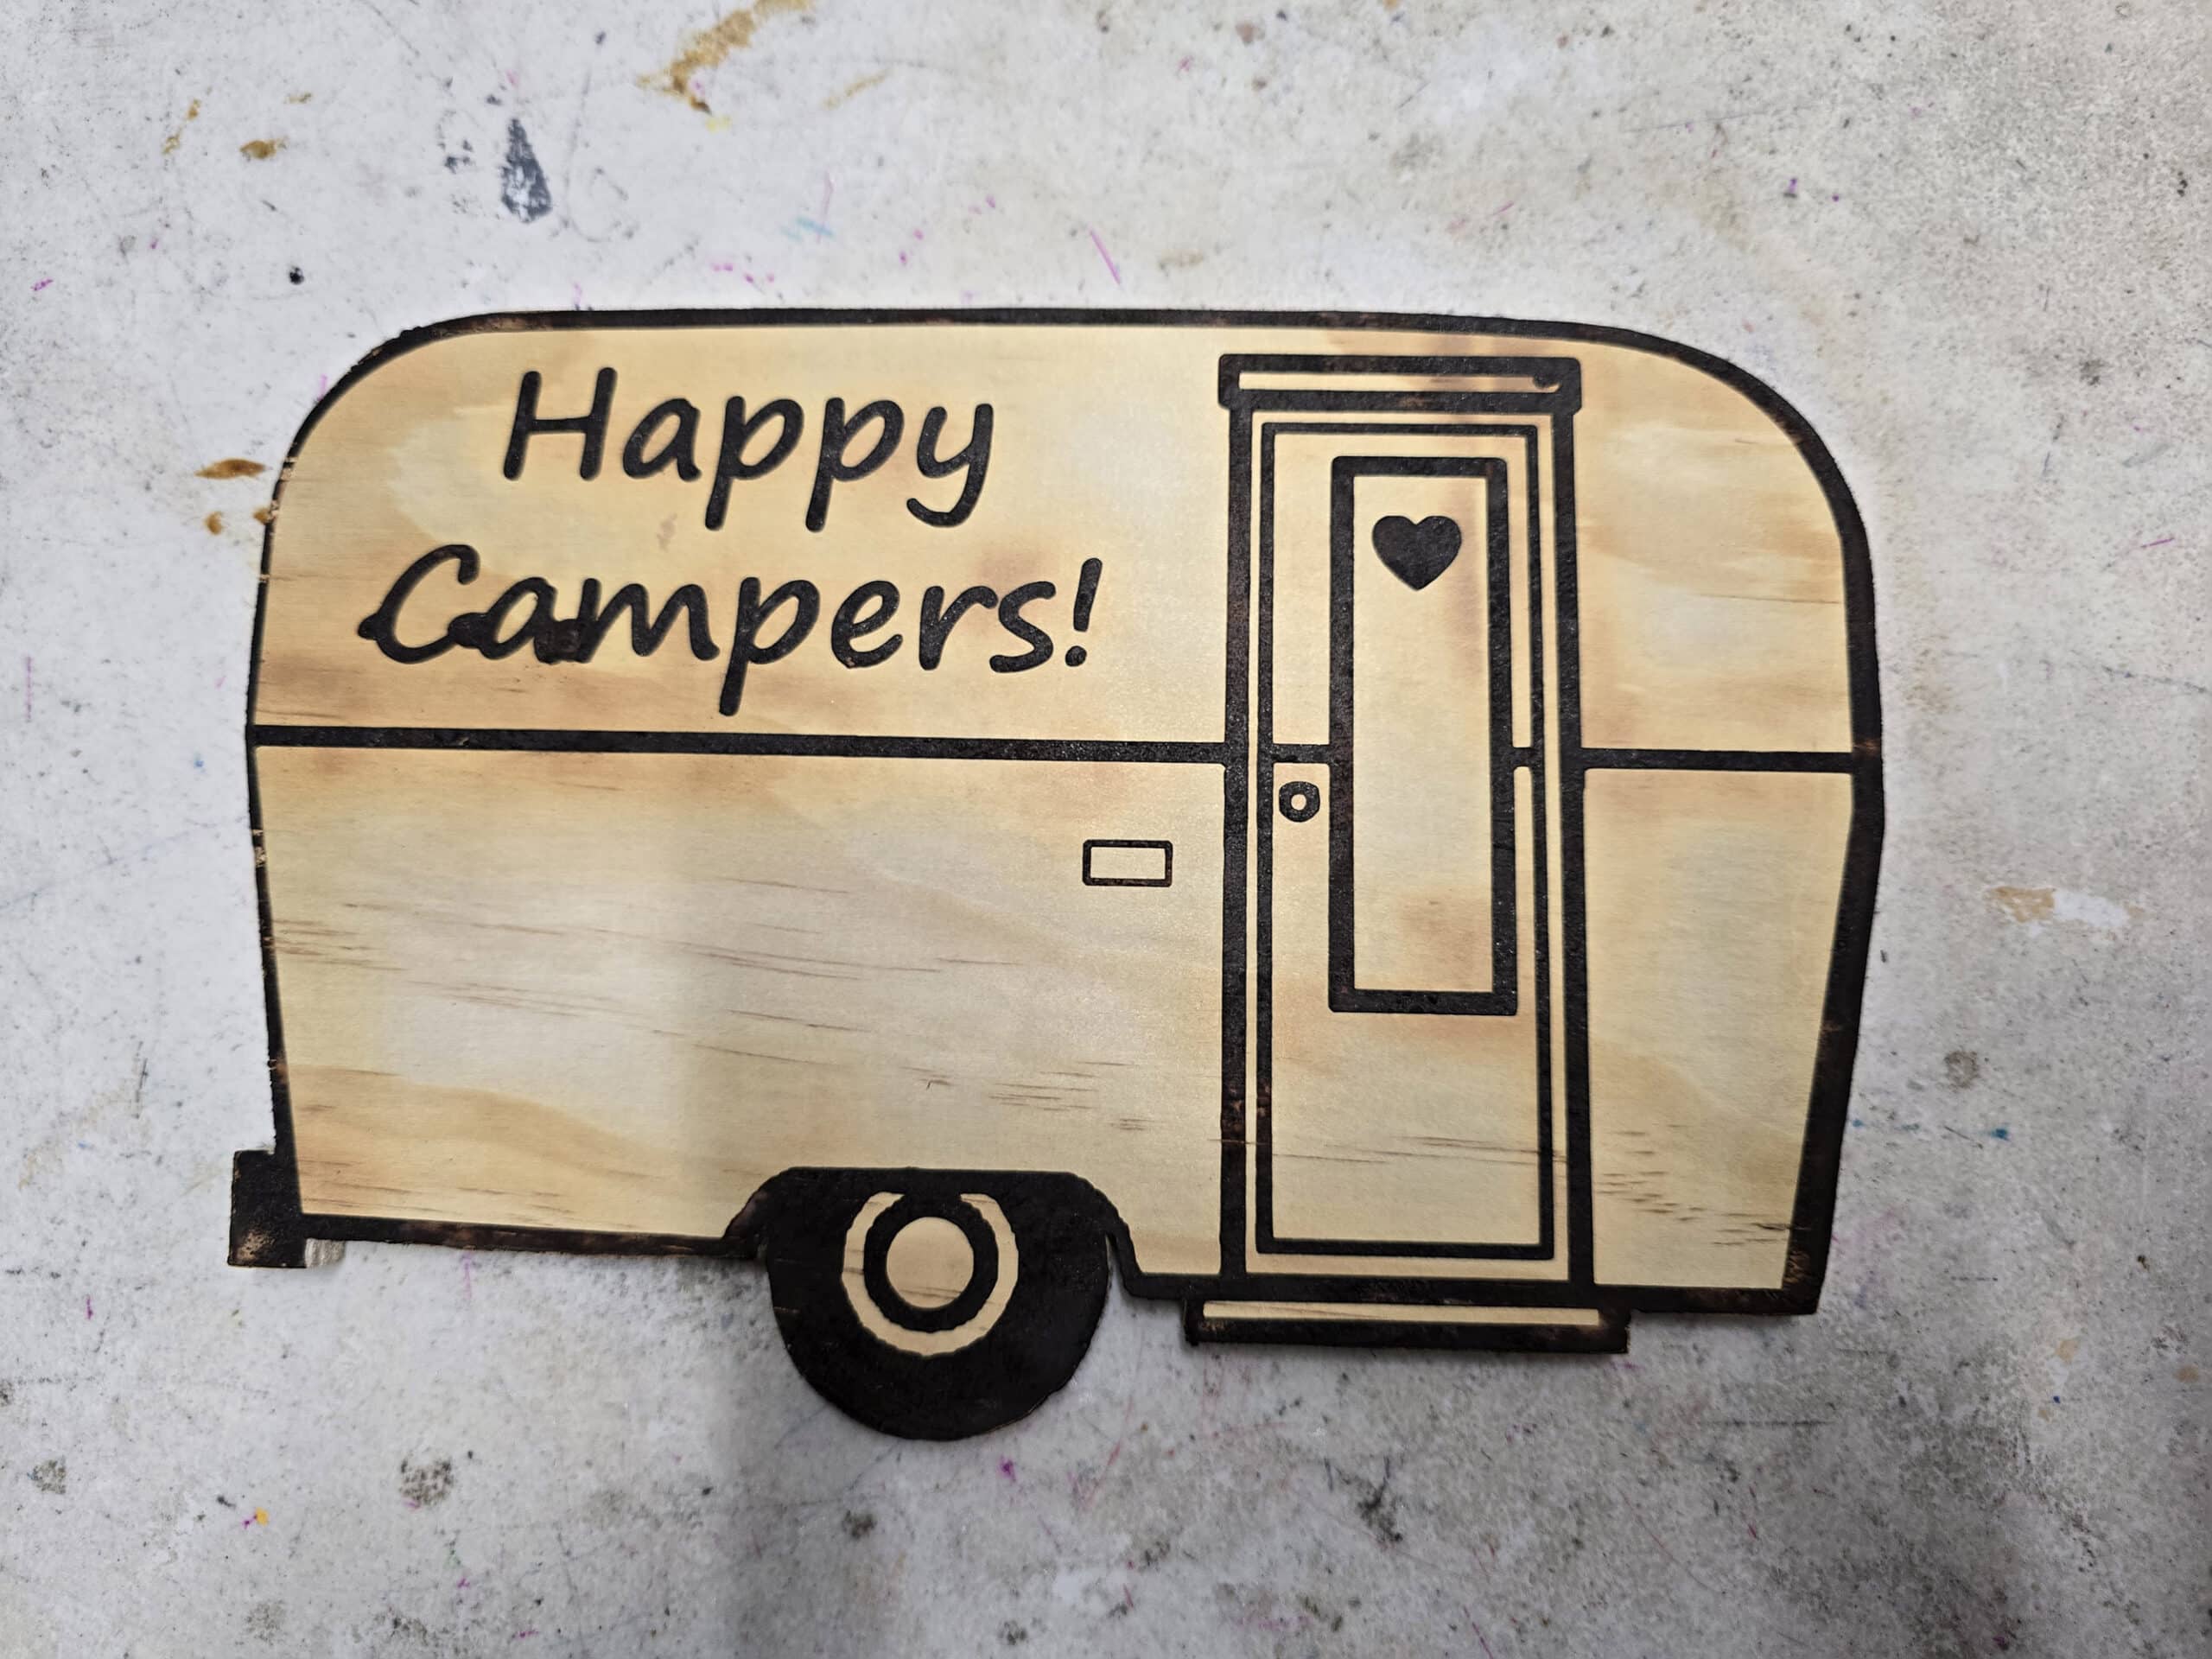
Finish the Sign
Once you’re happy with the wood burned design, you can finish off the sign any way you want.
Maybe you want to paint some colourful accents, with acrylic paints, or add hanging hardware, etc.
Wood burned signs can be finished with a clear varnish, for added protection from the elements.
Then, just display it proudly!
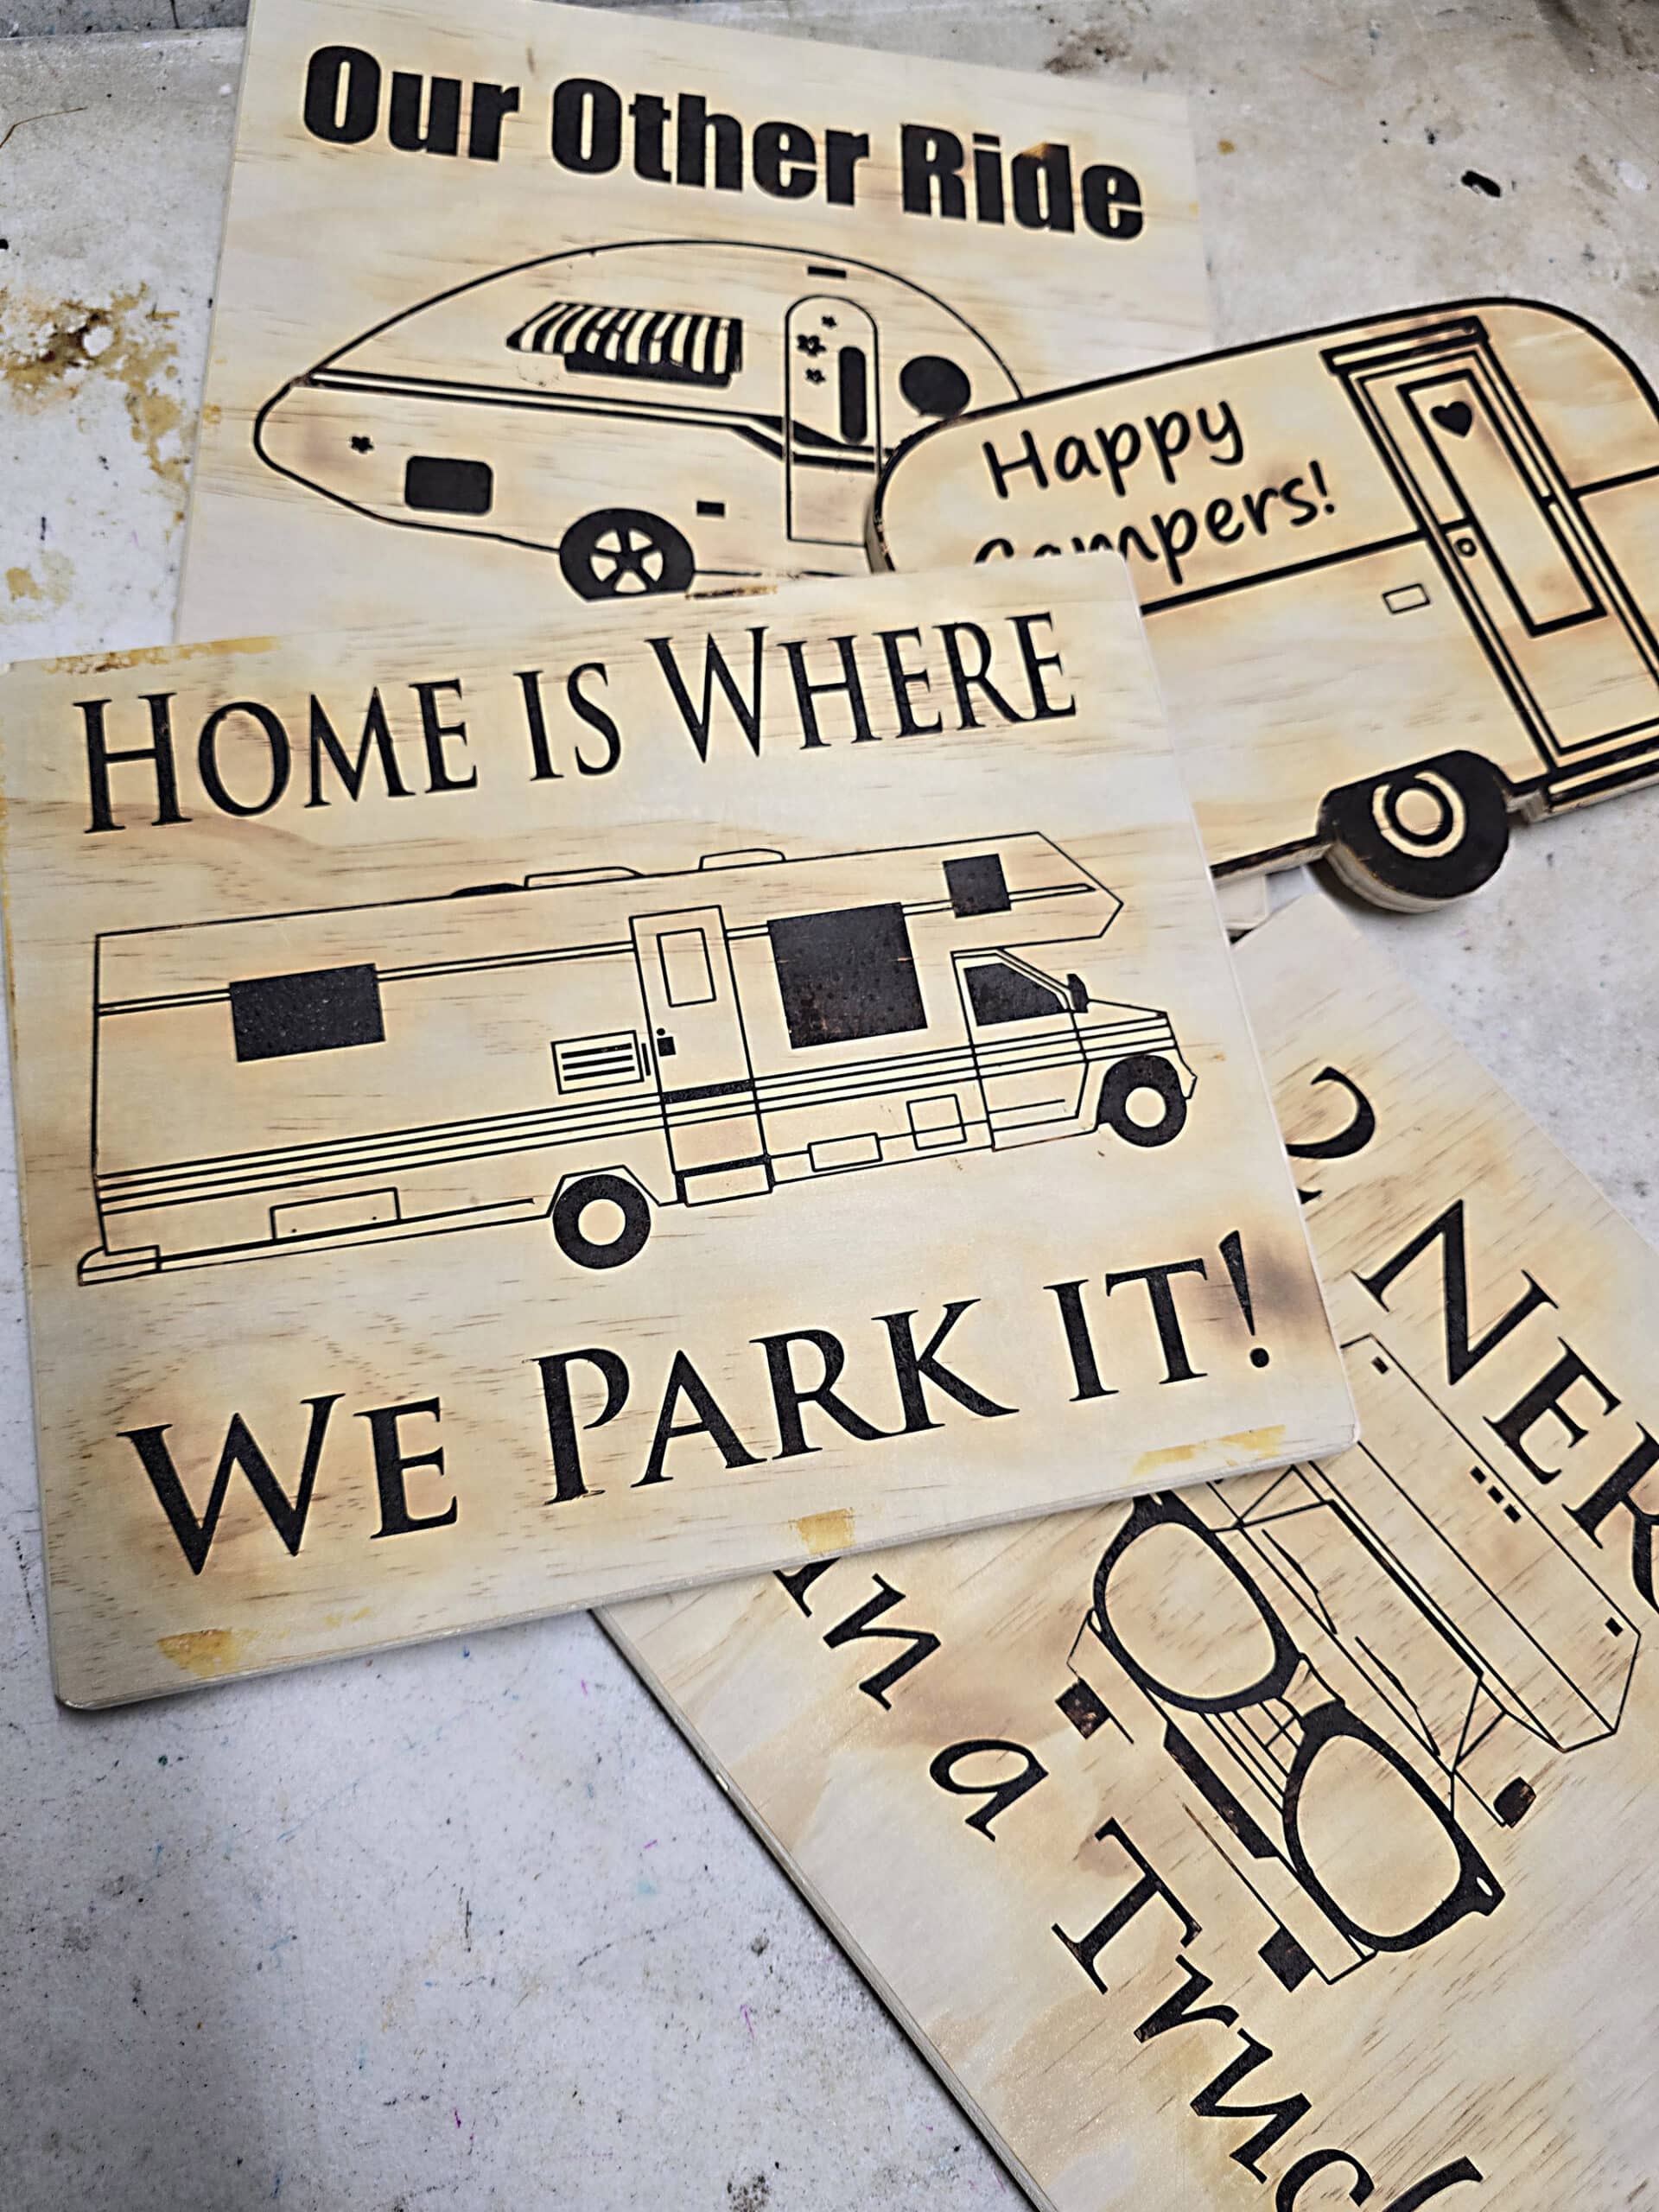
How to Make a Custom Shaped Camping Sign
Now that you know the basics, I’ll walk you through how we made the sign that’s shaped like a camper.
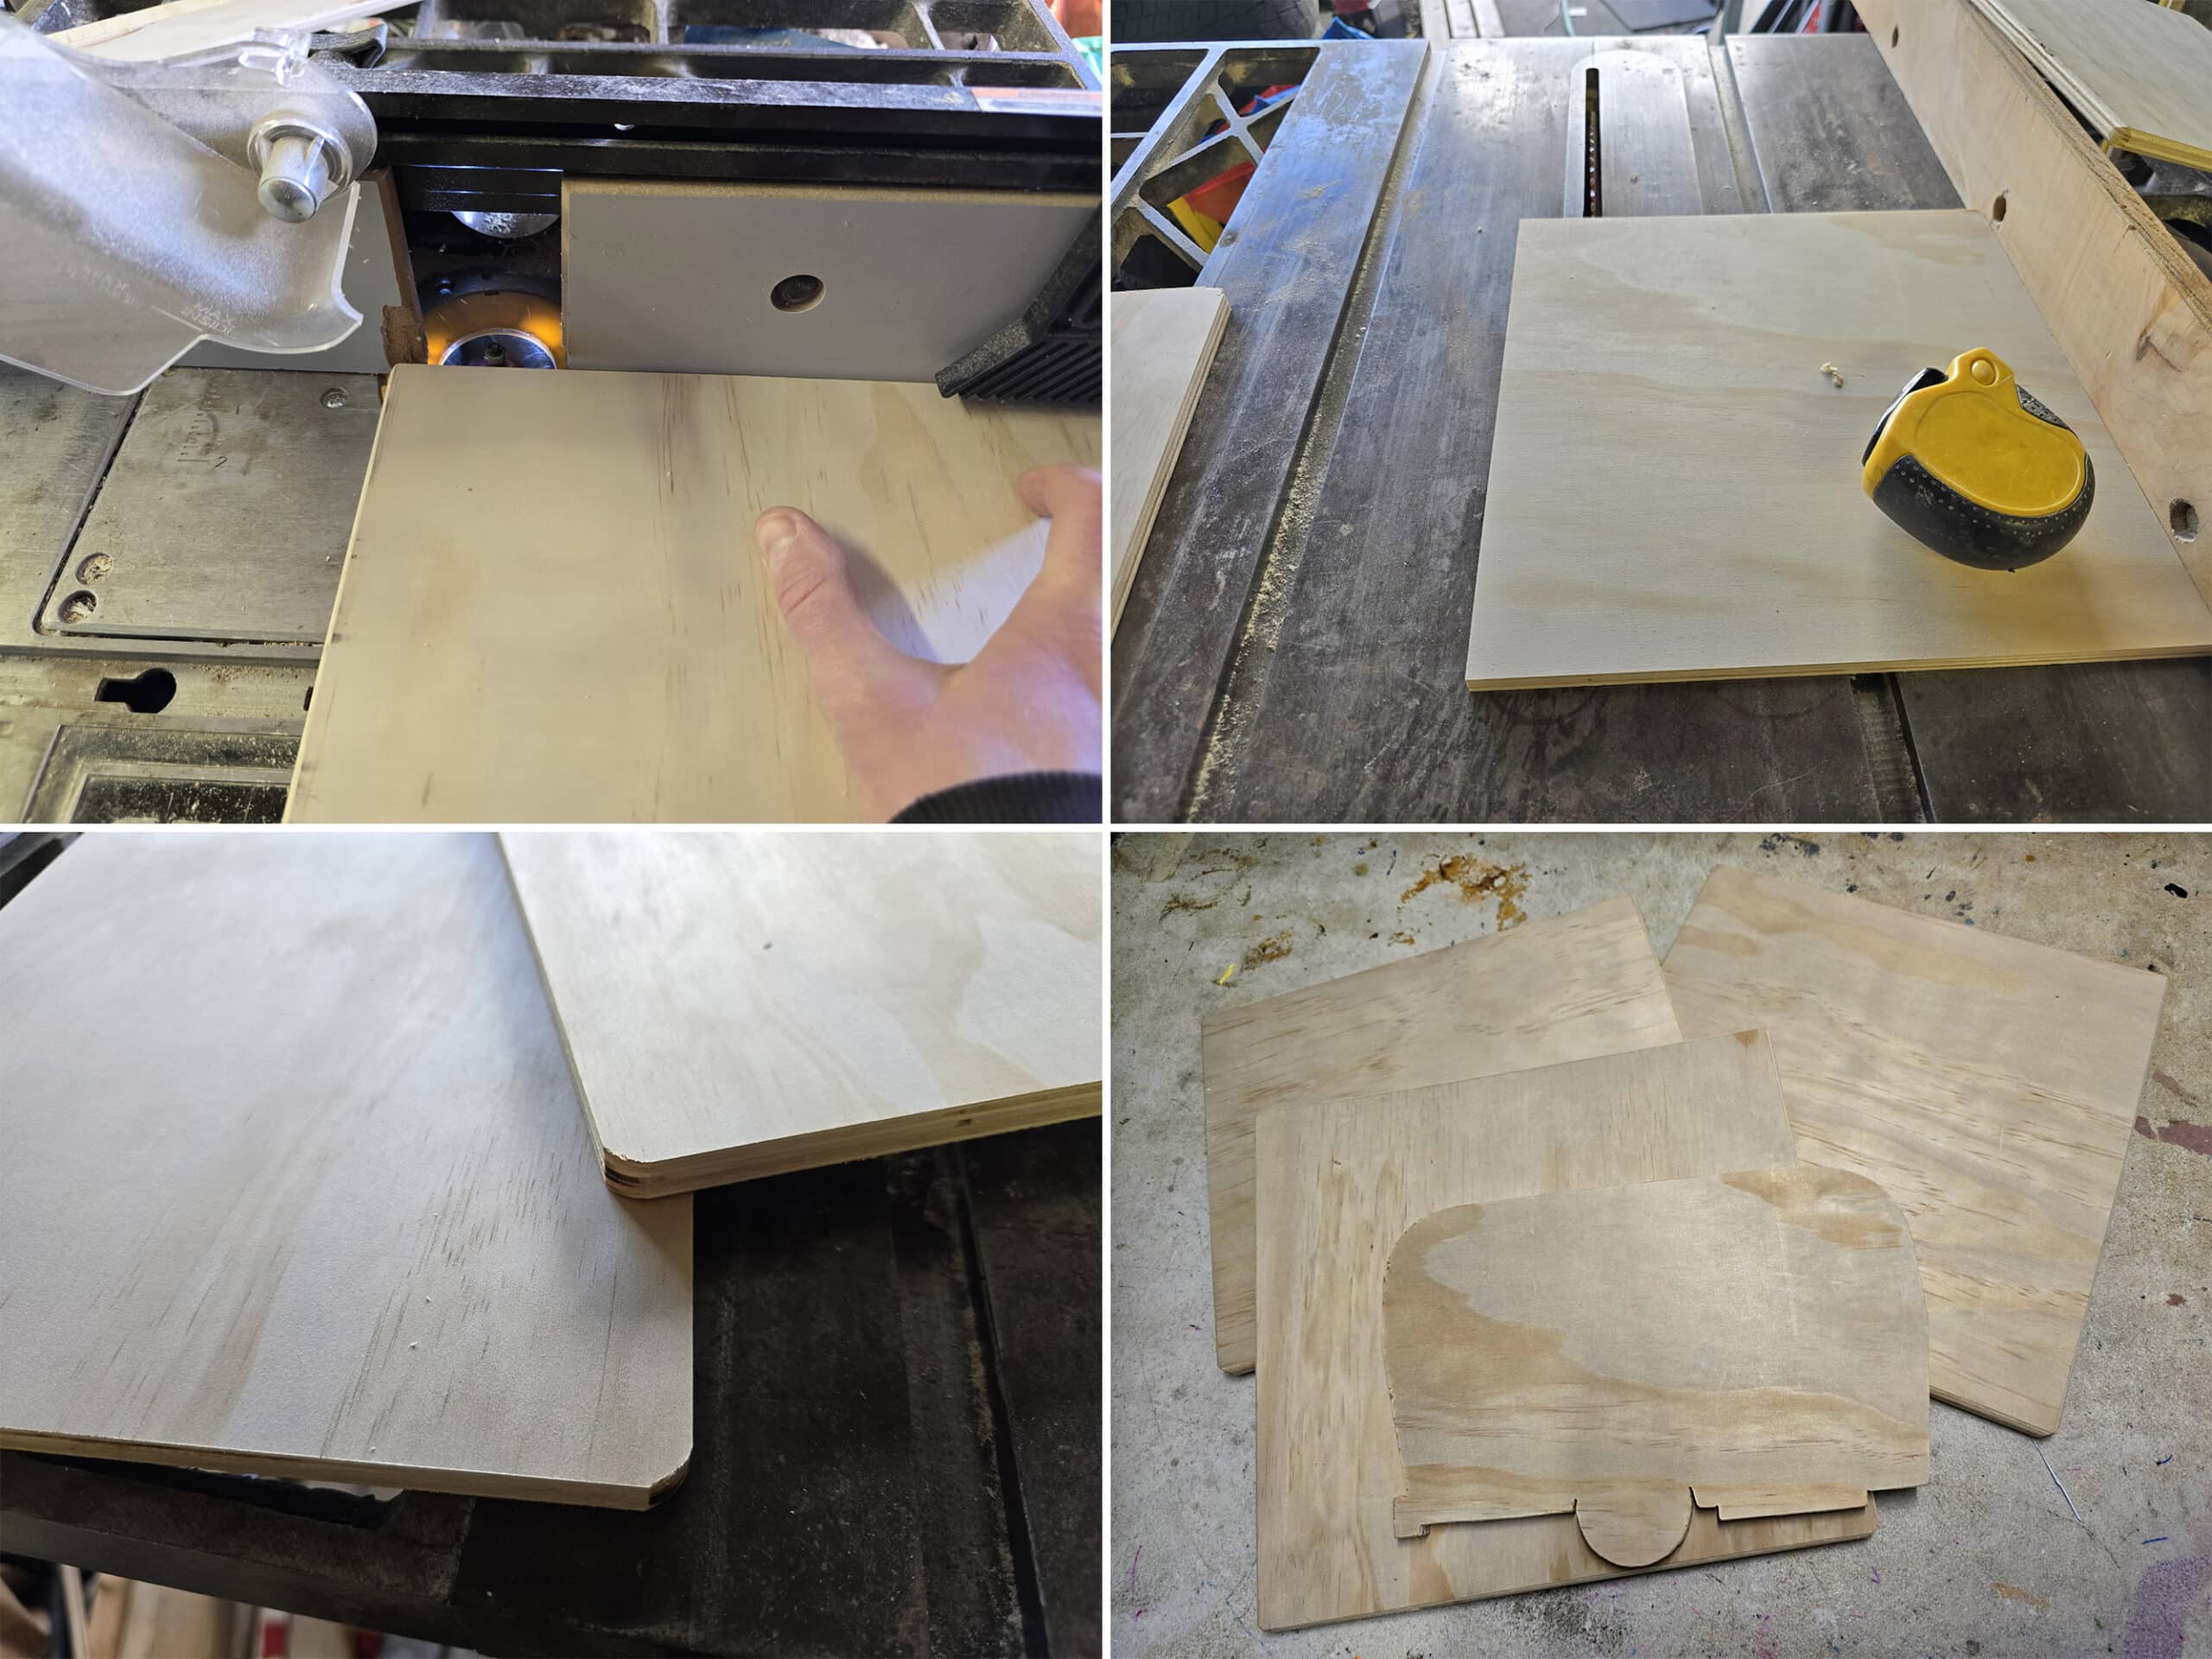
First, we used a second print of the stencil as a pattern for cutting the plywood with a jigsaw. Once cut, remove the stencil pattern from the wood.
Then, remove the stencil backing to reveal the self adhesive side of the stencil.
This is part of why I like to use the medical exam table paper - you can see through it, to help you position it.
Once you’re sure everything is lined up properly with the outer edge of the wood, smooth and press your stencil in place, then remove the sticky paper.
Apply and blot your torch paste.
Finally, use your heat gun to do the wood burning.
Finish the sign any way you want - IF you want - and enjoy!
More DIY RV Tutorials
Want to check out more of our tutorials for ways to improve your camping experience?
Well, we don’t have many posted yet, but here’s a start!
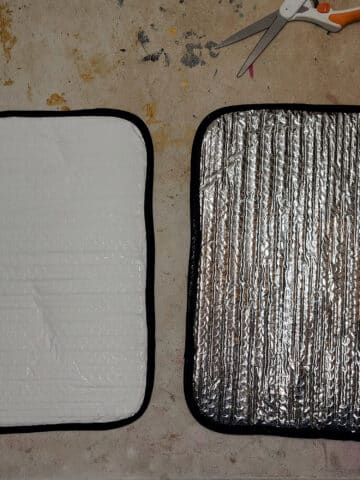
DIY Fabric Covered RV Reflector Shades
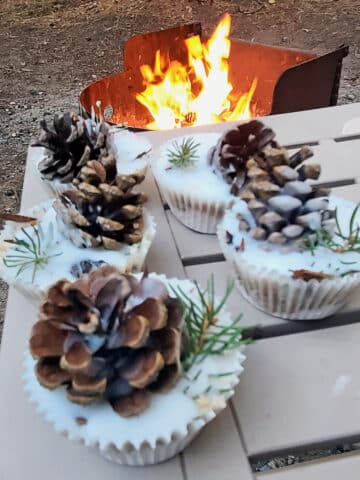
Homemade Fire Starters
How to Apply RV Window Tinting
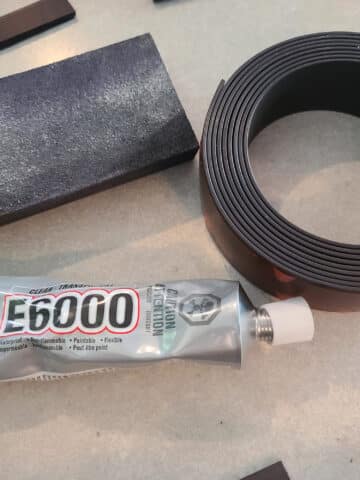
Installing RV Window Shades with Magnets
Make a Custom RV Camper Step
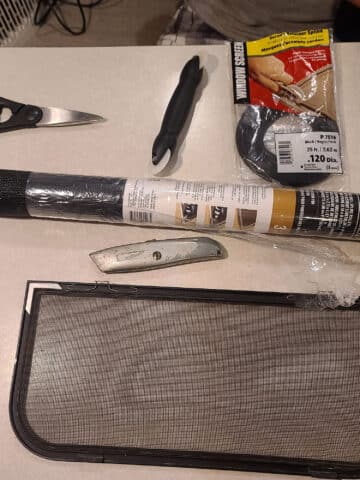
RV Window Screen Replacement
Also, be sure to check out our RV Lifestyle section for other tutorials to make RV life great - including photography tutorials. We also have a great Camping Recipes sections... that counts as DIY, right? 🙂
Thanks for Reading!If you loved this post - or have any questions about it - please leave a comment below! We'd also love it if you would consider sharing the link on social media! |
Leave a Reply