
Build this fast and simple DIY RV camper step to replace a broken step or make easier entry access. Check out the build ... steps!

The need for a DIY RV Camper Step
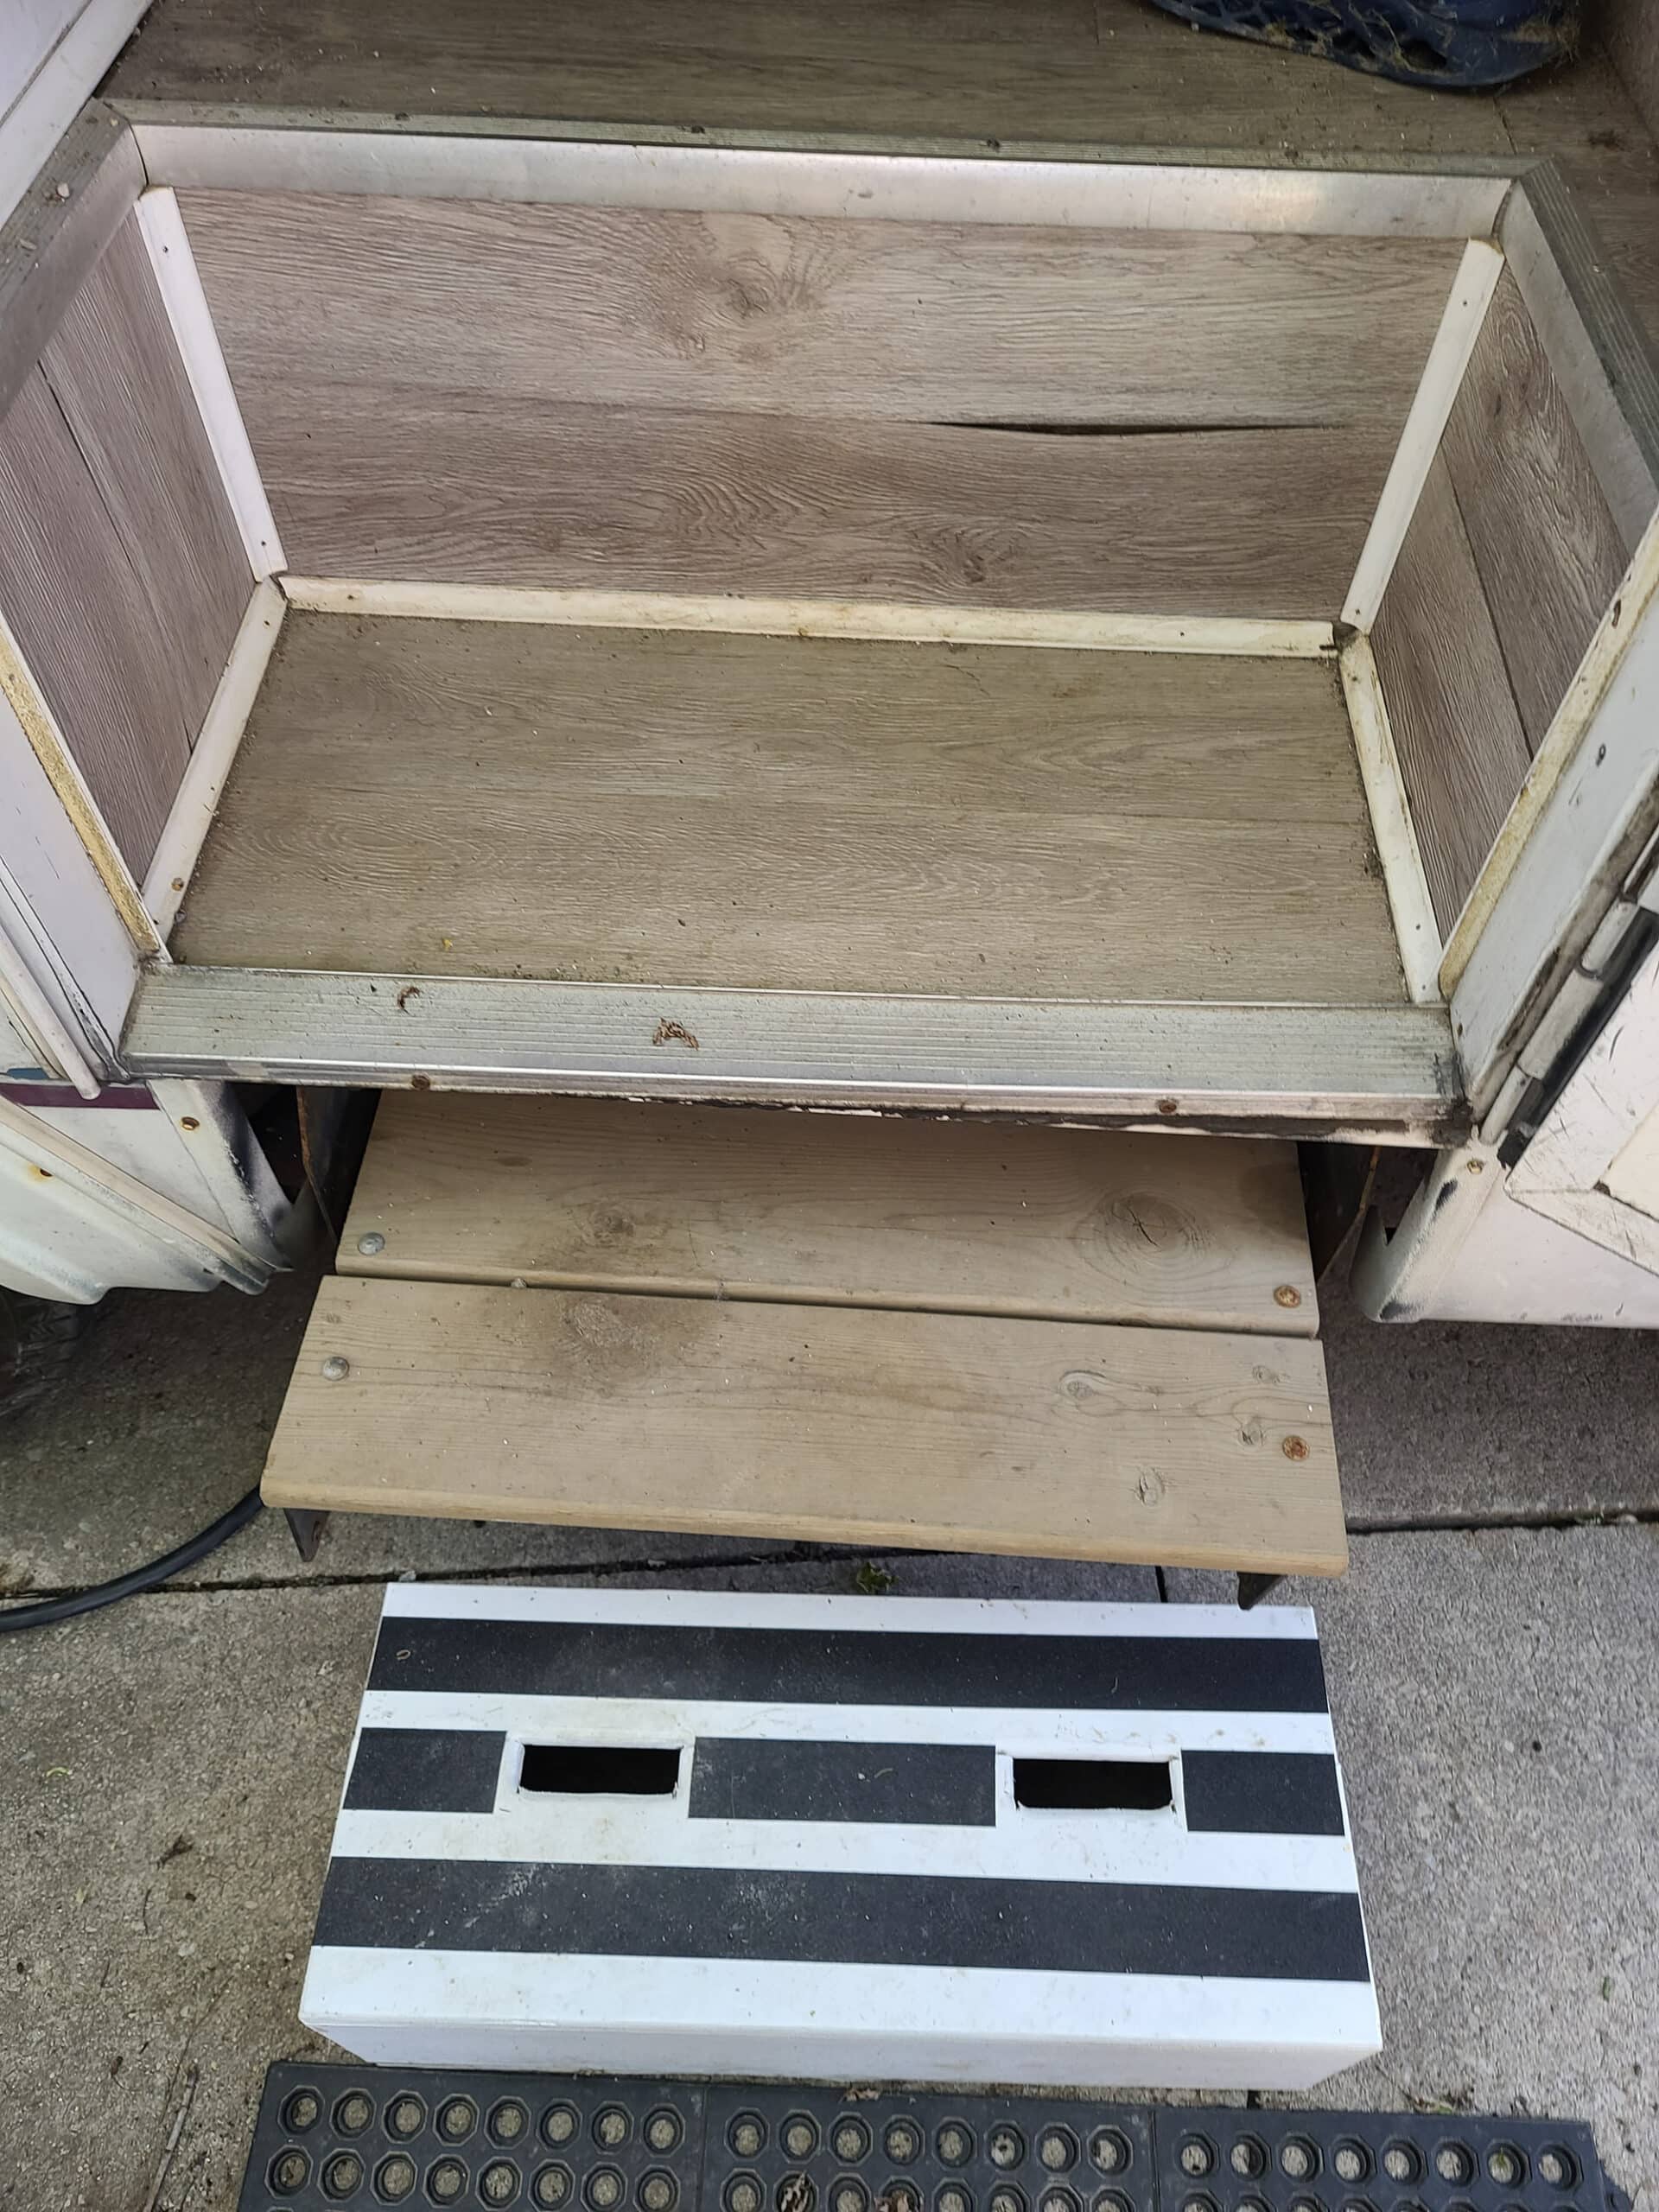
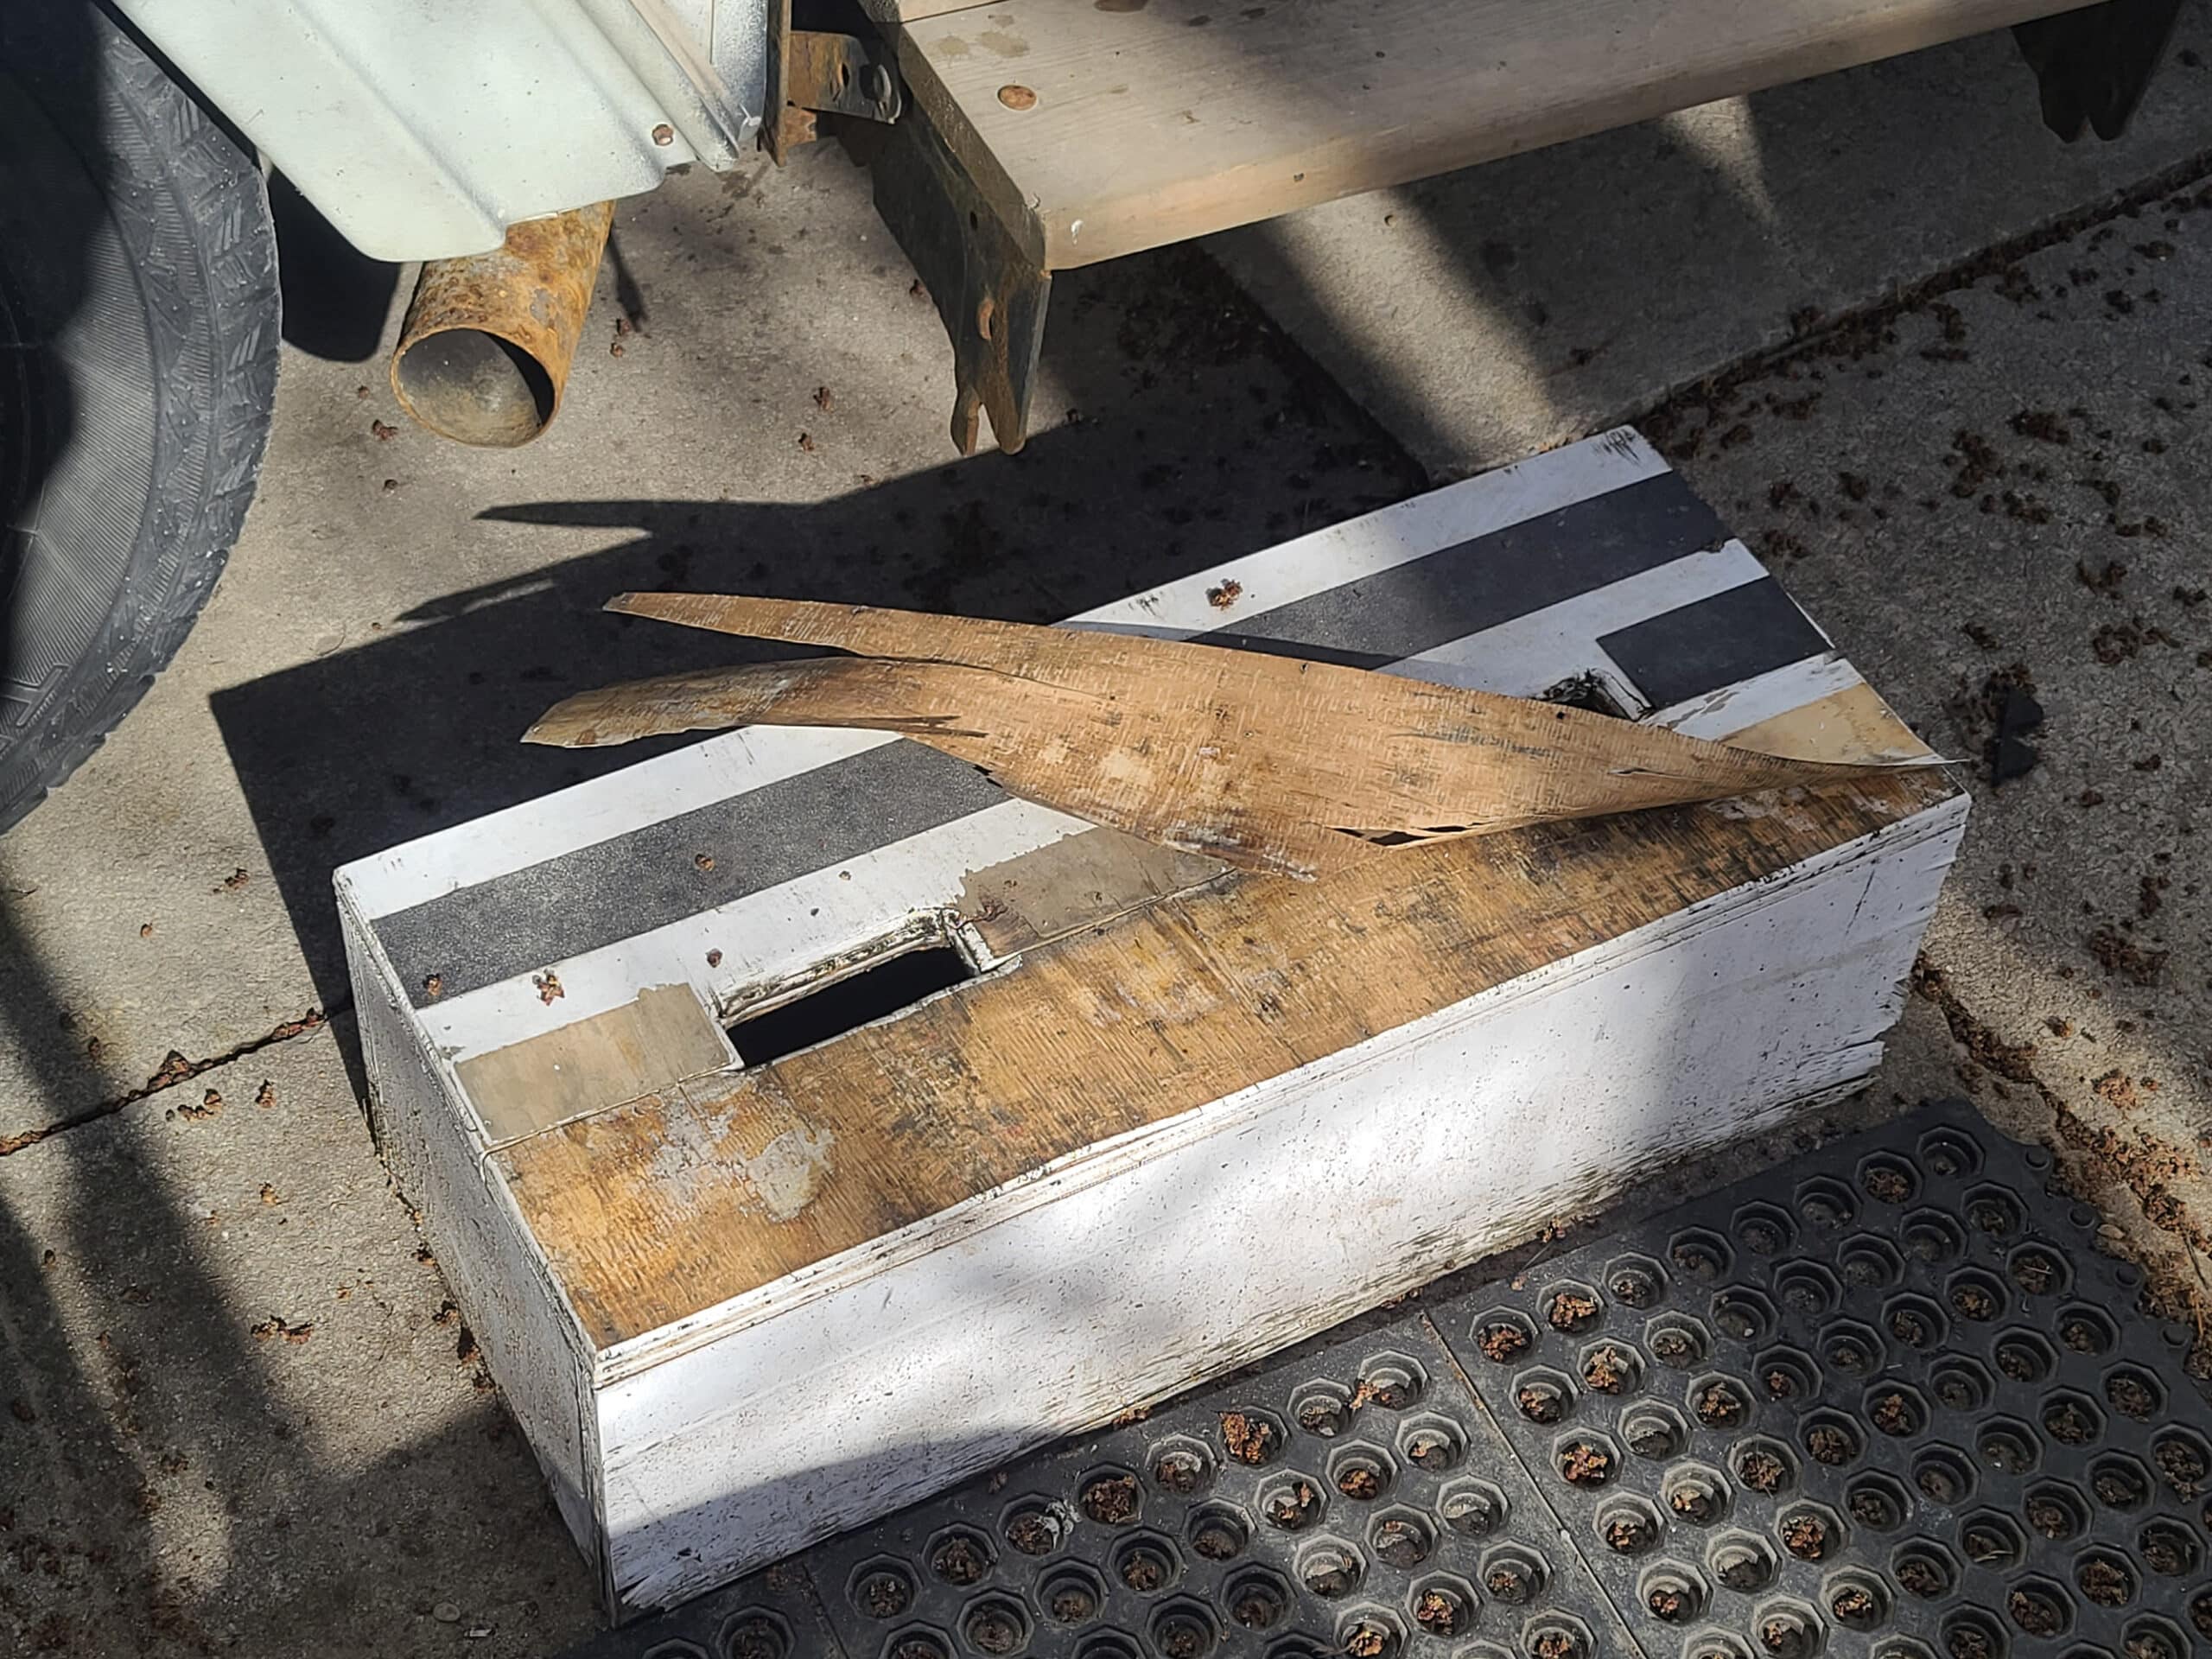
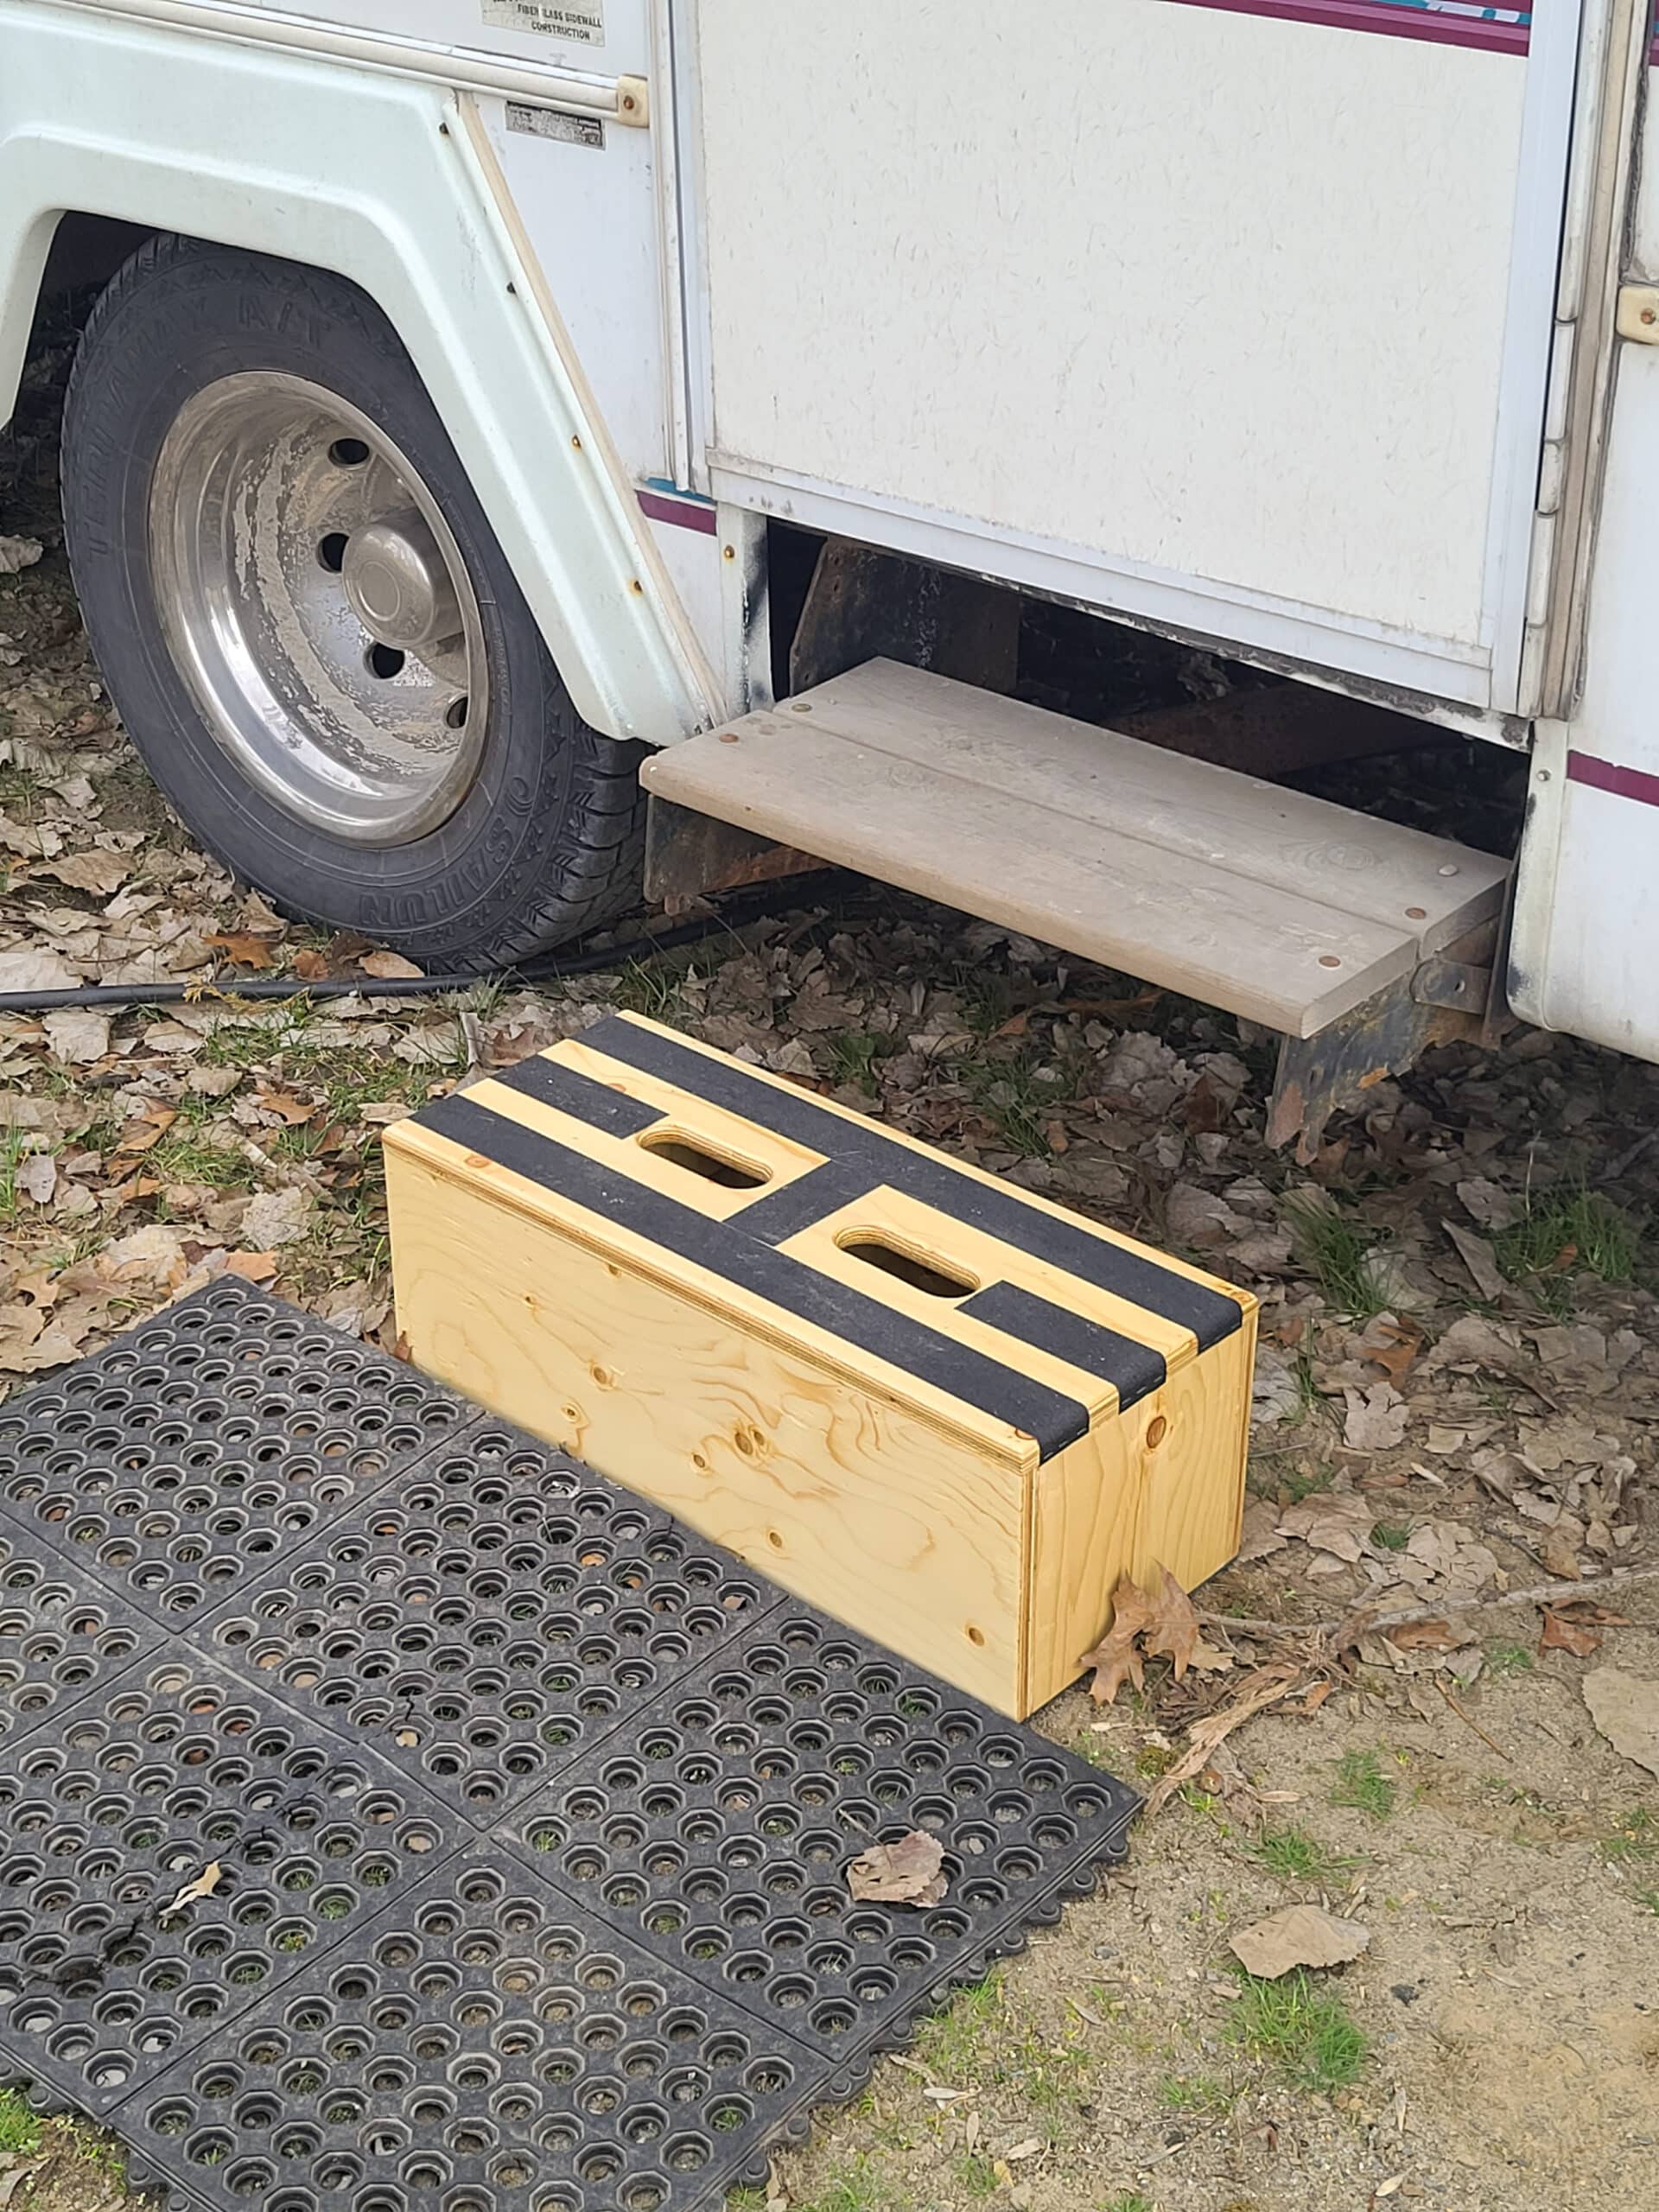
Our motorhome was designed with a two step manual pullout system. Unfortunately, the second step was missing when we purchased it, only the top step was available. The previous owners used a little plastic step stool, but it was very small (perhaps 10 inch width) and flimsy.
I looked online for a replacement step system and was quite underwhelmed. Used fold-out steps were in very rough condition and there wasn't a lot of info for me to determine if they would even fit.
Most places I found would have required shipping from the United States, which costs a lot itself. You're not likely to find free shipping on something so heavy.
New step systems are very expensive. I was only looking at manual steps, add in an electric motor for fancy automated steps and you're looking at a big financial investment.
Looking for separate portable RV steps to use, better than that flimsy plastic one, didn't come up with anything I liked. Everything was either cheap thin plastic, thin metal that didn't look very robust, or expensive large pieces designed for professional trades.
Besides missing equipment, you may find that it's a long step up/down to that first step on your camper. When you come upon a camp site that requires some moderate or heavy levelling, you may find that a moderate step becomes a large step.
Someone with limited mobility would certainly appreciate a small step up for easier access, even if it creates a larger number of steps.
The Solution: Build a Simple Wood RV Camper Step
Ready to do it yourself? I designed this step to be simple to build, and efficient to source.
You won't need to have or rent a truck to bring home the supplies, this project can be cut from common handy panels. These are smaller cuts of plywood that can easily fit in a car.
Travel trailers and motorhomes generally have a built-in step area just inside the RV door. I designed my step to easily fit into that step up in our motorhome. When I'm ready to go, I simply place it in the step area and it's stowed for travel.
This design is for a single step. If you need a double, triple, or even quad step for your recreational vehicle, you'll be looking at a bit more complexity and more wood.
Something like a pickup truck camper would likely need something larger, for easy access to that height. Don't sweat about making the right choice, this project is simple and inexpensive, you can always make another!
To keep this simple, I didn't try to add any kind of adjustable legs. I added a rubber strip on the bottom which helps to reduce wobble. For very uneven ground, I use a piece or two of shim stock.
Supplies needed
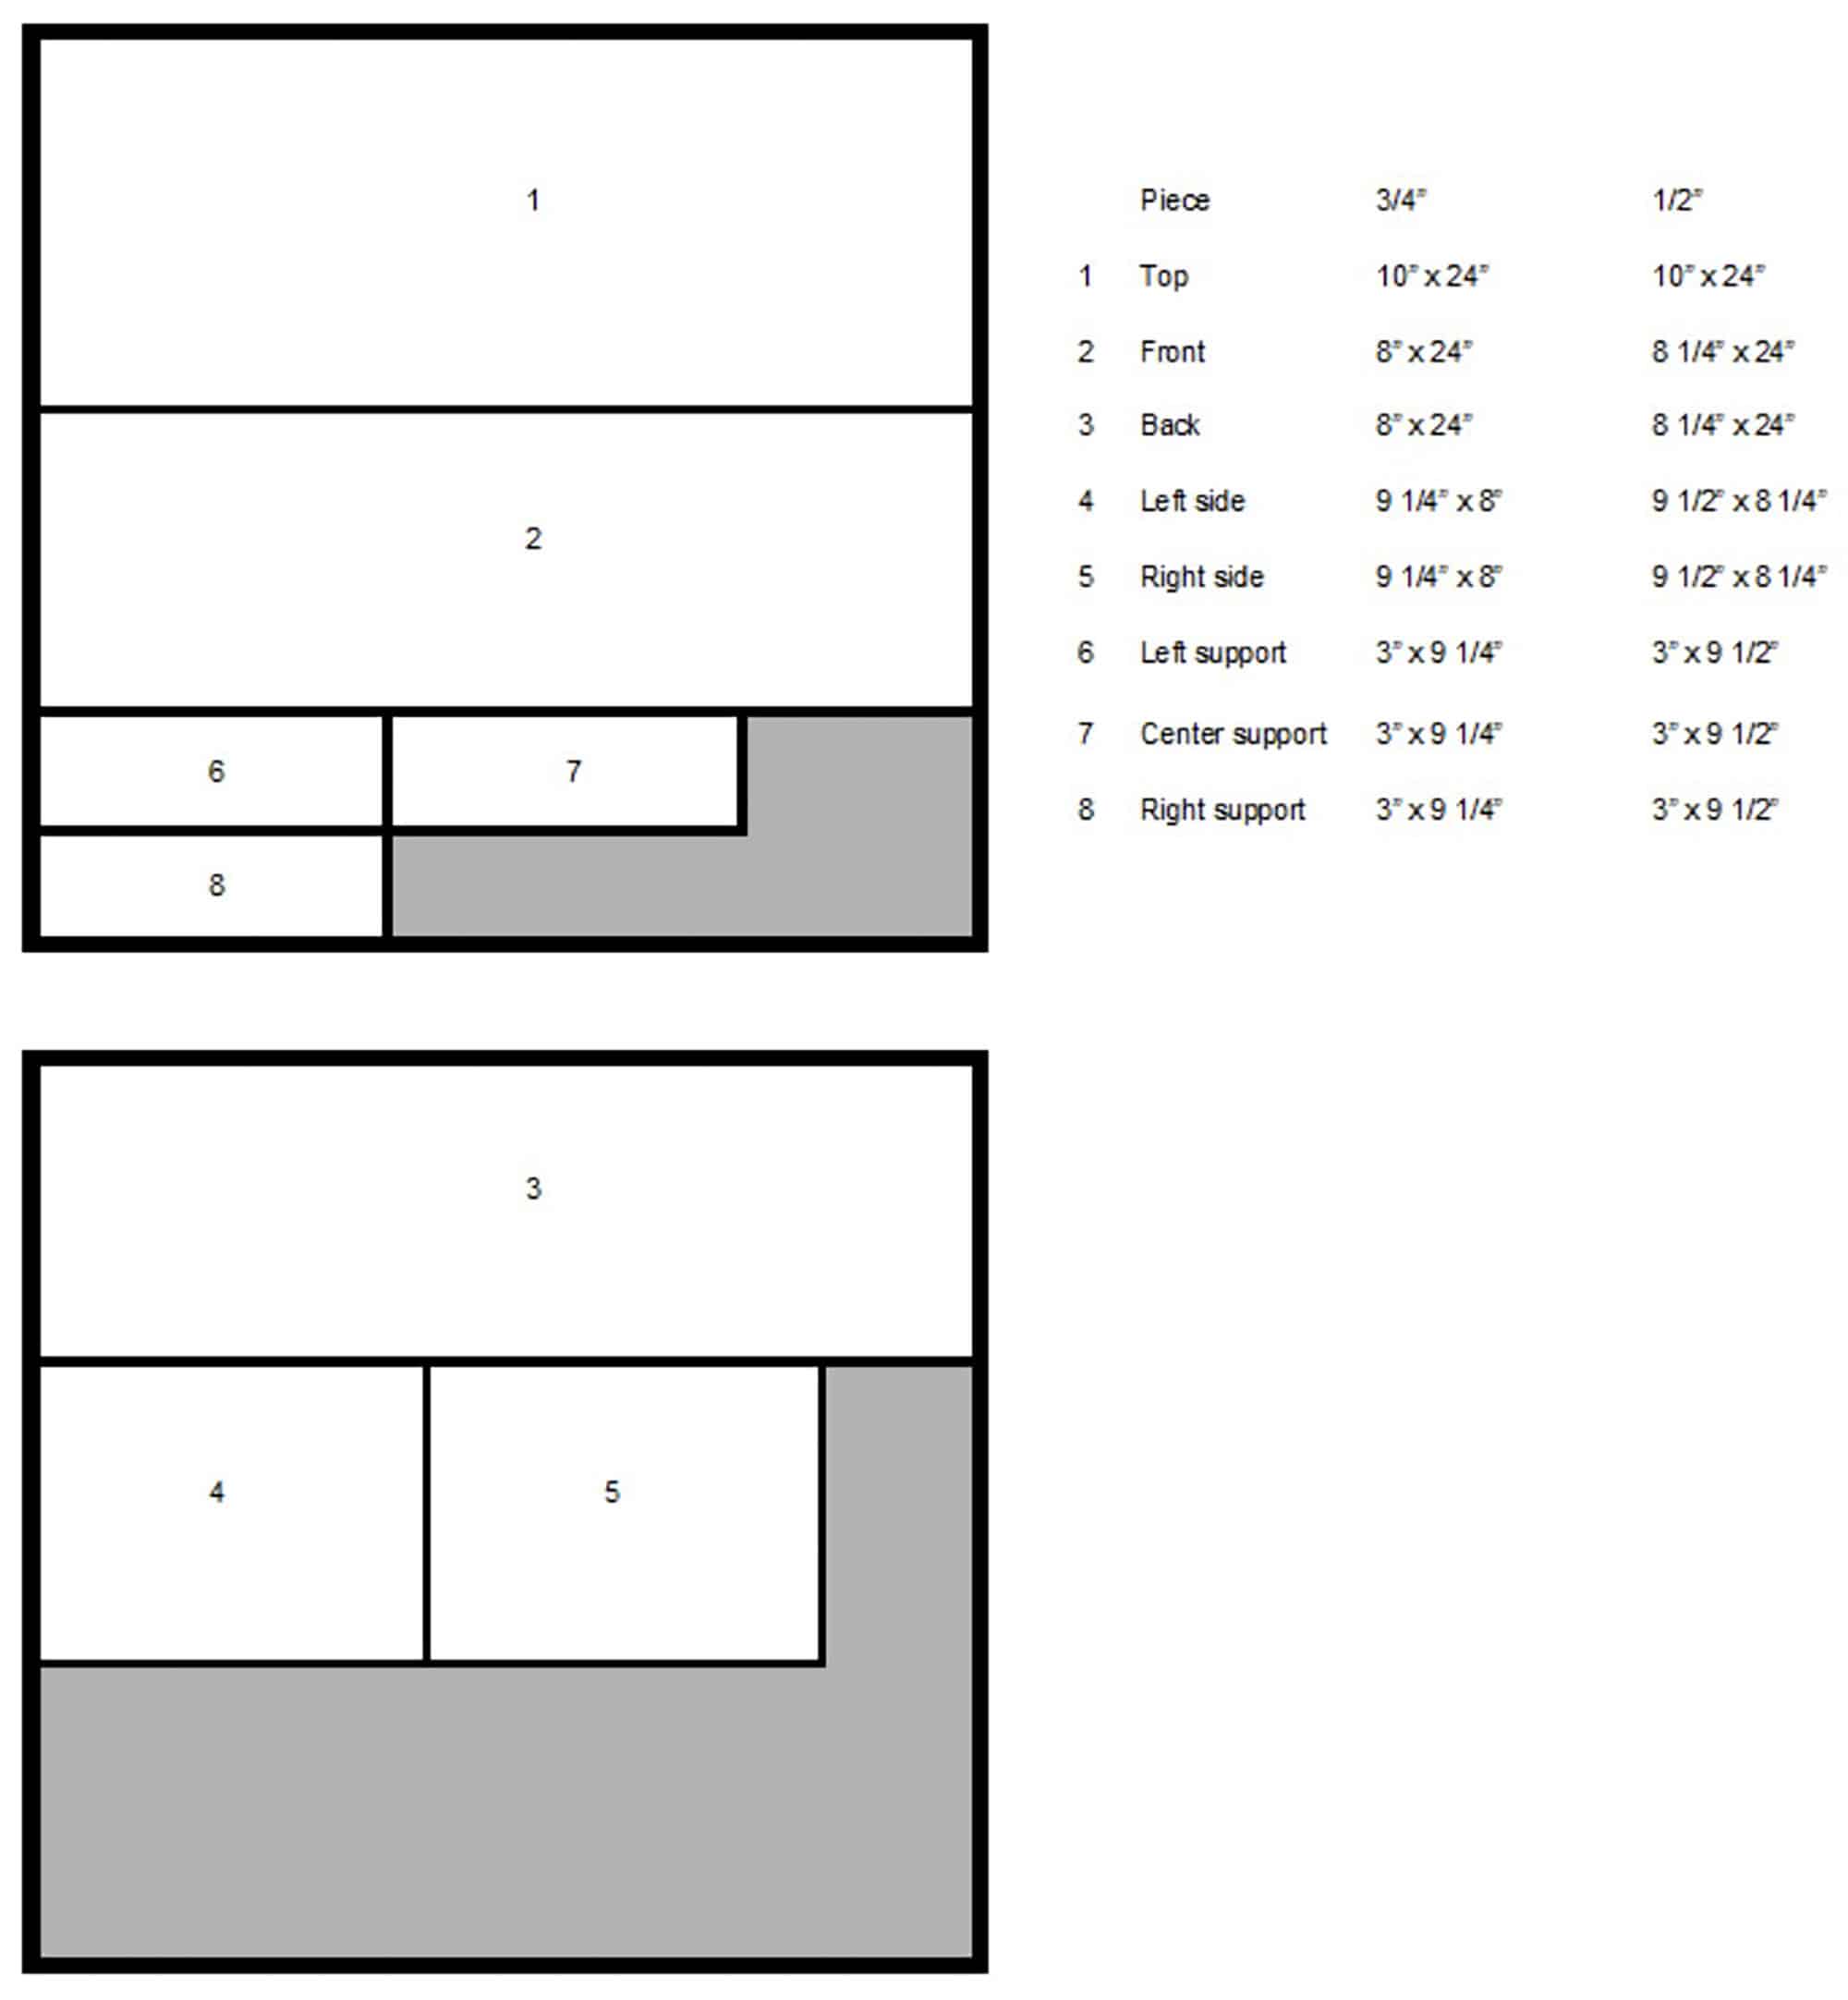
- Two plywood handy panels sized 2' x 2'. Thickness should be either ½” or ¾”. Using ½” plywood will be lighter, and strong enough for most needs. ¾” will be stronger and should last longer. I used outdoor sheathing plywood, grade ACX. This is inexpensive, and has blemishes such as knots. Higher quality plywood can be purchased if you'd like, but don't spring for the cabinet-grade plywood since it likely won't last very long outdoors.
- Polyurethane. I recommend Minwax oil-based polyurethane. One quart will be plenty, there will be leftovers.
- Optional: Paint. The polyurethane is a great sealer and protector. You can cover it with paint if you'd like. Use a high quality oil-based paint for long life.
- Foam brushes. I like 2" wide, they get into corners easily but still make for quick coverage.
- Outdoor Type III wood glue. I recommend Titebond III, it's what I use for all my projects.
- Fasteners. If you have a brad gun, some 1 ¼” - 1 ½” brad nails will work great for this project. If you don't have a brad nailer, it's probably easier to purchase some decking screws to hold everything together. I suggest 1 ¼” if you're using ½” plywood, use 1 ¾” if you're using ¾” plywood.
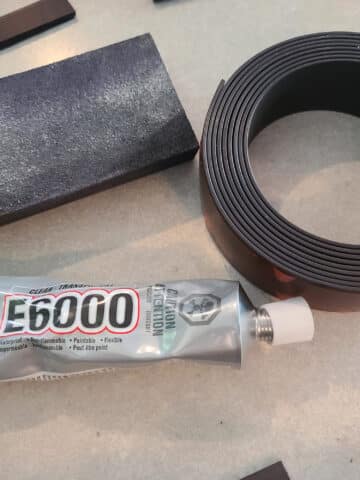
- Neoprene rubber roll. I used 1” wide, ⅛” thick.
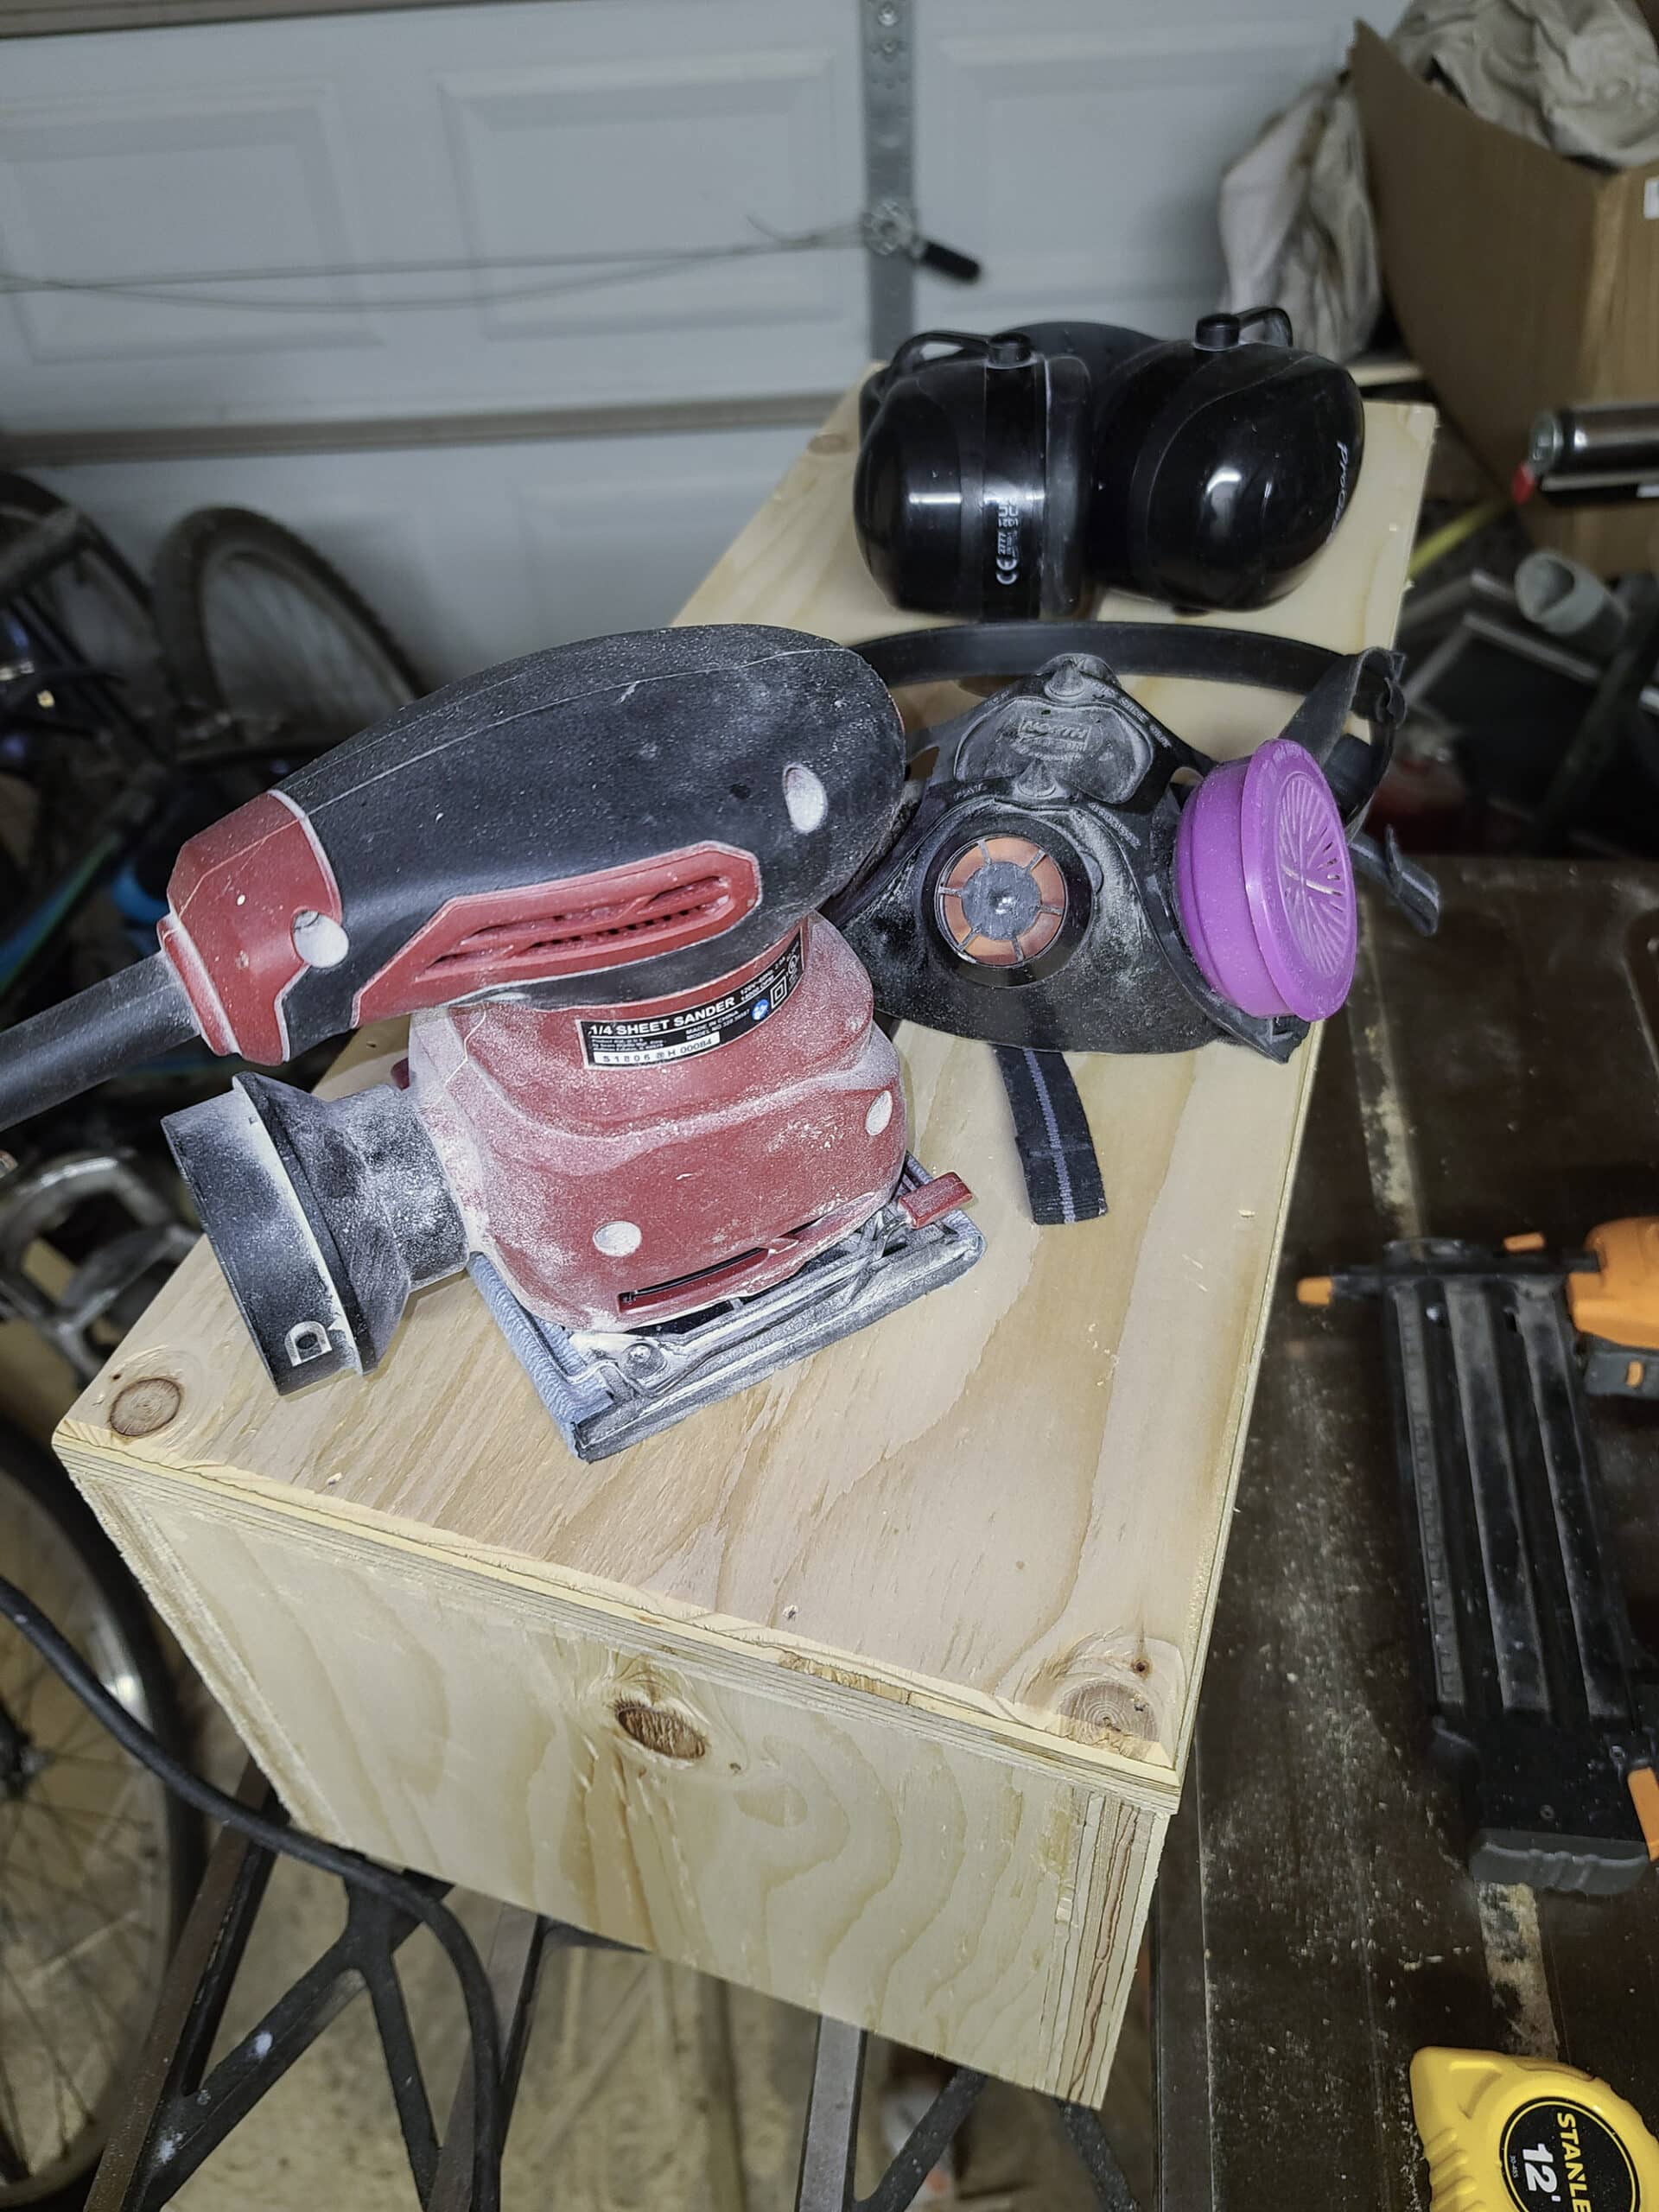
- Sandpaper. I used a ¼ sheet palm sander, but for a job this small you can easily sand it by hand. I recommend a medium grit sanding sponge if you need to buy something.
- Traction non-slip step tread tape. Various widths are available, I used 2” wide. You don't need to cover your entire step, you just need to provide enough to maintain sure footing in slippery conditions.
- Staples to match your stapler (listed in tools needed). This will secure the neoprene rubber strip and add more securement to the grip tape.
- Glue brushes. Disposable glue brushes are super convenient. Use a silicone brush if you do a lot of glue jobs, since it's reusable.
Tools needed
- Method to cut wood. A circular saw is standard for this kind of work, but use what you have! An oscillating tool will work, a hand saw, or even a sharp pointy rock if you're determined and patient. Ok, that last one isn't recommended.
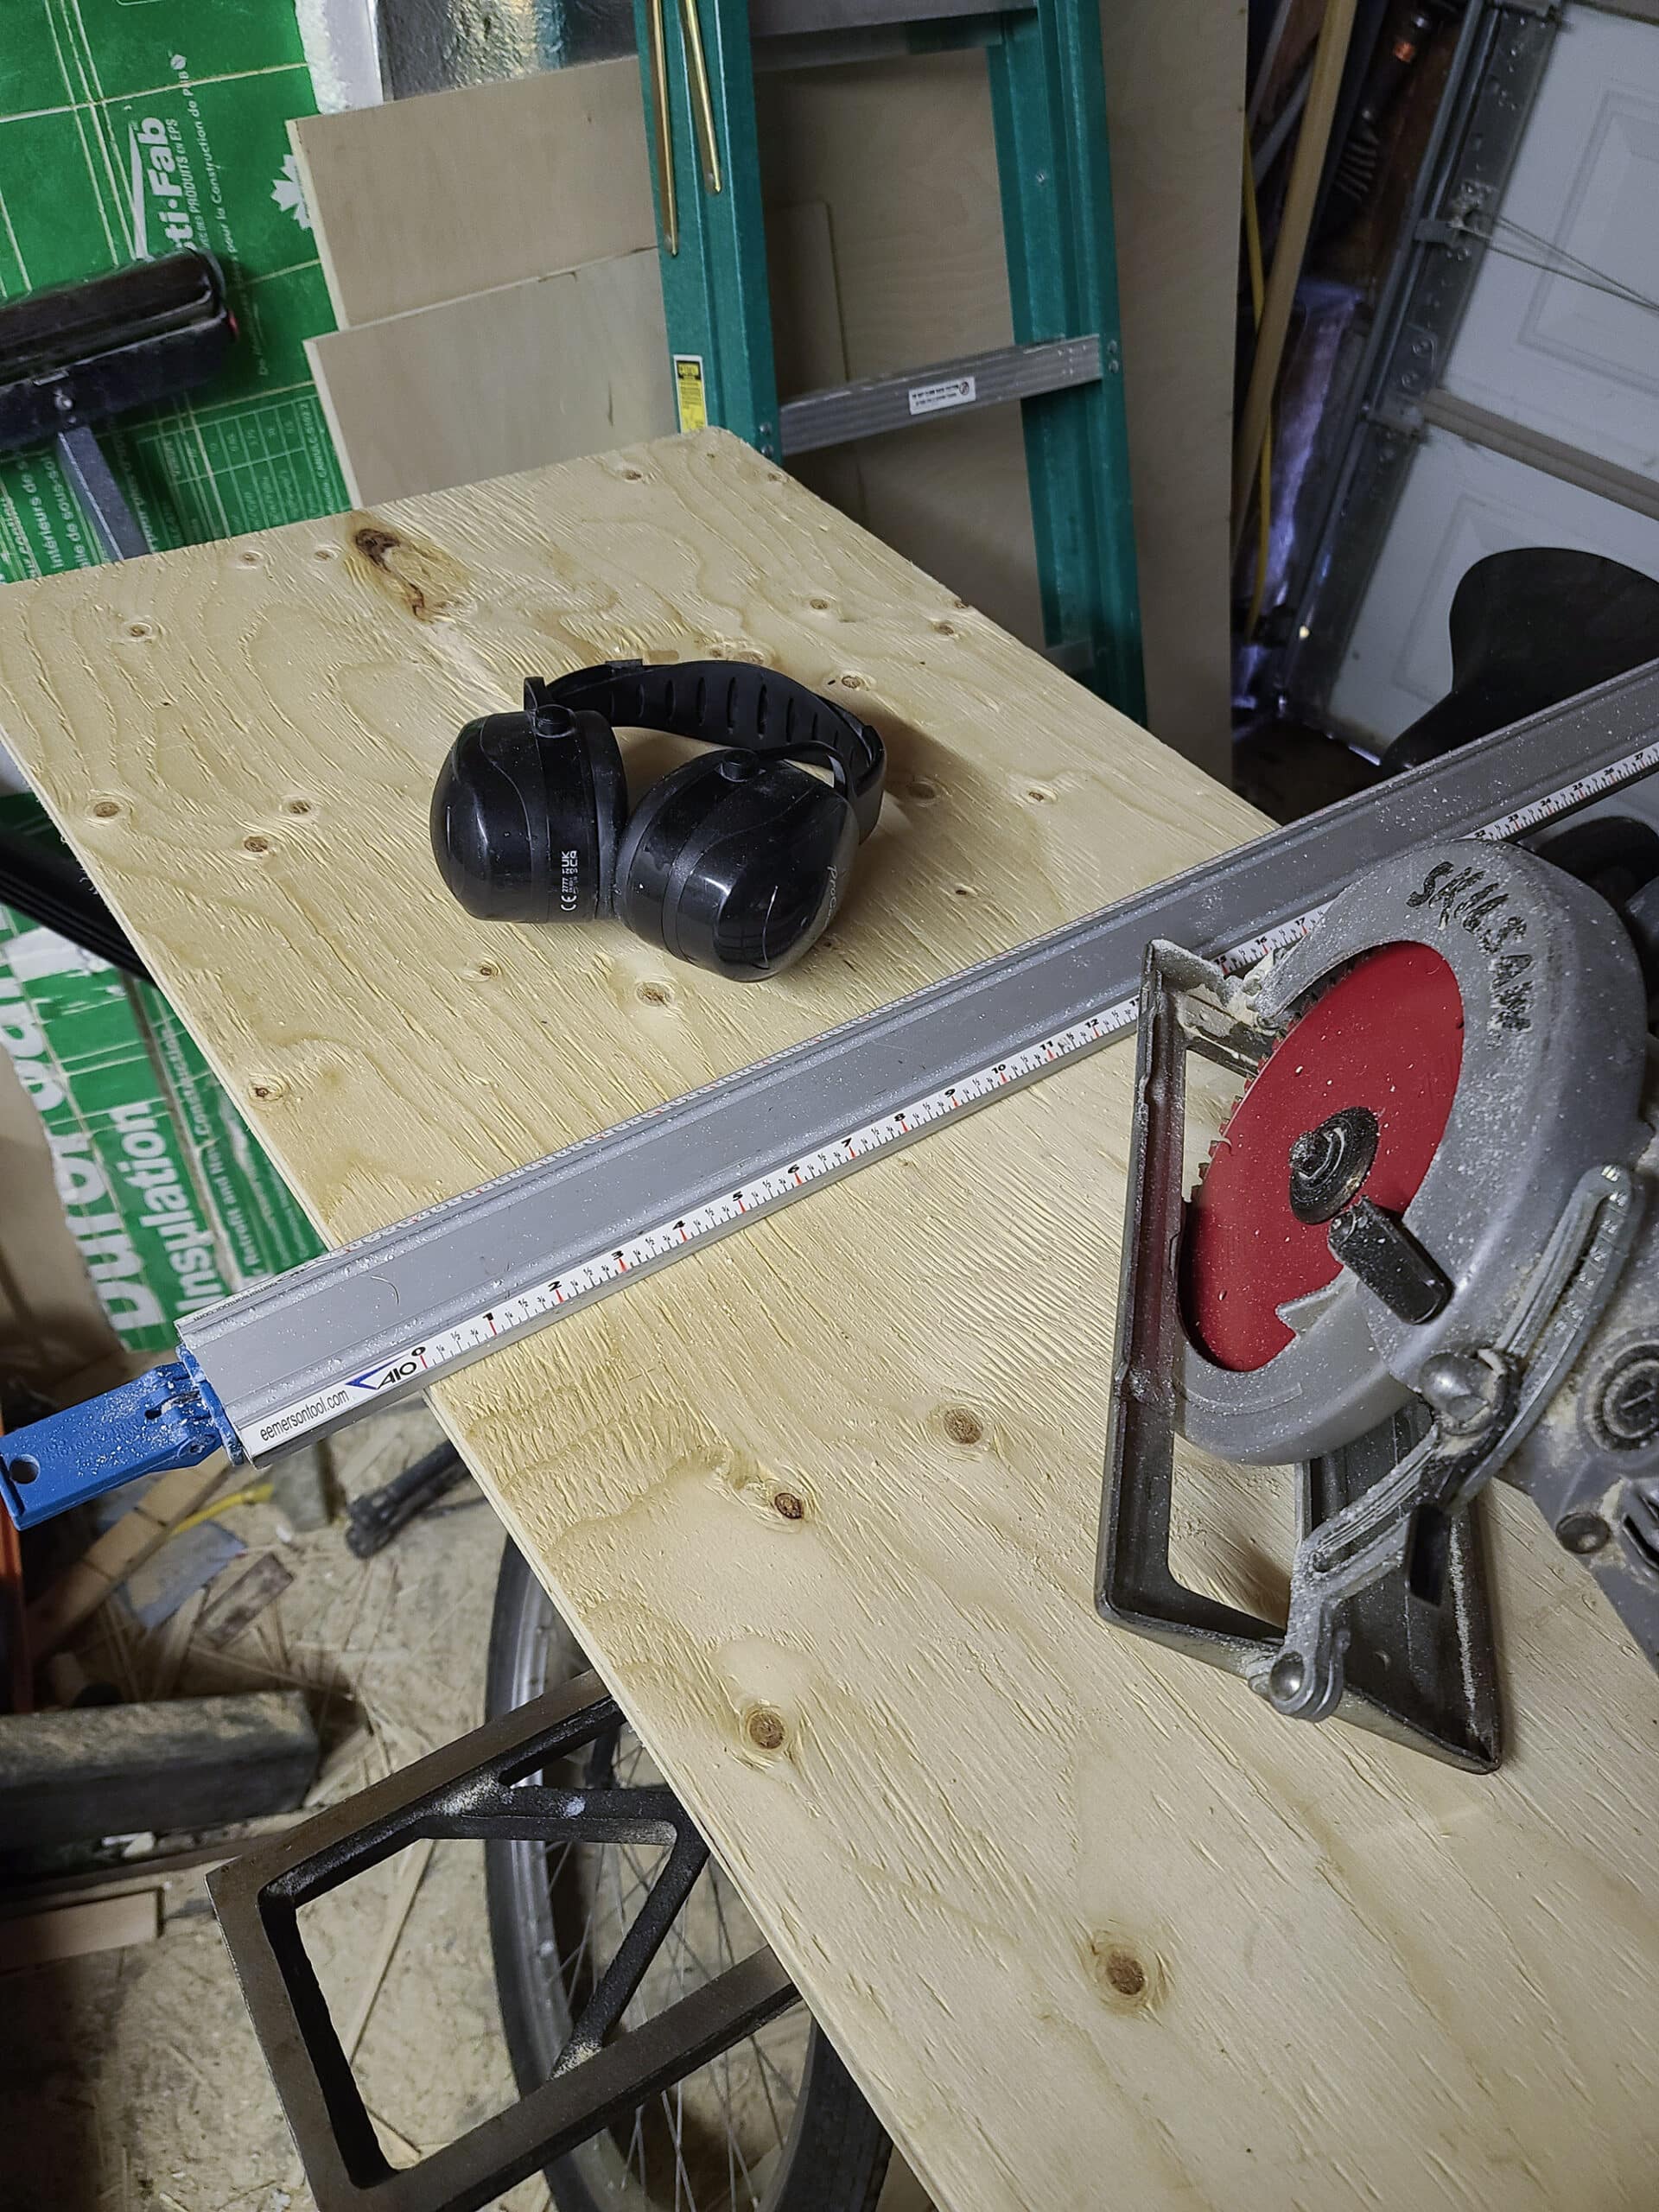
- Hearing protection. This is essential if you're using power tools! If you're using hand tools it might not be necessary. I recommend heavy protection that provides more than 30dB attenuation
- Optional: sanding mask. If you're working indoors like I did, use a mask while sanding to prevent inhaling the sawdust. I also use my mask when sanding outdoors, but I know many people skip the mask when working outdoors.
- A straight edge clamp makes simple work of getting nice straight, even cuts, no matter how you're cutting your wood.
- Method to attach fasteners – a brad nailer if you have compressed air, or a drill/driver otherwise. I do recommend to pre-drill if you're using screws, to prevent damaging the plywood. I would use a 7/64” drill bit for this type of screw, but a ⅛” bit would work if you have a limited selection.
- Stapler. I used a pneumatic stapler, but a hand stapler will do just fine. If you don't have one, you could always use tacks and a hammer instead.
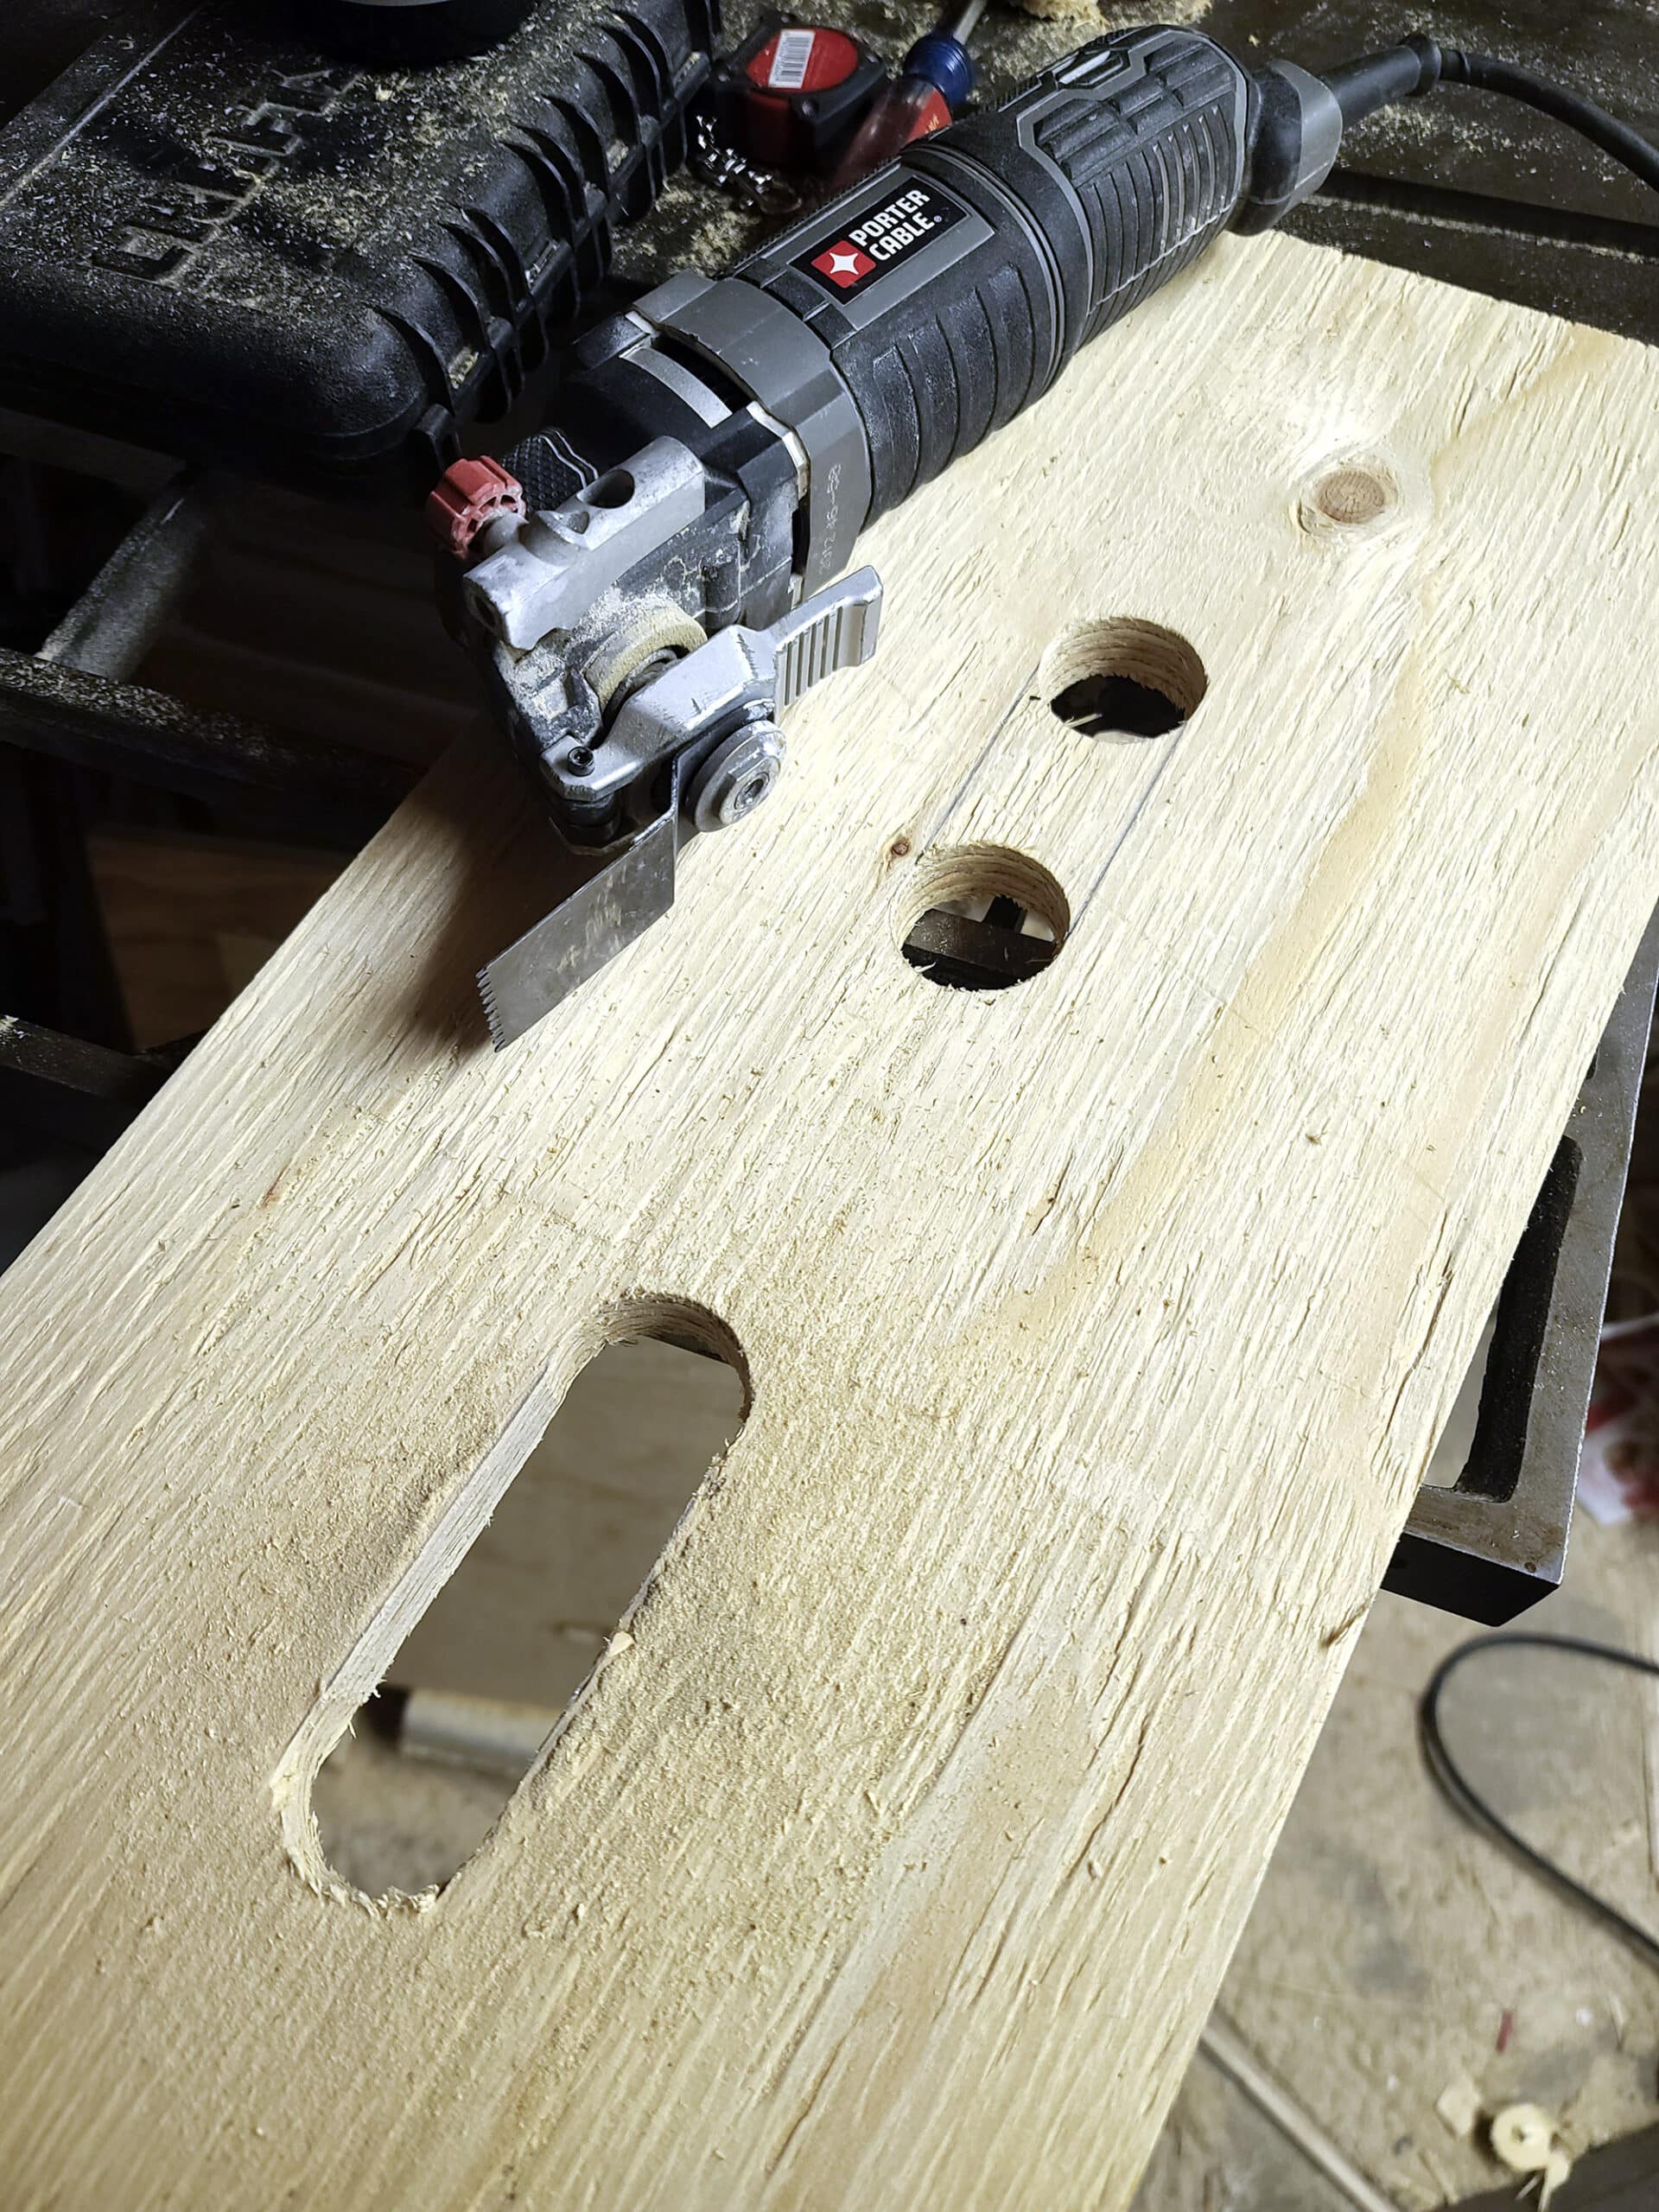
- Optional: Method to cut handles. The handles in the middle simply make it easier to grab. I used a 1 ½” hole saw, an oscillating tool, and a router with a roundover bit.
Cut Pieces for the RV Camper Step
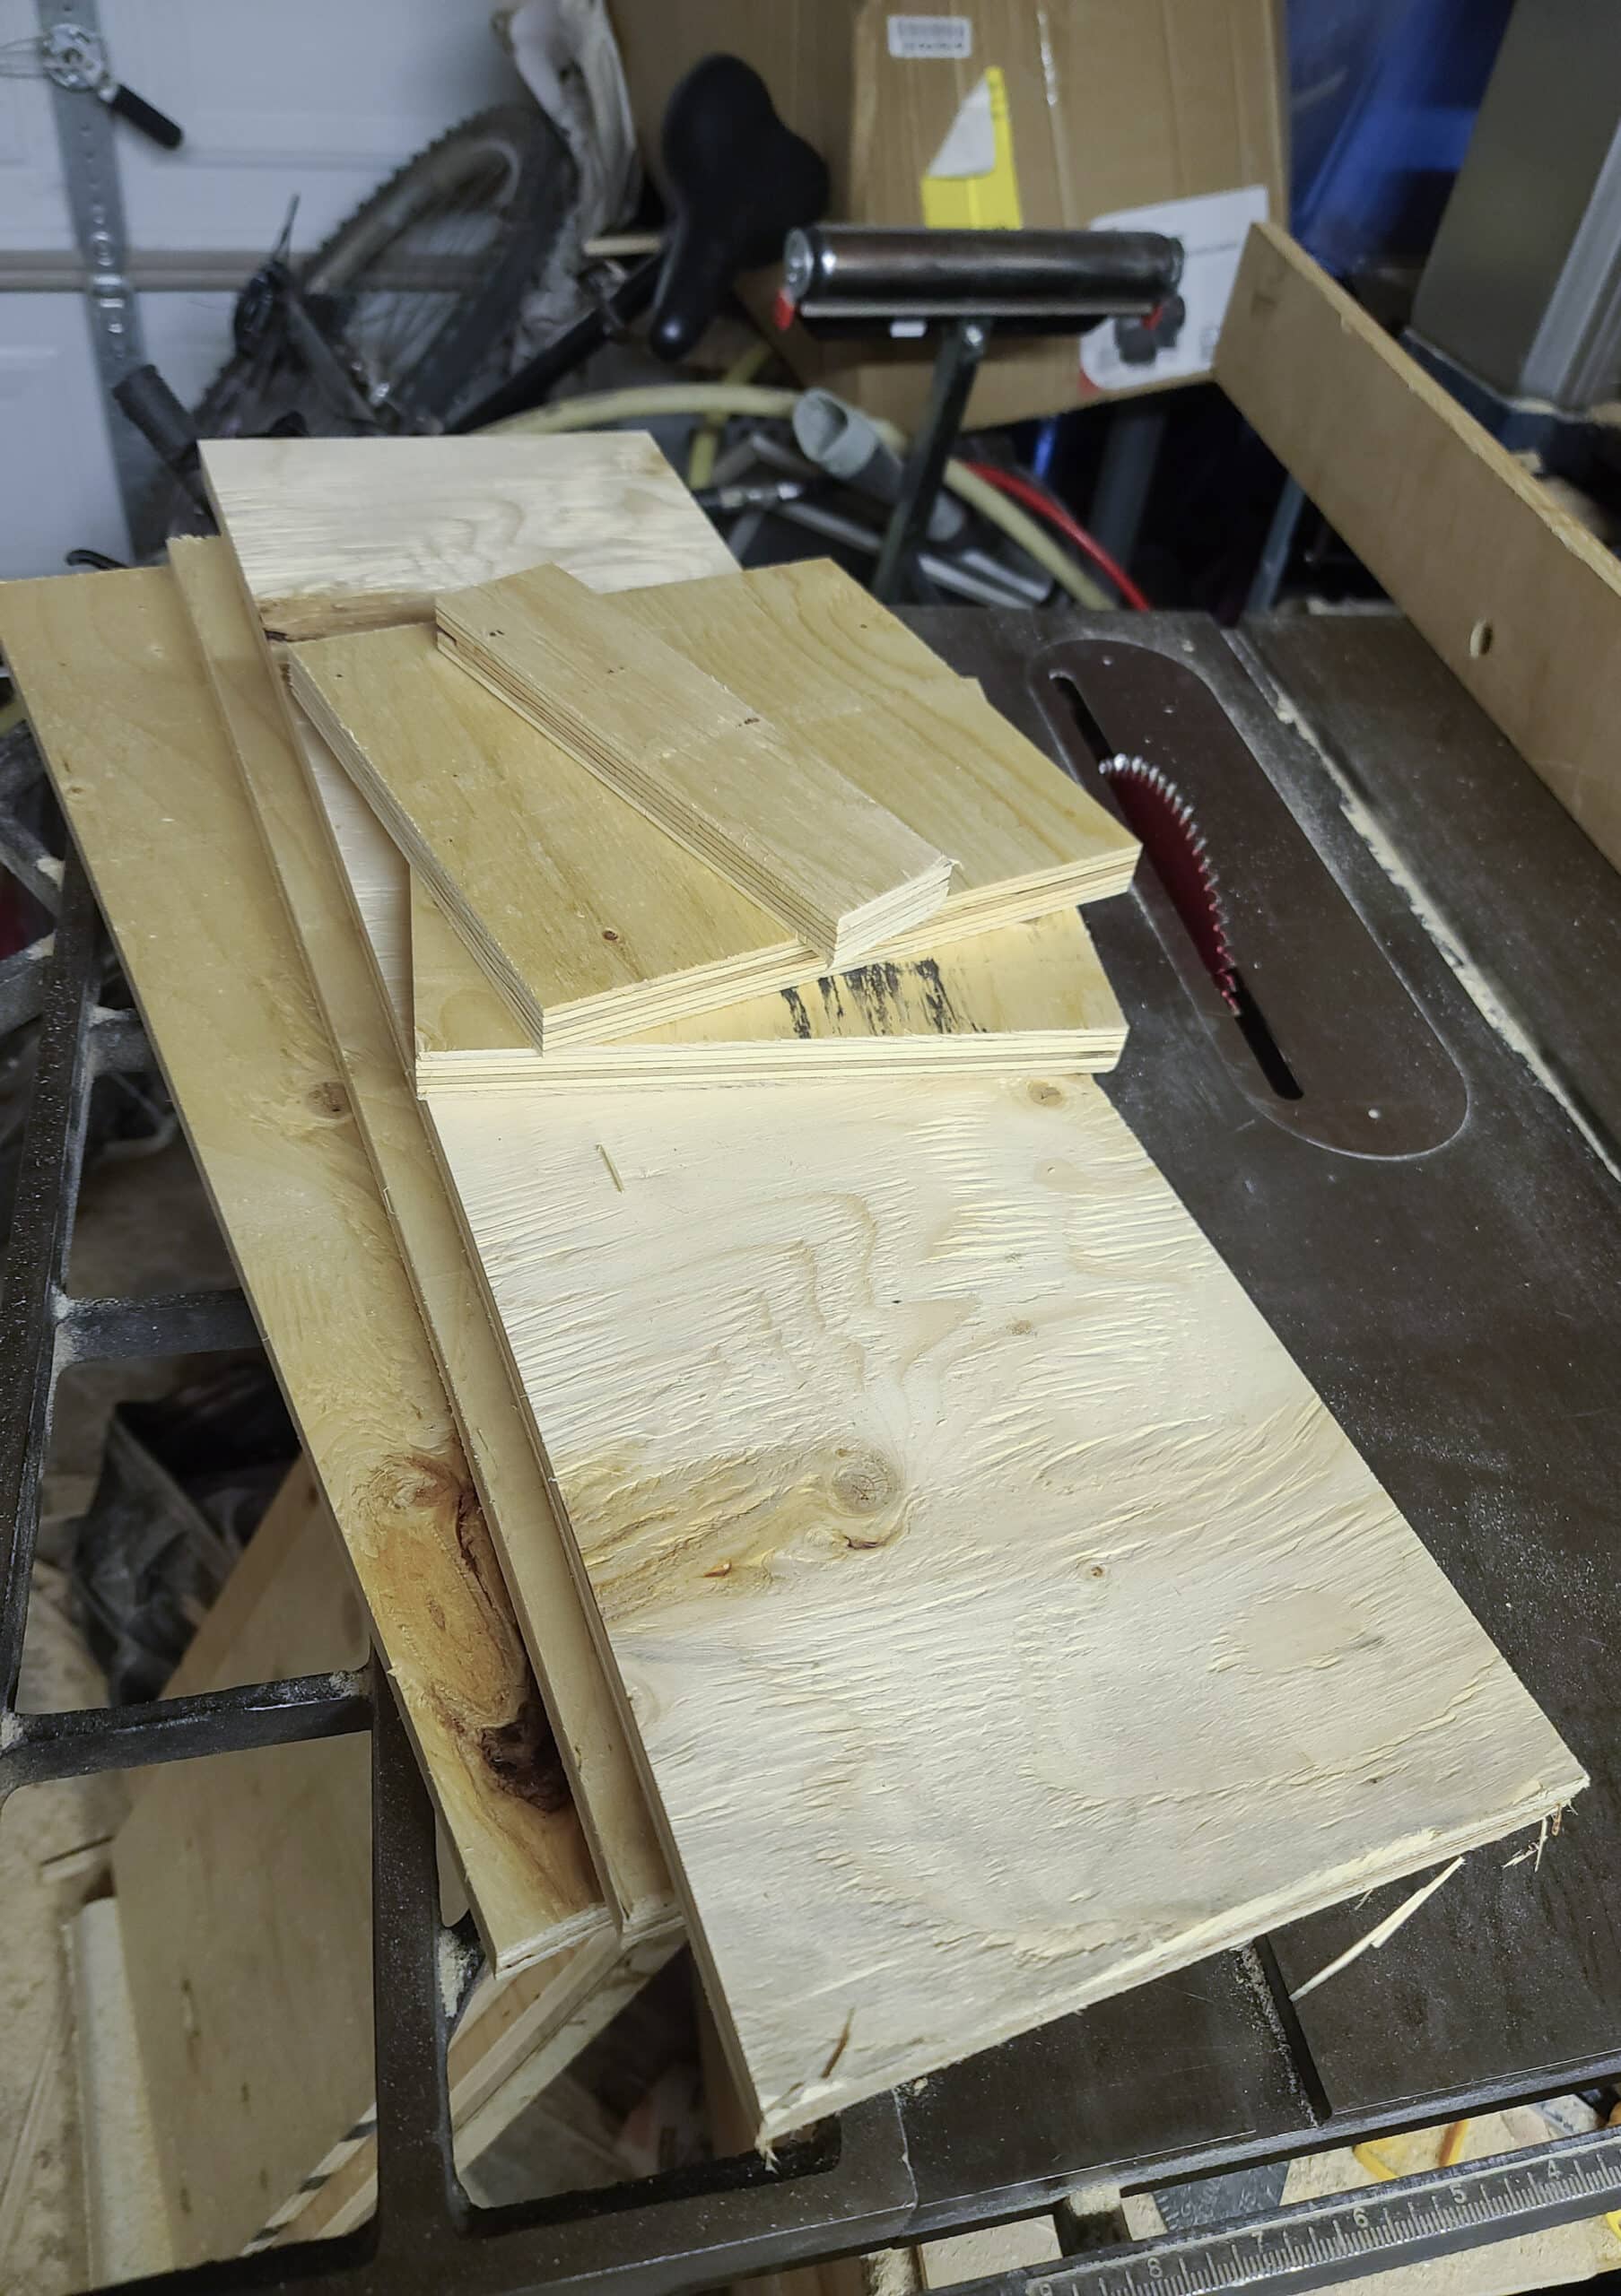
I have a table saw, but used my worm drive circular saw because I was using long strips of scrap plywood, which are difficult to cut on my table saw in my small garage.
24” is great because you can can buy 24” wide handi-panels of wood. It's also a great size for this step to fit in your RV.
My first step was around 27” wide, which turned out to be difficult because it barely fit. You have to be really careful when placing it, which is frustrating. Making it a bit smaller means its easy to put stow it away.
If you're ready to make your own, the following are the steps you should take. Sorry, not sorry, I had to do it.
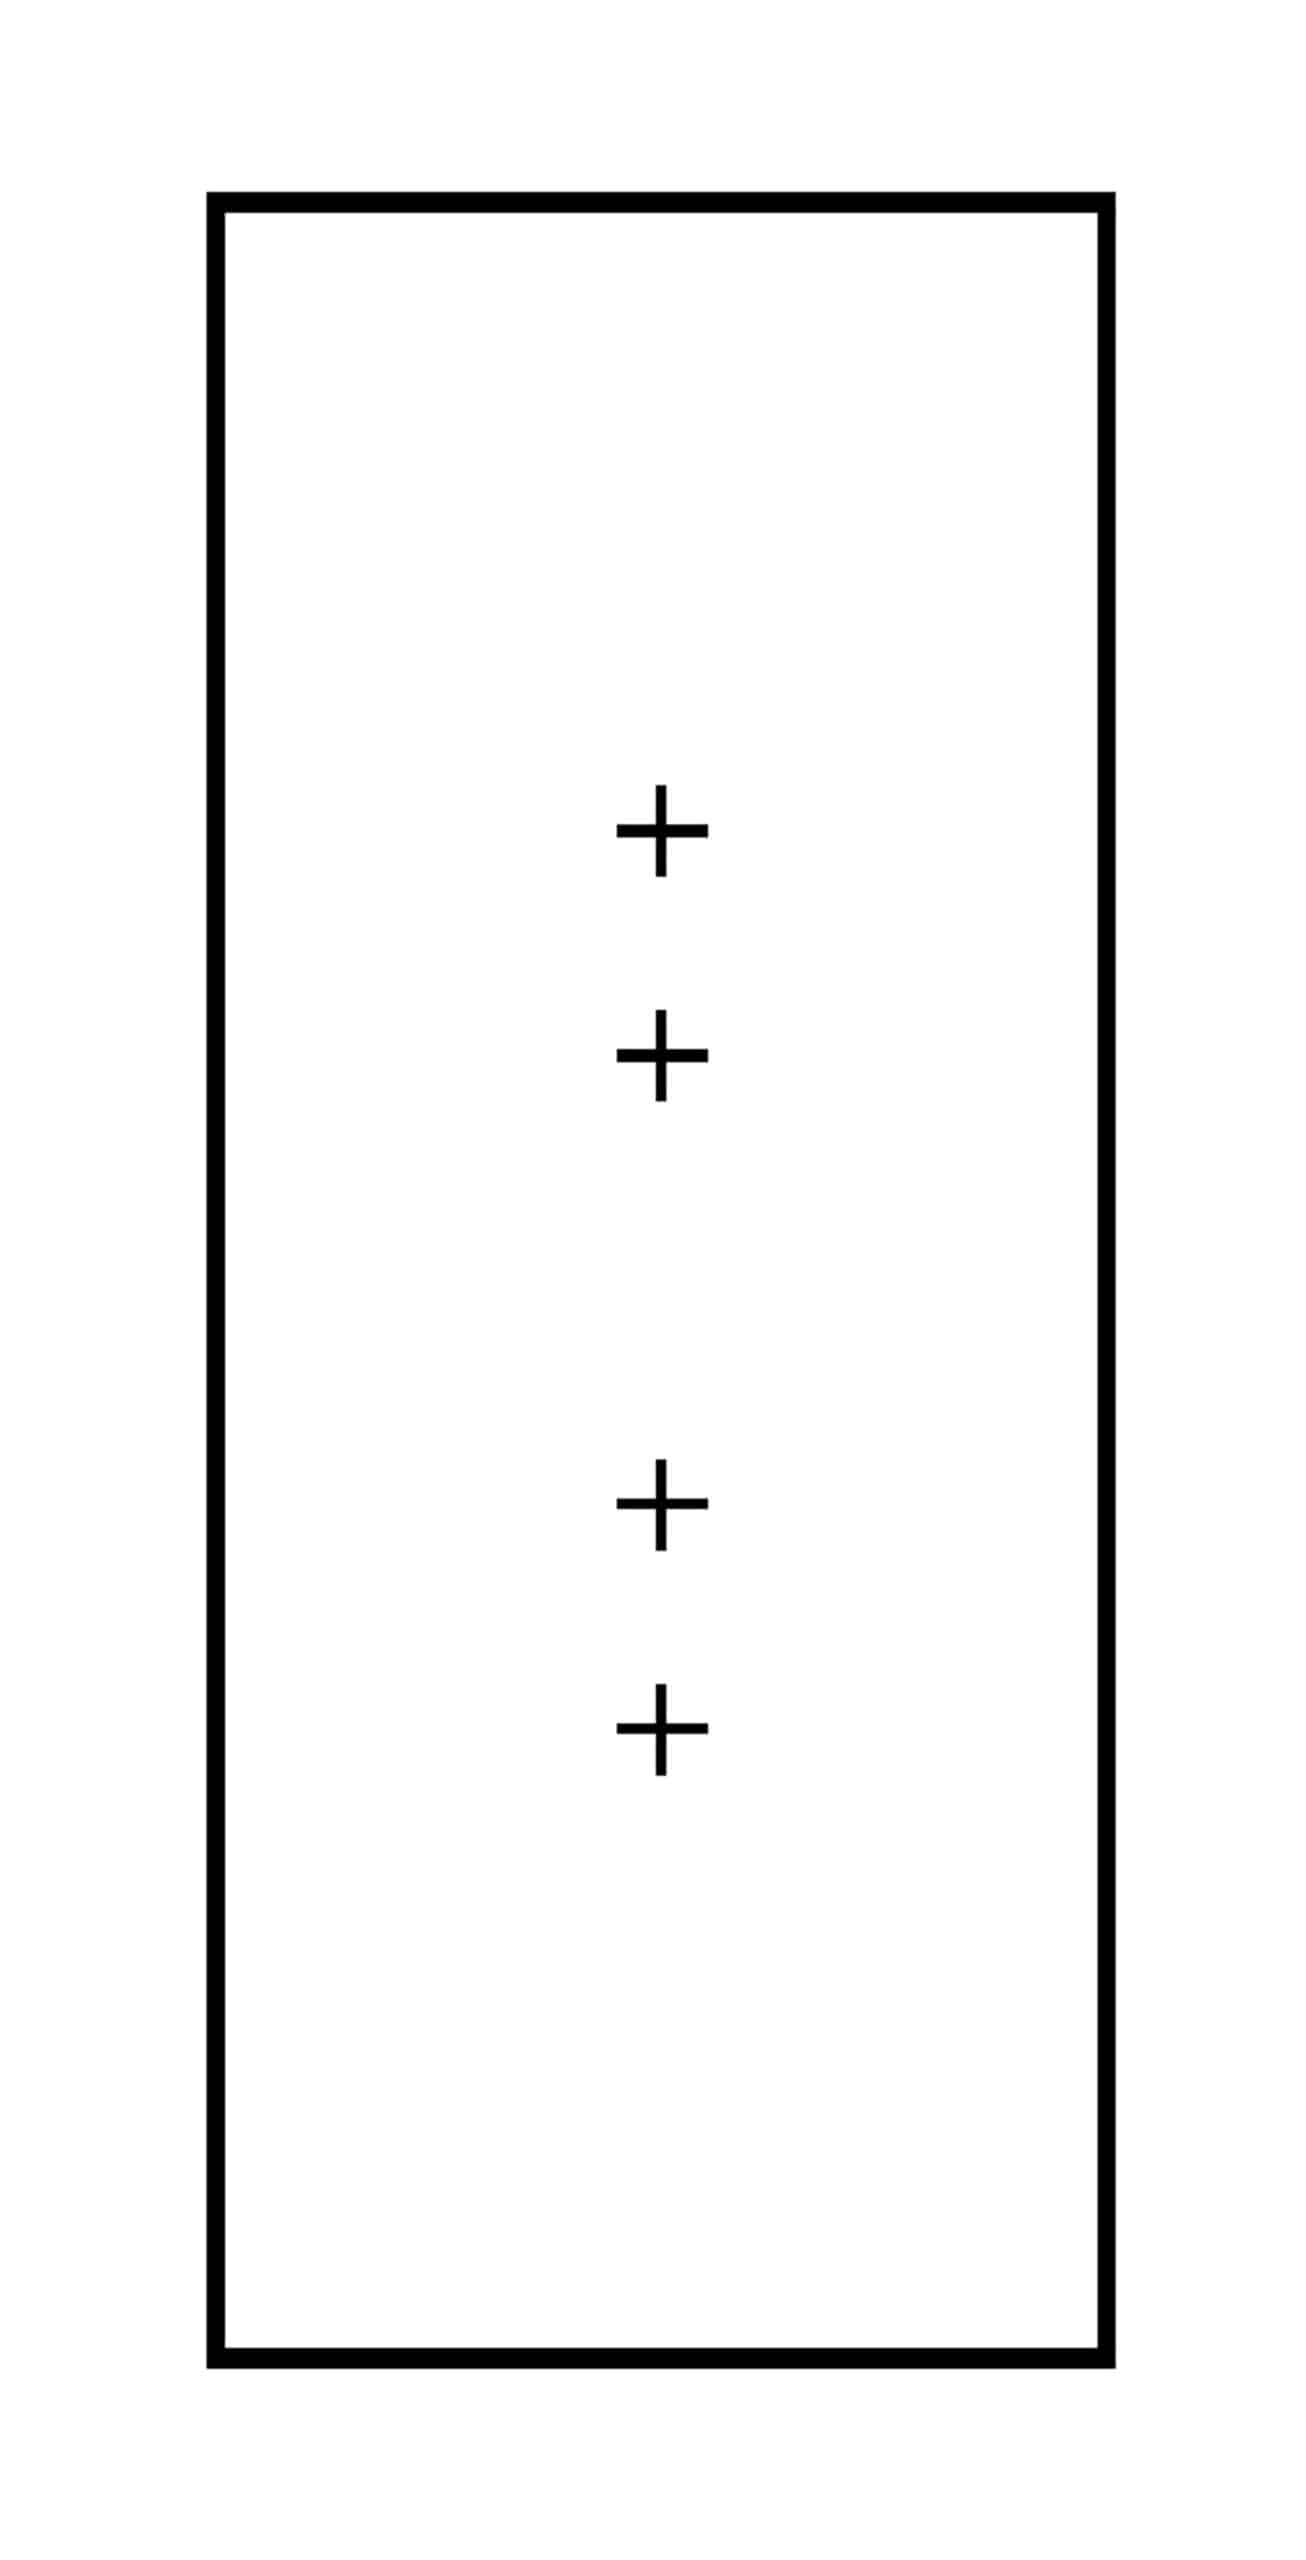
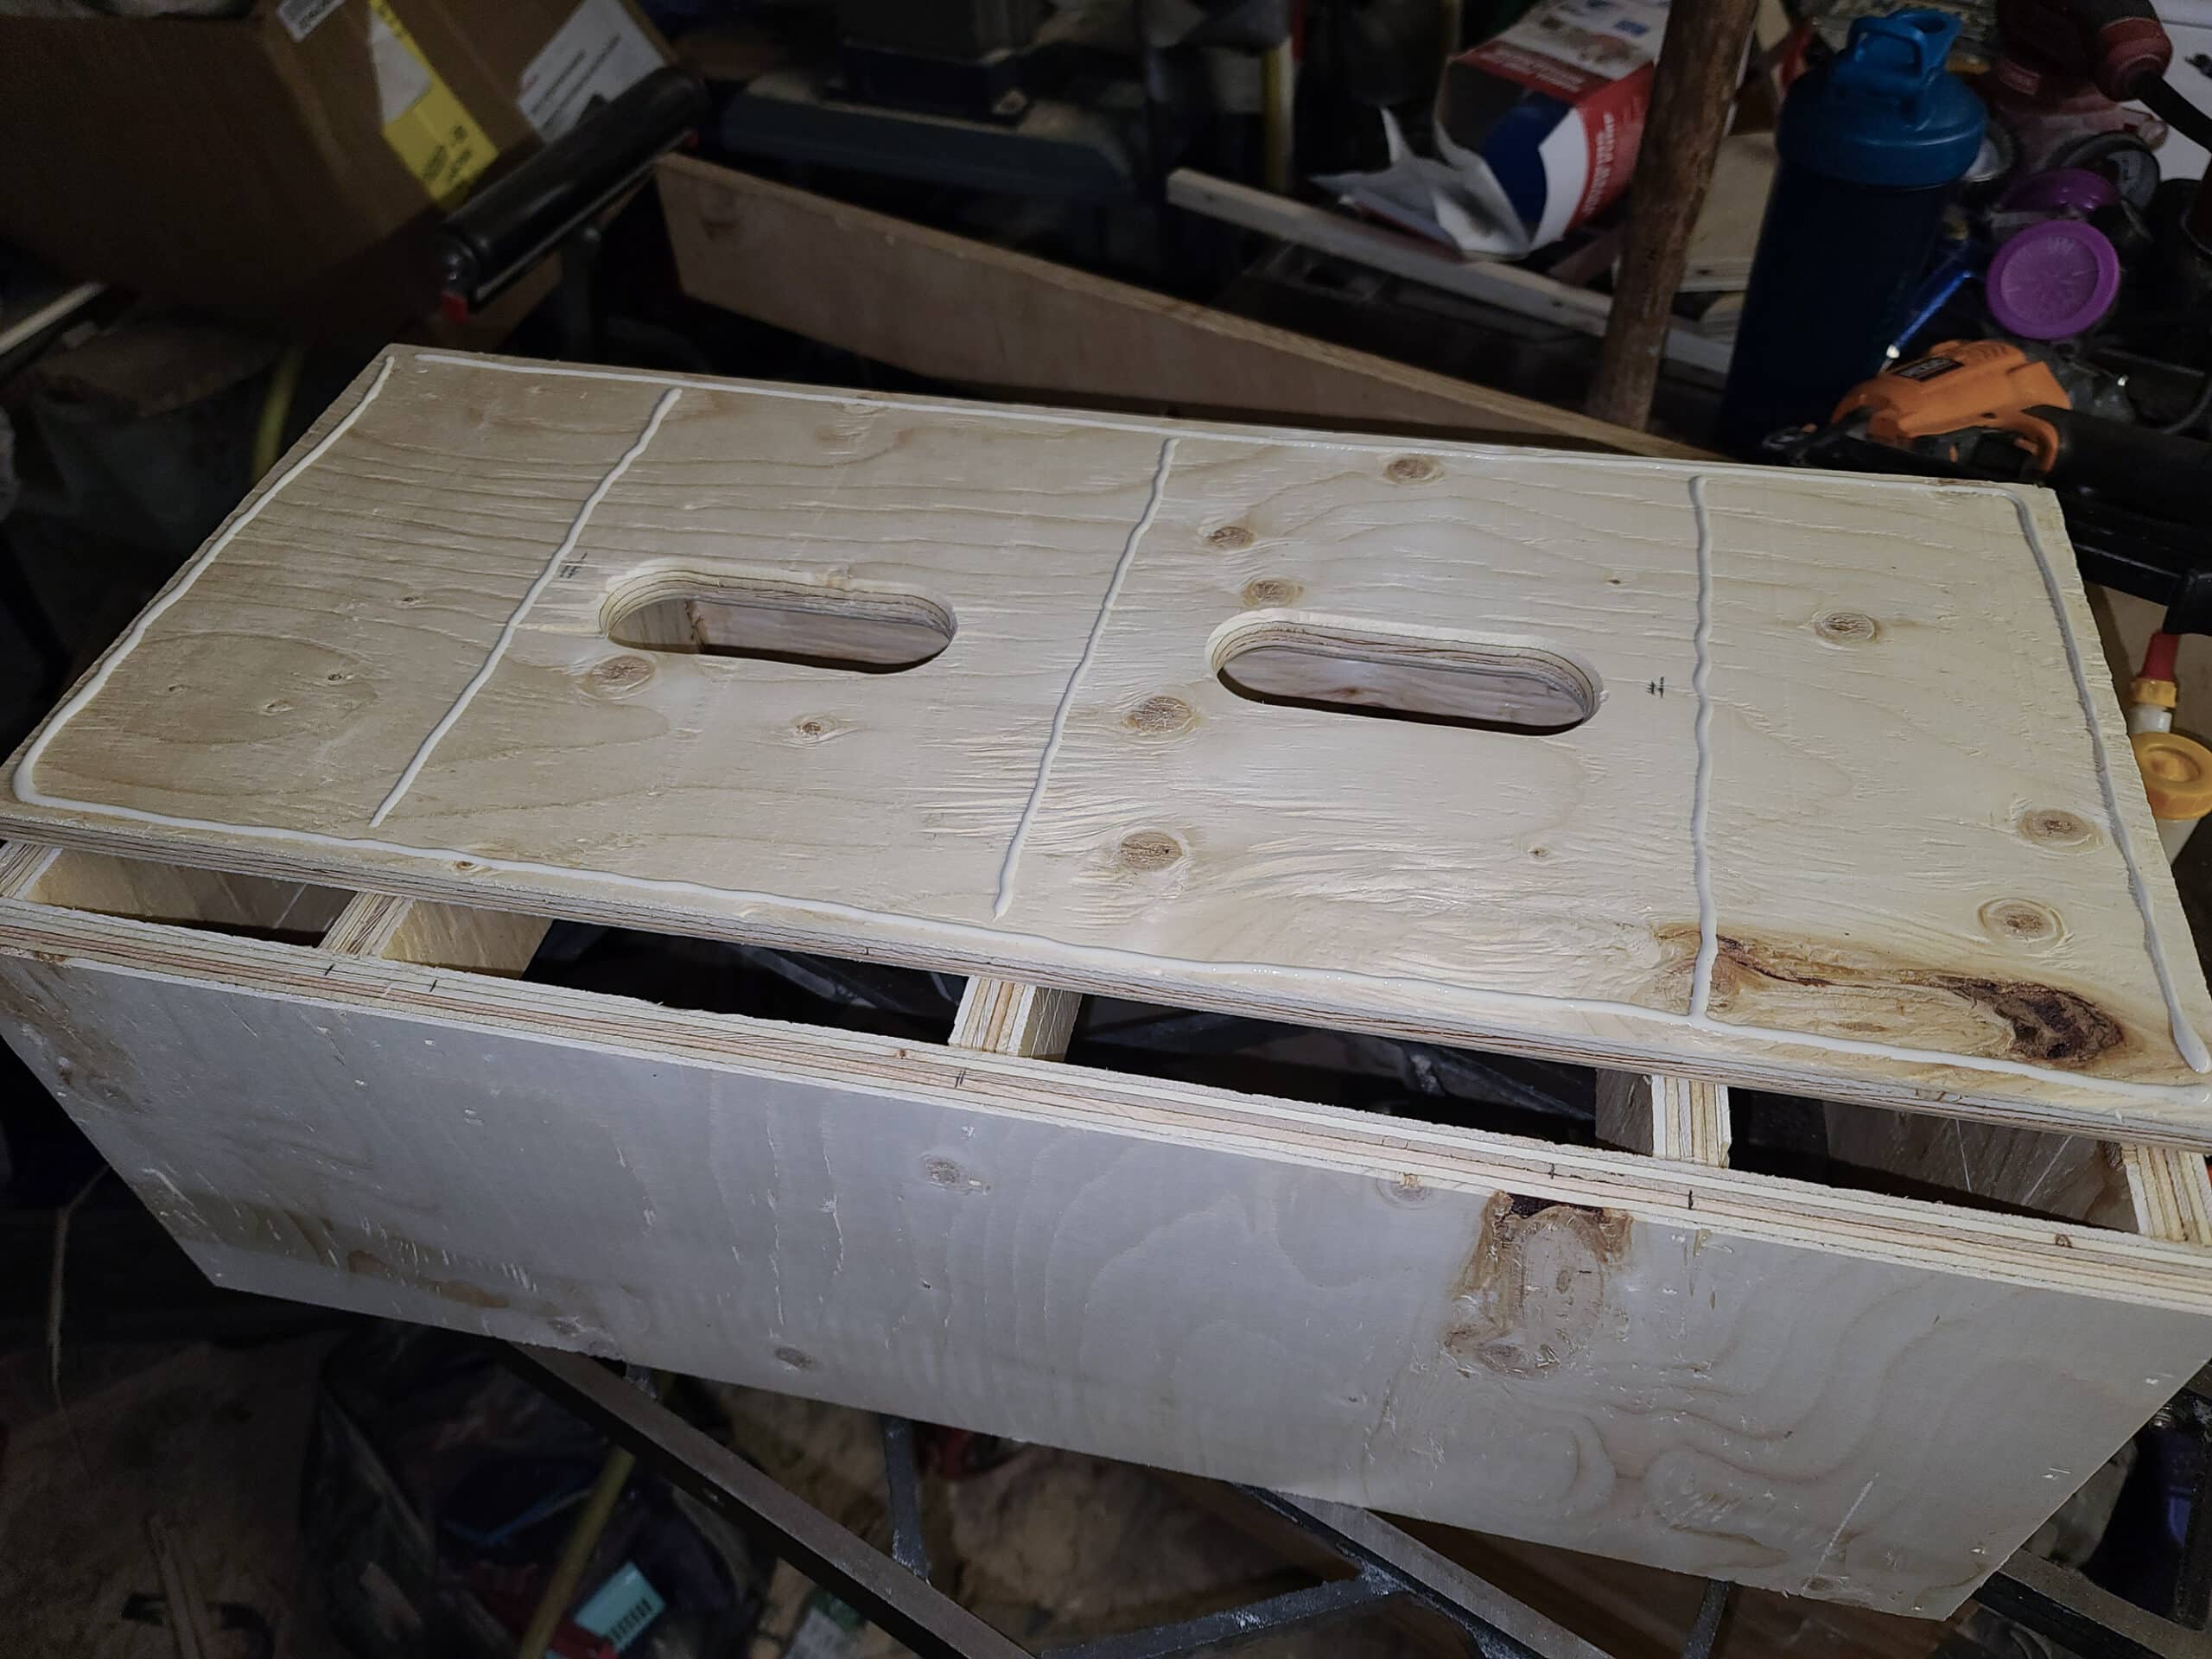
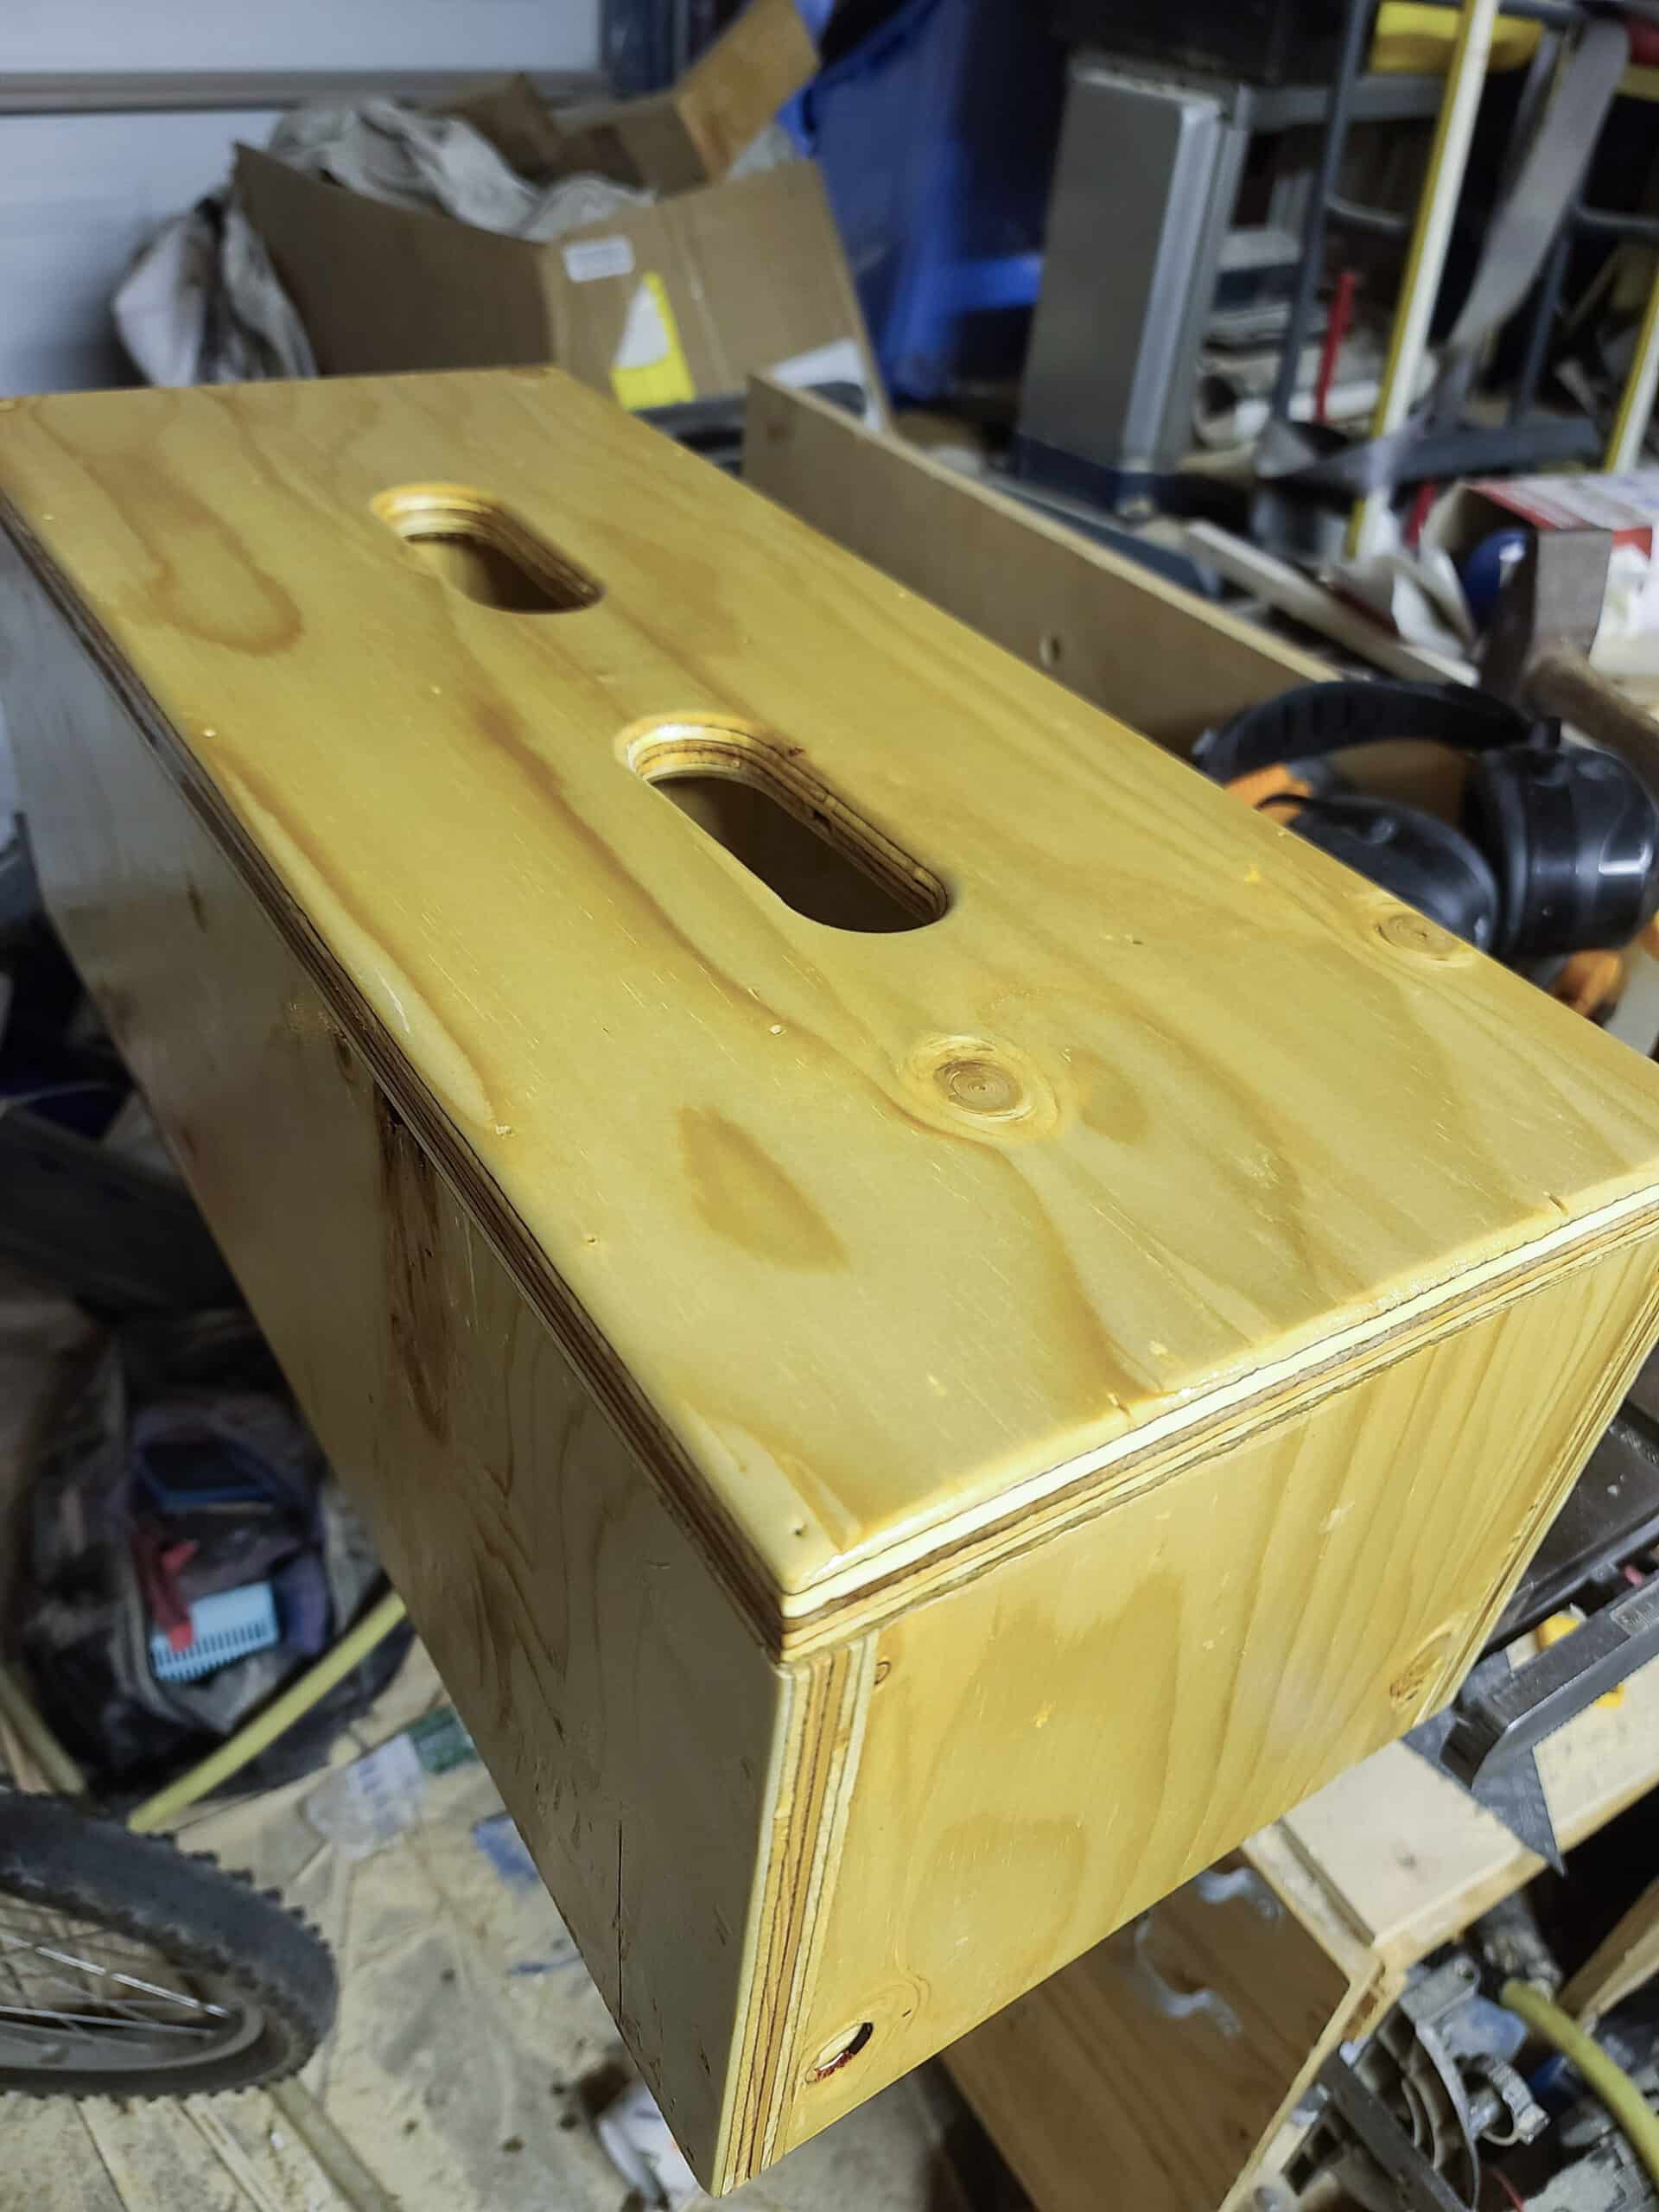
Cutting handles in the Top of the Camper Step
Handles are optional, but make it really convenient to set in place. I put the handles on the top, and biased towards the center of the step. This makes is easy to move it with one hand. I determined the size by measuring my hand, and making the hole a bit bigger so it's easy to slip my hand in.
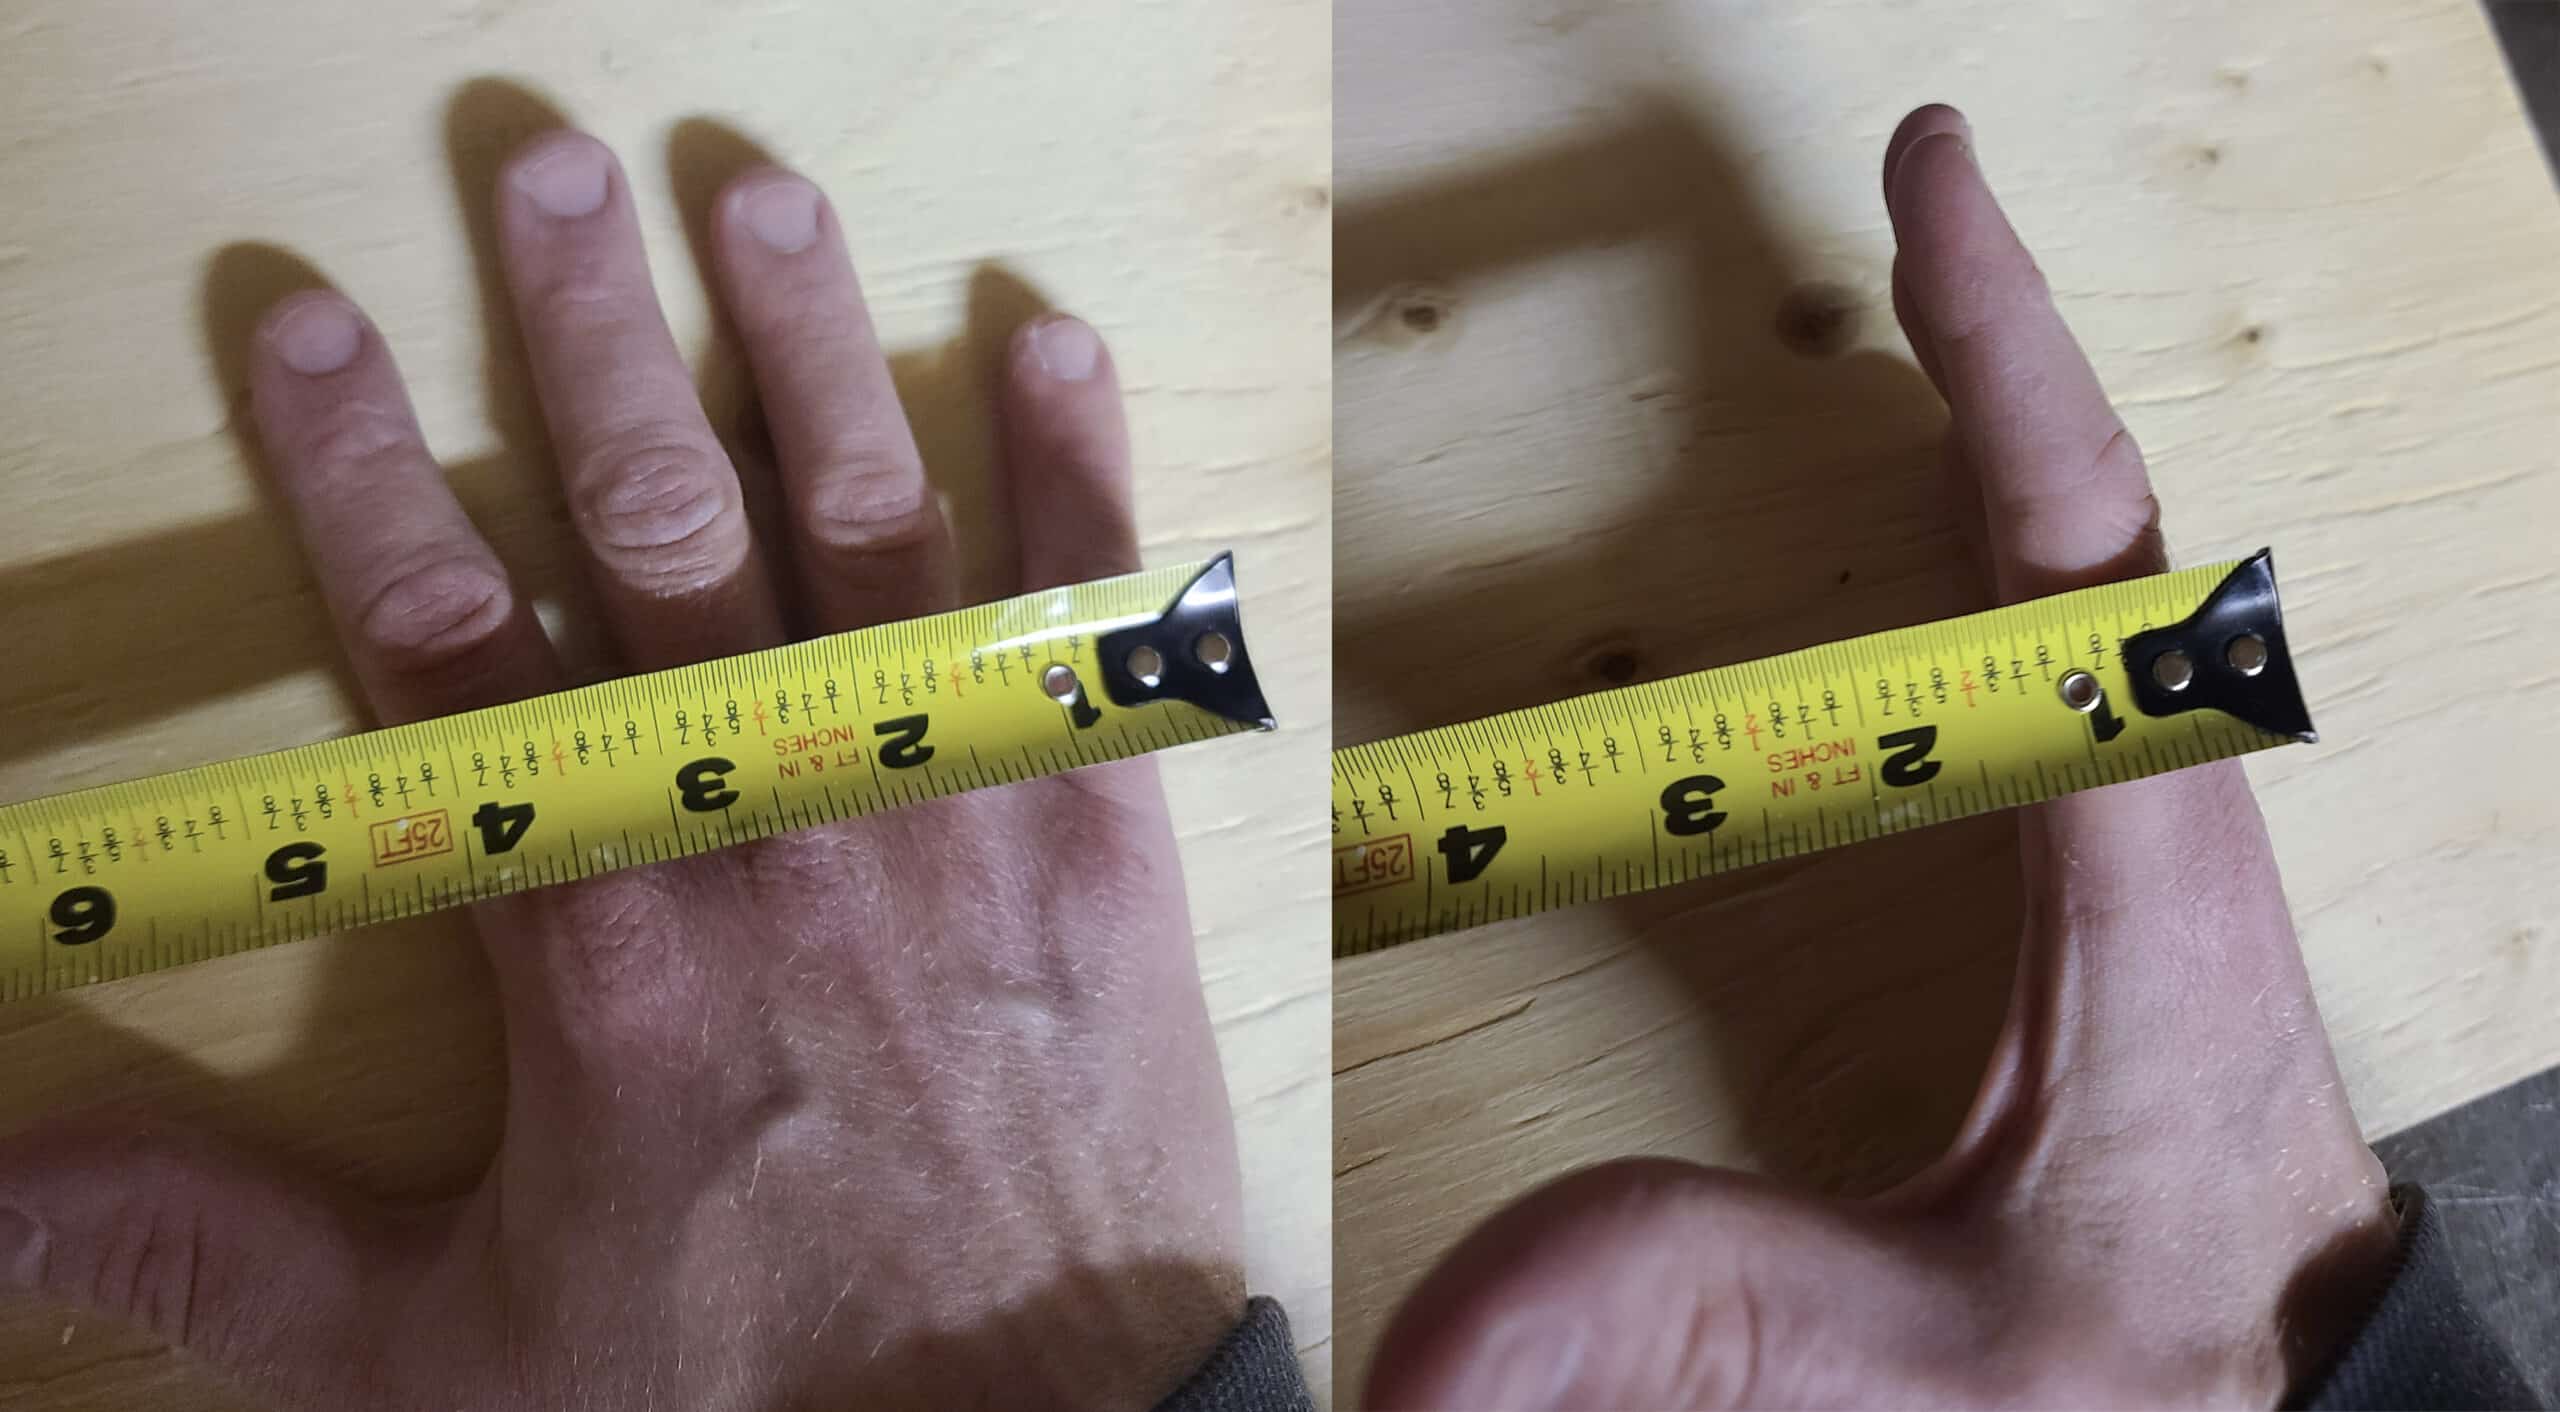
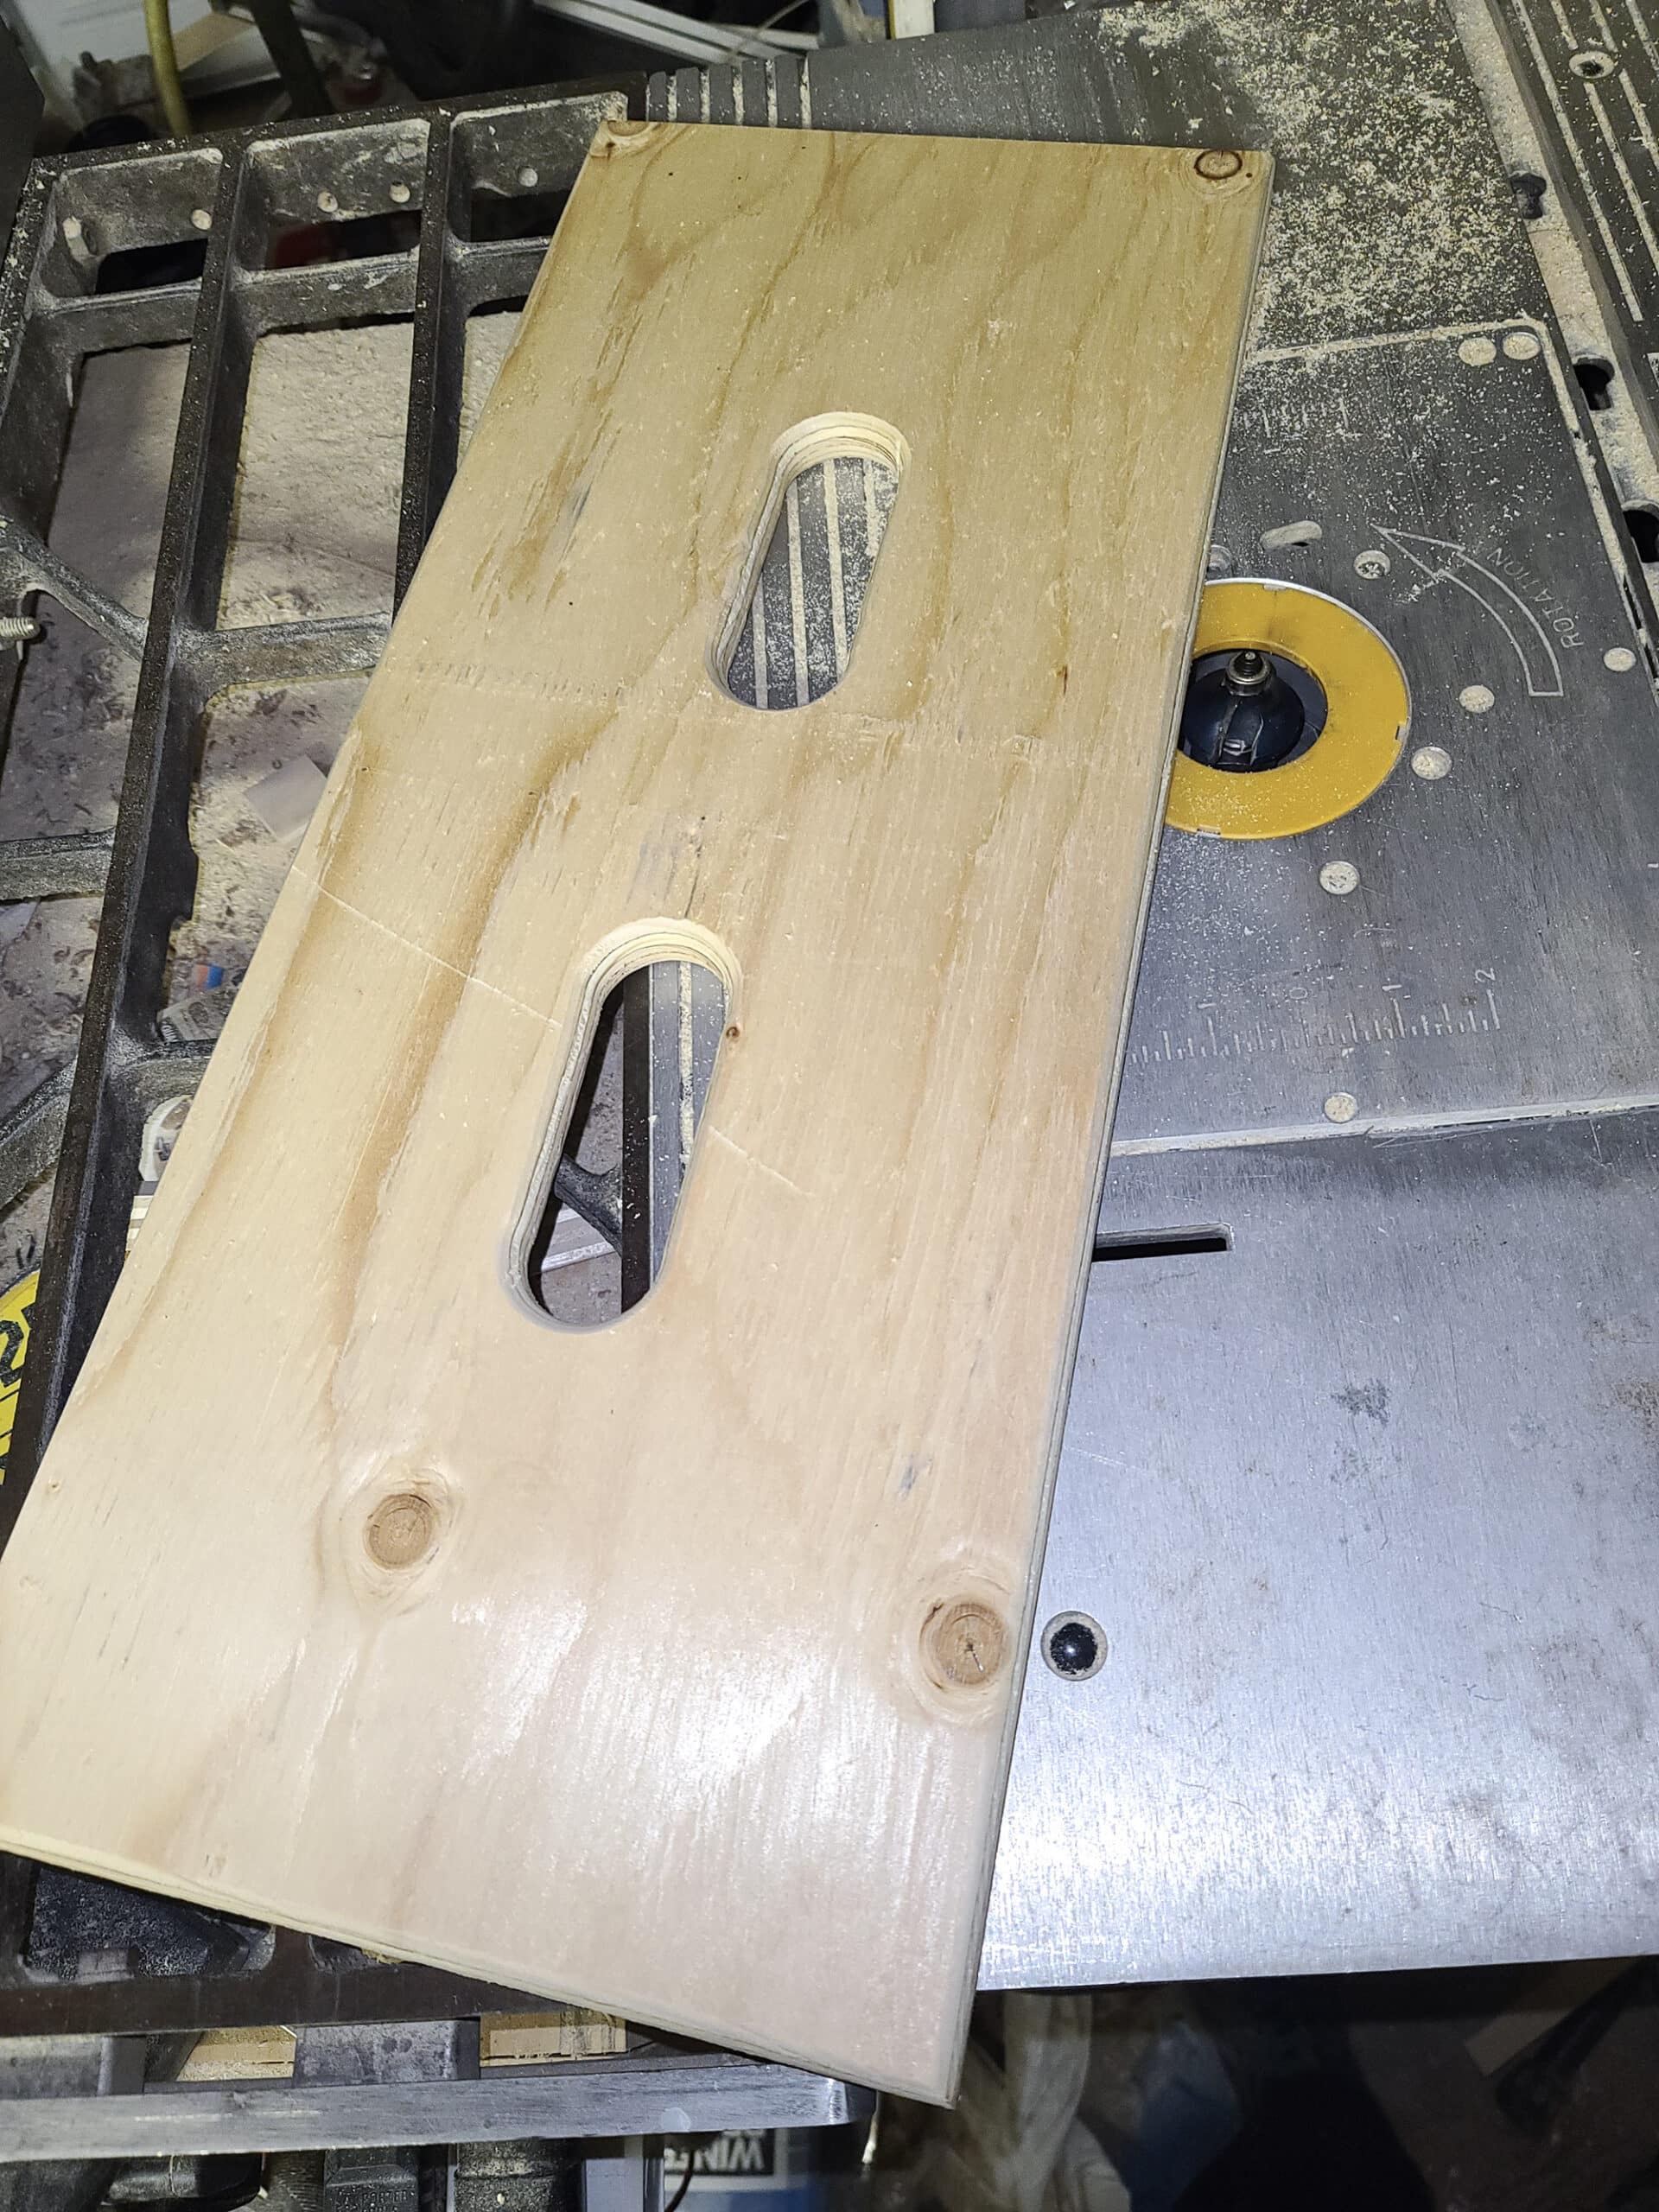
If you're not using a hole saw, simply cut out a rectangle 4.5” x 1.5” instead. An oscillating tool would make quick work of this.
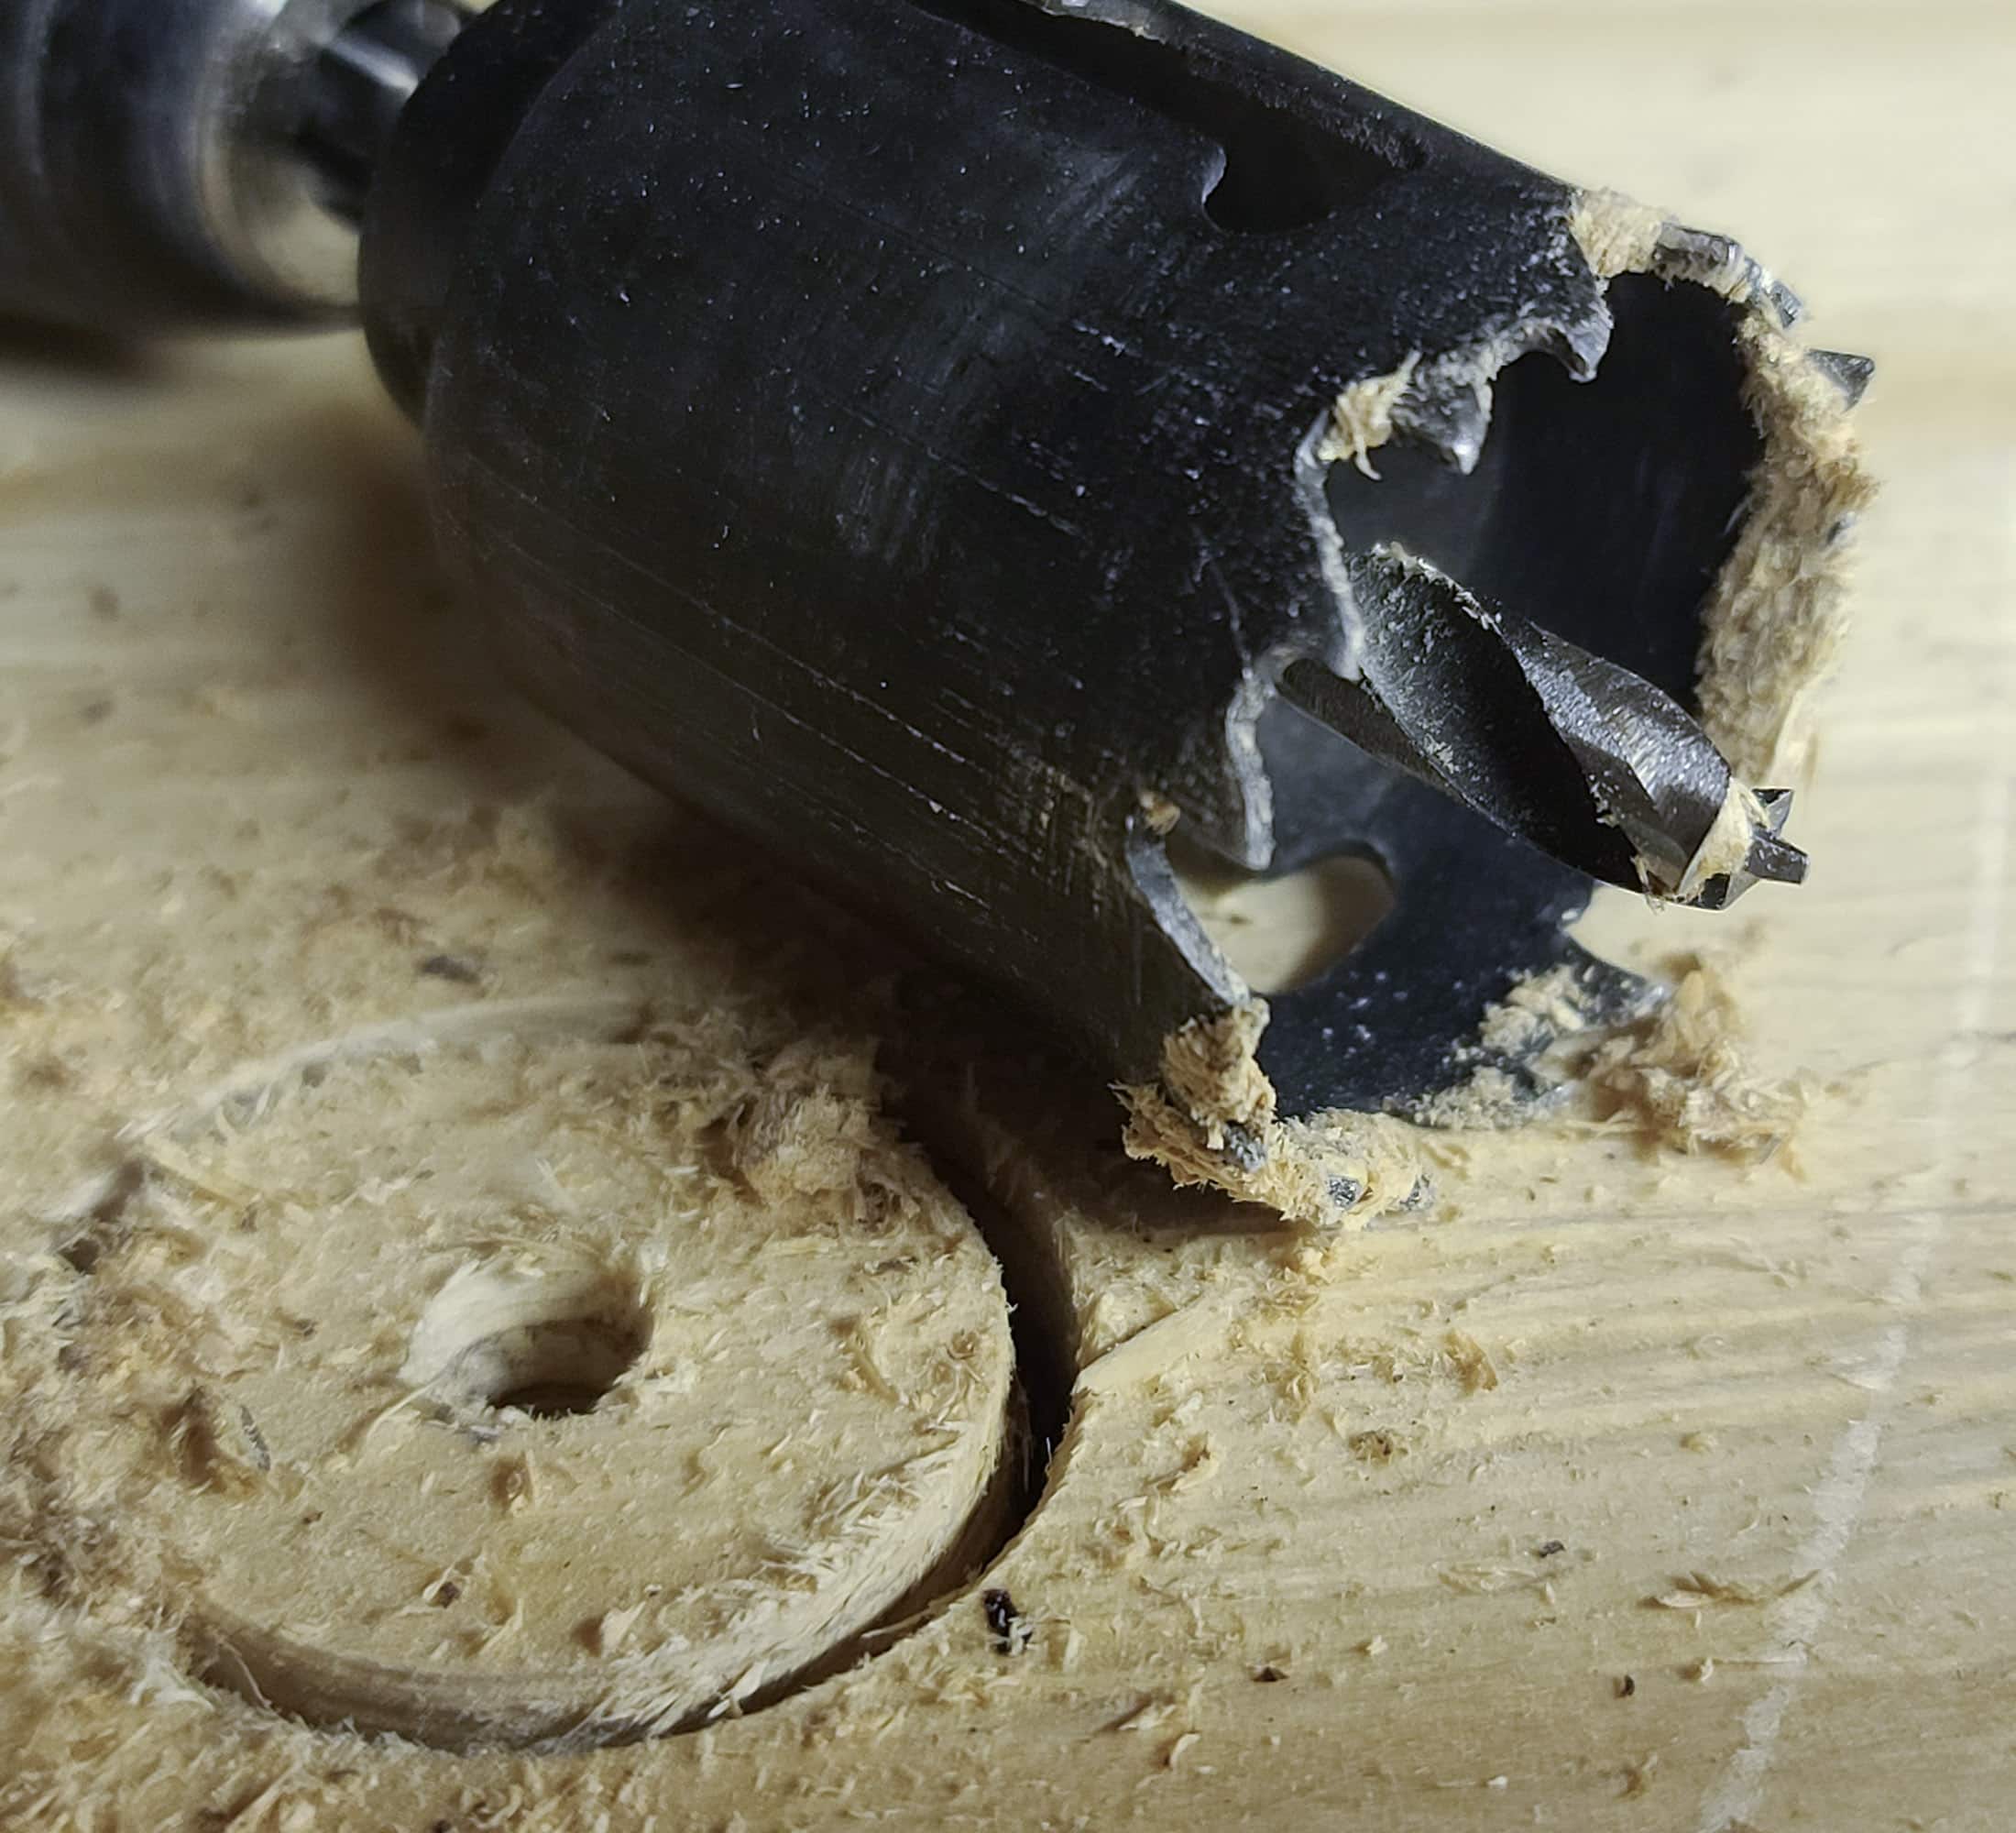
I chose to use a large roundover bit on my table router to make generously smooth edges. I rounded both sides of the handholds, but only the top side of the outer edges.

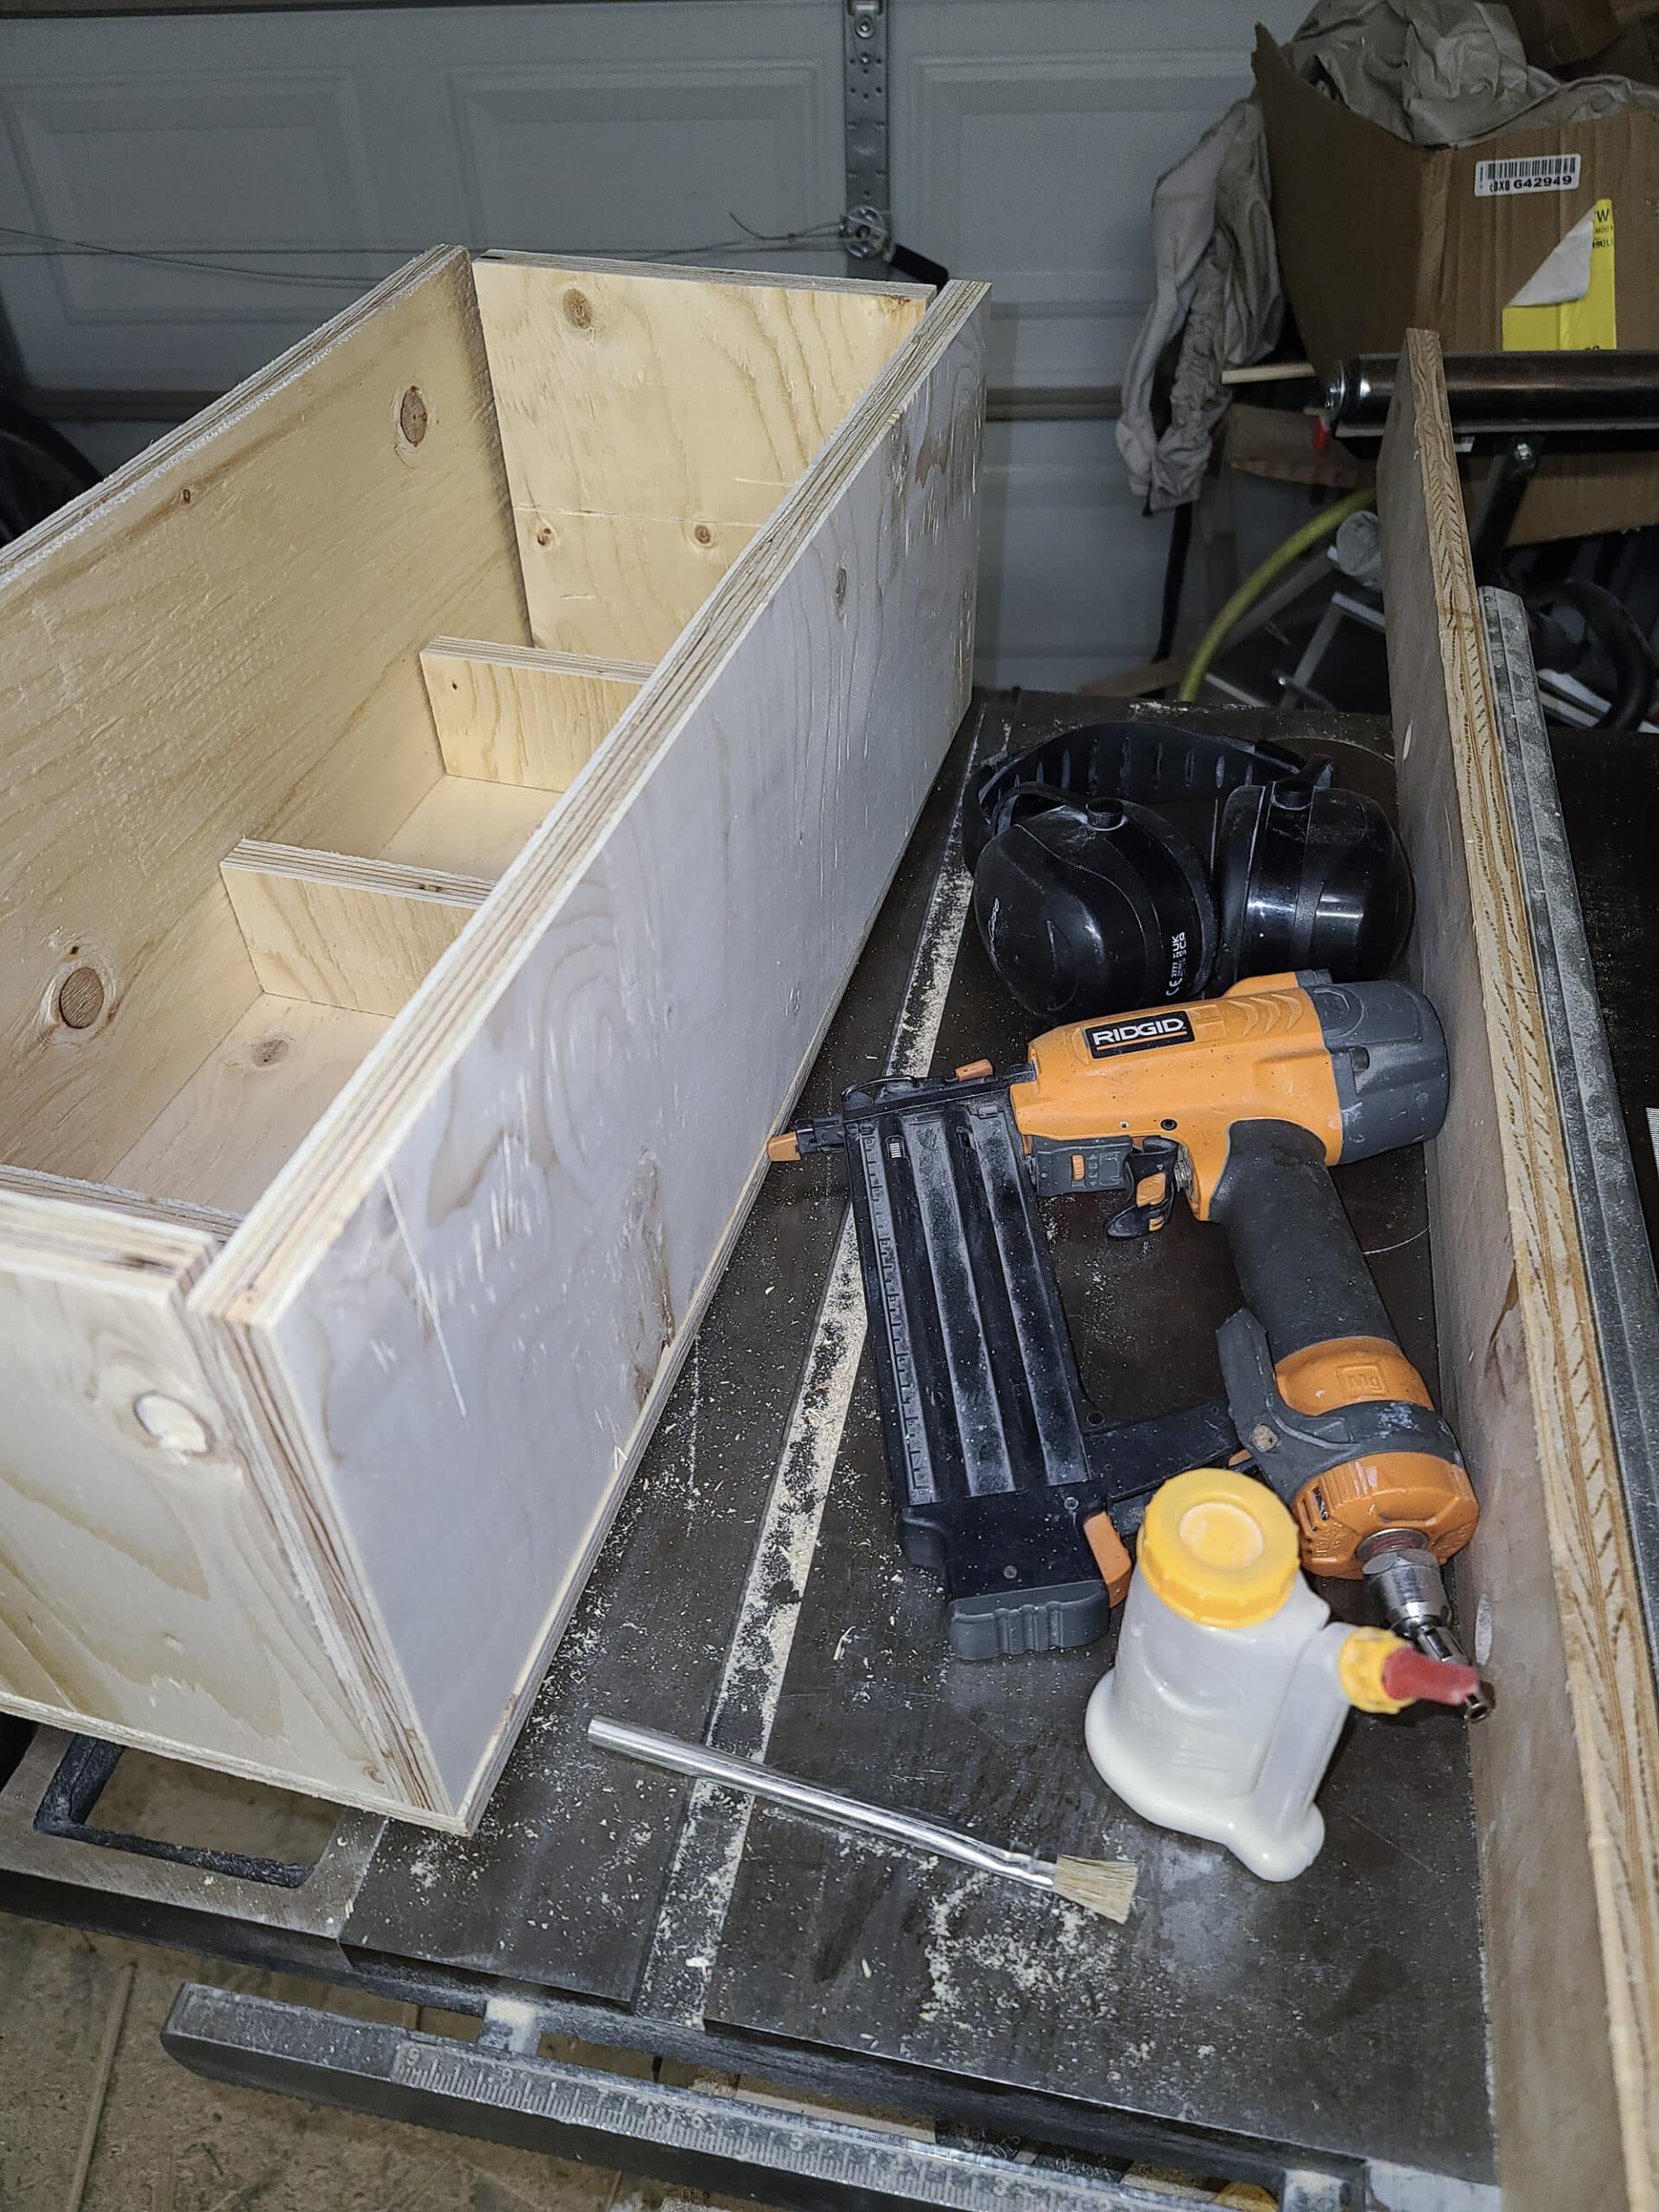
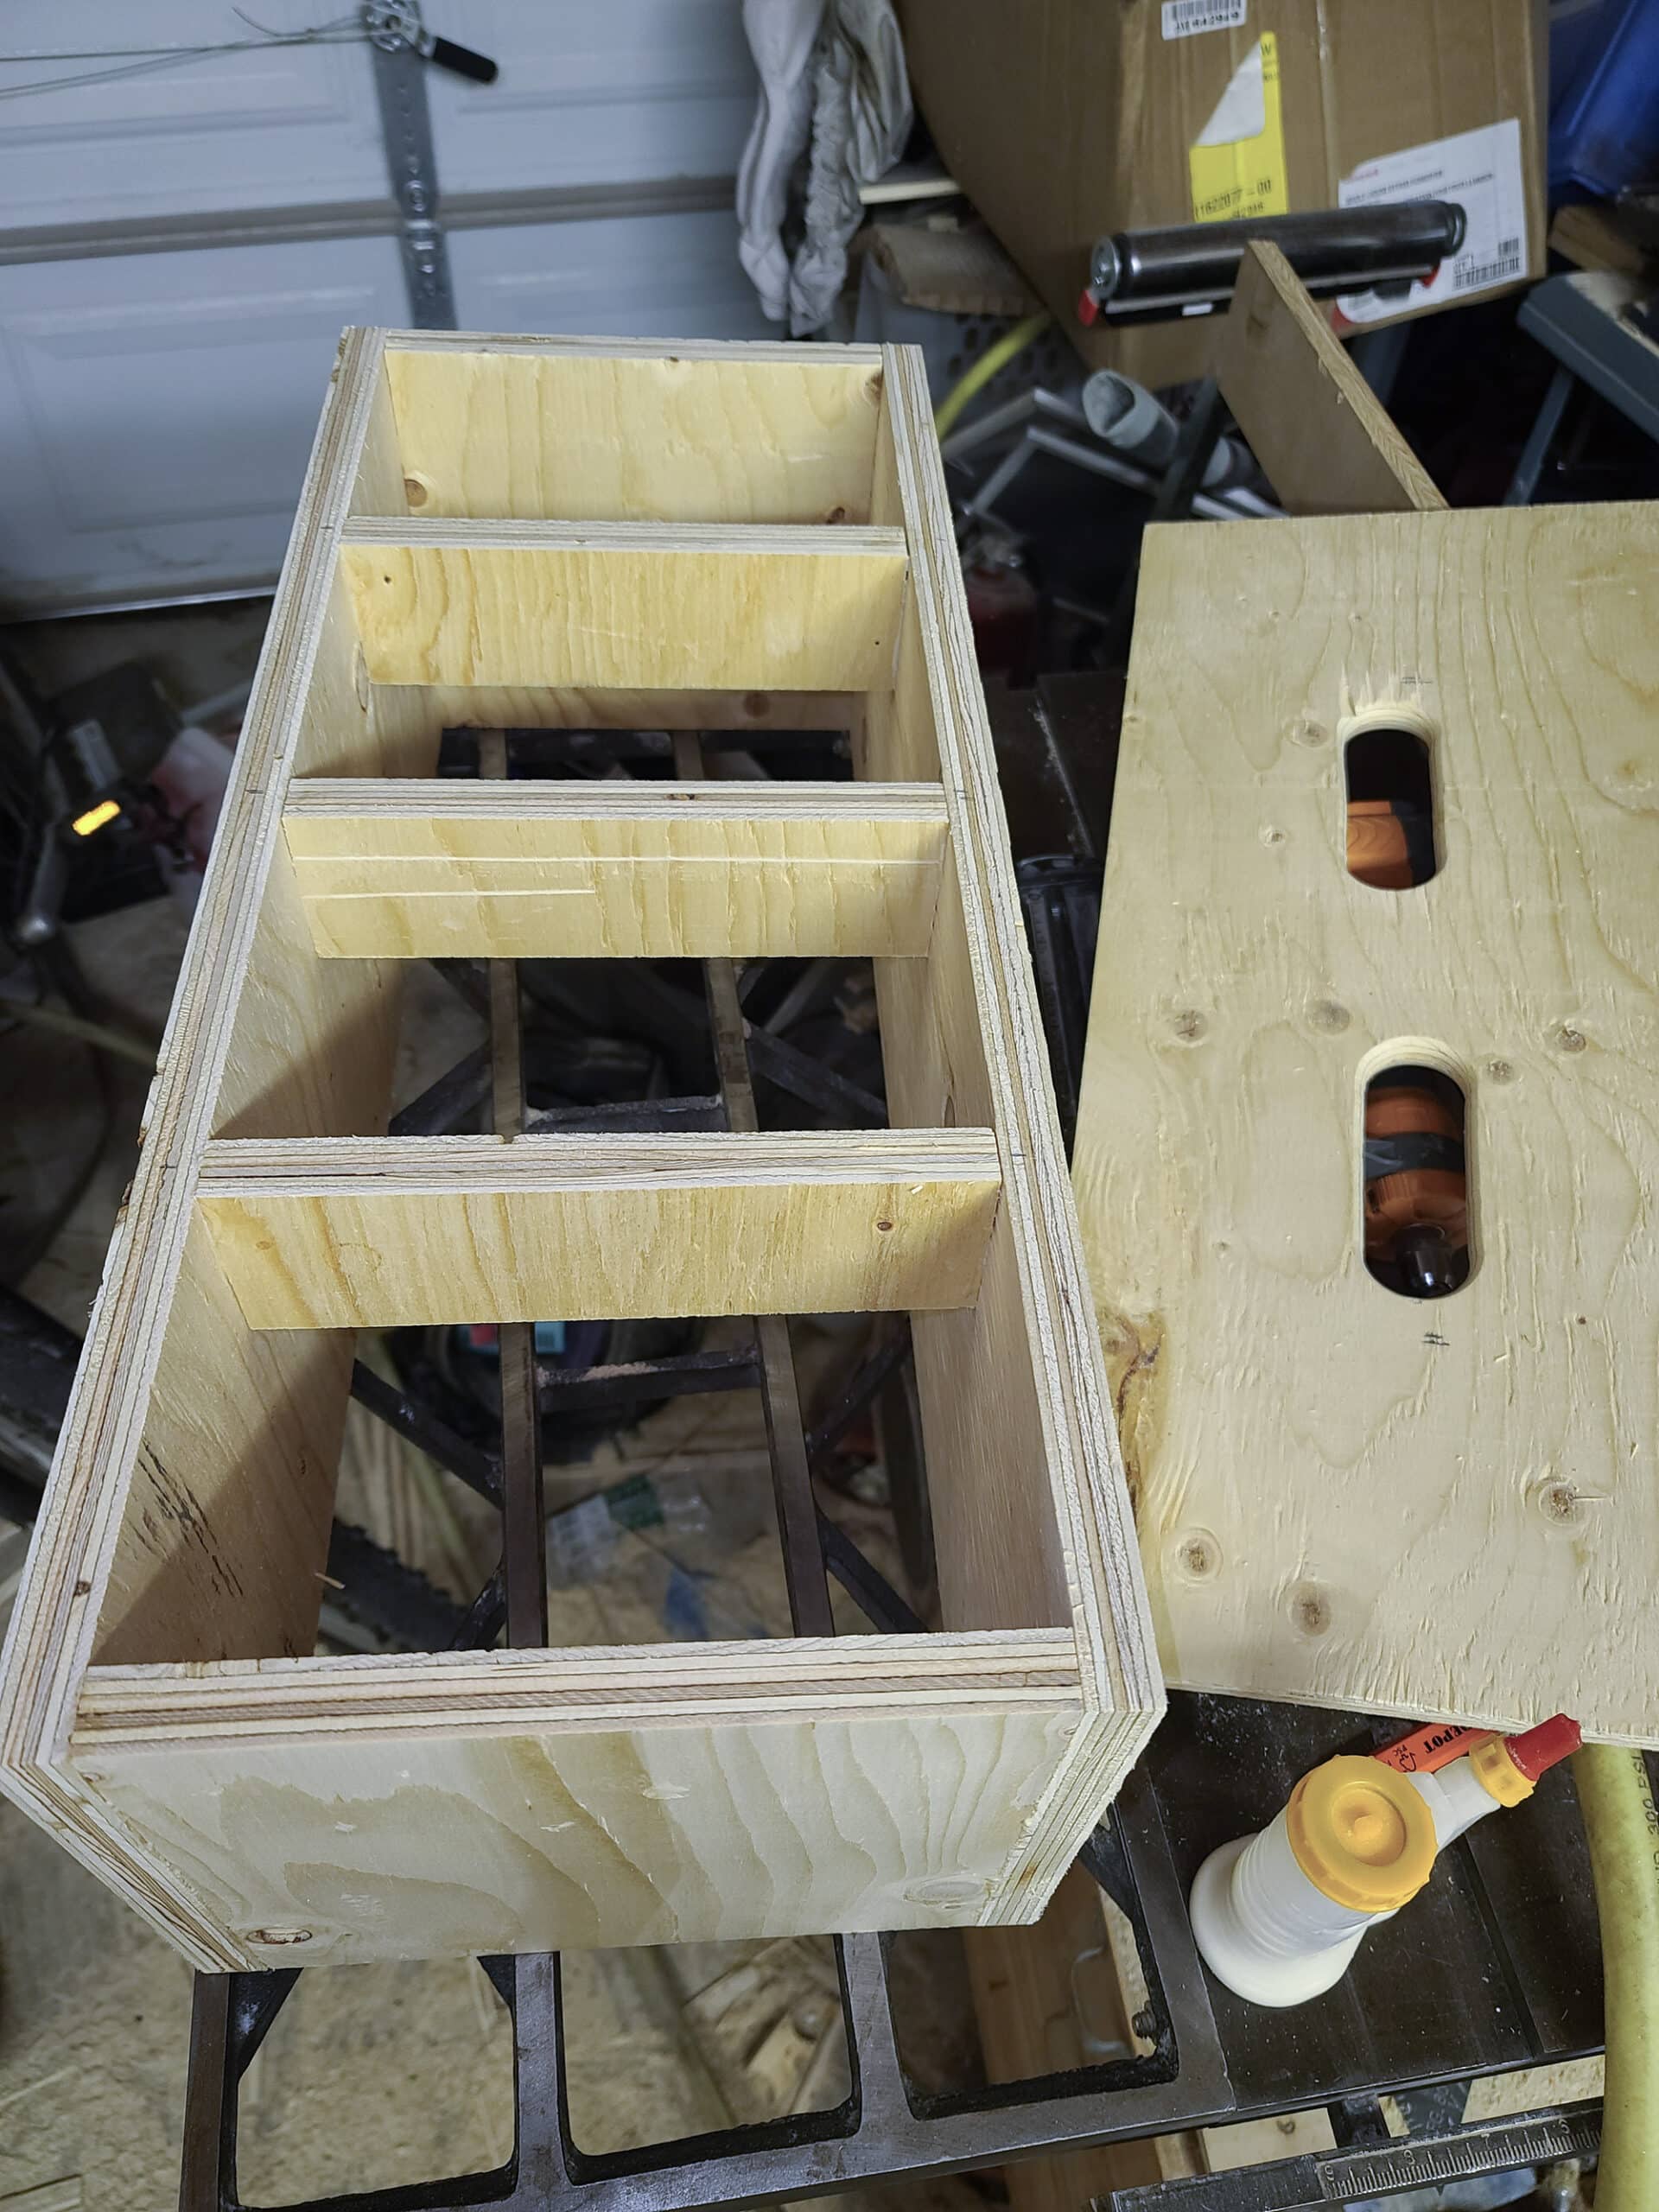
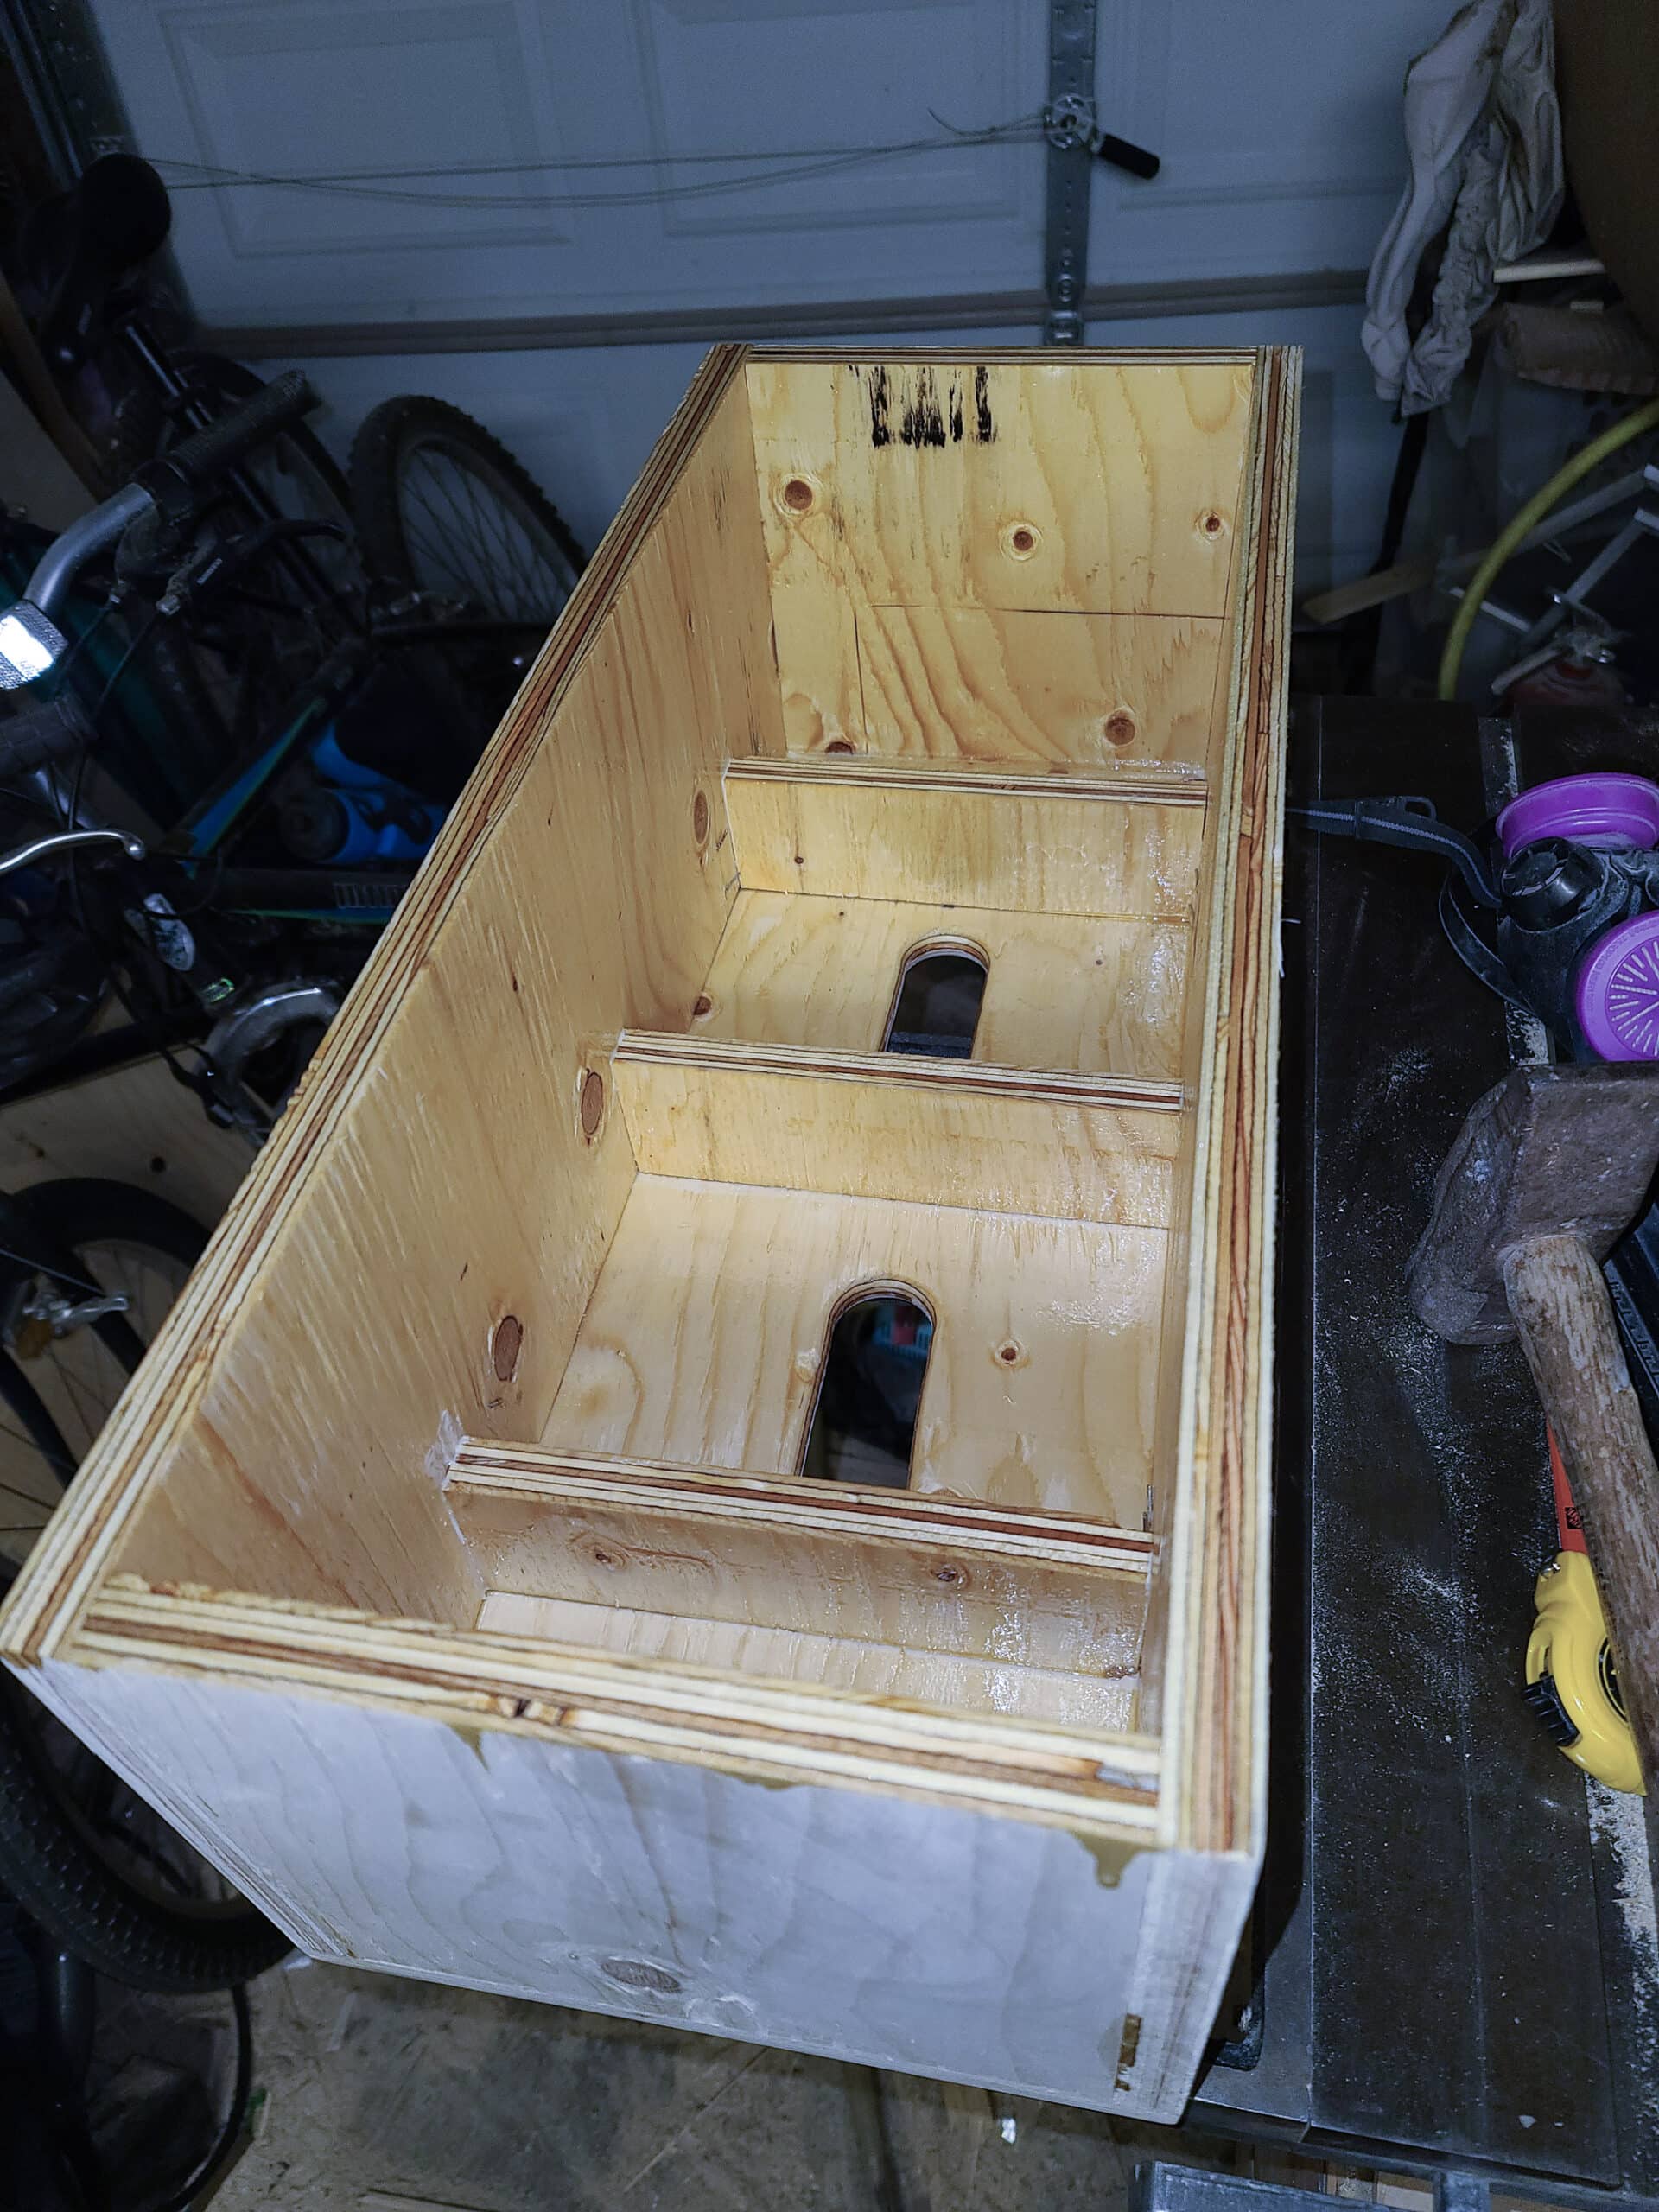
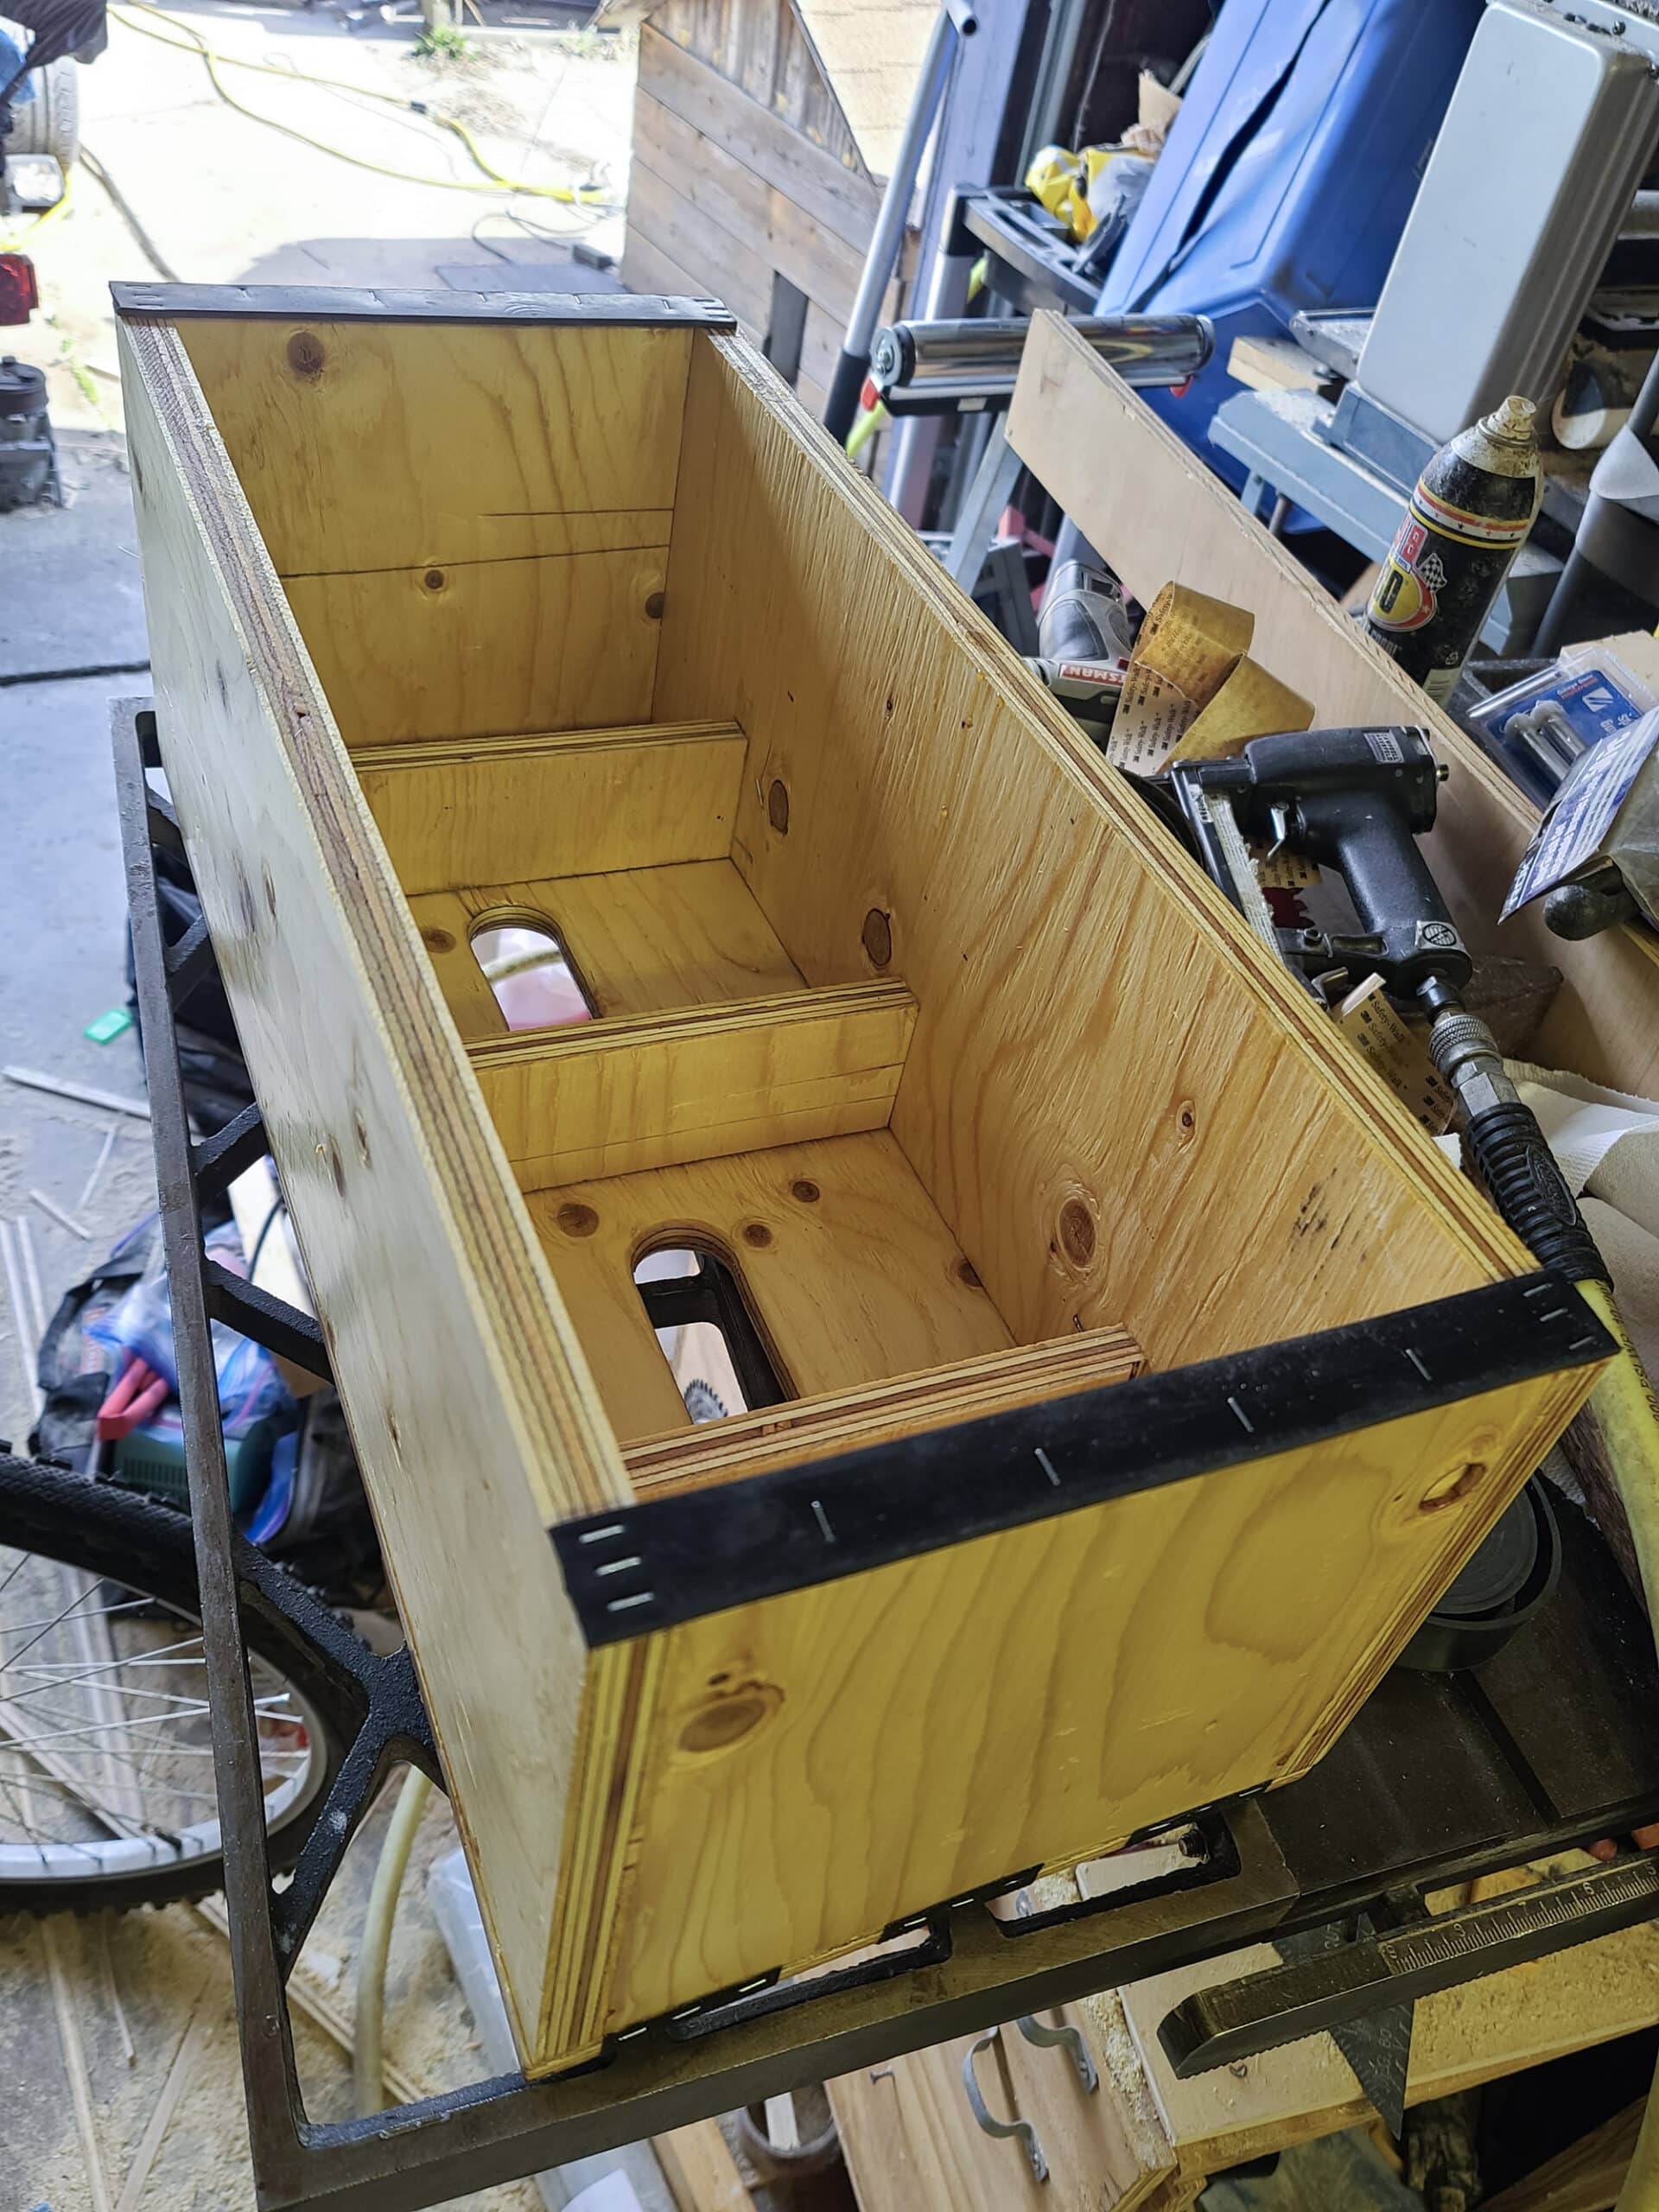
Assemble the RV Camper Step
Always do a mock-up before gluing and using fasteners! If you've made a mistake, it should be obvious and you can correct it before it becomes permanent.
Side note: The supports under the top of the step don't go all the way to the ground. This is intentional. It still provides a lot of strength to the top board (especially if you've used ½” plywood), but won't cause the step to wobble from a stray rock on the ground.
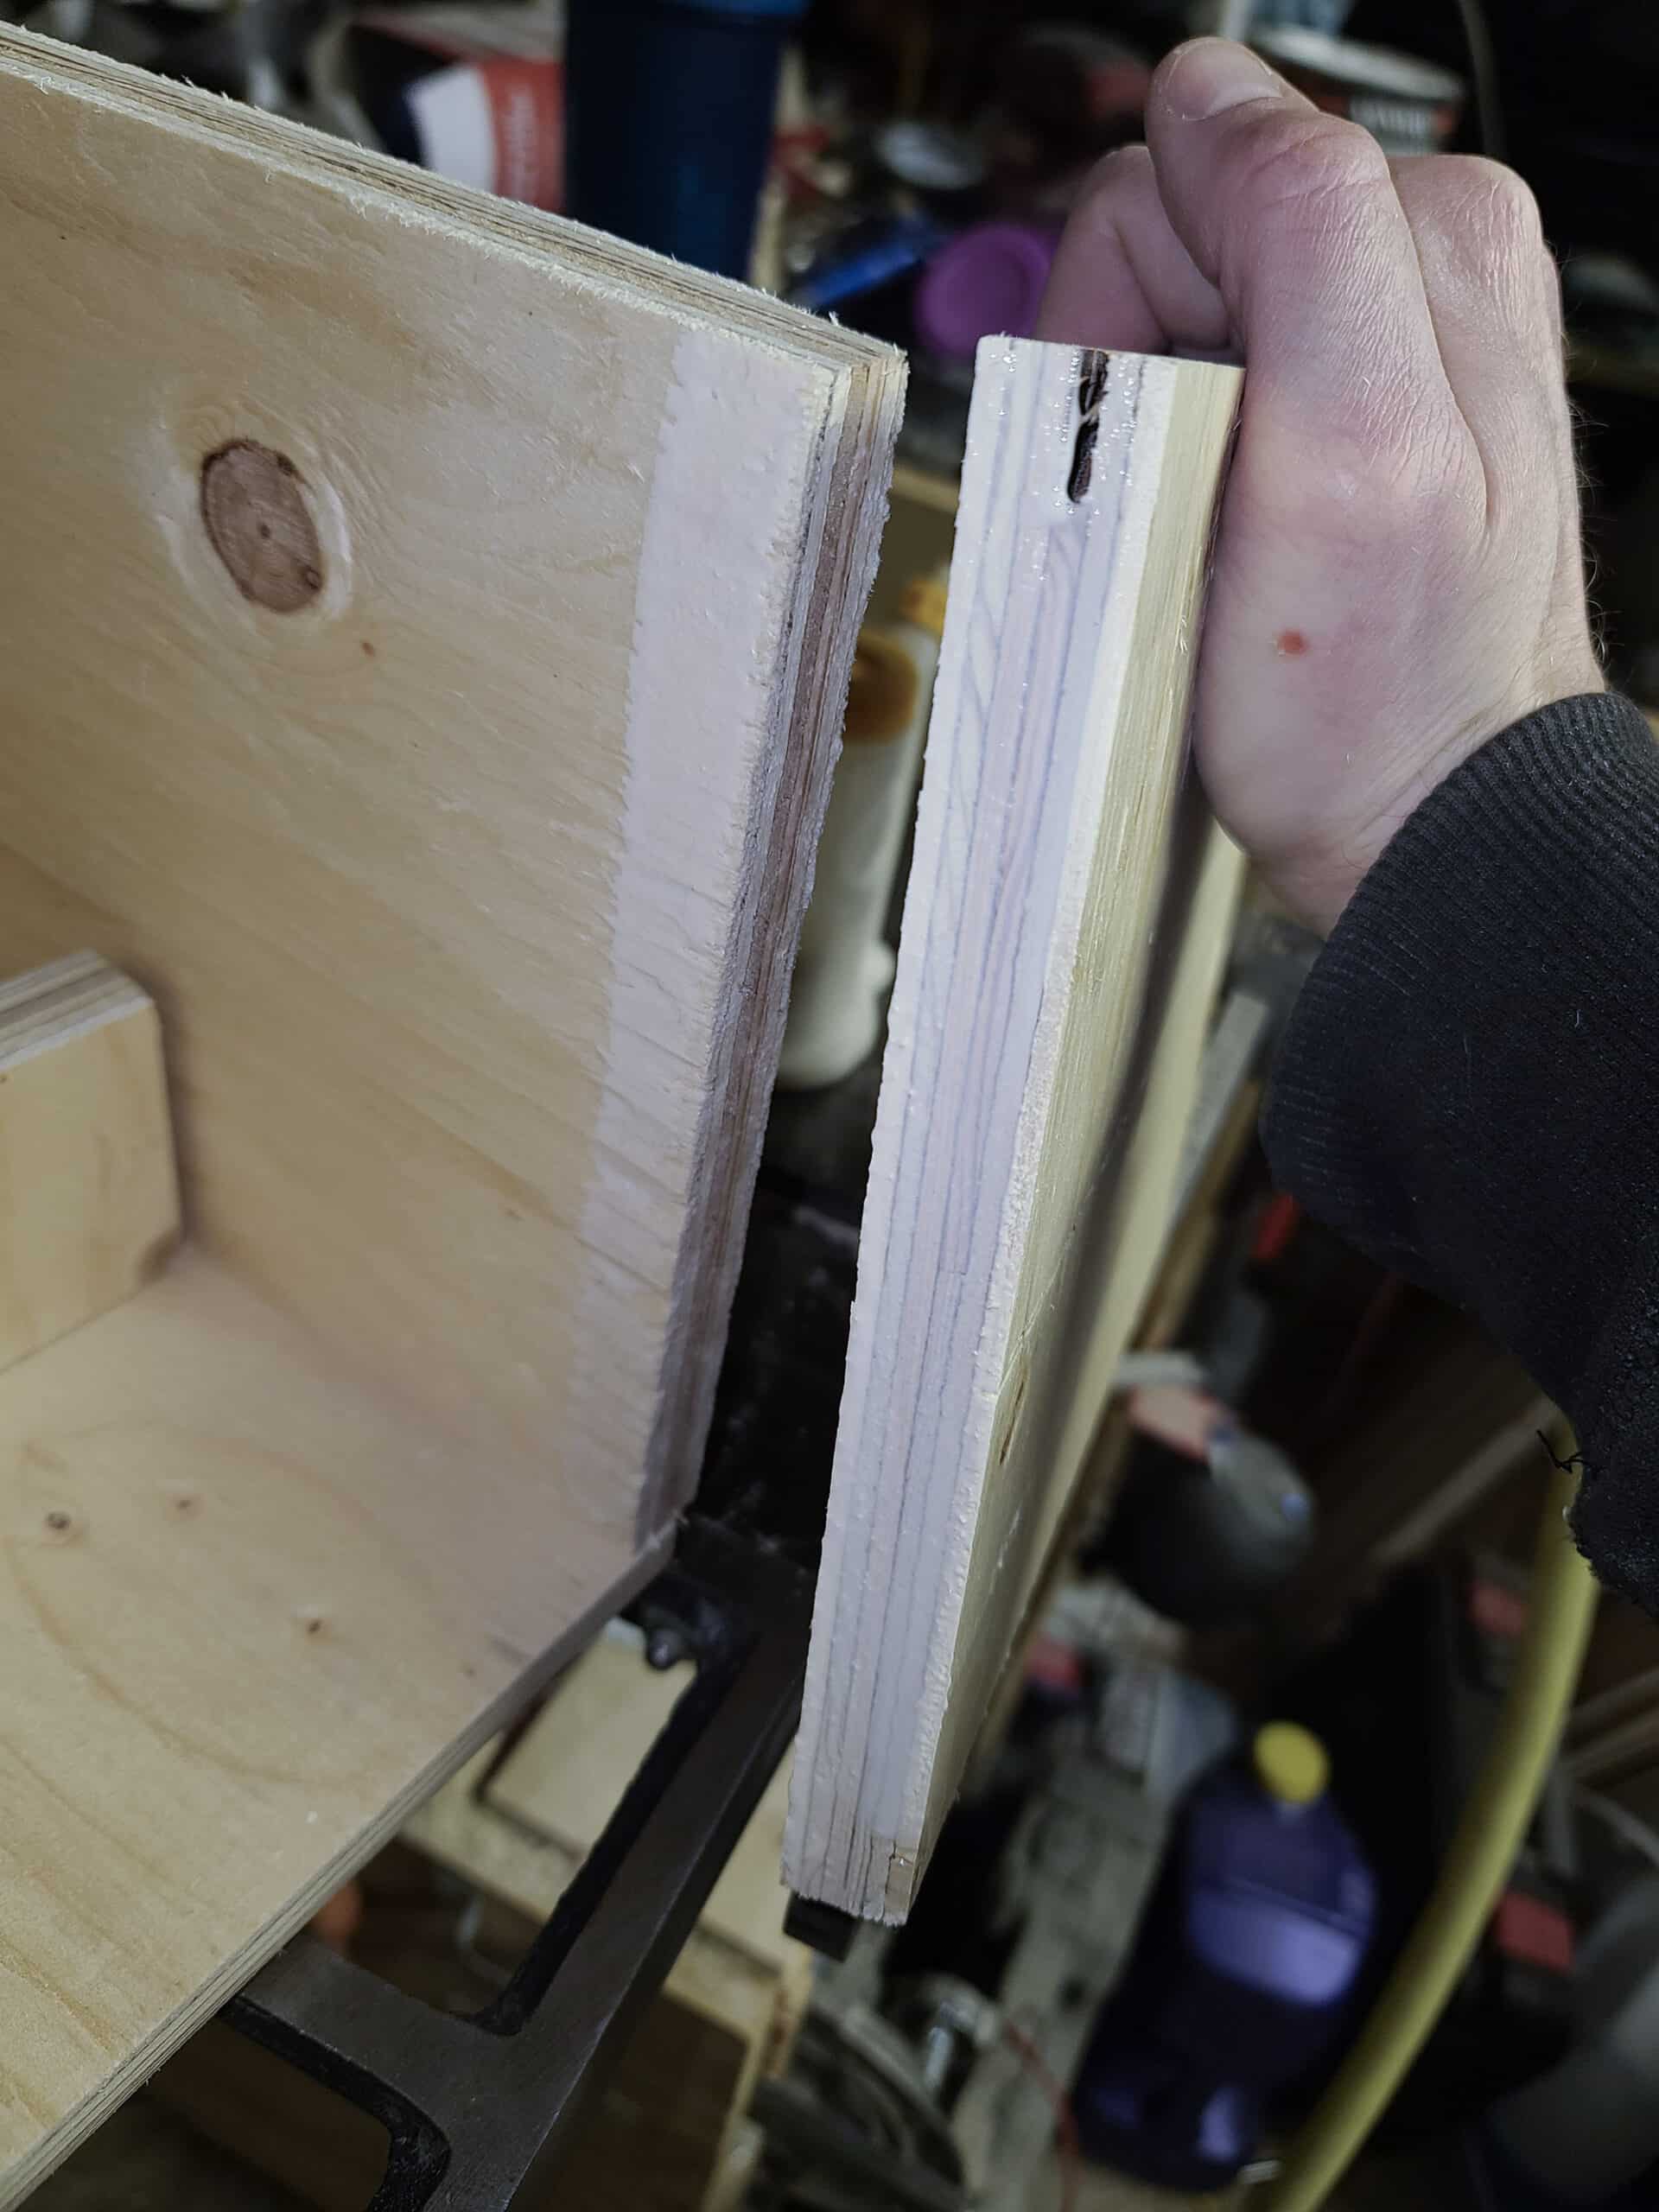
The glue will be doing most of the work holding everything together, but the fasteners will support it while drying and also provide additional strength.
Continuing the gluing and fastening process until the entire base is build, including supports.
Sand and Finish the RV Camper Step
Wipe away any excess glue that squeezes out between the joints, especially on the outside where it can be seen during normal usage. Areas with glue will not take polyurethane in the same way and will stand out visually.
Sand the outside with medium grit sandpaper, such as 120 or 150 grit. Don't worry about getting it perfect, it's a step stool!
The polyurethane will darken the wood a fair amount. This pine turned a deep yellow.
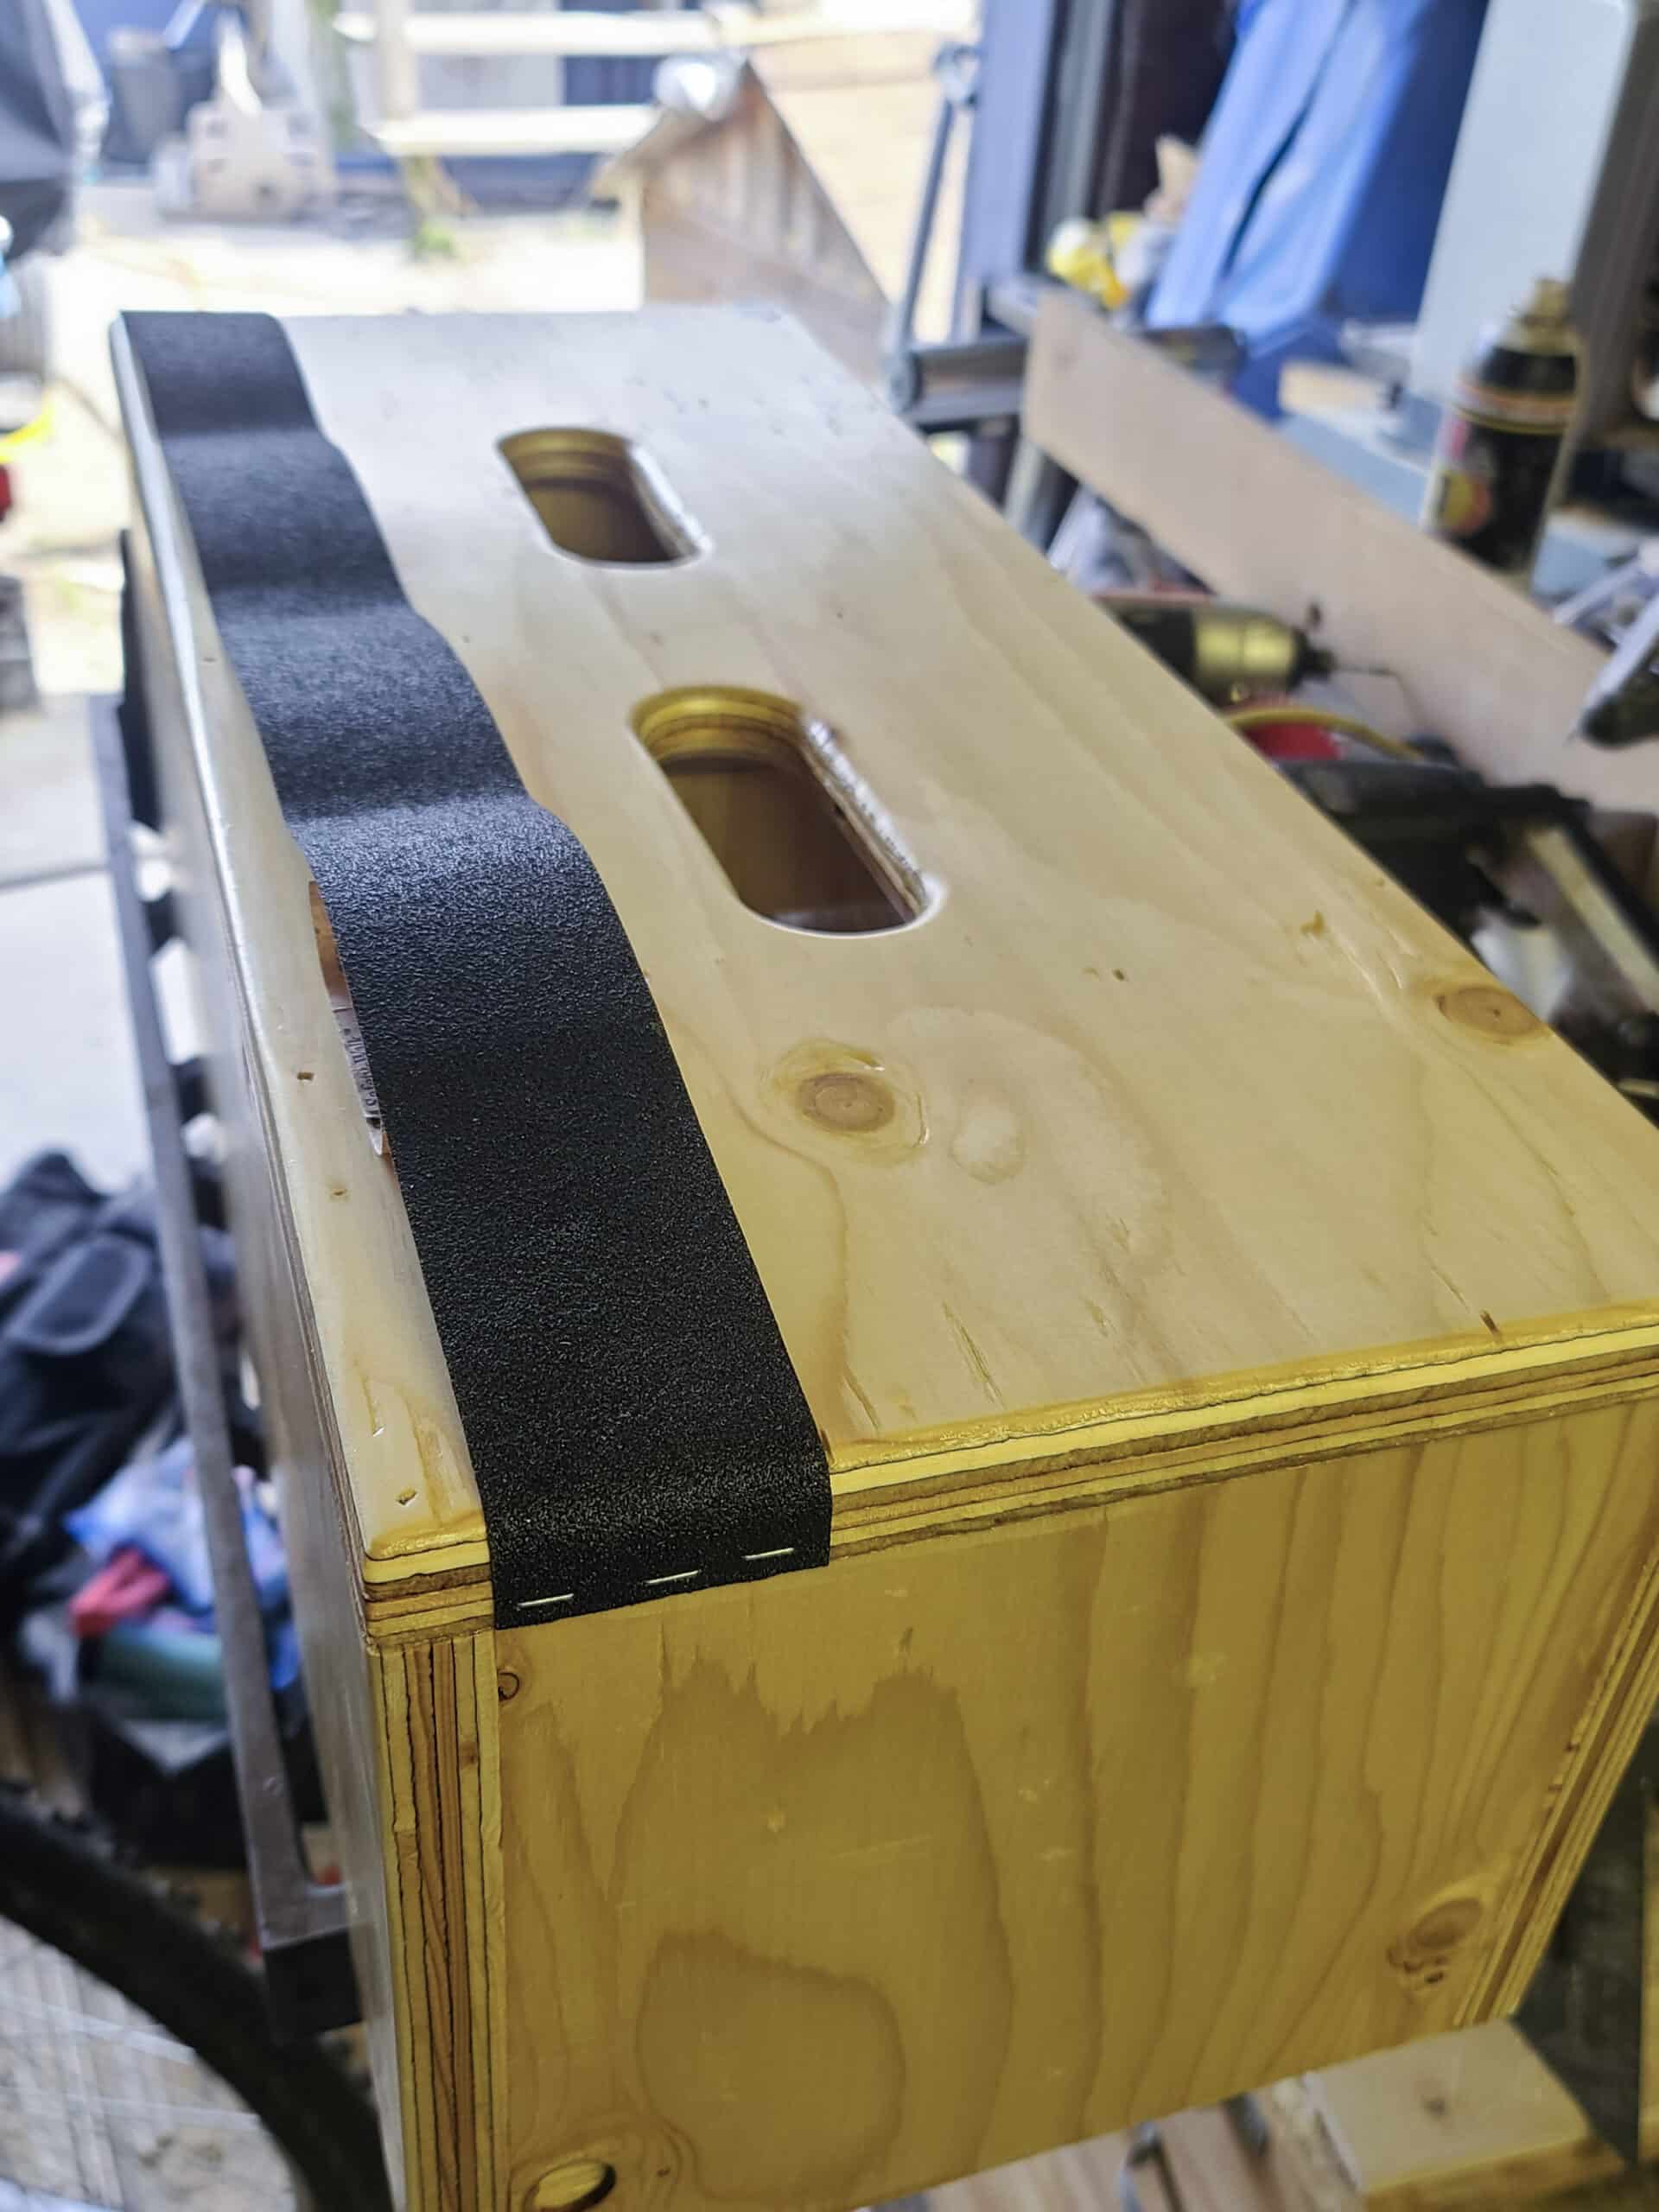
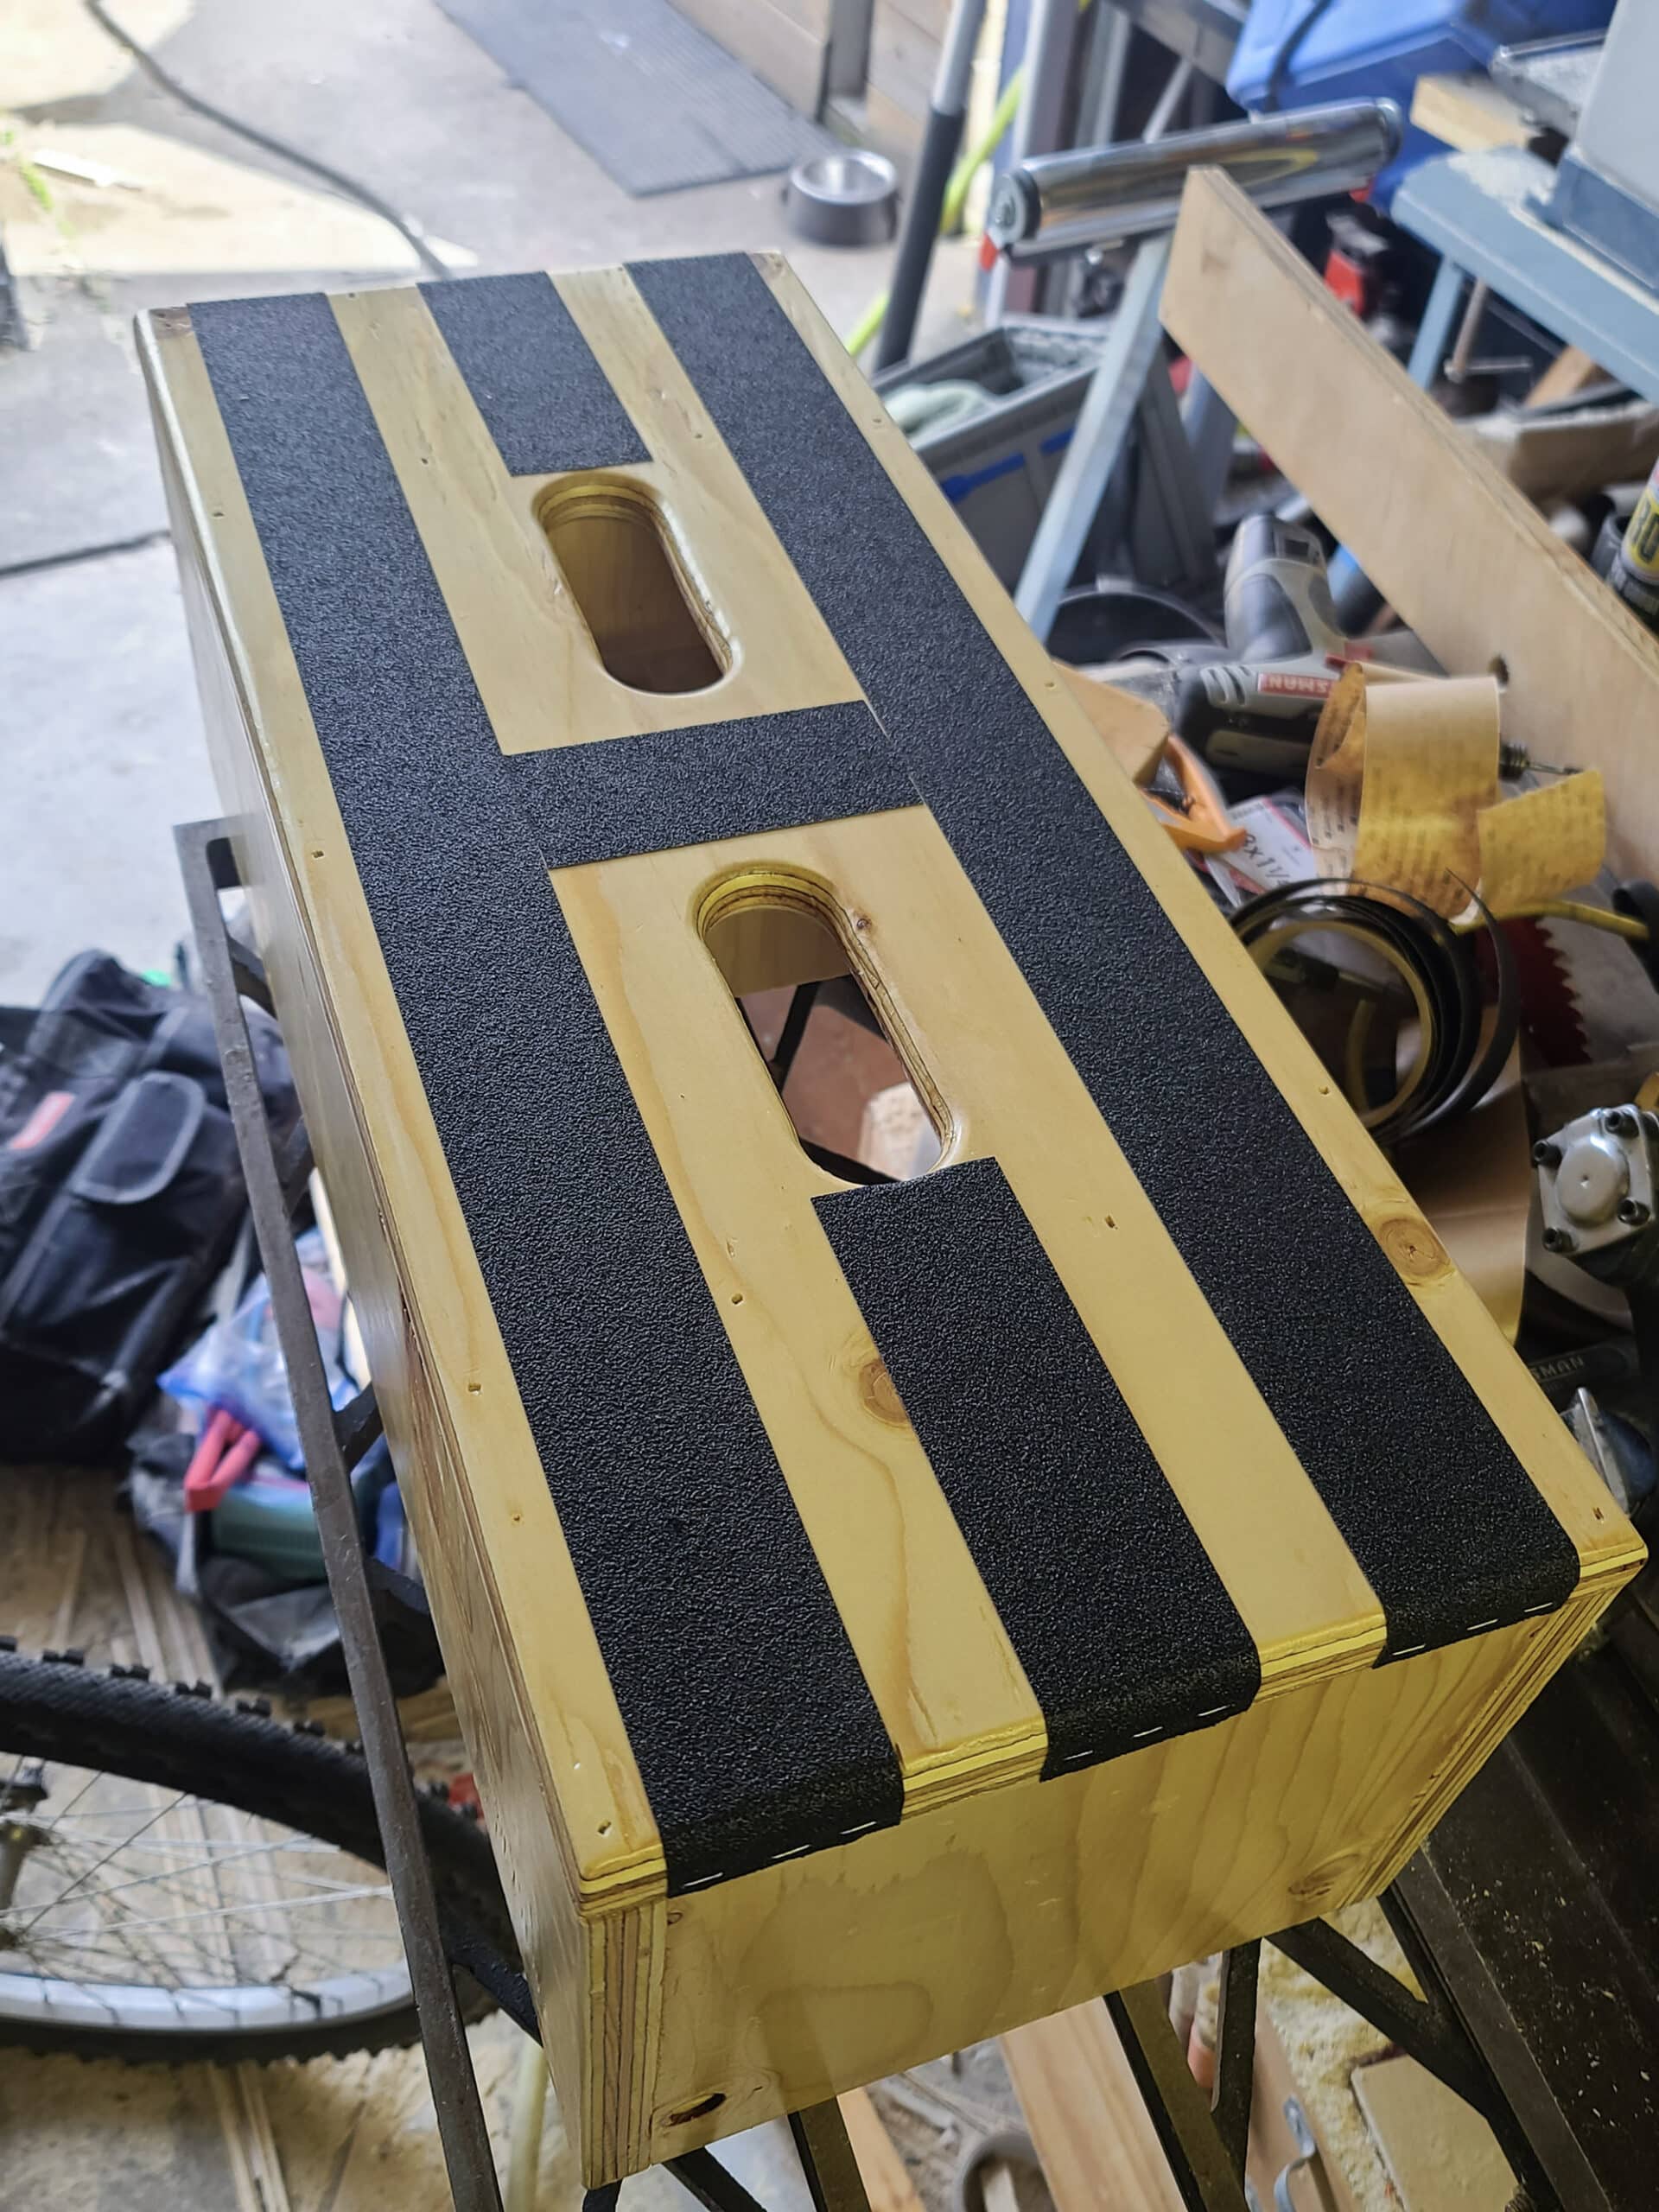
Get a Grip!
Now you can apply the non-slip grip tape. I used 3M because I want high quality tape that will last. Even though it has an adhesive back, I decided to staple the ends in place to ensure it won't start peeling up.
Finishing details on the Step
Now flip the step upside down so you can work on the bottom. Grab your neoprene rubber roll and your stapler.
Applying neoprene rubber on the two short ends will do several things. It will protect the edge to prevent damage and moisture intrusion. It will slightly lift the step in the middle so it's less likely to wobble. It will conform to small pebbles, also making it less likely to wobble.
You never really know what type of terrain you're going to get when you roll into a site, this will help provide solid steps.
I used a generous amount of staples on the bottom to ensure it stays in place well. Similar to the grip tape, adding more staples at the ends prevents it from peeling up.
That's it, you're done! Enjoy your new complete set of camper steps! You might find yourself using this step in other places too, reaching up to the back of your upper cabinets and such.
Adding a rubber mat is another great way to keep your RV entry steps clean and safe. My feet tend to get muddy from outdoor adventures, and most of it is left behind in the rubber mat.
More DIY RV Tutorials
Want to check out more of our tutorials for ways to improve your camping experience?
Well, we don’t have many posted yet, but here’s a start!
DIY Fabric Covered RV Reflector Shades
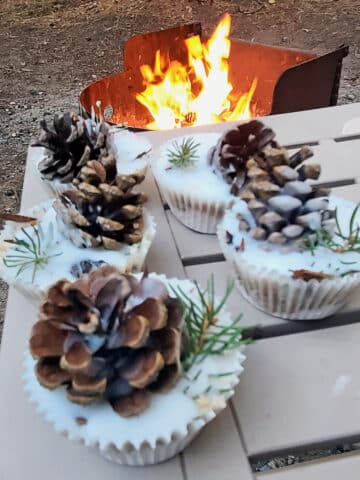
Homemade Fire Starters
How to Apply RV Window Tinting
Installing RV Window Shades with Magnets
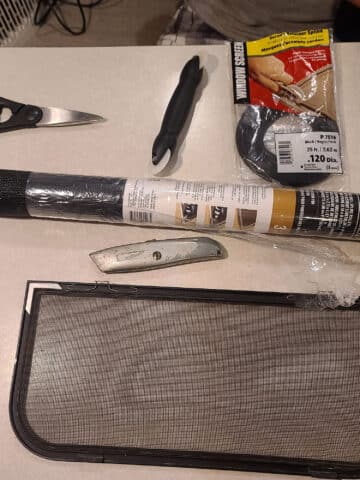
RV Window Screen Replacement
Also, be sure to check out our RV Lifestyle section for other tutorials to make RV life great - including photography tutorials. We also have a great Camping Recipes sections... that counts as DIY, right? 🙂
Share the Love!If you’ve made one of our recipes, be sure to take some pics of your handiwork! If you post it to Bluesky, be sure to tag us - @2NerdsInATruck, or you can tag us on TikTok, if you’re posting video. We're also on Pinterest, so you can save all your favourite recipes and park reviews to your own boards! Also, be sure to subscribe to our free email newsletter, so you never miss out on any of our nonsense. Well, the published nonsense, anyway! |
Leave a Reply