
Fire starters make starting a campfire a LOT easier. Here's how to make the best fire starters for camping, "choose your own adventure" style!

After a few times dealing with things like windy conditions, slightly wet wood, and high winds, though... it became apparent that having a good fire starter on hand would definitely be a thing to plan on, for future road trips!
After seeing the high prices of the survival fire starters in some of the camping stores (I had no idea that “waterproof fire starter” was even a thing!), we decided to make DIY fire starters, instead.
As a couple of nerds, we had a lot of info and opinions kicking around in the back of our heads. Neither of us had a Boy Scout / Girl Guides background, but we DID have science backgrounds!
While some options were prettier than others, the goals were the same for all of them - we wanted to be able to easily light fires, even during inclement weather conditions.
Ideally our homemade fire starters would have a compact design, that we could store for a relatively long time.
We wanted materials that were cheap and easy to obtain, and would work together to both produce a QUICK fire, and one with a long burn time.
Oh, and we wanted to be able to easily make them in bulk, as we’d be able to use these not only for fire pits, but charcoal grills as well, if needed. Hell, you could even use these to start a roaring fire in a wood stove, if needed!
DIY Fire Starter Design
So, we played around with different materials, and came up with a few great options.
Whichever combination of materials and techniques you use, having some fire starters on hand is probably the easiest way to get a reliable fire going.
I don’t know about you, but I’d rather spend my time lounging in front of the fire in our camp chairs... than swearing at a fire that won’t start!
Anyway, what we’ve got here is a “choose your own adventure” method of creating your homemade fire starters.
There are a few categories of items you’ll need - container, tinder, fuel - as well as some optional additives. You can use one from each category, or combine them. It’s all good!
The best thing about this method of looking at fire starters is that you can really make use of household items either have on hand, or can easily obtain. It’s SUPER customizable!
Anyway, let’s look at what you’ll need to make your own campfire starters!
Materials
As mentioned, there are 3 key categories of materials - container, tinder, and fuel - as well as some optional items you can include:
Firestarter Containers
Before we look at the different ways you can fill your fire starter, let’s look at what you’ll be putting them in.
To some degree, your choice of container can influence what you fill it with... though not always.
IMHO, the best options for making fantastic fire starters are to recycle paper products that would otherwise be garbage or put out with recycling.
You want something that’s a relatively small size, and that you can obtain in some degree of bulk.
Ideally, this will be a material that not only holds your fuel and tinder until you’re ready to get a fire starting, but will ALSO burn, itself.
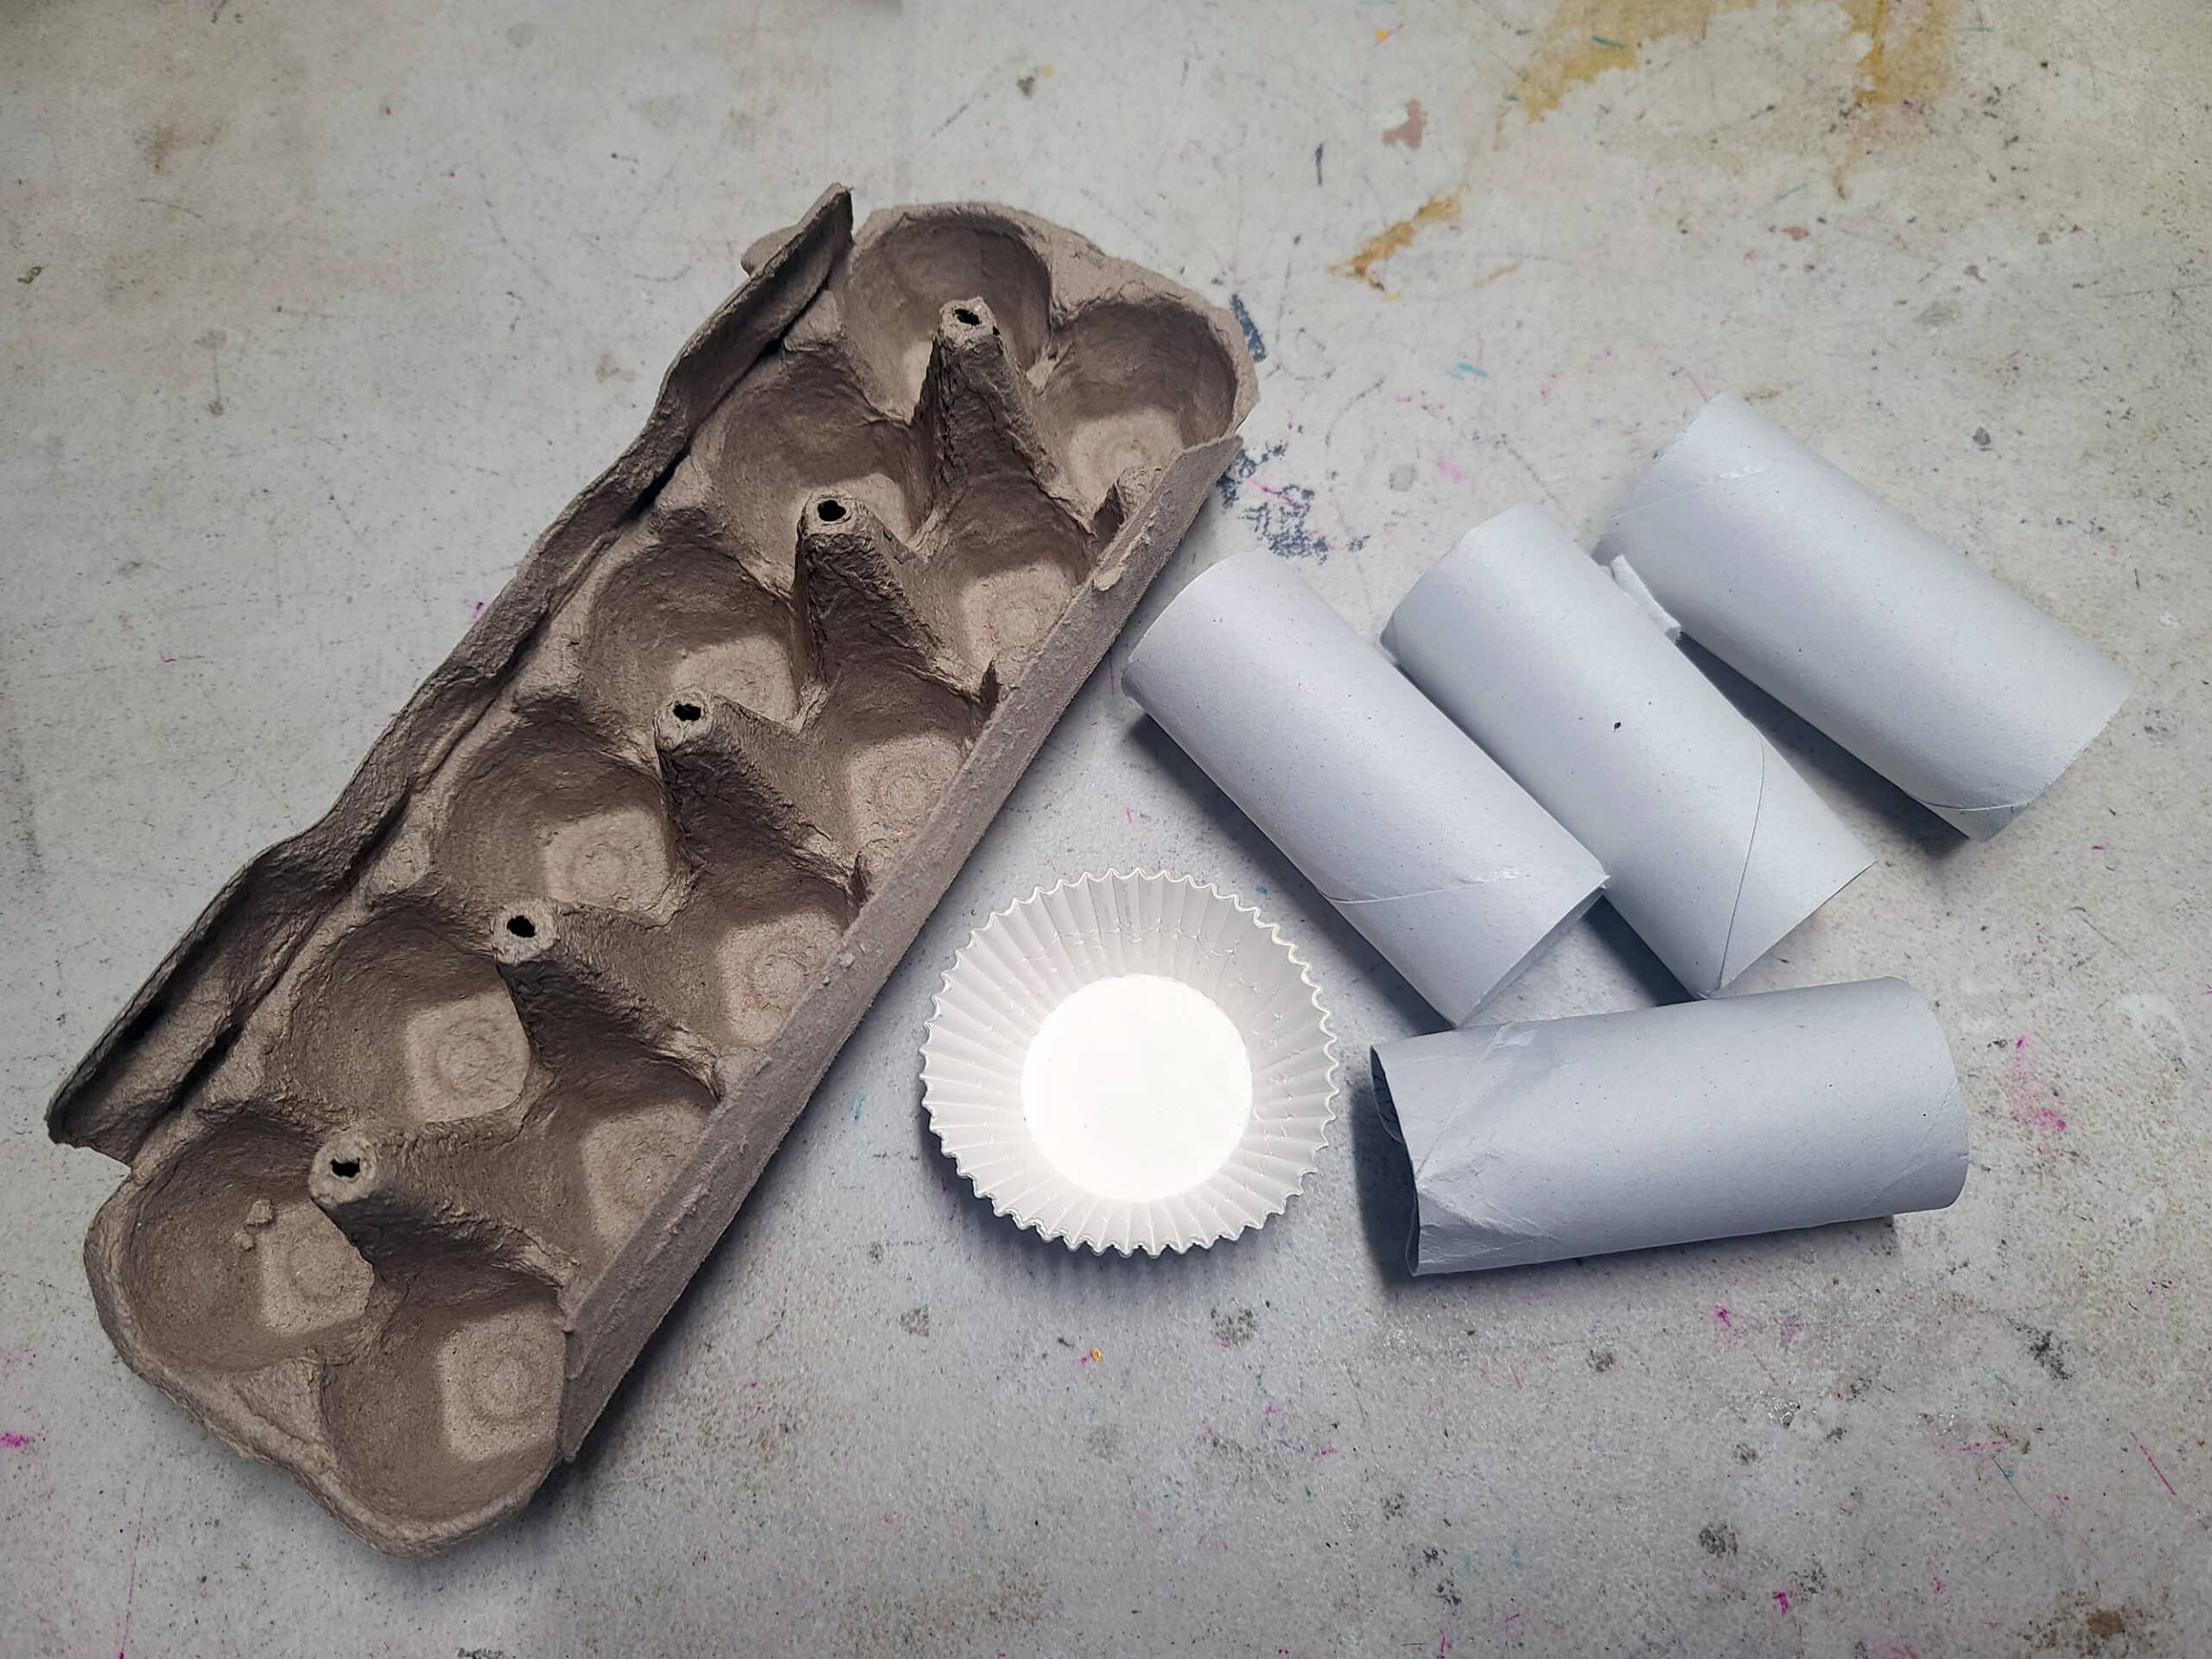
For our more “wet” styles of fire starters, we usually use toilet paper rolls or little paper/wax style disposable cups.
If you have empty wrapping paper rolls, you can cut those down into different sizes - another easy way to customize your fire starters.
If we’re making a wax based starter and don’t care how it looks, a cardboard egg carton is usually the best choice.
For the more decorative wax-based ones, you can line a muffin tin with cupcake liners - the liners become the “container”. It’s a great way to keep things relatively pretty, without having to clean hardened wax out of your baking pans after the fact!
Tinder
Tinder is what we’re using for bulk in these fire starters - flammable materials that will get the fire going after initial spark takes hold.
Some common types of tinder we’ll use in fire starters include:
Birch Bark (IF it’s on the ground!)
Cotton String
Cedar Chips
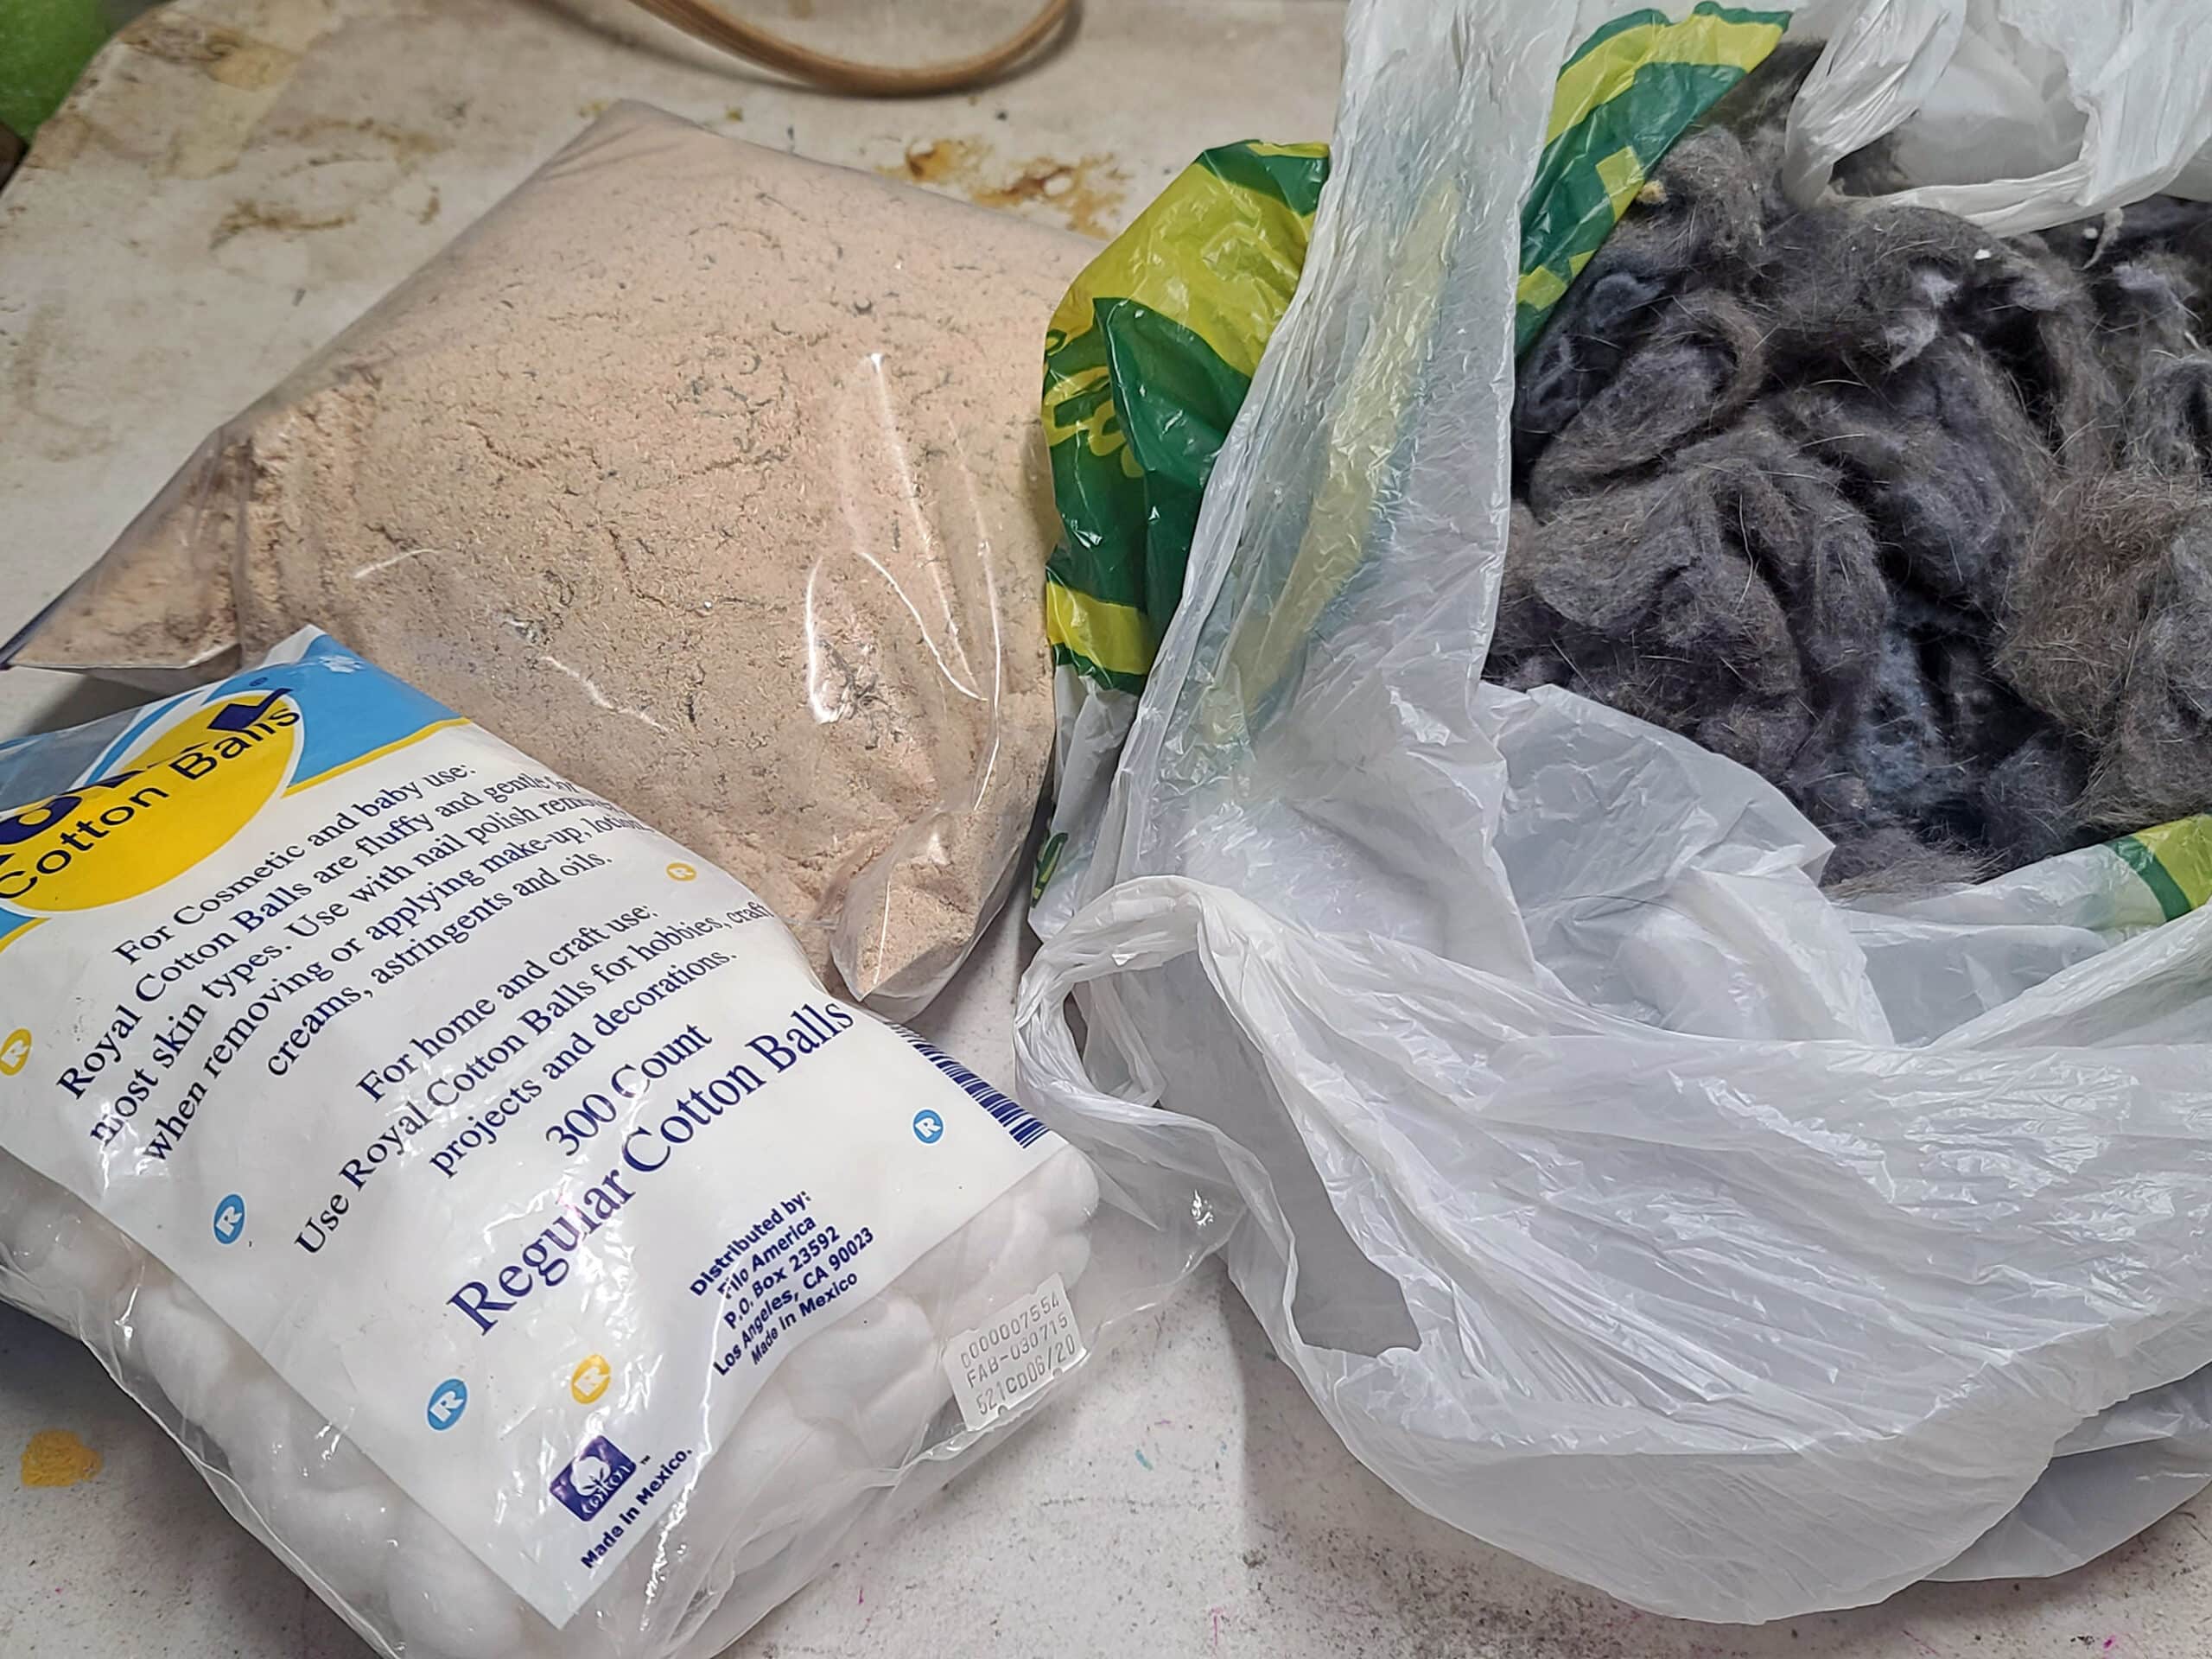
Cotton Balls
Pine Needles*
Sawdust
* These can make your fire smell like a pine tree!
1. You want to use natural materials that aren’t treated or adulterated in any way that would make burning them a bad idea.
So, while plain wood shavings work great, don’t use painted wood, or wood shavings from treated lumber. Avoid plastics altogether.
2. You need DRY tinder. I mean, beyond “isn’t sopping wet”.
If you’re using items that you collected from nature - like pine cones, small branches, pine needles, etc - you want them fully dry.
You can bake them in a low oven for a while, or run them through a dehydrator if you have one. If they’re not brittle enough to easily snap, they’re not dry-dry!
A note on dryer lint: Unless ALL of your laundry is 100% natural - cottons, silk, hemp, linen, etc - its really not a good option for tinder.
Fibers from mixed fabrics can stink when burned, and some will burn toxic. Also, any pet fur that gets picked up by your dryer lint will smell AWFUL when burned.
I see dryer lint mentioned all the time for tinder, but really? I highly recommend avoiding it entirely!
Fuel
This is a substance that provides rabid combustion - something HIGHLY flammable, to get the party started.
Some examples you can choose from are:
90% Isopropyl Alcohol (or higher)
High Proof Alcohol Hand Sanitzer
Lighter Fluid
Petroleum Jelly
Wax - Soy Wax or Beeswax, Paraffin Wax
When it comes down to it, soaking a bunch of cotton balls with either high proof hand sanitizer, high proof isopropyl alcohol (or both!) tends to be my go-to.
Paraffin wax may be a great choice for making pretty little fire starters, but damn... when did paraffin get so expensive??
Aromatics & Decoratives
This category is entirely optional, but can make for a pretty - or subtly scented - homemade wax starter.
Incorporating a few different materials for their aesthetic or ambiance qualities is a good thing to consider if you’re making these fire starters for someone other than yourself.
A set of pretty fire starters makes a great gift for the camper in your life!
Bonus: A lot of decorative items also serve as decent tinder! Love it when something can do double duty.
Orange Peels
Pinecones (clean and VERY dry)
Cinnamon Sticks (Broken up)
Star Anise
Dried Rosemary
Whole Cloves
Dried Sage Leaves
Dried Rosebuds
Cardamom Pods
Bonus: It’s a great way to use up spices that may be a bit past their prime.

Share the Love!If you’ve made one of our recipes, be sure to take some pics of your handiwork! If you post it to Bluesky, be sure to tag us - @2NerdsInATruck, or you can tag us on TikTok, if you’re posting video. We're also on Pinterest, so you can save all your favourite recipes and park reviews to your own boards! Also, be sure to subscribe to our free email newsletter, so you never miss out on any of our nonsense. Well, the published nonsense, anyway! |
Tips for Making Fire Starters
Before I show you a few different ways we make our DIY fire starters, here are some tips and other information to keep in mind, when making your own:
1. Whenever you use fire, it’s a good idea to have a first aid kit on hand. For camping purposes, I prefer first aid kits with a hard surface, waterproof case. Fire safety is important!
2. On the subject of waterproof, I recommend having waterproof matches or a little butane fire starter on hand... also kept in a waterproof bag.
3. If using an alcohol based flame extender / fuel - like hand sanitizer, you’ll need to store your fire starters in a sealed, airtight container to prevent evaporation. We’ll usually store ours in plastic baggies. Double bagging is also a good idea!

5. If your fire-starting purposes involve plans to cook food, I recommend NOT using an aromatic fire starter.
While it can be subtle, there’s definitely a chance of your “aromatic fire” imparting flavours onto your food.
That’s the whole point of using seasoned wood chips for smoking food, after all!

How to Make Different Types of Firestarters
When you’re doing homemade fire starters this way “one from column a, one from column b” style, there are a TON of different ways you can actually assemble them.
Here are a few specific ways we make ours, to give you some ideas on how to assemble your choice of materials:
Toilet Paper Roll Fire Starters
1. Prepare your choice of fuel/tinder filler.
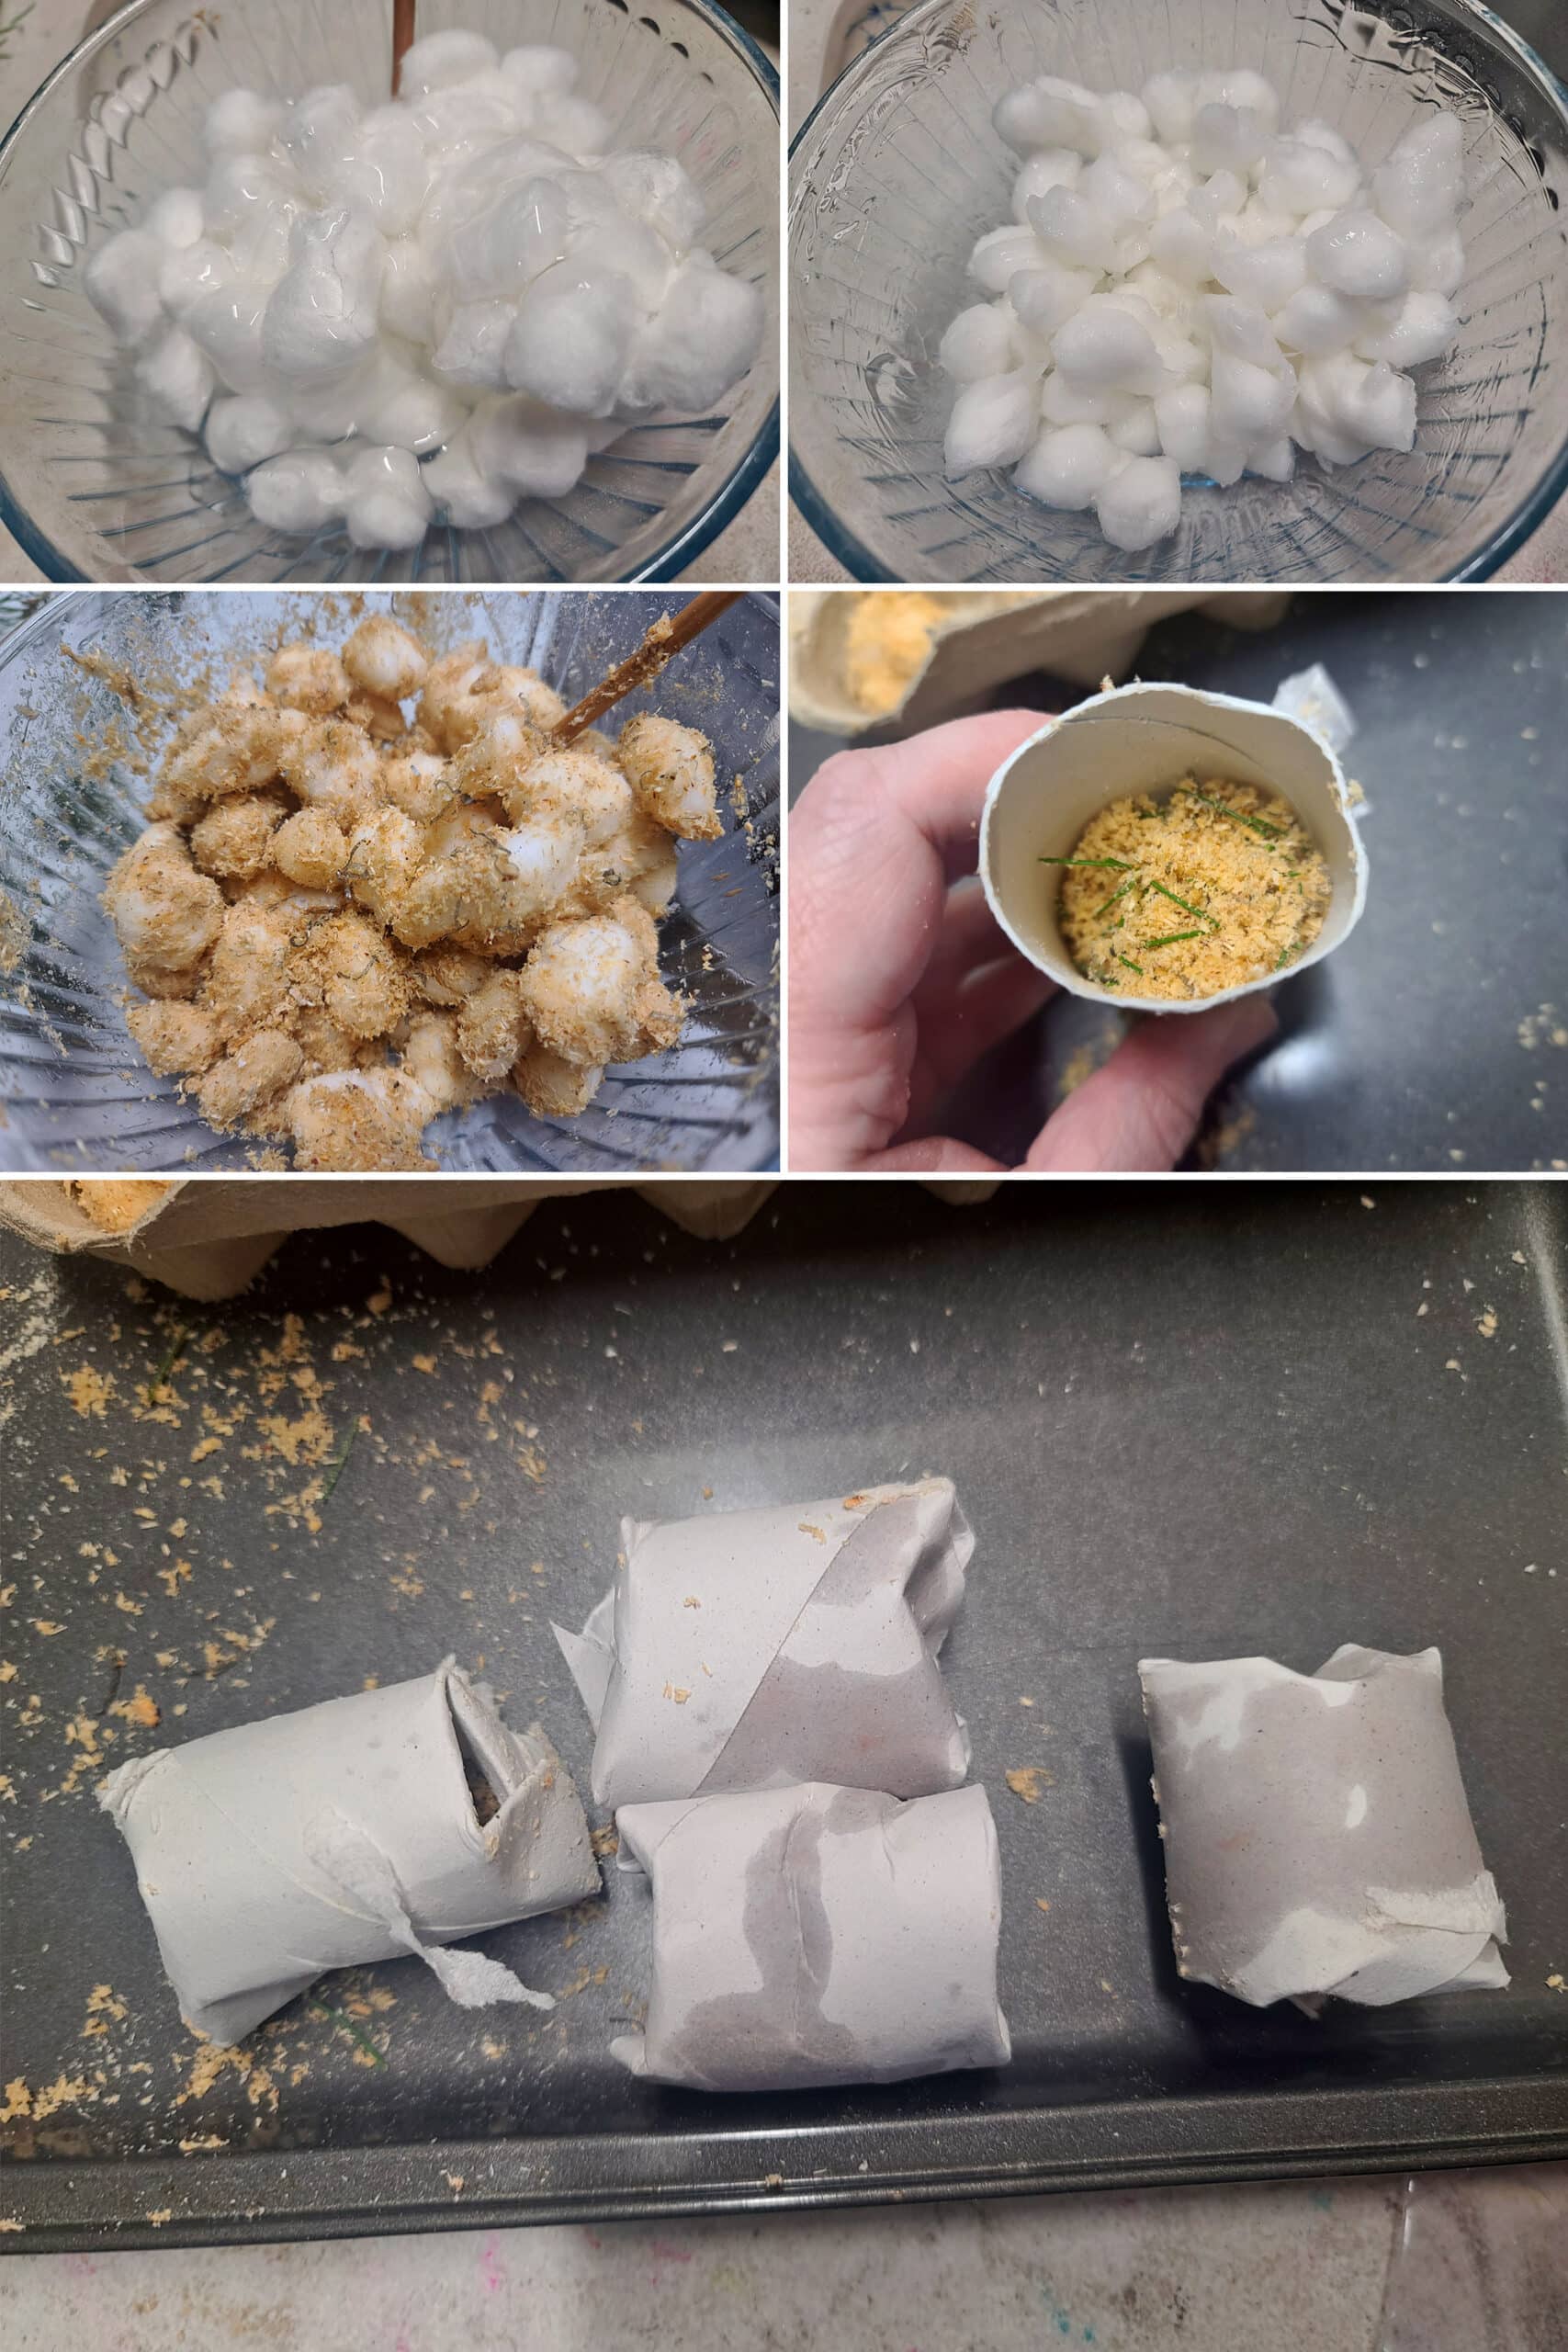
In this case, I mixed hand sanitizer into cotton balls until they were sopping wet, then added a handful of sawdust and pine needles for good measure.
2. Fold opposite sides of one end of a toilet paper roll inwards, meeting in the center. Then, fold the sides perpendicular to them inward.
Flip the tube so the folded side is down, and press the folded sections downward, to flatten it a bit - as shown below:
Remember: don’t pack it tightly, you want air to be able to circulate a little, when things get going.

5. Because these are a “wet” firestarter, you want to immediately store them in an airtight container, like a plastic ziplock baggie. You don’t want the alcohol to evaporate!
Dixie Cup Fire Starters
1. Prepare your choice of fuel / tinder filler.
In this case, I soaked a bunch of 100% cotton cosmetic pads with 99% Isopropyl Alcohol.
3. Fold the top edge of the cup inward a bit. You’re not looking to seal the filling in, just reduce the functional diameter of the cup opening a little.
4. Invert your prepared cup into a second, empty Dixie cup. Firmly press downwards, to “seal” them together.
5. Store in an airtight, dry bag to prevent the alcohol from evaporating.
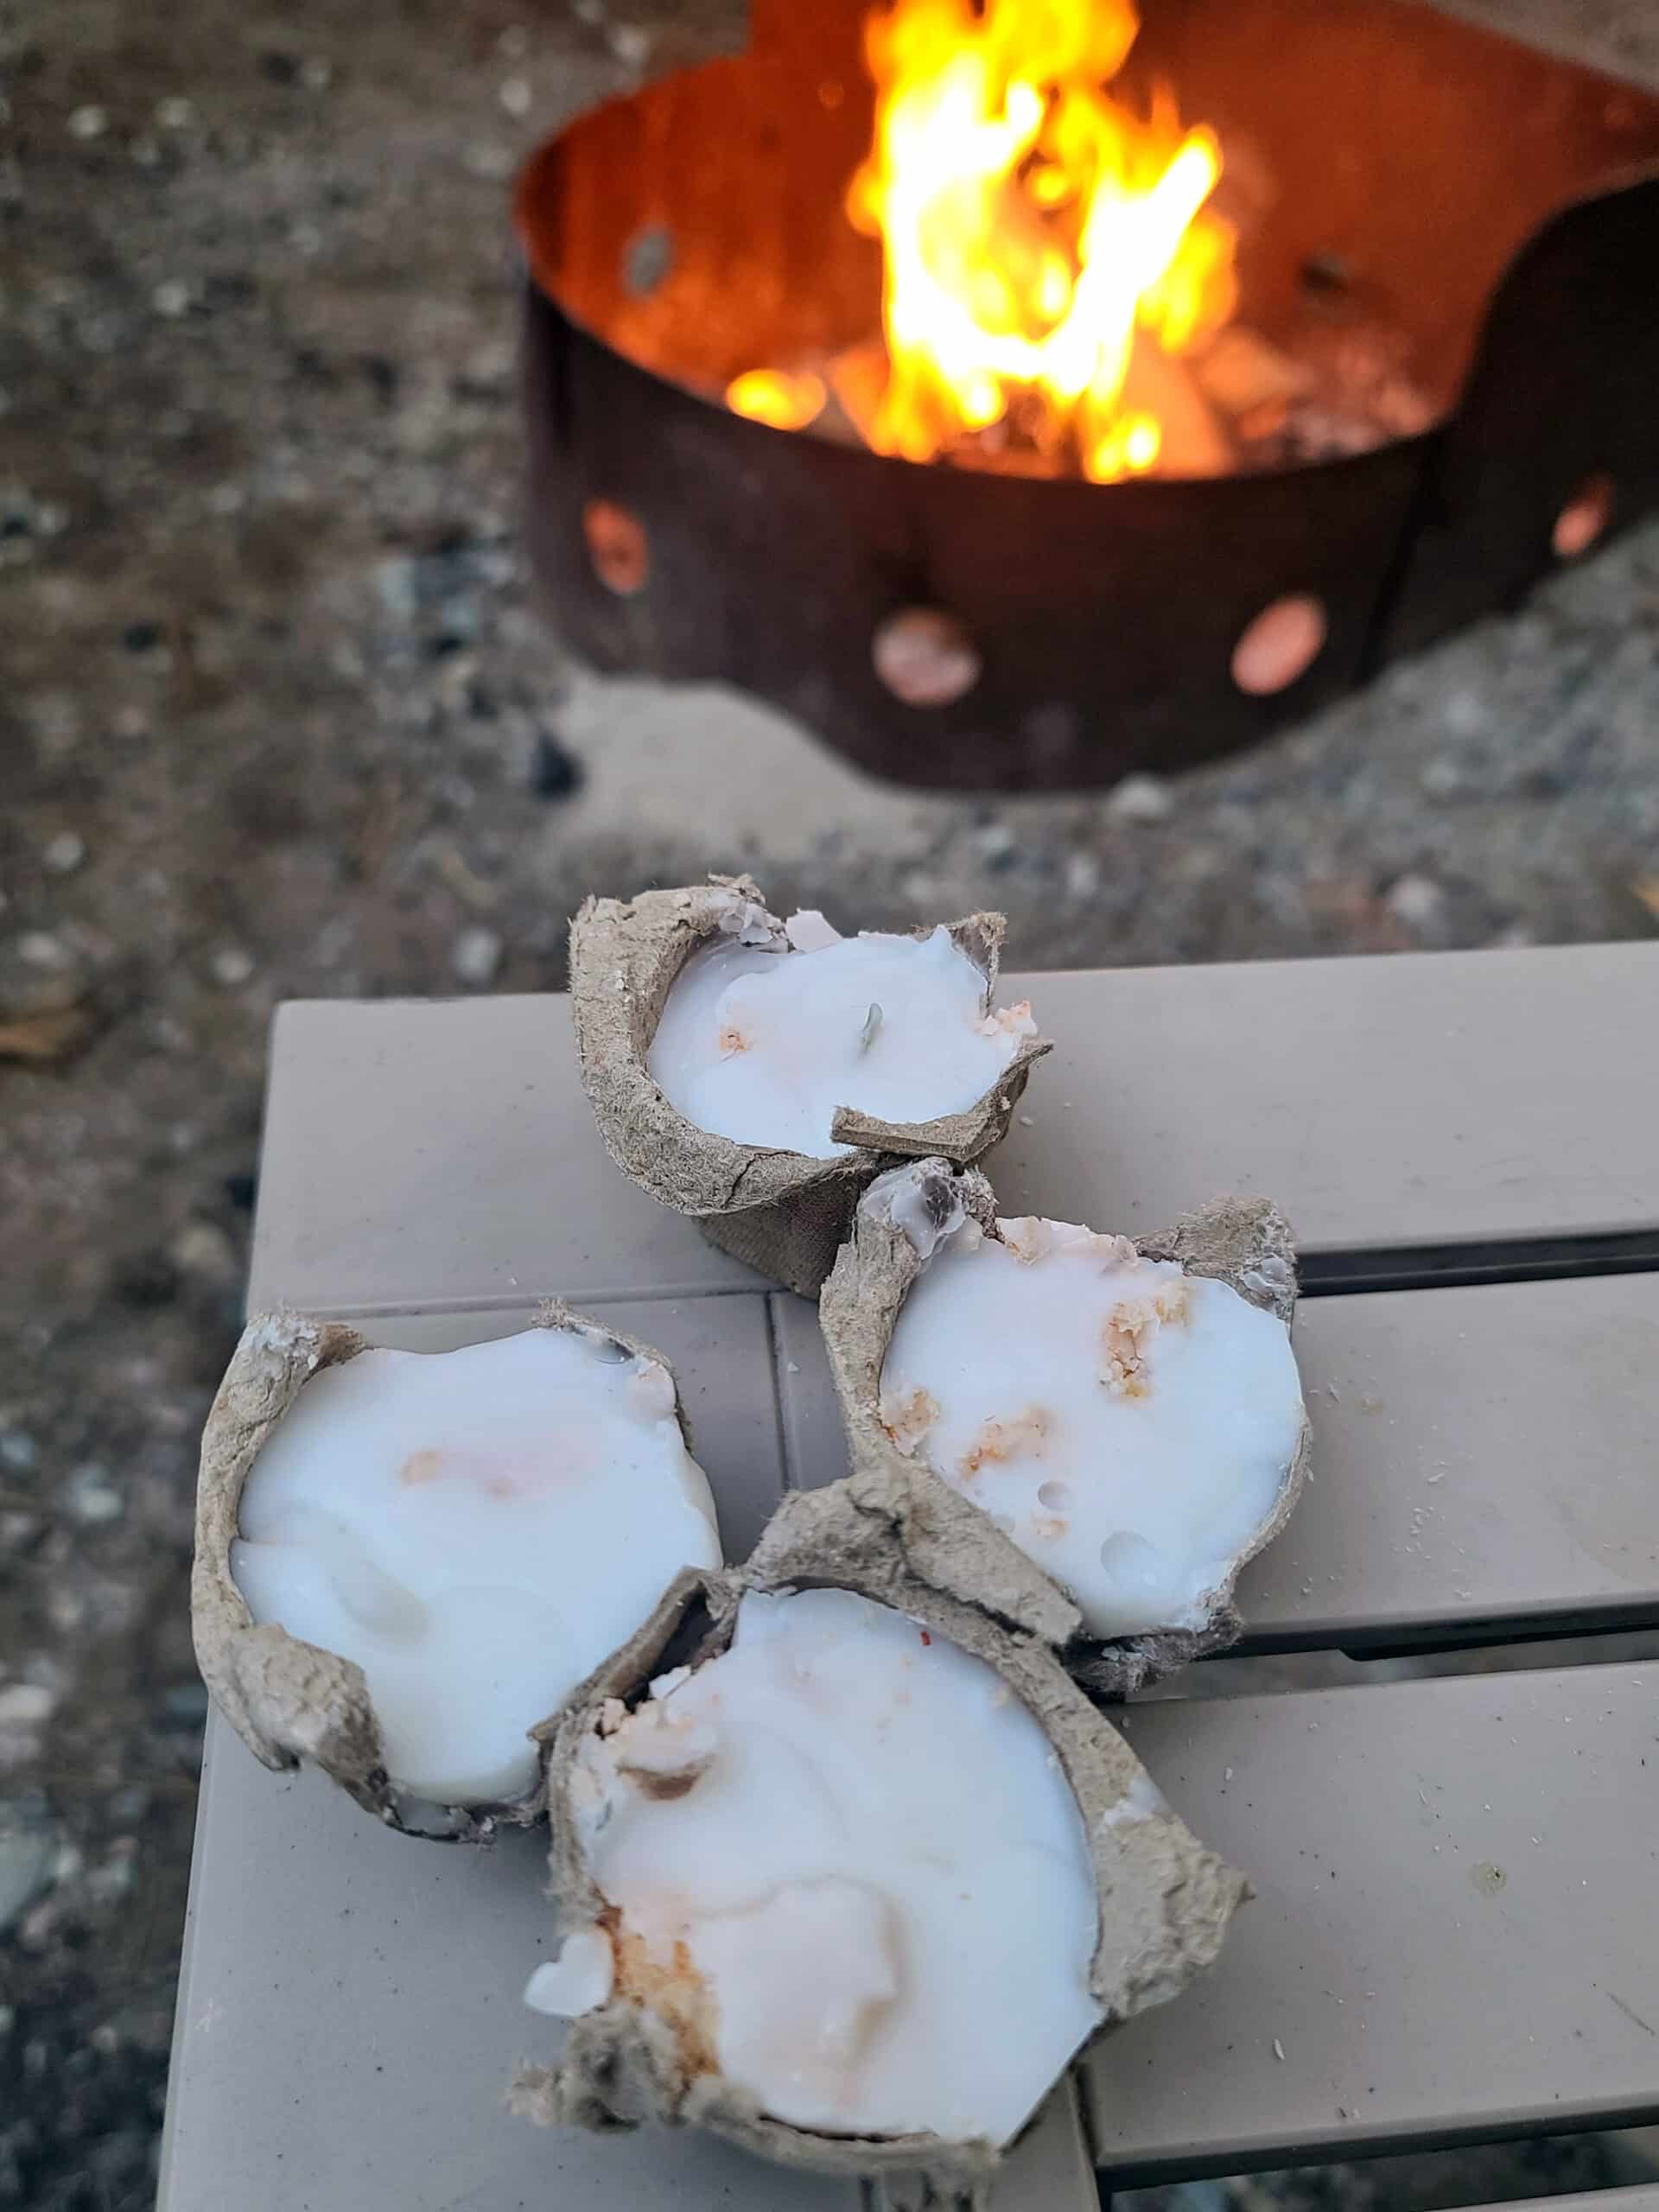
Basic Wax & Egg Carton Fire Starters
1. Prepare your choice of tinder / fuel mixture.
In this case, I used hand sanitizer / alcohol soaked cotton balls, with sawdust and dry pine needles mixed in.
2. Loosely pack the mixture into the cavities of a cardboard egg carton. Keep your filler a little underneath the top edge, to leave room for the wax.
3. Melt some paraffin wax, then pour over the filler. Aim to completely enclose the filler.
5. Once the wax has set, you’re free to cut the egg carton into individual fire starters.
Note: This is much easier - and cleaner - than cutting them before filling them!
6. Store your fire starters in an airtight container to prevent the filler from evaporating. (The alcohol can evaporate through the egg carton!)
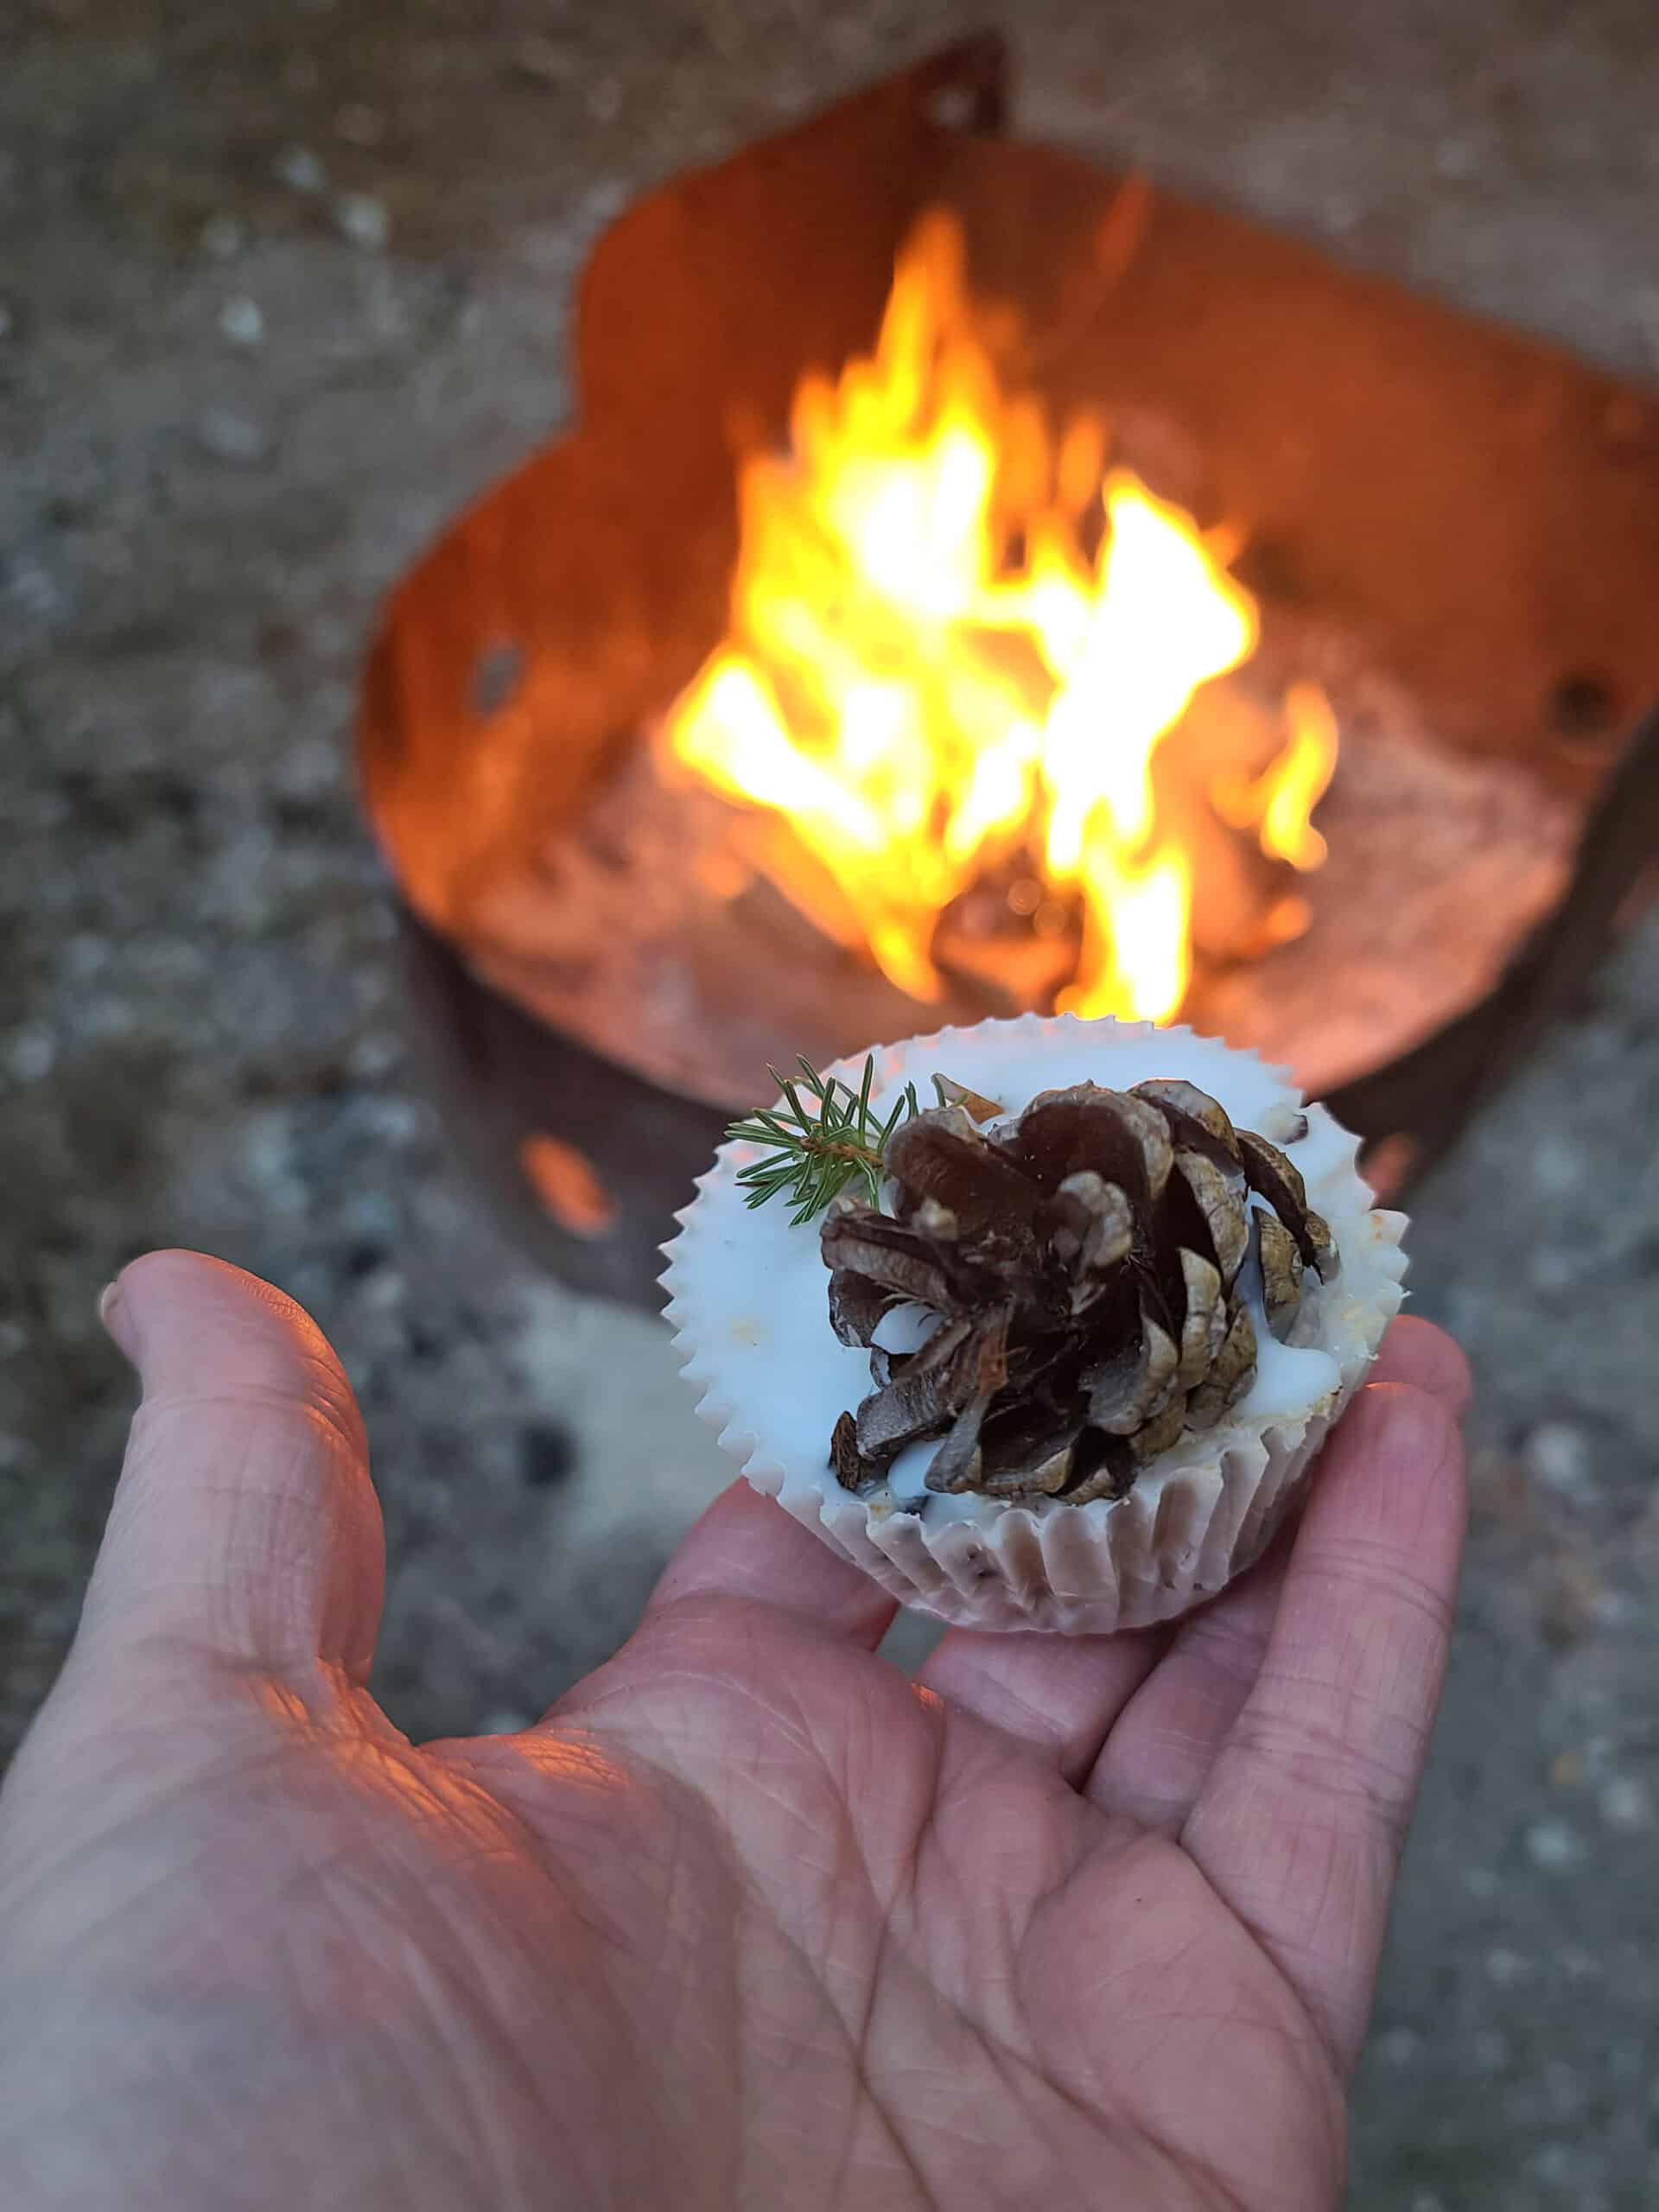
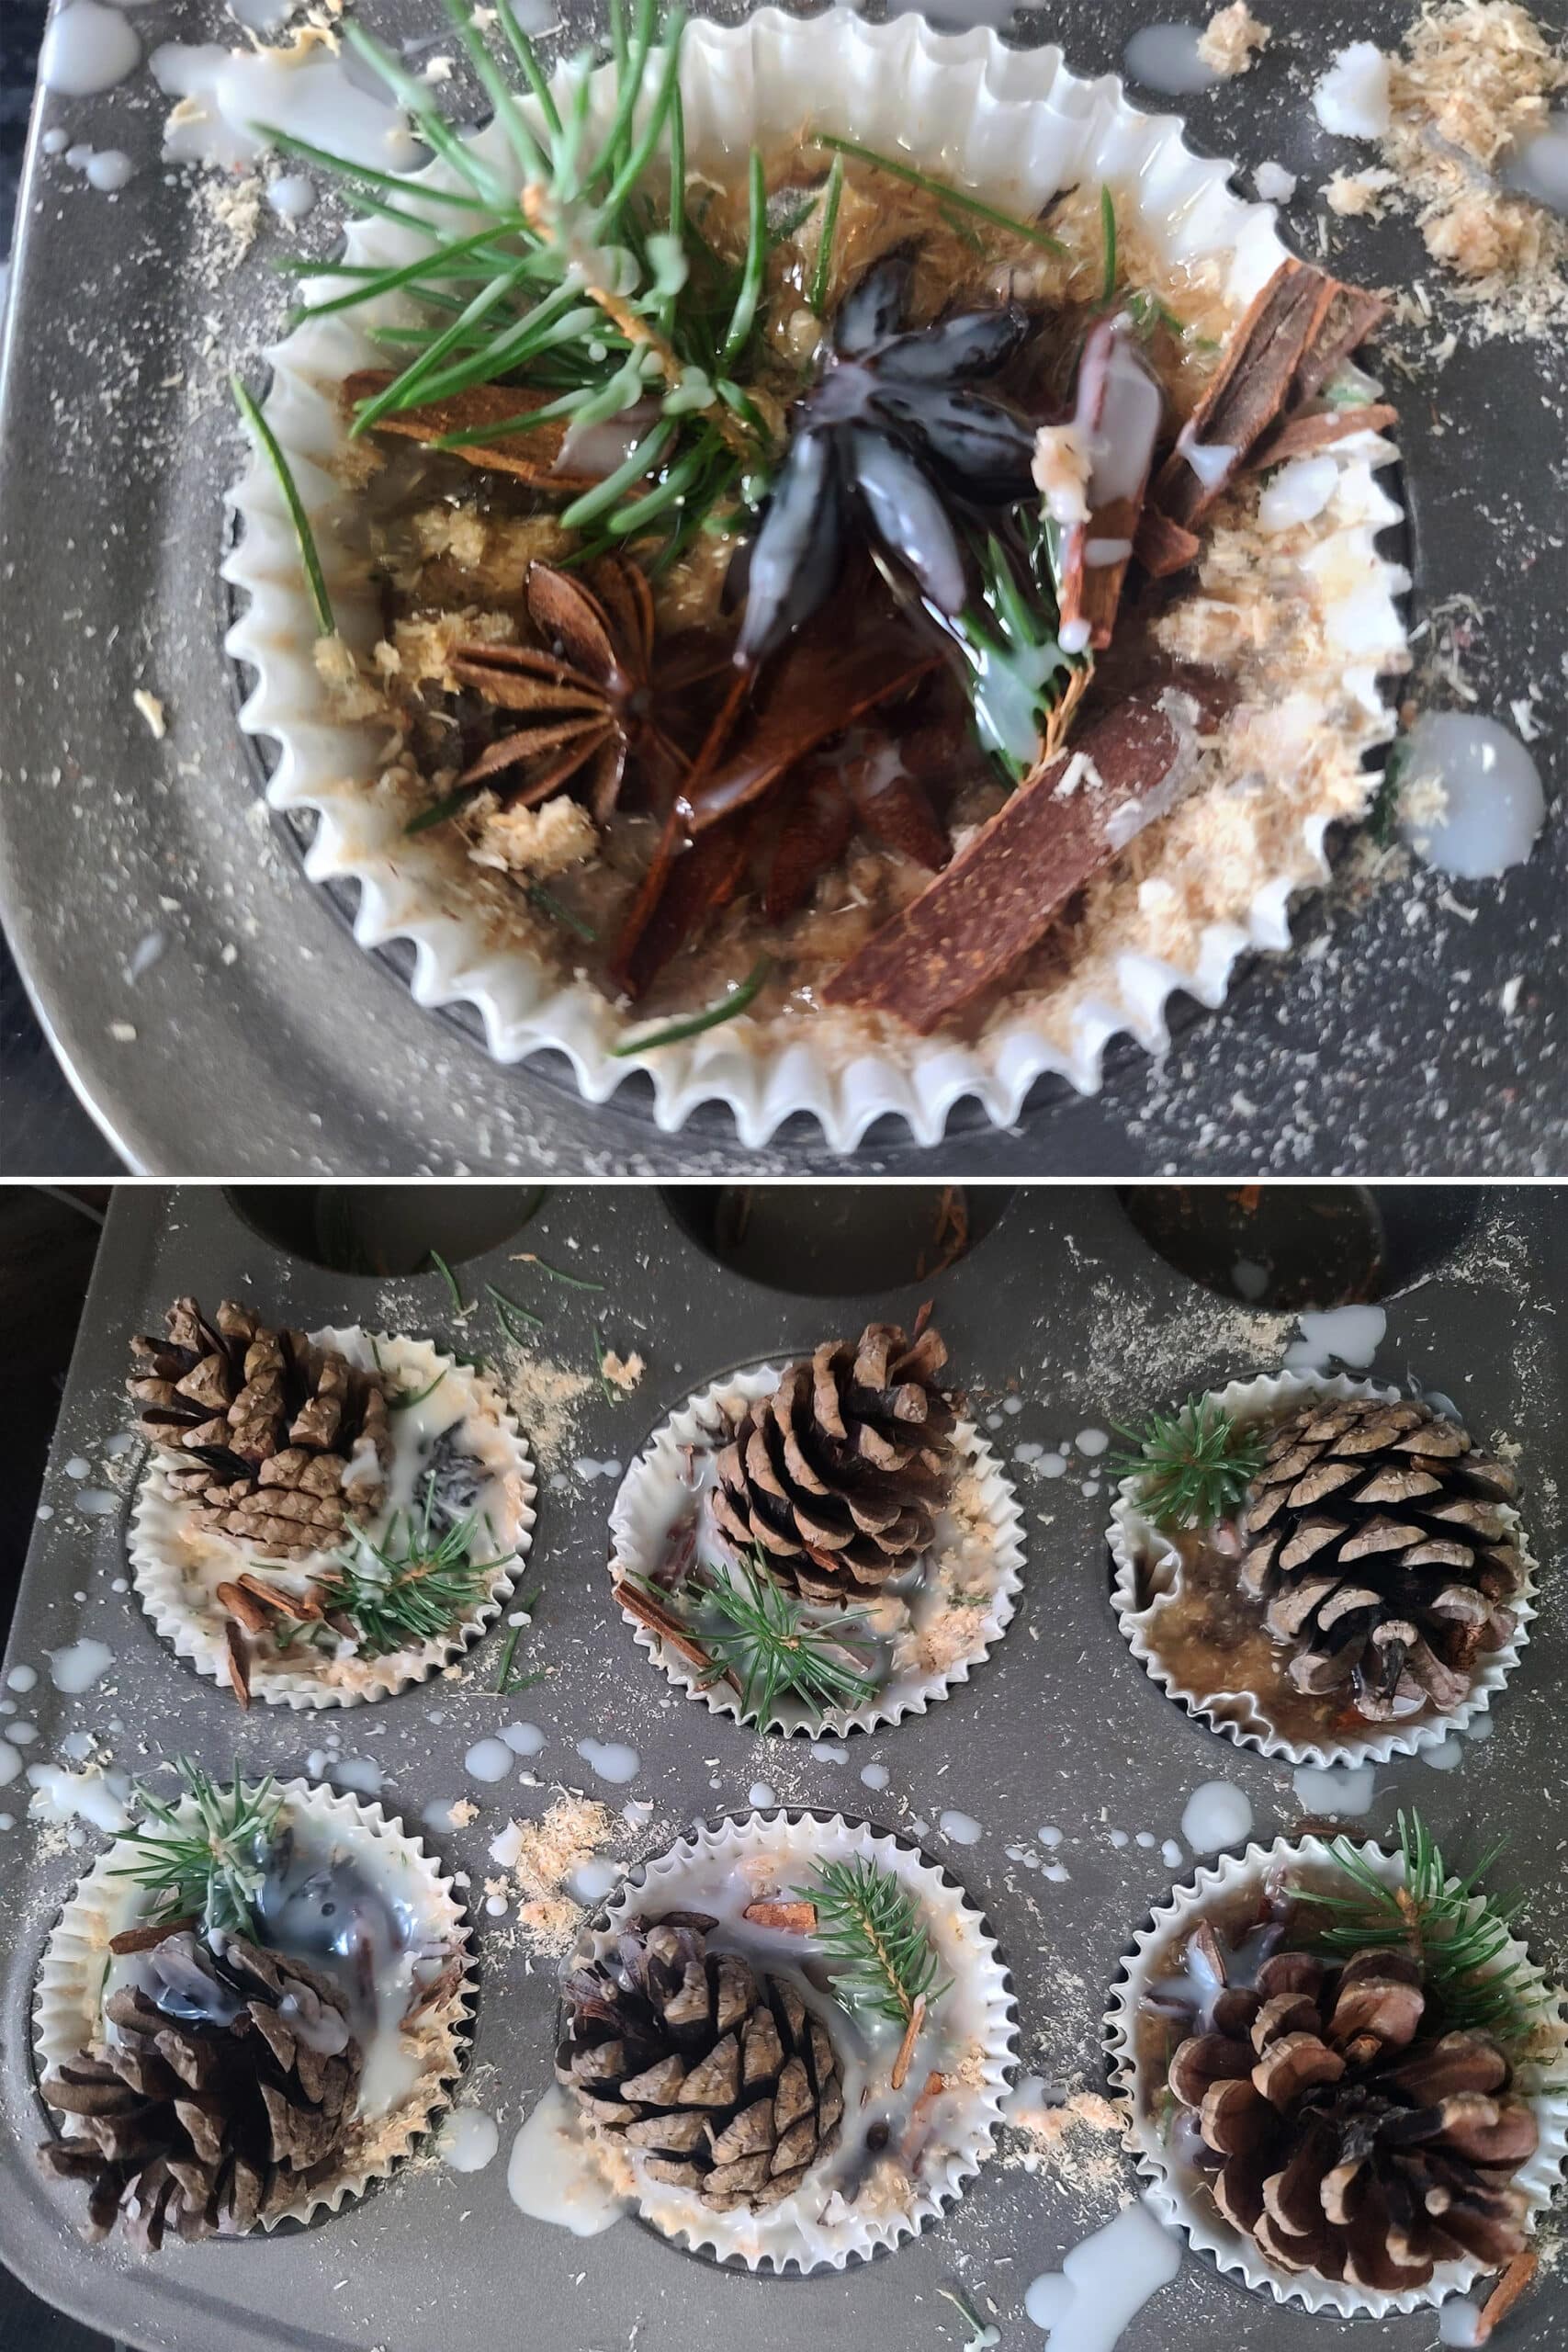
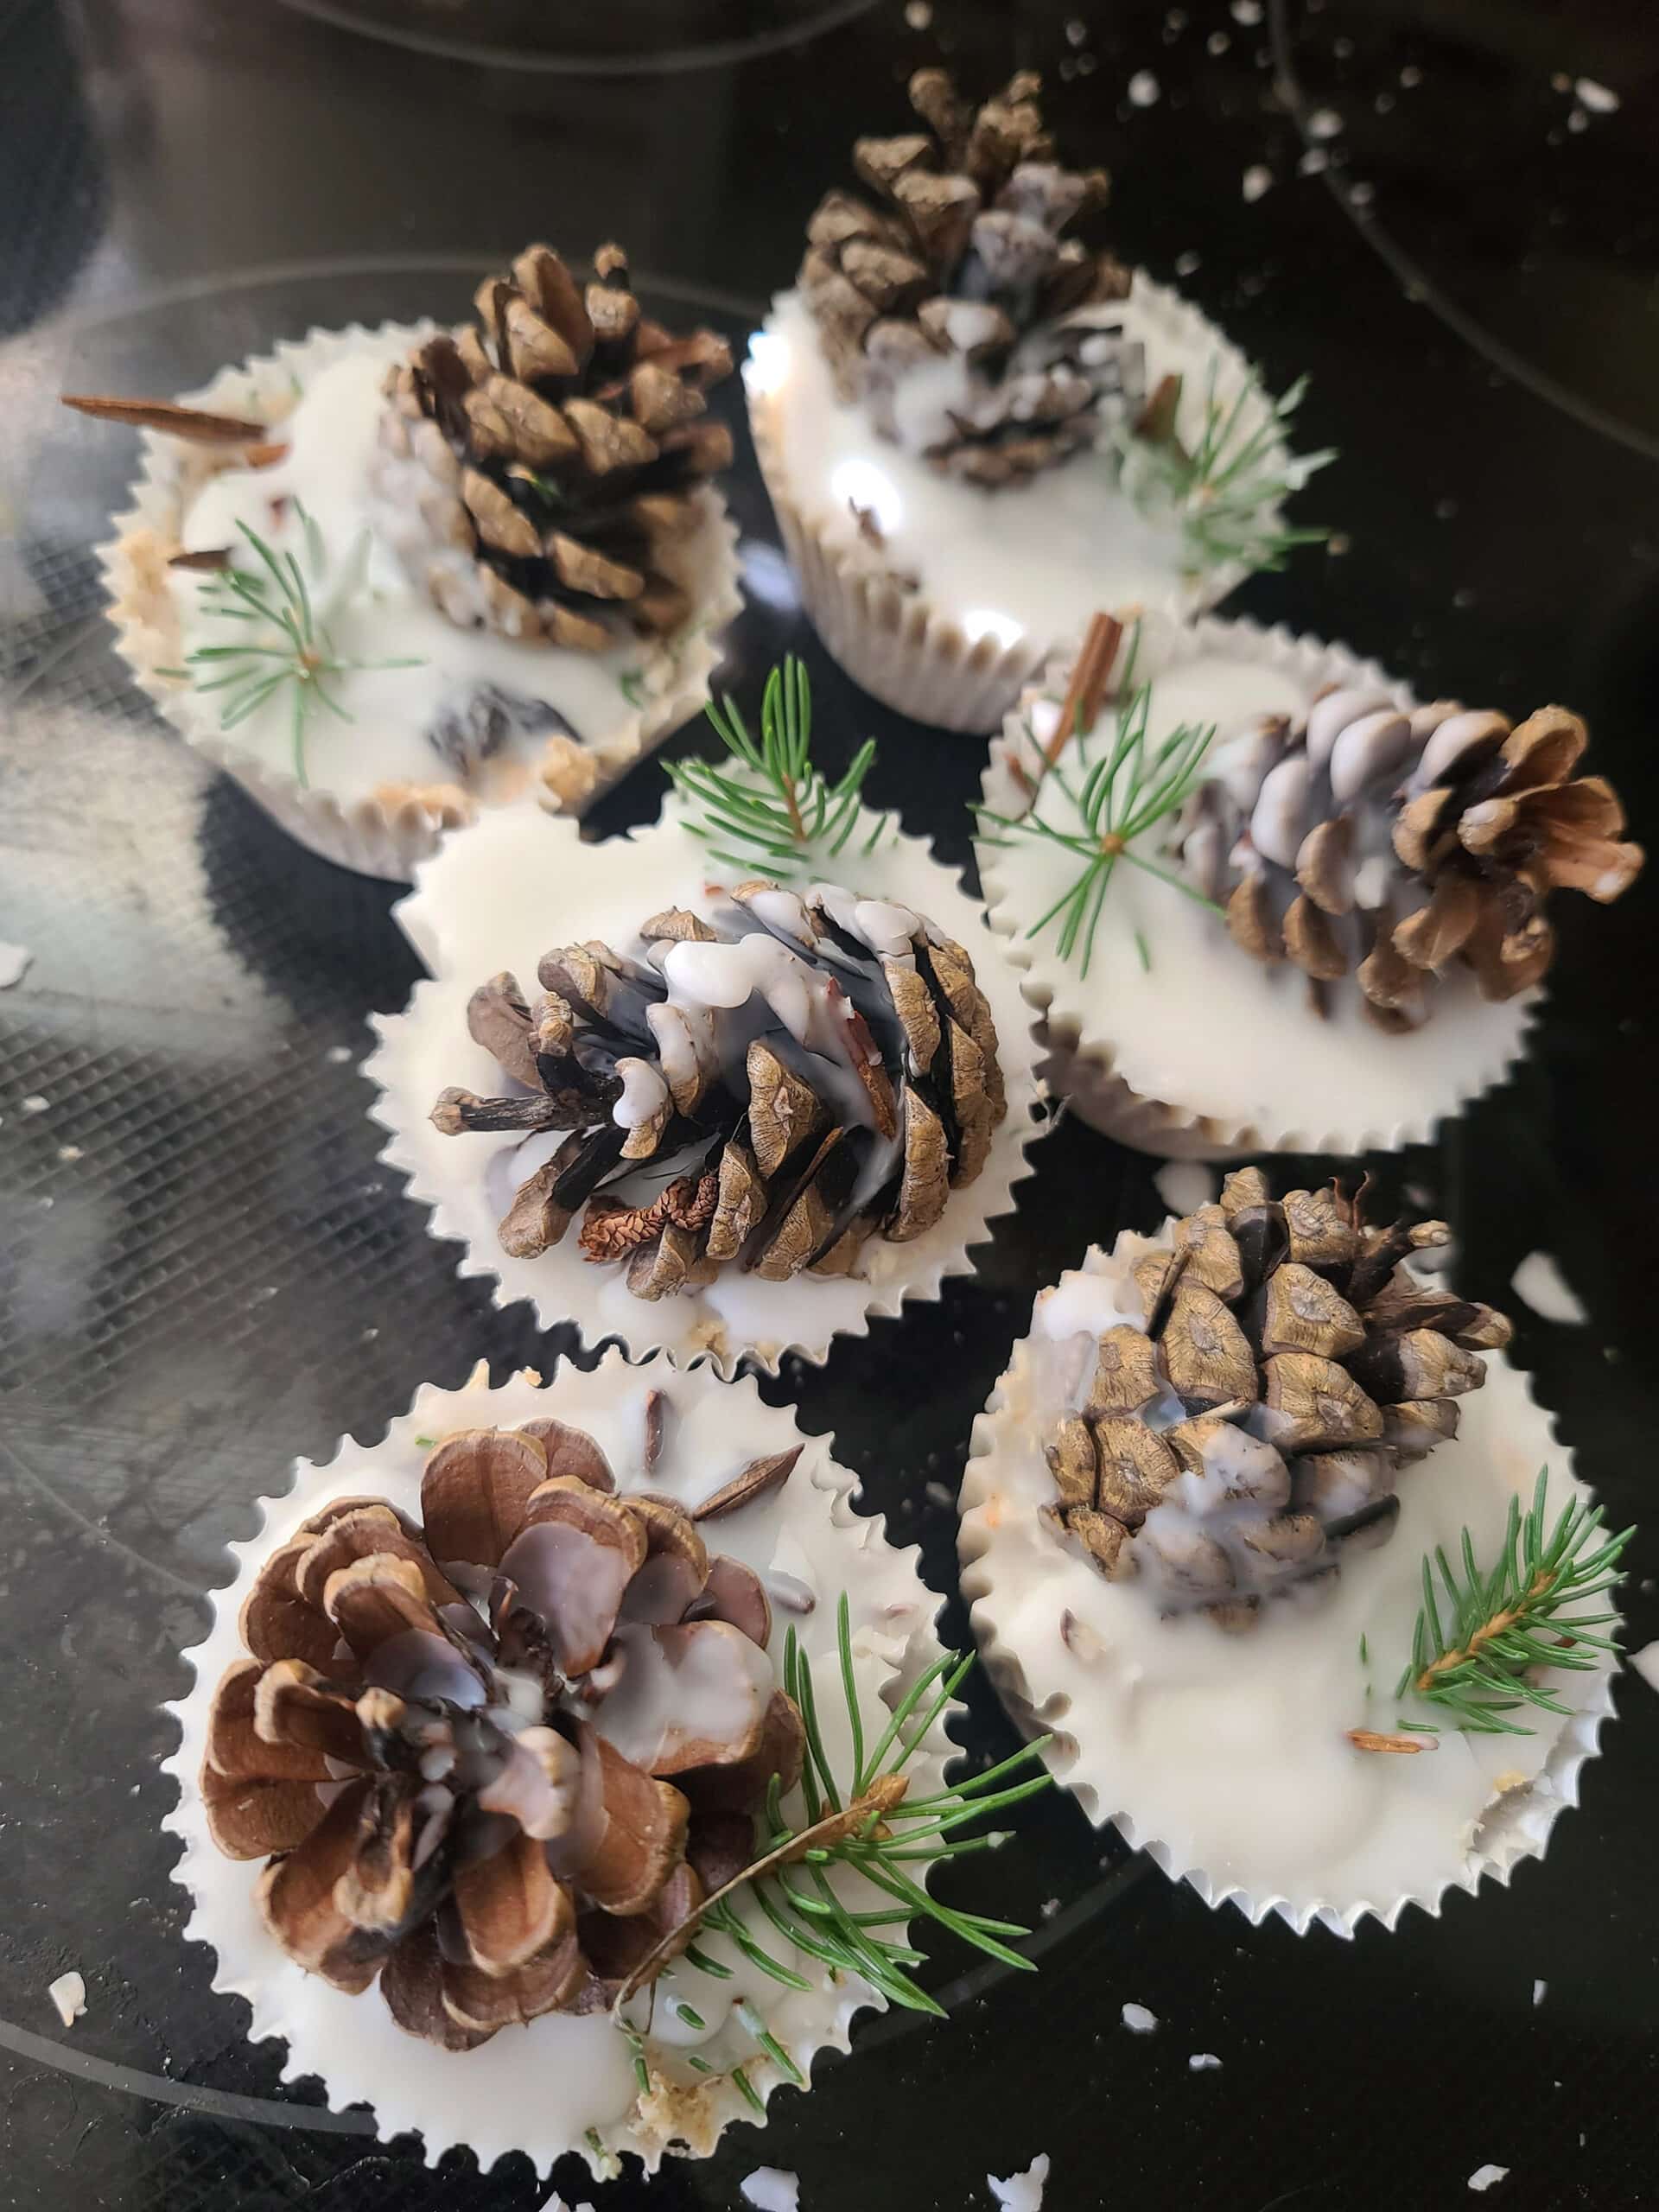
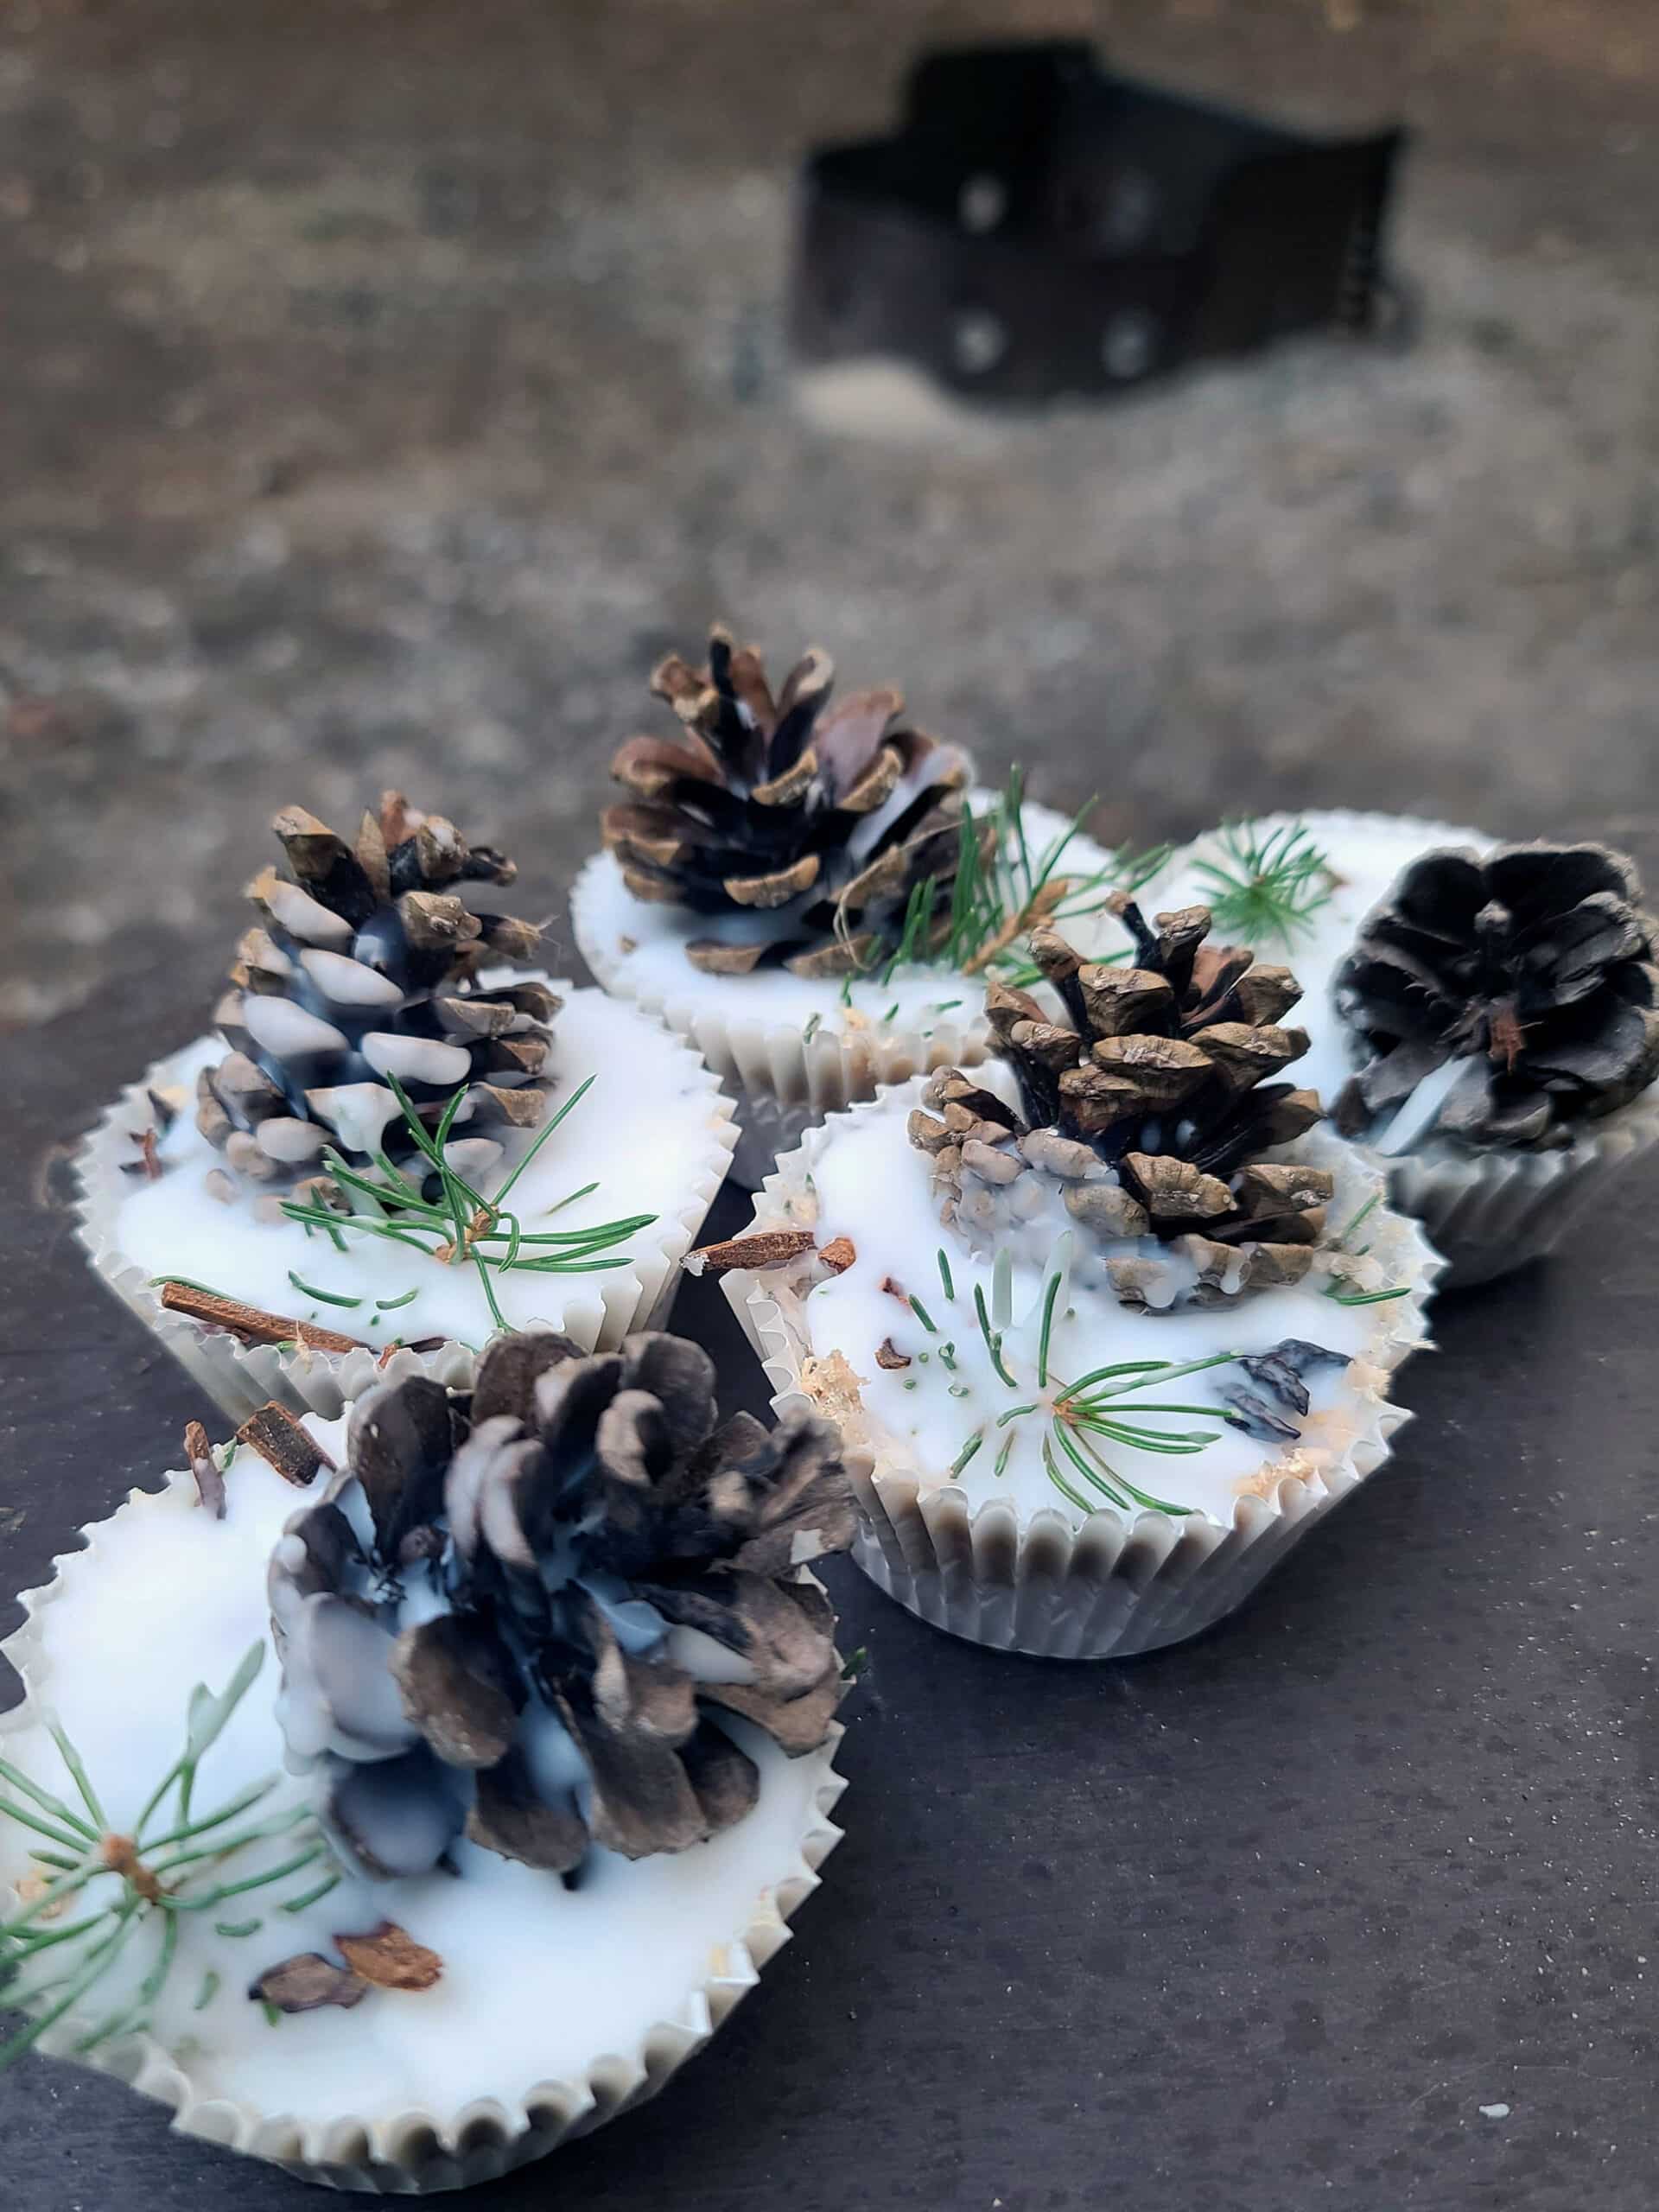
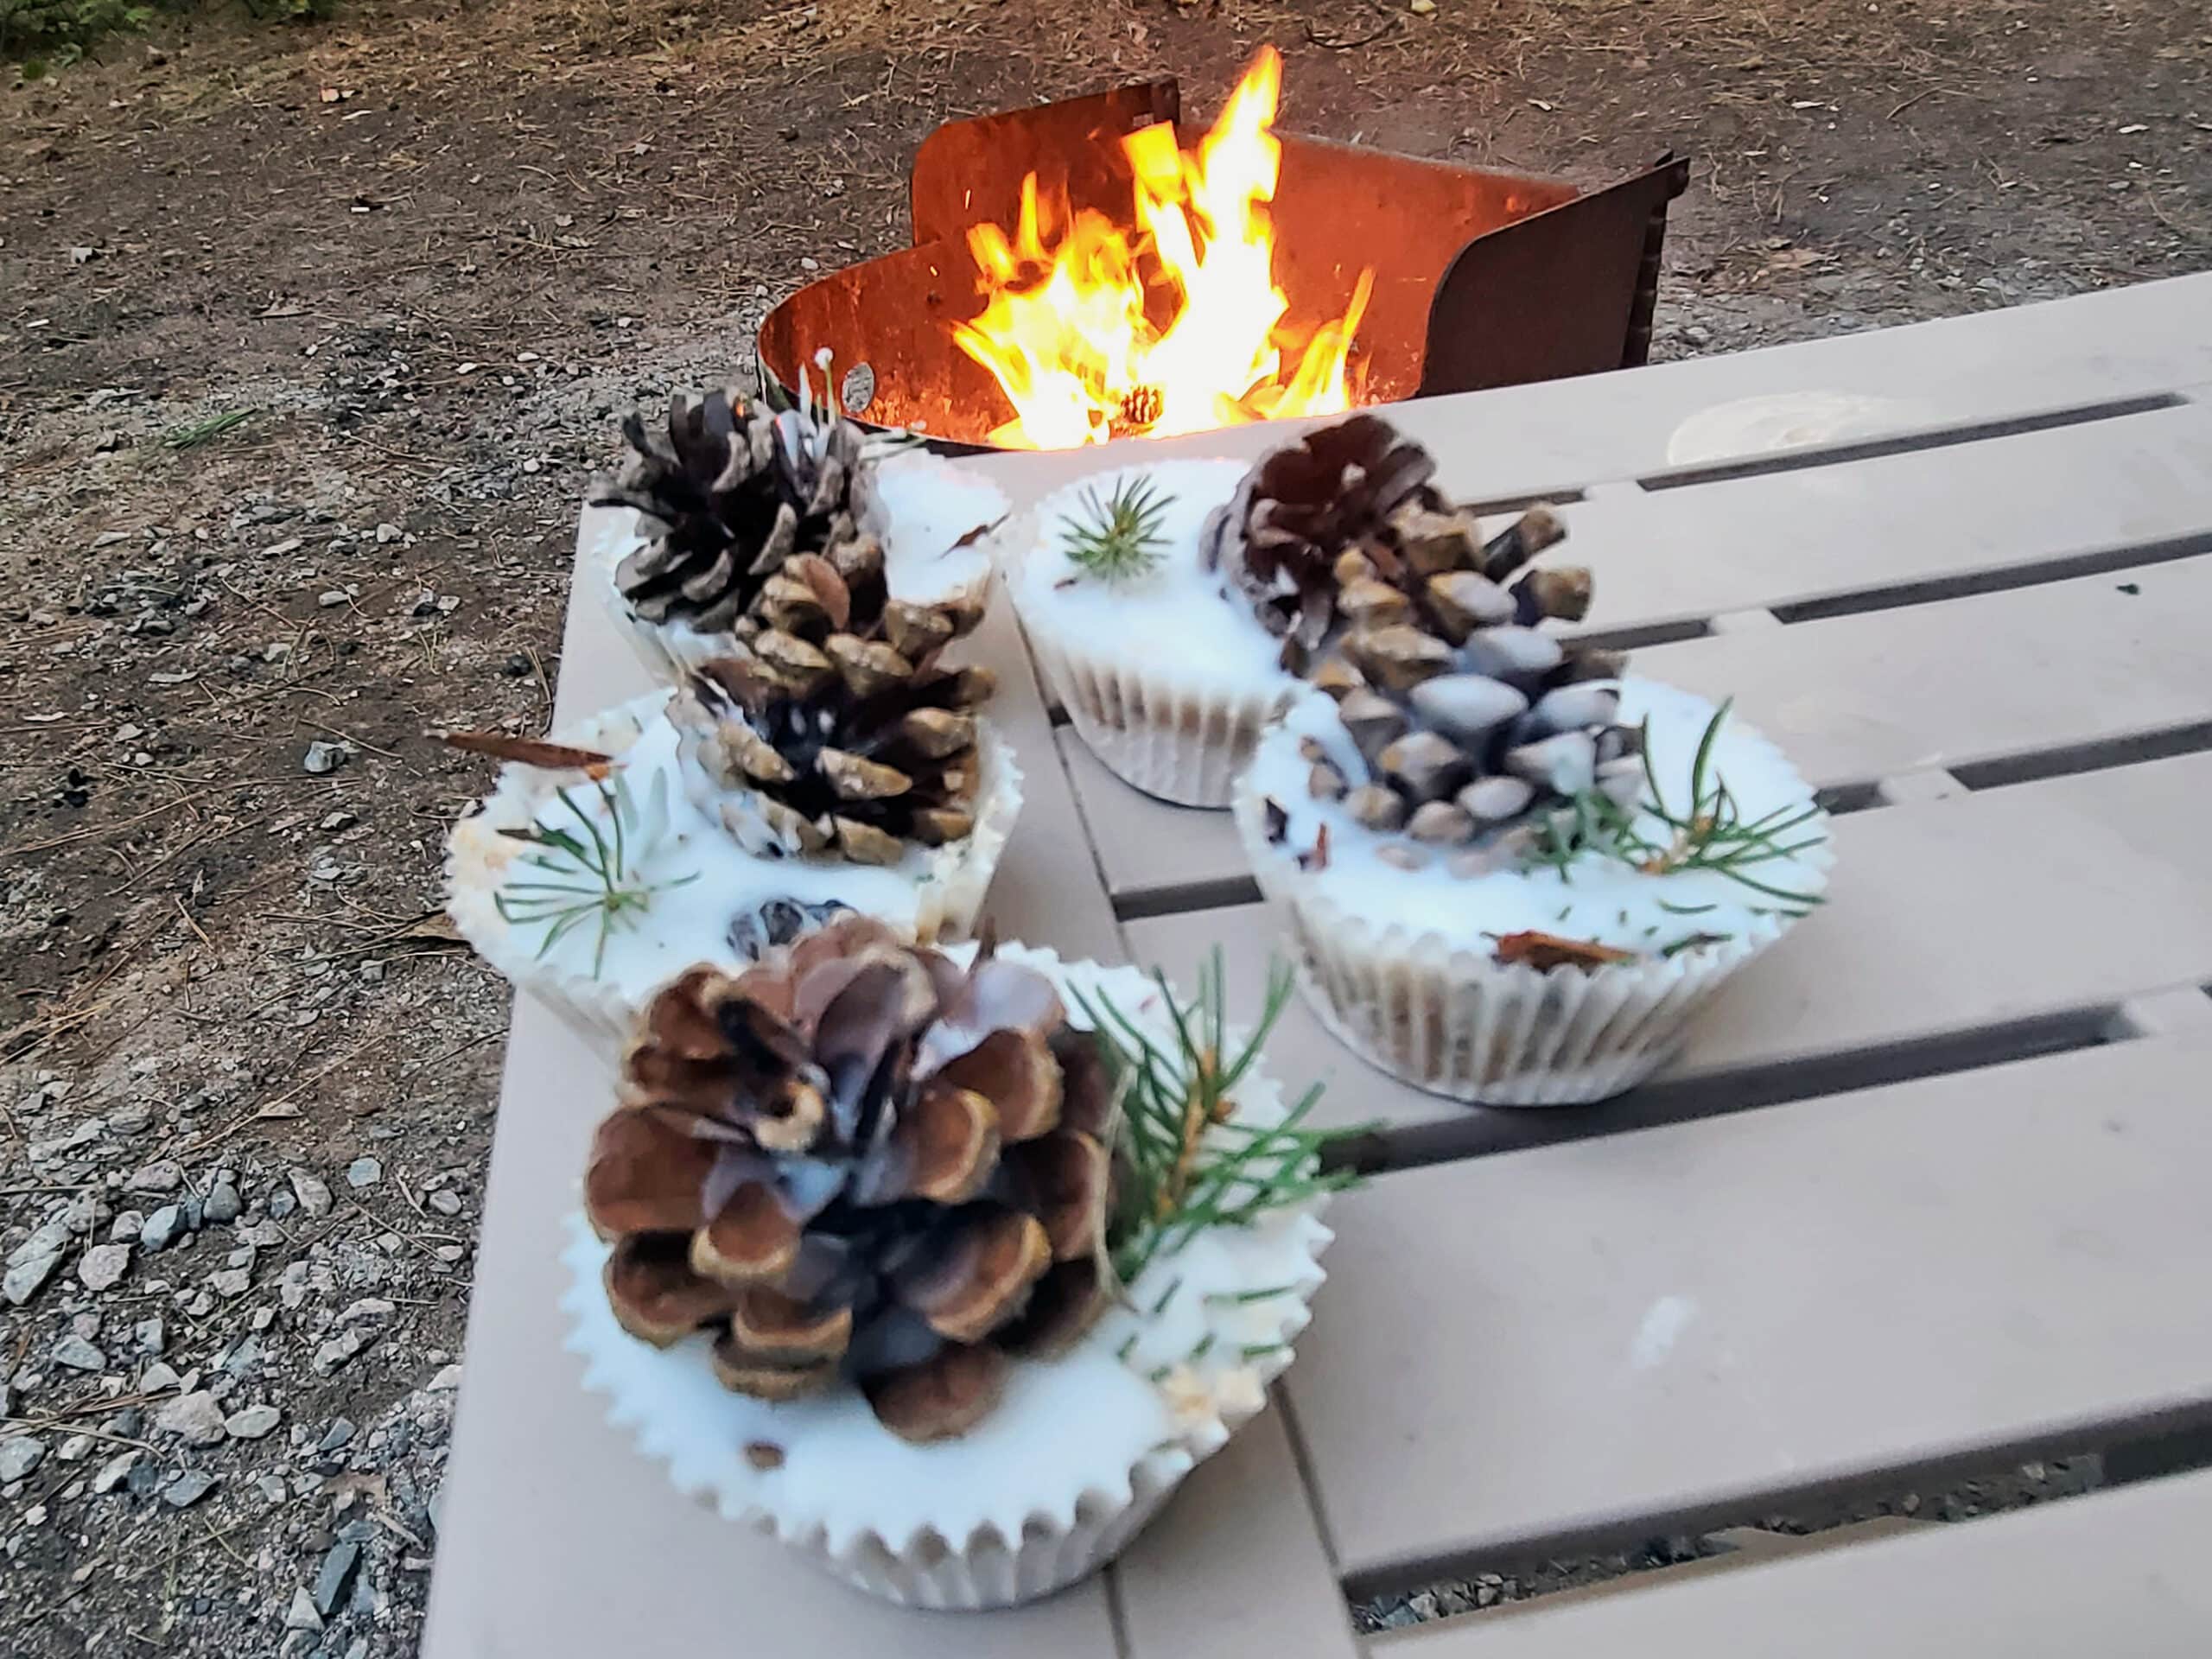
Homemade Decorative Aromatic Fire Starters
1. Line a muffin tin with your choice of PAPER cupcake liners.
2. Prepare your choice of base tinder. In this case, we used some sawdust and dried pine needles.
3. Fill each cupcake liner maybe halfway with your tinder, then add a little melted paraffin wax and stir it in. You don’t need to add enough to flood / cover it, you just basically want to incorporate a bit of the wax to act as a fuel source.
4. Top with a little more melted wax.
5. Add some aromatic and decorative items, as desired. We used some dried pine needles, star anise, broken pieces of cinnamon stick.
Because we were going to add a small - fully dried - pinecone at the end, we added a bit more wax to help secure it in place.
8. Once the fire starter wax tarts are solid, pop them out of the muffin pan, and store in an airtight container until you’re ready to use them.
How to Use Fire Starters
1. Assemble a stack of logs in your fire pit. Think “Jenga” - a couple/few rows of logs, each stacked perpendicular to the row beneath it, with space between each log.
Again: oxygen is fuel, and a very necessary component to getting a nice, roaring fire on the go!
2. Place a fire starter directly under one of the overhanging logs. You can use more than one starter, if you want, just be sure that each one is under wood, or at least directly NEXT to a piece of wood.
When it’s lit, you want that really hot flame to catch the wood, as it burns.
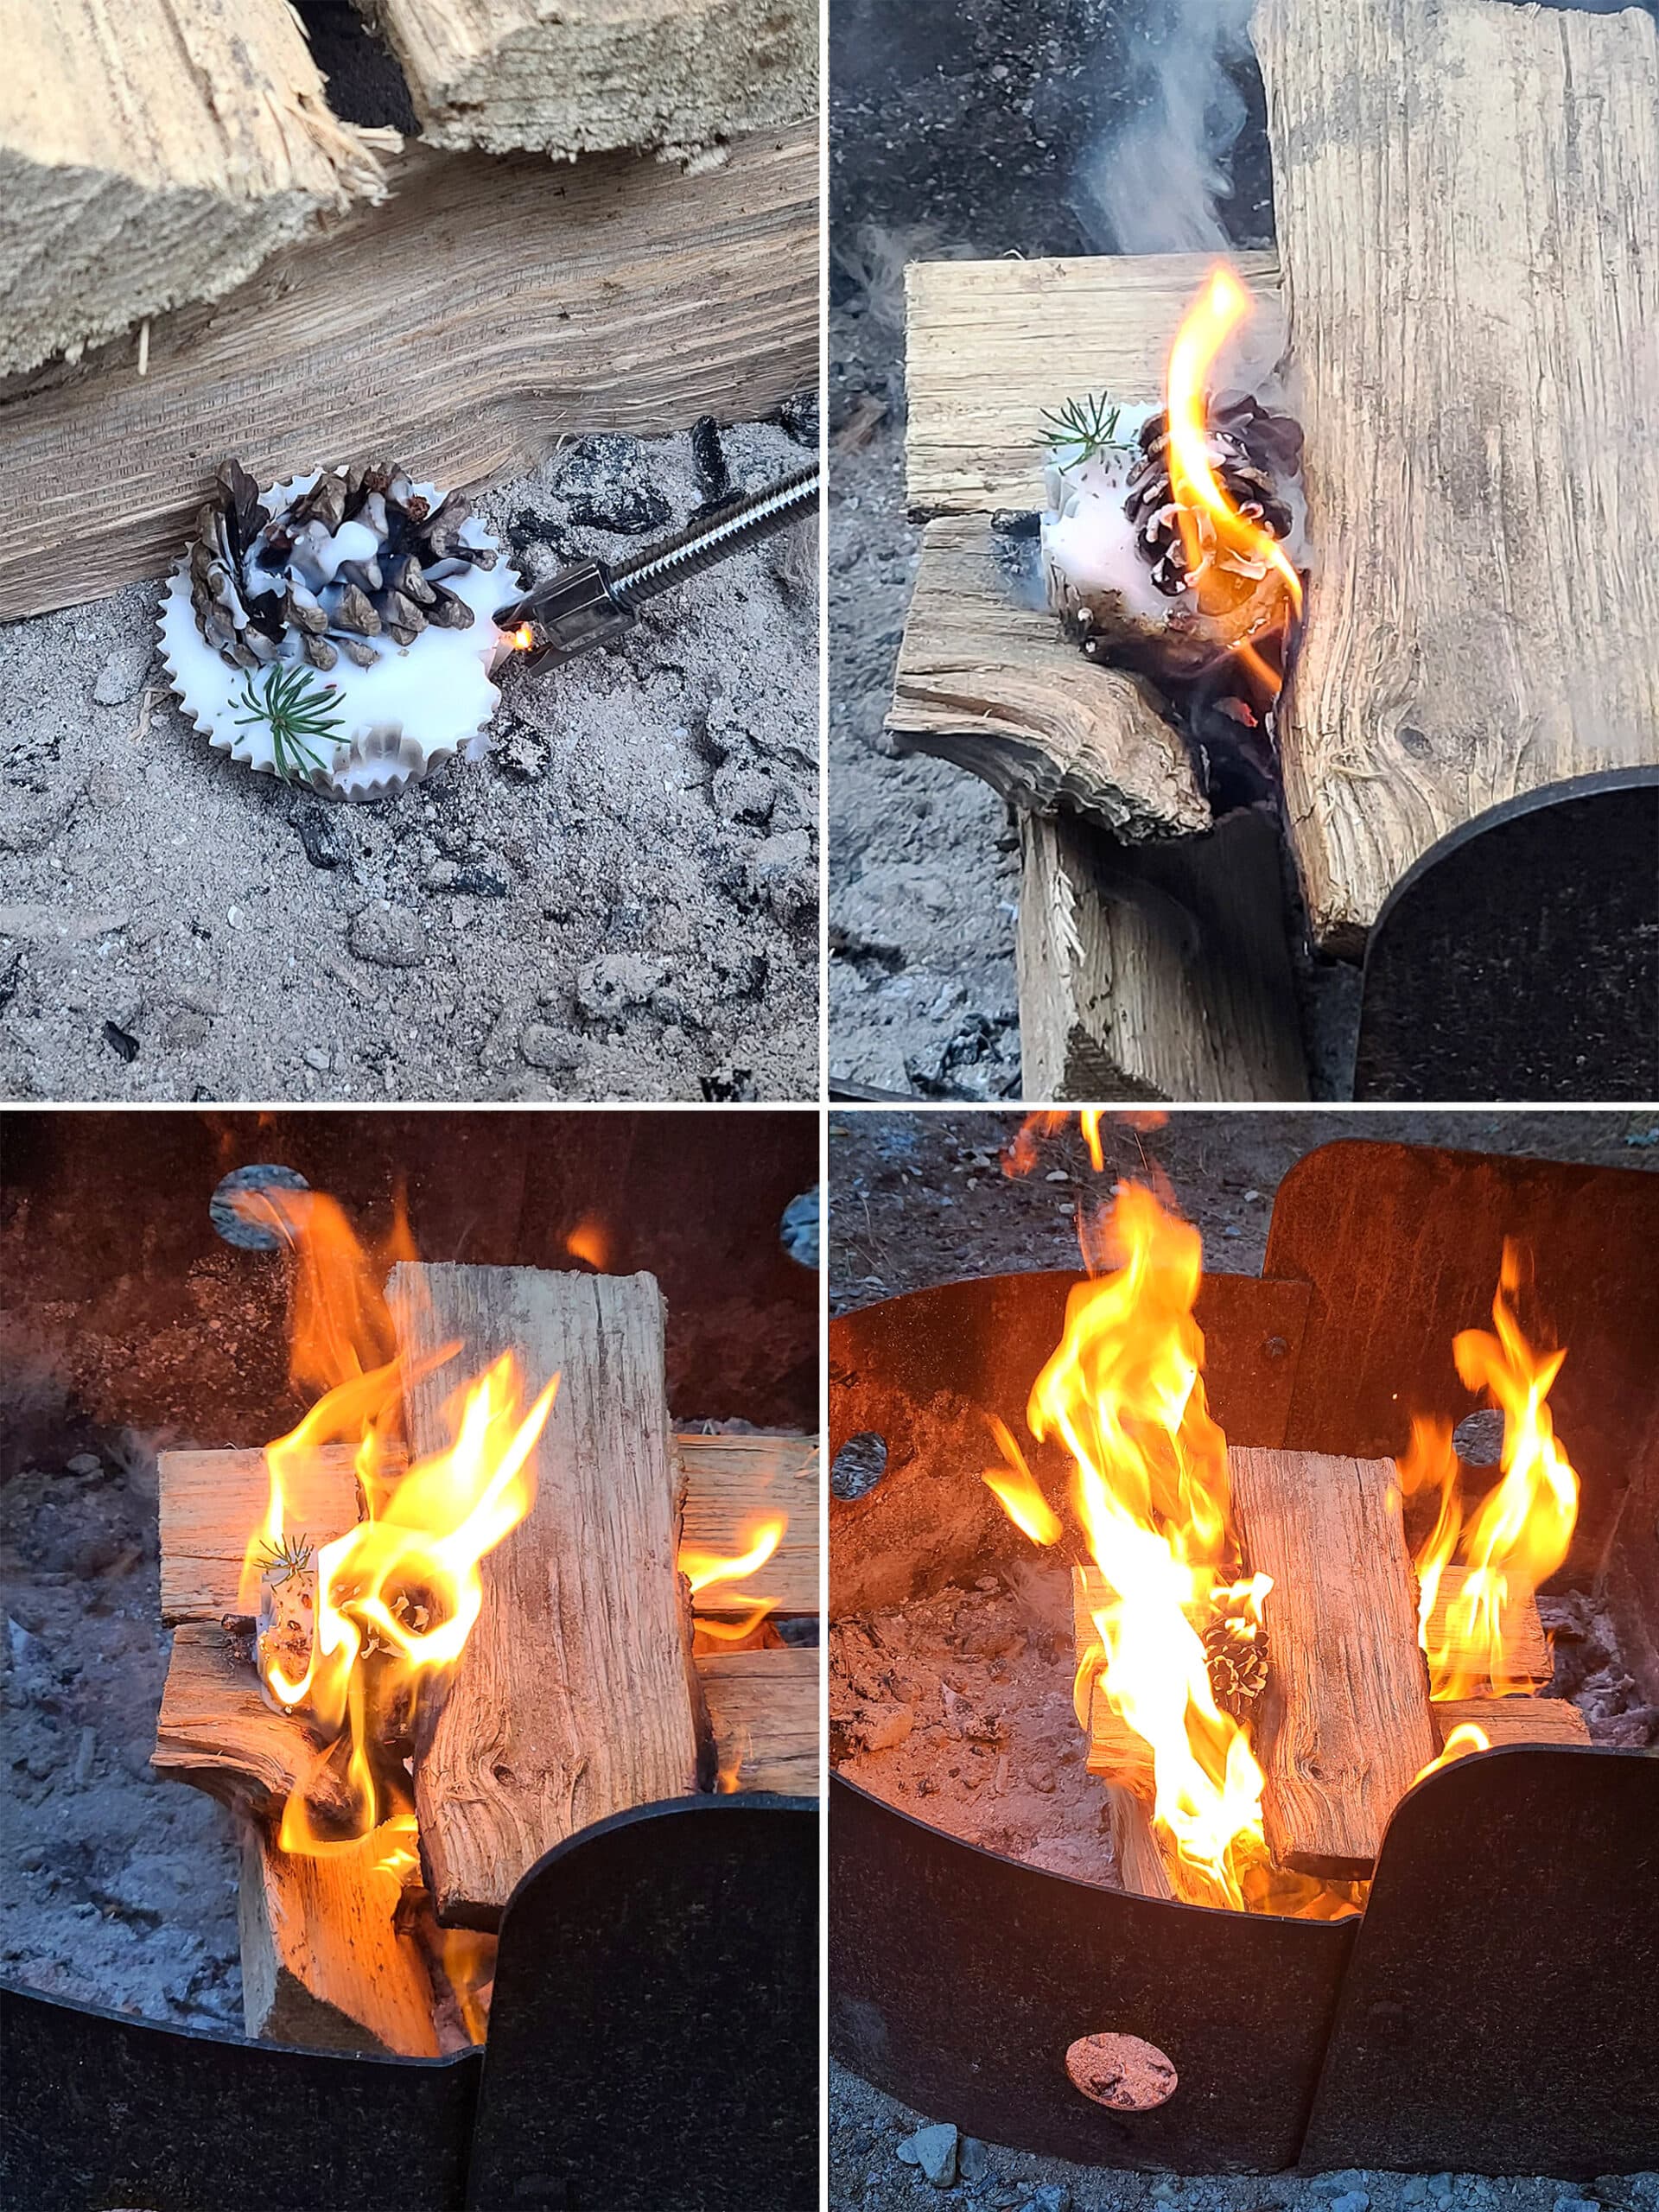
If yours has a wick - we usually don’t bother making them with wicks - you can light that. Otherwise, we’ll just torch the container itself.
4. If your fire doesn’t seem to be going well - or starter dying out at some point - we’ll just toss another one in, to get it going.
Enjoy your camp fire!
Note: If you know your wood is a bit wet - which is often the case with wood purchased at Ontario Provincial Parks - we recommend adding some paper to the fire, before you light the starters.
You’ll know your wood is wet if it’s resistant to catching fire, and you hear hissing when it does - that’s the water boiling off and the steam escaping.
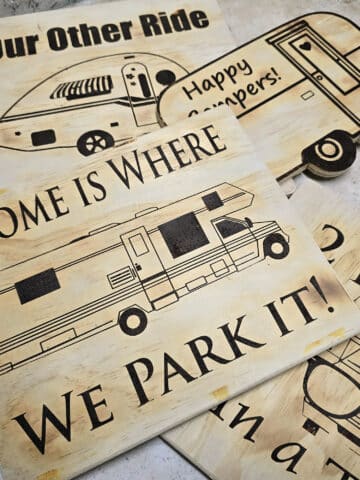
More DIY RV Tutorials
Want to check out more of our tutorials for ways to improve your camping experience?
Well, we don’t have many posted yet, but here’s a start!
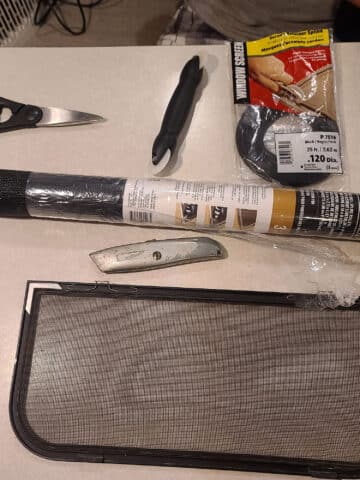
DIY Fabric Covered RV Reflector Shades
How to Apply RV Window Tinting
Installing RV Window Shades with Magnets
Make a Custom RV Camper Step
RV Window Screen Replacement
Also, be sure to check out our RV Lifestyle section for other tutorials to make RV life great - including photography tutorials. We also have a great Camping Recipes sections... that counts as DIY, right? 🙂
Thanks for Reading!If you loved this post - or have any questions about it - please leave a comment below! We'd also love it if you would consider sharing the link on social media! |

Leave a Reply