
When your stay is over, you still need to get home safely. Use a printable RV departure checklist to make sure you tear down correctly!

Why do I need a separate RV departure checklist?
When you arrive at camp, you know everything is where it should be and you're focused on taking it out and hooking it up correctly. When you're tearing down, you know it's hooked up correctly and you need to focus on safely stowing it away.
It is going to be very similar, but it's worthwhile having a separate printable RV teardown checklist on hand. You'll also optimize your list of items to be as efficient as possible.
Having some printable RV checklists available is a good idea whether this is your first time taking an RV trip or if you're fulling into the RV life as a full time RVer. It's also great to divide and conquer if you have a helper available!
Ok cool, can I have the checklist now?
I will share my checklist, but it's not necessarily going to be optimized for you. I could create an ultimate RV checklist. A generic premade checklist would be very long to consider all possible options. It would have many parts that simply don't apply to your situation.
The type of RV definitely matters when it comes to the details. A fifth wheel trailer will have a different pre-trip checklist than our motorhome. Pulling a tow vehicle will have additional sections.
I'll walk you through my tear-down process so you can create your own list, or use my list as a good starting point and adjust as needed.
Early prep – inside the RV
It's nice to get a head start where you can, so you're not overwhelmed or in a rush when you're about to leave. What you can you do early?
For us, we have a bunch of little things that can be put away. Now is the time to wash dishes so they can be put away dry before travelling.
We use a Cuisinart Griddler a lot, it sits on the counter when we're camping but we stow it in a drawer during travel. This can usually be done early. We typically plan our meals to have leftovers before travel for convenience.
It's surprising how many of these little things you'll find. We like to start at the back in the bedroom and work our way forward.
As you make your way through the kitchen, turn off the water heater. I don't like the idea of driving while that's running. The water will stay hot for a long time if you're going from camp site to camp site.
We leave our Keurig coffee maker on the counter. So far we haven't had an issue with the coffee maker sliding around anywhere near the edge of the counter.
Also make sure your fridge is set to auto. Most of our camp sites have shore power hookups. I want to make sure the fridge is going to run on propane while we're travelling.
Safety first, safety second, safety third ...
When it comes to cabinets, make sure that things will “fail safely”. If loose items shift during travel, it shouldn't create a hazard when you open the cabinet doors. Something like a glass oil bottle it better stored on its side with an end facing the door, for example.
This can create space issues, there's always more you wish you could store. An alternative would be to push the glass bottle to the back and store a cereal box in front. The box wouldn't create a safety issue it if falls out.
Gather up your trash and recycling and put it in a convenient spot for disposal. I usually put it behind the driver's seat or in the trunk of the tow car.
Early prep – outside the RV
There are also some things that can be done early outside. Chip away at them early for a reduced stress day!
Camp site cleanup
Since we plan on leftovers or simple sandwiches for the final meal, anything related to cooking can get packed early.
I empty out the charcoal grill, and put it away along with the charcoal briquettes, the lighter fluid, and the electric lighter.
I'll also stow away our BBQ propane tank, allowing the system to run on the onboard tank. With the water heater off and shore power still connected, only the furnace would use propane at this point.
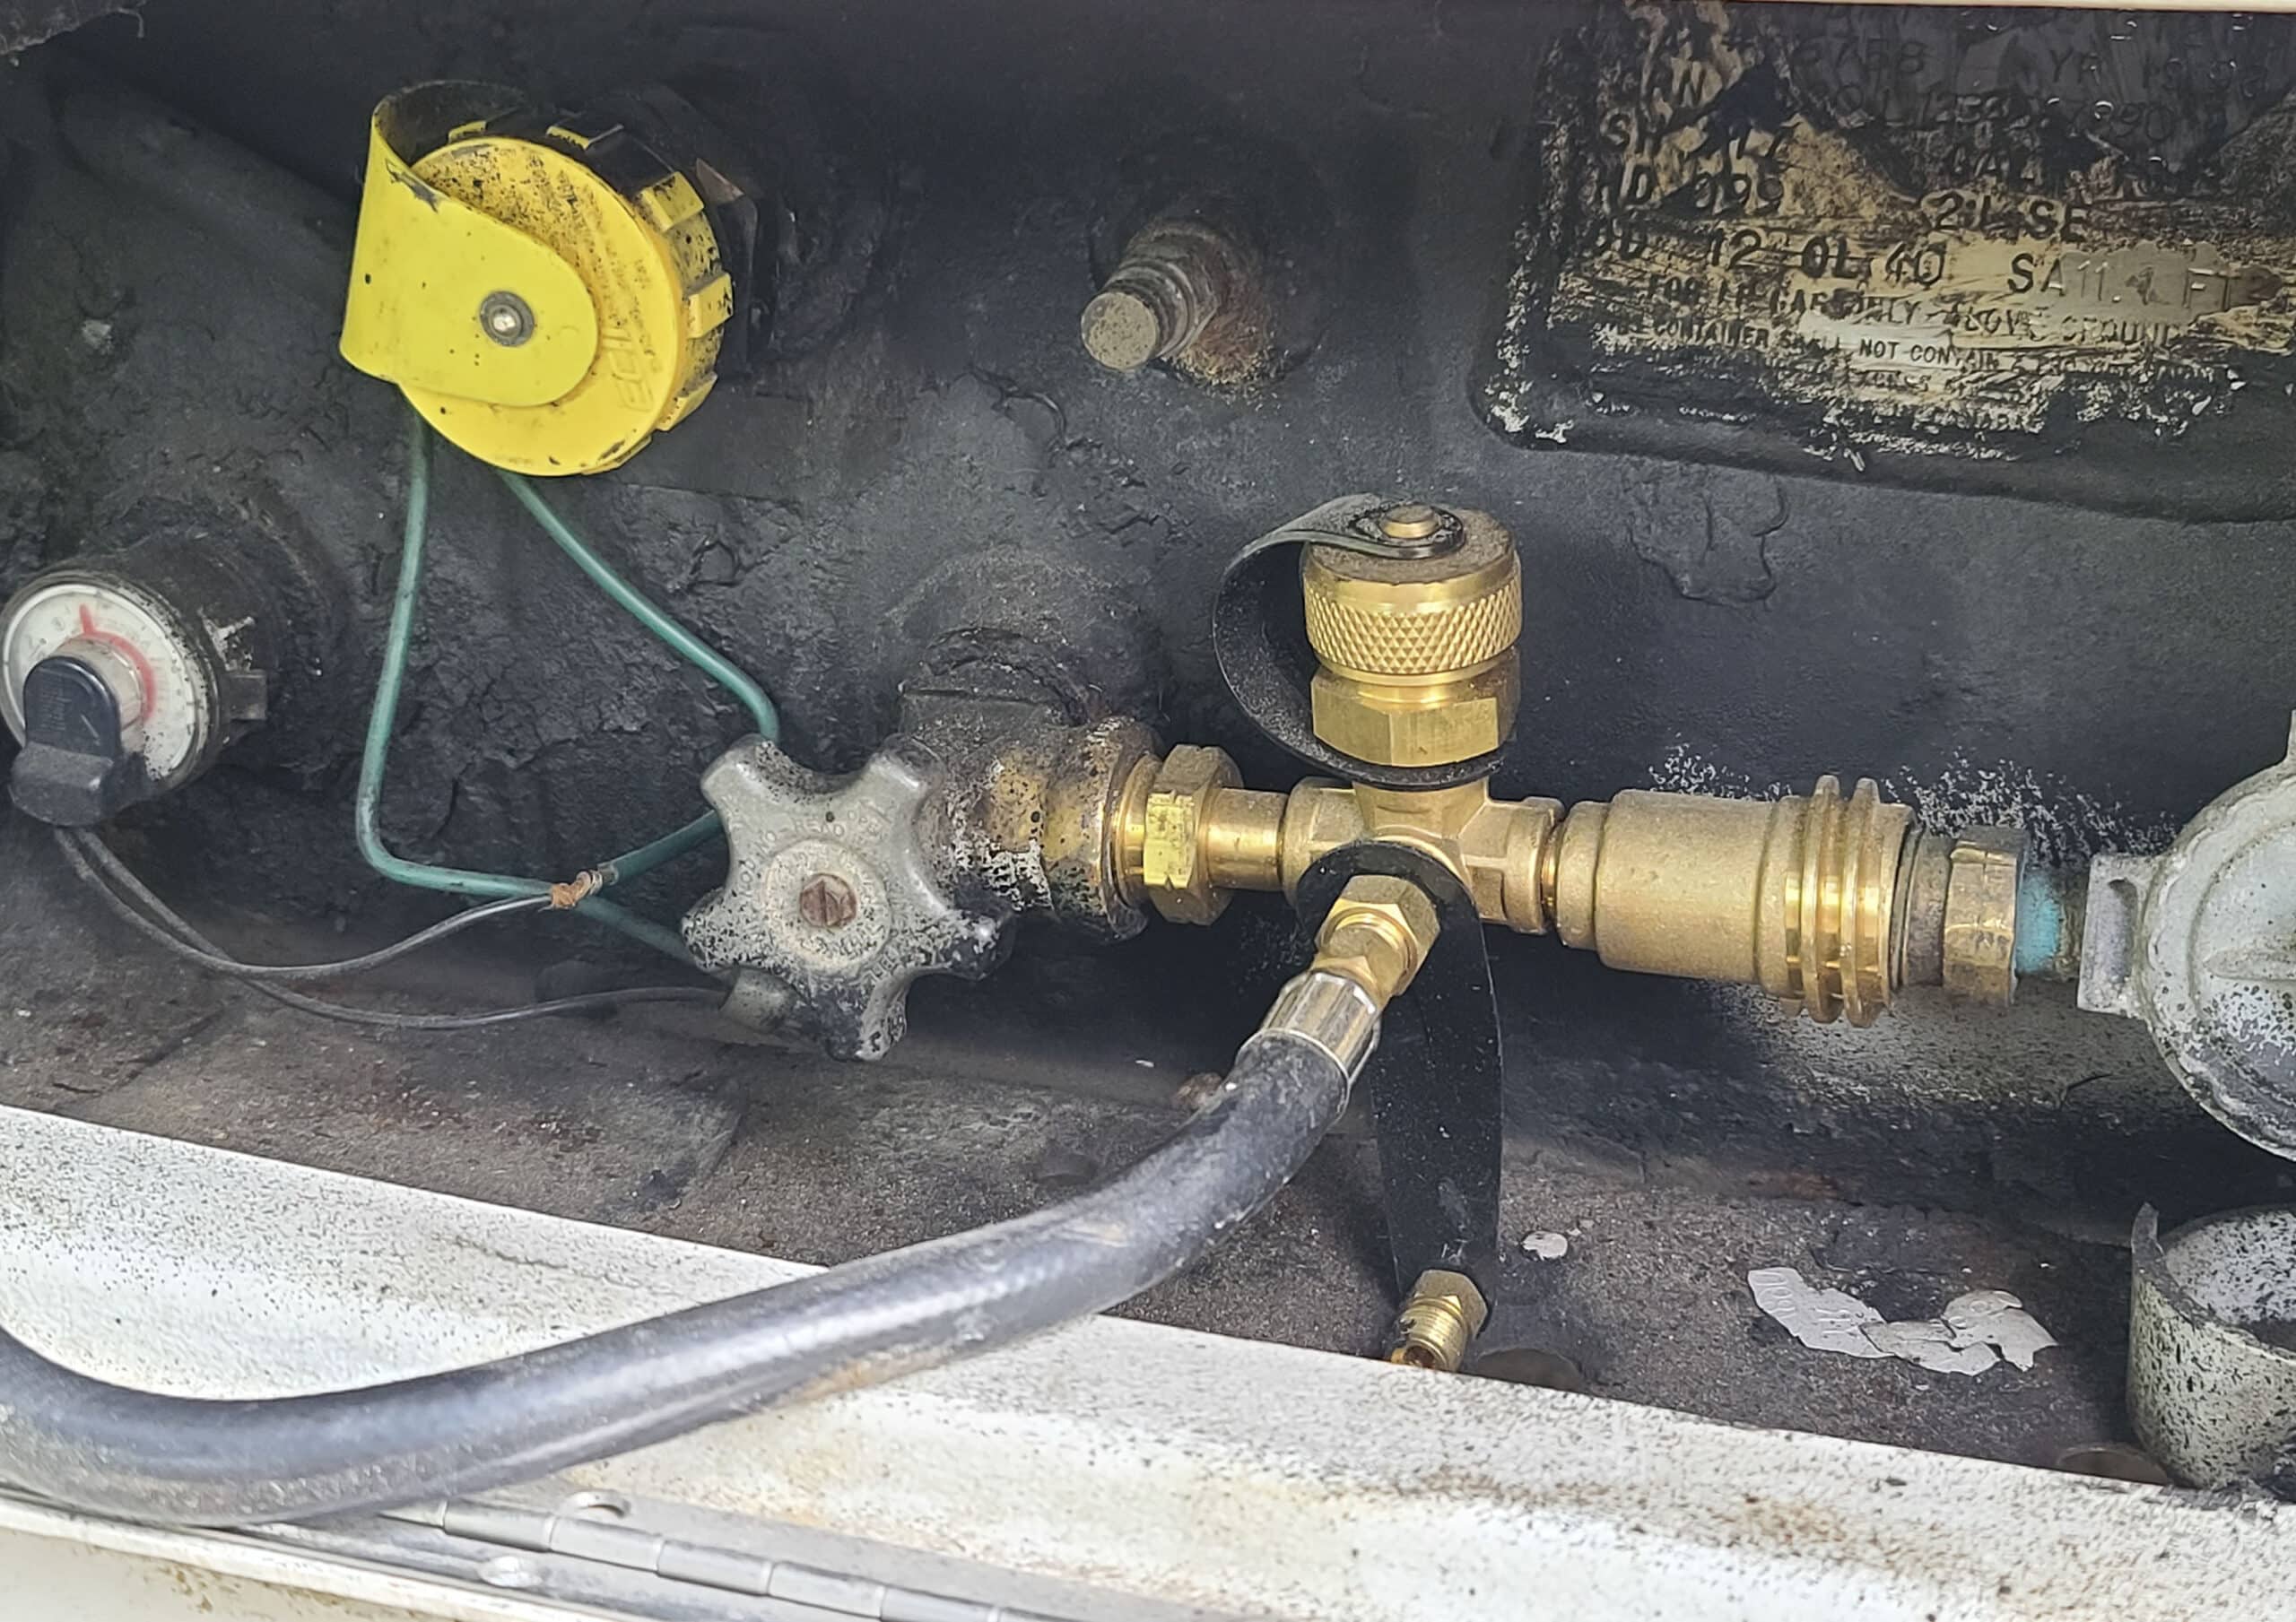
If you don't have this kind of setup, you can add a propane tee kit for this. Remember to open the valve to the onboard tank before closing the valve on the portable tank. This ensures continuous propane for anything needing it.
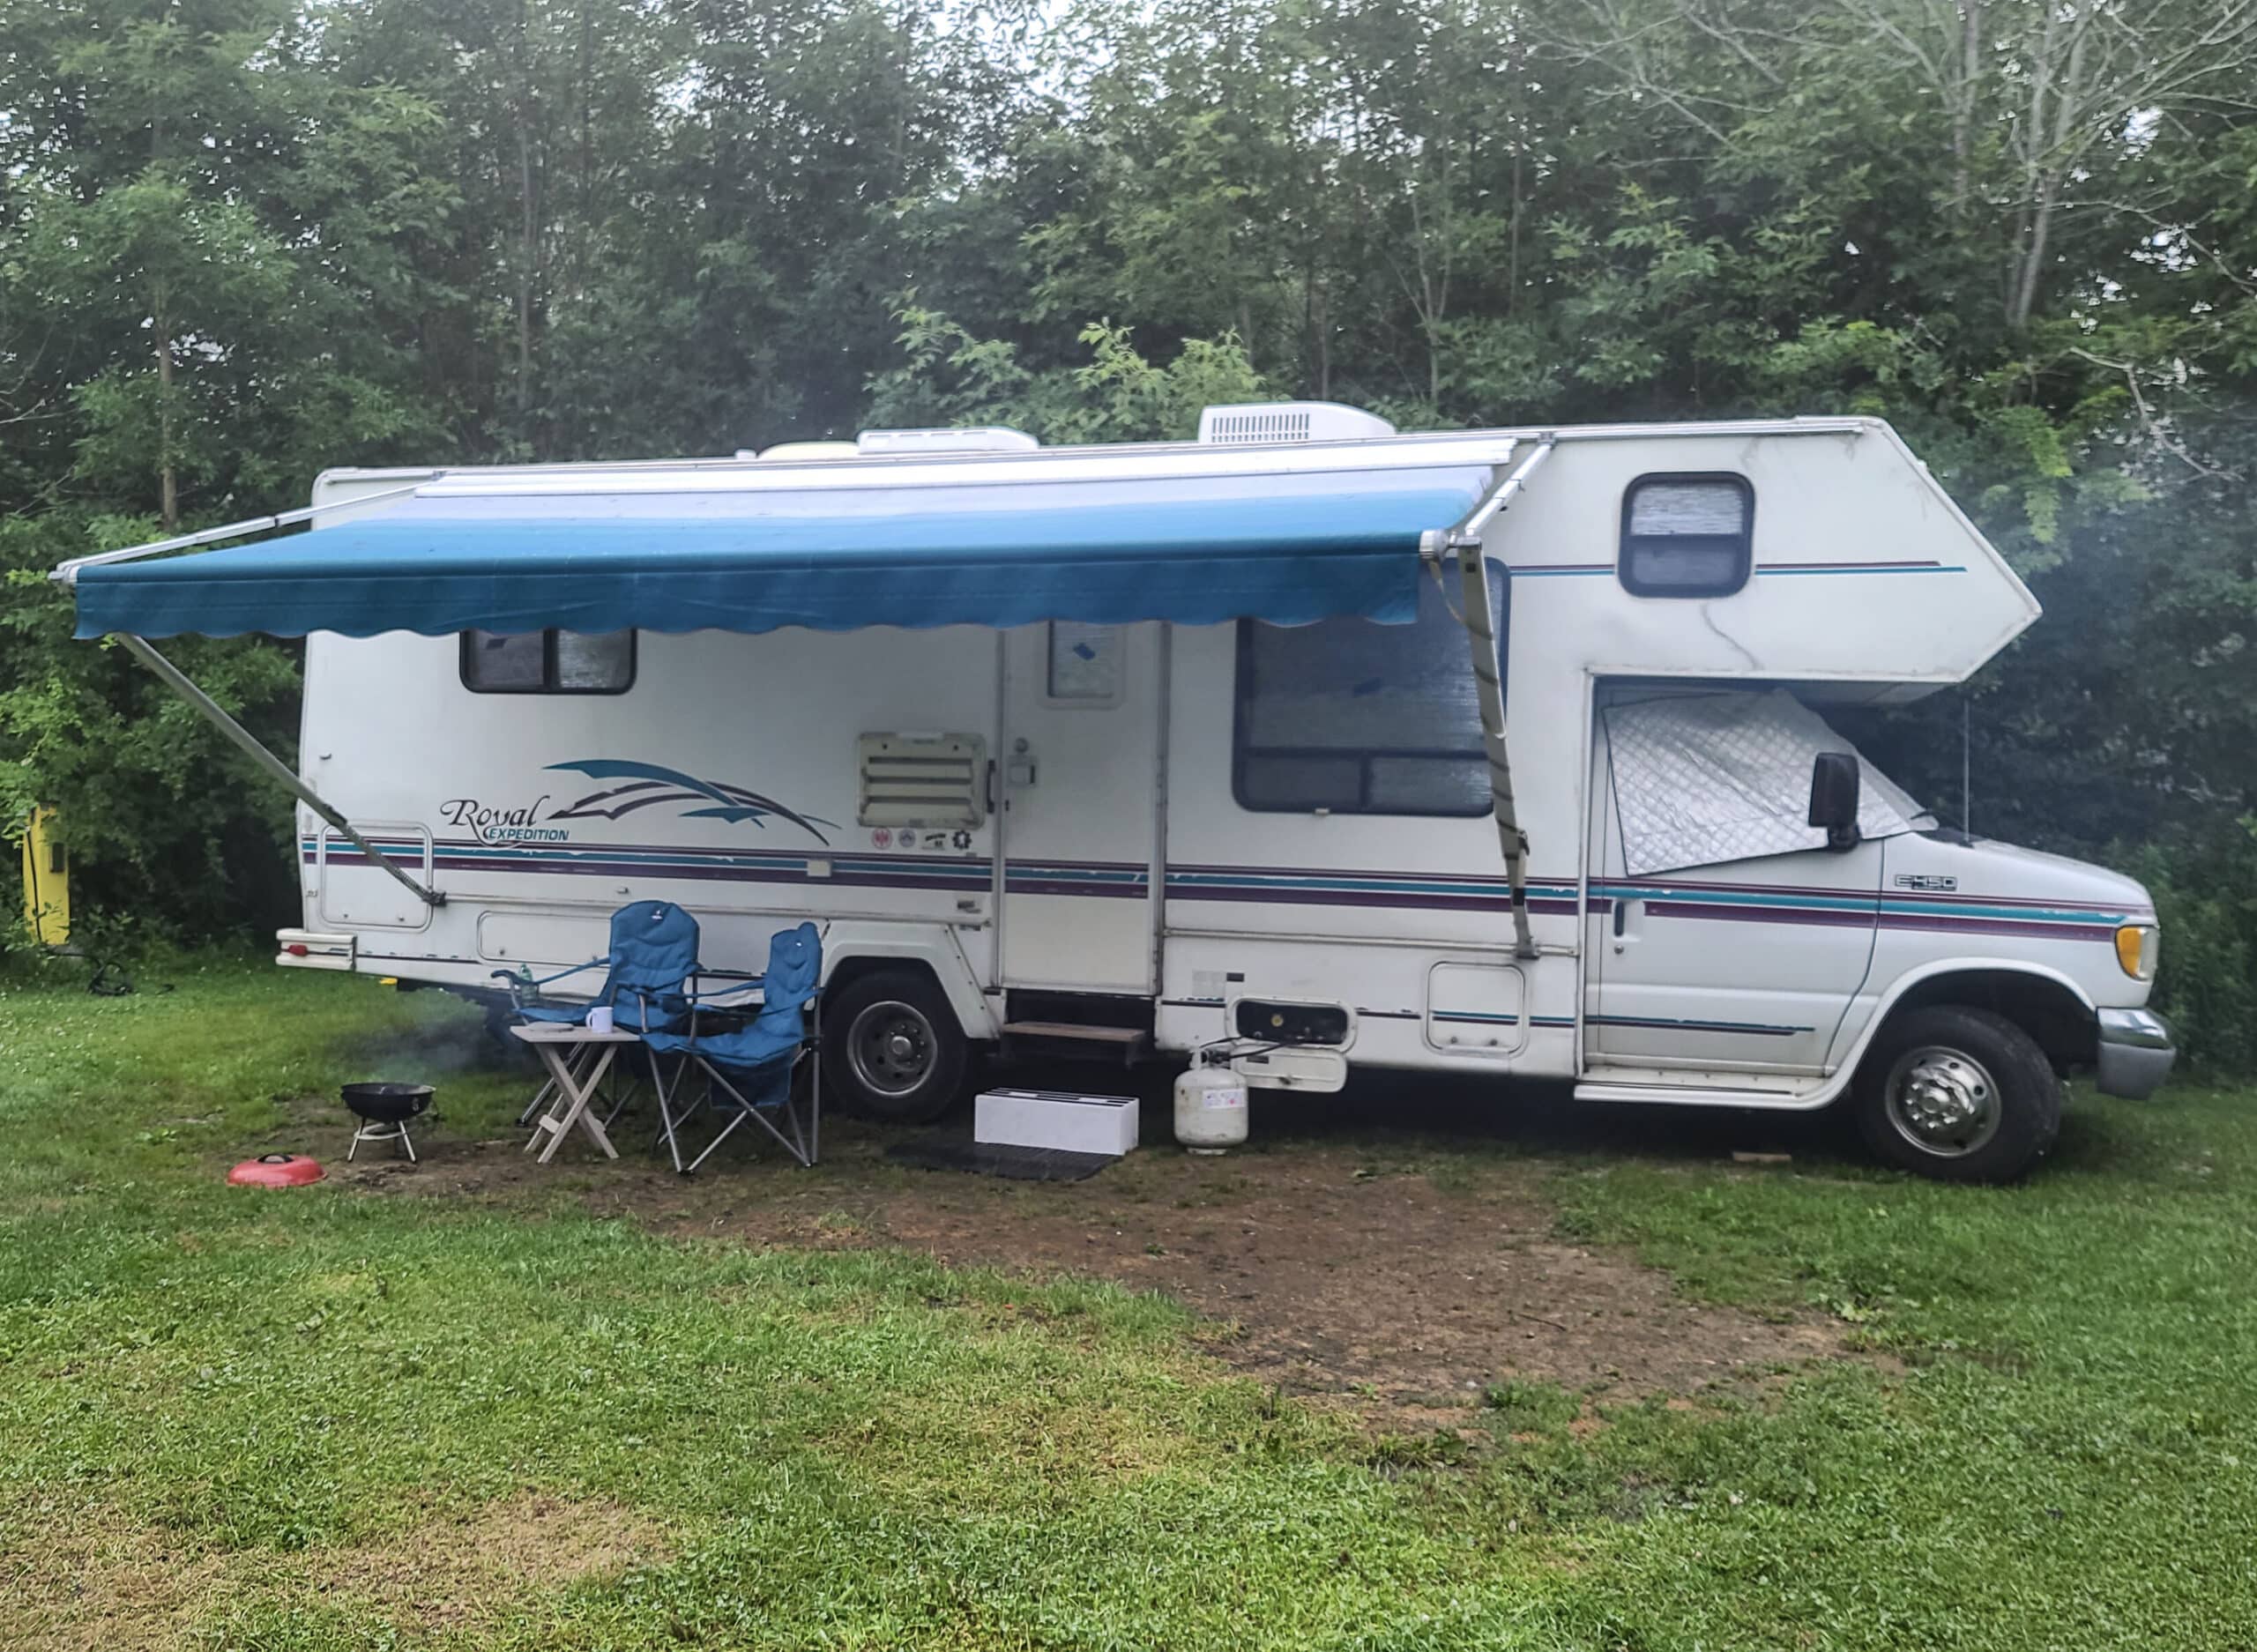
If you're leaving early and not planning on hanging out much, you can put away any outdoor rugs and tables. I generally leave the camping chairs out in case I decide to do some work on my laptop before we head out.
Non-essential utilities can be disconnected early
Stow away types of solar panels, satellite dishes or TV antenna you might have been using.
If the camp sites have water lines available, I'll put away the water hose and just use the fresh water tank on the motorhome for the last couple of hours. Drain as much water as possible out of the hose.

Cap off each end of the water filter, water pressure regulator, and hose that is exposed to keep them clean when stowed. Turn on the water pump so you can still use water inside.
Just like above, if the site has a sewer connection I'll dump that next. Wear disposable gloves disposable gloves, empty your black tank first. This allows the water from the gray tank to flush out the sewer hose.
Buy a sewer hose sewer hose kit that has caps, or purchase sewer hose caps separately. These keep your storage compartment clean.
Stabilizers can be packed, leveling pads stay

The title pretty much says it. I put away the stabilizing jacks and pads for them. The motorhome will likely be a little out of level and will rock more when walking, but it's not a big deal. It's more important to be level when you're trying to sleep.
Safety checks are important!
No matter how big or small your rig is, perform safety checks!
Take a look at each tire to ensure they look right. Low tires will squat. It's more difficult to see with dual tires. Measure tire pressure with a gauge regularly, but not necessary every trip. Do this on all wheels, towed or towing.
Check underneath for anything dangling. Basically just make sure everything looks right.
Pop the hood of the tow vehicle and check fluids. Power steering fluid, brake build, oil level, coolant level, and washer fluid.
Also check transmission fluid if it has a dipstick. Many vehicles don't, and it's more complicated to verify the level. It's rare to be low on transmission fluid, so it's okay to skip the complicated procedure.
You'll check lighting as you're about to leave, you can skip that for now.
This is as far as I take the early prep. Everything else I do as we're about to leave.
Final pack-out tasks
Now is the time to put away any camp site amenities you've left out. This is when I put away the folding chair and I take down the awning.
Next I'll put away the step, rubber mat, and fold in the onboard step. I lock the side door and use the cab doors at this point.
Always turn off the air conditioner before unplugging the shore power or shutting off a generator.
Now you can unplug the power cords, coil them neatly and stow them. Don't forget your surge protector, if you use an inline model.

If you have a trailer that is towed, hook it up then remove the wheel chocks. I won't detail hookup since it depends on your particular setup.
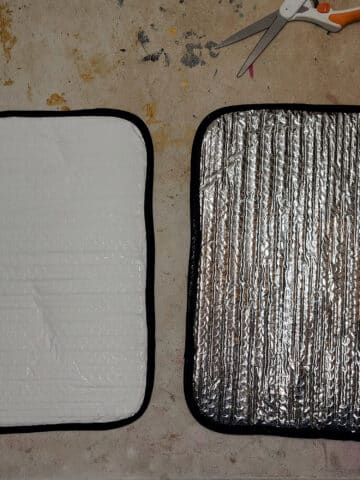
Now I'll remove the windshield cover and the rear window cover. Verify the mirrors are set correctly, it's easy to bump them out of place.
At this point I'll move the motorhome forward a couple of feet and put away the leveling blocks, if I needed them.
Do a final walk around of both the camp site and your rig before pulling out of the site.
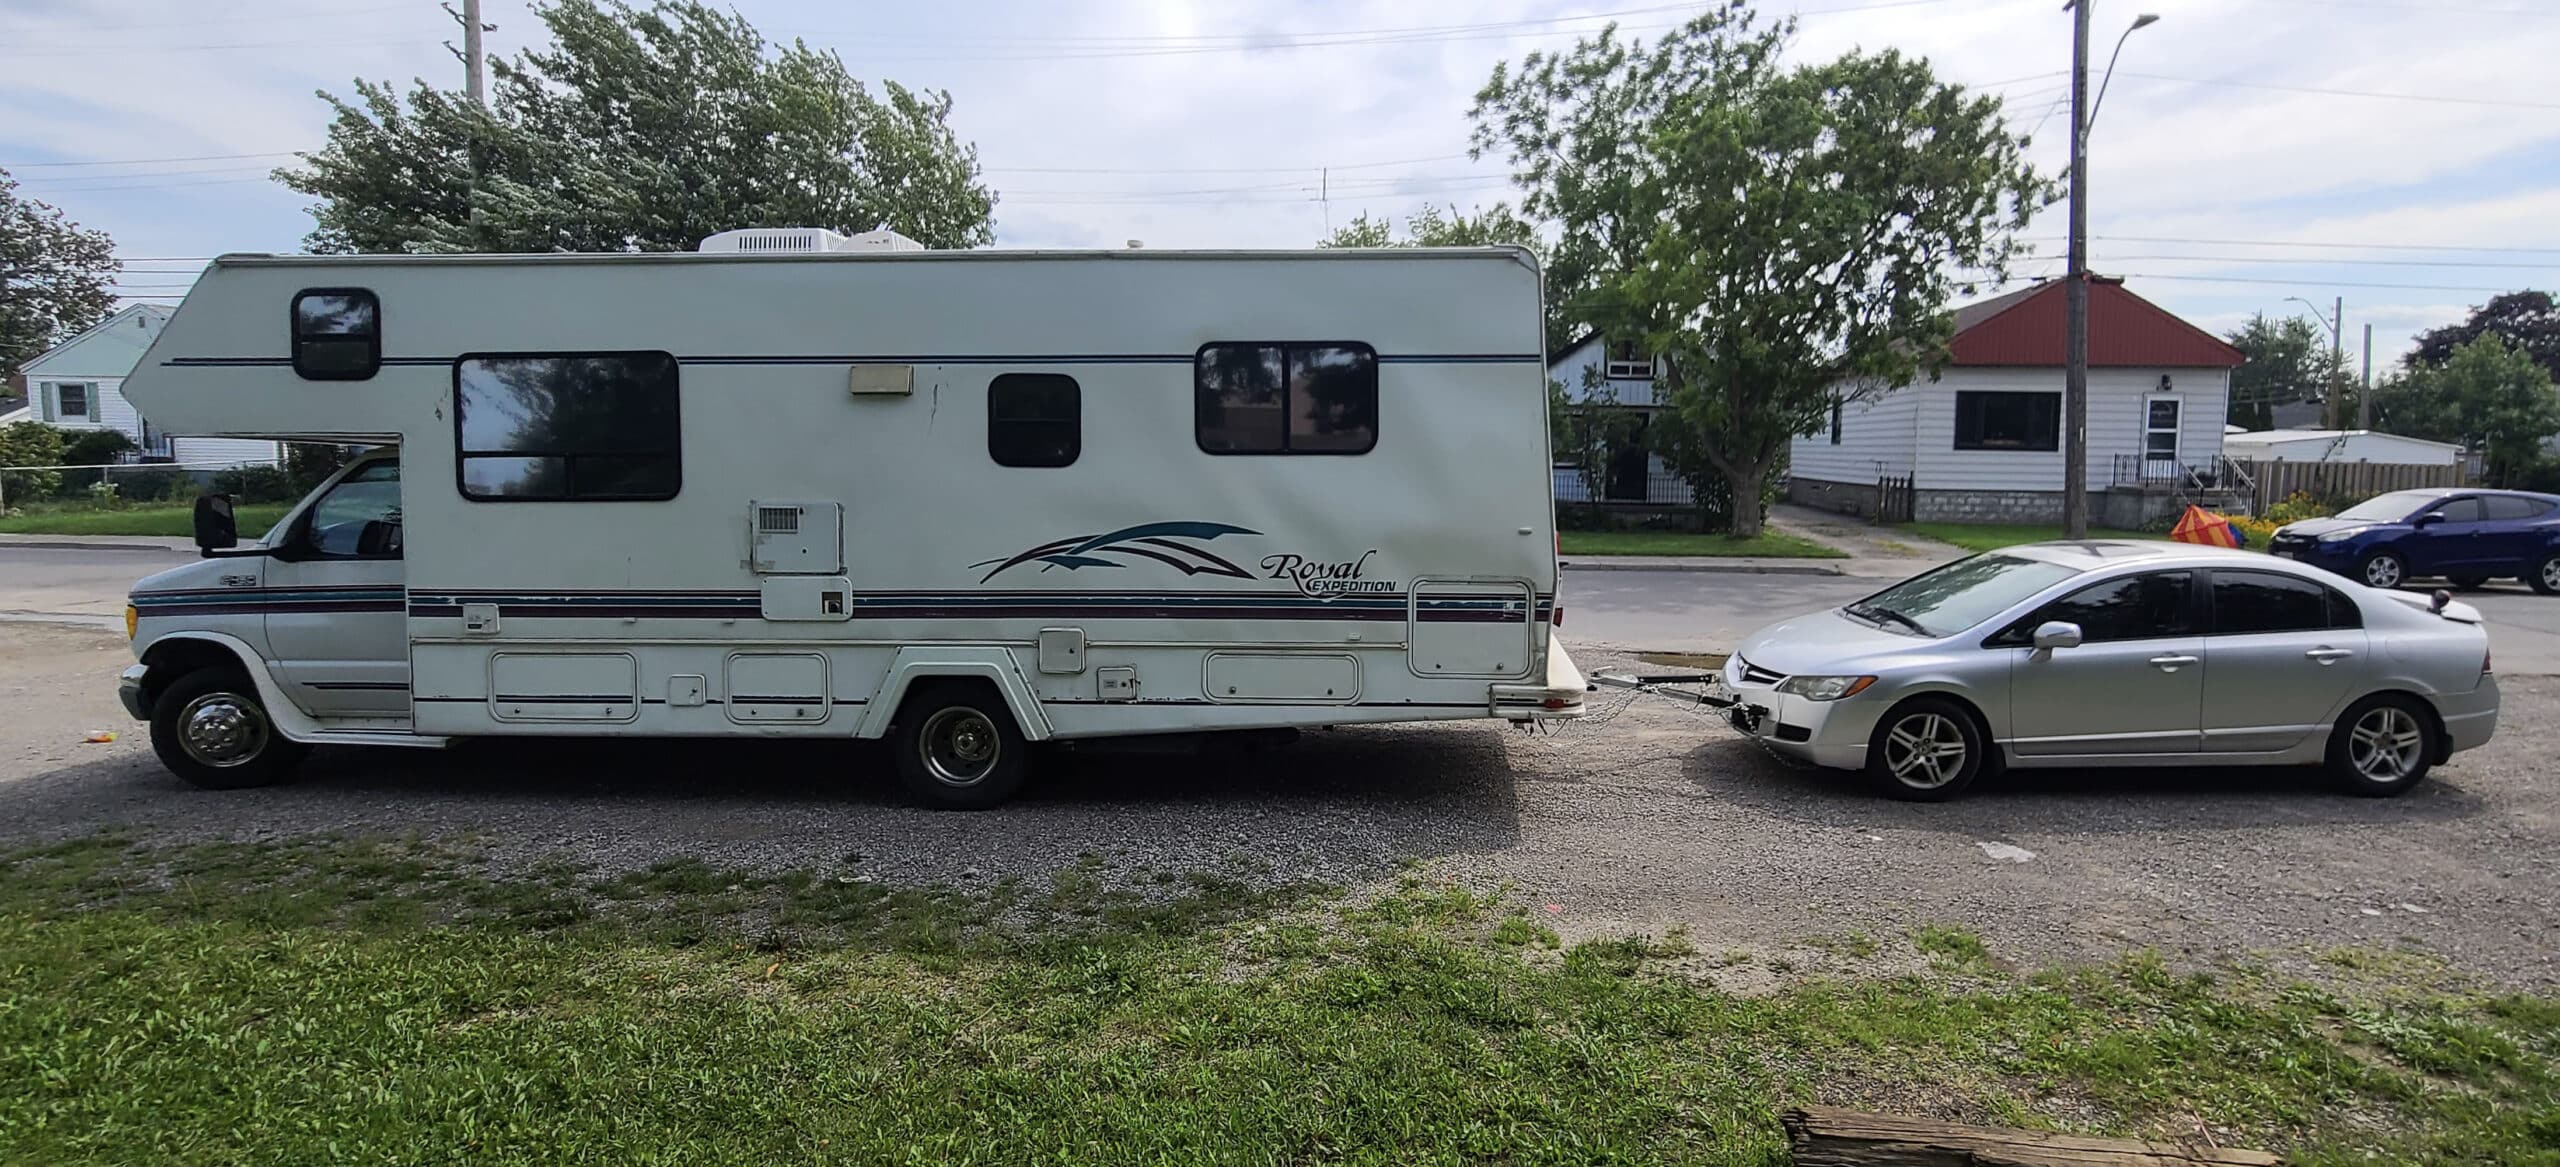
Tow car hookup
Next I hook up the tow car. Usually I have to pull out of the site to do this. Try to find somewhere nearby that allows others to pass, if possible.

It takes me about 15 minutes to hook up the tow car and do final checks. I wouldn't want someone to have to wait that long to get by.
Once the tow bar is linked up, hook up the safety chains. Next connect the wiring, and put out the magnetic towing lights if you use them.
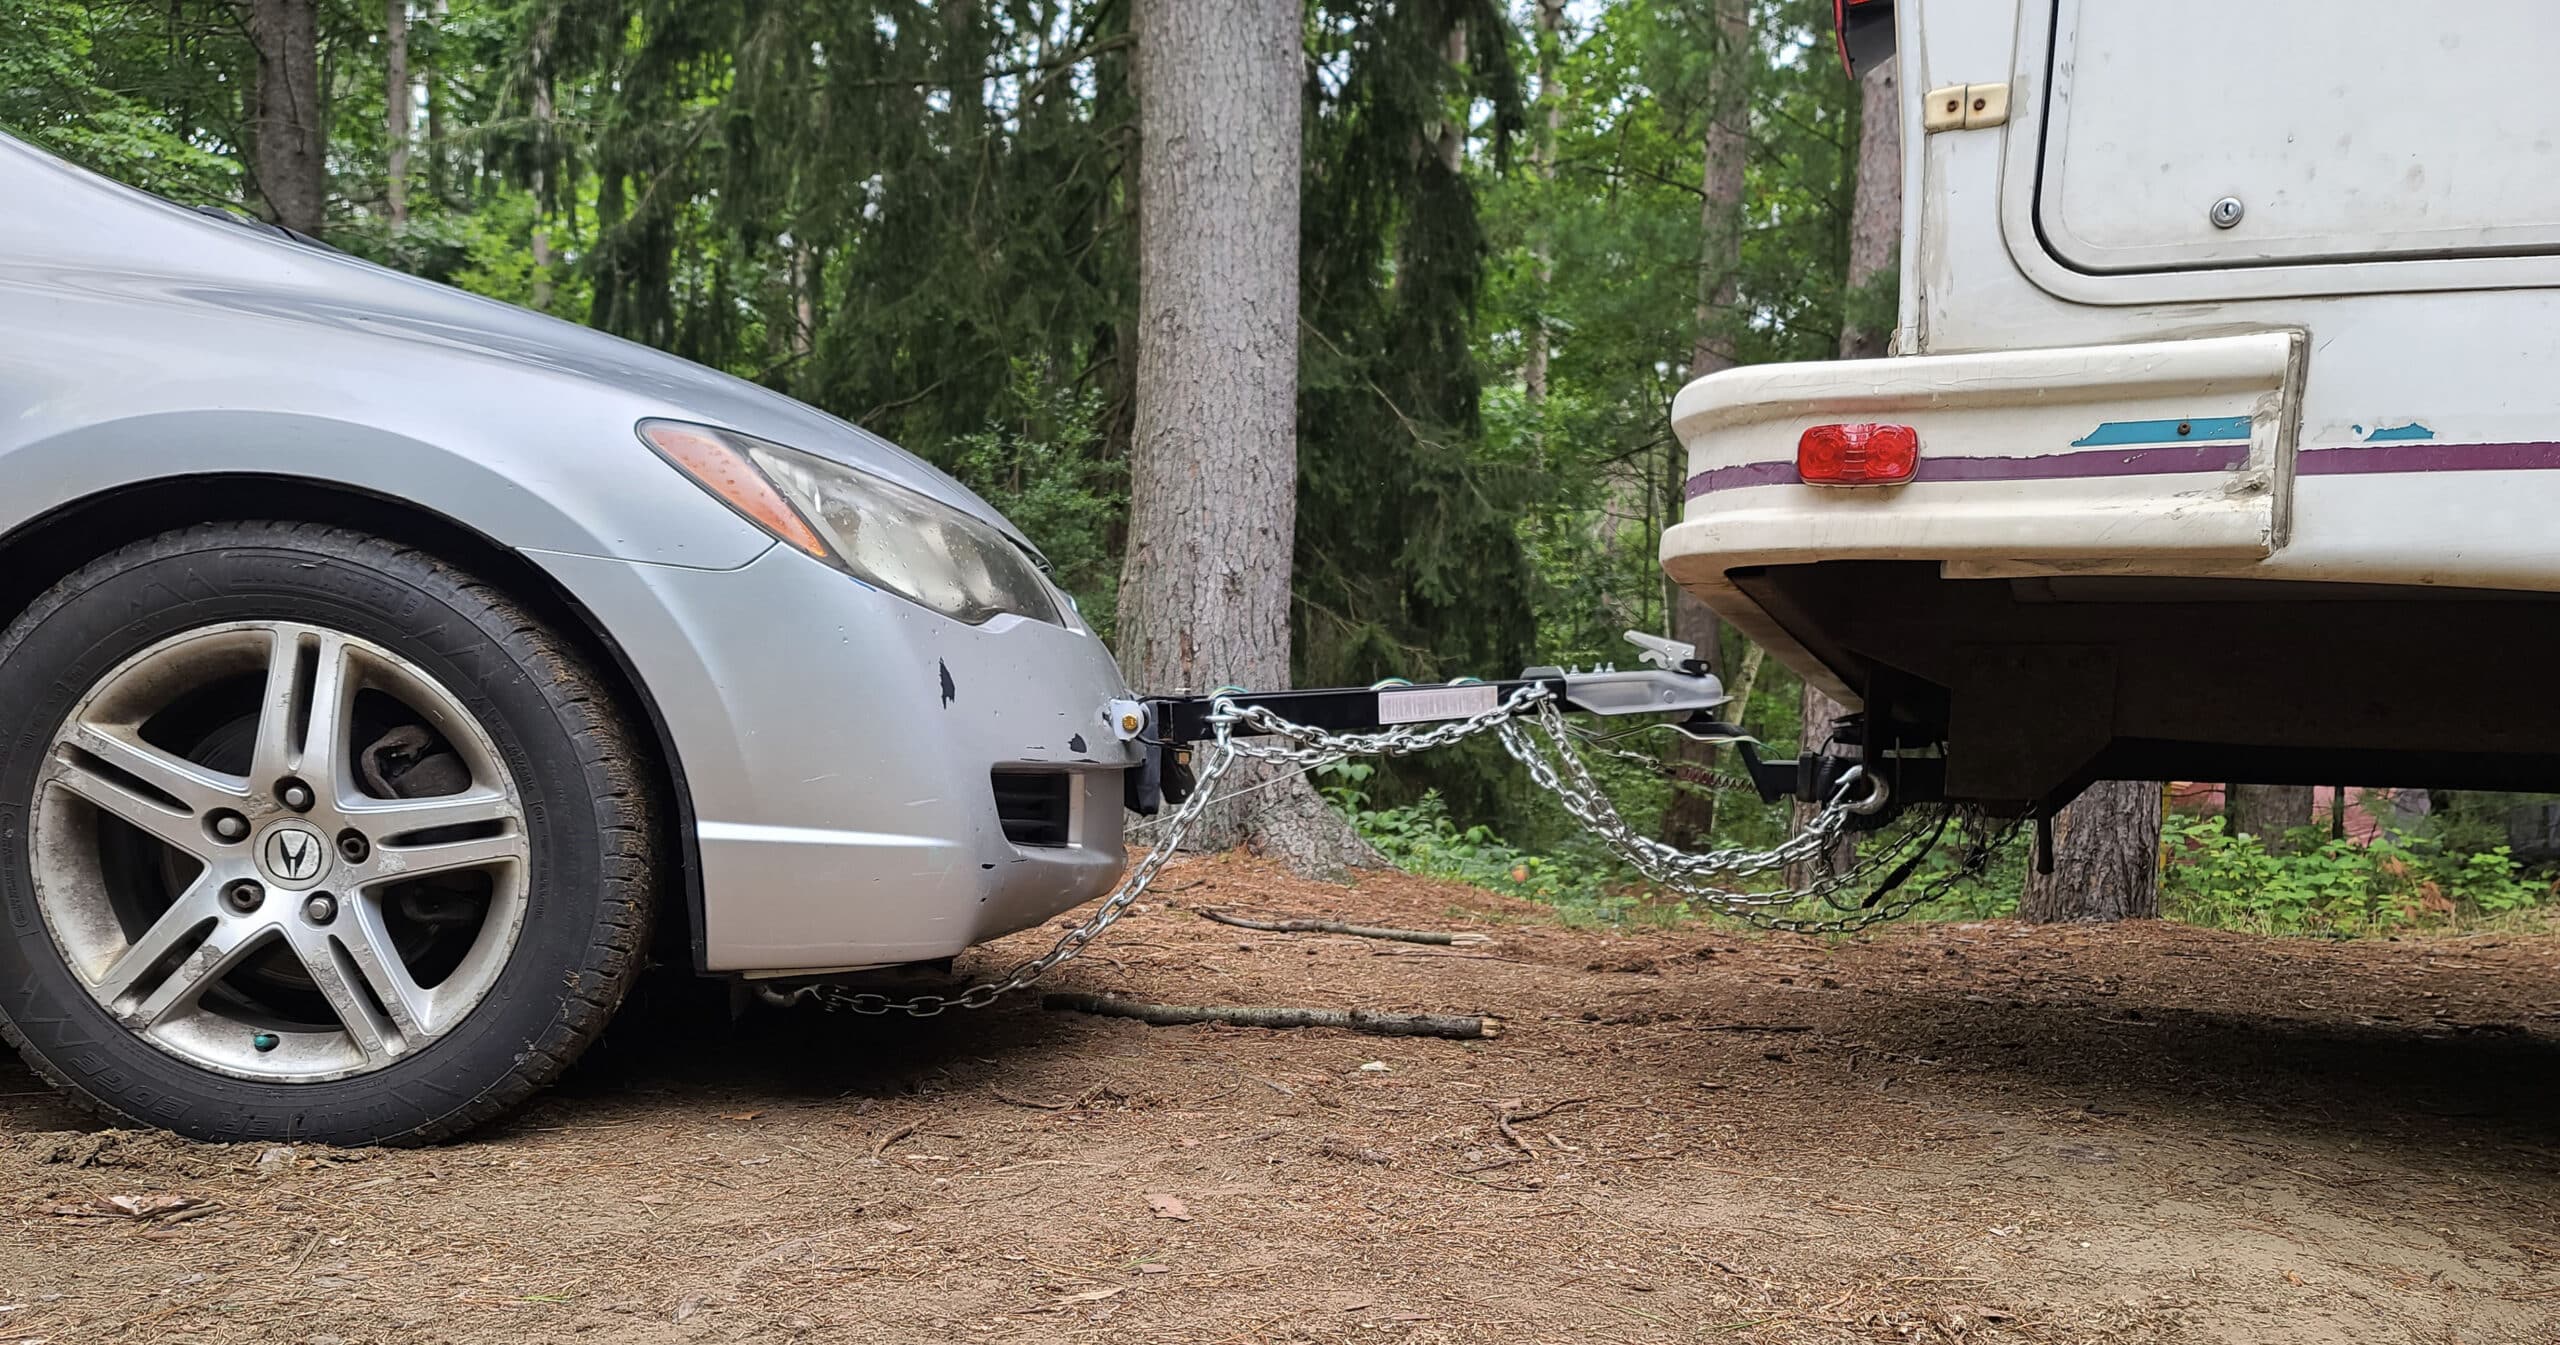
Next I hook up the emergency breakaway braking system. I like to wrap electrical tape around the plug to the connector, to ensure they stay connected.
At this point the breakaway system should engage as soon as you connect the wires, since I intentionally left the breakaway cable off.
Tow car verification
Once I've verified it engaged properly, check the transponder in the cab to make sure it's notifying the driver of the alert. Now I connect the breakaway cable and verify that the system disengaged and alarm is cleared.
Do a tug test of the tow bar, making sure it's locked into position correctly. Verify nothing is loose at any point in the system.
Now make sure the steering wheel is unlocked and the emergency brakes are off of the towed car.
The last thing I do is a full lighting check. Headlights on, verify brakes and turn signals work. Having a helper speeds this up.
More safety - re-check your system
As you are heading out, stop at the dump station. Even if you had a site with sewer, it's a great place to pull over and do another walk around. Check that everything inside is in its proper place. Double check everything on the outside prior to your road trip.
If you're heading home instead of another camp site, is your onboard water drained? A lot of campers simply drain their onboard while driving away. I choose to wait until I get home, then drain it in my driveway.
I don't know why, I just feel this is somehow more polite. Also I have water available during the trip if needed.

You're ready to go!
Everything has been checked and double-checked. You're ready for your next campsite or home. Hopefully you've seen that a departure checklist is a great way to keep things straight and ensure everything gets completed properly.
Consider these all helpful tips for your own lists. You will want to customize your printable RV departure checklist to fit your own needs.
The best checklists are neat and organized. Make sure it's in the optimal order. Use indentation to make logical groupings.
Logical groups combine similar tasks and make it very easy to see if everything is complete. It also makes it easy to delegate sections to a helper.
You can download my RV Departure Checklist here and use it as a starting point. Make sure to customize it for your needs and print it off for your next trip.
Now you're all set for the open road!
Share the Love!If you’ve made one of our recipes, be sure to take some pics of your handiwork! If you post it to Bluesky, be sure to tag us - @2NerdsInATruck, or you can tag us on TikTok, if you’re posting video. We're also on Pinterest, so you can save all your favourite recipes and park reviews to your own boards! Also, be sure to subscribe to our free email newsletter, so you never miss out on any of our nonsense. Well, the published nonsense, anyway! |

Leave a Reply