
There's a lot going on with RV setup. Use a printable RV & Travel Trailer setup checklist to help you setup in a fast, efficient manner.

In this article you'll find the details for customizing your own printable RV & Travel trailer setup checklist for setting up when you arrive at a campground. Check out our other articles for an RV Departure Checklist, great for packing out for a trip or leaving your campground.
A list is a great tool to use whether you're an RV newbie, RV full-time, or anywhere in between.
It might be tempting to assume it's the same checklist backwards, but it's not! When you're setting up at a campground you don't have to worry about how things are stowed, for example.
Can I Just Have the RV & Travel Trailer Setup Checklist Already?
I'd love to give you the list right here, right now and say you're good to go. I'm all for efficiency.
Unfortunately, I think you'd be disappointed. I'd have to do one of two things: I could create a generic list of items that aren't very specific and are only marginally helpful.
Otherwise I could list every possible option on there. It would be an overwhelming page of items that don't apply to your situation.
Customize your own checklist - I'll help you!
You should build you own printable RV & Travel Trailer setup checklist for camp site setup, or at least modify mine, to suit your own specific needs. I'll walk you through setup as a aid. It's easy to forget things!
One of the key points that I want to make is that order matters. It's important that your list is in the order that you generally set up.
Without being in order, it'll be chaos. You'll need to go looking to check off items you just did. You might miss things.
Order also makes things efficient. Perform tasks while you're in the same zone and you'll speed things up.
I'm going to walk through the order as I do them. See if they make sense to you. Feel free to copy, feel free to change.
Logical sections make for rapid scanning!
The next key point is to indent logical sections. It makes it much easier to view it as a series of small projects, versus a pile of little tasks.
This also makes it easier for you to have logical modules. As an example, you might have a water pressure regulator and a water filter already hooked up.
The simple act of hooking up the hose to your water input checks off water pressure regulator, water filter, and hose hookup.

It's still a good idea to list each of these out. In the spring you can scan your list and remember to order new water filters!
I'm going to walk through the different areas, which will benefit new RVers as well as those that are used to the RV lifestyle or even a full-time RVer.
Everything here applies to an RV checklist of any type. 5th wheel travel trailer, bumper pull pop-up, or perhaps a Class C RV Motorhome like ours.
Ok, where should we start the setup checklist?
Camping doesn't begin when you park in your spot. First you have to get there!
RV Arrival - As you enter the campground
First things first, check in! Have your license plate(s) memorized or written down. I have my plate numbers on a label on the back side of my phone, inside the case.
Don't forget to get a map, signage at some camp sites are not adequate.
Next up is water and dump. Do you need to fill your onboard water tank in your travel trailer? Do you need to go to the dump station before you head to your site?
As we pull up close to our RV campsite, we unhook the car we tow. We can't back into the site with the car hooked up. Pull-through sites might have enough room but making tight corners is difficult.

Since the car is a manual transmission, I apply the emergency brakes first. While I'm in the car I remove the breakaway braking system and bring it to the trunk.
Since I'm at the trunk I put the tow lights away. Next I walk to the front of the car.
I unhook the safety chains from the car and the tow vehicle, breakaway cable from its switch, and wiring harness. Next I remove the tow bar and store it in the back seat of the car – it's just a bit too big to fit in the trunk.
At this point, take a quick look at your customized RV & Travel Trailer checklist to make sure all steps are done. Do this at the end of each section. This prevents you from having to go back or missing something entirely.
RV Setup - Utilities
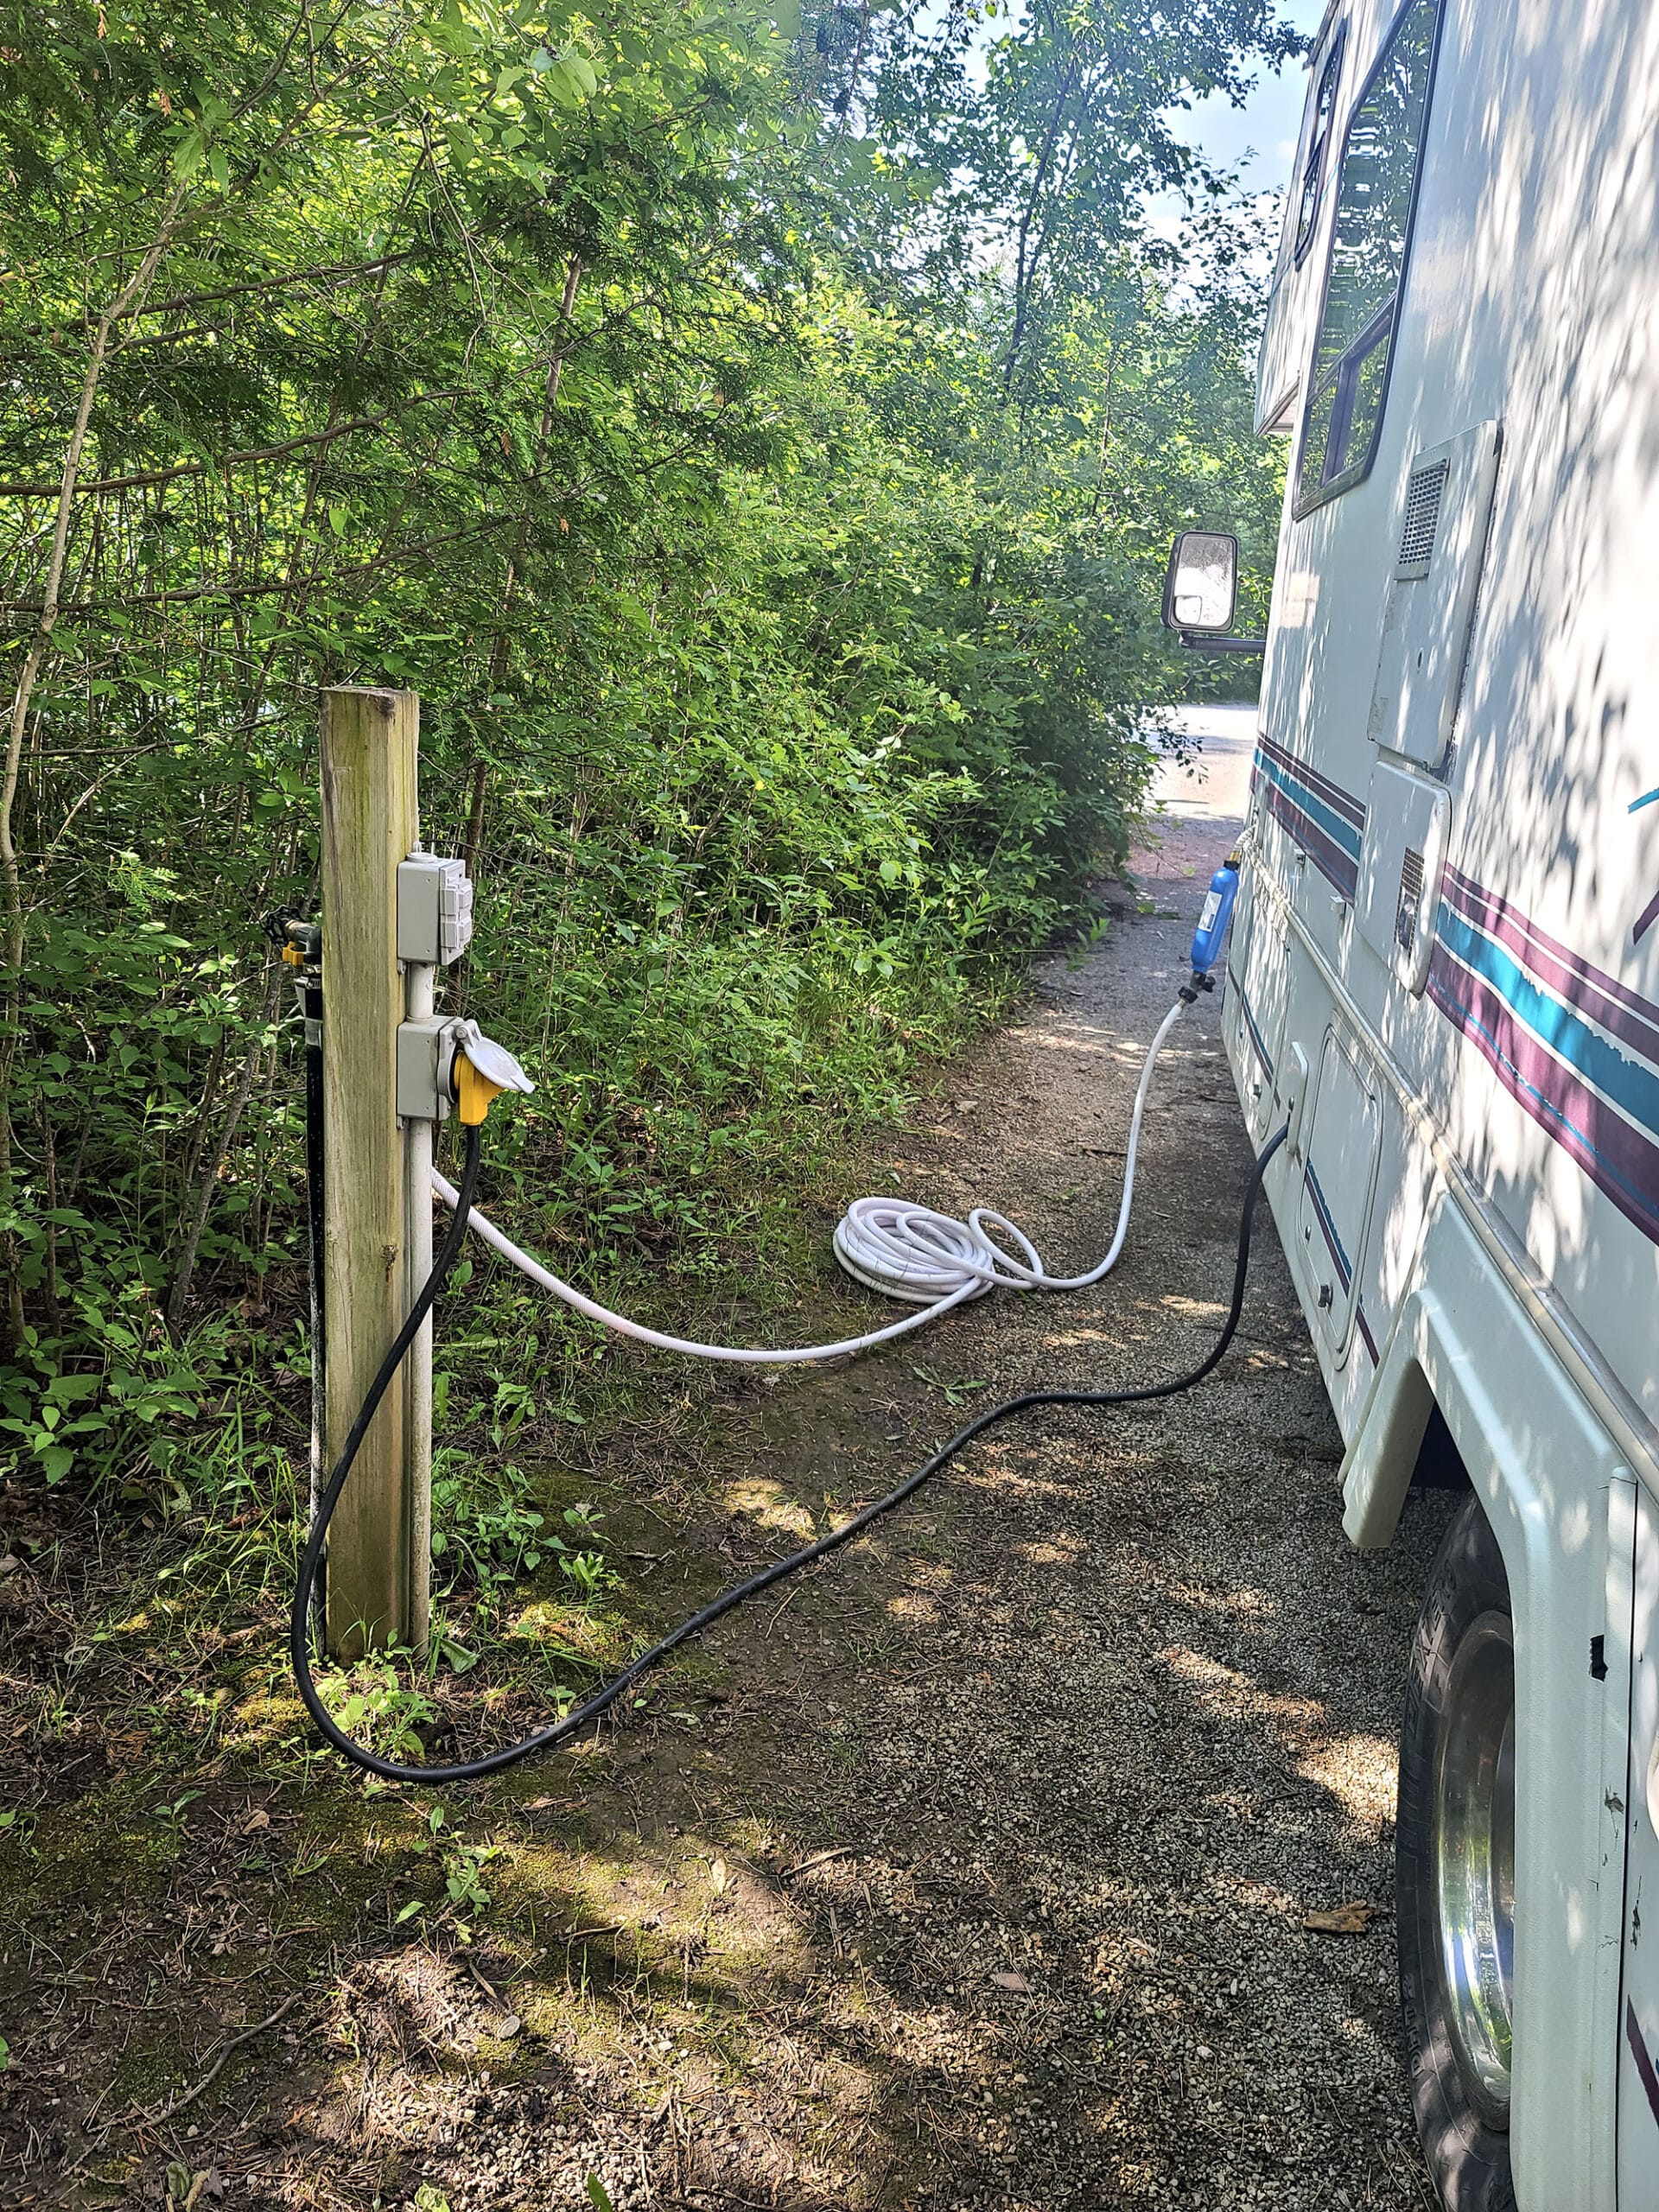
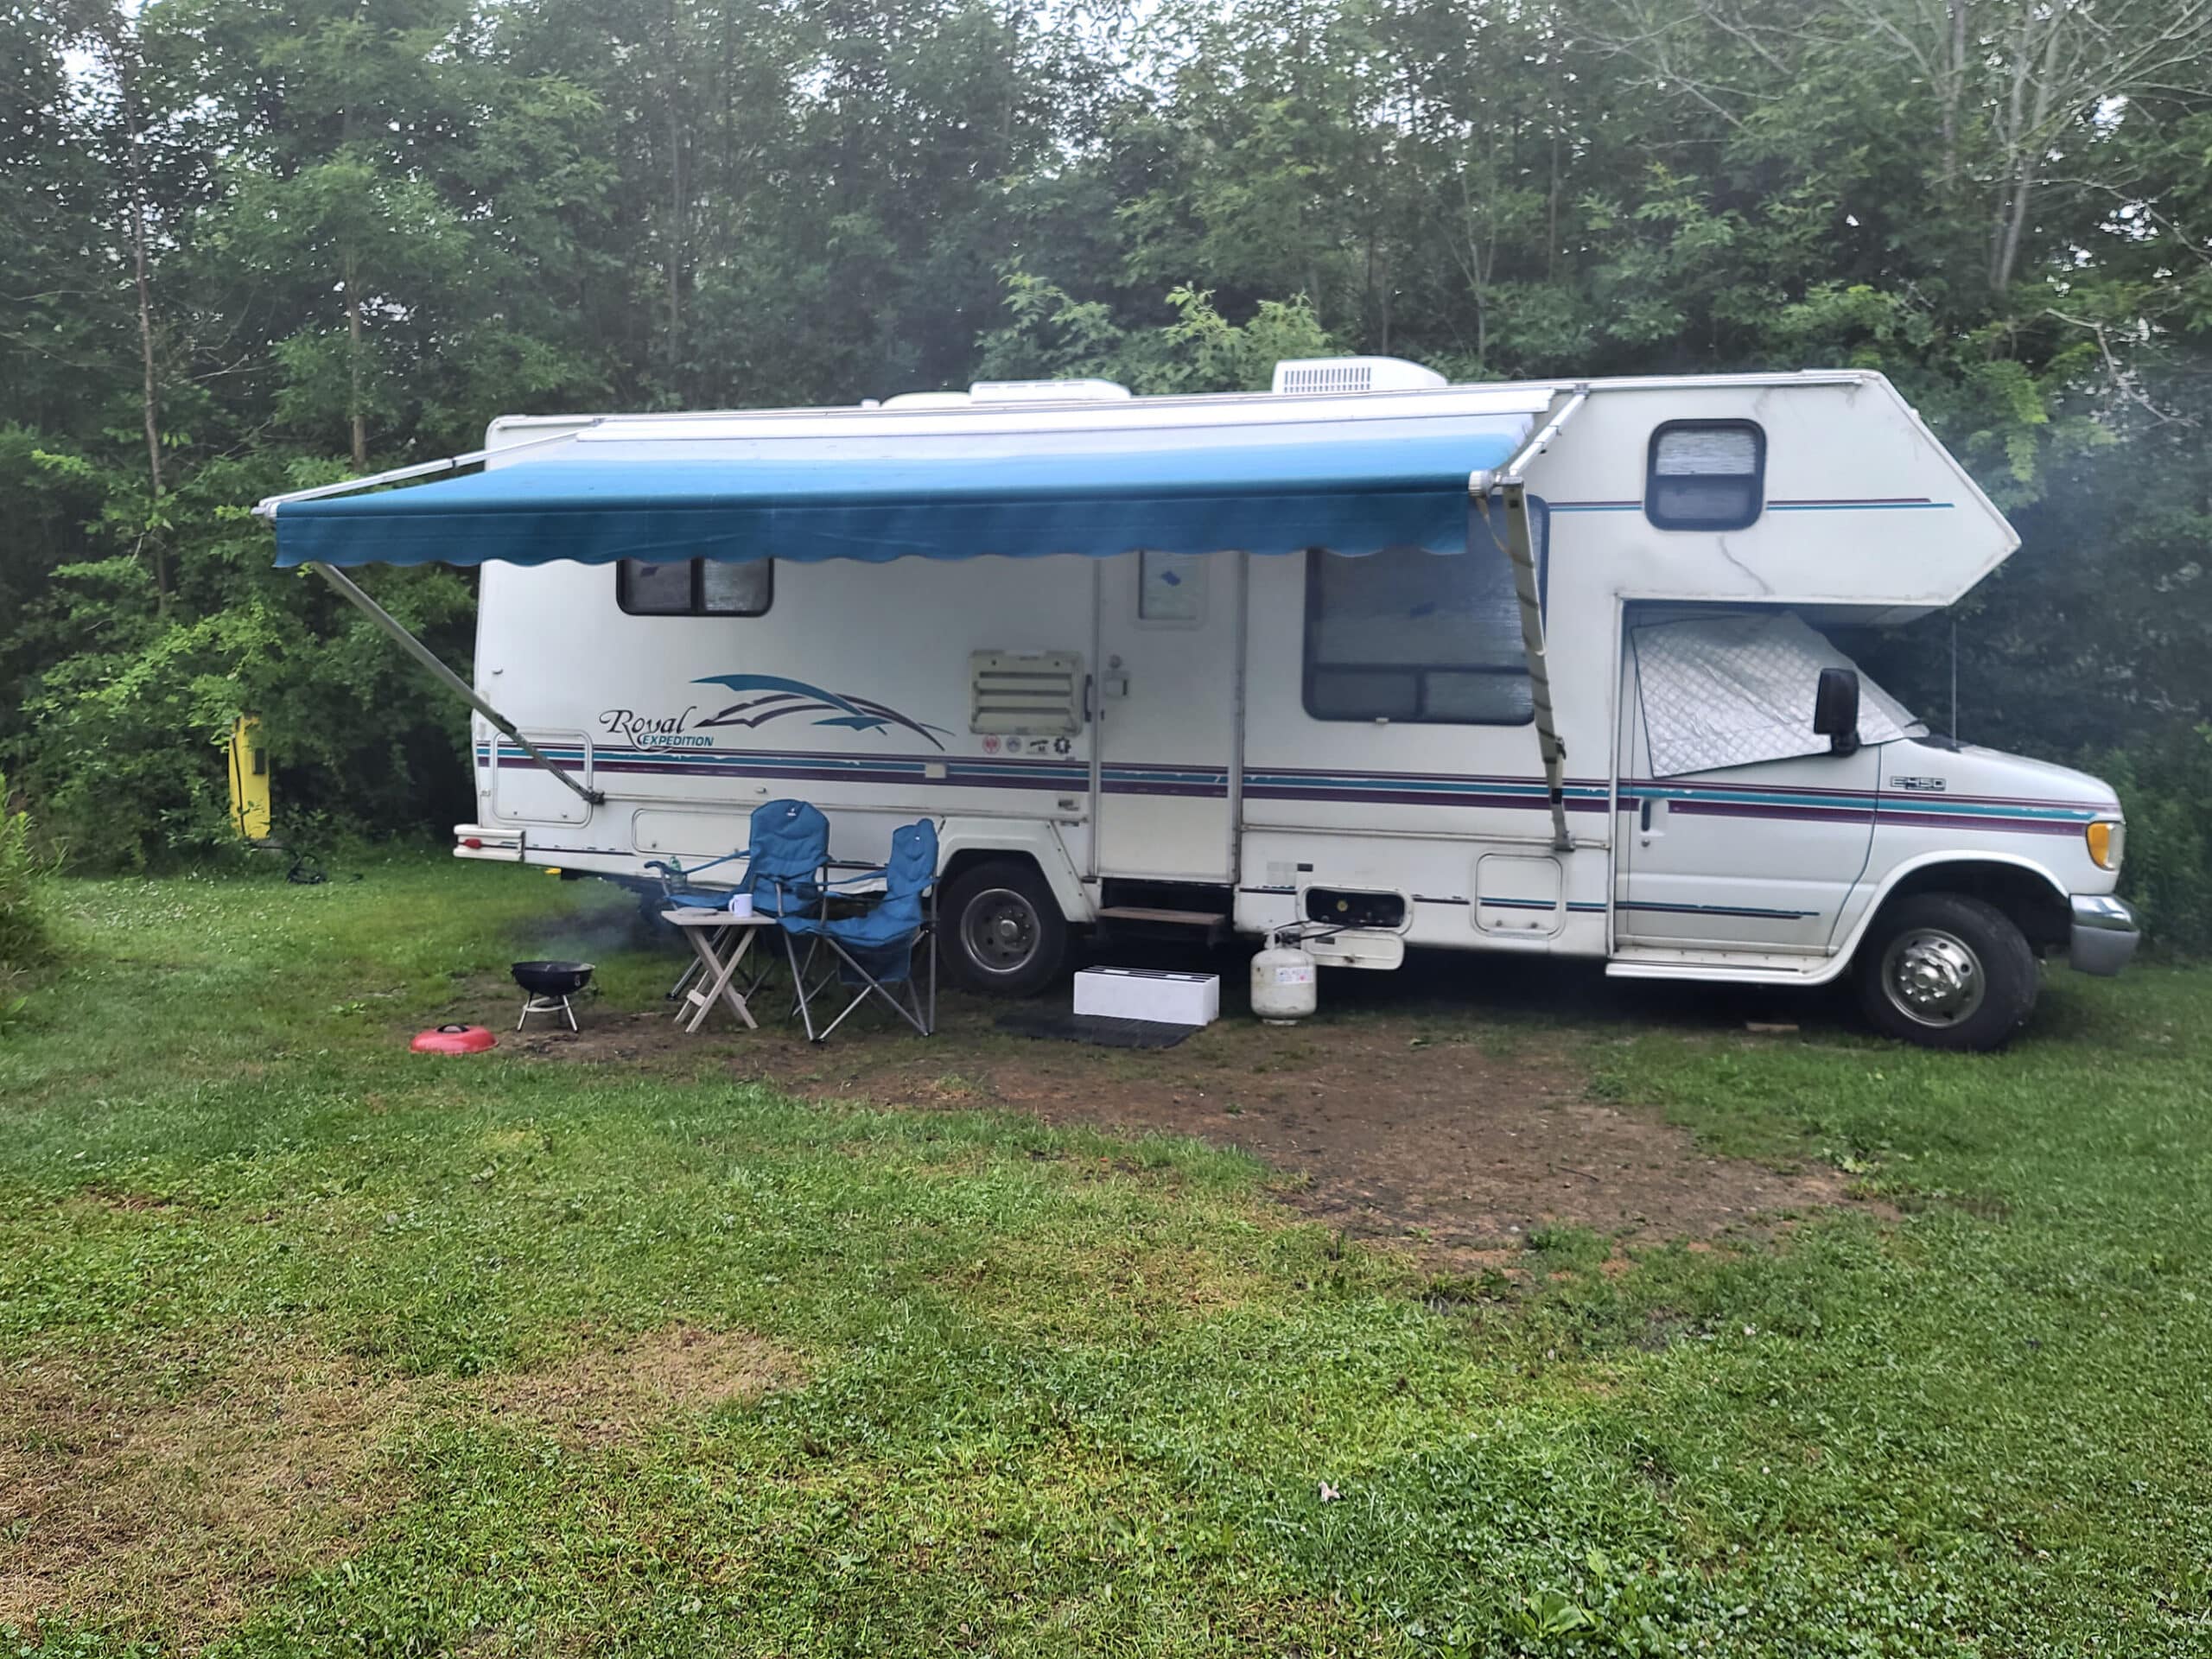
The first thing I do when I park at an RV campsite is hookup the utilities. When it's hot I want that A/C churning away right away so I begin with electricity.
It might not be “roughing it”, but there's definitely a reason we went with a motor home as opposed to a pop-up trailer or tents.
I've Got the Power!
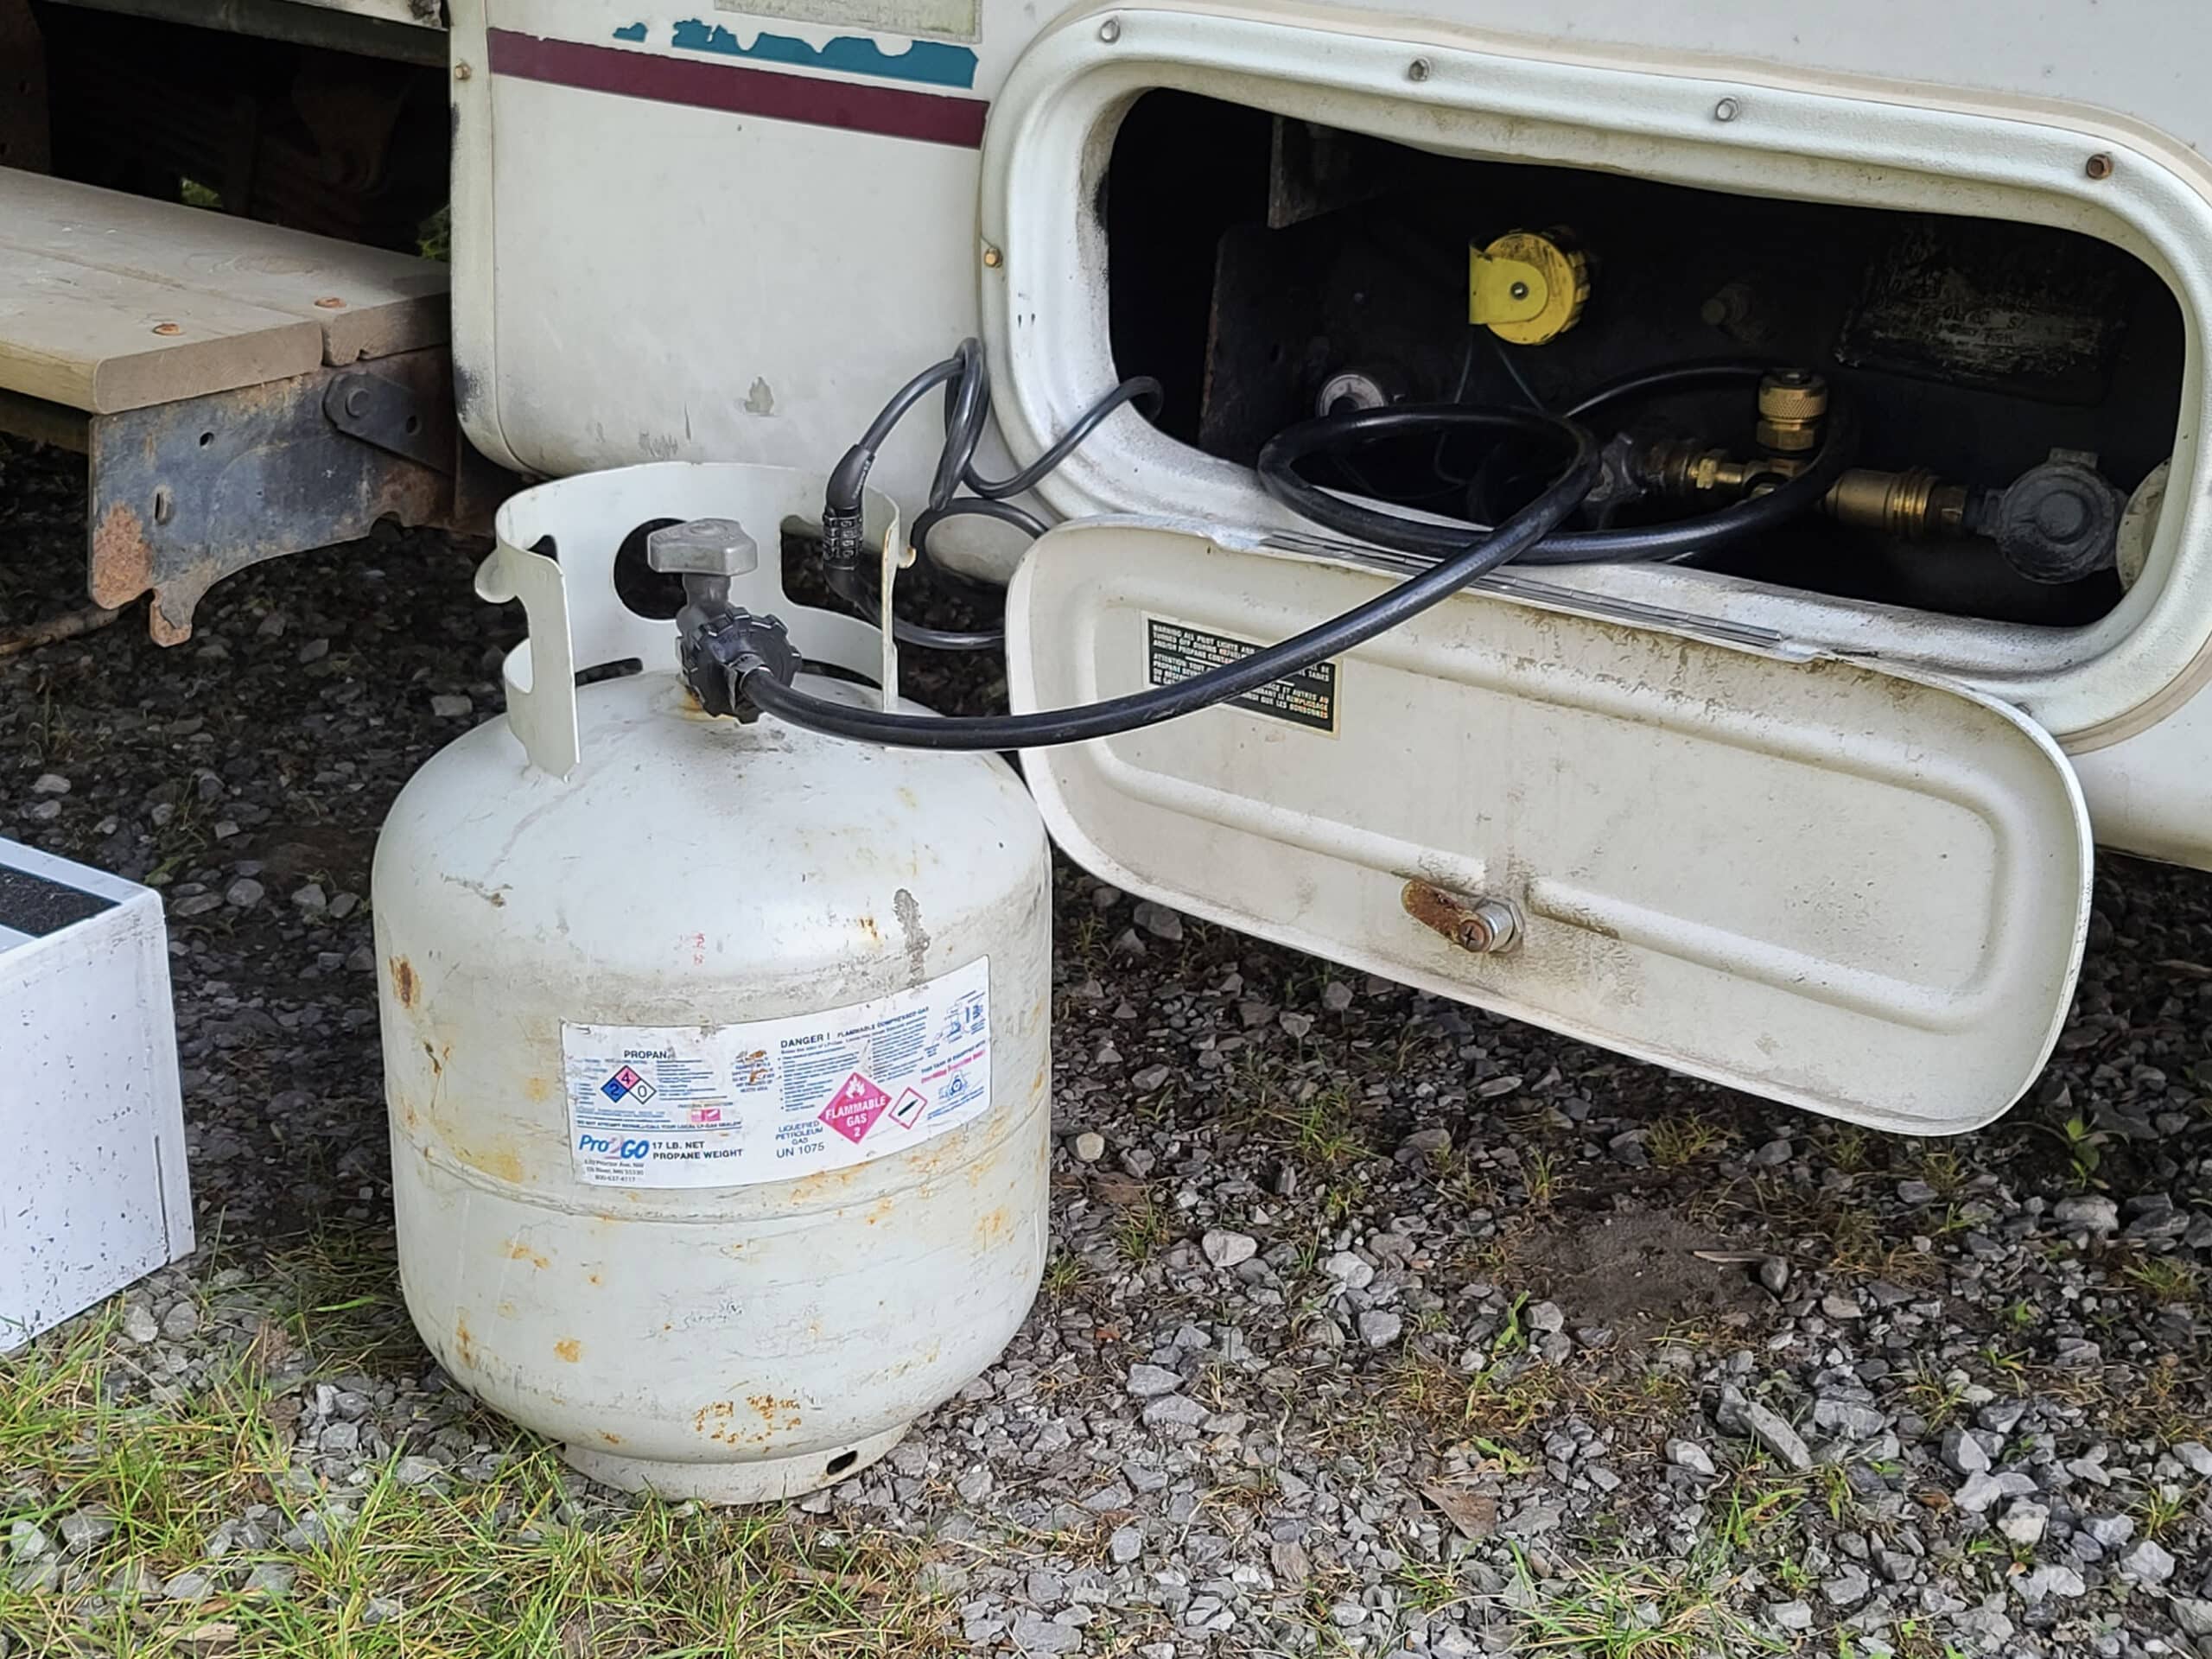
RV surge protectors are a great investment, now is the time to plug that in if you have a separate unit. Our unit is a hard-wired electrical management system (EMS) at the electrical panel, so we can just plug in our power directly.
We have 25' and 50' extension cords with us, but always use the shortest possible wire run – only the RV power cord with no extensions is best. Long cables cause voltage drop, which is undesirable.
Water hookups at camp sites are great!
Next I hook up the water line, if our site has it available. Many of the provincial parks we visit do not have full hookups.
We don't use a water pressure regulator, but this would be the time to install it. So far we haven't had issues with too much water pressure.
I recommend a disposable charcoal water filter on each end of the hose. Why not? They're cheap, and I want my water as clean as reasonable.
Sewer lines if available
If the site has sewer connections, now is when I'll put on disposable gloves and hook up the sewer hose. A sewer hose support is popular to provide good flow.
It seems to be common for all campers that I've seen to setup the sewer hook-ups right away. You don't really need to though, you shouldn't leave the valves continuously open. You want your tank like a toilet – strong flush action to get rid of everything.
If you left the valves open, solids will build up and you don't want that. This would occur quickly in the black tank, but could also occur in the gray tank.
Gray water can have small amounts of solids from dish cleaning and such. Side note, drain the black water first, then the gray tank water will flush the hose.
If you haven't already, now is the time to add RV sewer tank treatment. I prefer to add it immediately after I dump the sewage.
Level and Stabilize your Travel Trailer
It might sound odd to hook up the utilities, then level and stabilize. Like I said, I want my A/C on right away, and it just makes sense to me to get the other utilities hooked up at the same time.
I think that levelling and stabilizing is one of the most important things for setup. It really makes a big difference.
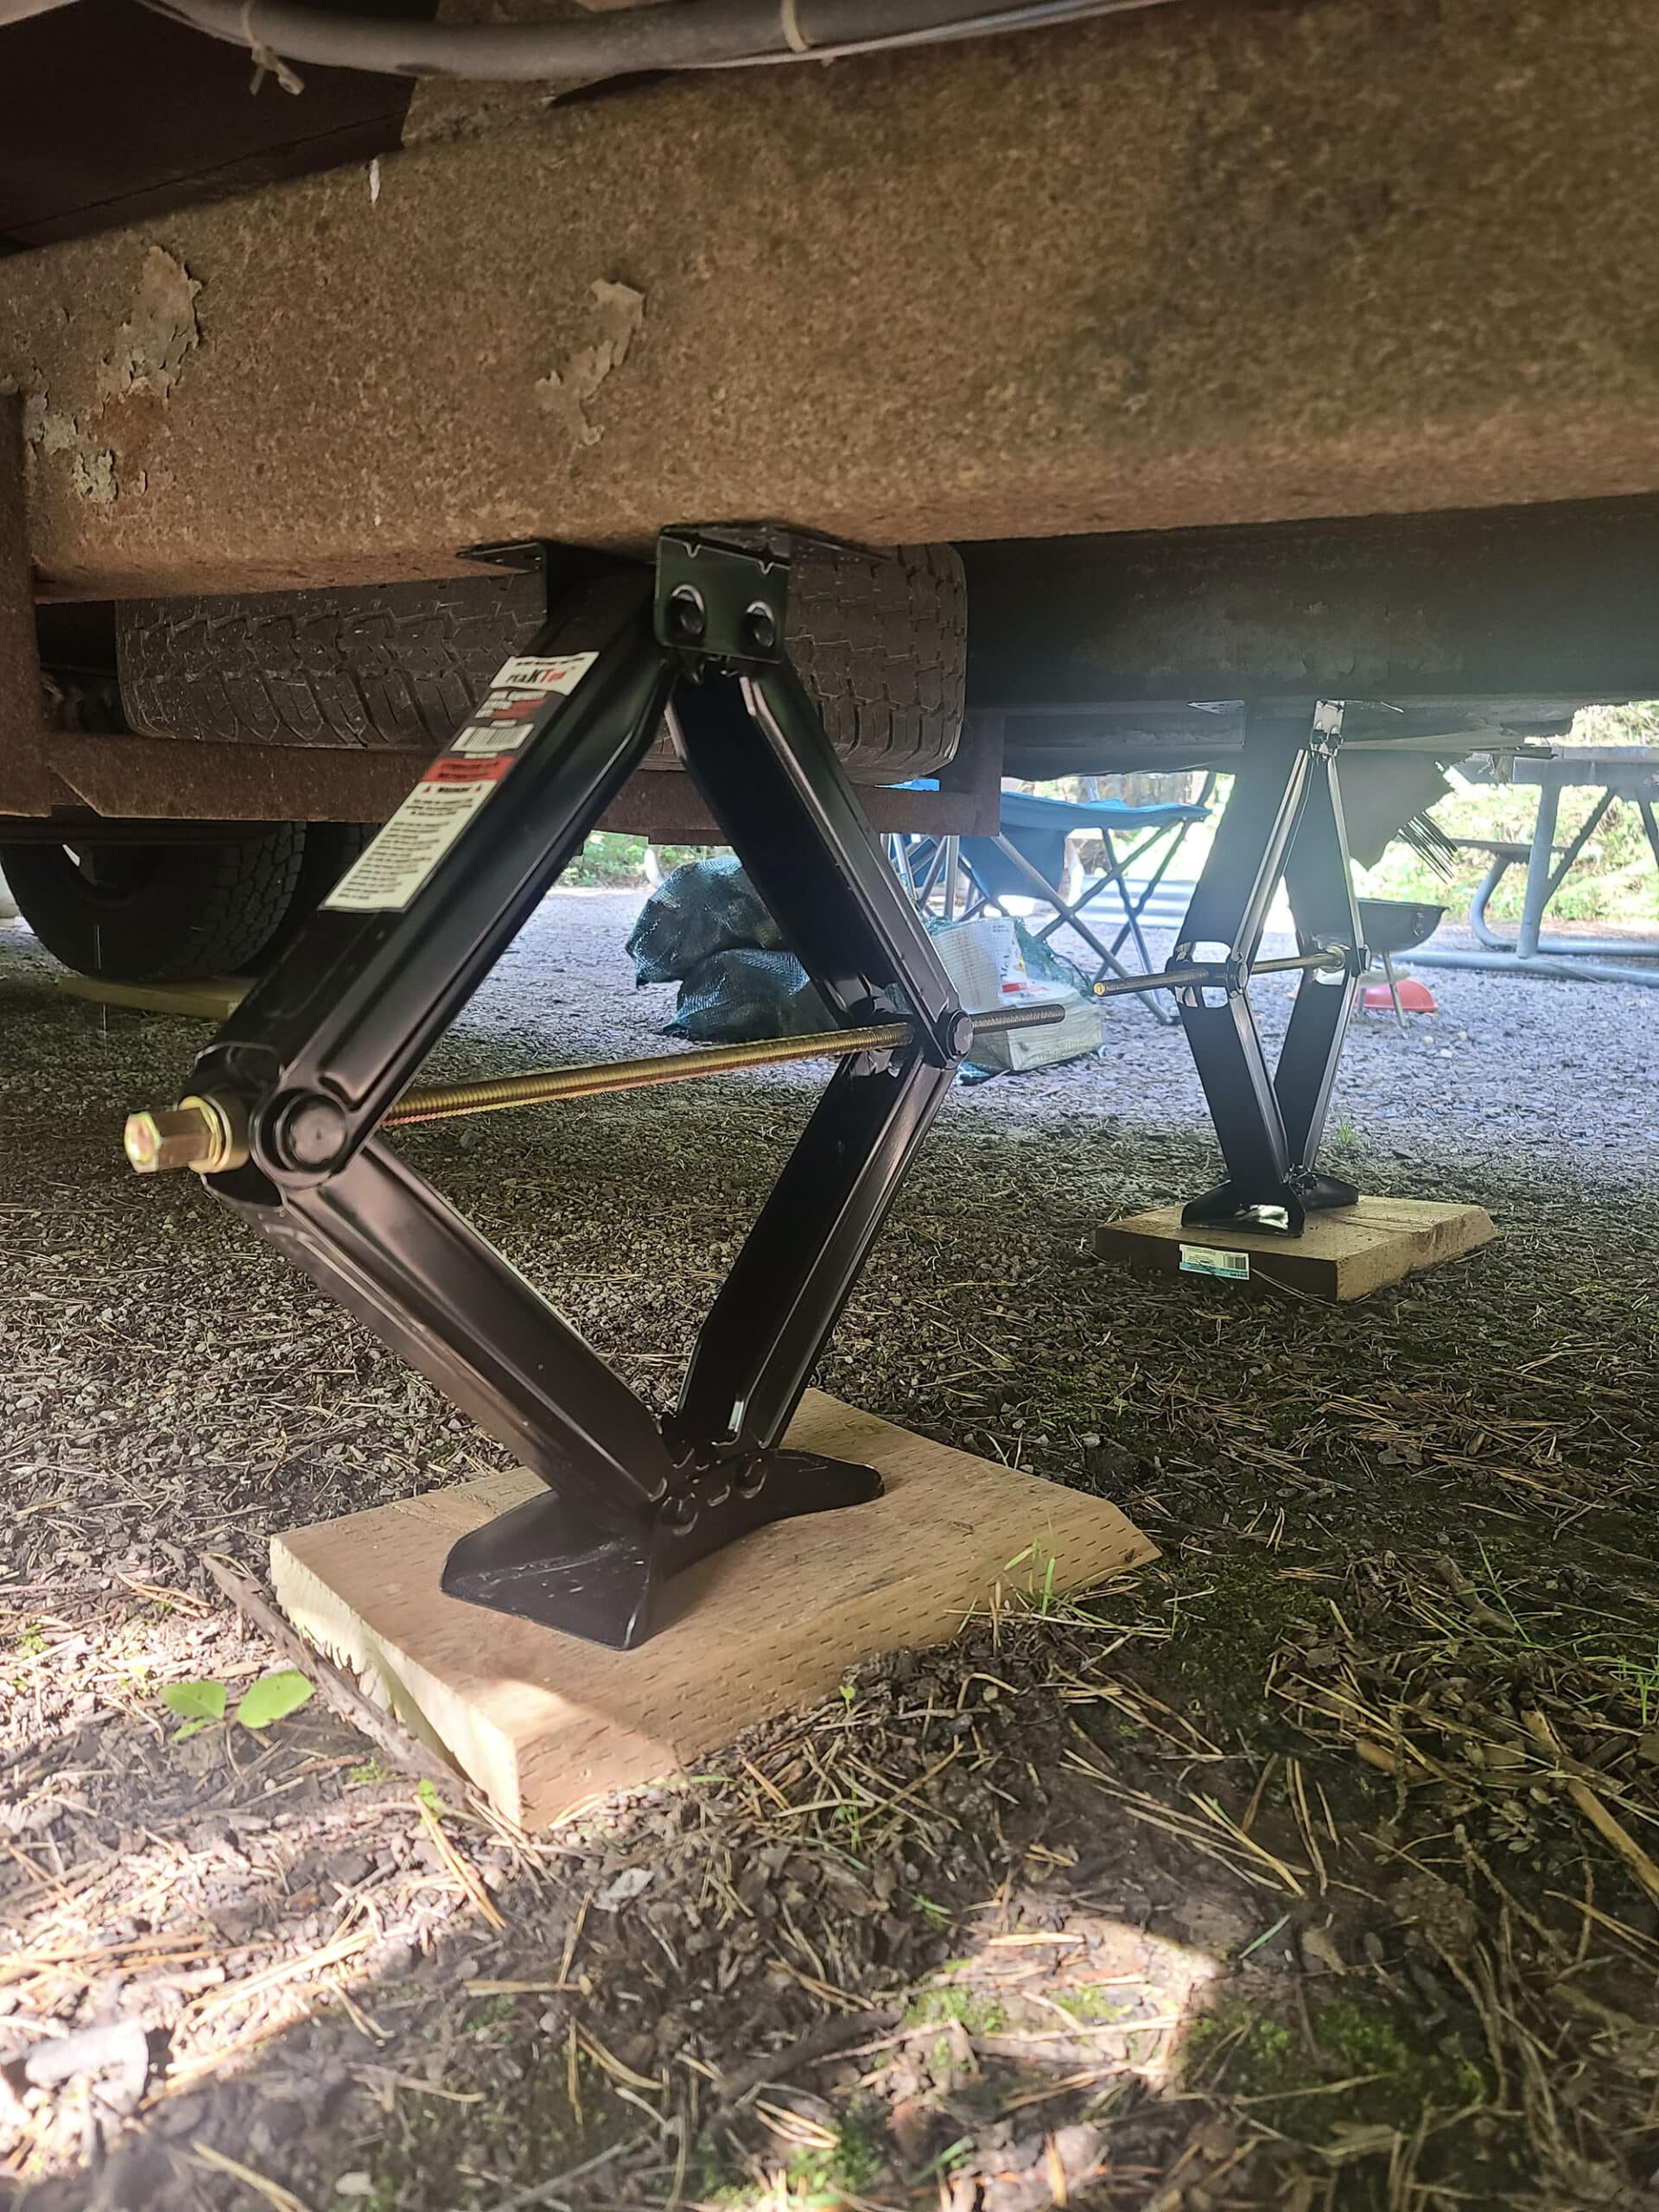
I use a small bubble level on the floor just inside of my side door. If it's only off a little bit, I'll use the stabilizer jacks to level it out.
Major tilt requires more than just a tweak
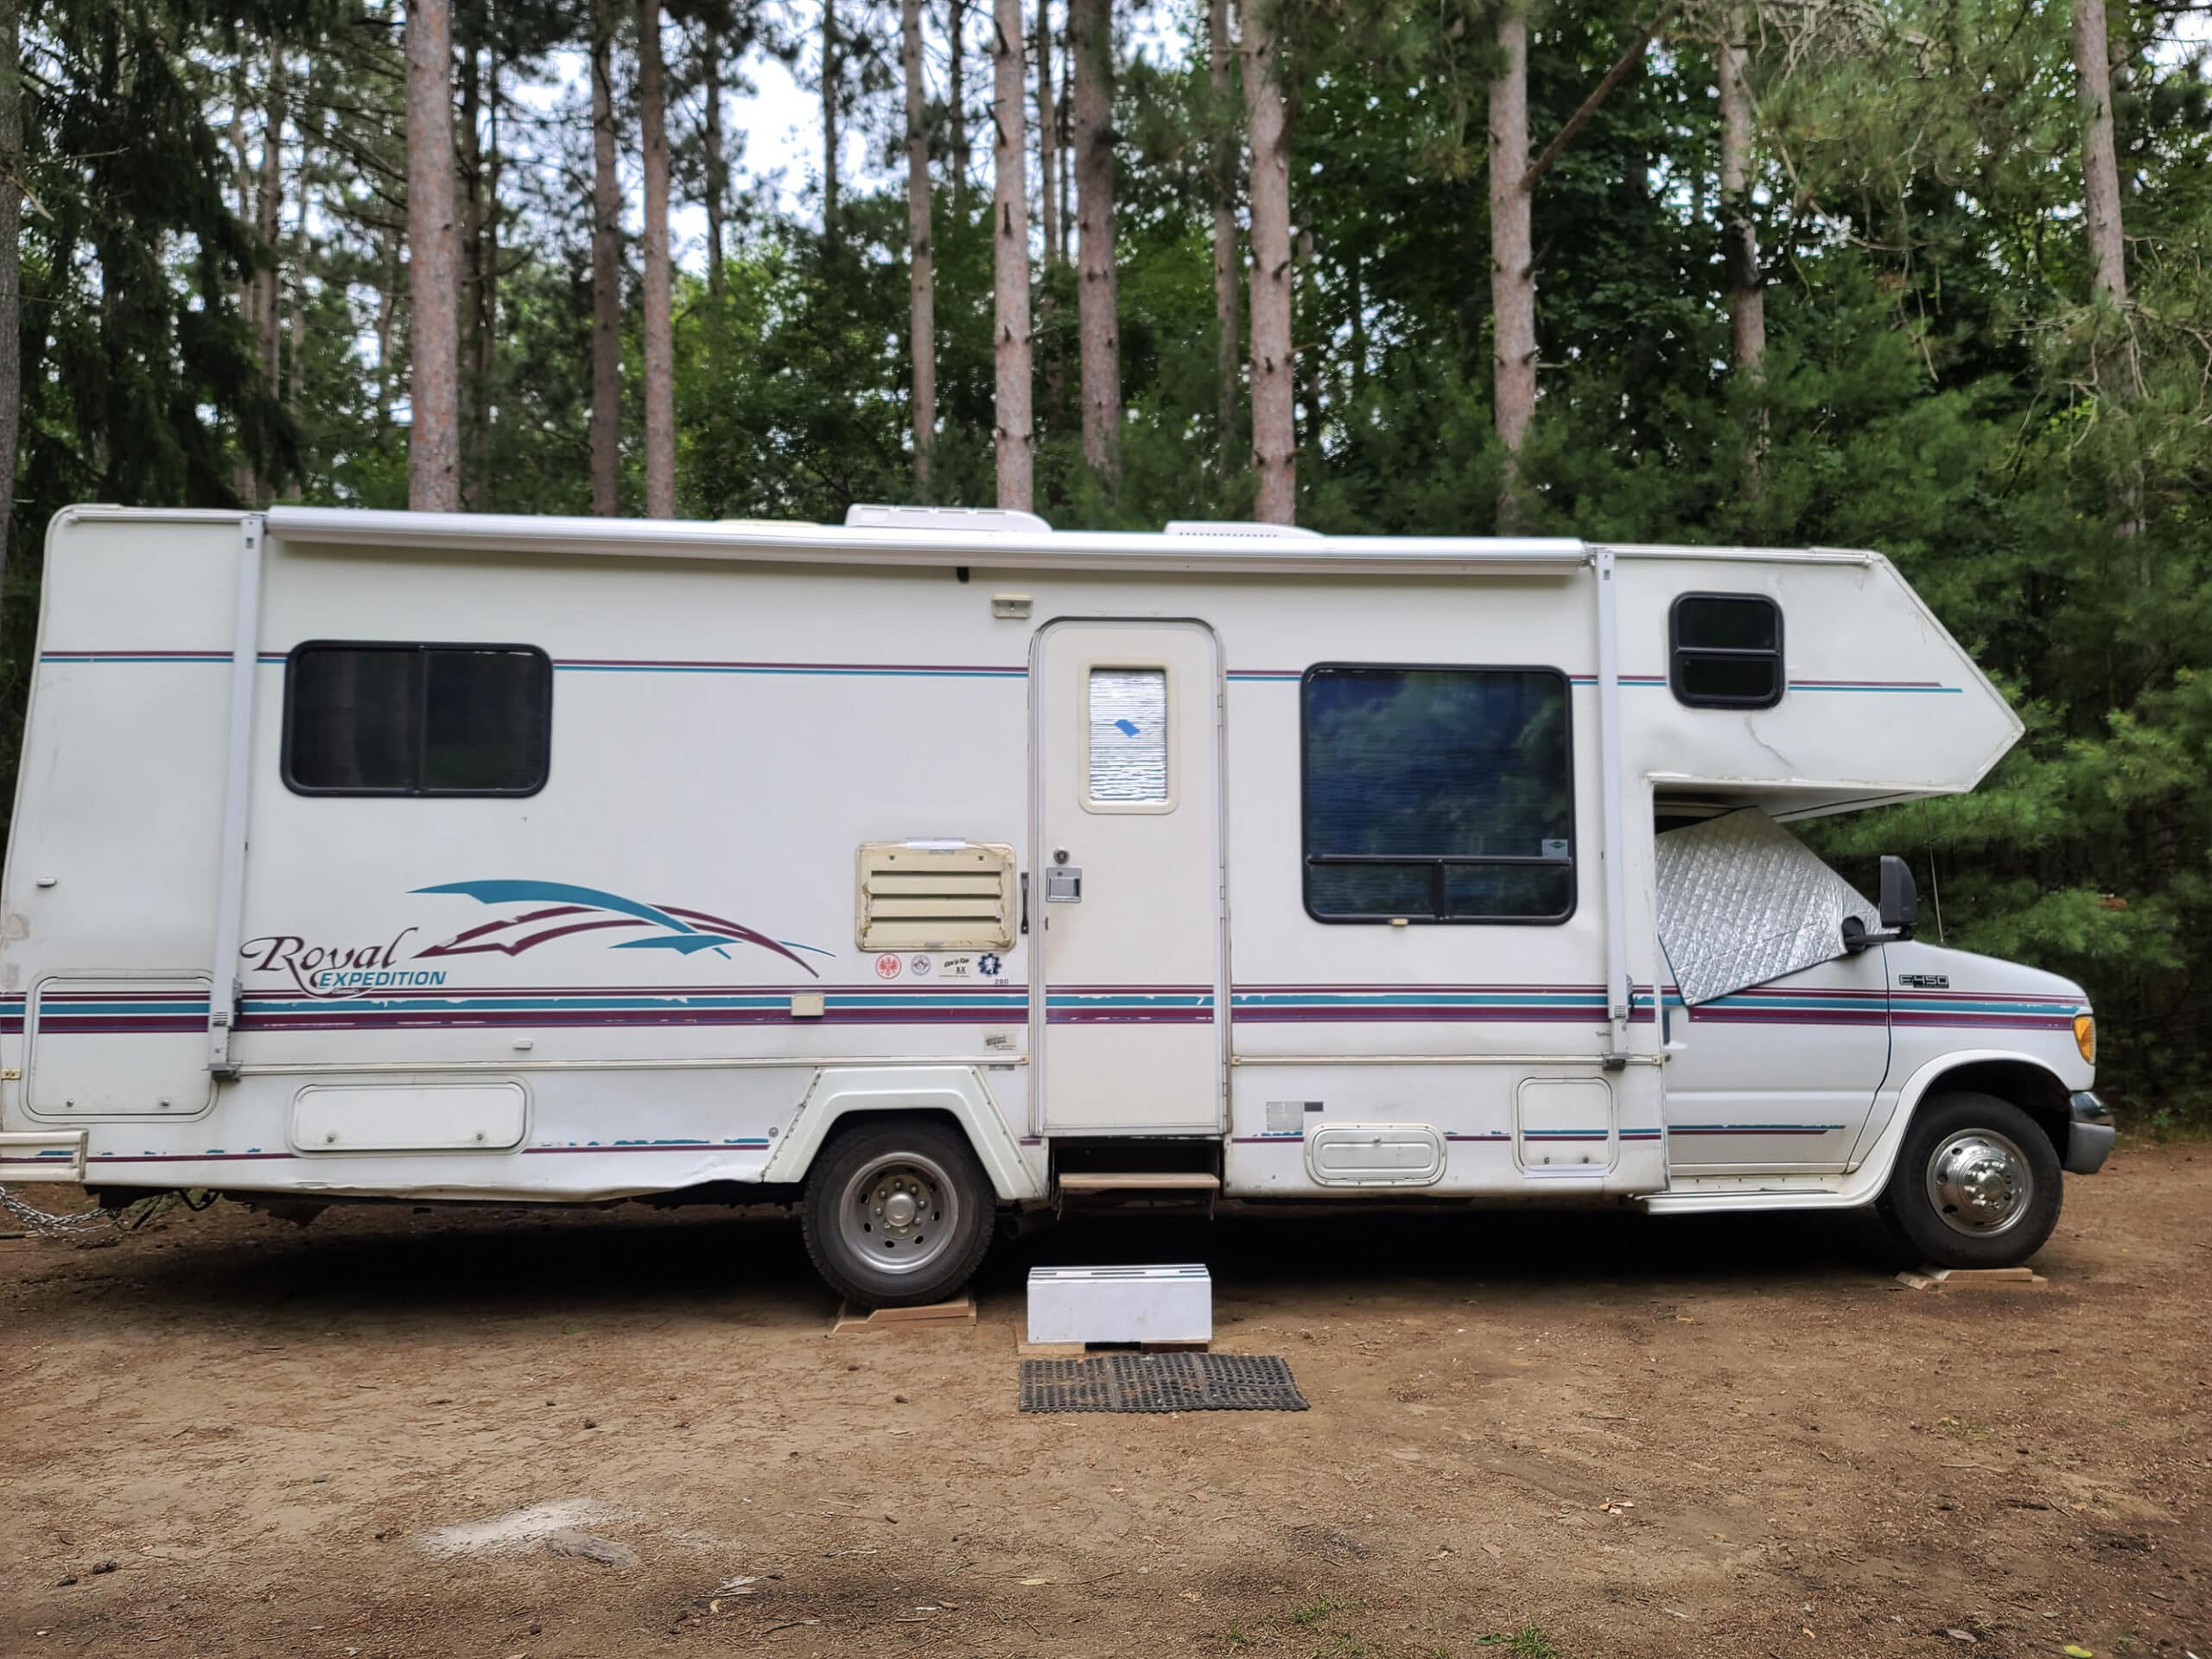
If it's off a significant amount, I'll use the 2x10 boards to level them out. I've cut them at an angle to make it easier to drive up them.
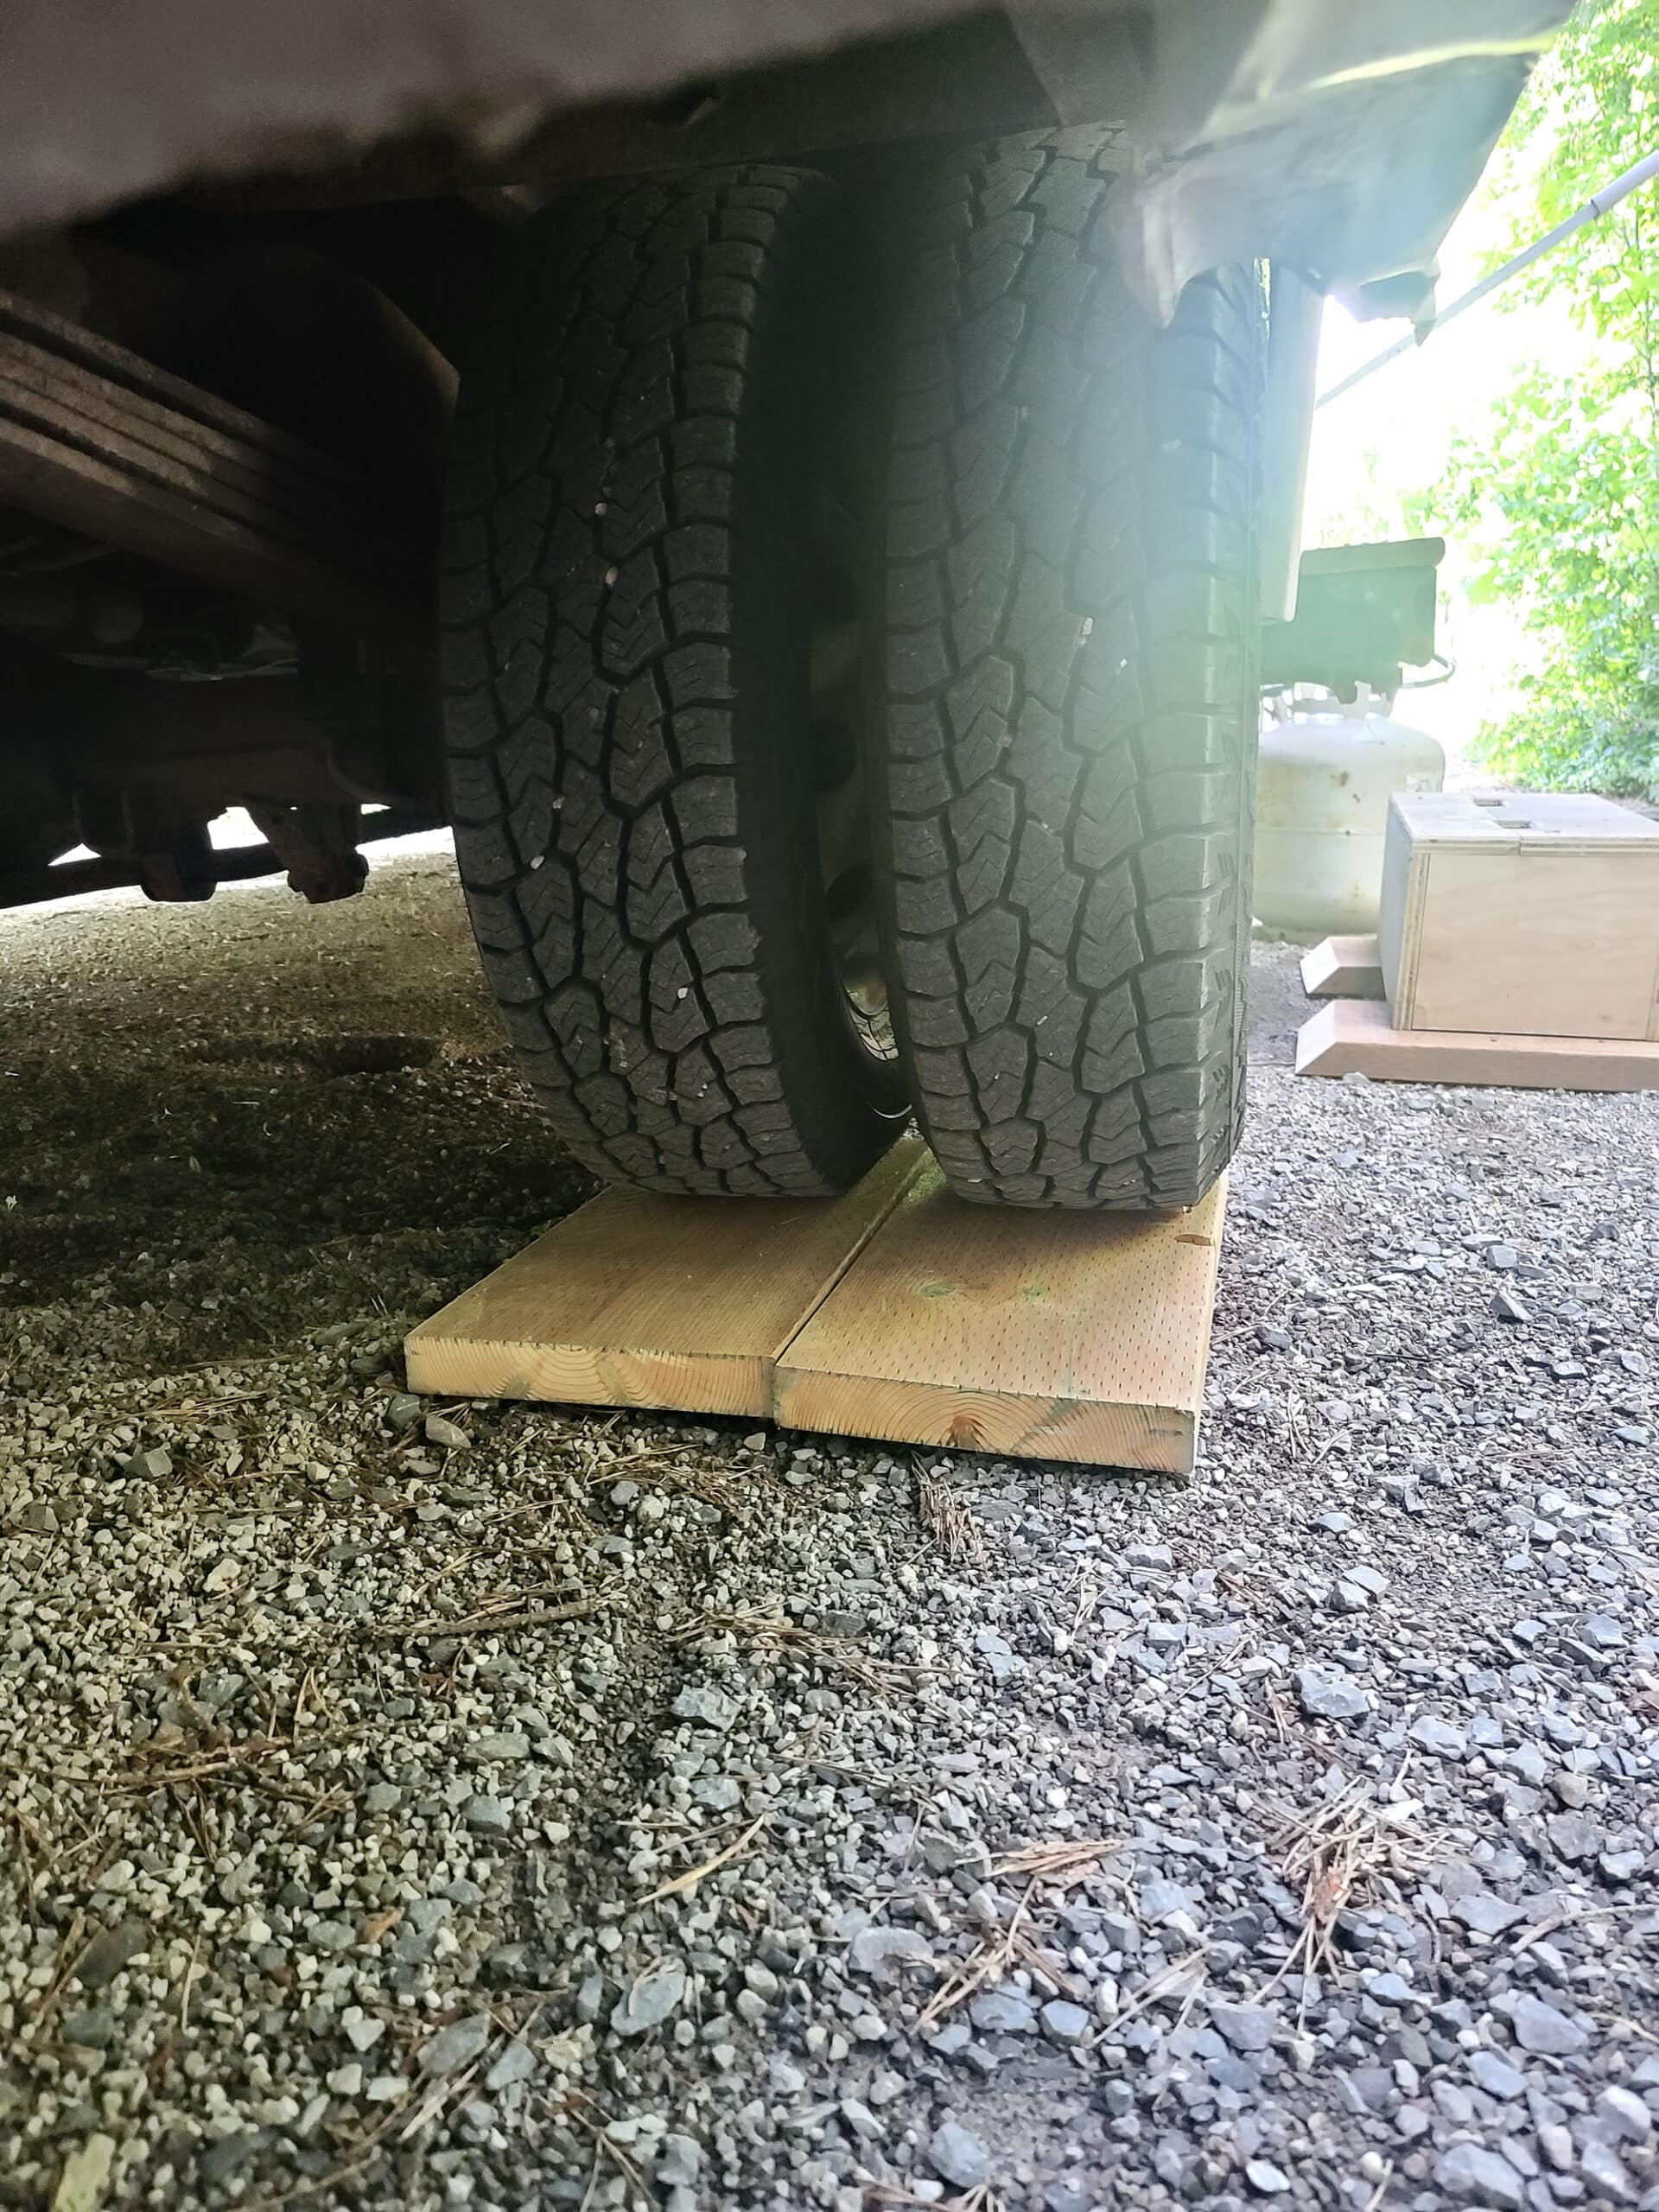
Also use boards under the stabilizer jacks, to prevent them from sinking into the ground. I use four screw-style jacks.
Stabilizer jacks can level things out
Don't lift the motorhome with the jacks, just push up to level and make sure the RV doesn't move around nearly as much.
If your RV doesn't have built-in jacks, or marked locations for jacks, find good spots on the frame to support the RV. Serious damage could occur if you stabilize from somewhere other than the frame.
If you have a trailer, make sure your tongue jack or fifth wheel jack stabilizer is in place.
After you're level and stabilized, make sure nothing is going to move. Set the emergency brake if you have a motorhome. Apply wheel chocks if you have a trailer, for optimal stability.
RV Setup Checklist – The Rest
Finally here's a list of the final steps that are needed or wanted to really make things good to go. I'll go through this one quickly.
I set up a barbecue propane tank and lock it at my onboard propane tank connection. This allows me to easily swap out tanks and I rarely have to fill the onboard tank. A propane tee adapter kit was installed to make this an option for me.
I have manual pull-out steps, and one is missing. I swing out the first level and I place the homemade step below that. Commercial options are also available for RV steps.
Next I put out the rubber mat – this really helps reduce dirt from coming in. I see a of lot folks use a large outdoor rug for their patio area. We don't have one yet, but are considering it.
Do a quick run through the inside to make sure everything is on an operating correctly
Inside the RV, turn on the water heater and light any pilot lights needed. If you're on shore power, make sure your battery switch is ON. My motorhome only charges the onboard batteries when the switch is on.
I like to double check that the fridge is still on, and I turn on the RV fridge fan. Check out our RV fridge fan article to see buying one is worth it for you.
Open any windows you'd like open. It's a good idea to leave the bathroom window open if the temperatures allow it, since there isn't much circulation in there.
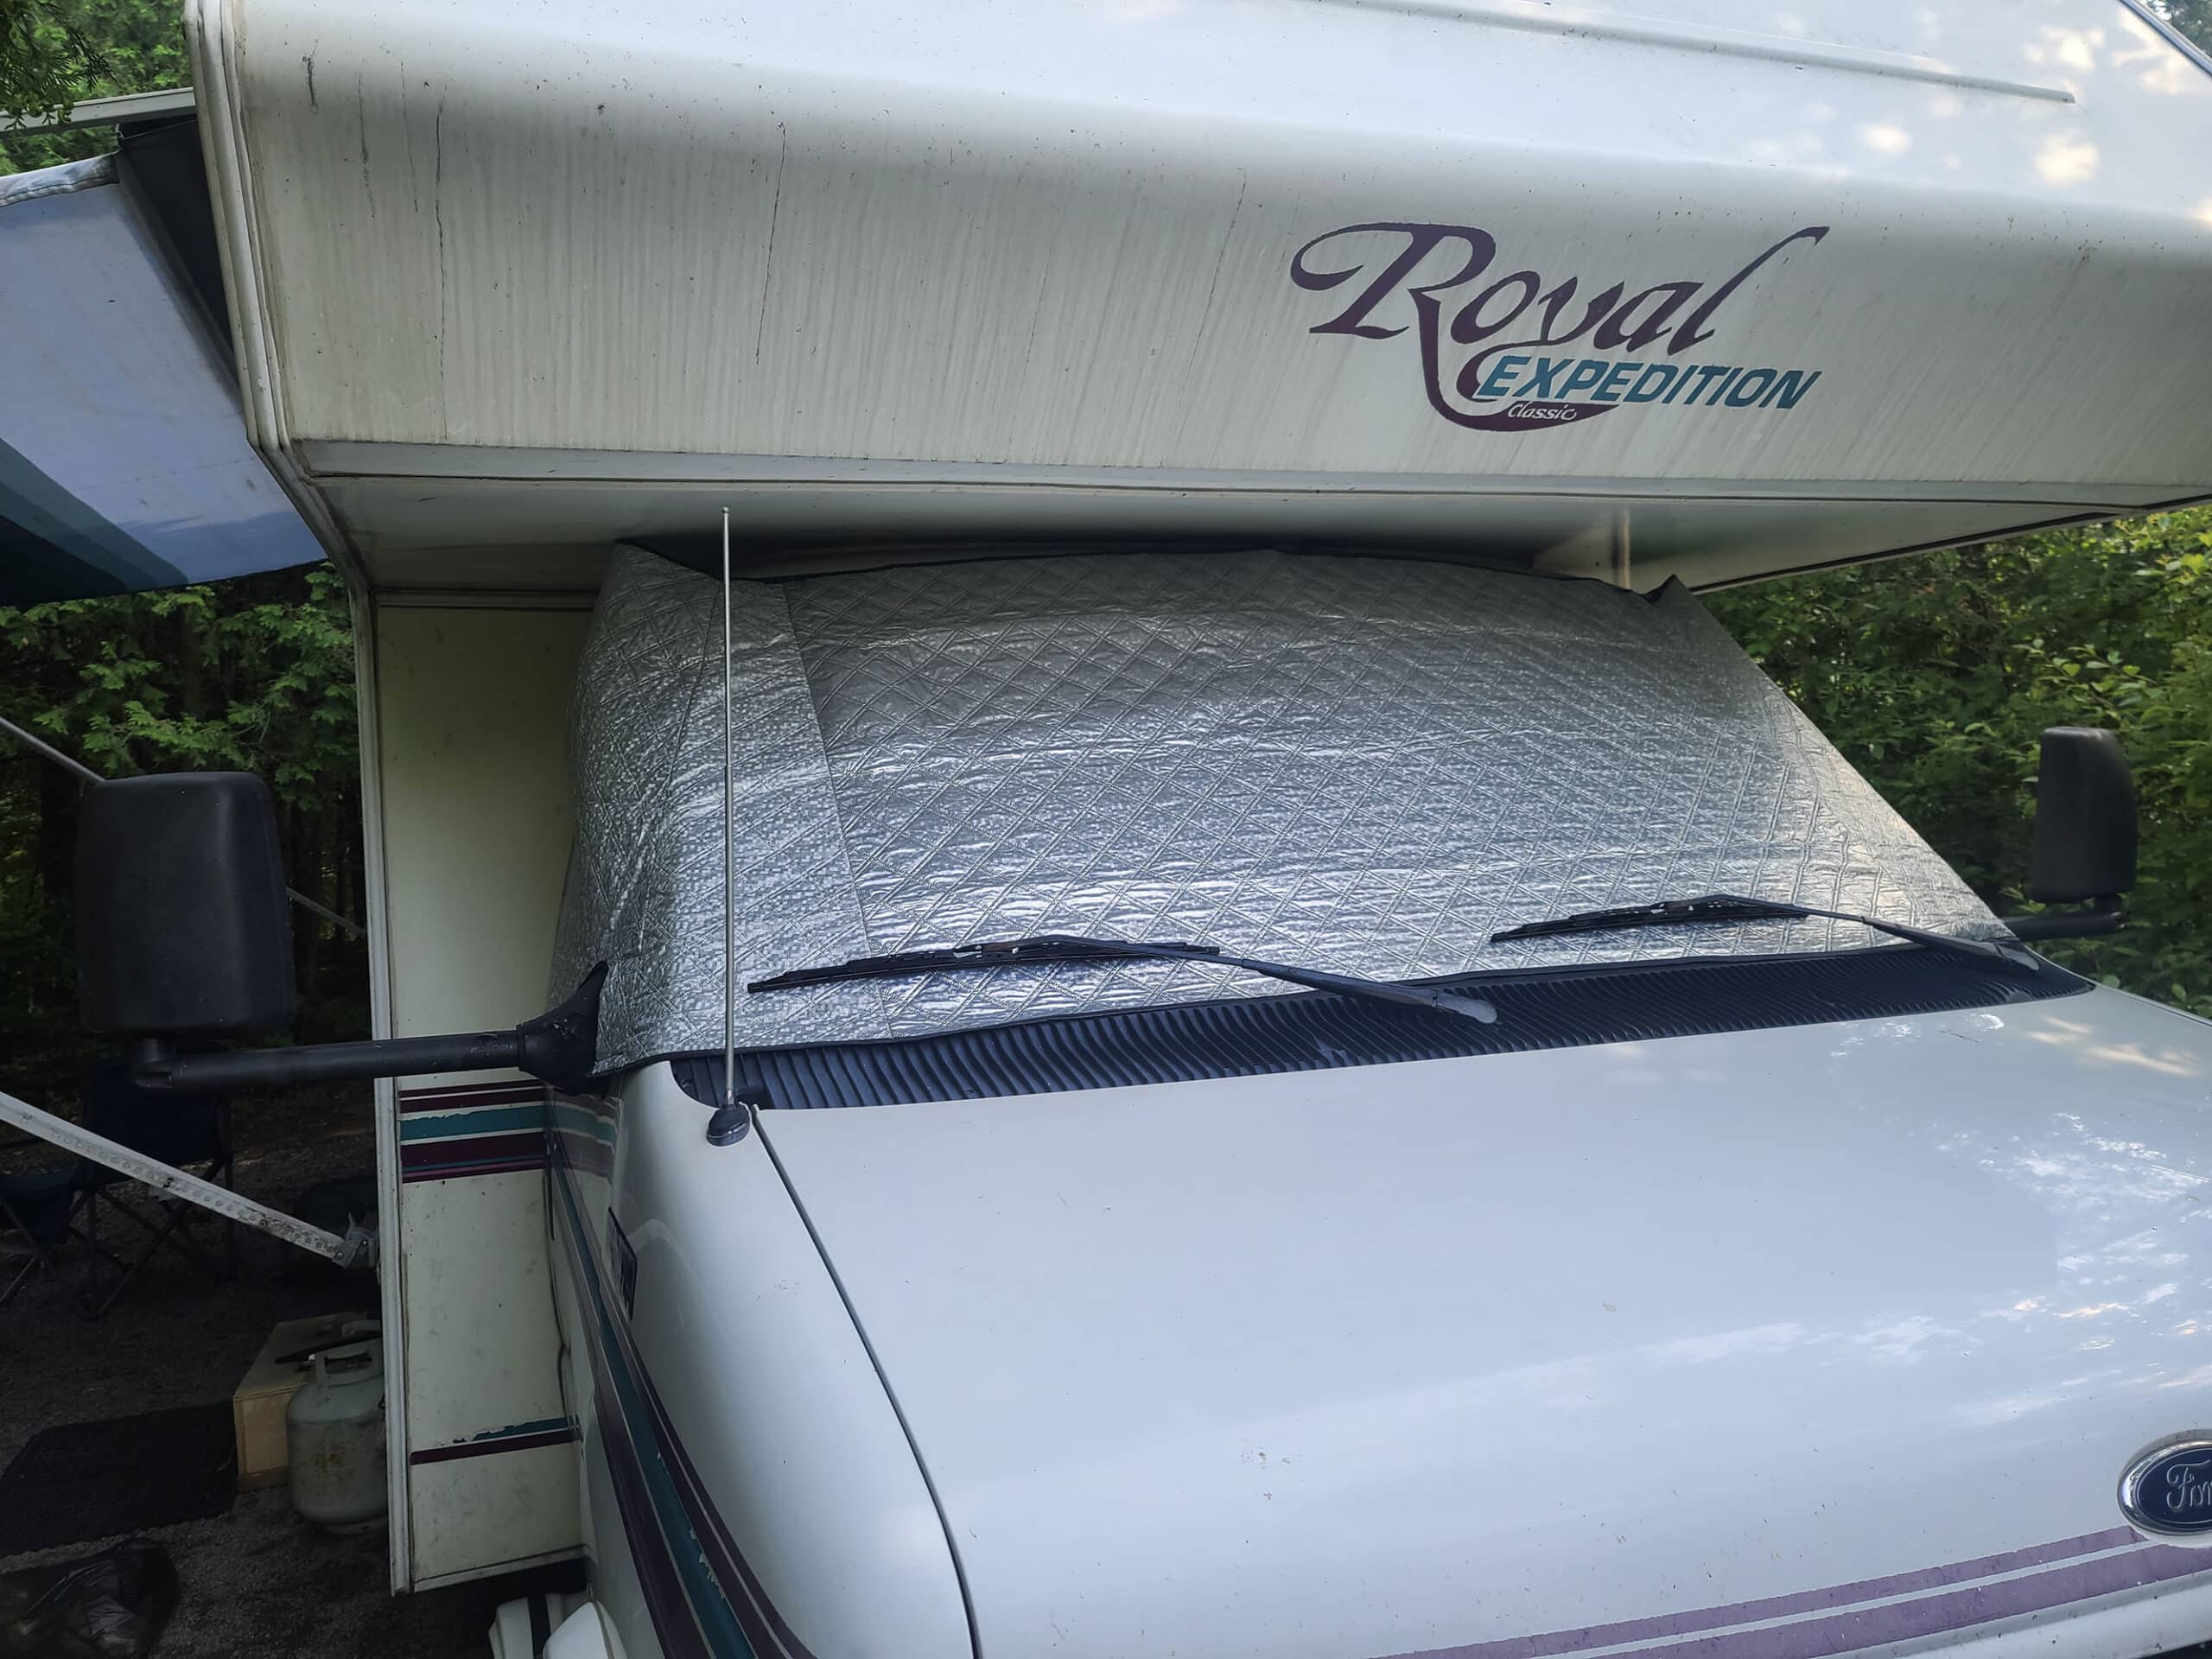
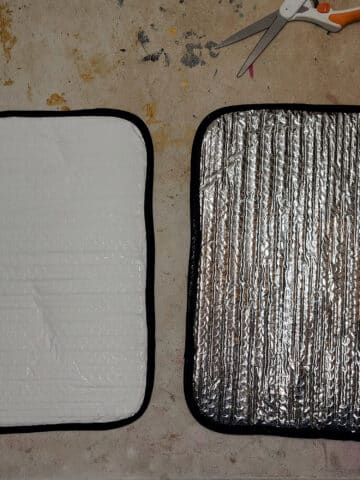
Next, install any privacy screens that you'd like. We have a windshield cover for the front end. People walking by can't just look through our entire RV, which makes us feel more comfortable.
Final Verification!
Now scan over your entire RV & Travel Trailer setup checklist to make sure all steps are complete. All done? Looks like you're ready to start the fun!

Download the RV & Travel Trailer setup checklist we use right here, go ahead and use it yourself or edit it for your needs.

Share the Love!If you’ve made one of our recipes, be sure to take some pics of your handiwork! If you post it to Bluesky, be sure to tag us - @2NerdsInATruck, or you can tag us on TikTok, if you’re posting video. We're also on Pinterest, so you can save all your favourite recipes and park reviews to your own boards! Also, be sure to subscribe to our free email newsletter, so you never miss out on any of our nonsense. Well, the published nonsense, anyway! |
Mary
Love your checklists, but can't download the set-up one. It downloads as an .odt file. Any way to fix this? The departure one downloaded as LibreOffice.
Michael Porter
Thanks for letting us know about the issue! I have now updated the downloads to use Microsoft Excel .xls format.