
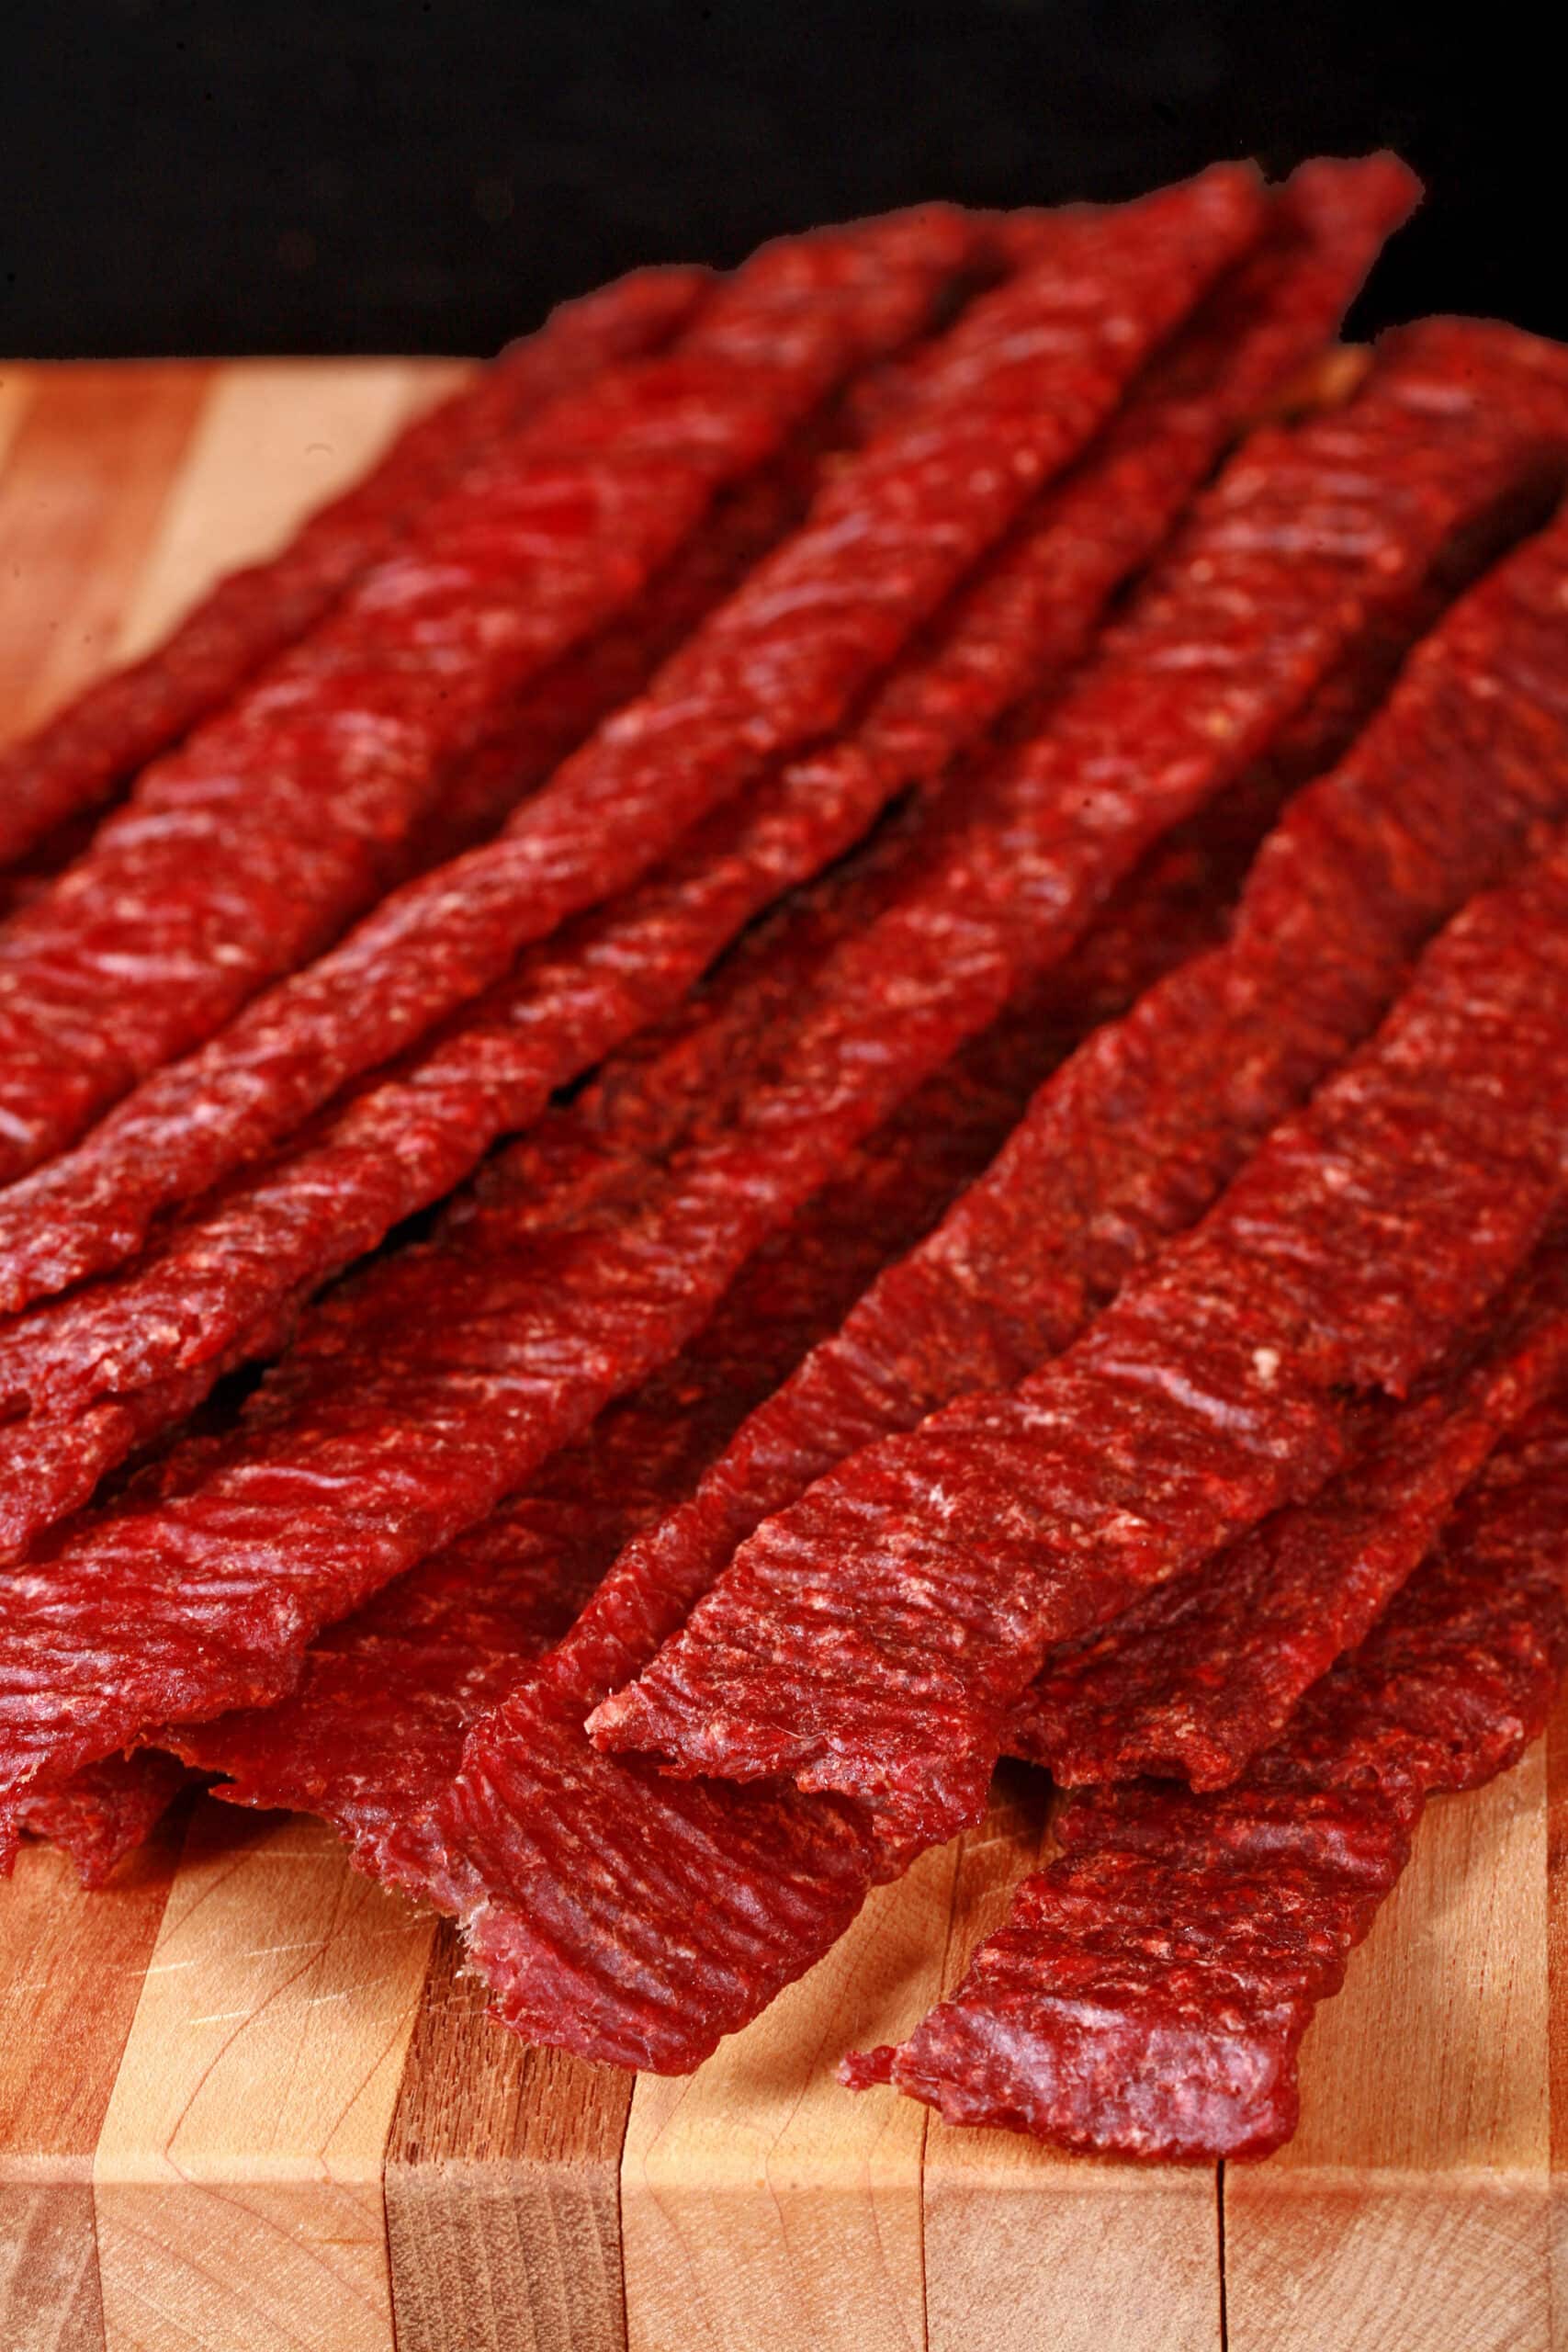
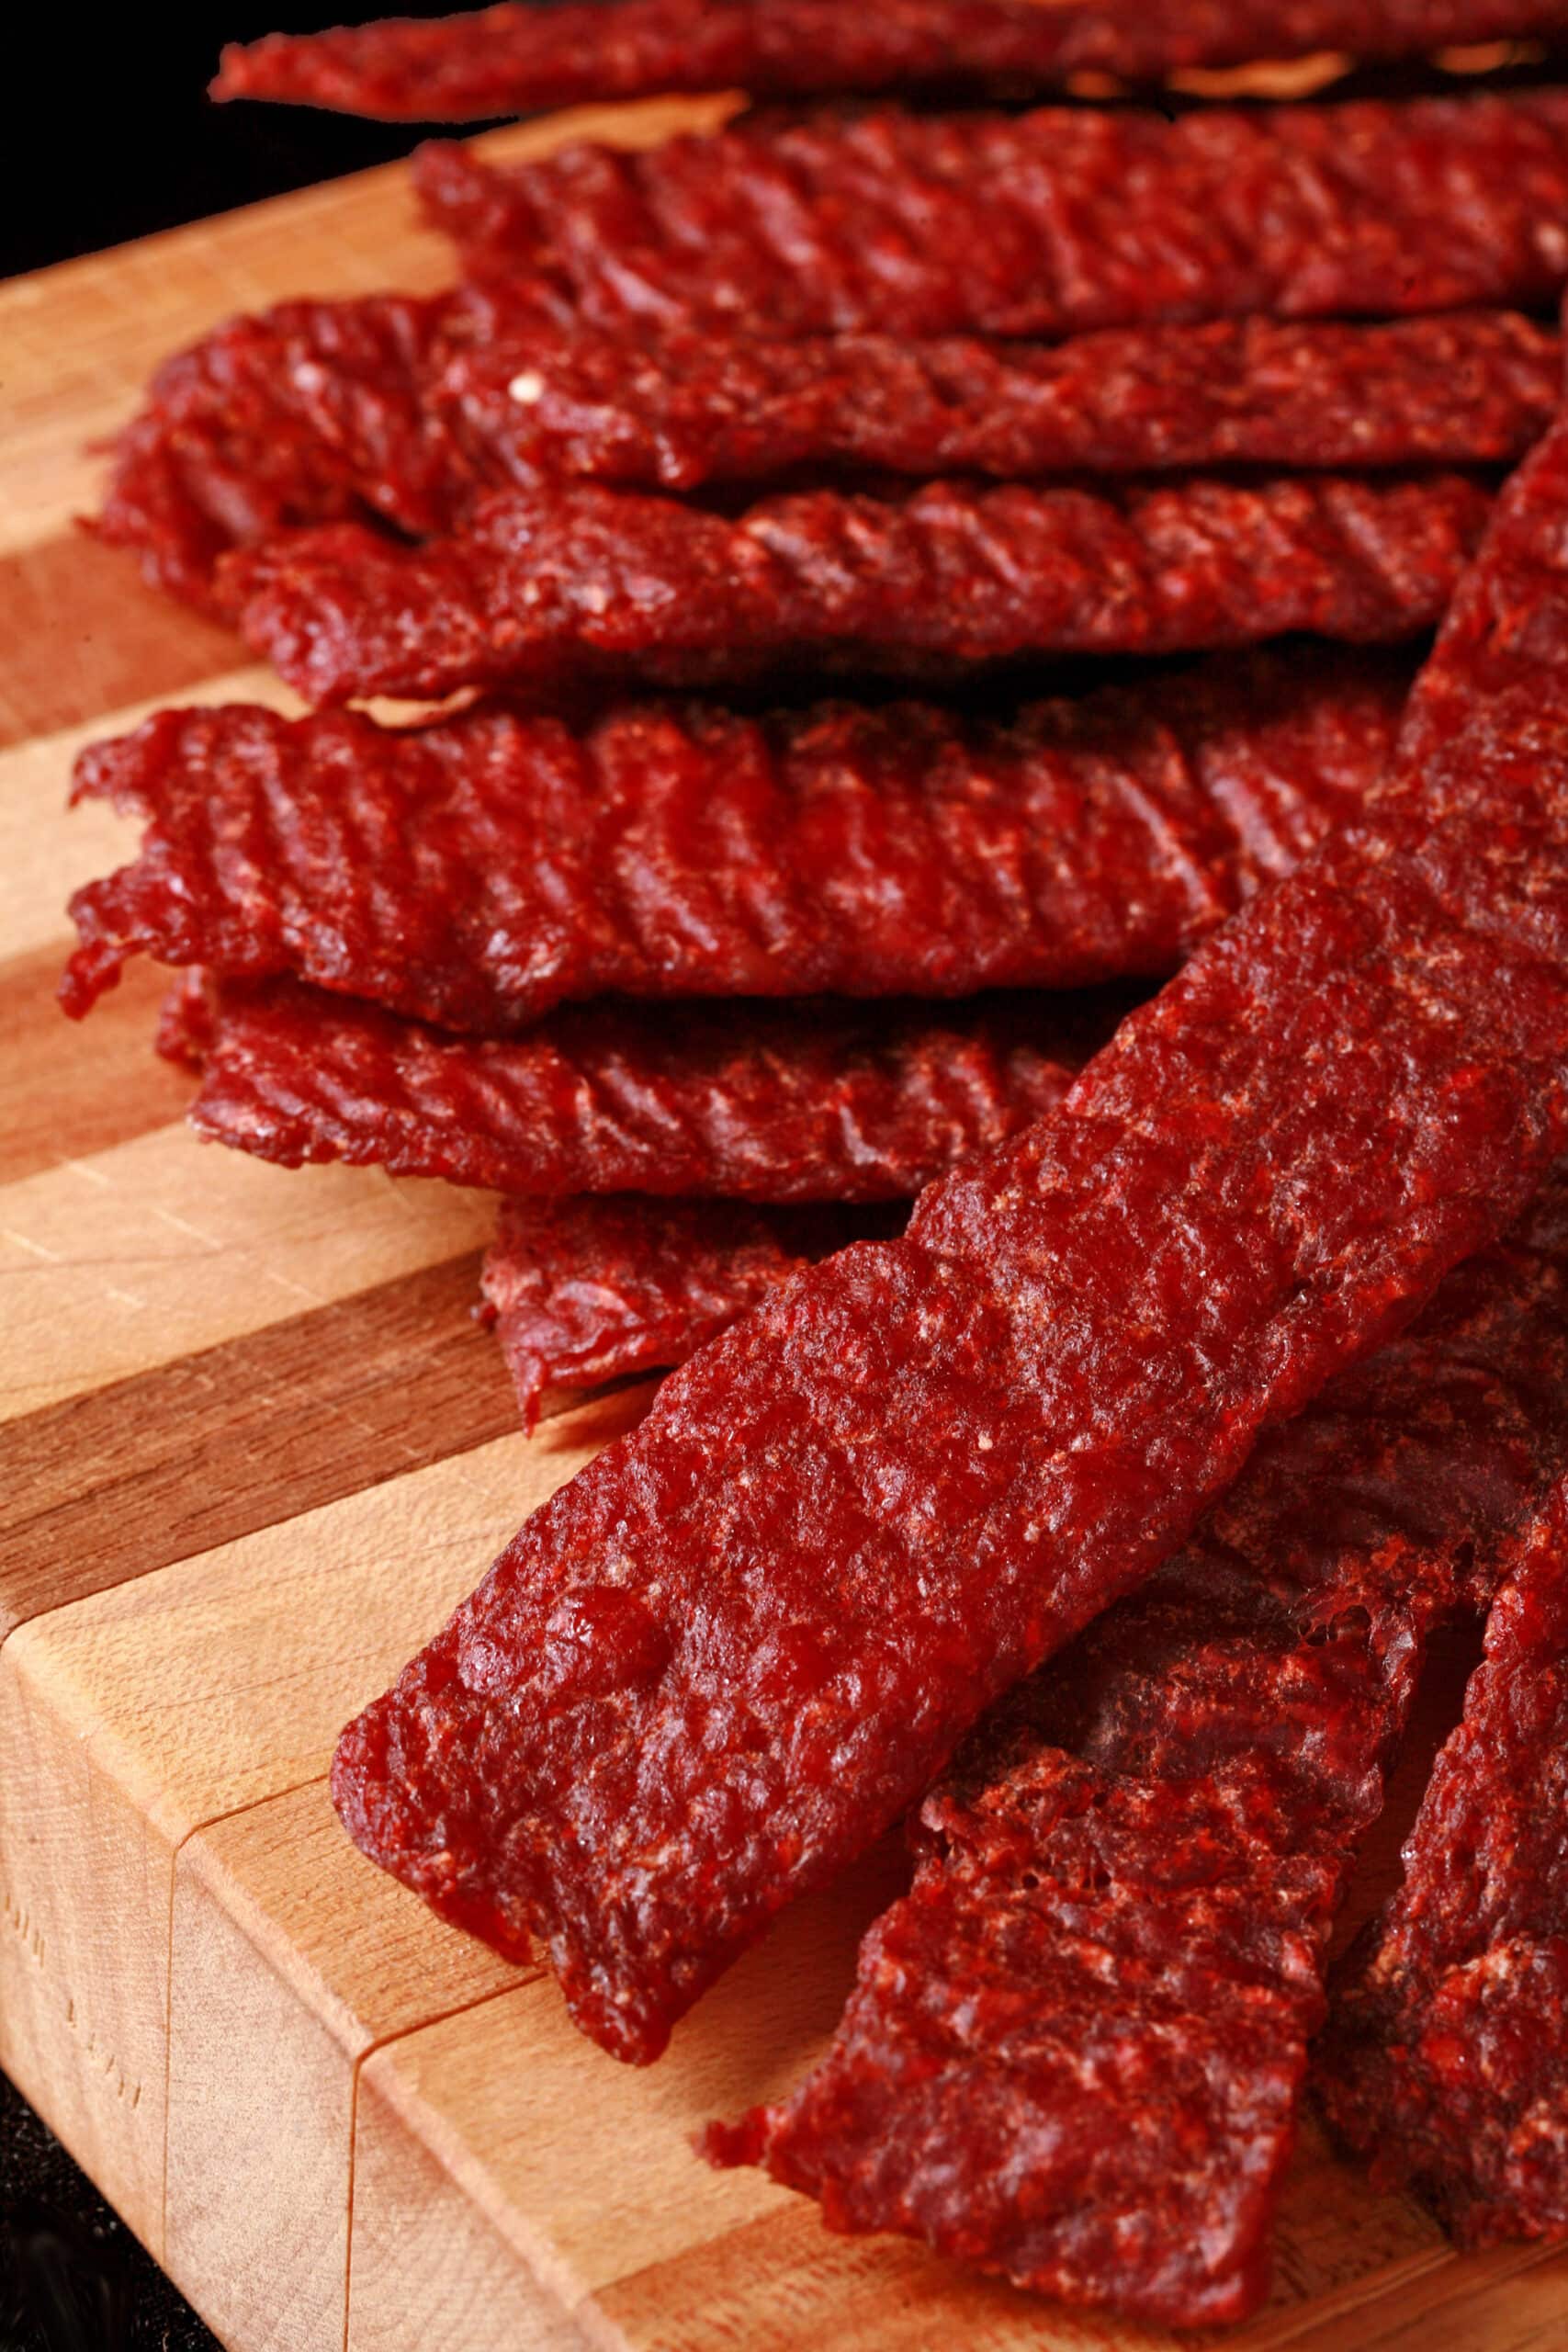
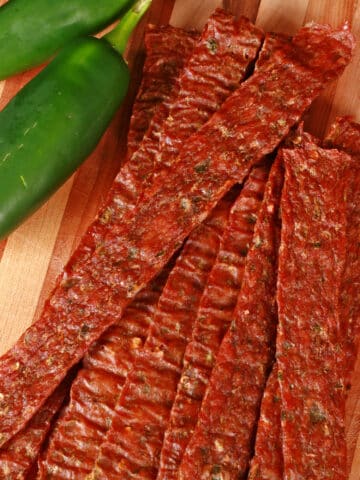
Homemade Ground Beef Jerky is super easy to make, and has a great texture. This recipe is flavourful and makes habit-forming, tender beef jerky!

I’ve been on a huge jerky-making kick lately, having a blast developing recipes for all kinds of different jerkies.
I’ve got a few ground meat jerky recipes coming, but let’s start with my basic beef recipe.
This easy ground beef jerky is a great way to get into making homemade jerky. Ground jerky is a lot easier to make than whole muscle jerky (regular jerky), and the ingredients are SUPER basic.
Unlike with whole-muscle jerky- which involves tediously trimming and slicing beef roasts - all you have to do for hamburger beef jerky is mix some ingredients into ground beef, and pipe it out!
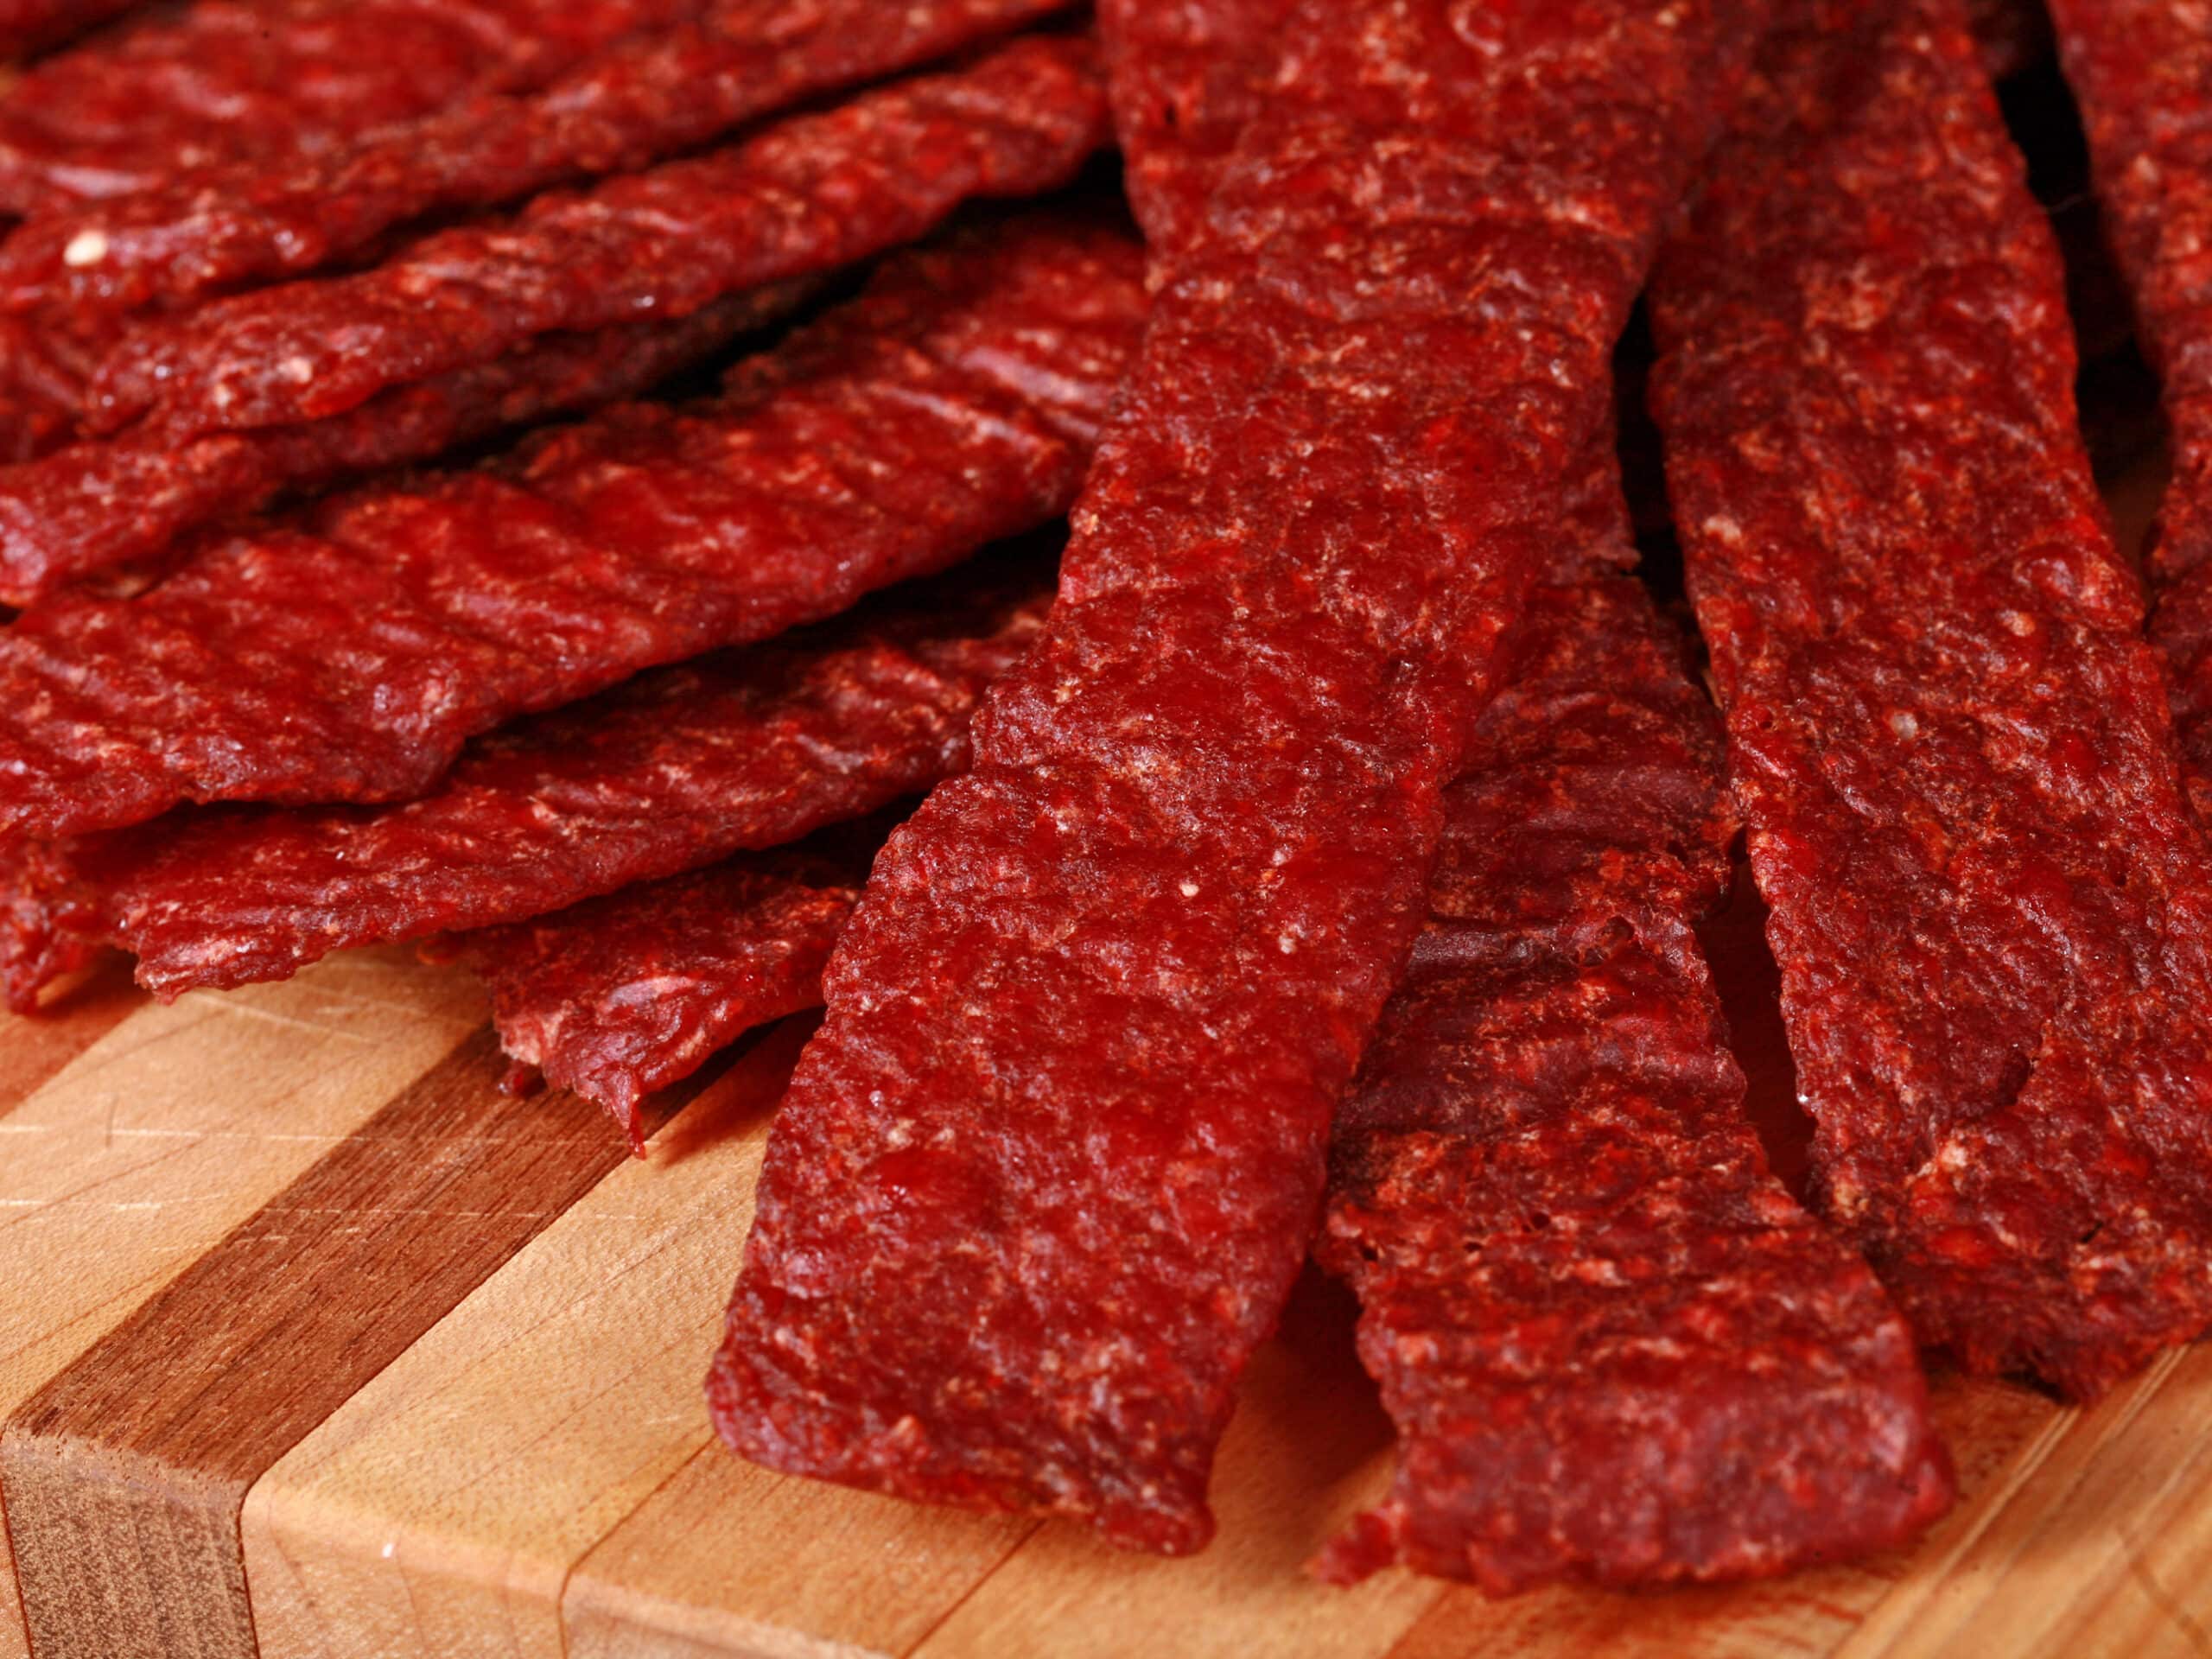
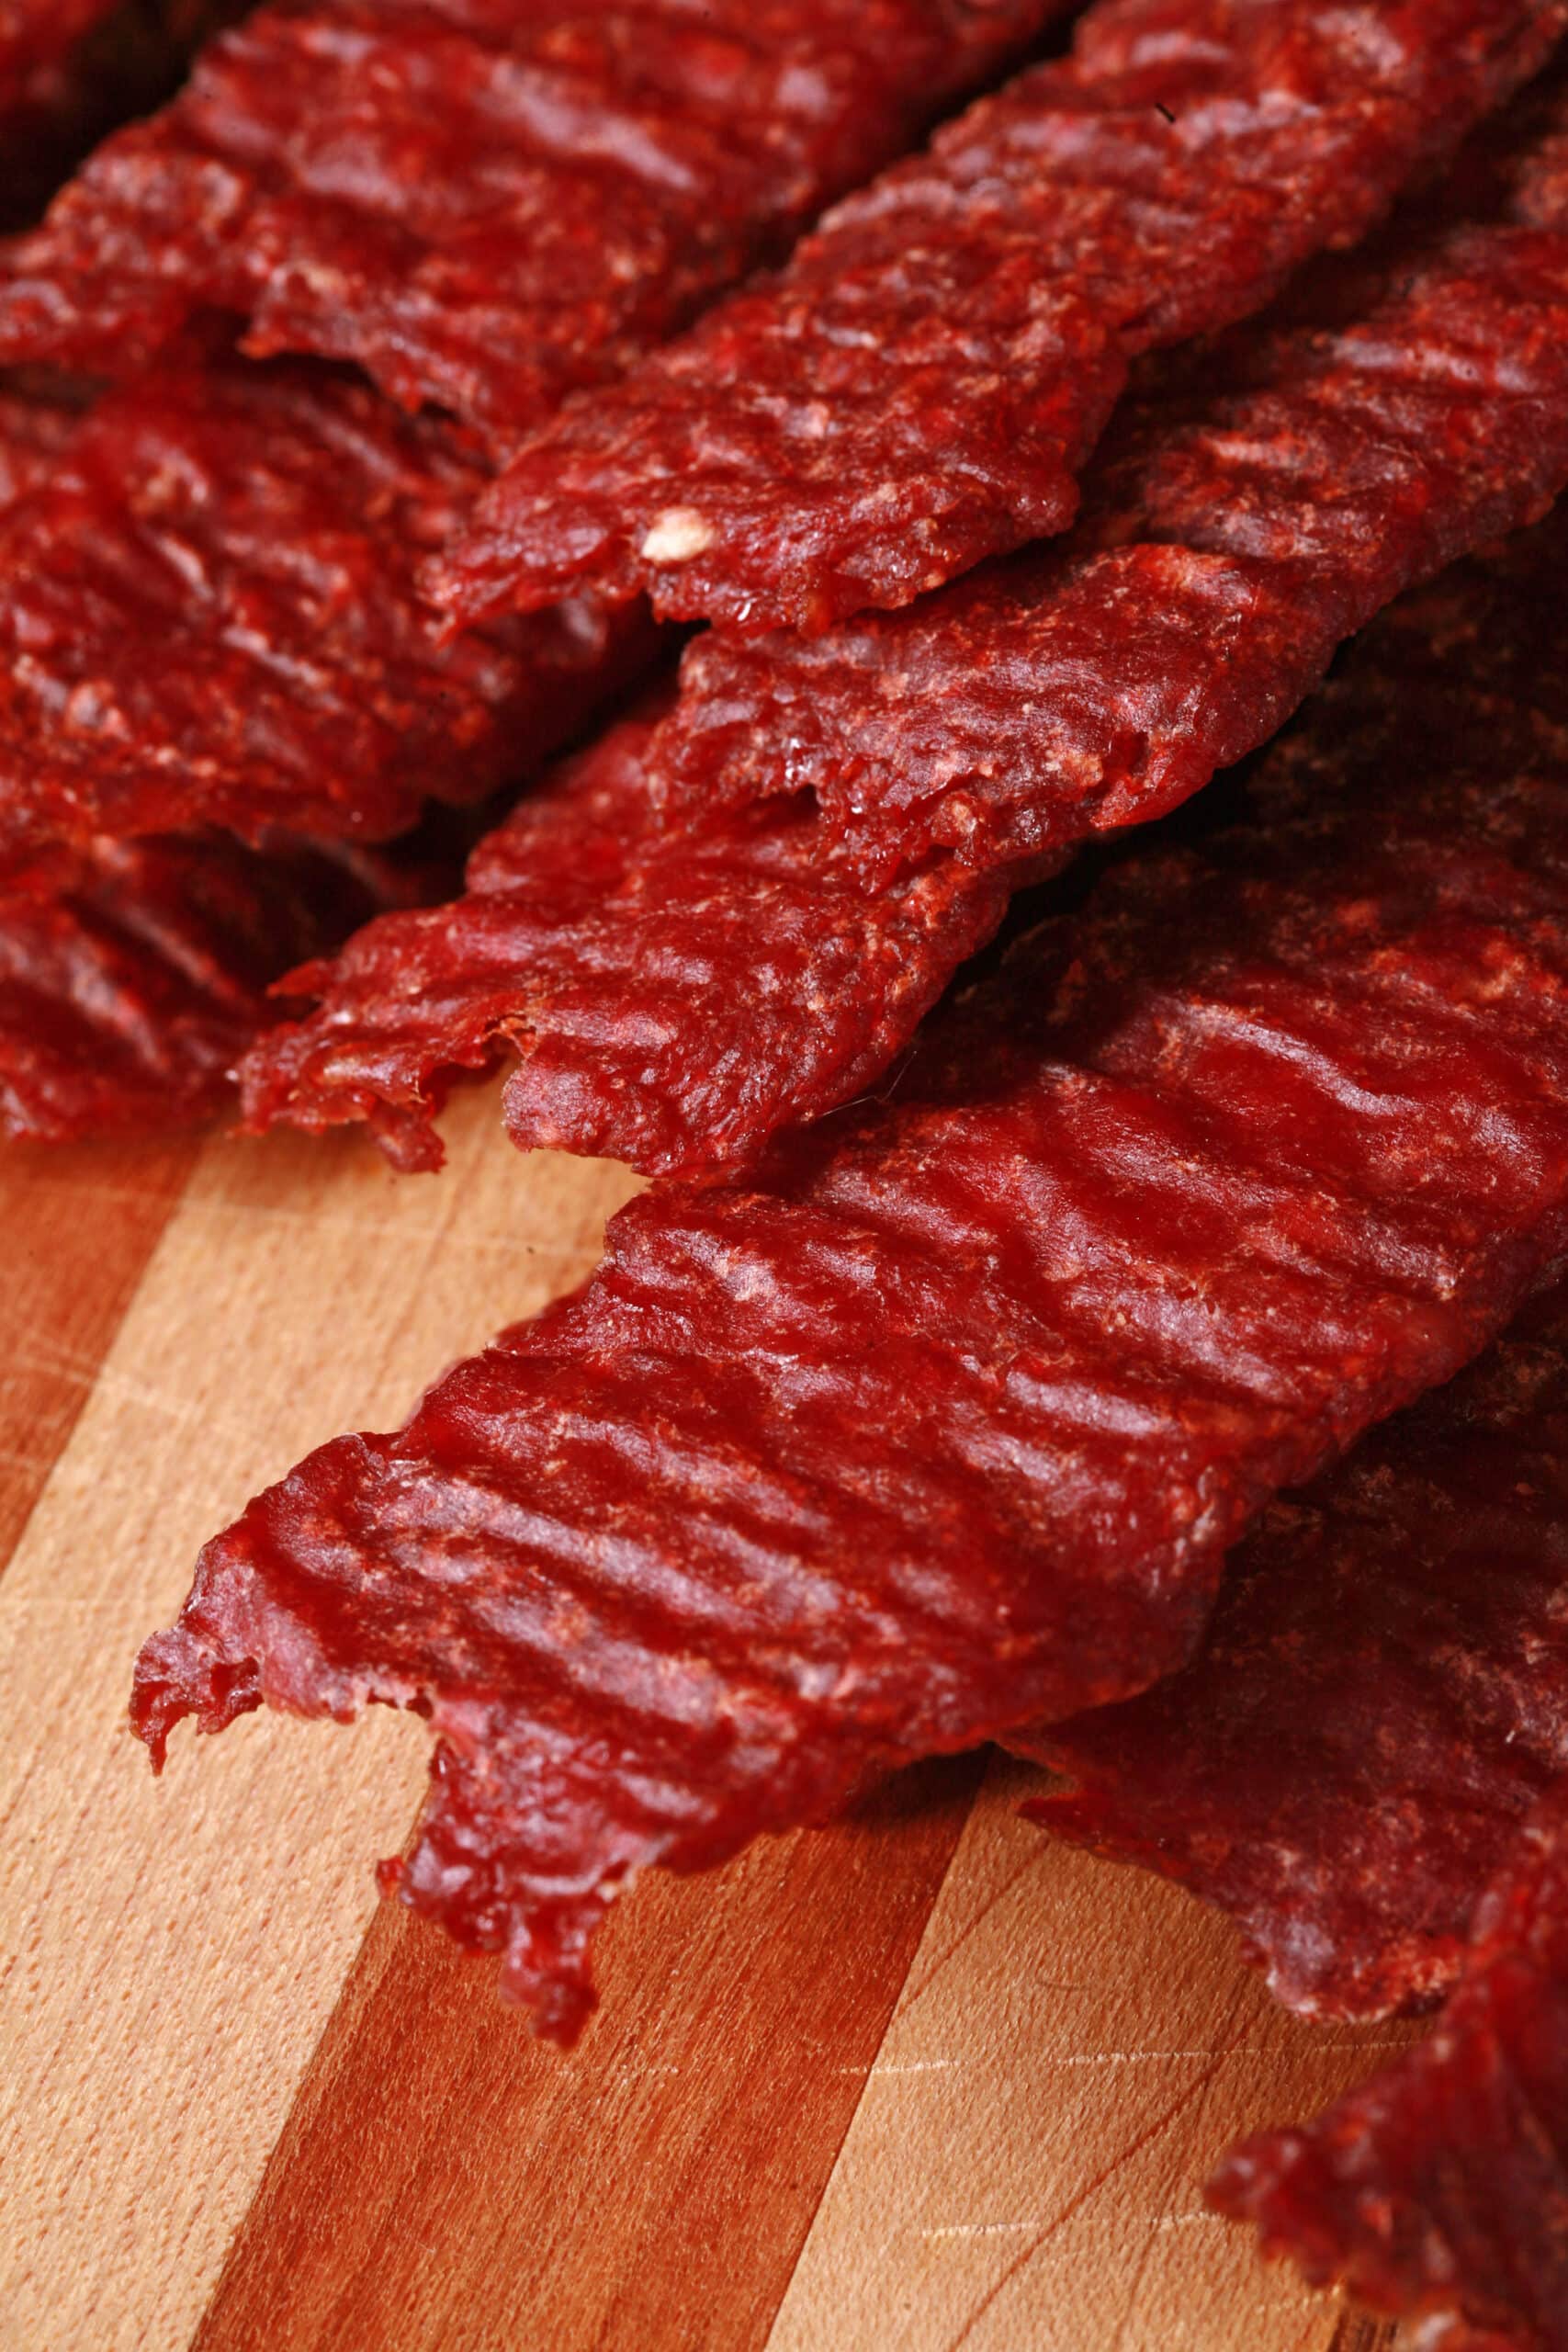
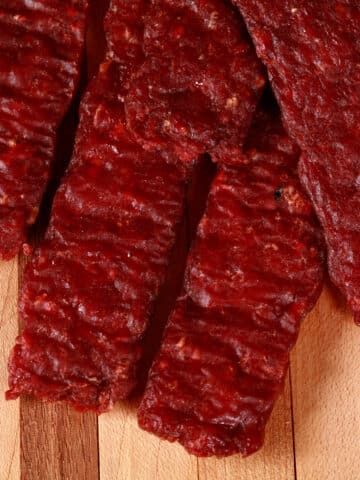
Not only is this homemade beef jerky recipe easier to make than traditional jerky, the final product has a much nicer texture, IMHO. No stringy bits to get caught in your teeth!
The final product also tastes better AND is much cheaper than store-bought jerky! The whole thing costs maybe $8/batch, and makes 10 or more jerky strips - and it only takes 4-5 hours of waiting!
It’s really a great way to have a nice, shelf-stable protein source on any roadtrip or hiking excursion.
Ingredients
This is a super easy recipe, and - with one exception - all the ingredients will be easy to find in any grocery store.
Some ingredient notes for you:
Lean Ground Beef
For best results, use extra lean beef. The more fat in the meat, the shorter the shelf life - fat goes rancid, so lean meat is best.
I did up the recipe for 1 lb of meat, but I usually triple it, as my dehydrator can fit 3 lbs of meat... and I’m just efficient like that!
You can use this recipe for any ground meat, really - ground venison, even lean ground turkey - but I definitely like to switch up the seasonings, based on the meat.
Be sure to subscribe to my email newsletter for updates - I’ve got a BUNCH of different jerky recipes coming!
Prague Powder
Prague Powder is one of a few different curing salts out on the market.
I use Prague Powder #1 Cure, same as I use for my Montreal Smoked Meat Recipe, Back Bacon Recipe, Homemade Corned Beef Recipe, and Peameal Bacon Recipe.
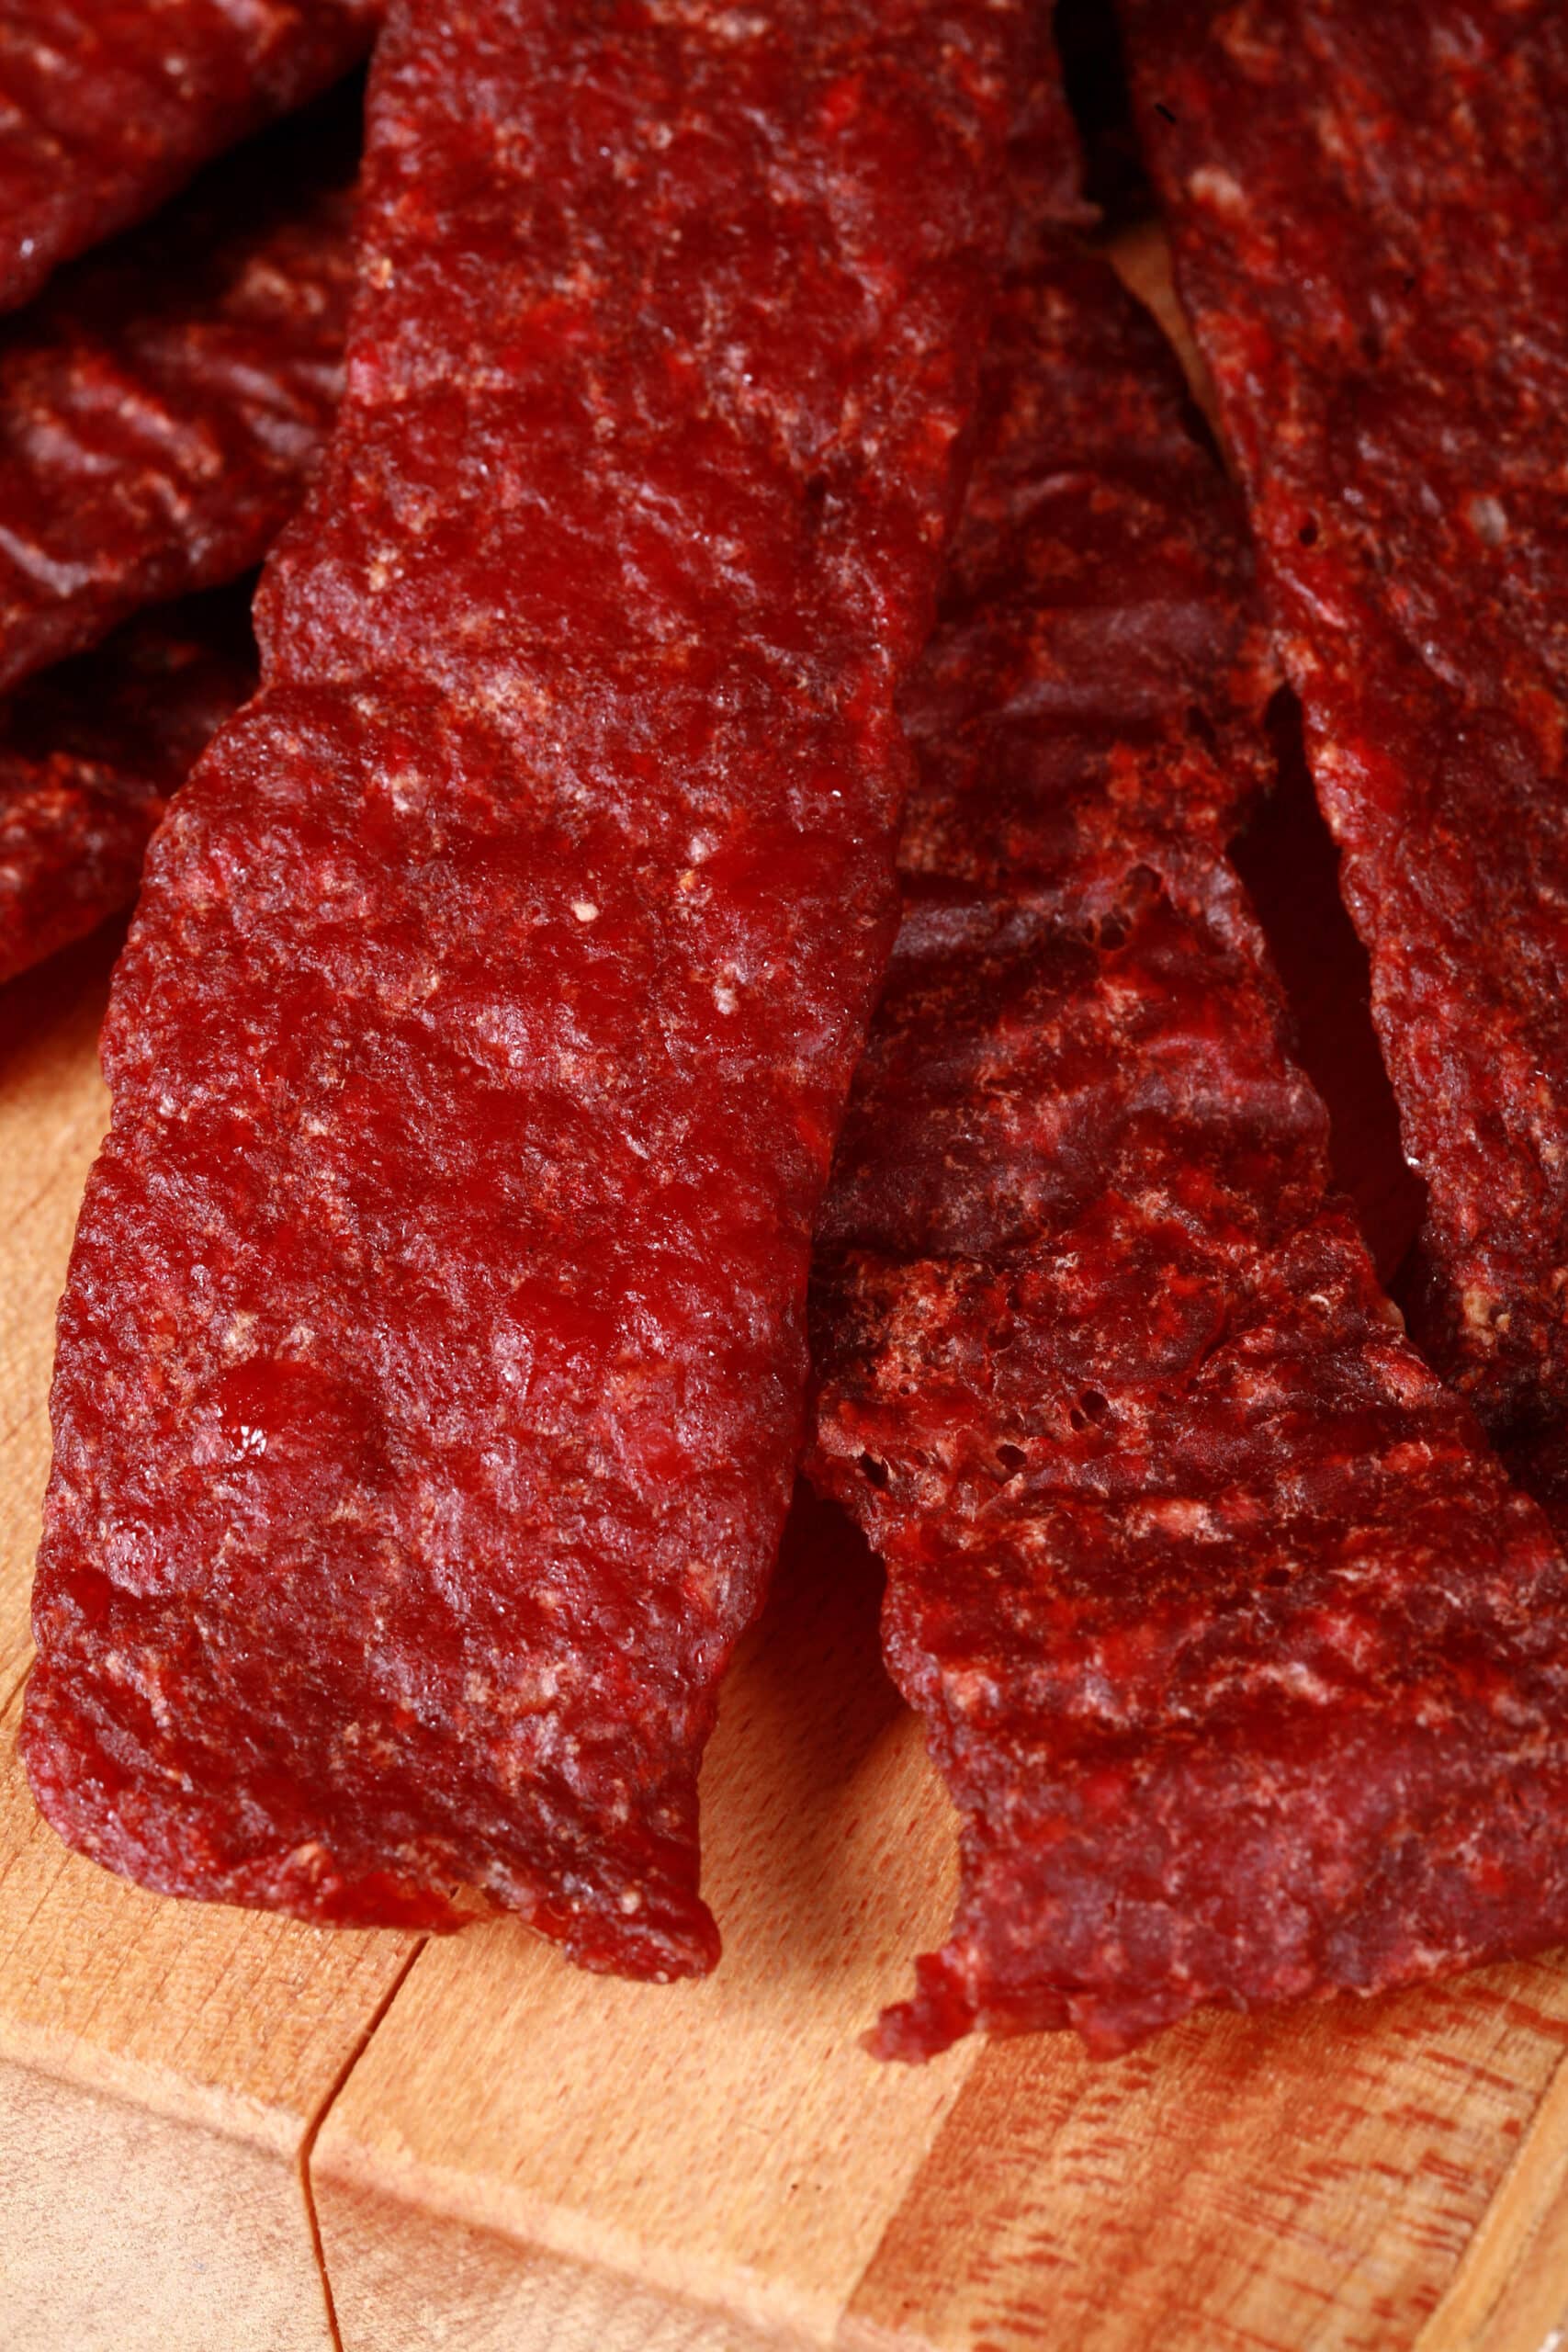
This is a bright pink curing salt that’s a mixture of salt and sodium nitrite. It’s commonly used in cured meats, and is what gives the jerky its characteristic red colour.
Beyond aesthetics, it also contributes to giving it that iconic jerky flavor, AND helps ensure that your homemade meat snack will be good to eat for a long time. It prevents the growth of bacteria.
It’s not the only way to extend the shelf life- more on that in the recipe itself - but between the safety, the flavour, and the colour... I always use it when making jerky.
Just note two things:
1. This is NOT the same thing as Himalayan pink salt!
2. Prague cure is only to be used in small amounts for curing meats, and should never be consumed as-is. The measurements are important - if you want a saltier jerky, add some regular salt, rather than increasing the curing salt.
Soy Sauce, or Soy-Adjacent Sauce
I developed this recipe using Coconut Aminos, which is what I use for myself - it’s gluten free and paleo/AIP friendly.
Tamari is another gluten free option (USUALLY GF, anyway!), or you could use plain old Soy Sauce.
I do find regular soy sauce to be saltier than Coconut Aminos, though. I recommend using low sodium soy sauce, or cutting back ¼ cup soy sauce to 2 tablespoon per batch.
Whichever you use, it brings some umami - savory flavor - to the ground beef jerky.
Liquid Smoke
I always used to hate the flavour of Liquid Smoke, but making jerky DEFINITELY made a believer of me.
A little - I use Hickory Flavoured Liquid Smoke - goes a long way to making the jerky taste like jerky.
I don’t recommend skipping it, though you can definitely play around with the type. I also have Mesquite Flavoured Liquid Smoke on hand, though I haven’t used it yet!
Seasonings
I call for Smoked Sea Salt, just to bring a bit of extra smokiness to the jerky recipe.
Feel free to use regular salt (in addition to the curing salt, anyway!) if you don’t have smoked salt on hand.
Beyond that, I just use a bit of Garlic Powder and Onion Powder to round out the recipe.
Like I said - super basic!
Variations
This is my basic recipe - I love it as-is, but there’s also a lot of room for customizing it with different seasonings.
I’m currently on a restricted diet that doesn’t allow for nightshades or seeds (among other things!), so I don’t have any black peppercorns or any type of pepper in mine... for NOW.
Once I’m off it, I’m looking forward to *loading* a batch with Ground Black Pepper, for a peppered beef jerky.
If you want your ground beef jerky to have a spicy flavor, consider adding Hatch Chile Powder, Jalapeno Powder, Red Pepper Flakes, or Smoked Serrano Powder - any would make for a REALLY tasty meat!
(Personally, I’d be all over a mix of smoked serrano with a bit of Smoked Paprika, just to really play up that smoked pepper flavour.)
Equipment
There are two main pieces of equipment that I use for making jerky, beyond things like bowls, spoons, and measuring cups:
A Jerky Gun
Also known as a “jerky cannon”, this is basically a good quality caulking gun (NOT an actual one - keep it food safe!) that you use to shoot strips of jerky onto your parchment paper.
Mine is the XINQIAO Jerky Gun Food Grade Plastic Beef Jerky Gun Kit . Regular $35 (Canadian) on Amazon, but it had a coupon for something like 25% off, when I purchased it.
Worth every penny, even if I’d paid full price!
I’ve heard of people making jerky by spreading the mixture out, flattening it with a rolling pin, then cutting it with a pizza cutter, but to be honest, that sounds fussy.
The very first time I used my jerk gun, I was HOOKED.
I’ve never been one for single-function, special equipment in the kitchen... but it just really makes jerky making so much quicker and easier! LOVE it.
A Food Dehydrator
While you can apparently make beef jerky in a regular home oven, I’m not a fan of running mine for hours on end.
I’ve had basic food dehydrators before - the kinds with no time or temperature controls - and I’d always been too nervous to try making jerky in them. I feel like I need more control over - and knowledge of - the drying process, when meat is concerned.
I’ve since upgraded to a Cosori 6 Tray Food Dehydrator, and LOVE it.
It was only like $200 Canadian, and it’s paid for itself MANY times over, between all the Maple Cinnamon Apple Chips and jerkies I’ve been making!
Think of it this way - The same size of jerky that I tend to make goes for about $4 in a gas station. I get about 10-15 strips out of a batch - let’s average that out to 12.
That’s $48 worth of jerky, for $8 or less. Make 5 batches, that’s your $200 in savings!
Anyway, we’re using a dehydrator a LOT more, now that we have a nice one. Having the control over the temperature really opens up the possibilities.
Share the Love!If you’ve made one of our recipes, be sure to take some pics of your handiwork! If you post it to Bluesky, be sure to tag us - @2NerdsInATruck, or you can tag us on TikTok, if you’re posting video. We're also on Pinterest, so you can save all your favourite recipes and park reviews to your own boards! Also, be sure to subscribe to our free email newsletter, so you never miss out on any of our nonsense. Well, the published nonsense, anyway! |
How to Make Ground Beef Jerky
Cut 2 or 3 pieces of parchment paper slightly smaller than your dehydrator trays, set aside.
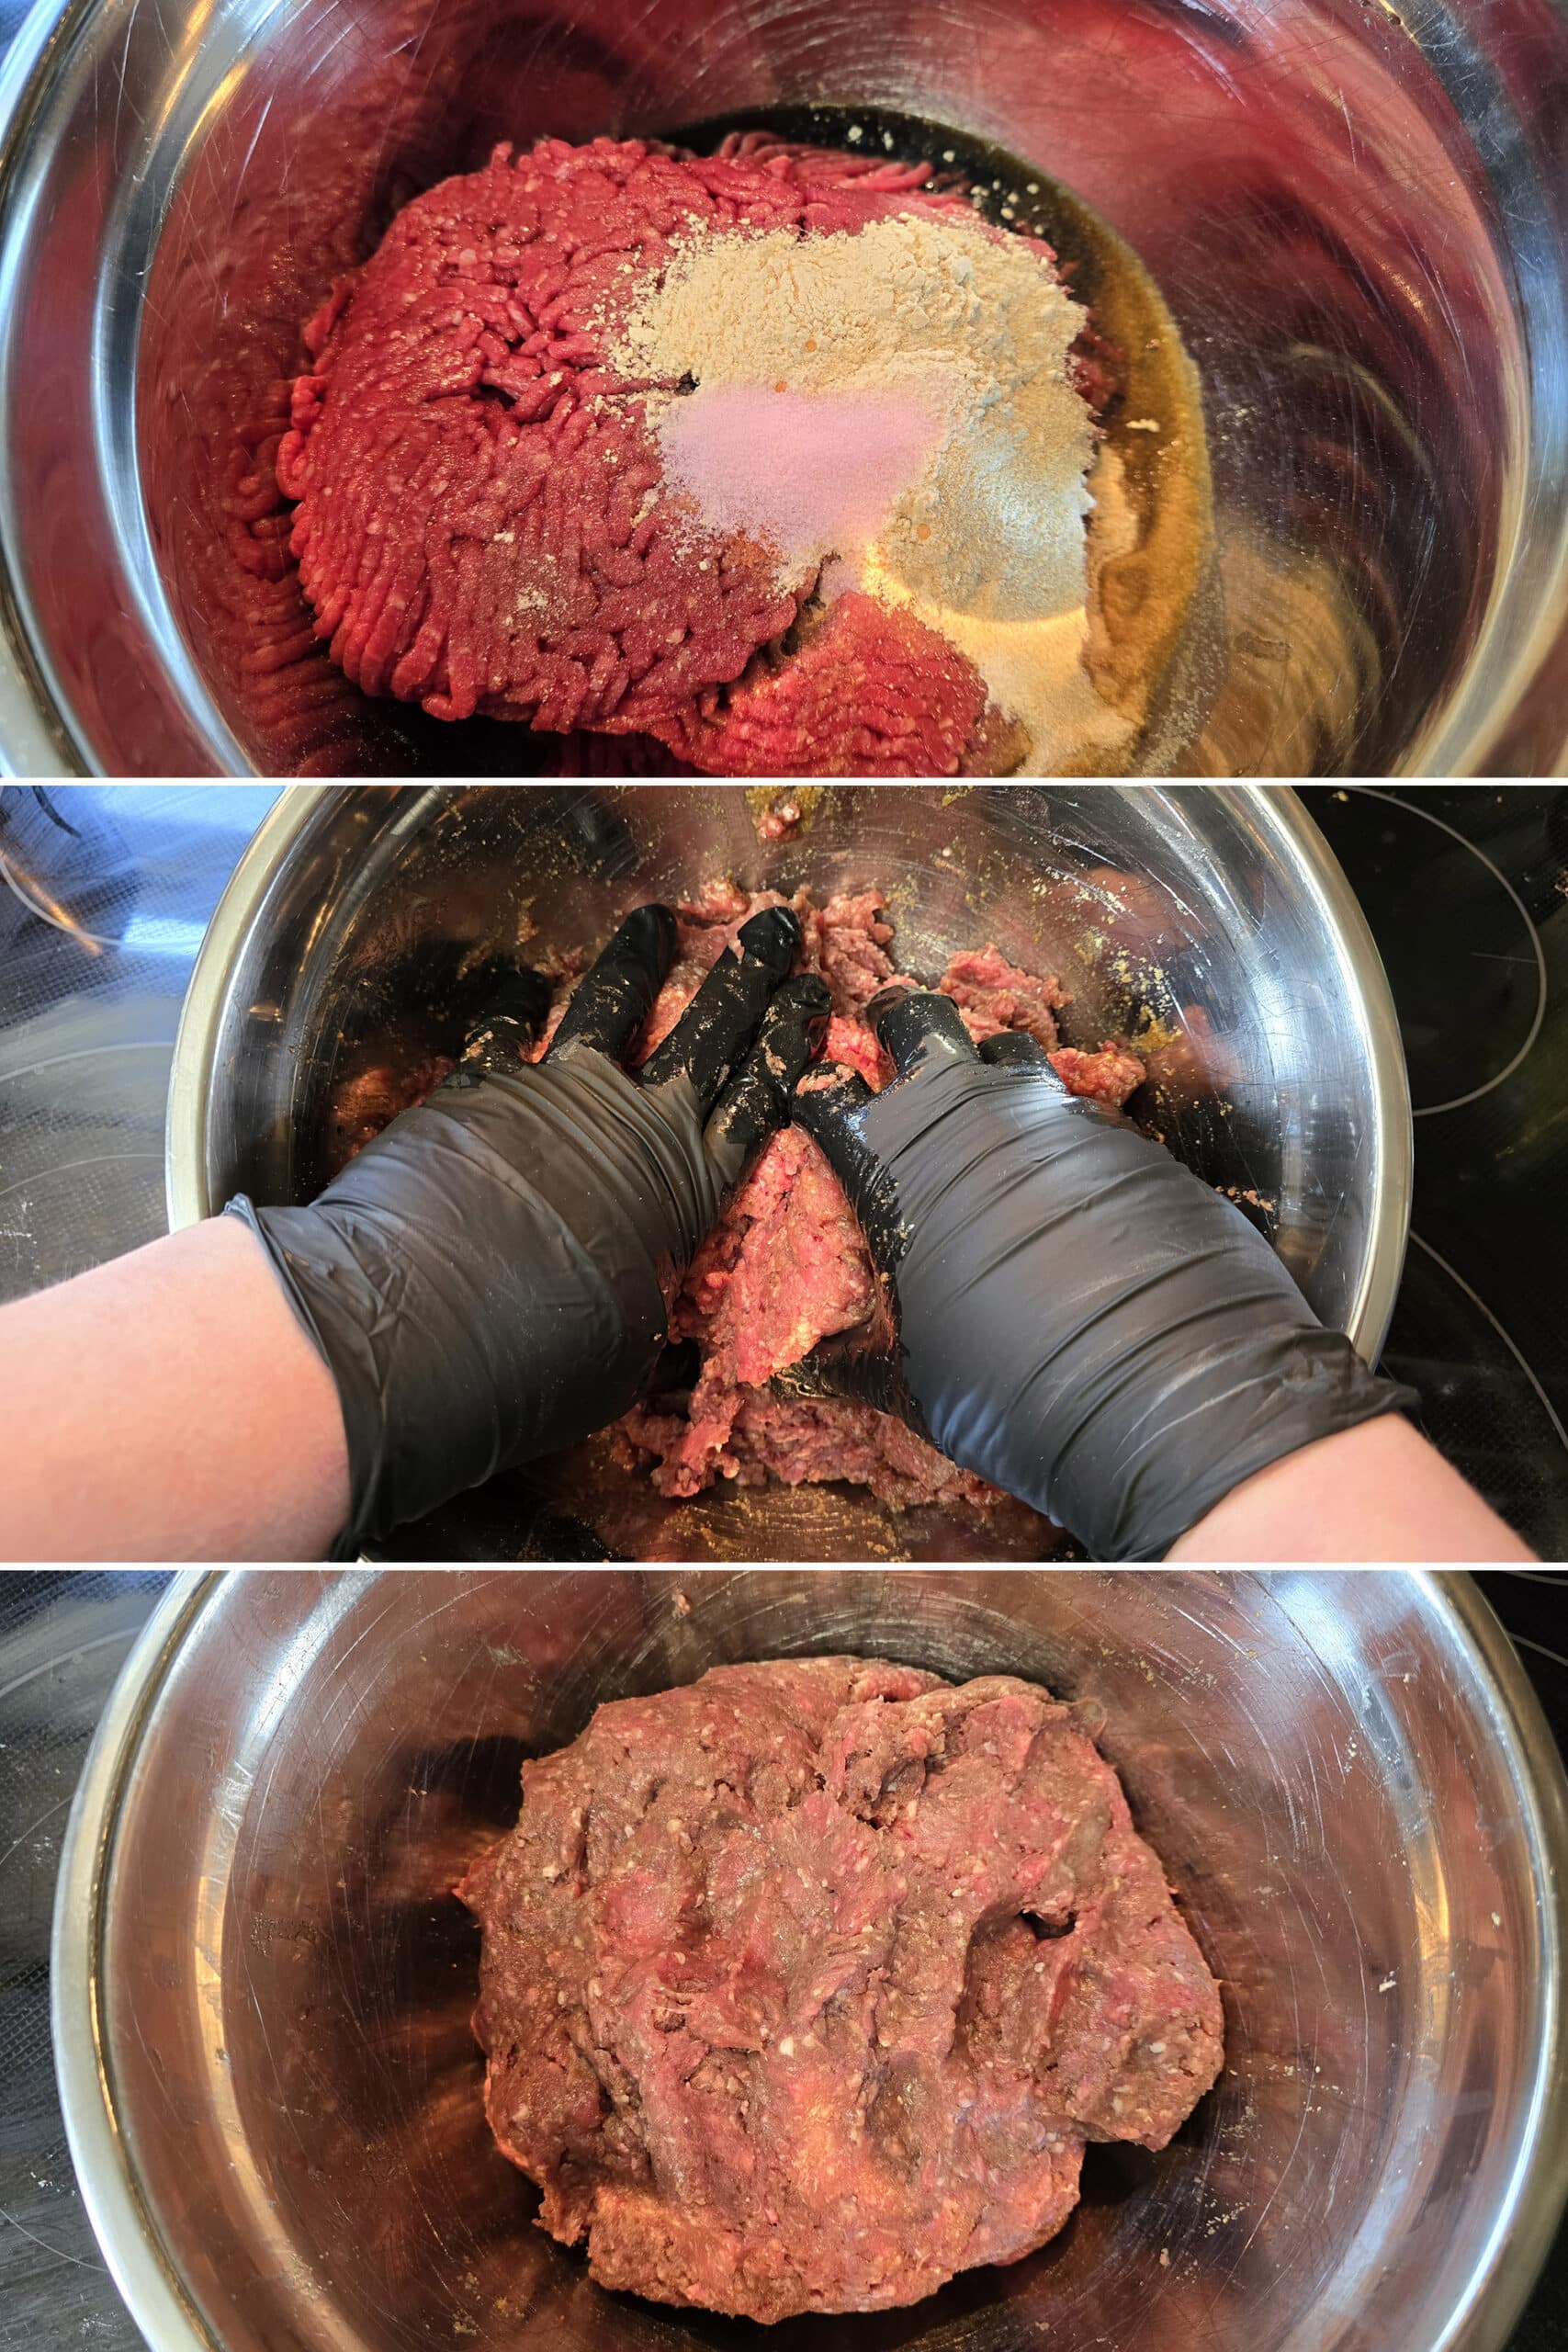
In a large bowl - using freshly washed or gloved hands - combine ingredients well.
REALLY well - it’s better to overhandle it, than to under-mix it - you want all the liquid ingredients soaked in, and the Prague Powder very well distributed throughout the ground beef mixture!
Use a spoon to load the meat mixture into a jerky gun, taking care to avoid creating air pockets.
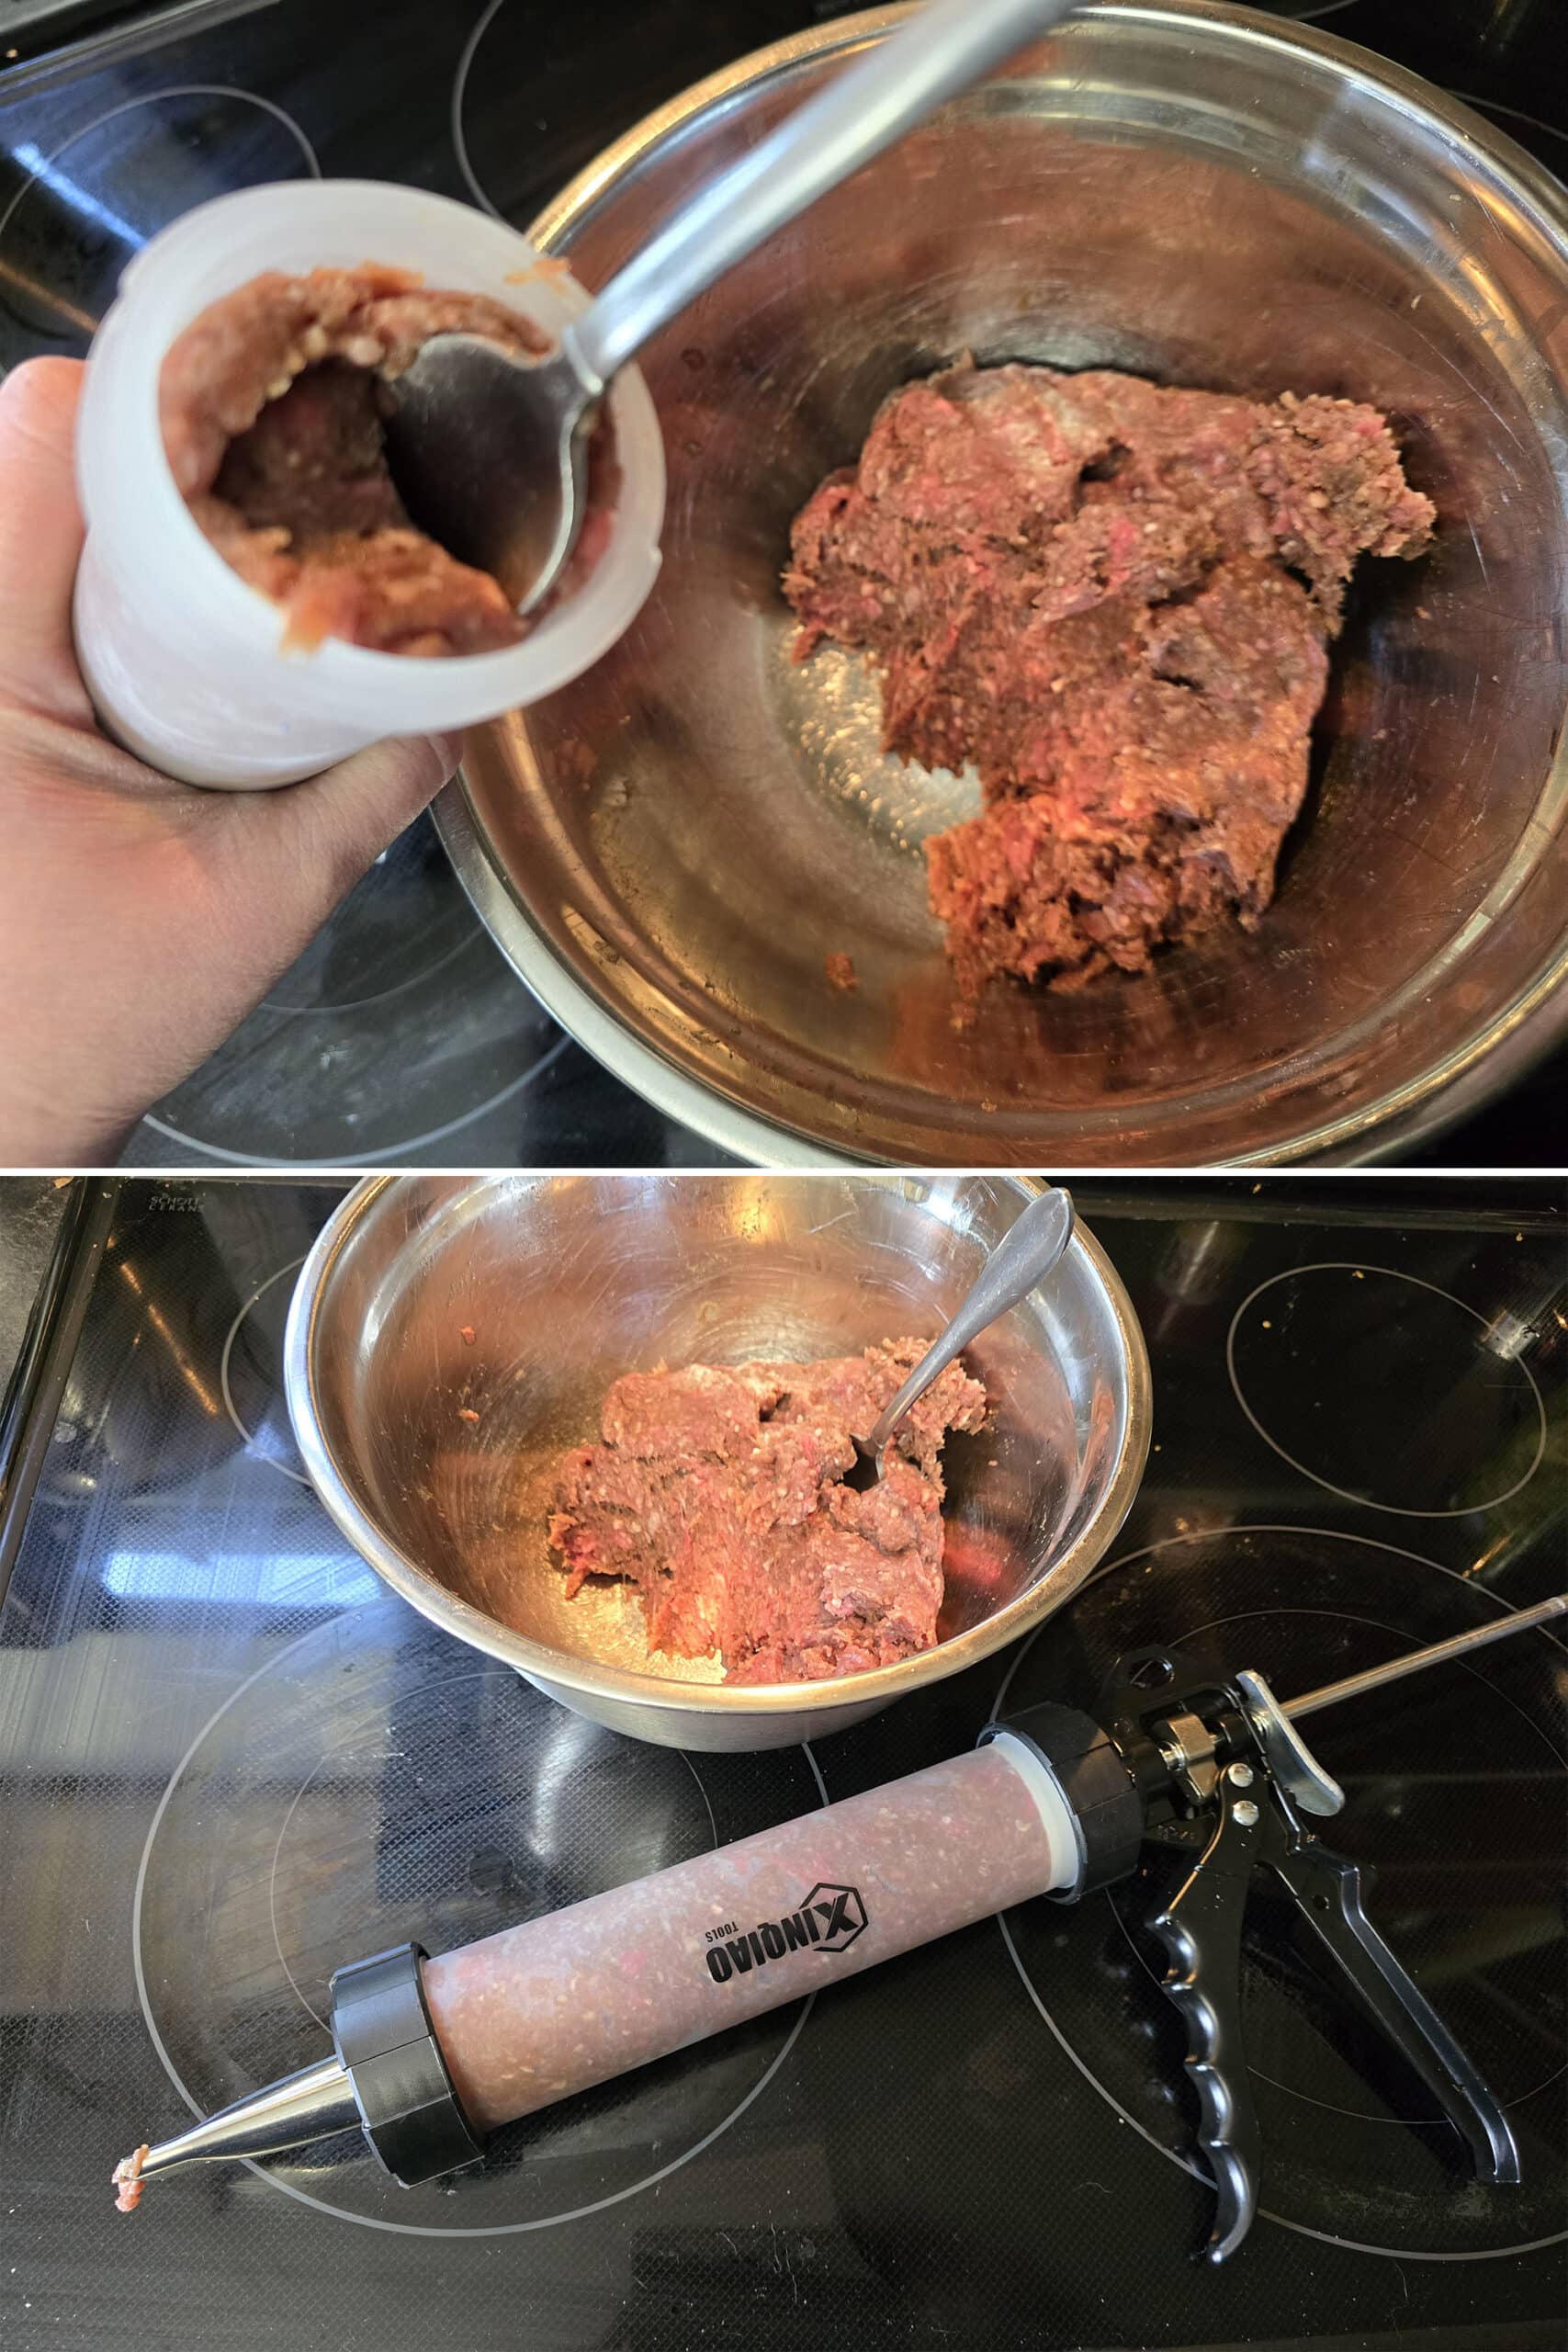
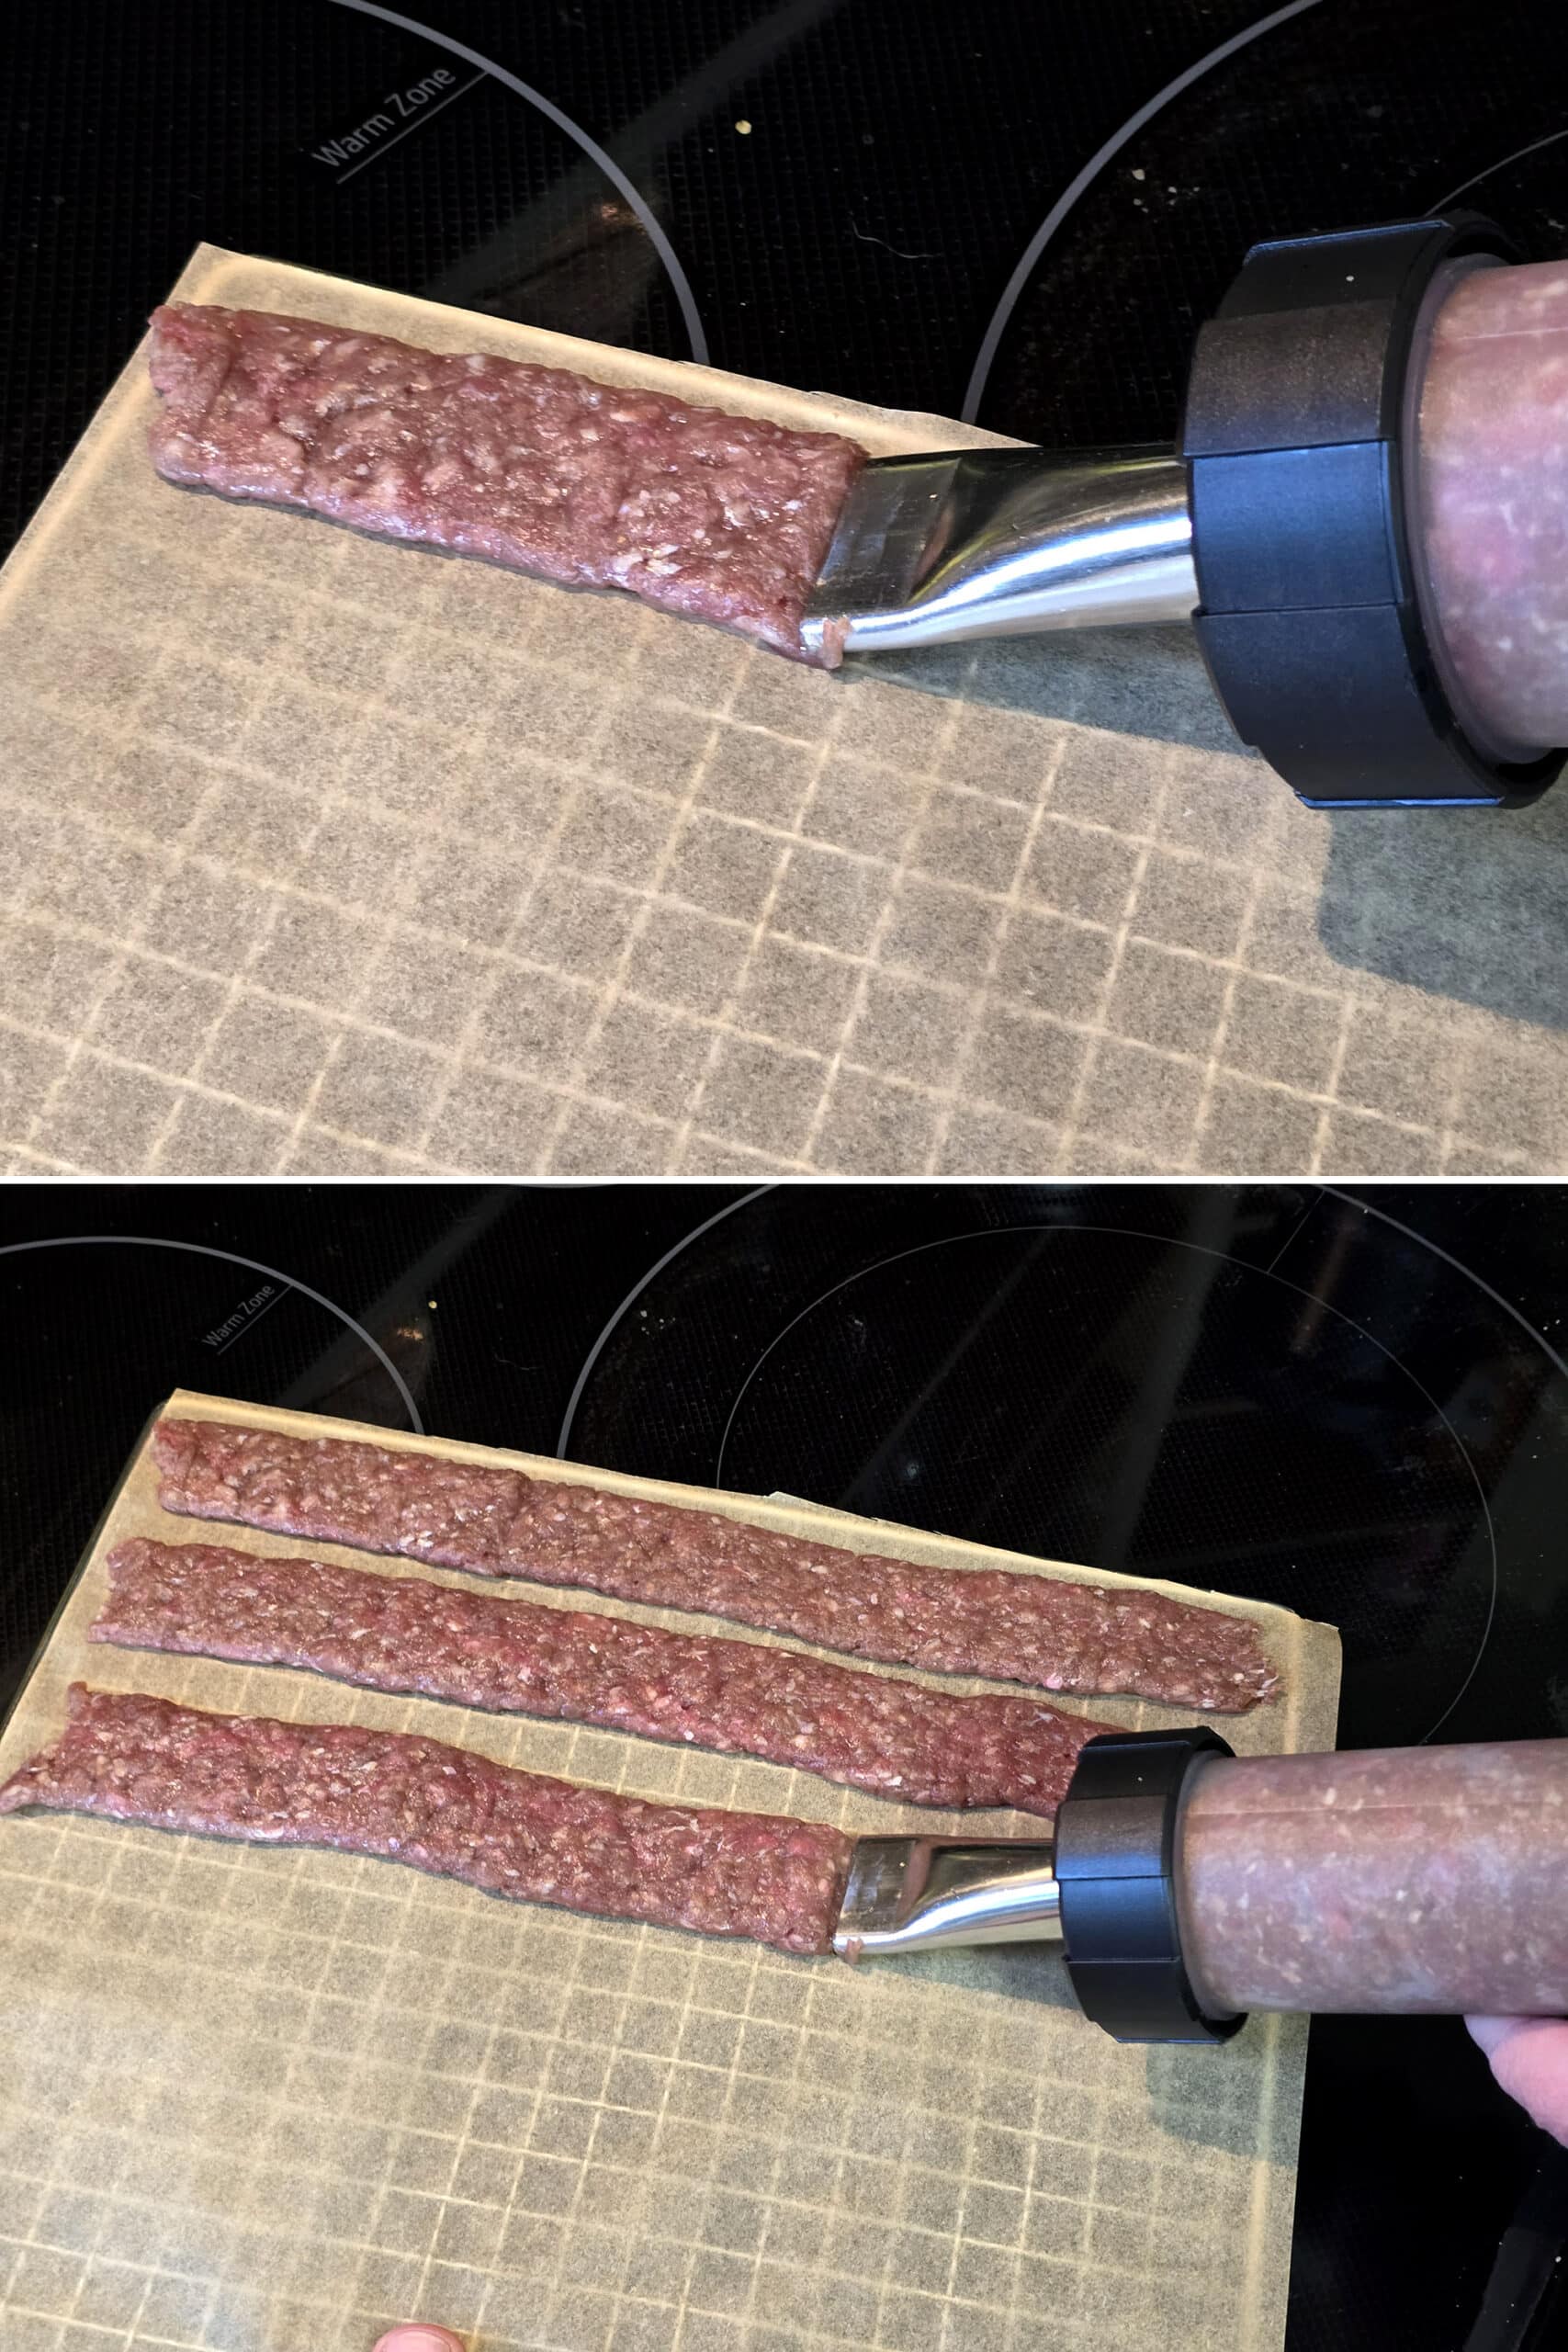
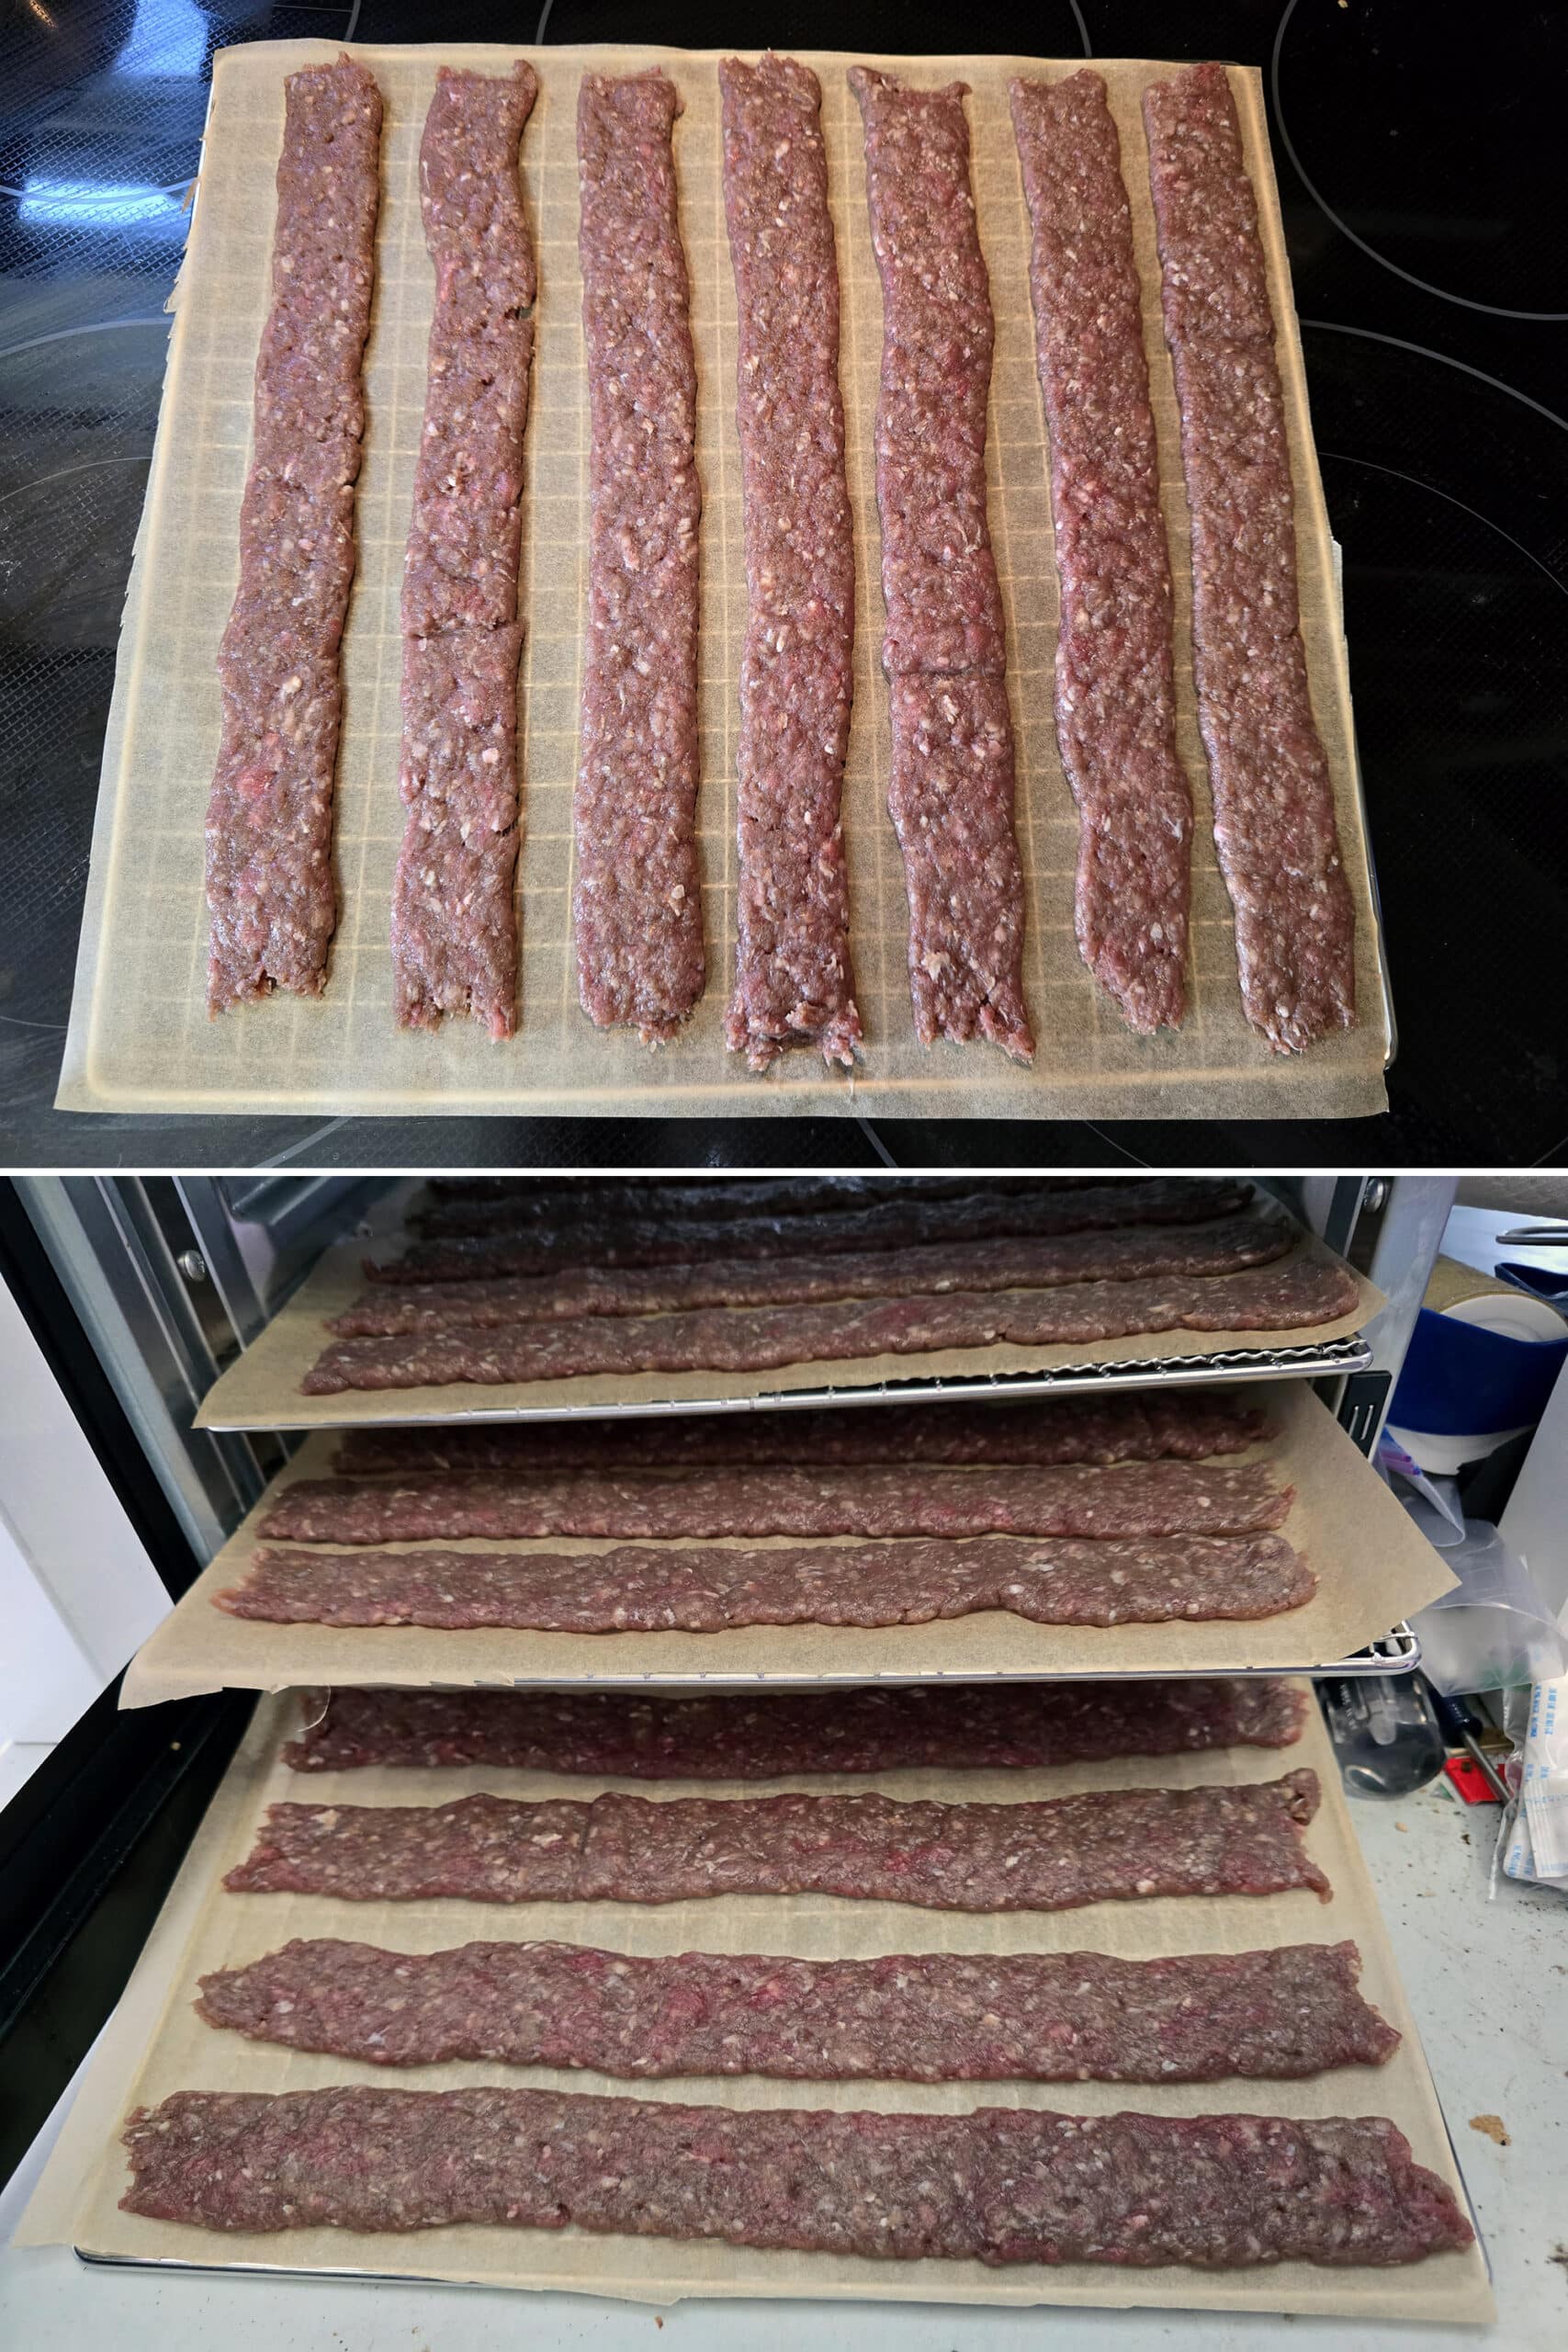
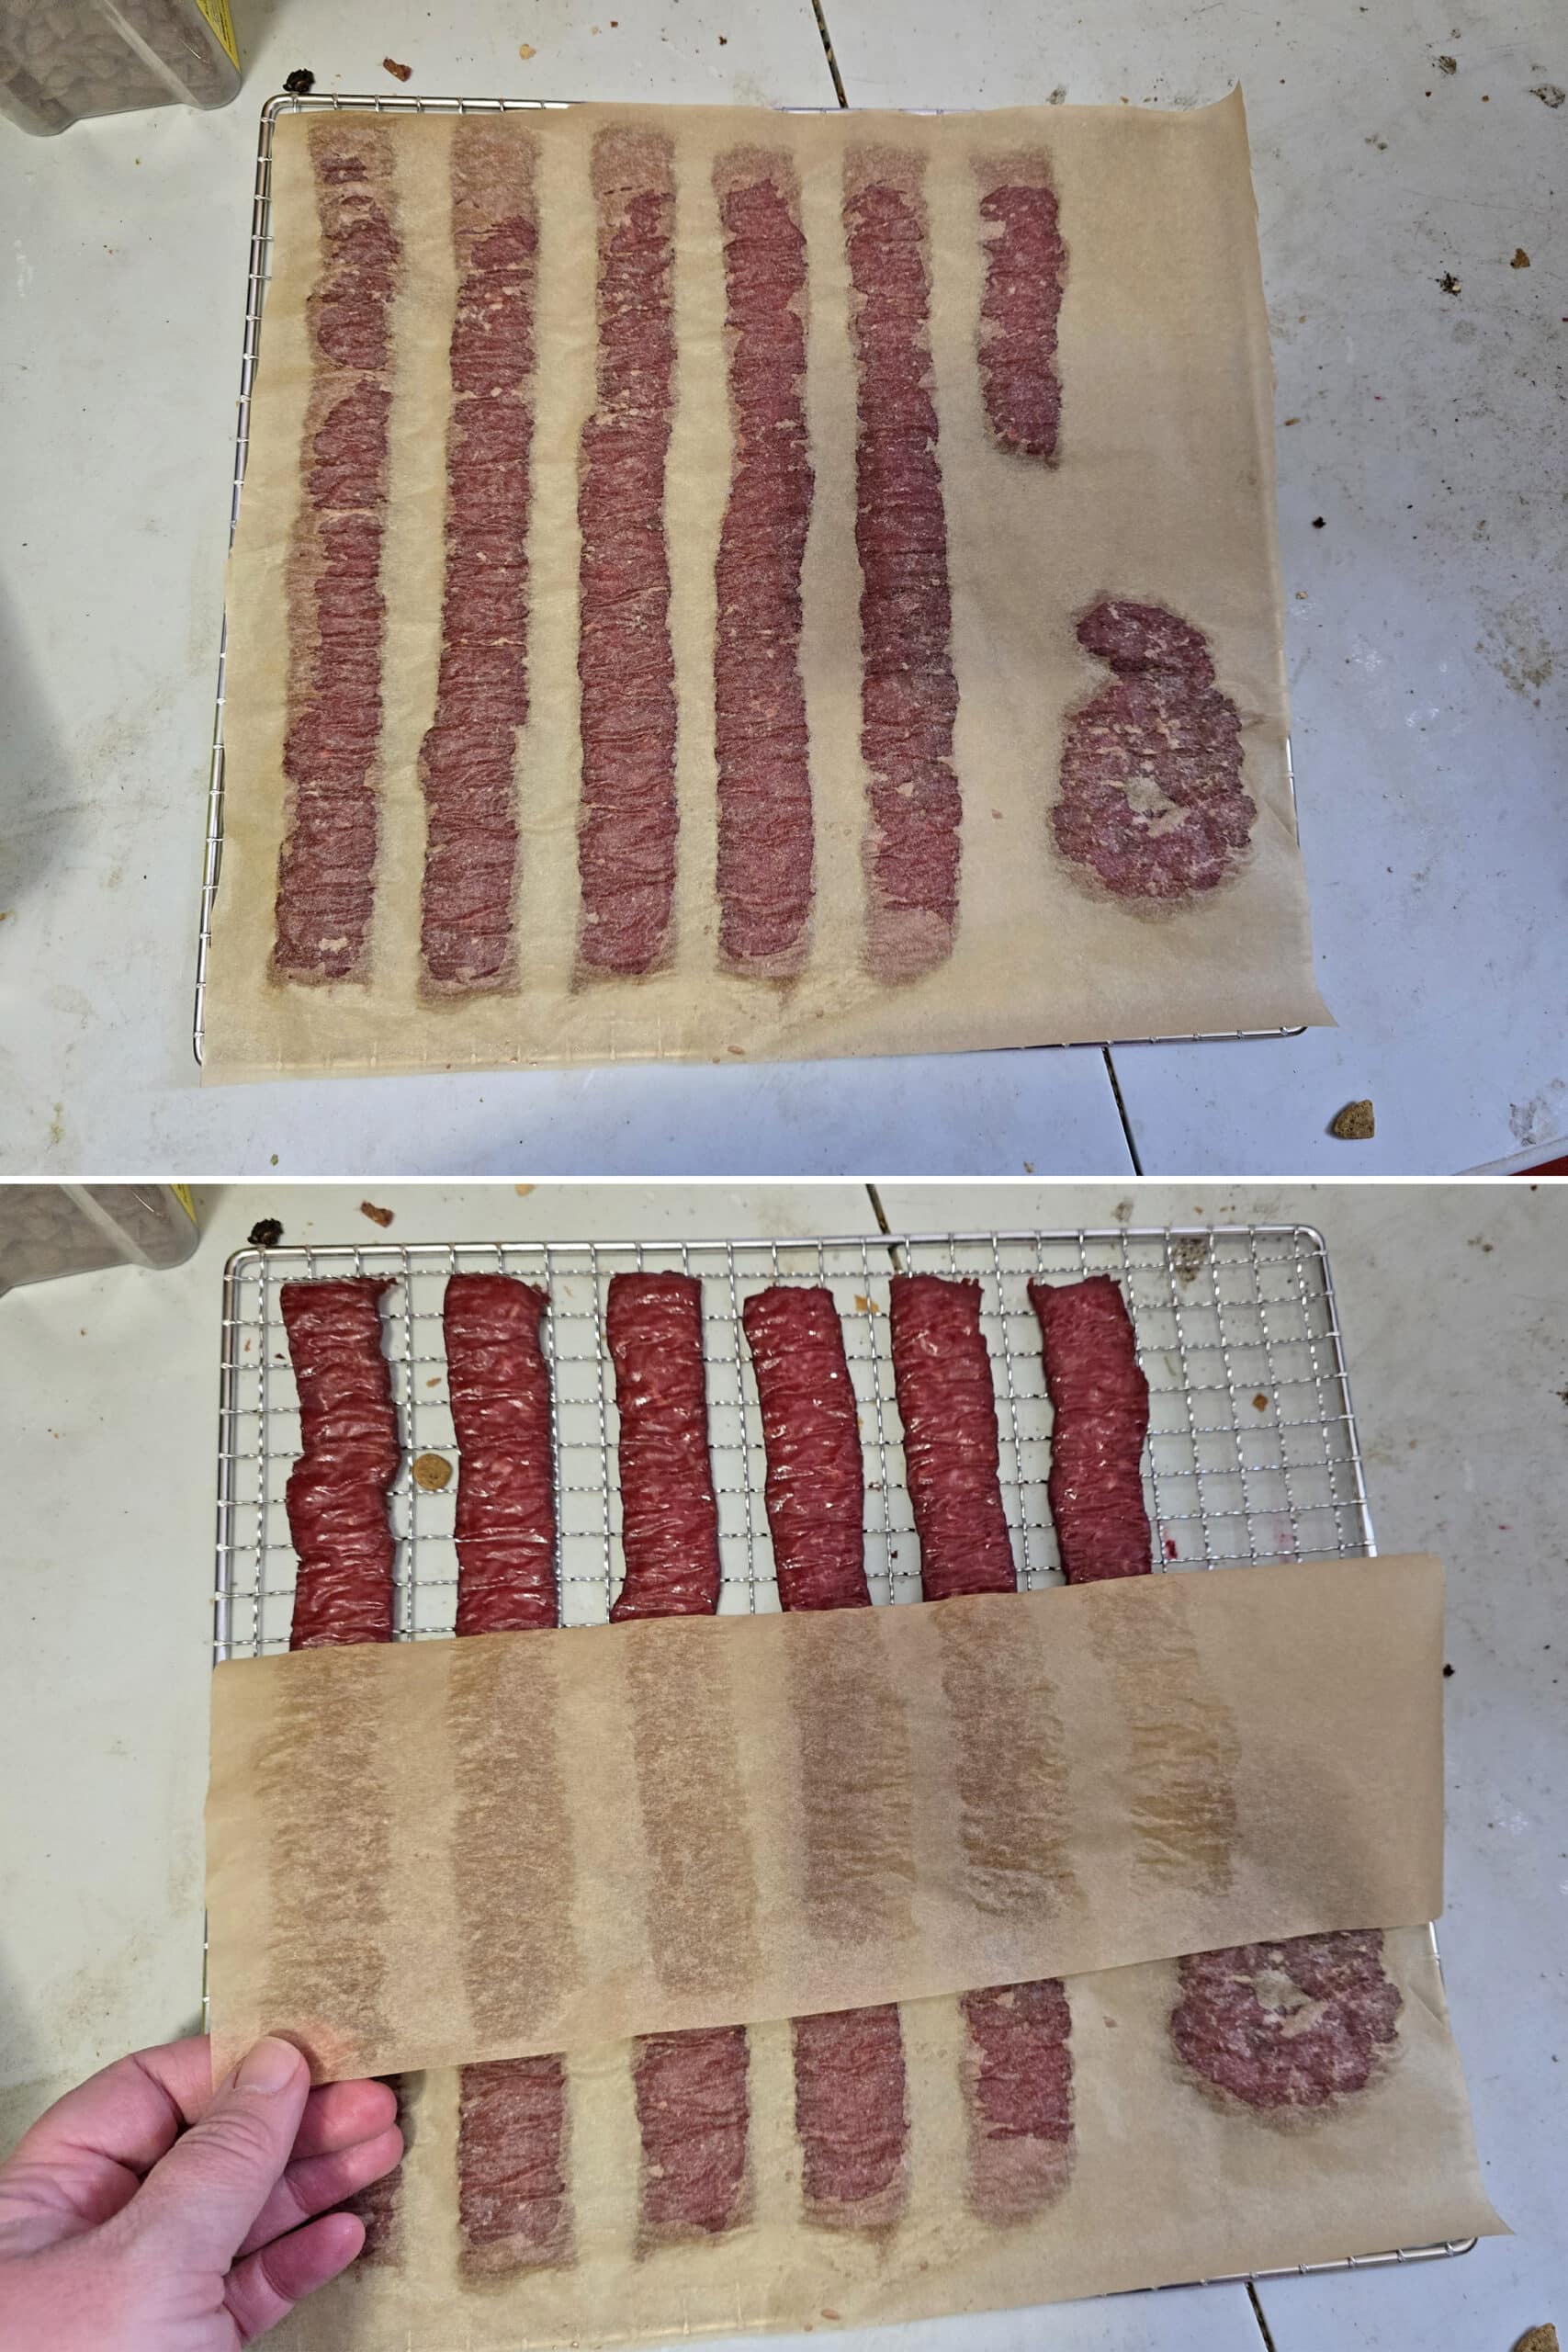
Line your dehydrator racks with the cut parchment paper, then pipe your jerky mixture into long strips out onto the sheets of parchment paper, leaving some space in between each.
Dehydrate the ground beef strips in a food dehydrator at 165 F for 2 hours.
Return the dehydrator racks to the dehydrator and continue dehydrating at 165 F for another 2 - 3 hours.
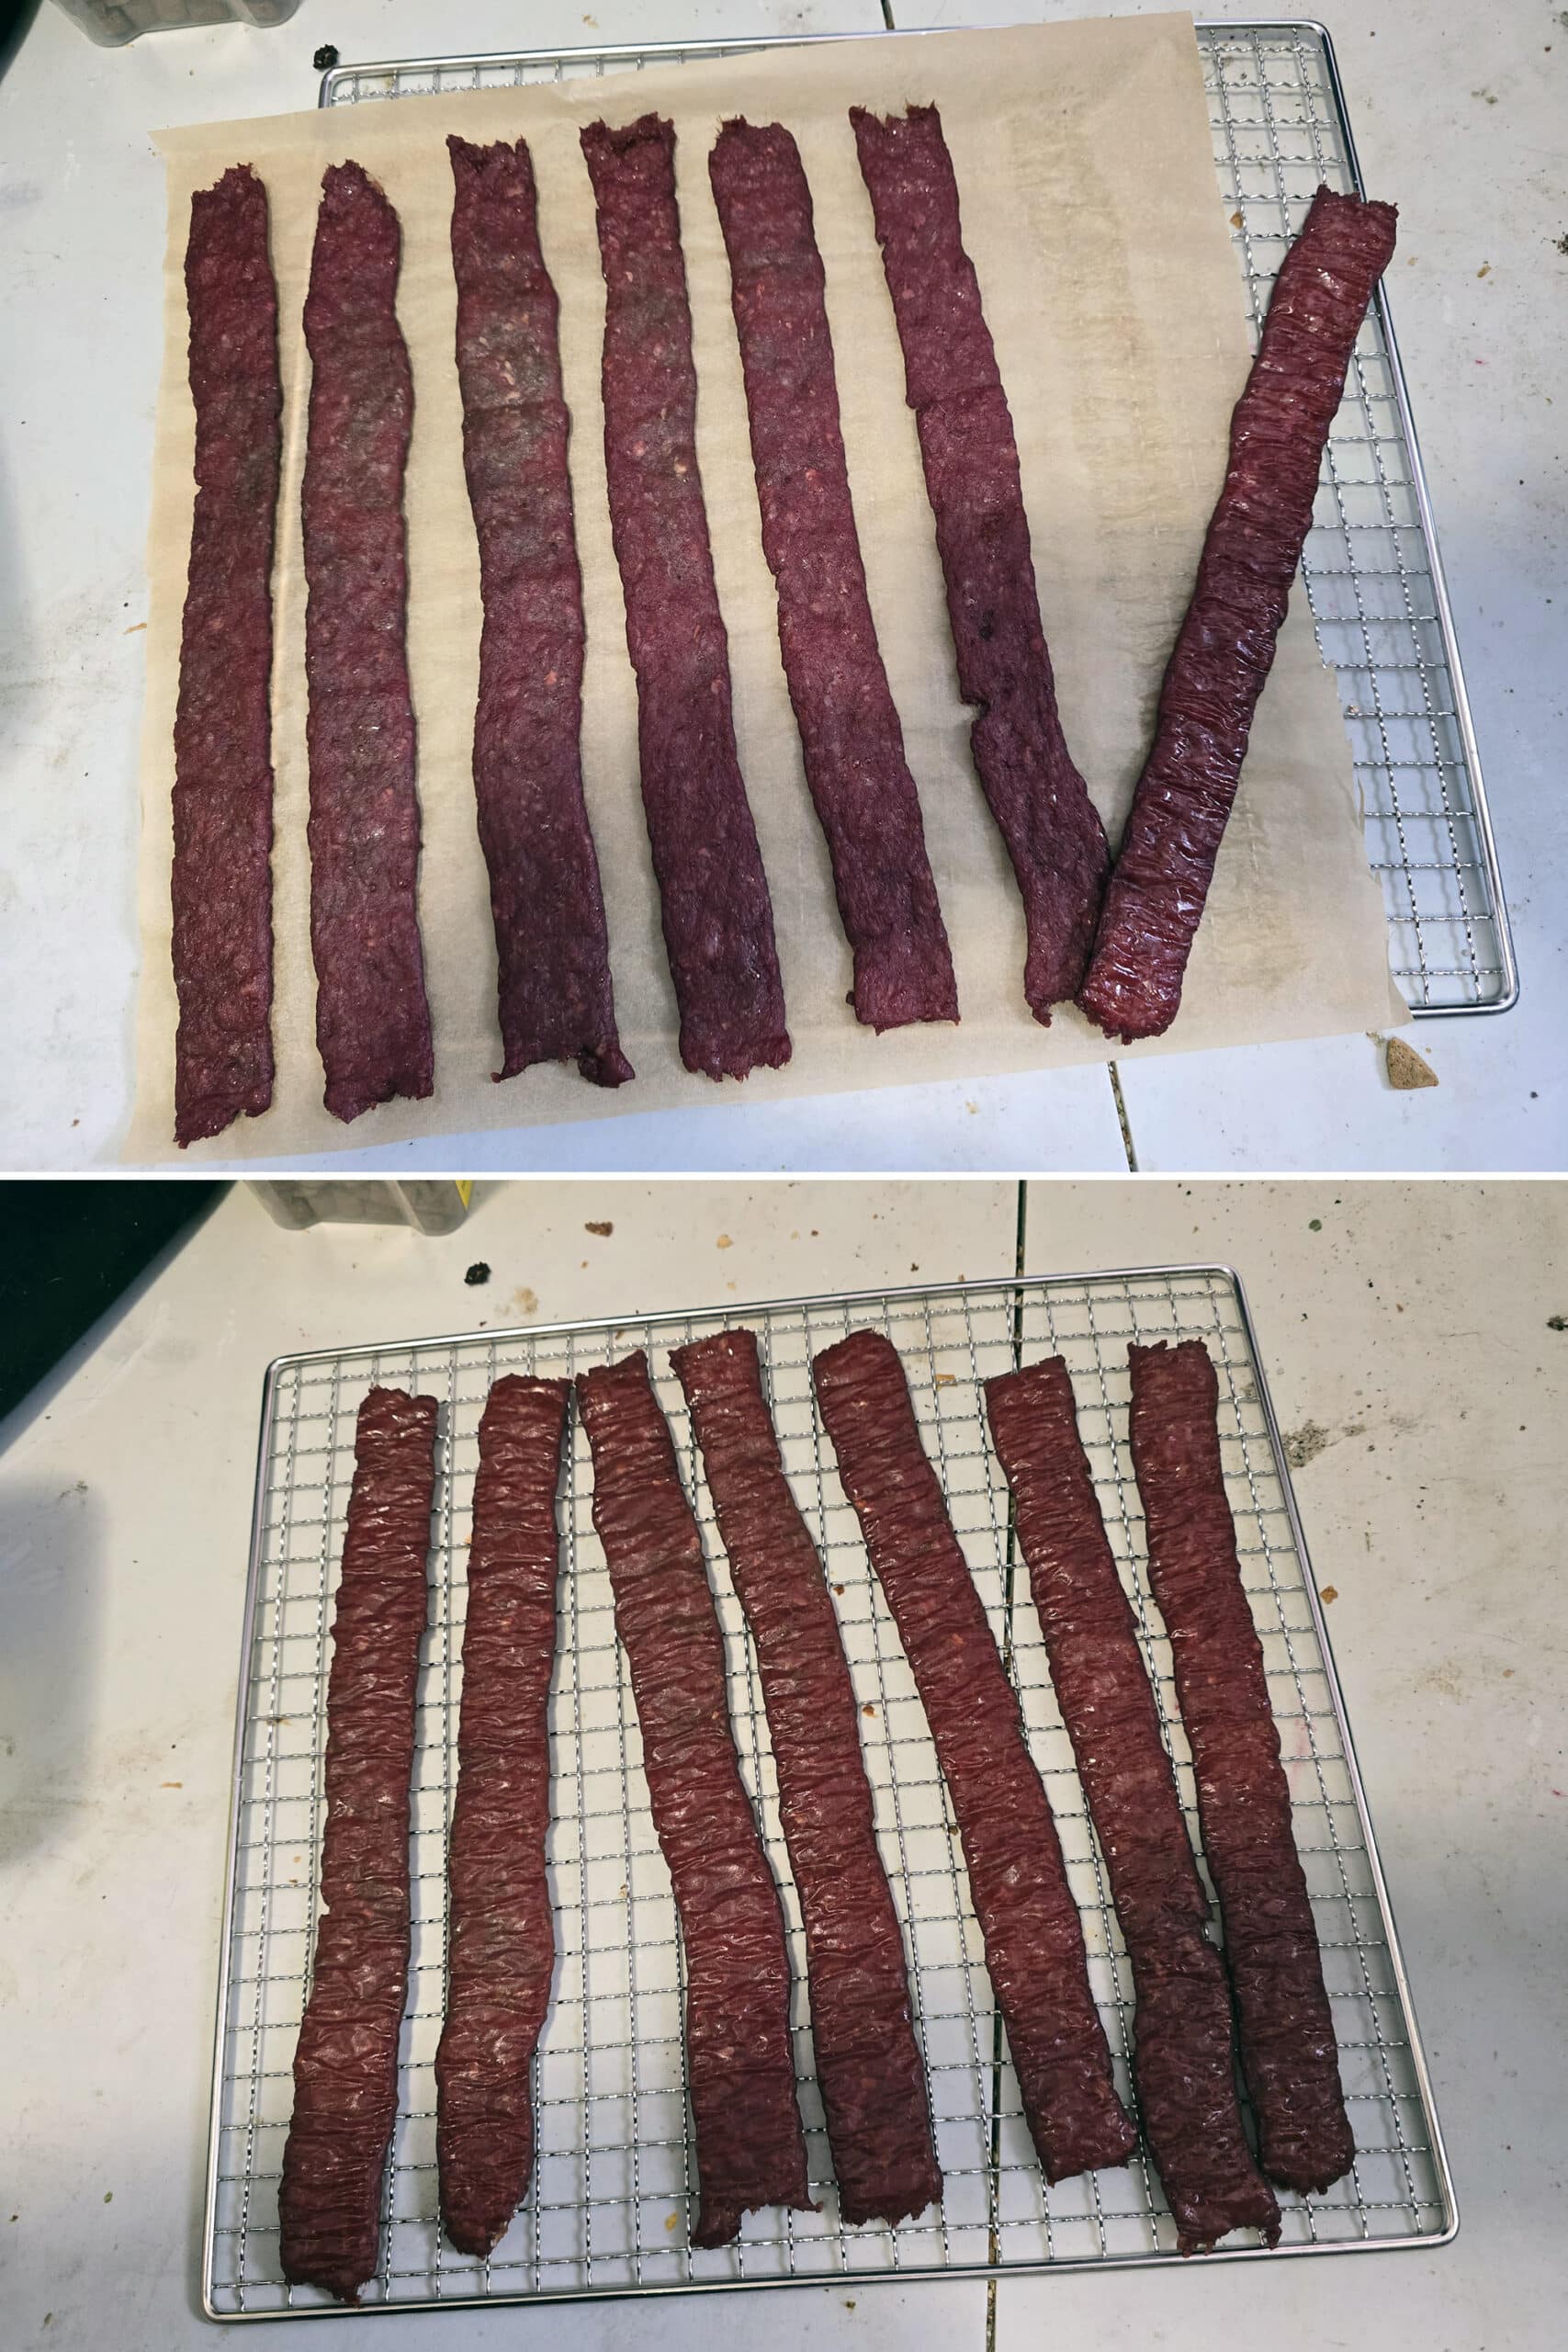
After 2 hours, your strips should release easily. If they’re sticking to the sheets, let them dehydrate a bit longer before removing them.
If you have any excess fat beading on top of the top of the meat, blot them with paper towels while the jerky is still warm.
Allow ground beef jerky to cool COMPLETELY to room temperature before packaging.
Storing Homemade Ground Beef Jerky
Ground Beef Jerky will keep at room temperature (in a cool dark place) for a week so, or a few weeks in the fridge.
If sealed into an airtight container WITHOUT OXYGEN, this ground beef jerky should be good for a month or so in a cool dark place, a couple months in the fridge, and 6 months or so in the freezer.
Once you open your vacuum sealed bag of ground beef jerky, it should be eaten within a couple days - or a week, if put in the fridge after opening.
More Homemade Jerky Recipes
Are you someone who loves to bring jerky on road trips, hiking trails, and when camping? Me too! Here are some of my go-to recipes for homemade jerkies!
Blueberry Bison Jerky
Buffalo Wing Chicken Jerky
Chipotle Chicken Jerky
Ginger Beef Jerky
Ground Venison Jerky
Homemade Salmon Jerky
Honey Garlic Chicken Jerky
Jalapeno Chicken Jerky
Jalapeno Ground Beef Jerky
Jerk Chicken Jerky
Lingonberry Elk Jerky
Mango Habanero Chicken Jerky
Maple Bacon Jerky
Mushroom Jerky, 2 Ways
Pumpkin Spice Chicken Jerky
Rosemary & Blueberry Beef Jerky
Shawarma Chicken Jerky
Spicy Garlic Chicken Jerky
Spicy Orange Chicken Jerky
Sriracha Chicken Jerky
Tofu Jerky, 2 Ways
Pepperoni Jerky
... But wait, there's more! We've been having so much fun designing gourmet jerky recipes, we started a whole new blog for them! Check out Dried & Tasty for all kinds of fun recipes to make in your food dehydrator!

Easy Homemade Ground Beef Jerky
Equipment
- 1 Jerky Gun
- Food Dehydrator
Ingredients
- 1 lb Lean Ground Beef
- ¼ cup Coconut Aminos Soy Sauce, or Tamari
- 2 teaspoon Garlic Powder
- 2 teaspoon Onion Powder
- 1 ½ teaspoon Liquid Smoke
- ¼ teaspoon Prague Powder #1 Cure
- ¼ teaspoon Smoked Sea Salt
Instructions
- Cut 2 or 3 squares of parchment paper slightly smaller than your dehydrator racks, set aside.
- In a medium mixing bowl - using freshly washed or gloved hands - combine ingredients well. REALLY well - it’s better to overhandle it, than to under-mix it.
- Use a spoon to load the mixture into a jerky gun, taking care to avoid creating air bubbles.
- Line your dehydrator racks with the cut parchment paper, then pipe your jerky strips out onto them, leaving some space in between each.
- Dehydrate in a food dehydrator at 165 F for 2 hours.
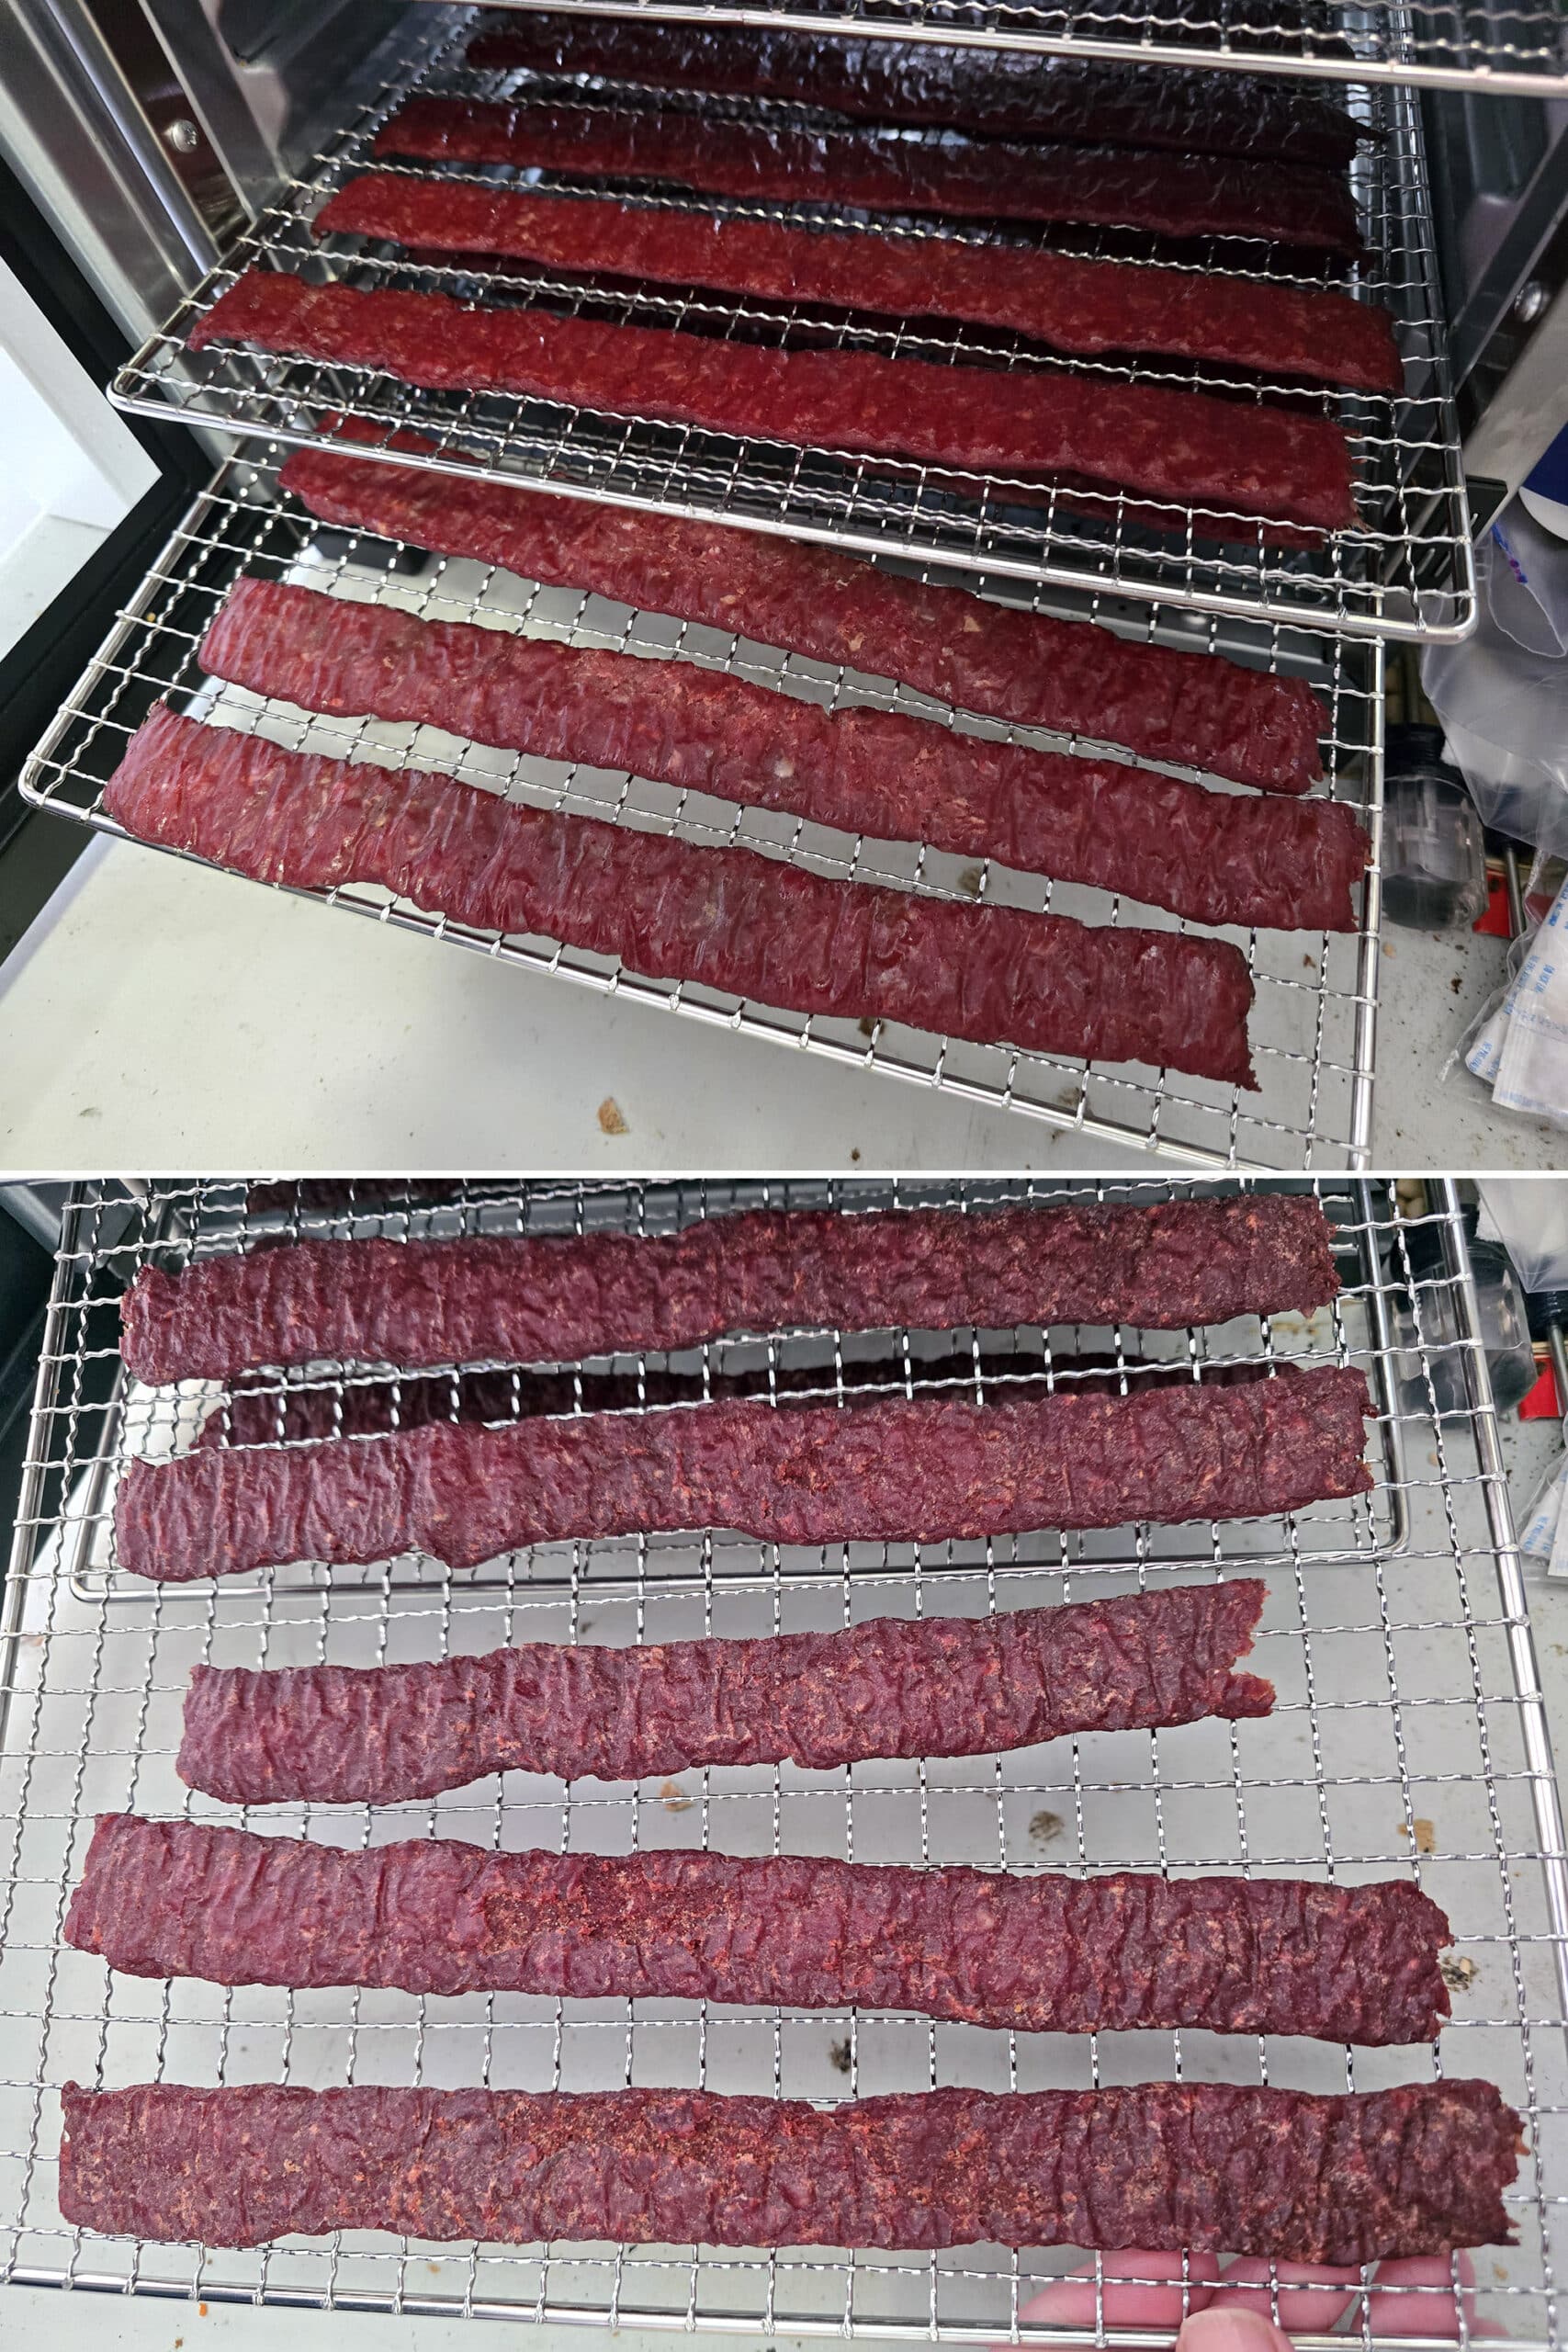
- Once two hours has passed, remove the jerky strips from the parchment, flip them over, and place them directly onto the dehydrator racks.
- Return to the dehydrator and continue dehydrating at 165 F for another 2 - 3 hours.
- To test for doneness, remove a piece of beef jerky from the dehydrator and let it cool to room temperature. It should feel dry to the touch and be able to bend to 90 degrees without breaking. (A bit of cracking or crackling is ok!)
- Storage: Allow ground beef jerky to cool COMPLETELY to room temperature before packaging.
Notes
Nutrition

Thanks for Reading!If you loved this post - or have any questions about it - please leave a comment below! We'd also love it if you would consider sharing the link on social media! |


Marie & Michael Porter
The first recipe for ground meat jerky that I'll be sharing, and it's the one I make most often. Super easy, and *addictive*!