Did you know you don't need an oven to make banana bread? You can cook it over a campfire, for a tasty treat while camping. Here's how!

I started with my Easy Banana Bread Recipe - my original recipe that was based on my Gramma’s best banana bread recipe.
From there, I’ve done Peanut Butter Banana Bread, Blueberry Banana Bread (possibly my favorite banana bread recipe!), Chocolate Peanut Butter Banana Bread, Gluten Free Banana Bread, and even Eggless Banana Bread.
What can I say? We make a ton of homemade banana bread!
While camping, we run into the same “problem” that tends to result in banana bread at home - Porter will buy too many bananas, they will get ignored until they’re almost rotten, and I’m too frugal to throw them away.
Frankly, I think he does it on purpose, at this point. Easy way to guarantee he’ll end up with some moist banana bread to snack on!
Making Banana Bread Over a Fire
So, I decided to develop a recipe that’s essentially a no-bake banana bread, intended to be cooked over a campfire.
This easy recipe starts with homemade banana bread mixes - derived from that original, go-to banana bread recipe. This saves me time and effort while camping, as well as space. I don’t want to pack an entire pantry for a trip!
It’s mixed completely by hand - no need for an electric mixer or stand mixer, I just use a fork to mash the bananas.
From there, the loaf pan is switched out in favour of a Dutch Oven. This spreads the batter out, allowing it to cook through faster than a loaf pan would.
This is essential when cooking quick breads over a grill - otherwise, the bottom would burn long before the bread is cooked through!
Then, it’s just a matter of babysitting your loaf of bread, while enjoying the great outdoors.
It really is the best way to not waste a dollar worth of bananas, LOL.
Anyway, let’s look at what you’ll need:
This recipe was photographed at Pukaskwa National Park - a gorgeous camping destination!

Ingredients
This is a super simple recipe that uses really basic ingredients. You won’t have any trouble finding everything you need at any grocery store.
Some notes for you:
Overripe Bananas
You’ll want to use REALLY ripe bananas, for a few reasons: They’ll be easier to mash (important when you’re just using a fork to mash them!), they’ll have a more robust banana flavor, and they’ll be nicely sweet.
Don’t just look for brown spots, you’ll want the peels to the point where they look too gross to eat. More brown than not, mushy to the touch etc.
I call for 3 large bananas, but if you only have medium or small ones, just add an extra banana or two. It’s all good!
All-Purpose Flour
I use all purpose flour for this recipe, as it’s what I tend to keep on hand.
That said, you can swap SOME of the all purpose flour out for whole wheat flour. I don’t recommend swapping out more than ⅓ or so of the flour (½ cup), though.
Too much whole-wheat flour in this particular recipe - without making modifications - will result in a dry banana bread.
Vegetable Oil
Speaking of dry banana bread, let’s talk fat.
I used to use melted butter in all of my quick bread recipes, but converted to oil a few years back.
Using a fat that’s solid at room temperature/when cold - like butter, or certain kinds of coconut oil - can result in a banana bread with a dry texture.
Sort of - you can avoid that by reheating it.
Personally, I don’t like being obligated to reheat banana bread - especially while on the road - so using vegetable oil skips the need for it entirely.
I recommend using a neutral flavoured oil - vegetable, sunflower, or canola oil.
Nuts and/or Raisins (Optional)
Adding *Stuff* to your banana bread is optional, but fun.
I’ll usually make up a bunch of basic mixes, then add different things to each. Some will have chopped peanuts, others chopped walnuts, raisins, and/or chocolate chips.
It’s fun to be able to pick from traditional, chocolate chip banana bread, banana nut bread, etc.
Generally speaking, I’ll add between 1 cup and 1 ½ cups of whatever. Sometimes it’ll be all one thing, sometimes a mix of add-ins.
Everything Else
Rounding out this recipe, you will need:
Granulated Sugar*
1 Large Egg
Vanilla Extract
Baking Soda
Salt
* If you’re doing the mixes, I don’t recommend using brown sugar, until you’re mixing them REALLY well. Brown sugar tends to dry out and clump.
I find white sugar just performs better in homemade mixes

Share the Love!If you’ve made one of our recipes, be sure to take some pics of your handiwork! If you post it to Bluesky, be sure to tag us - @2NerdsInATruck, or you can tag us on TikTok, if you’re posting video. We're also on Pinterest, so you can save all your favourite recipes and park reviews to your own boards! Also, be sure to subscribe to our free email newsletter, so you never miss out on any of our nonsense. Well, the published nonsense, anyway! |
How to Make Banana Bread Over a Campfire
The full recipe is in the printable recipe card at the end of this post, here is the visual walk through:
Homemade Banana Bread Mix
This is an optional step - I like to mix the dry ingredients ahead of time. It saves time and space, when on the road!
Combine flour, sugar, baking powder, salt, and raisins/nuts - if using - into a Medium Ziplock freezer bag.
Press any excess air out, seal, and label each plastic bag with as much of the directions as you like.
Store in a dark, dry place until ready to use.

Campfire Banana Bread
Get a low-medium fire going. You can cook this on a charcoal grill, a BBQ, or on a grill plate over a campfire, but aim LOW.
It’s better to have a low fire and need to cook it longer, than to run too hot and burn it before it cooks!
In a large bowl, mash together bananas , oil, egg, and vanilla until relatively smooth. I’ll usually mash the bananas first, the add the remaining wet ingredients to the mixing bowl of mashed bananas.
Add a bag of your homemade Banana Bread Mix to the bowl of wet mixture.
Use a wooden spoon or rubber spatula to stir just until combined, with no obvious streaks of flour mixture visible in the batter. Set aside.

Pour batter into your prepared Dutch oven.

Cook for about 10 minutes (15-20 minutes if your fire is really low), then remove from heat.
A Note On Cooking
The bake time will vary wildly based on your heat source and pan.
Keep an eye on the banana bread - as it’s getting close to the point of needing to be taken off the fire, there will be a lot of condensation forming on the lid, the outer edge of the crust will start to get golden brown, and the colour of the batter will intensify.
You want to take it off the heat when the bread is mostly yellowish and the outer edge is golden - any further will char the crust.
WITHOUT removing the foil or lid, allow the banana bread to continue cooking in the pan for another 5 minutes. (This lets it cook through, without burning!).

Alternately, a toothpick or bitter knife inserted into the center will be “clean” when pulled out.
If it’s not quite done, return to the heat for another few minutes, the allow to sit for another 5 - without removing the lid. For est results, be sure to not overcook it, or it will be dry!
Allow the banana bread to cool slightly, before slicing and serving.

Leftover Banana Bread
Leftovers can be cooled to room temperature, wrapped in Saran wrap and stored in the fridge for up to a week.
Best served at room temperature or warmer.

More Camping Breakfast Recipes
Looking for some more easy - and tasty - camping breakfast ideas? I've got you covered:
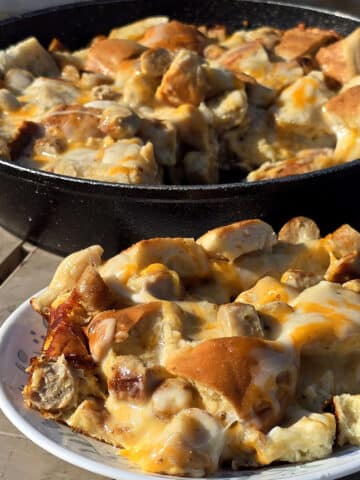
Apple Fritter Bread Pudding
Apple Fritter French Toast
Banana Protein Pancakes
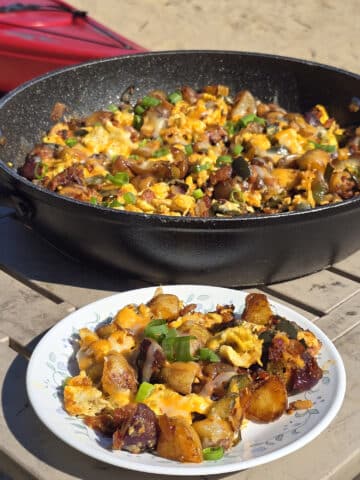
Campfire Breakfast Skillet
Campfire Coffee - Coffee without a Coffee Maker!
Gingerbread Protein Pancake Mix
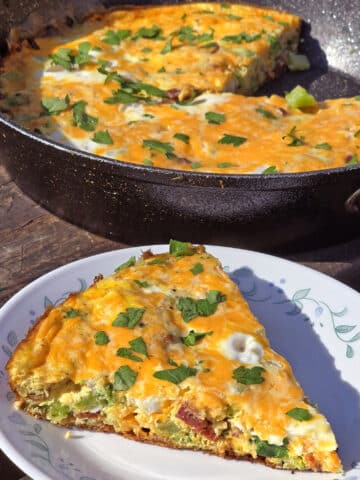
Hobo Eggs
Homemade Camping Pancake Mix
Pumpkin Protein Pancake Mix
Traditional Bannock
Also be sure to check out our other Camping Recipes, including Camping Desserts, Camping Snacks, Make-Ahead Camping Mix Recipes, and a ton of delicious Camping Main Dish Recipes!

Campfire Banana Bread
Equipment
- 1 9 inch cast iron skillet
Ingredients
Banana Bread Mix
- 1 ½ cups All-purpose flour
- 1 cup Granulated Sugar
- 1 teaspoon Baking Soda
- ½ teaspoon Salt
- Nuts and/or Raisins optional Aim for 1 - ½ cups of stuff- see post for details.
To Use:
- 3 Large Bananas Mashed
- ¼ cup Vegetable Oil or Melted Butter
- 1 Large Egg
- 1 teaspoon Vanilla Extract
Instructions
Homemade Banana Bread Mix:
- Measure flour, sugar, baking powder, salt, and raisins/nuts - if using - into a Medium Ziplock freezer bag.
- Press any excess air out, seal, and label with as much of the directions as you like.
- Store in a dark, dry place until ready to use.
Campfire Banana Bread
- Get a low-medium fire going. You can cook this on a charcoal grill, a BBQ, or on a grill plate over a campfire, but aim LOW. It’s better to have a low fire and need to cook it longer, than to run too hot and burn it before it cooks!
- Spray your Dutch oven with nonstick spray, then line it with parchment paper, set aside.
- In a large bowl, mash together bananas , oil, egg, and vanilla until relatively smooth.
- Add a bag of Banana Bread Mix to the bowl. Use a wooden spoon or rubber spatula to stir just until combined, with no obvious streaks of flour in the batter.
- Pour batter into your prepared Dutch oven, cover, and place over the grill.
- Cook for about 10 minutes (15 if your fire is really low), then remove from heat.
- Note: The cooking time will vary wildly based on your heat source and pan. Keep an eye on the banana bread - as it’s getting close to the point of needing to be taken off the fire, there will be a lot of condensation forming on the lid, the outer edge of the crust will start to get golden brown, and the colour of the batter will intensify. You want to take it off the heat when the bread is mostly yellowish and the outer edge is golden - any further will char the crust.
- WITHOUT removing the foil or lid, allow the banana bread to continue cooking in the pan for another 5 minutes. (This lets it cook through, without burning!).
- Uncover the banana bread, and check to see if it’s done. When finished, it’ll be between 190-200 F when an instant read thermometer is inserted into the center of it. Alternately, a toothpick or bitter knife inserted into the center will be “clean” when pulled out.
- If it’s not quite done, return to the heat for another few minutes, the allow to sit for another 5 - without removing the lid. For best results, be sure to not overcook it, or it will be dry!
- Allow the banana bread to cool slightly, before slicing and serving.
Notes
Nutrition

Thanks for Reading!If you loved this post - or have any questions about it - please leave a comment below! We'd also love it if you would consider sharing the link on social media! |


Marie & Michael Porter
A super easy way to have a freshly "baked" breakfast while camping. Hope you love this recipe as much as we do!